06
EMBEDDED PROGRAMMING
This week we worked on embedded programming and getting our board from week 04 to do something.
| Tools: | Arduino IDE, Week 04 Board, Week 02 programmer |
| Files: | |
| Date: | 10.24.2018 |
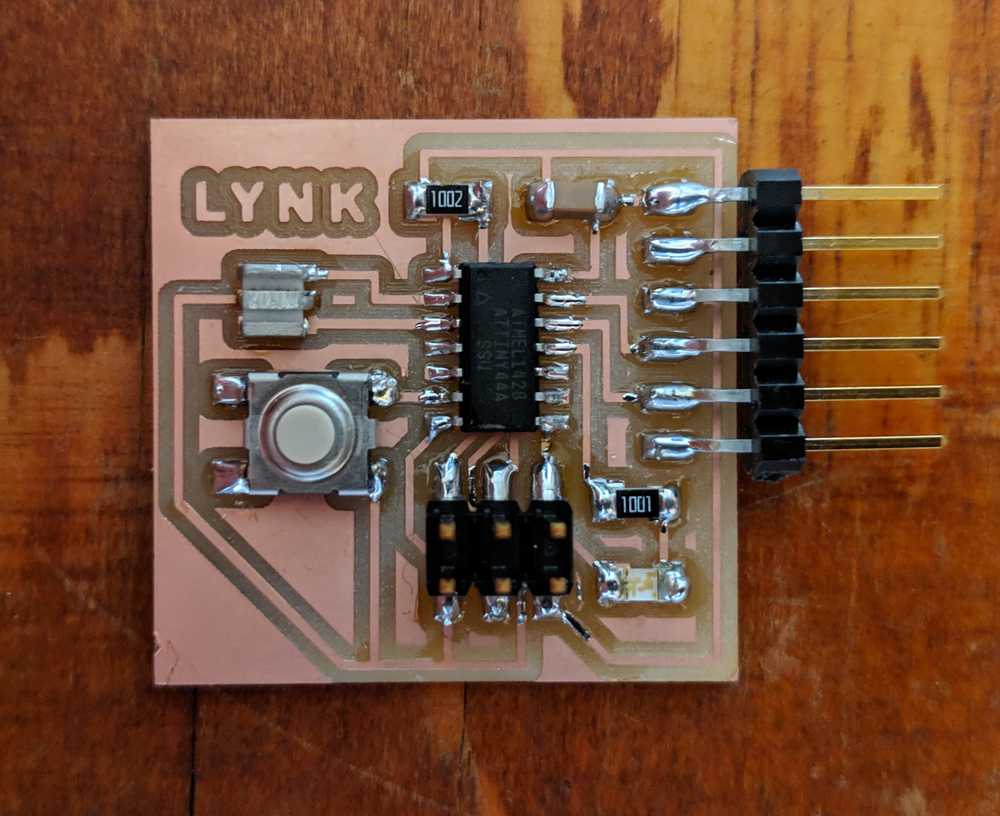
The Board
I used the same board as we designed in week 04. Because I wanted to start simple before I started adding any complex components.
Programming
Since I have experience working with Arduinos I figured that the obvious first step would be to get the board working with the Arduino IDE first before I started doing everything in C.
I followed this tutorial for setting up the Arduino IDE to recognize the ATTiny. It was really helpful, but it uses an older version of the Arduino IDE. The only thing that's different is selecting the board.
To make sure everything runs correctly, before uploading your code, be sure to go to Tools > Board, Processor, and Clock and set them to 'ATtiny24/44/84', 'ATtiny44', and 'External 20 MHz' respectively. Now you should be able to upload code to the ATTiny if everything is plugged in correctly and you are following the tutorial.
First I just made it so that the LED flashes without the button. Here is the code that I used to do this:
int led = 2;
int button = 7;
int DELAY = 200;

// the setup function runs once when you press reset or power the board
void setup() {
  // initialize digital pin led as an output.
  pinMode(led, OUTPUT);
}

// the loop function runs over and over again forever
void loop() {
  digitalWrite(led, HIGH);   // turn the LED on (HIGH is the voltage level)
  delay(DELAY);              // wait for some time
  digitalWrite(led, LOW);    // turn the LED off by making the voltage LOW
  delay(DELAY);              // wait for some time
}
And here's how it turned out
Next, I coded it so that the led is only on when the button is pressed down. The implementation is very similar to the first example so I'll only include the two important lines that deal with how we read the state of the button. First we have to declare the button pin as an input and then we have to read the state of that input.
pinMode(BUTTON_PIN, INPUT_PULLUP);
int button_state = digitalRead(BUTTON_PIN);
And finally, I started keeping track of the state of the led so that I can set up a state machine for when the button is pressed and then turn the led on and off as appropriate. Now the led can stay on without having to hold down the button.
Next Steps
I soon found out that millis() and delay() don't work as expected in the Arduino IDE because we're using an external clock that must run at a different rate than Arduinos, so I plan on doing some investigating to see how this issue can be fixed so that those two functions work as intended without any workarounds.
Additionally, I plan to start experimenting with programming only in C and not using the Arduino IDE.