 Speakers design: back
 My speakers will be made out of concrete. Now, before designing the speakers, one must, regardless of the material choice, decide on the type of enclosure to make. The most common options are: sealed, ported, and passive radiators.
Even though I wanted to design (and calculate) my own ported type of enclosure, I unfortunately need to stick to the simplest type - the sealed one, as the chinese speakers that I have ordered contain no information about their effective T/S parameters (these are essential to tackle the ported enclosures, see here for details). Since, soundwise, things can get worse after a wrong choice of ported speaker parameters, I go by the sealed type of enclosure.
The only "calculations" that one needs to make in the portable speakers design is to make them as big as possible (in practice, one needs to at least reach the compliance volume, but the hefty speakers with a portable enclosure most likely have a smaller volume, and sealed type of enclosure is less sensitive to this mismatch compared with other enclosure types) and, importantly, get rid of all possible resonances in the system, making the aspect ratio of the internal volume as irrational as possible.
Now, my material of choice is concrete. This material, unlike wood, will ensure that there are no unnecessary vibrations and resonances (I plan to also stuff the inner volume wiith some foam material). I chose Fusion 360 for cadding the speakers design.
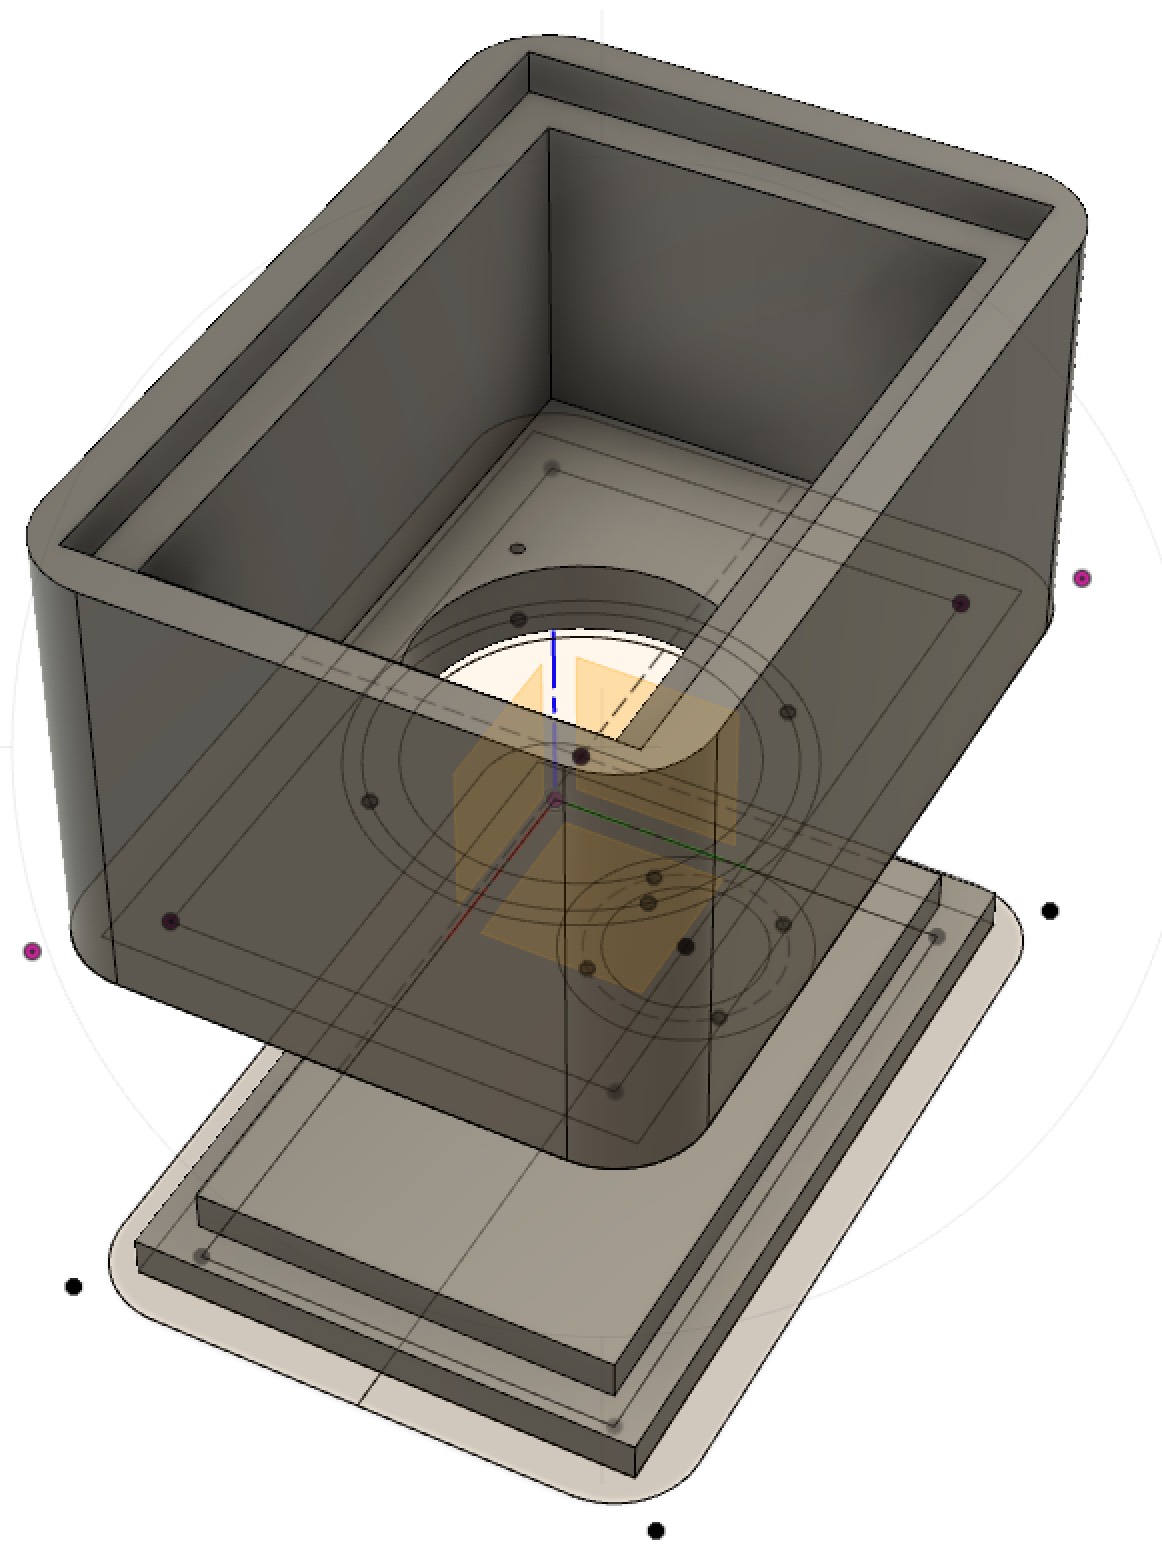
Speakers design: back
 Speakers design: front
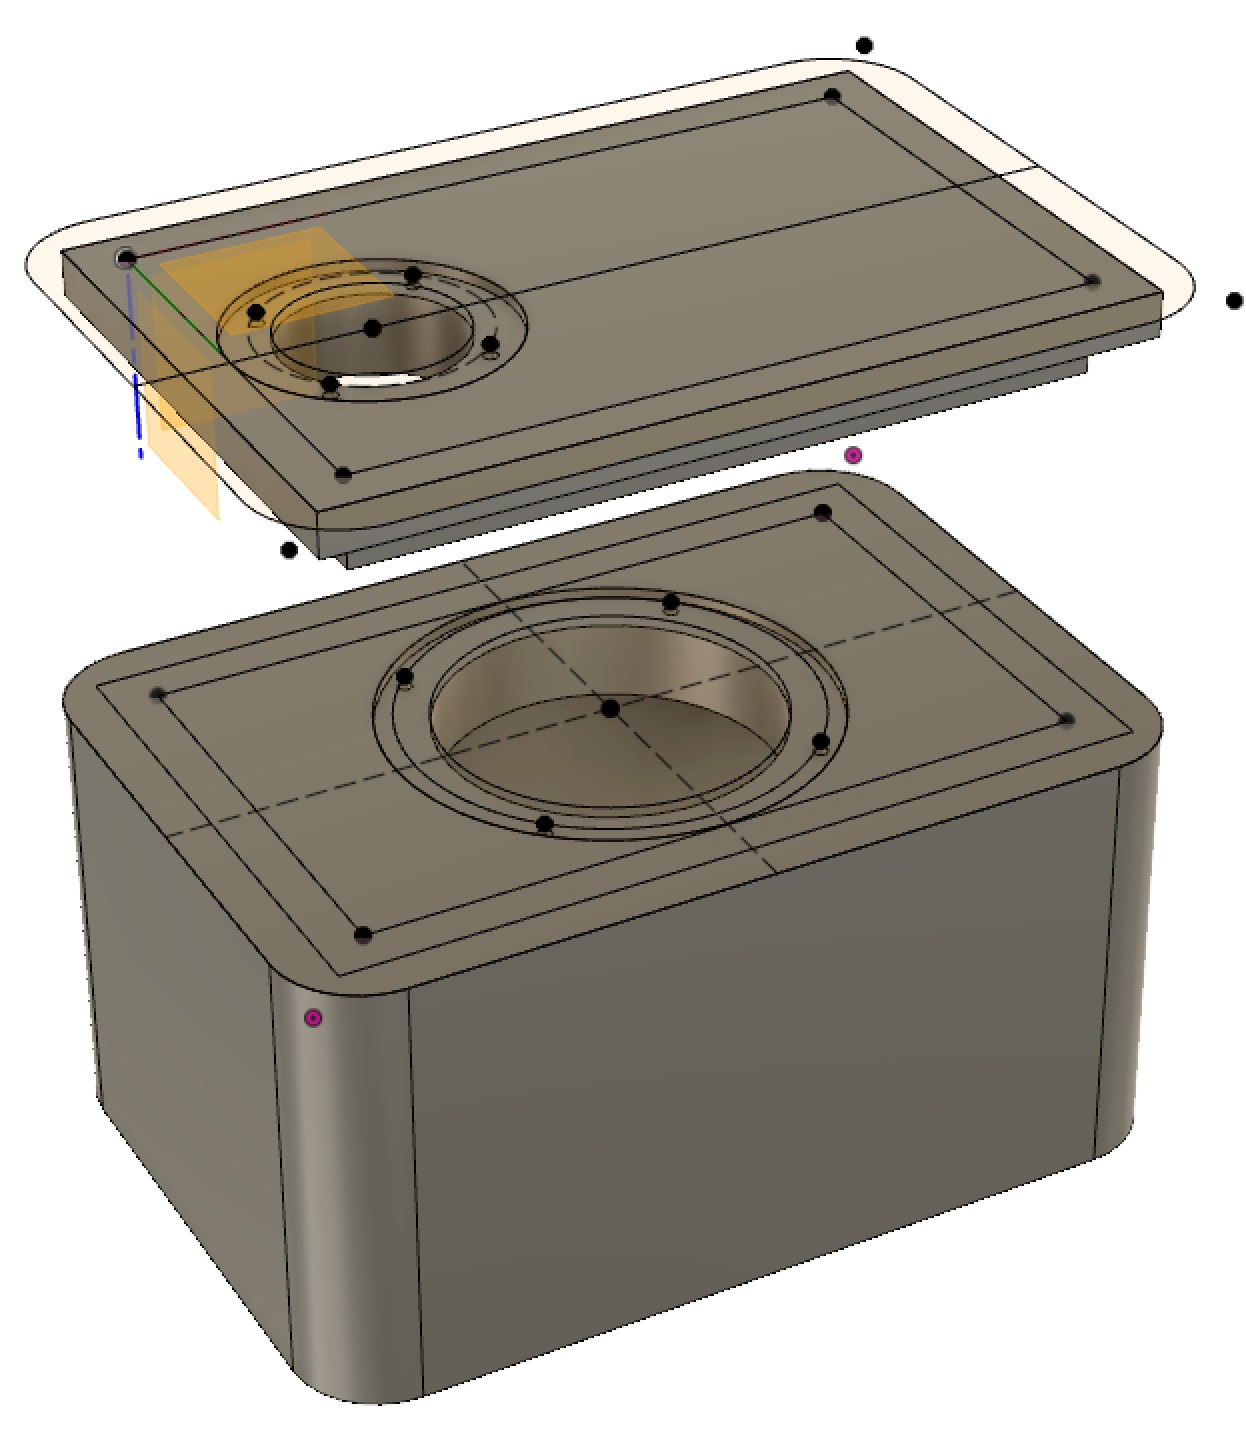
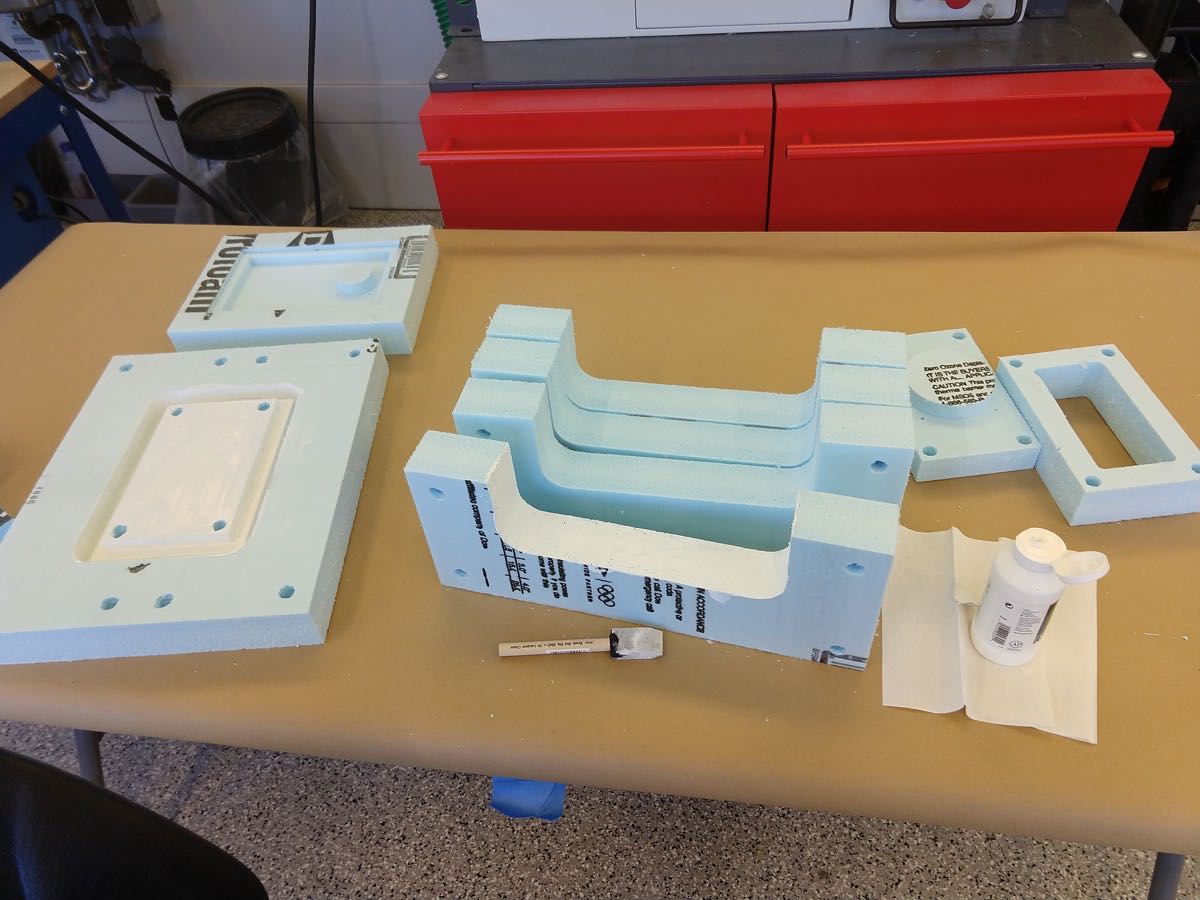
In actuality, one needs to think about the mold design rather than about the appearance of the actual object (in my case, the mold will be made of aconstruction foam). Hence, I below perform the following complement/inversion operations:
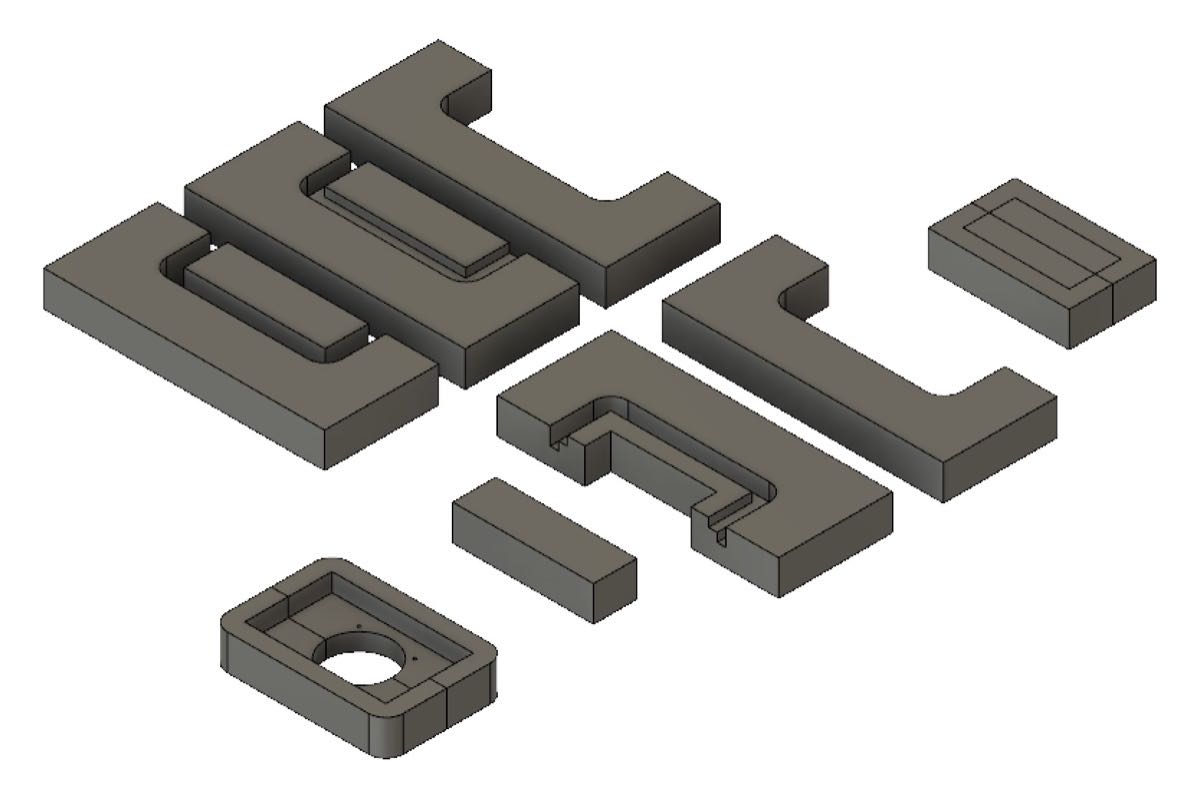 Mold design step 1
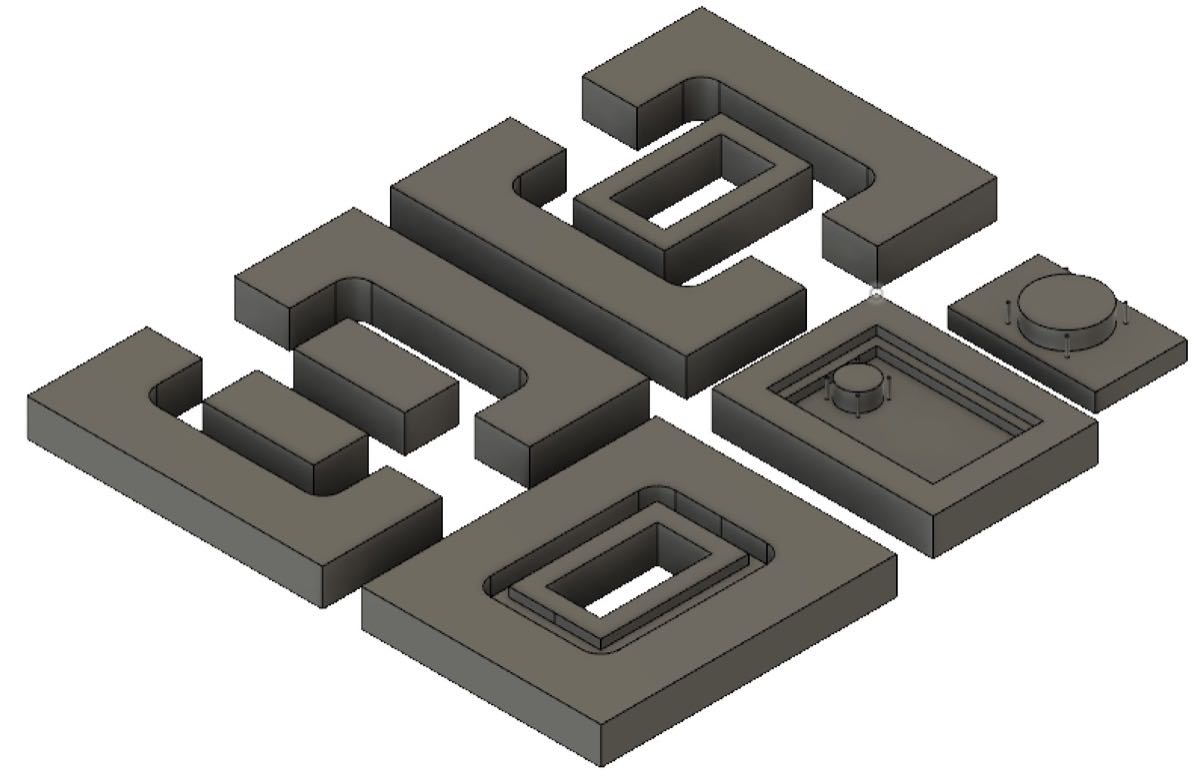 Mold design step 2
At first, I tried to cut the foam with the Shark tool, but this was too slow and damaging for the foam (very large rotation rates). We then swicthed to the Shaper tool, which is a great tool but leads to a lot of wasted time (alignment/checking errors). We then moved to the ONSRUD tool available in the architecture shop.
 Cutting with the Shaper
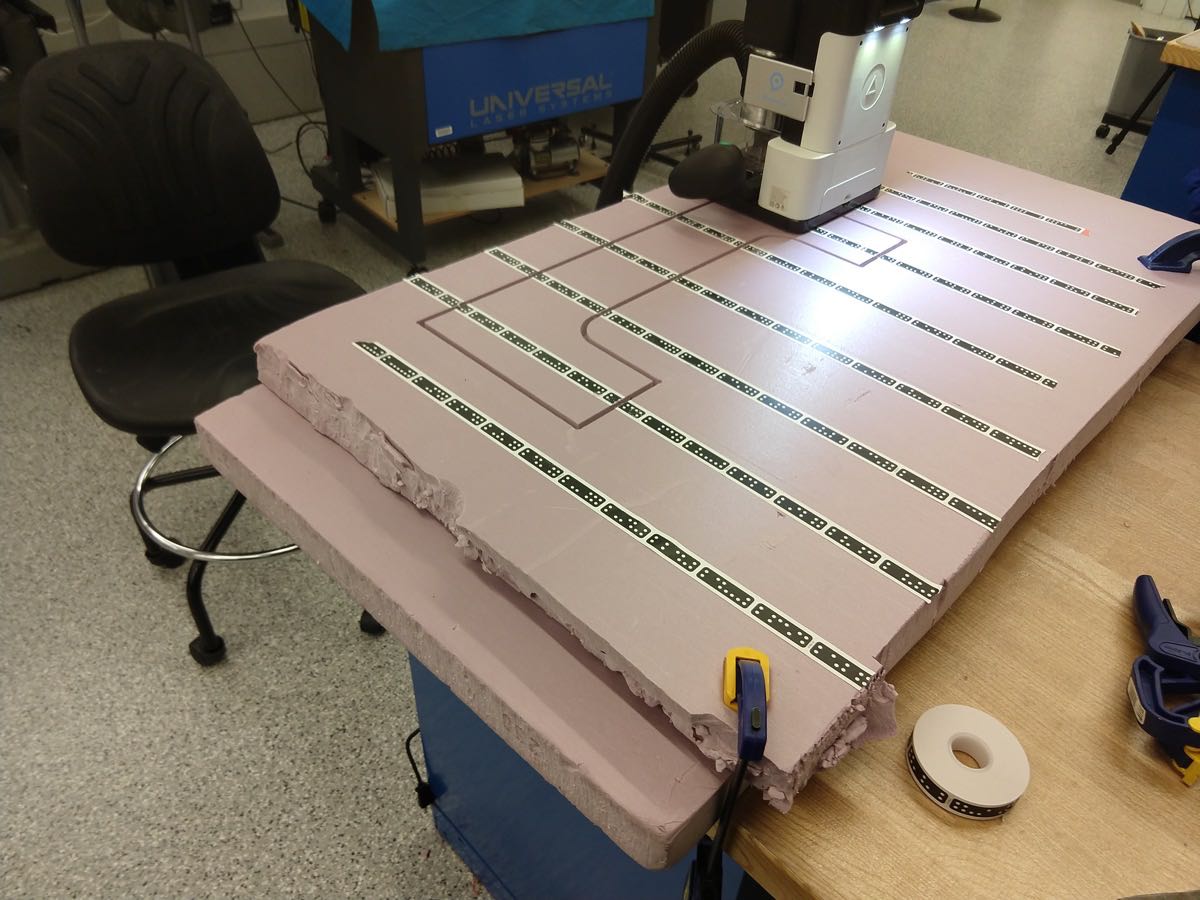
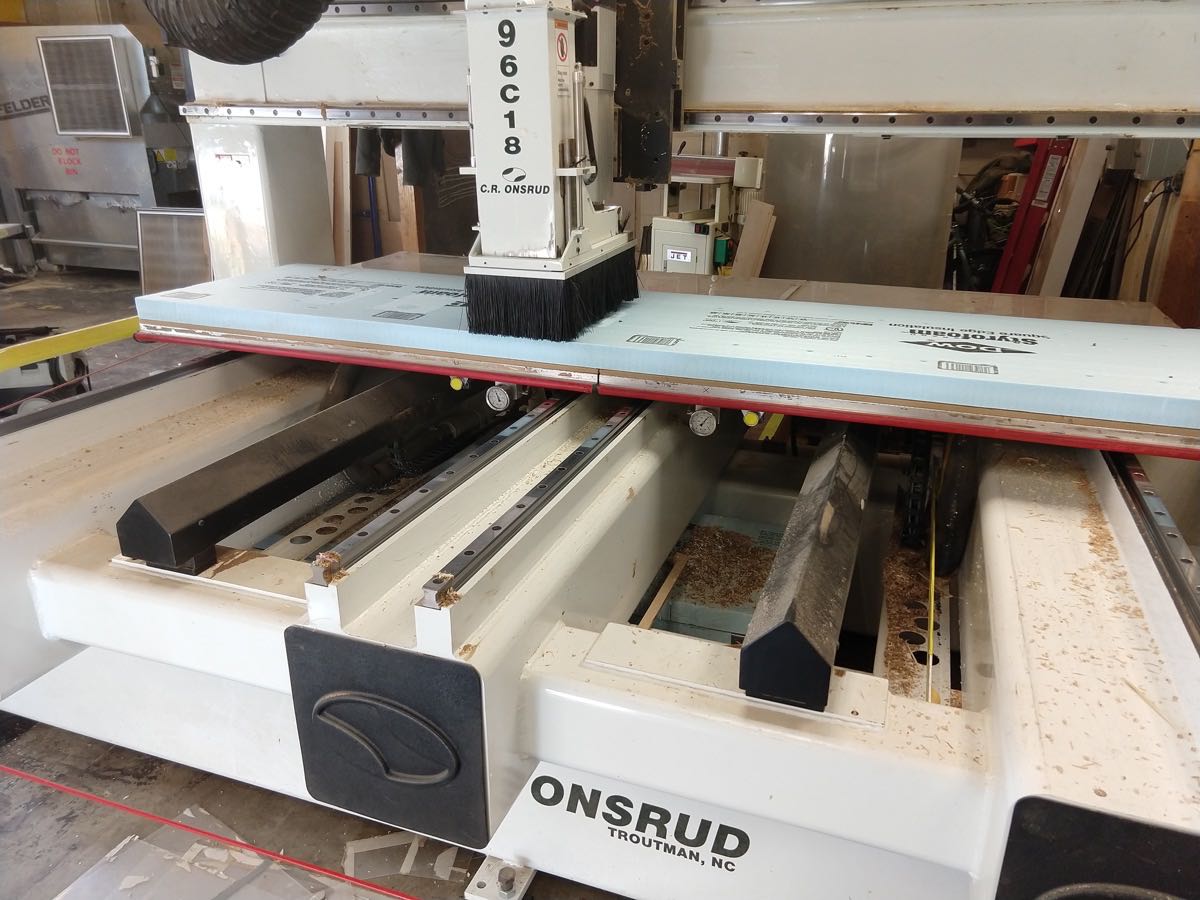 Cutting with ONSRUD
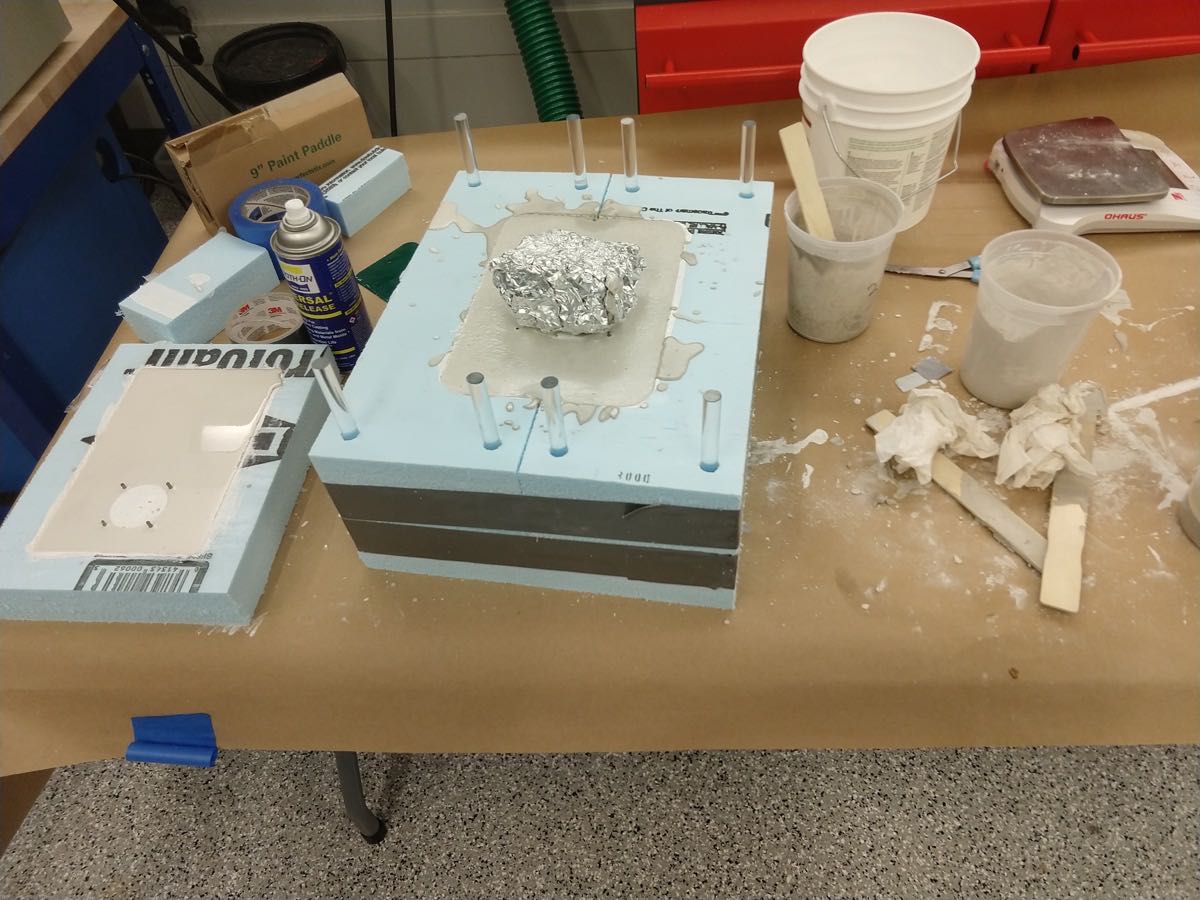
Once the cutting was done, I covered the foam with 2 layers of Gesso (to facilitate the removal of concrete). Finally, I moved to the casting with the hydrostone.
 Covering with Gesso
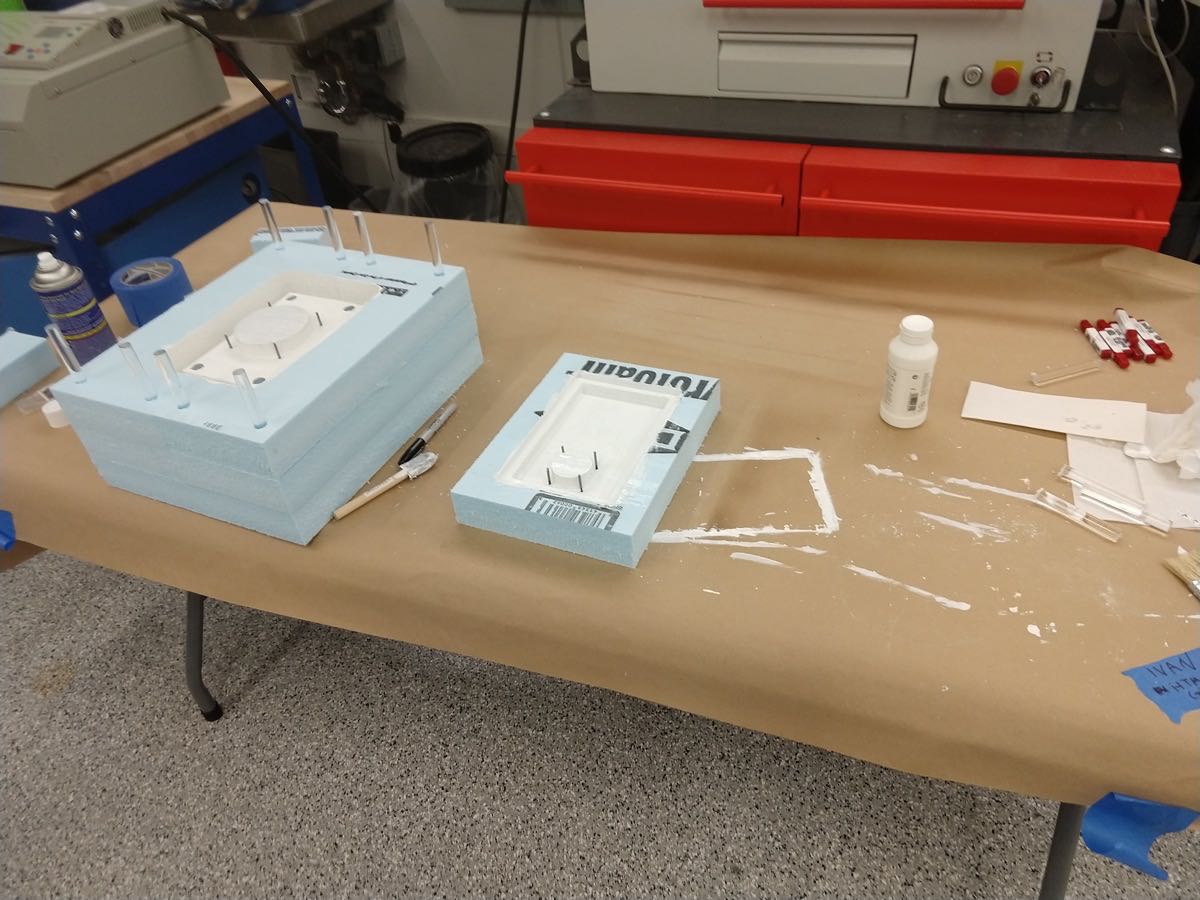 Mold is assembled
Extruding the mold parts was very difficult, but I was able to remove them withouth destroying and moving to the second speaker.
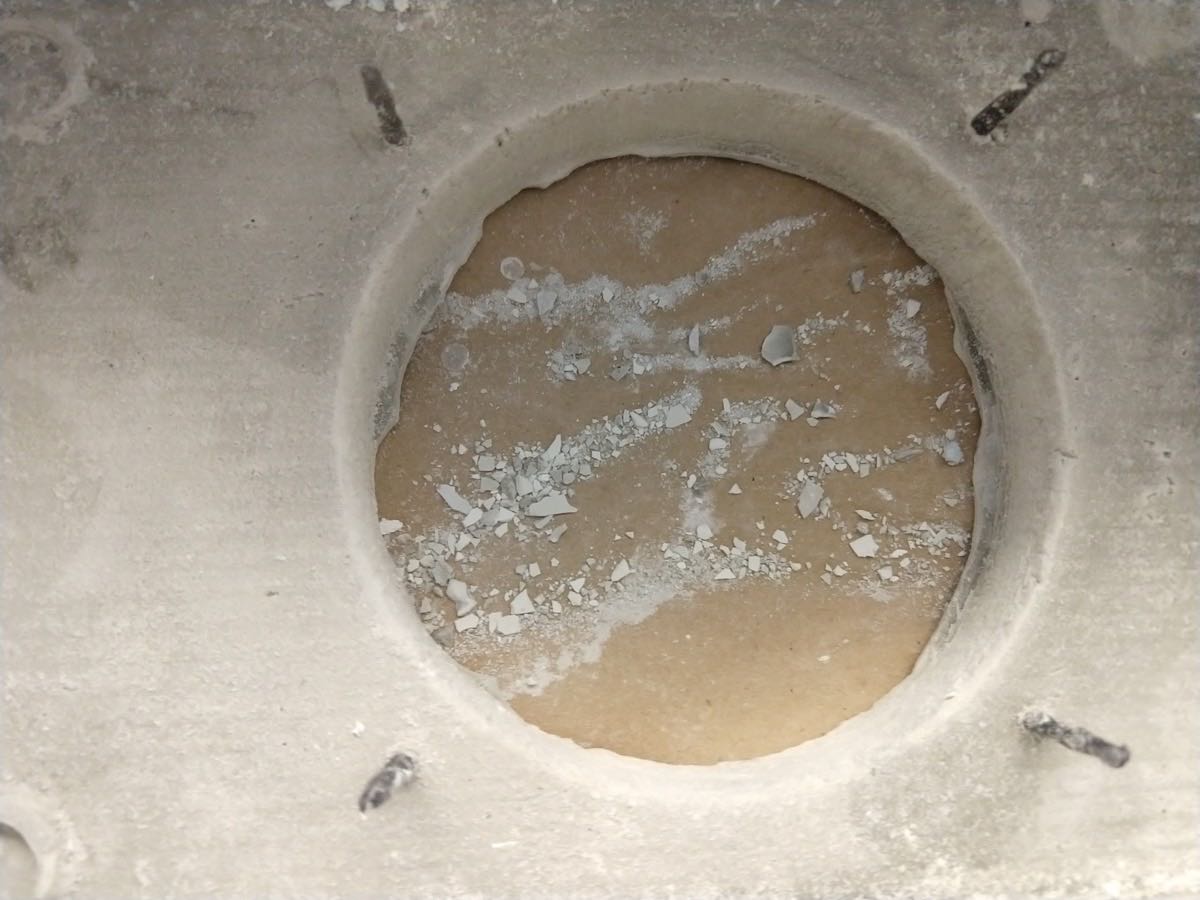
 The concrete cast is ready
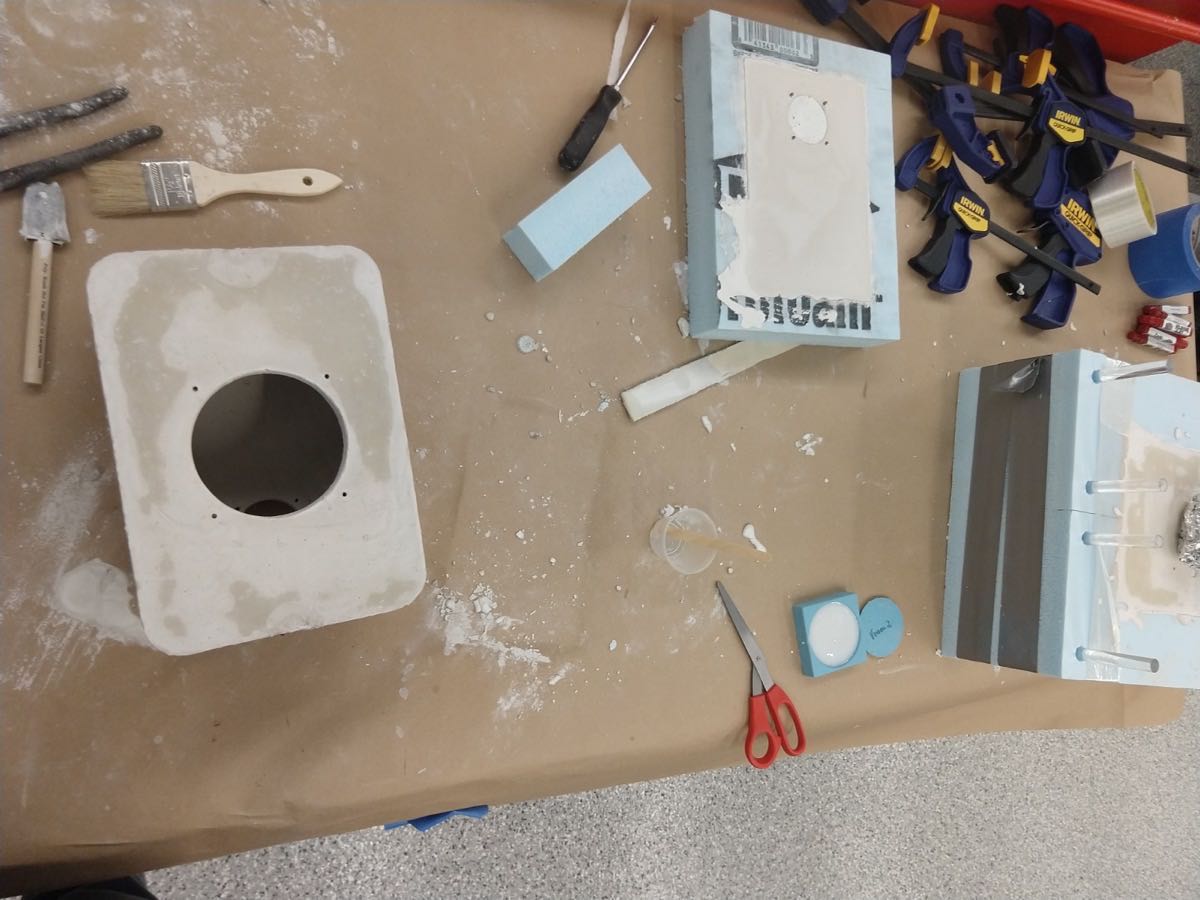 Now, the second speaker
For making fine details (like 1/8'' holes in my case), one can use old-broken mills!
 Making 1/8'' hloes
Finally, my speaker enclosure pieces are ready and I sealed the lid with silicon waited for 24 hours (for concrete and sealant to dry), and finally stuffed the internals with a polyfil (to make a larger effective volume)
 Sealed lid + Stuffing with polyfil
The assembly process was a bit painful due to very hard reaching to the screws (which, in turn, was due to my design negligence).