 Traces online
 This week, our assignment is to make our own programmer (based on ATtiny45 microcontroller), which we will need for our upcoming projects. Ironically, to build this custom programmer, we need to use another programmer. The entire design and outline have been completed following the Brian's work.
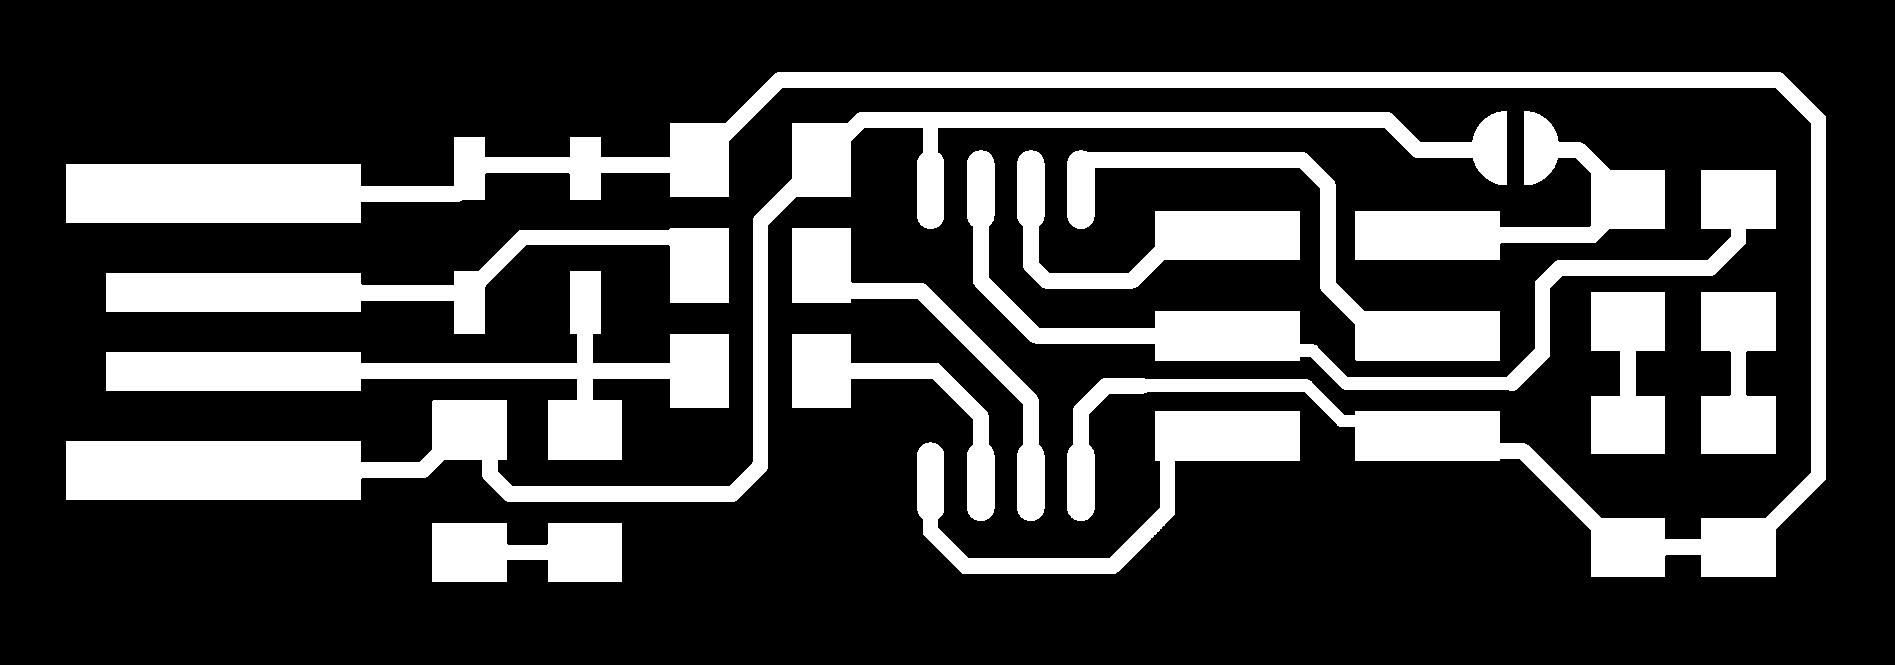
We were provided with the following outlines for the board and traces:
Traces online
 Board outline
After loading the outline files to the tool, we milled the traces (with 1/64'' end mill) and the board (with 1/32'' end mill). Each board took around 10-15 minutes to mill with the following results:
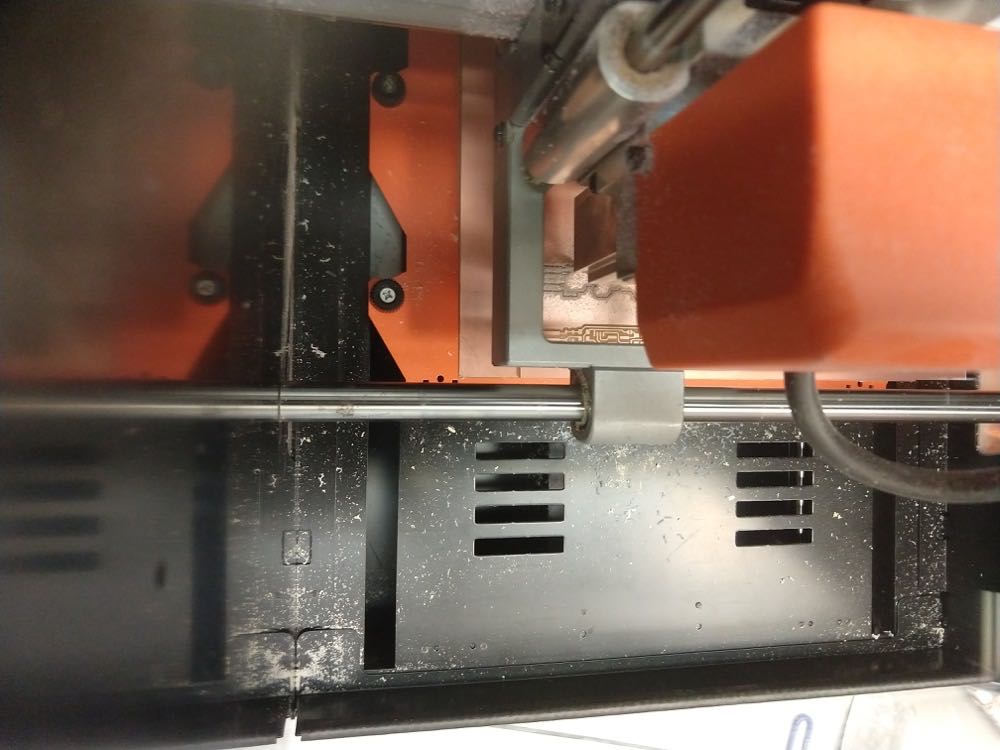 Milling procedure
 Milling is completed
Following the milling process, I have stuffed the board. It took around an hour to complete, as surface mounting was new to me and I previouisly had an experience only with a through-hole soldering.
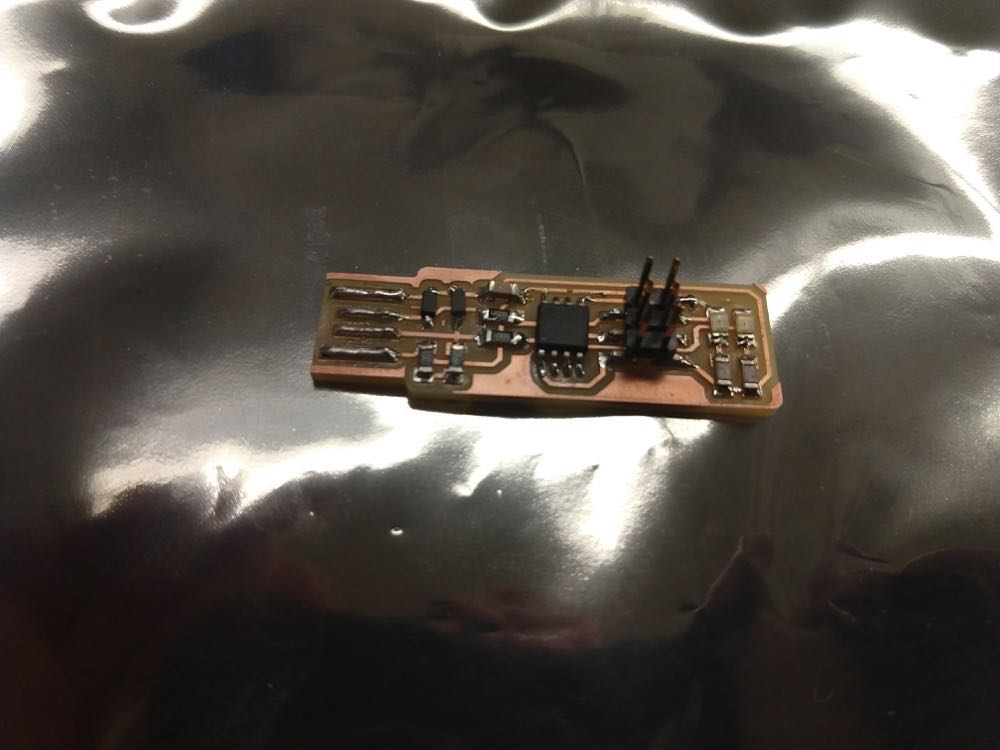 Stuffing the board
 Verifying the board
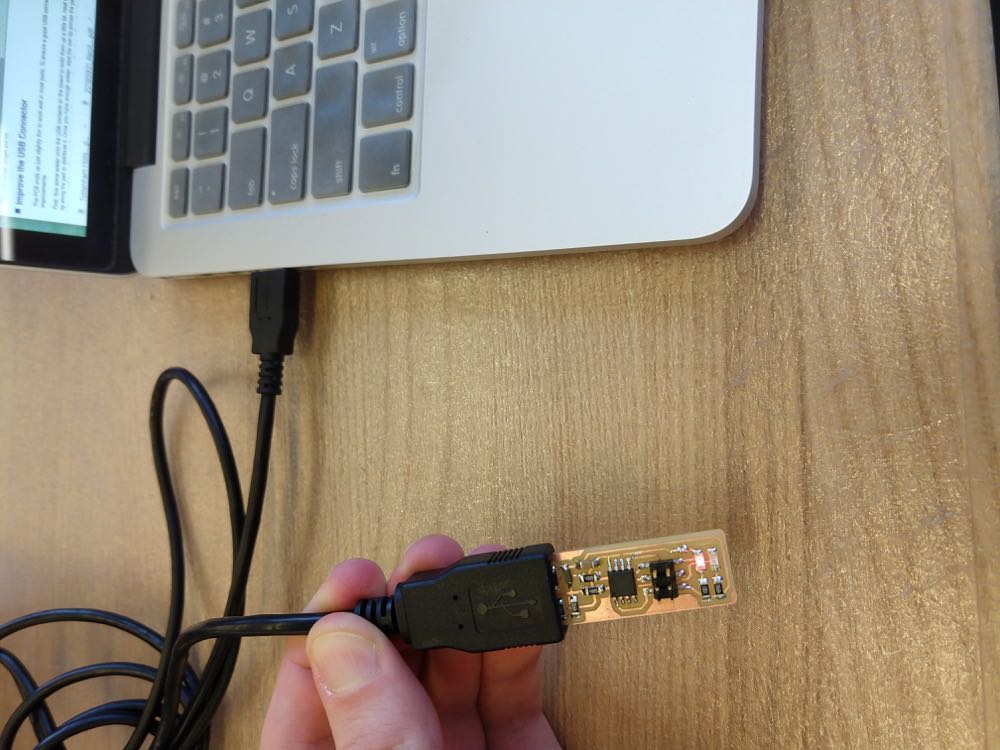
After verifying that the components are connected in the right order, I plugged the board into my computer and the red light went on, indicating that the programmer works as expected.
Next step was to erase the chip memory, program it, and set up the fuses
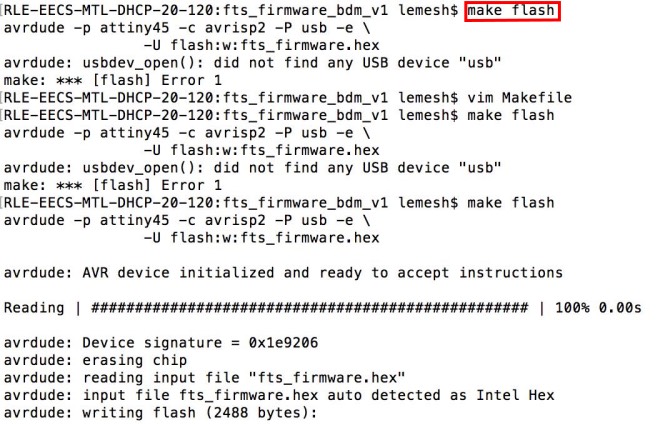 Programming flash memory...
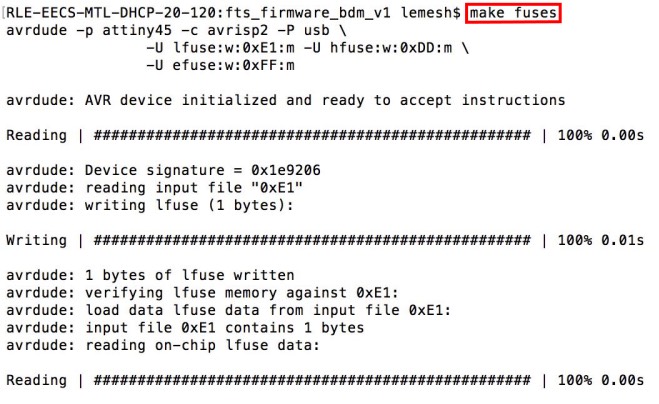 Setting up the fuses
After that, the programmer is succesfully recognized in the computer as "USBtinty" device.
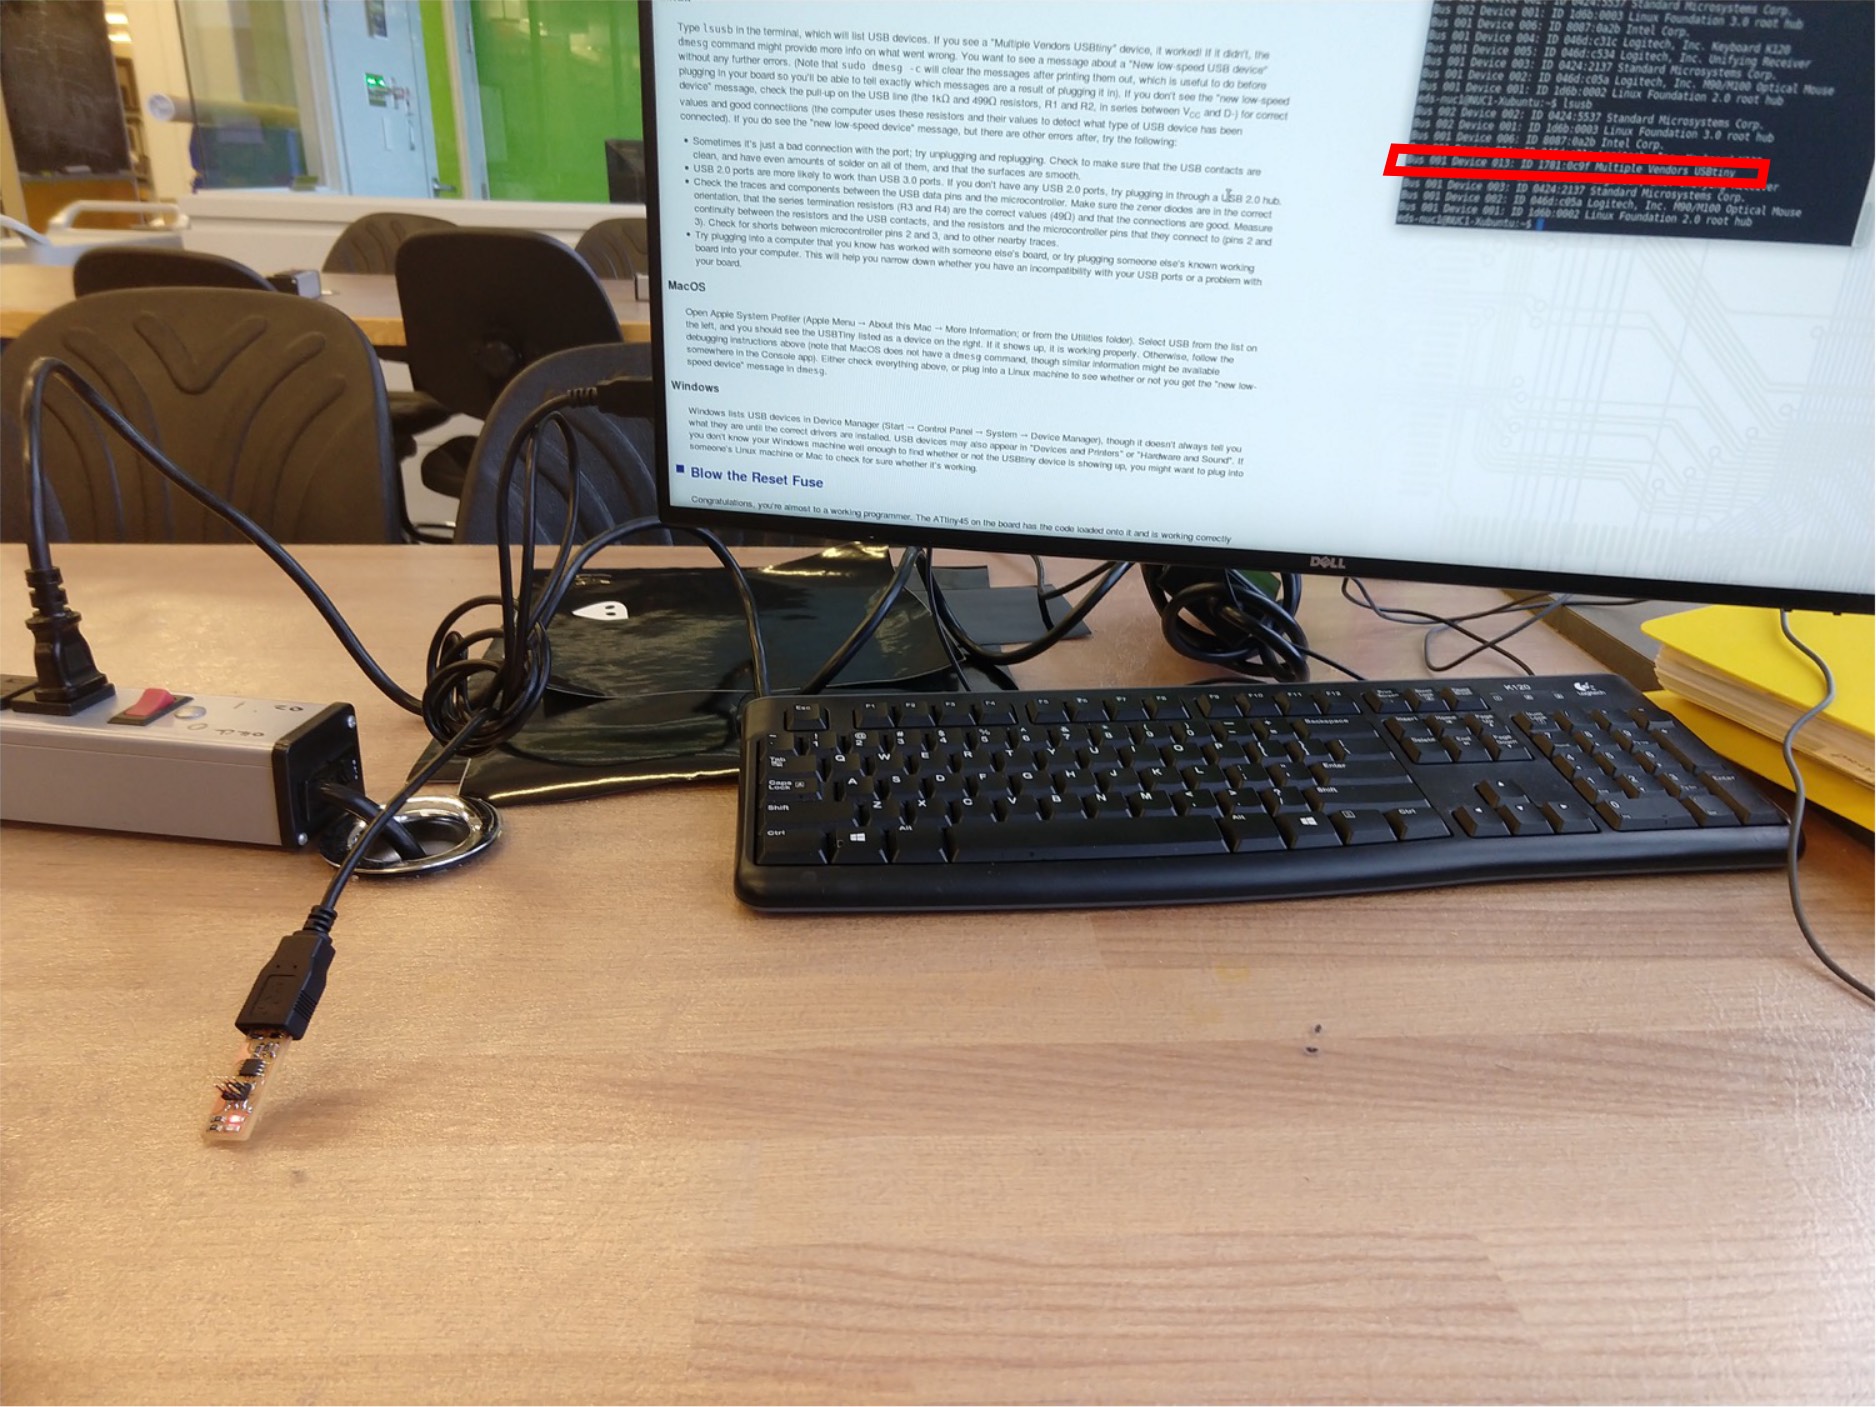 Testing the USB programmer is completed!