Week 8 - Casting and Molding
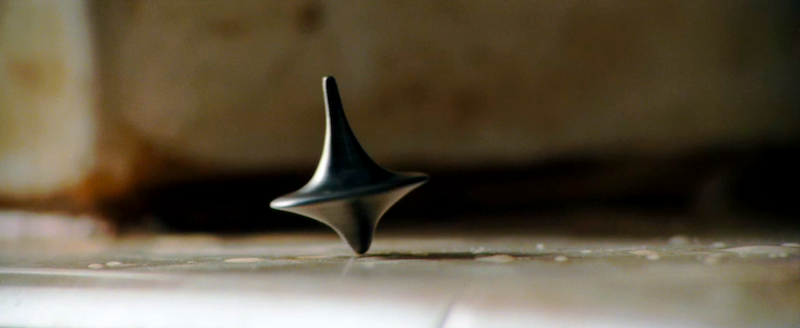
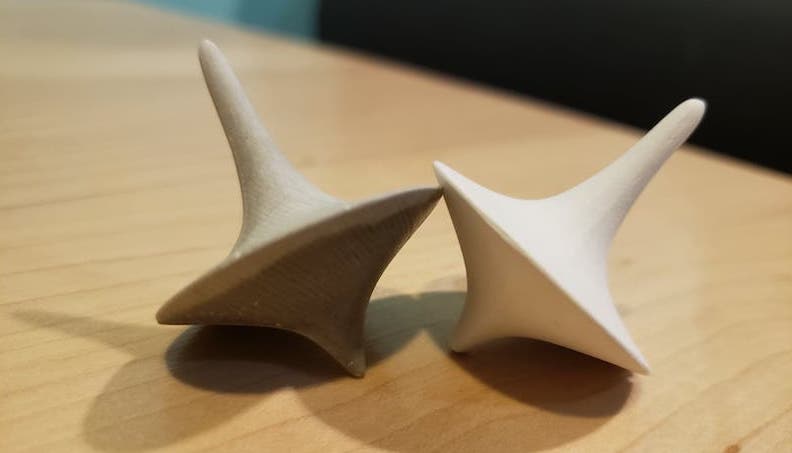
This week we had to design something to cast and mold. I wanted to make the totem from the movie Inception.
The workflow is as follows: you mill out your design from the block of wax, then you pour a rubber substance into the wax to make a mold, then finally you pour a third substance into your rubber mold to make your object.
Wax Mold
Since my design was symmetrical, I could use the same wax mold for both halves of the rubber mold, which saved a lot of time on the mill. We had access to two mills this week (Shark or Rolland), but machine time was still strapped since everyone’s job took like two hours.
I used the openSCAD software on the computer operating the Shark to create my 3D toolpath, which turned out to be a huge mistake. The software created a toolpath that basically “rastored” out my design (Ben’s words). It’d move back and forth to cut out layers of wax, going over areas with less depth much more than necessary. My 2in x 2in x 1 in mold took two hours to carve out with the following parameters:
For the roughing pass
- 1/8 in ball nose endmill
- pass depth: 1/8 in
- feed rate: 120 mm/sec
- stepover: 50%
For the finishing pass
- 1/8 in ball nose endmill
- pass depth: 1/8 in
- feed rate: 60 mm/sec
- stepover: 10%
Oomoo
For the rubber mold, we used Oomoo 25. It comes in two parts, and you mix the two together and pour into your mold. It’s supposed to take 75 minutes to set; I waited 3 hours just to be safe. I had to cast this twice for the two halves of my mold.
Casting
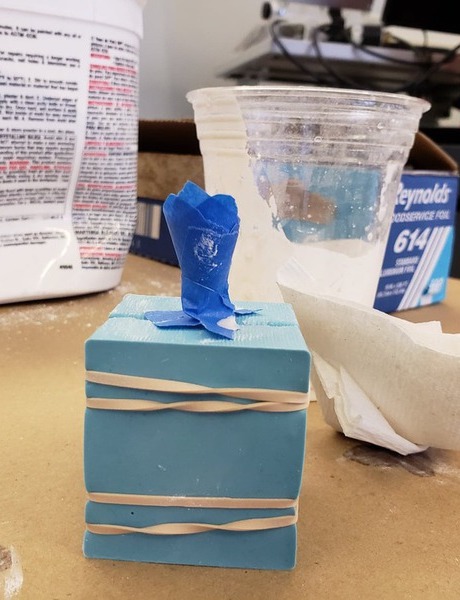
I first used plaster, with eyeballed proportions of plaster and water, which led me to accidentally using too much water the first time. My hole in the mold waas a bit small to I made a funnel out of tape to help with the process. The label said the plaster takes 20-30 minutes to dry, which was an absolute lie. I cracked open my mold after two hours to find broken and not-yet-dry plaster. Maybe I shouldn’t’ve used so much water.
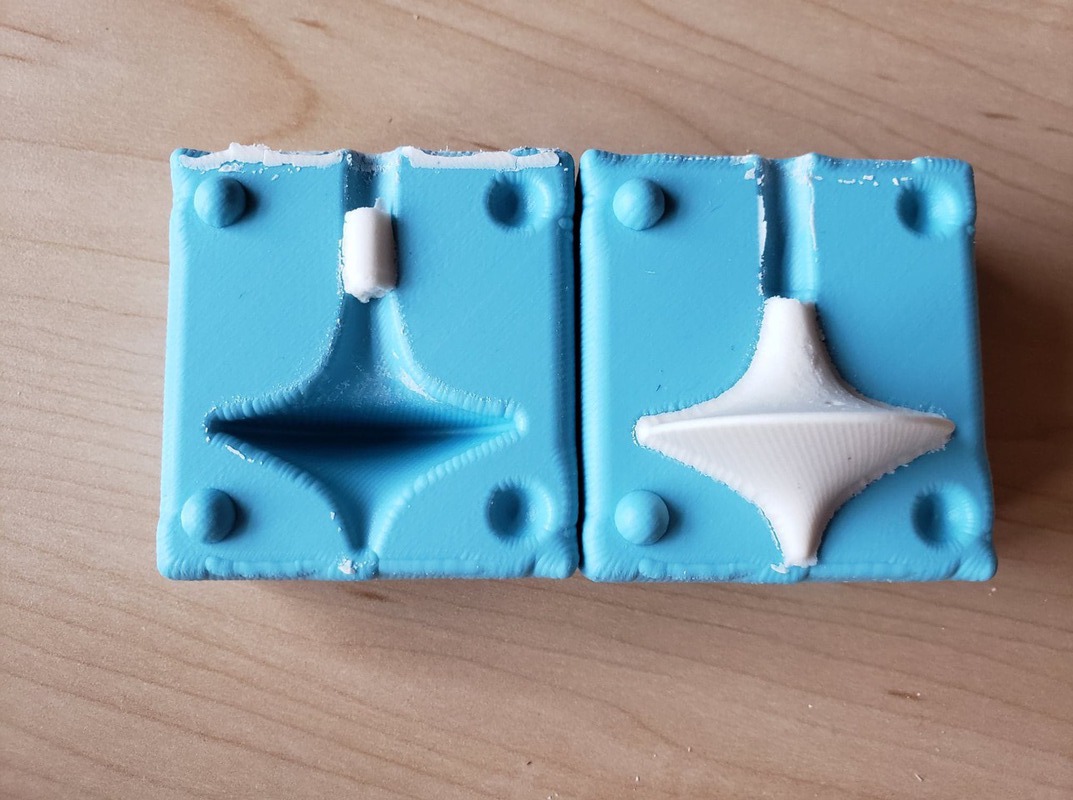
Take two. I actually used a scale this time to correctly measure out the proportions. The resulting mixture was much more viscous and wouldn’t pour down the hole at all. Instead, I slathered plaster into the two halves of the mold separately and quickly slapped them together and fastened them with rubber bands. it seemed to work well, and after a few hours, this popped out.
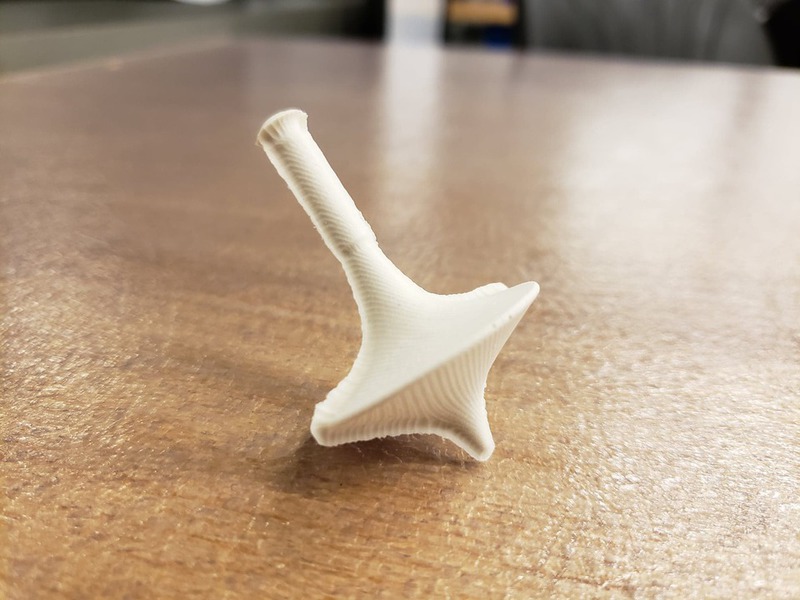
It’s pretty nice! I sanded down the edges a little bit, and the totem spins quite well. The only thing is, it felt very brittle, like it would crumble in my hands at any moment. After drying overnight, it felt better, but still not great. I wanted to see if hydrostone works any better; the Internet says it’s harder than normal plaster.
The hydrostone mixture was even thicker. I had a messy time trying to spread it in my mold, but eventually it worked, and it felt much more durable than the plaster. Here’s the final result!
Metal Casting
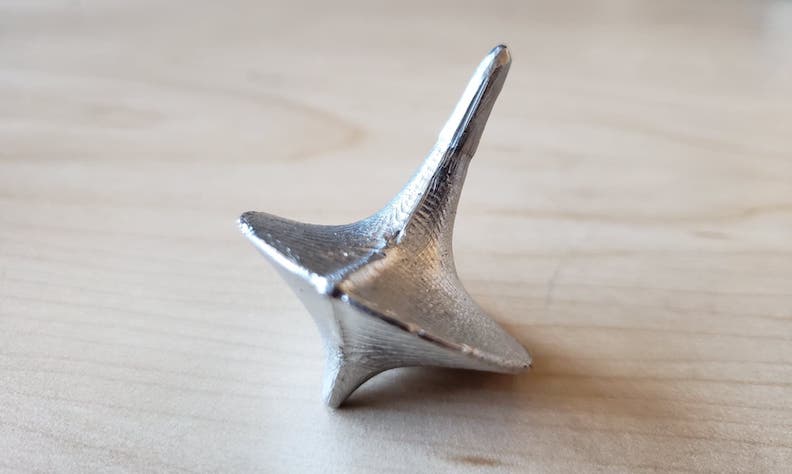
So I ended up dropping the hydrostone top and it shattered :(. But tops shouldn’t be made out of this material anyways; they should be made out of wood or metal. Near the end of the previous week, some people found some low heat tin alloy in our stock room, and I decided to give that a go.
I heated it up with a heat gun, sprinkled some talc powder on the inside of my mold, rubberbanded it tightly together, and poured. It flowed surprisingly well, and solidified within a matter of seconds (as opposed to the hours it took the hydrostone). Post-processing was significantly tougher though, since sand paper didn’t work. I ended up spending around two hours whittling and filing away the excess metal while I watched TV, but the result is quite nice.