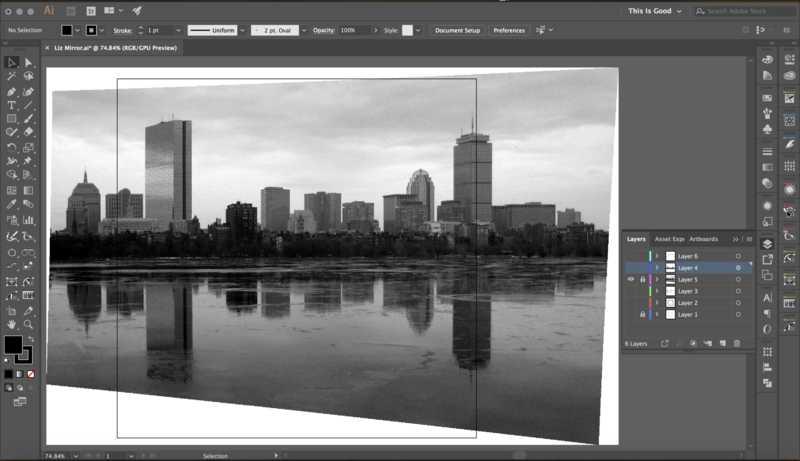
Reference photo (previously adjusted for perspective in Photoshop)
Assignment: Cut something on the vinyl cutter
Goal: Create a dusted vinyl cut decal for my coworker's office door

Adobe Photoshop
Adobe Illustrator
Roland CutStudio Plugin
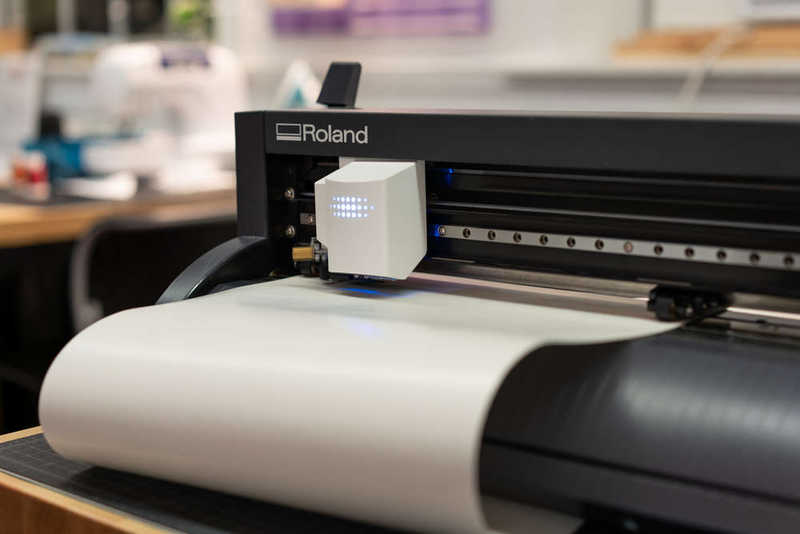
Roland Camm-1 GS-24
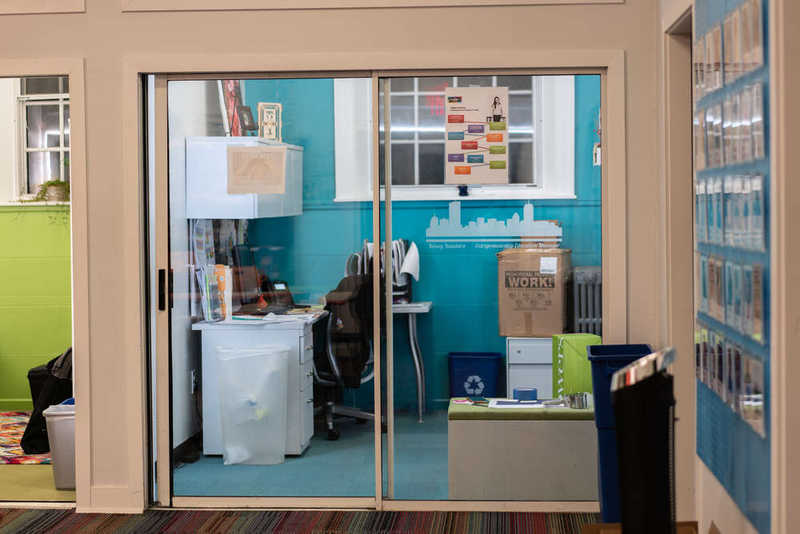
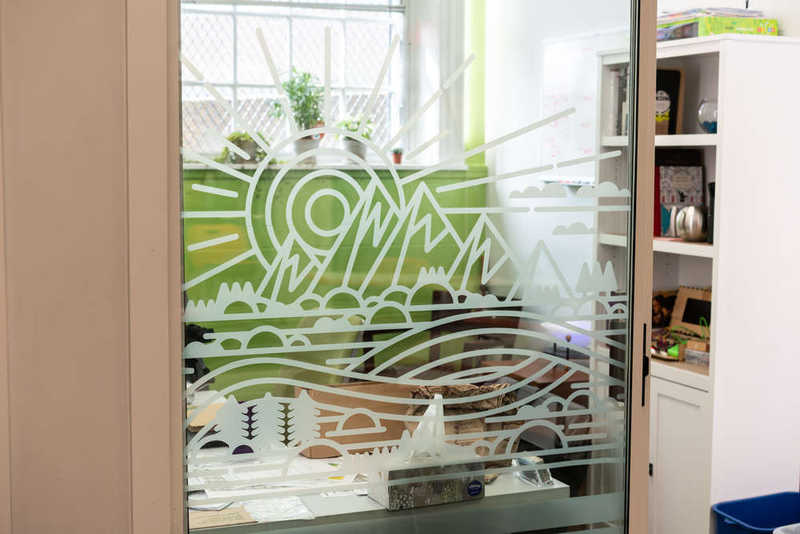 When I got my new office over the summer, I celebrated by creating a large dusted vinyl decal for my office sliding door. The project received a lot of attention, particularly from my office neighbor, Kelsey.
 So, for this project, I promised Kelsey I would add some decorative vinyl to her door, too.
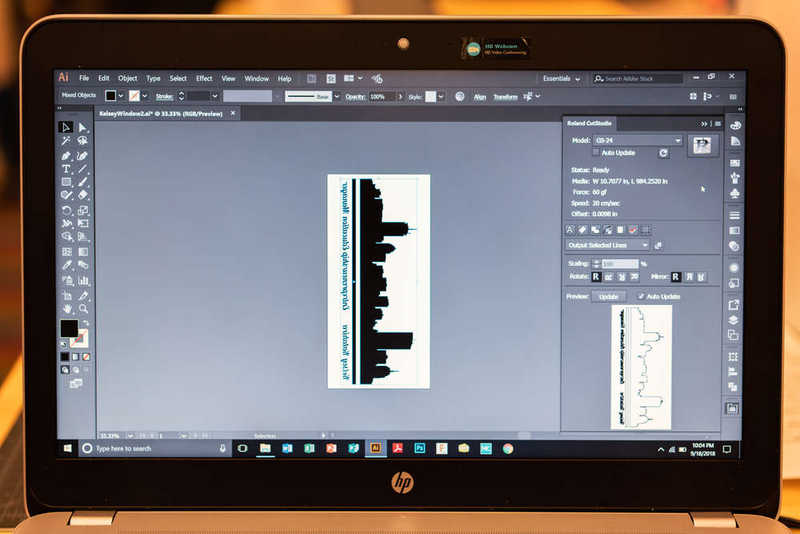
Kelsey requested a silhouette of the Boston skyline. Several years ago I traced the Boston skyline in Adobe Illustrator from a photo, so I used the design I had on hand to get things started. I remember when I first started tracing photos in Illustrator by hand the Pen Tool took a while to master. I've liked to a couple Pen Tool Games in the resources section which I had found helpful.
The following images chronicle my process. Hover over each image for a brief description.
Reference photo (previously adjusted for perspective in Photoshop)
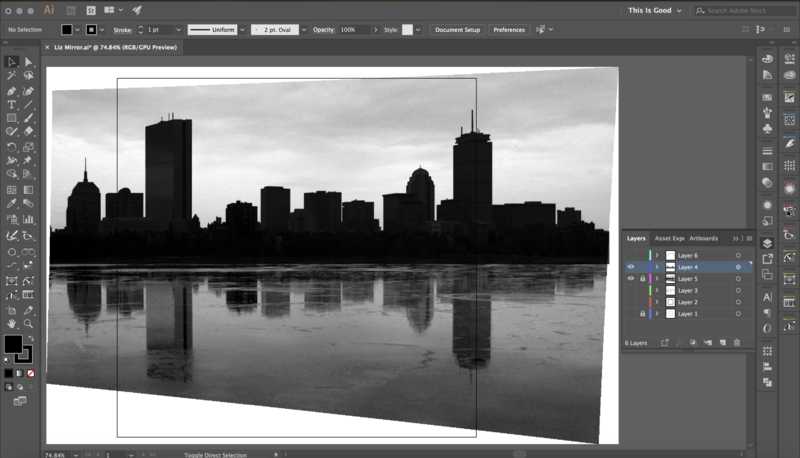
Tracing over the photo in Illustrator
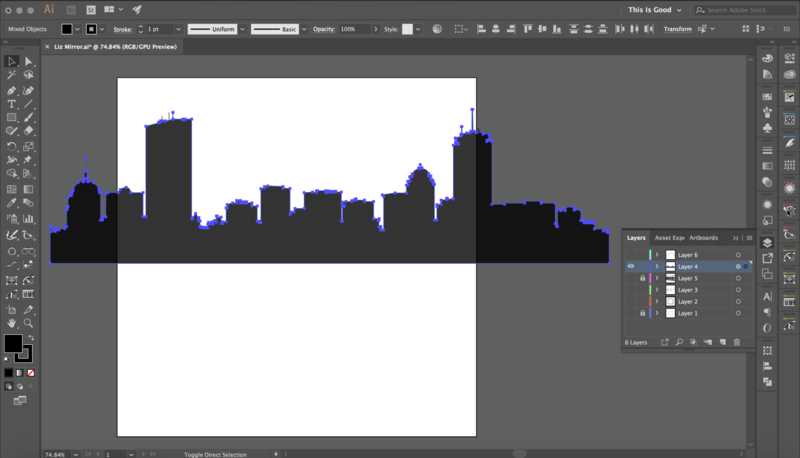
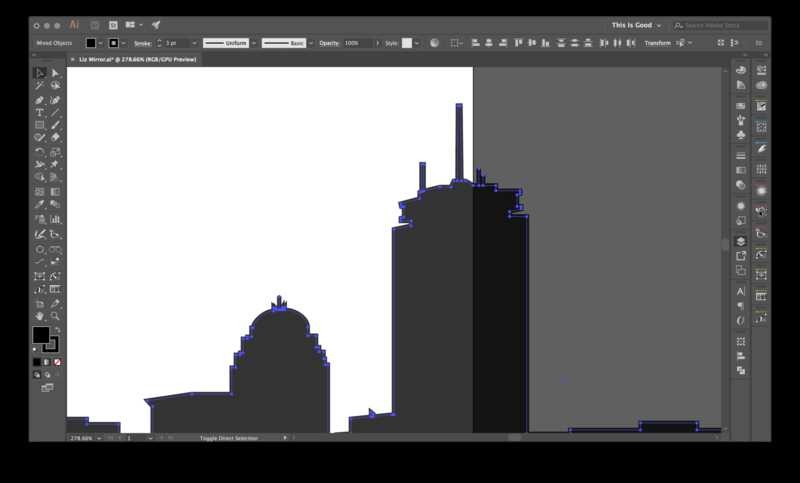
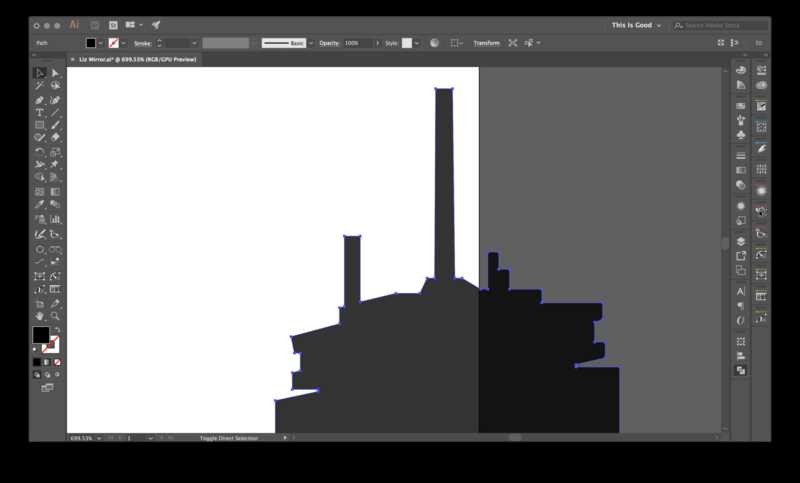
Traced silhouette in isolation
Using Path > Offset to add thickness
Using Object > Expand and Pathfinder > Unite to clean up geometry
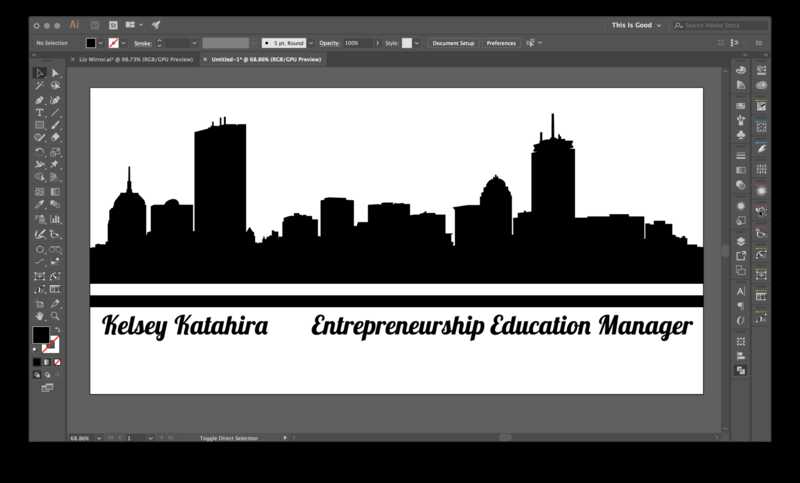
Design with text
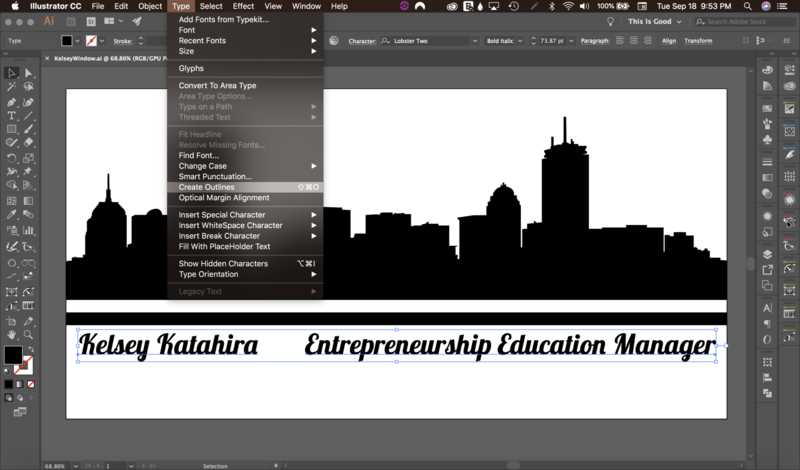
Using Type > Create Outlines so the vinyl cutter will recognize text as vector paths

Mirroring design using Object > Transform > Reflect since design will be applied to reverse side of door
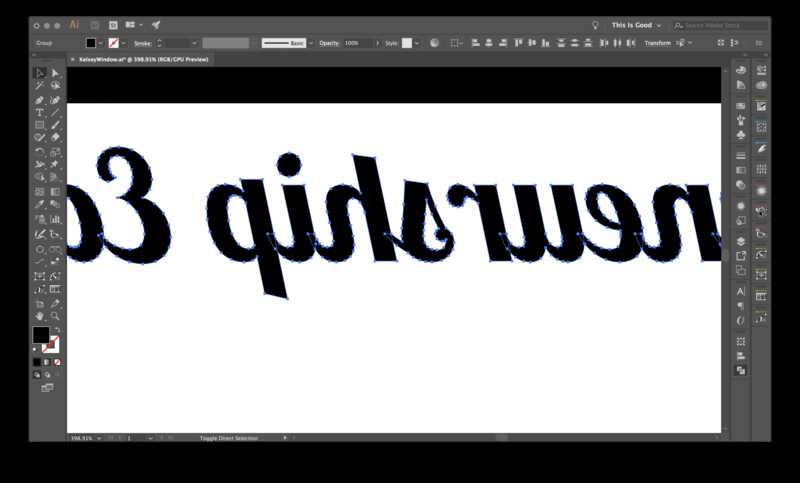
Individual letters are intersecting each other
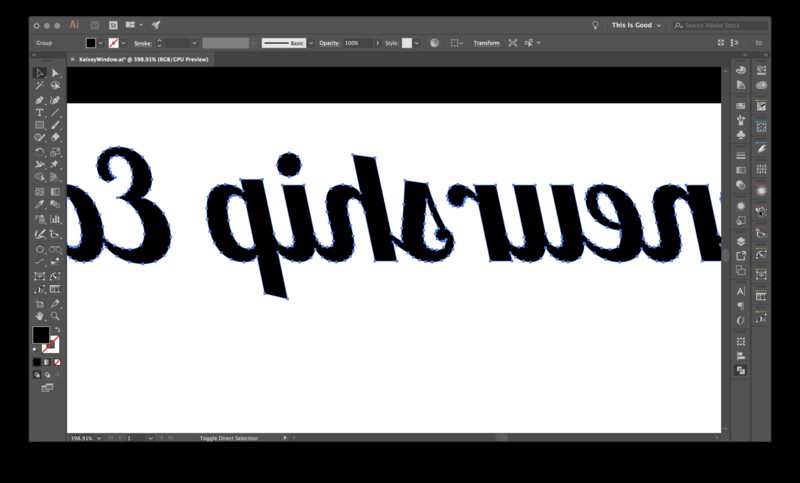
Using Pathfinder > Unite to merge overlapping letters
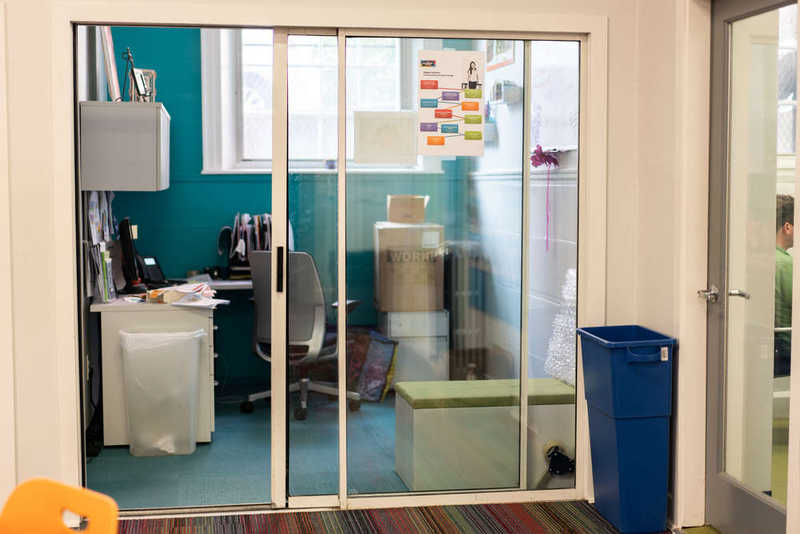
At this point the design was ready to be cut on the vinyl cutter. I had some dusted vinyl left over from my previous project. I ended up cutting this design twice; I forgot to check the force setting on the vinyl cutter since the dusted vinyl is thicker than what we typically work with, and had to re-cut since it didn't cut all the way through the first time. Once the design was cut successfully, I weeded away the excess vinyl, applied application tape, and applied the decal to Kelsey's door.
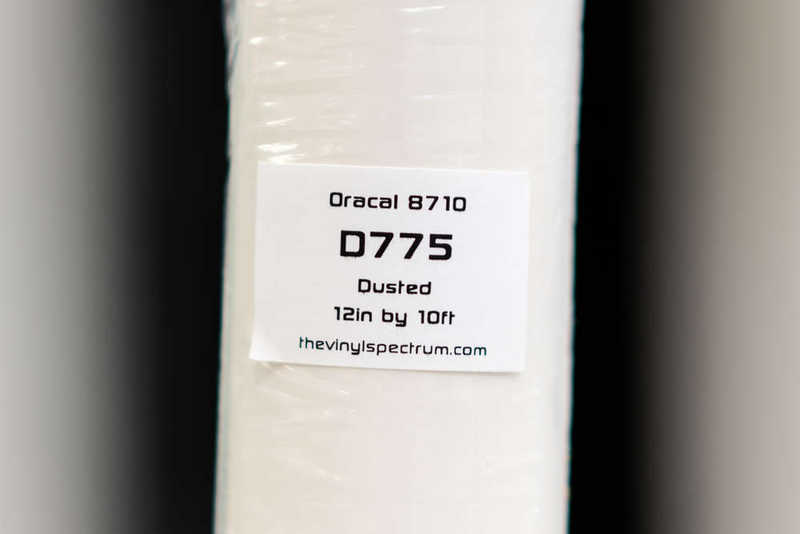
Orcal dusted vinyl
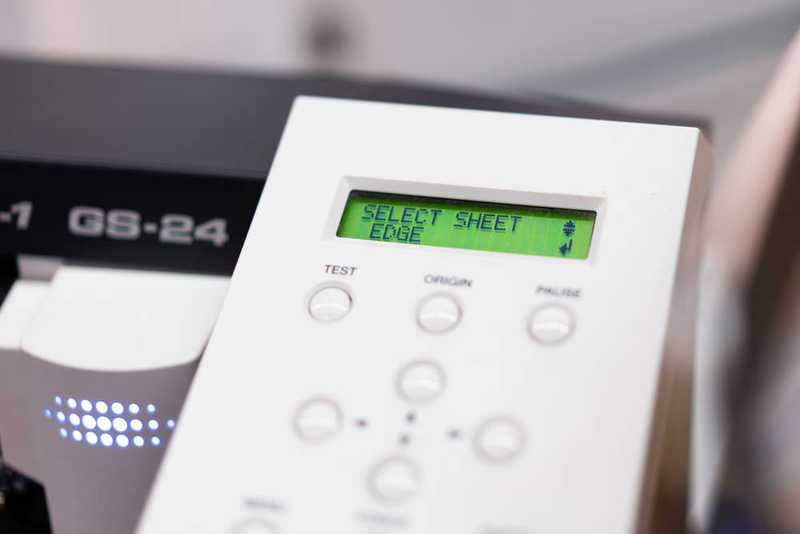
Choosing "Edge" setting to find the front edge
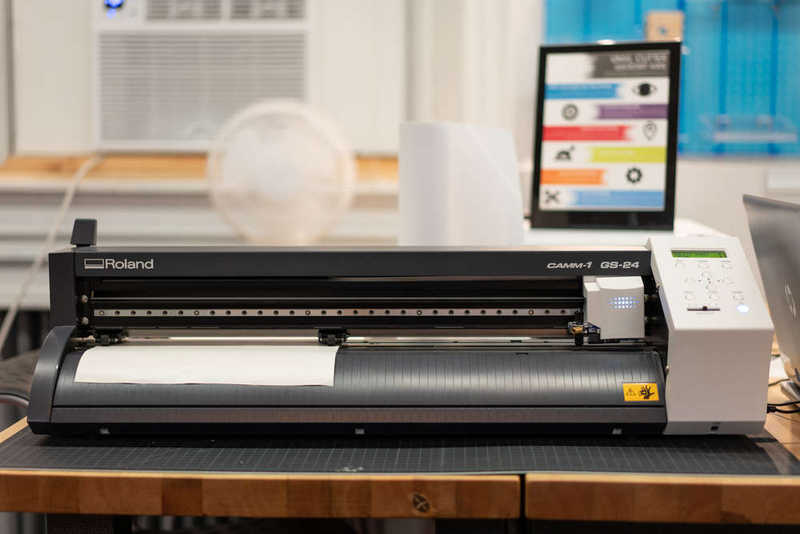
The vinyl cutter is loaded
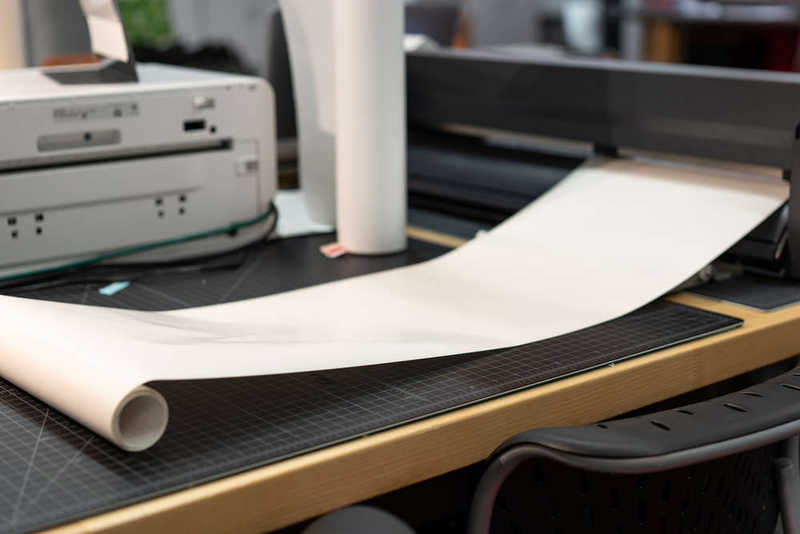
Giving my rolled vinyl some runway. I find this helps when cutting long designs on rolled vinyl without a spool.
Rotating the design so it will cut the long way
Cutting!
Vinyl after weeding
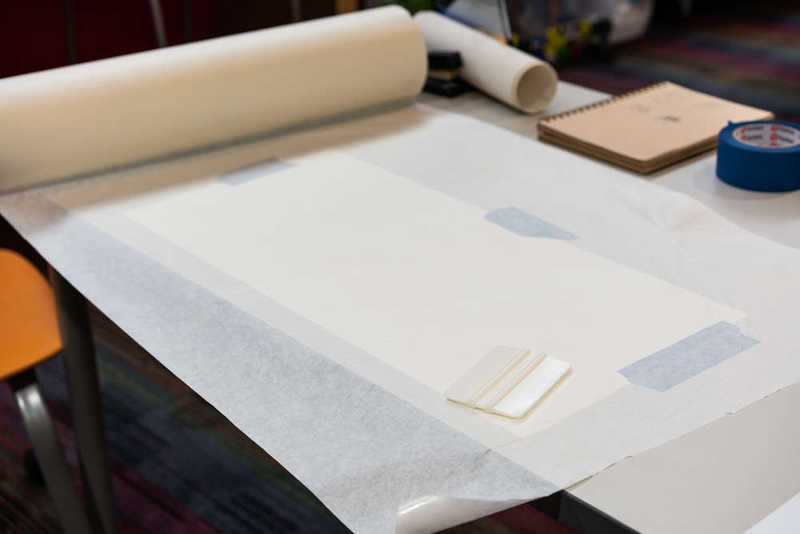
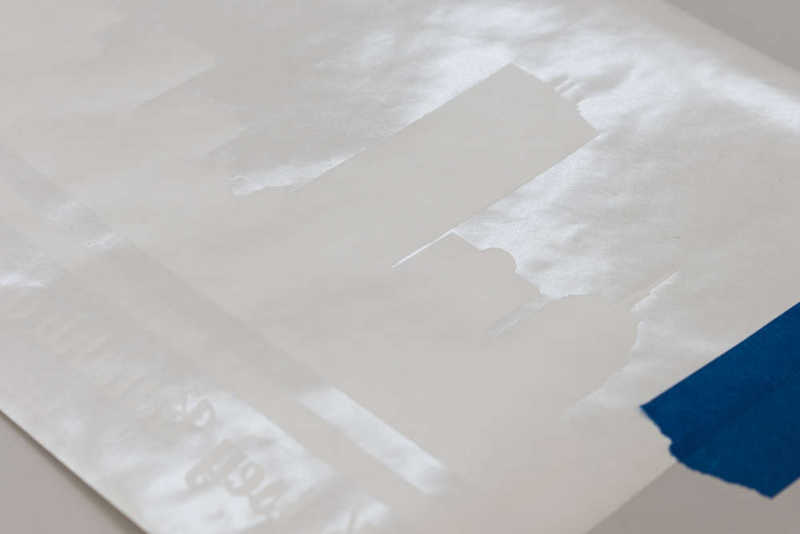
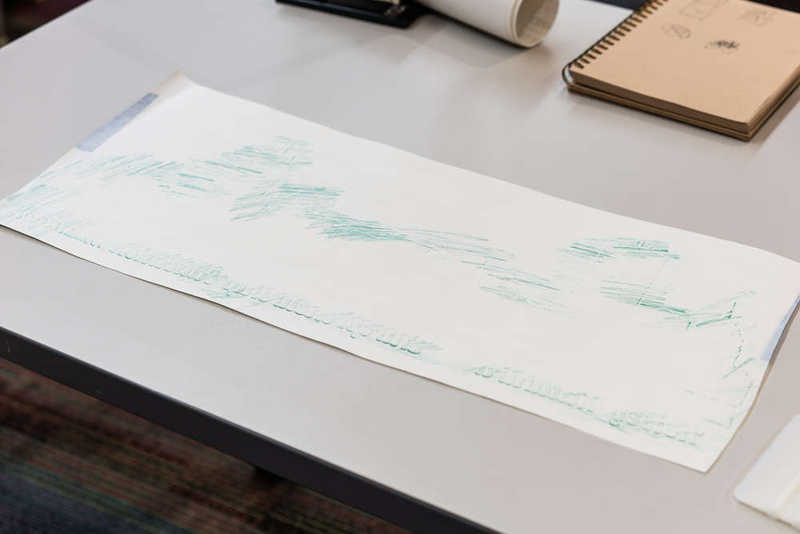
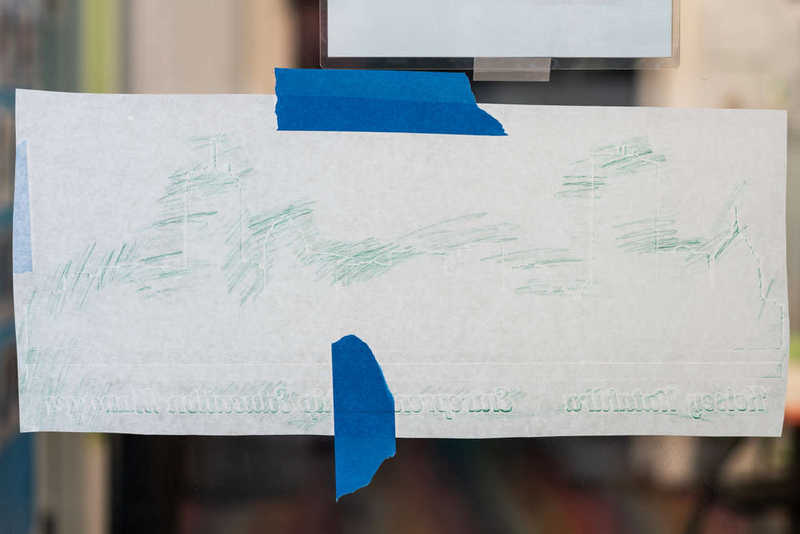
Applying application tape
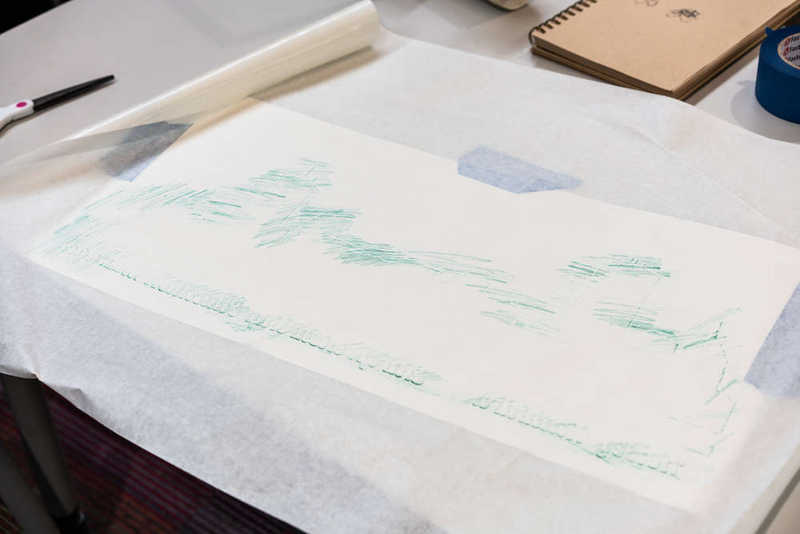
Translucent vinyl is very difficult to see under the tape, but can be revealed using the side of a pencil
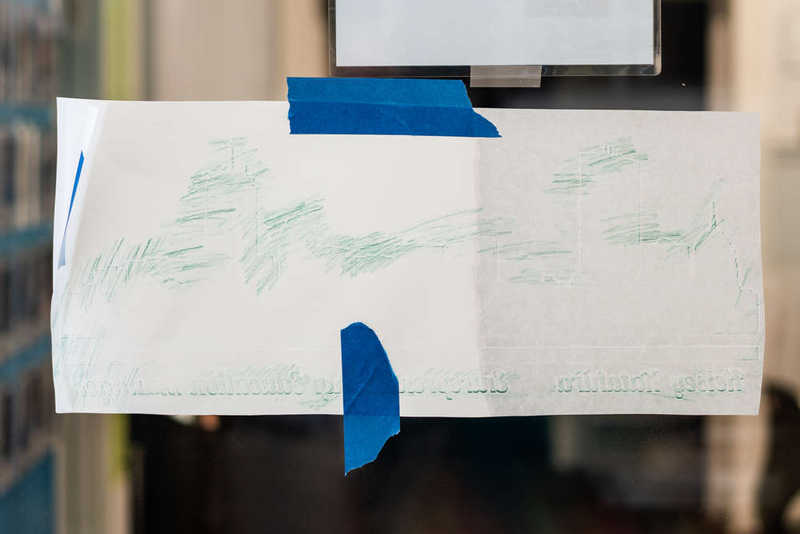
Trimming off excess tape

Placing the vinyl on the door
Adhering the design one half at a time (right side first)
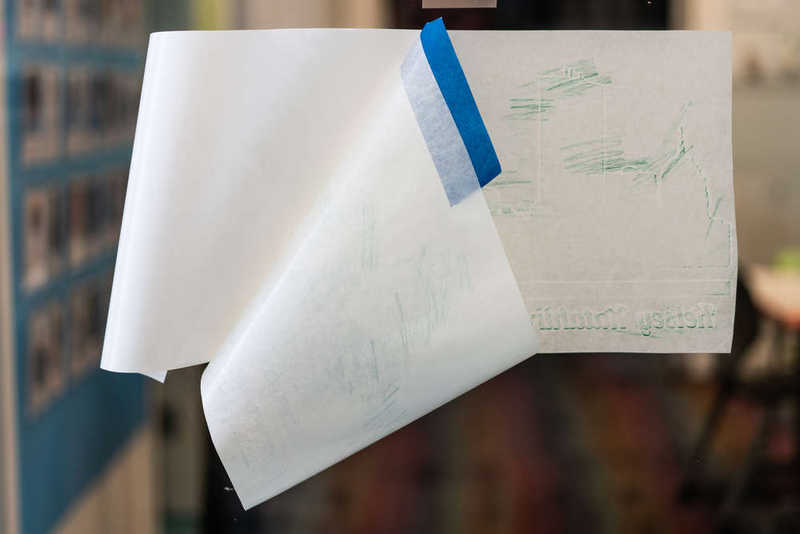
Peeling the 2nd half
Squeegeed 2nd half to door
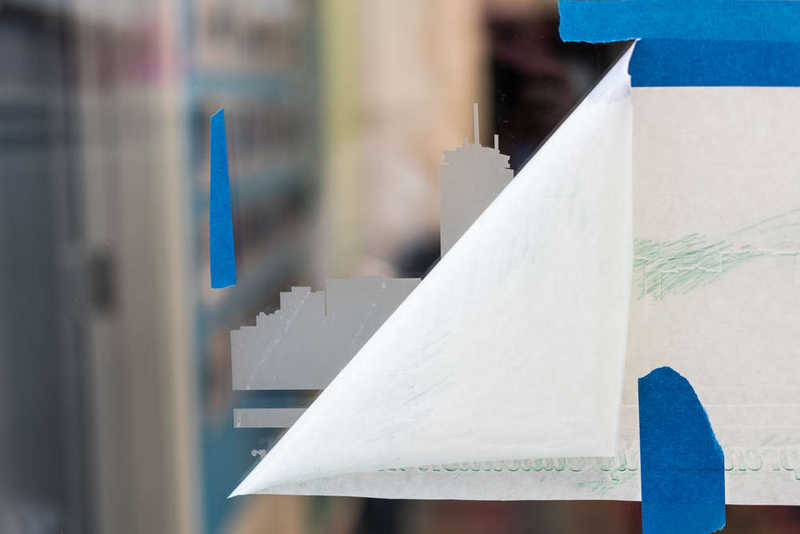
Peeling off the application tape, revealing the vinyl

Even after firmly going over the design with the squeegee several times there are still some air bubbles, but you can't tell from the front
Overall I think it came out pretty well. It's possible to see some remaining air bubbles upon close inspection, but when viewed from the front they become nearly invisible, even at a close distance.