Week 5: Computer-Controlled Machining
Designing and Toolpath Setting: VCarve Pro and Shopbot
Solidworks Design
1. Introduction
This week we were supposed to make something big.
2. SolidWorks
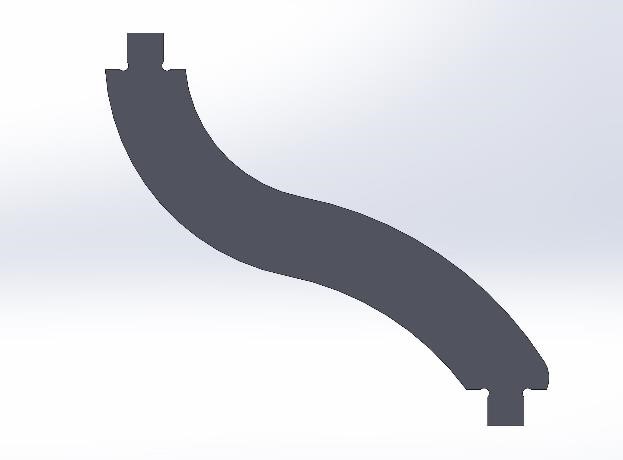
Figure 1. Curvy arm design to connect the hanger circles.

Figure 2. Straight arm design that's a makeshift pole.
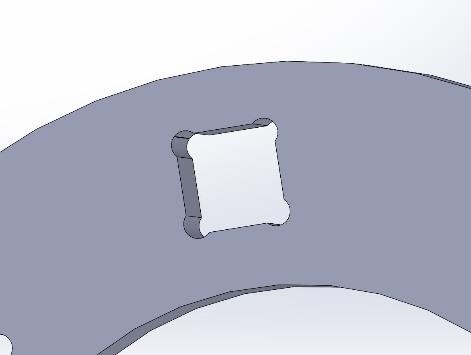
Figure 3. Adding dogbones to my holes! (Not the dogbones you give to your dog).
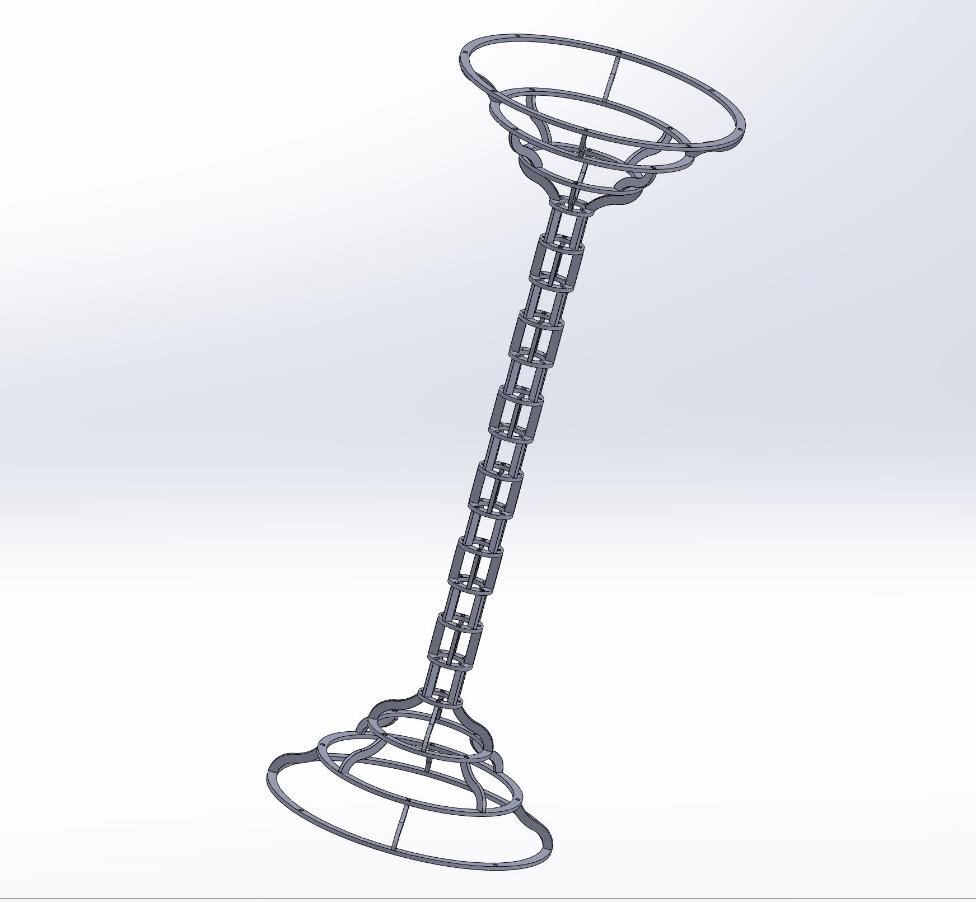
Figure 4. Coatrack Design on Solidworks.
Toolpaths in VCarve Pro
1. Introduction
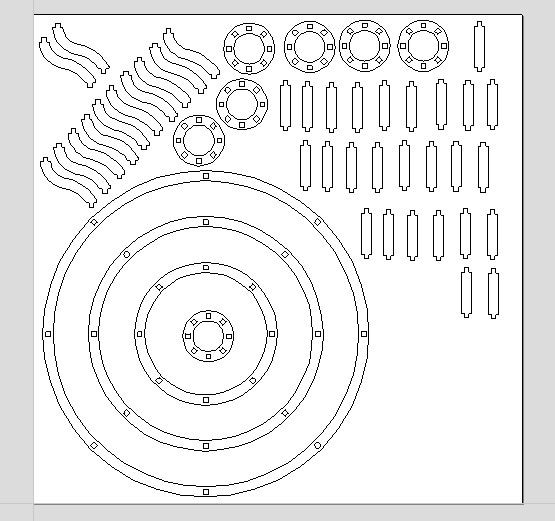
Figure 5. Layout of pieces on VCarve Pro.
2. Toolpaths
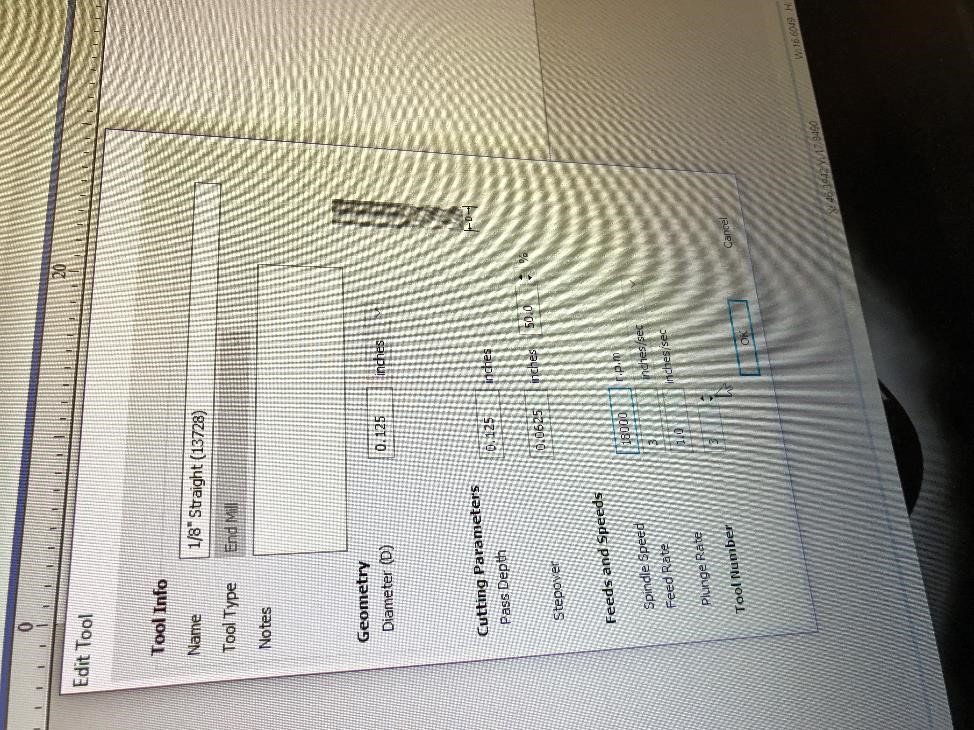
Figure 6. Example of toolpath setting.
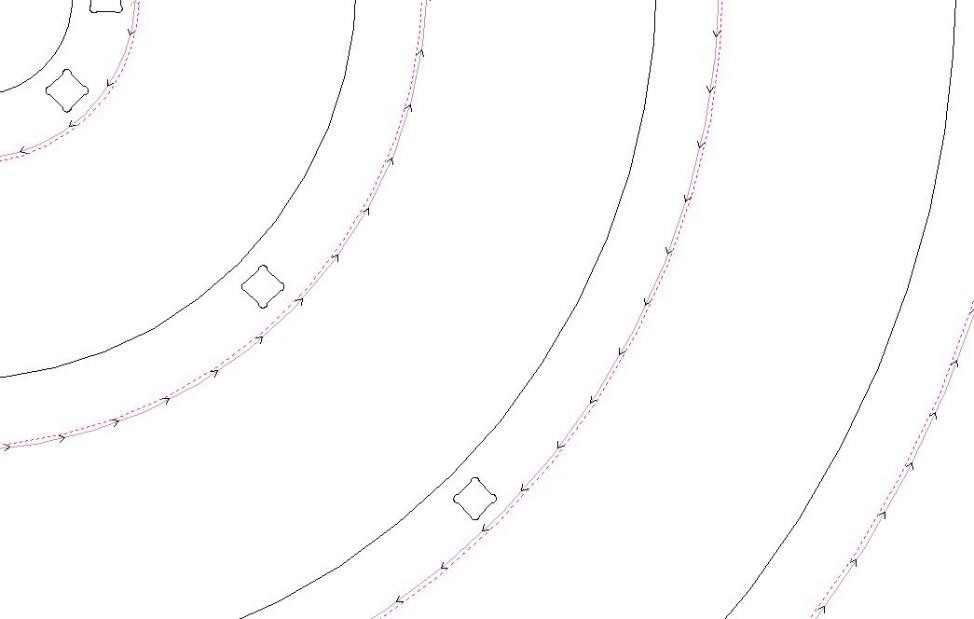
Figure 7. Error on toolpath. Why does it keep alternating between inside and outside cuts!
Shopbot
1. Introduction
2. Setup
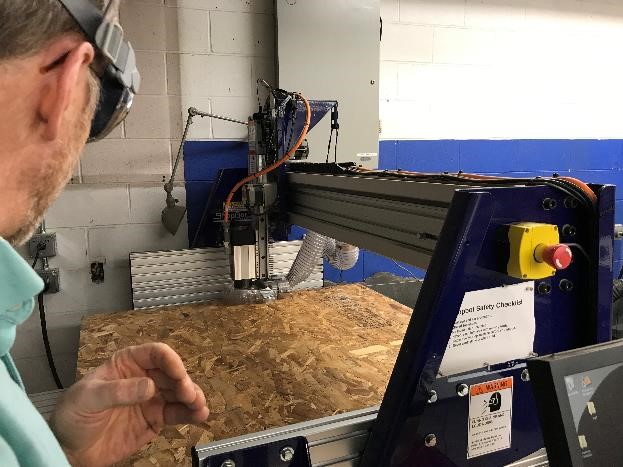
Figure 8. Setting up the Shopbot ft. Rob
3. Cutting
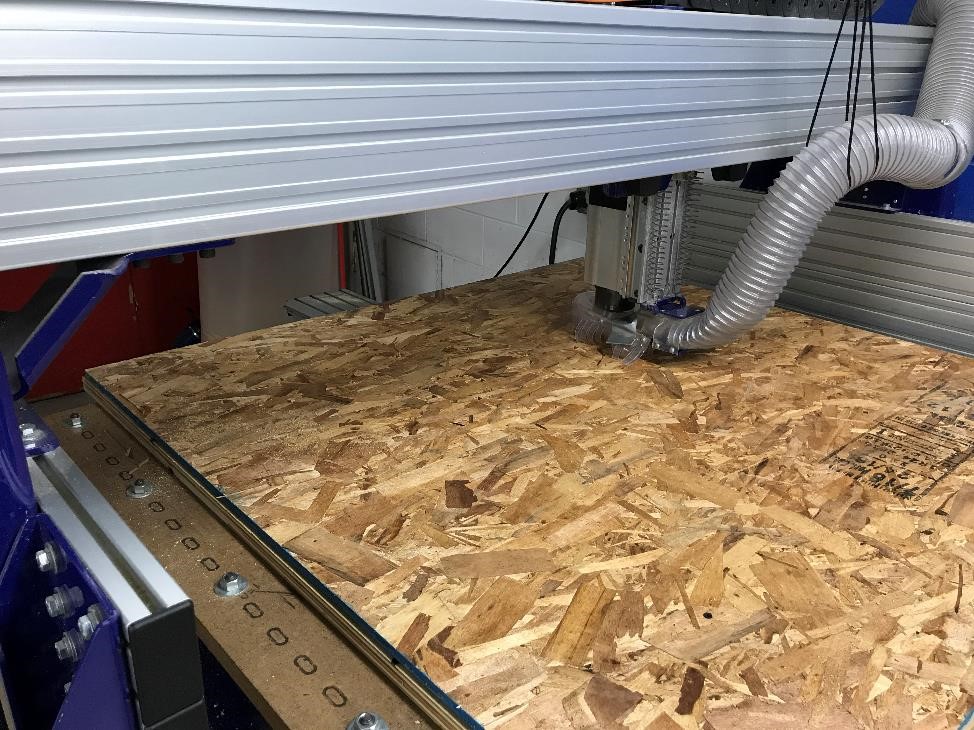
Figure 9. The Shopbot is running (not literally).
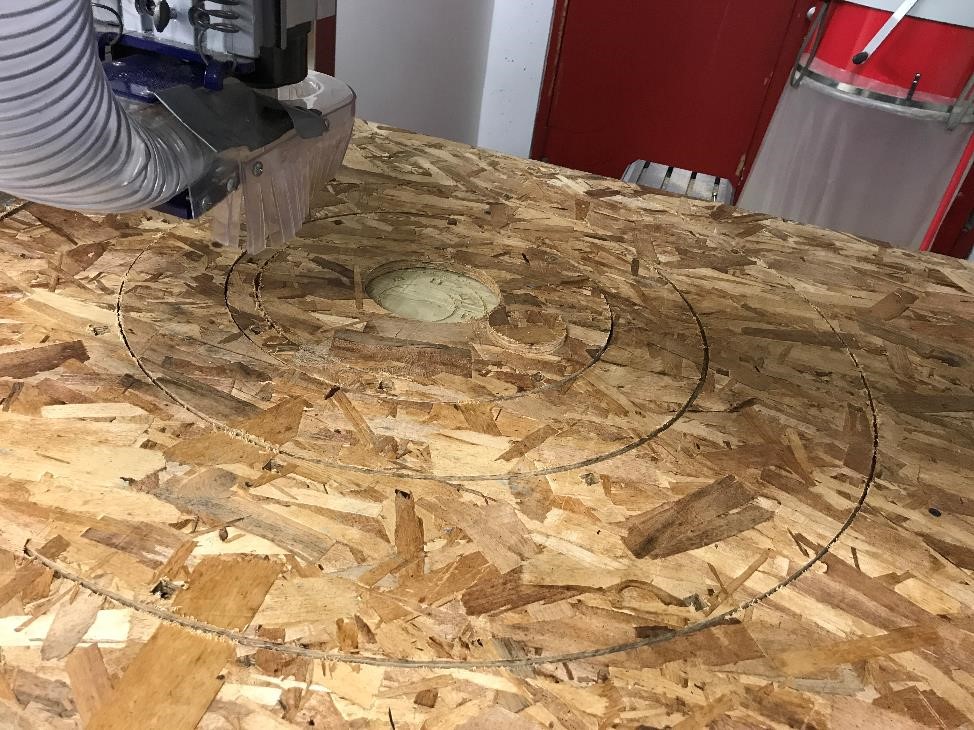
Figure 10. Error on the Shopbot as the tabs didn't work correctly.
4. Finished Product! (Not really...)
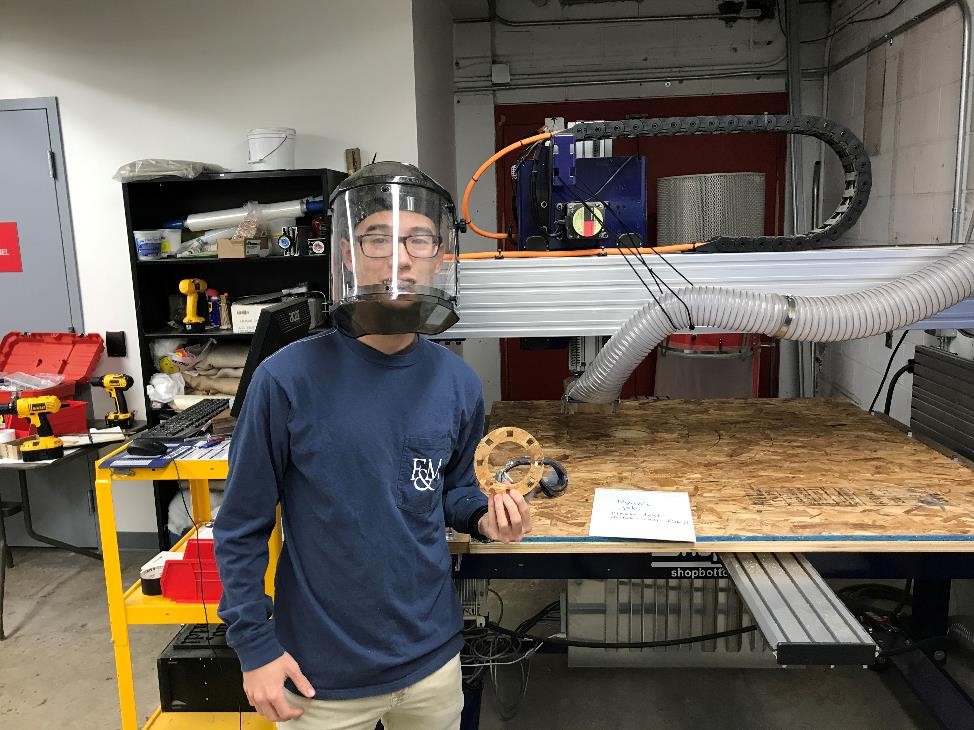
Figure 11: Me with one piece of the coat rack since we had to fix the Shopbot settings
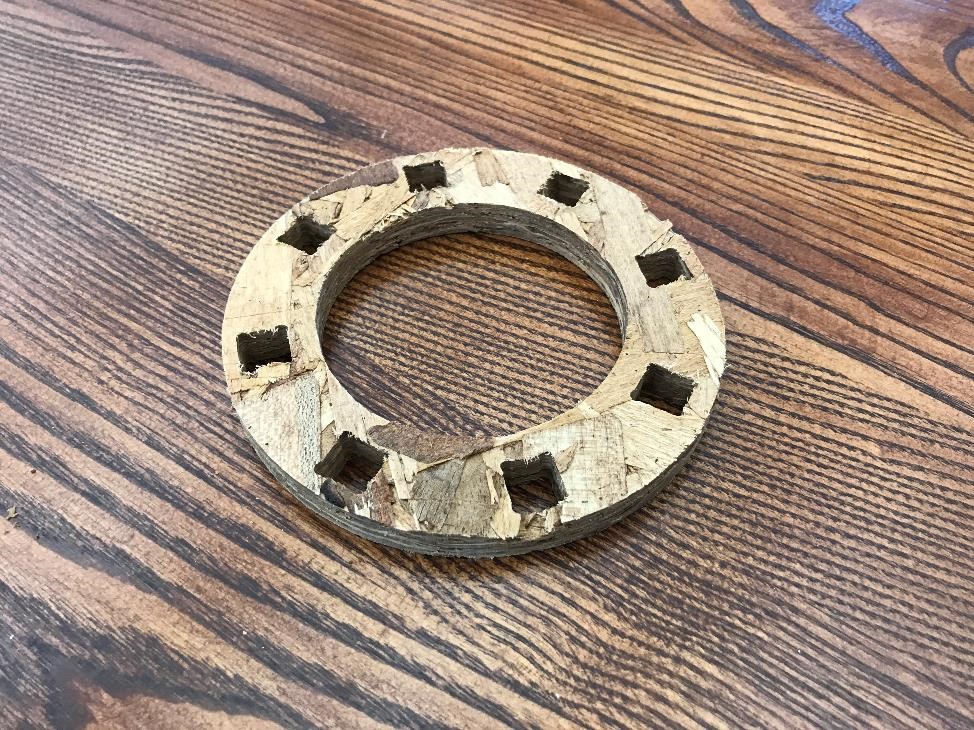
Figure 12. Finished coat rack! (jk only one part).

Figure 13. Assembly of the Jakketing (named a la Ikea) (shoutout to Mohib and Evan for helping me sand).
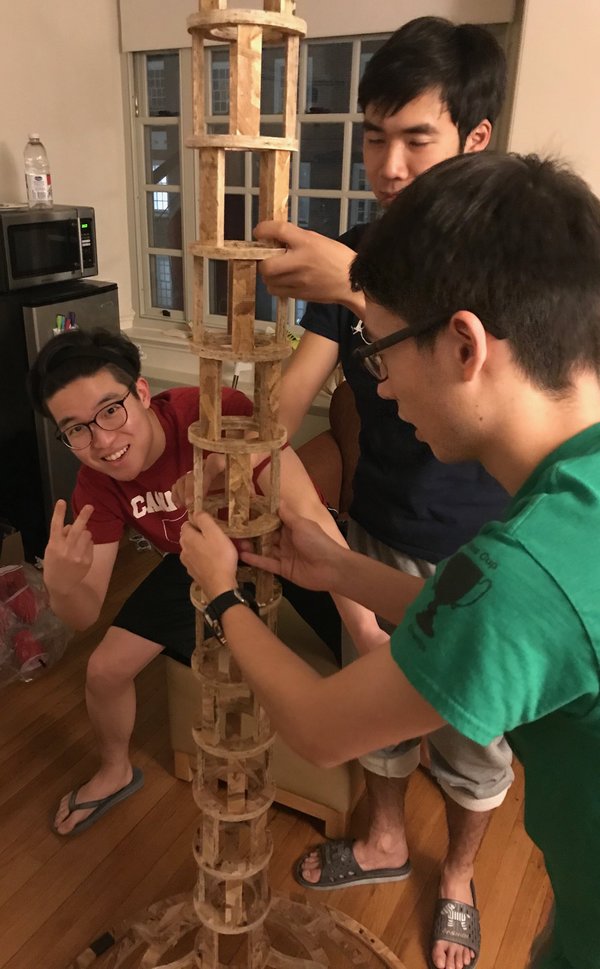
Figure 14. Getting my roommates to help me assemble (shoutout to Kenny, Victor, and Dylan).
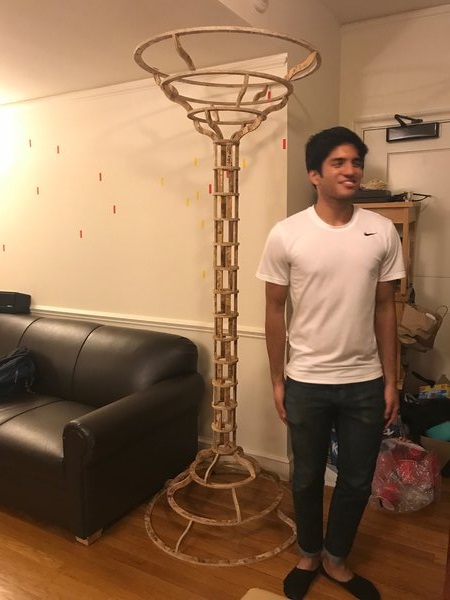
Figure 15. Actually finished coat rack! (with Mohib standing next to it for size comparison).
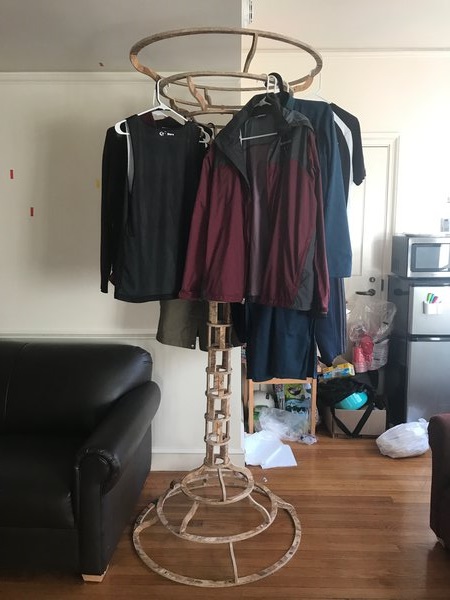
Figure 16. The Jakketing with coats and jackets on it.
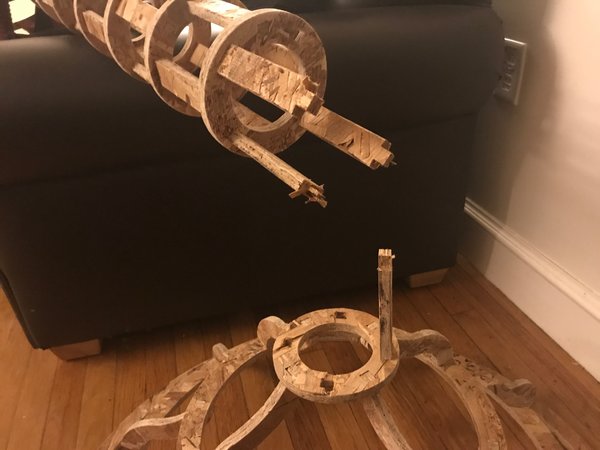
5. R.I.P. Jakketing 2018-2018
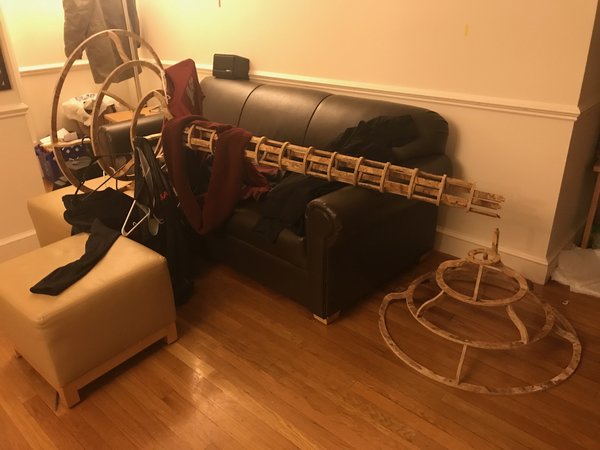
Figure 17. While I was taking a shower, Jakketing fell on the couch!!!!