Week 6: Embedded Programming
Arduino IDE
Programming the Programmer
1. Introduction
This week we were supposed to program the board that we had made in Week 4 to have the LED in it turn on whenever I pressed the button. Before I could start however, I had to check to see if all of my PCBs worked correctly since I was unsure if it did.
2. Programming
I checked to see if the programmer USB worked first. I started by soldering on a USB header onto the programmer so I could plug it into the PC easily since it seemed like better practice than putting a paper behind it.
Then I programmed the echo board with this programmer to have it echo back whatever I inputted it into the terminal.
Next, my goal was to have the LED in the board turn on when I pressed a button so I programmed it in Arduino and after multiple errors I finally got it to work!
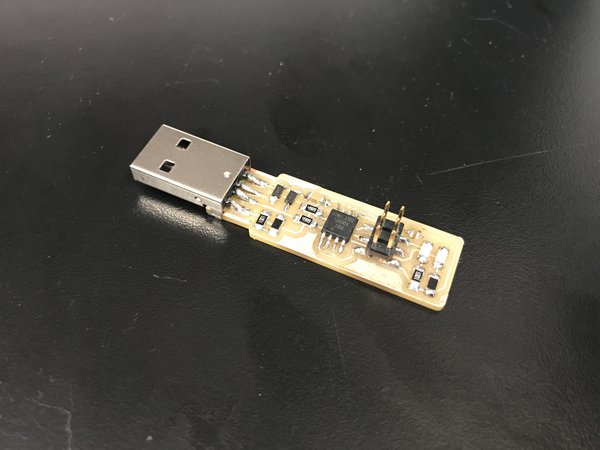
Figure 1. Adding the USB Header onto the Programmer.
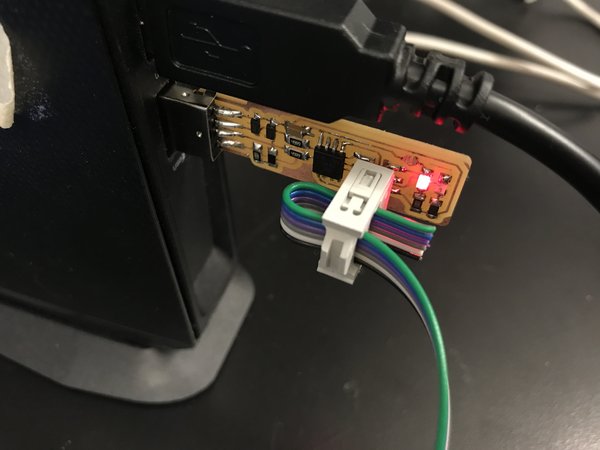
Figure 2. After the Programmer Board has been programmed.
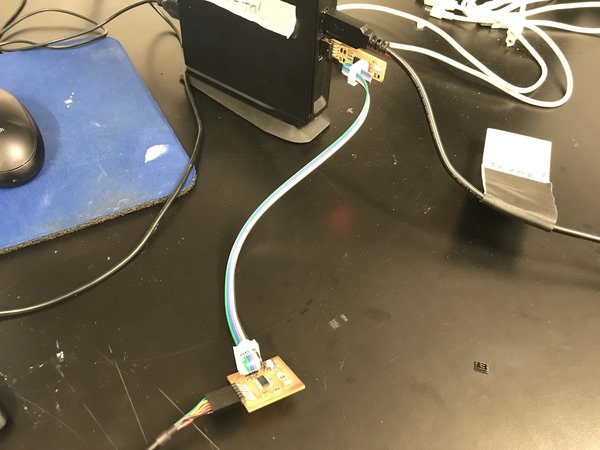
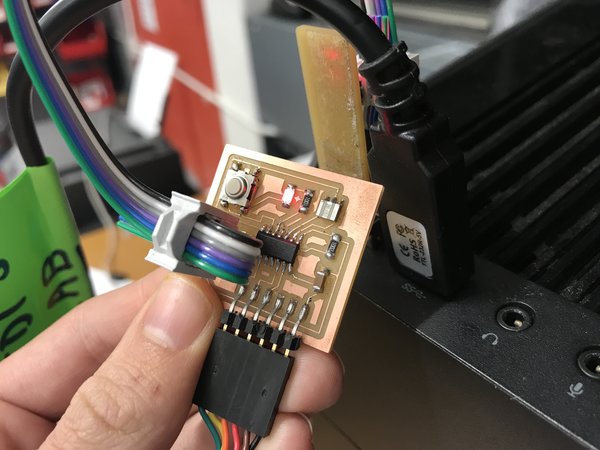
Figure 3. Connecting the Hello Echo Board to program it.
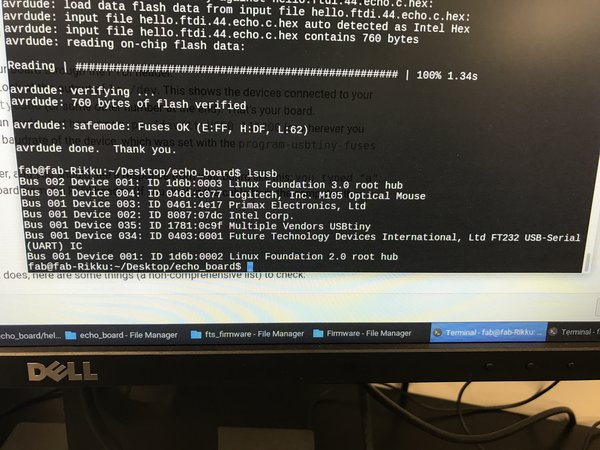
Figure 4. Checking to see if computer recognized USBTiny and Echo Board.
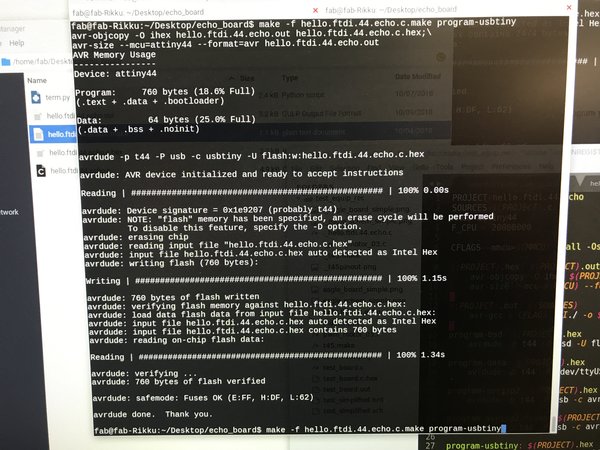
Figure 5. Programming the Hello Echo Board.
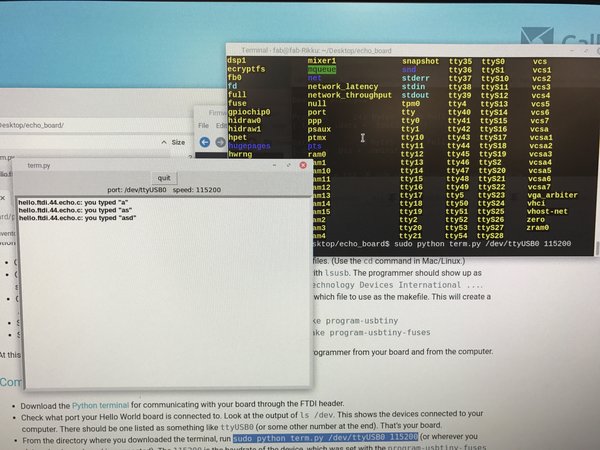
Figure 6. The Echo Board works as it is echoing what I type!
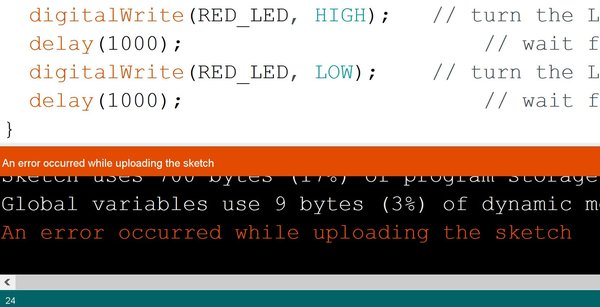
Figure 7. Arduino error as it doesn't upload the file onto the board.