How To Make Almost Anything Neil Gershenfeld

MIT Center For Bits And Atoms
MOLD & CAST
Fab labs share an evolving inventory of core capabilities to make (almost) anything, allowing people and projects to be shared. These are my projects.
Molding & Casting -
Bust of
Julius Caesar
10.24.18
This week our individual assignment was:"design a 3D mold around the stock and tooling that you'll be using, mill it, and use it to cast parts". I definitely struggled this week, although after all of the trials and tribulations, I feel like I'm finally getting the hang of it and that's all that matters.
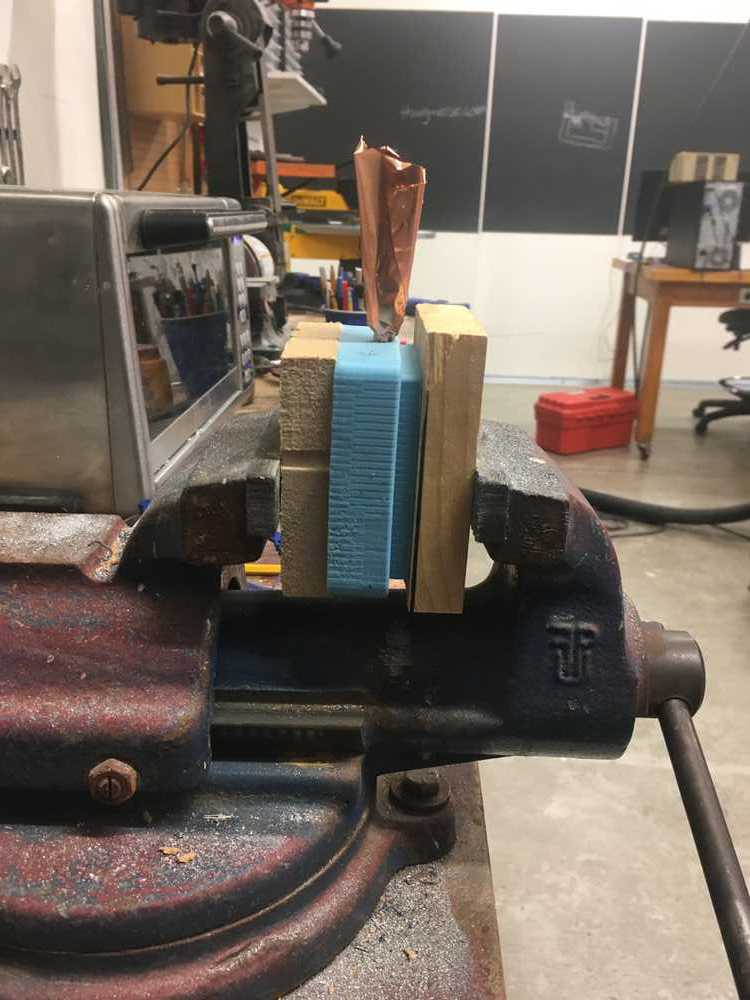
Right off the bat, I broke two endmills. I would chalk this up to three factors, which I adjusted accordingly: 1) my speed was little too fast (3in. per second, as opposed to 2in or even 1in); 2) the first time, I milled my rought cut in respect to my model boundry, when it should have been in reference to my material boundary; and 3) my tool wasn't deep enough in the spindle. I want to stress the importance of number 2, since no one mentioned it to me at first. By clearing away ALL the material around the object, you drastically decrease the need to cut deep with more delicate tools that could potentially break if they come into contact with a steep wall of wax.
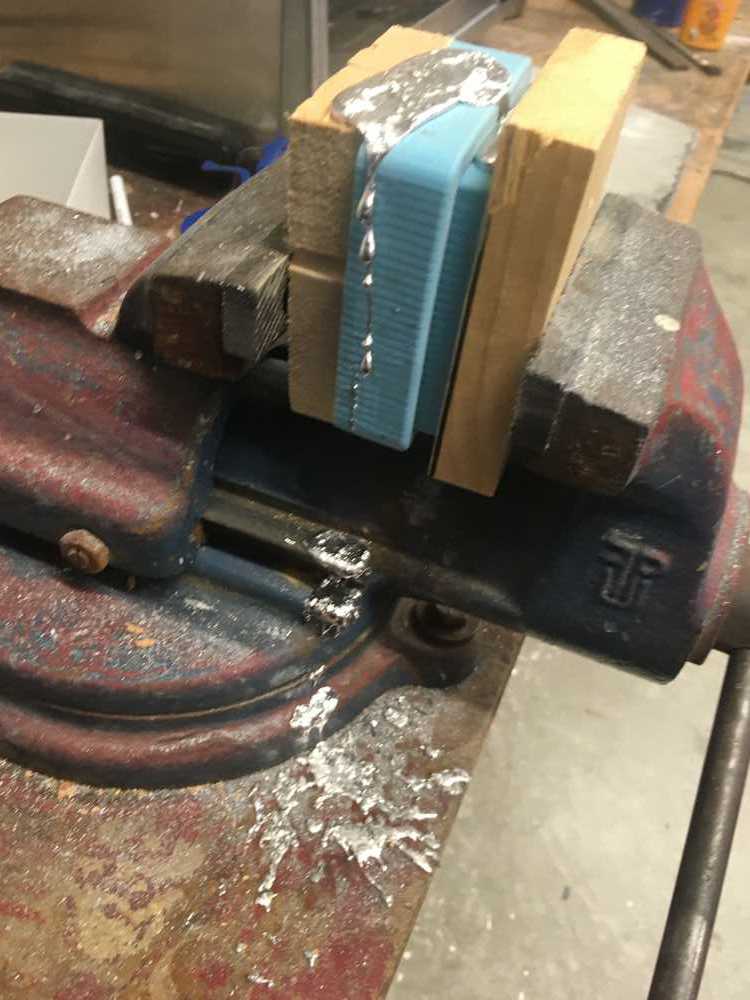
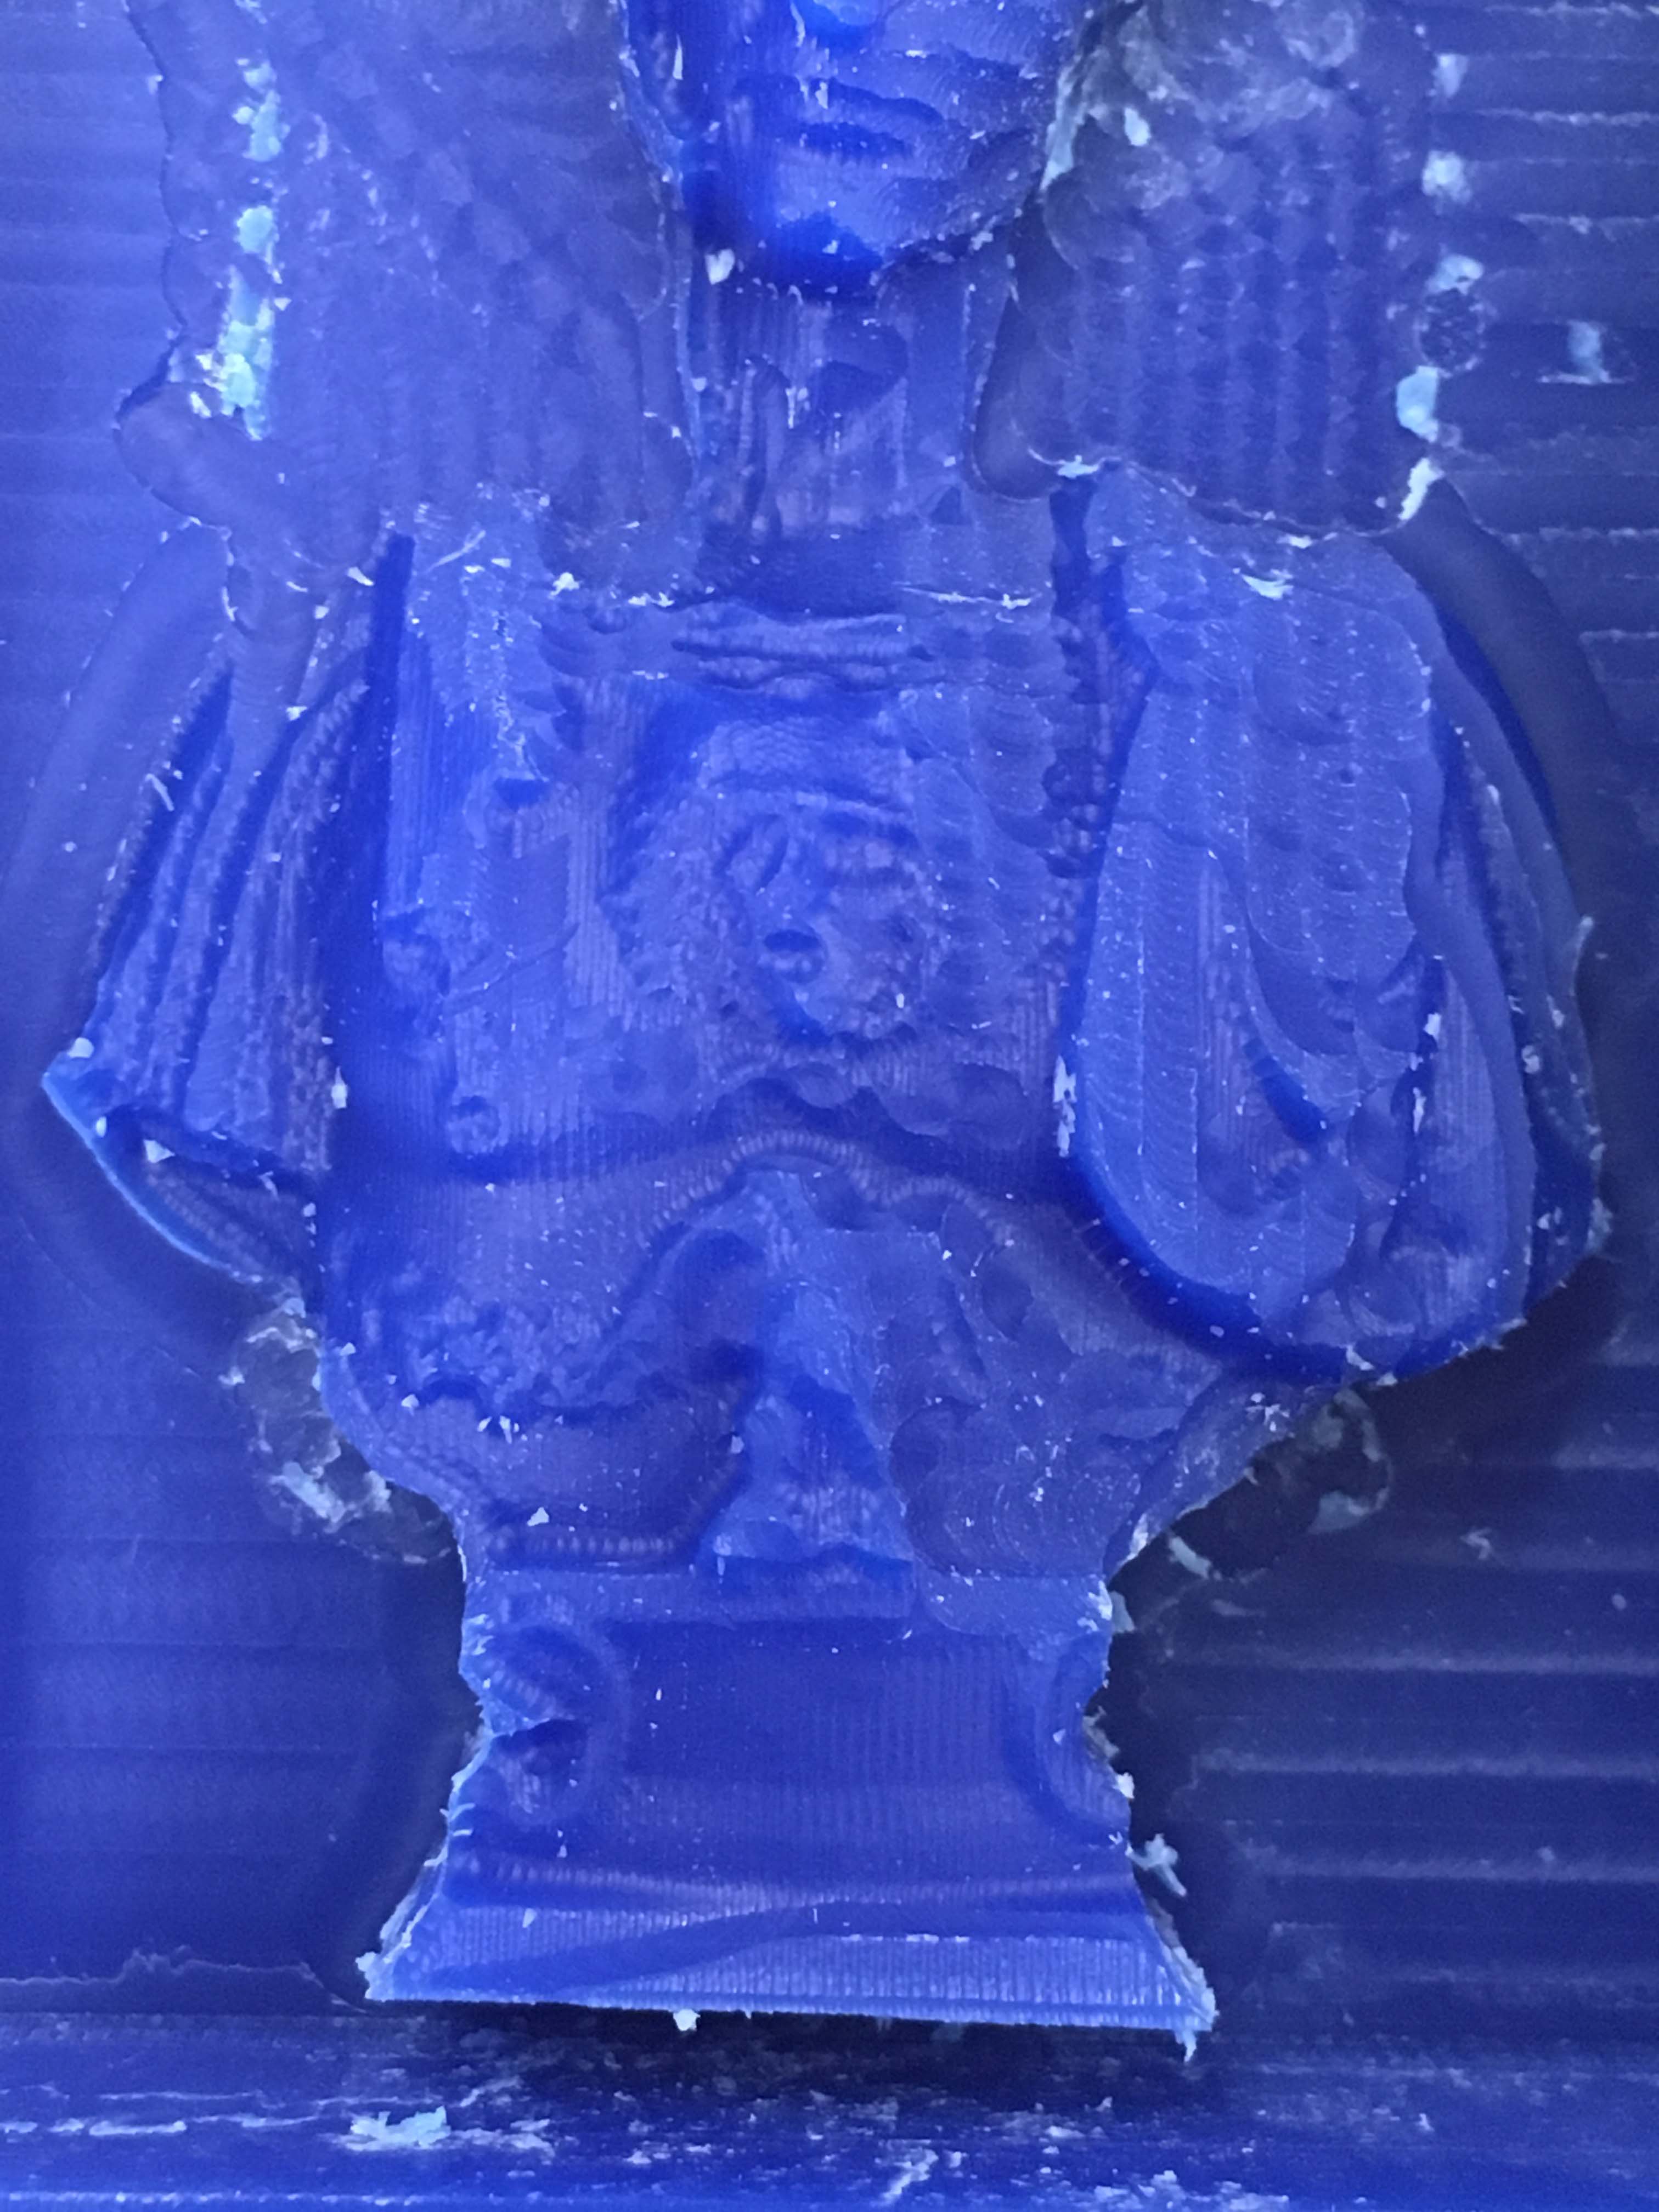
Another important tip: vacuum up the milled off wax flakes, AS YOU MILL. If you're doing a large piece and the waxit flakes have time to build up, they can heat, melt and accumulate on the shaft of the endmill. This molten wax is then dragged along the edge of your model creating a pale blue, irregular crust. It can even accumulate in small cracks in your model. No need to vacuum the entire time, just hit it every few minutes.
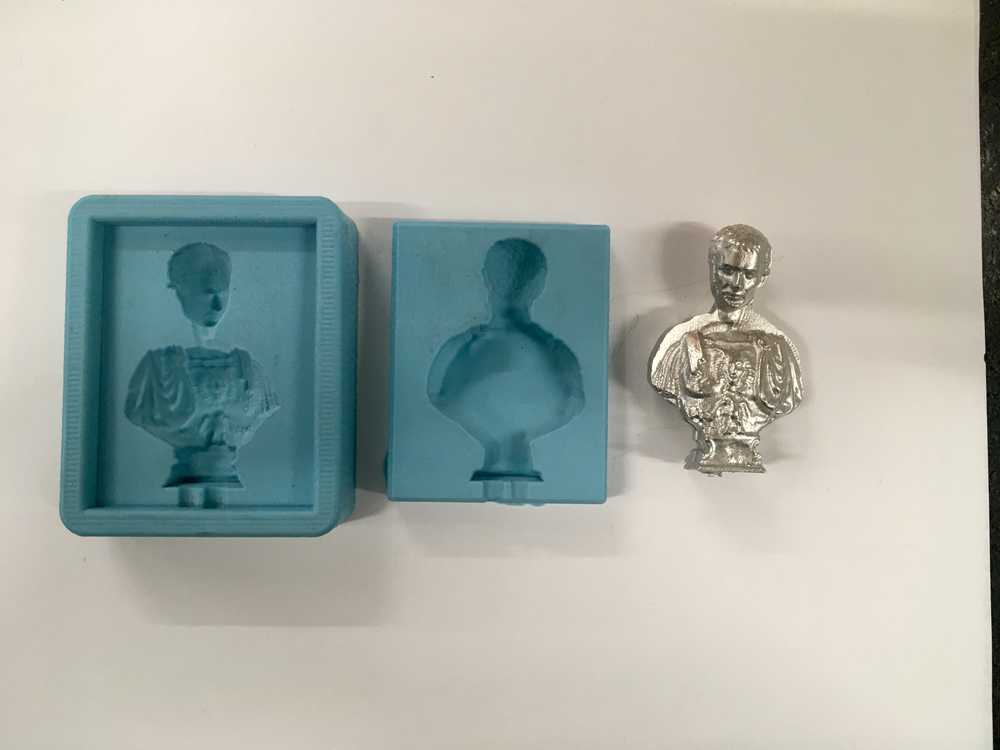
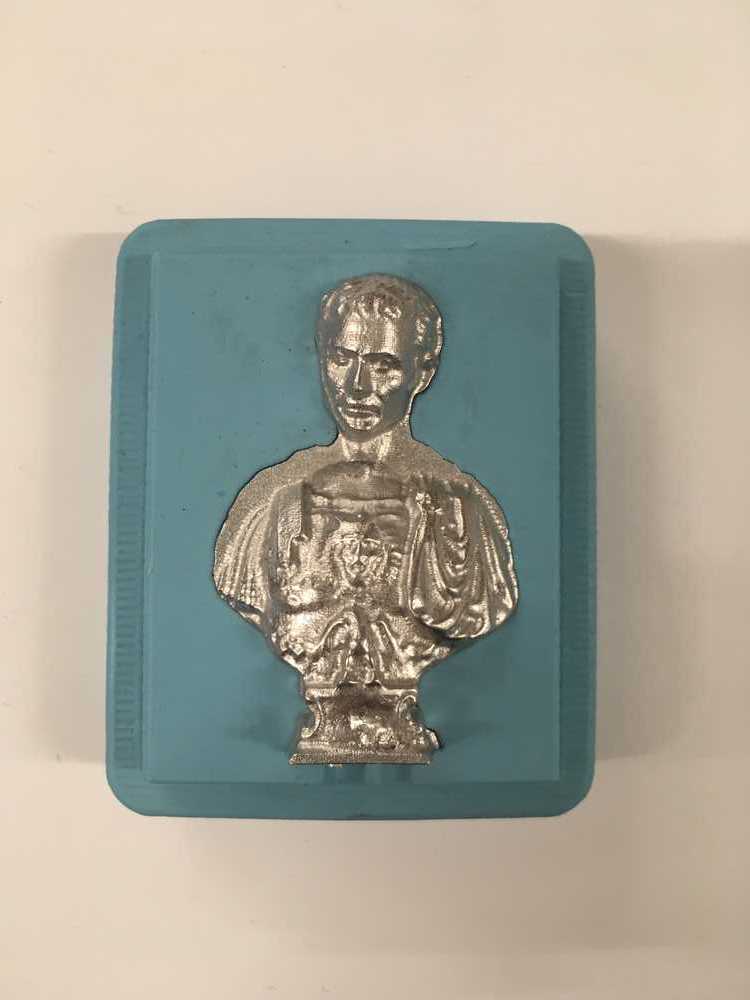
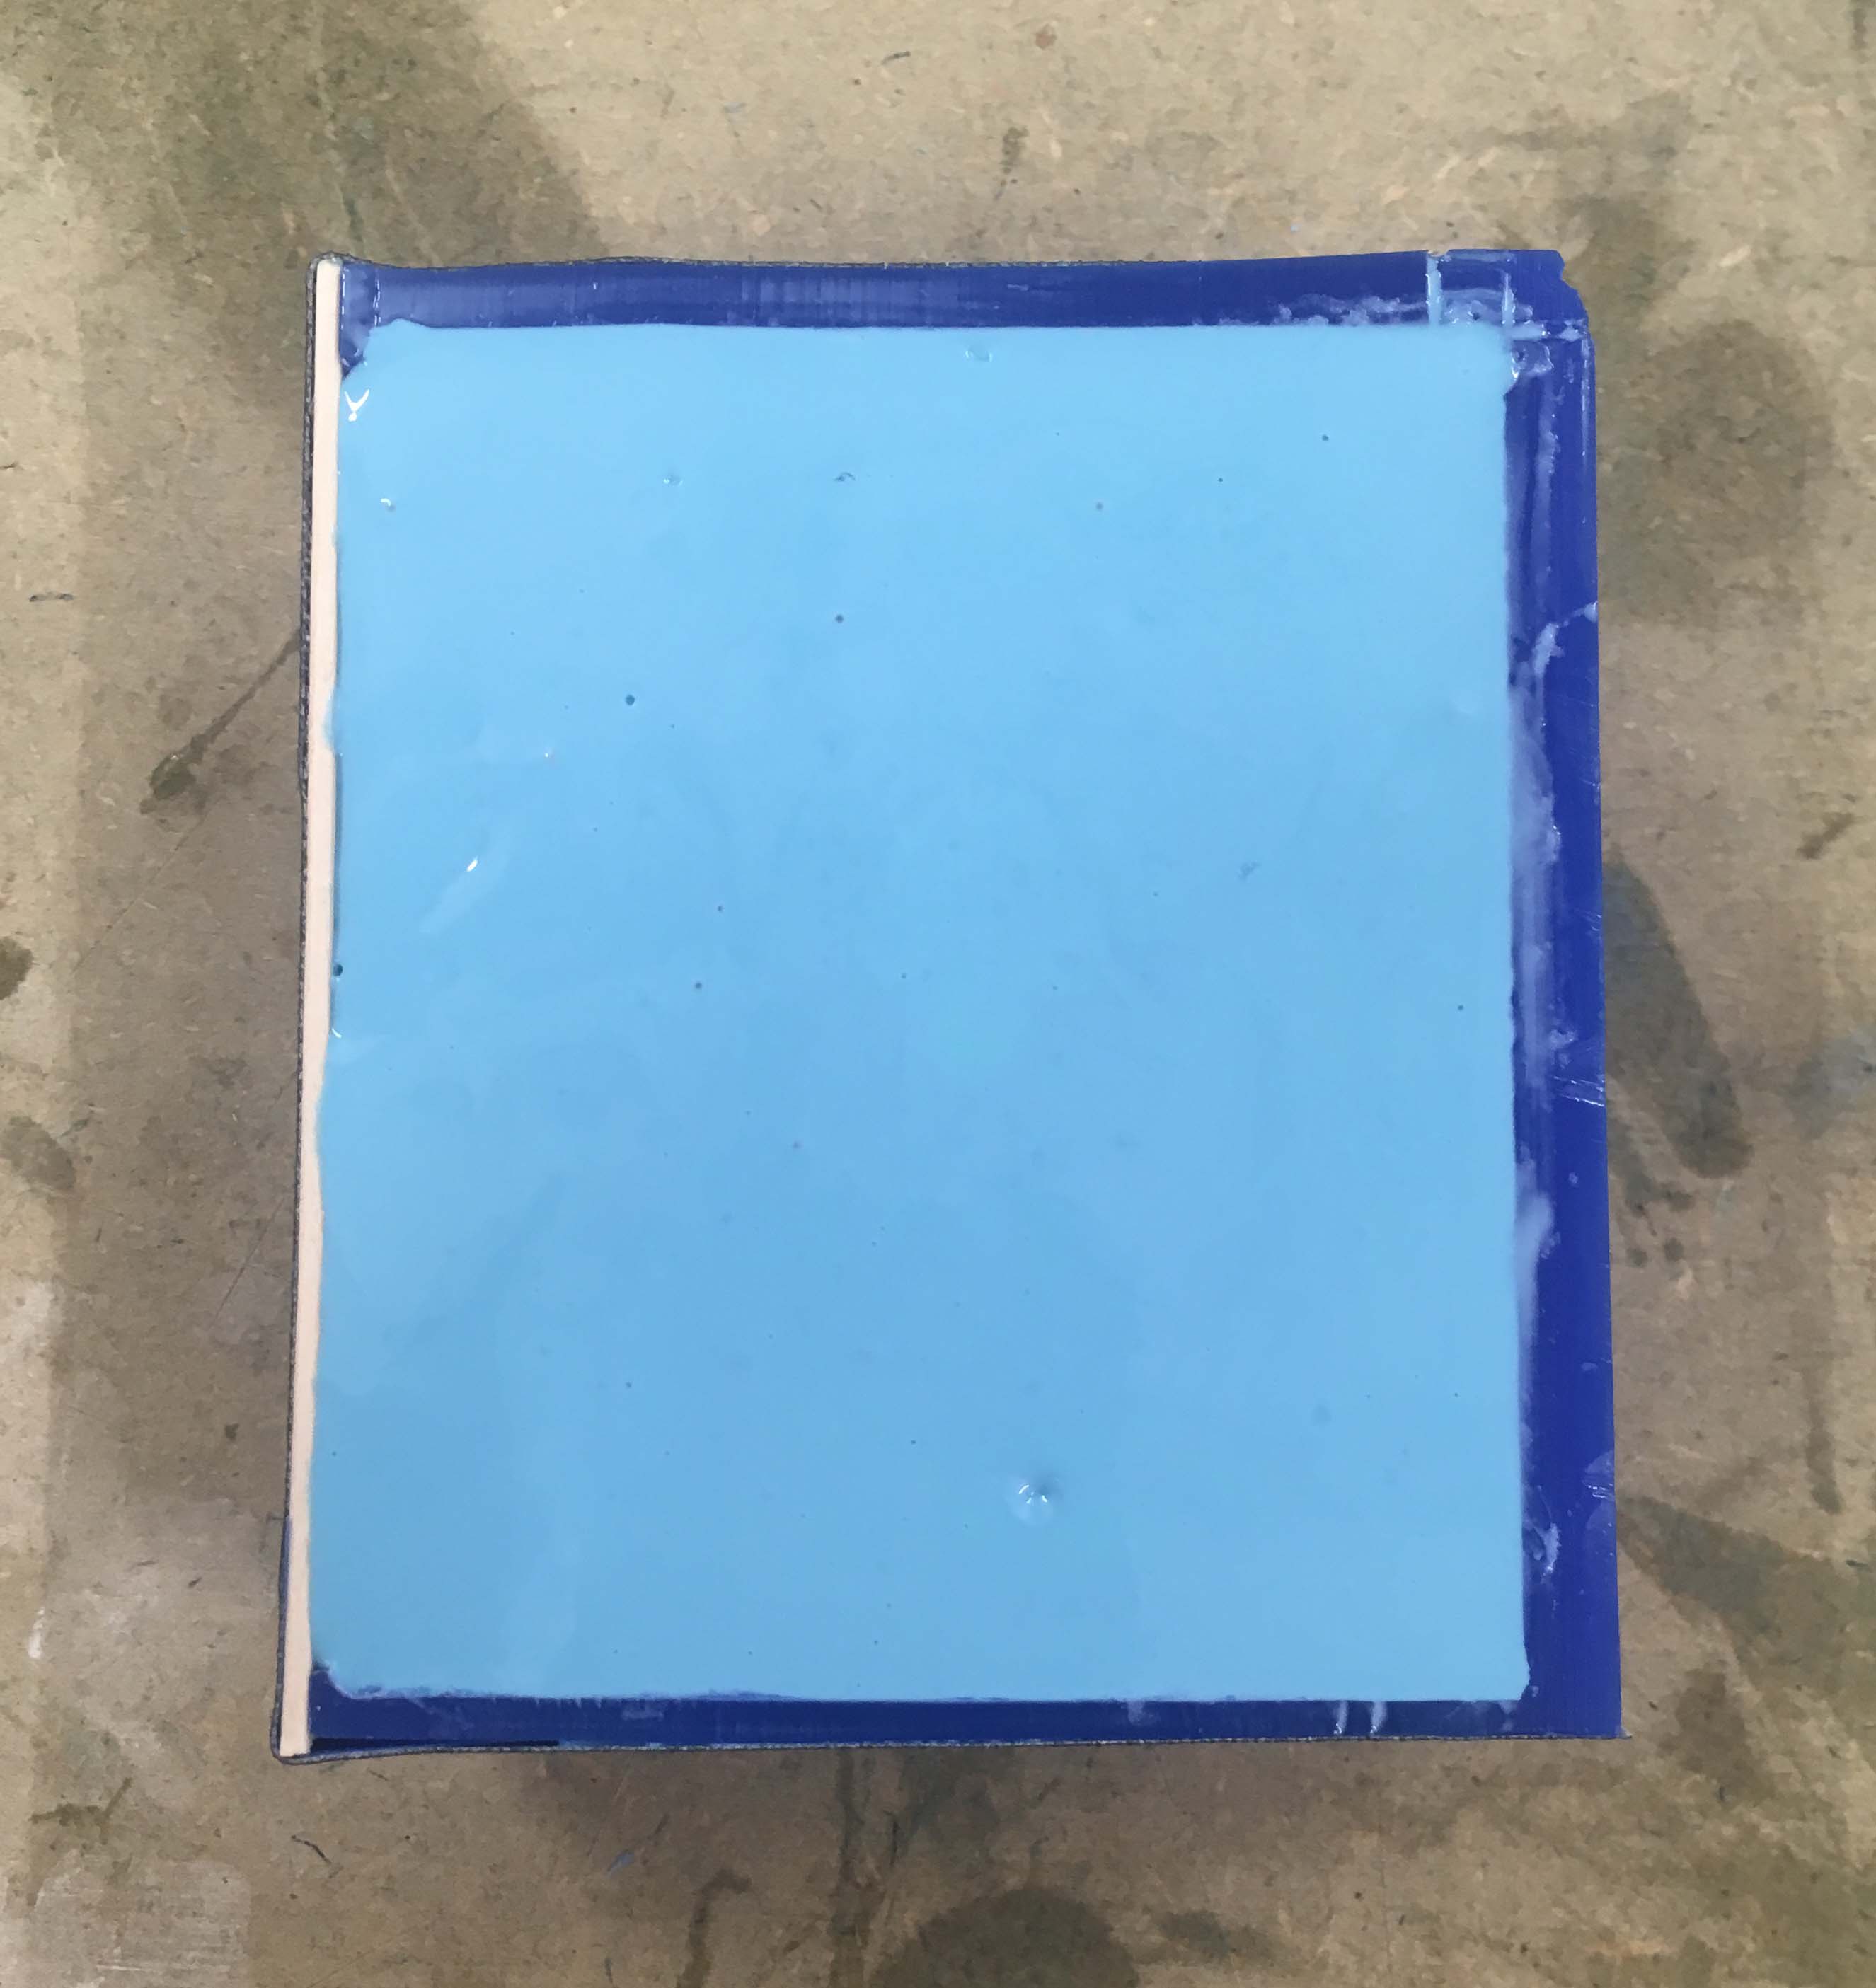
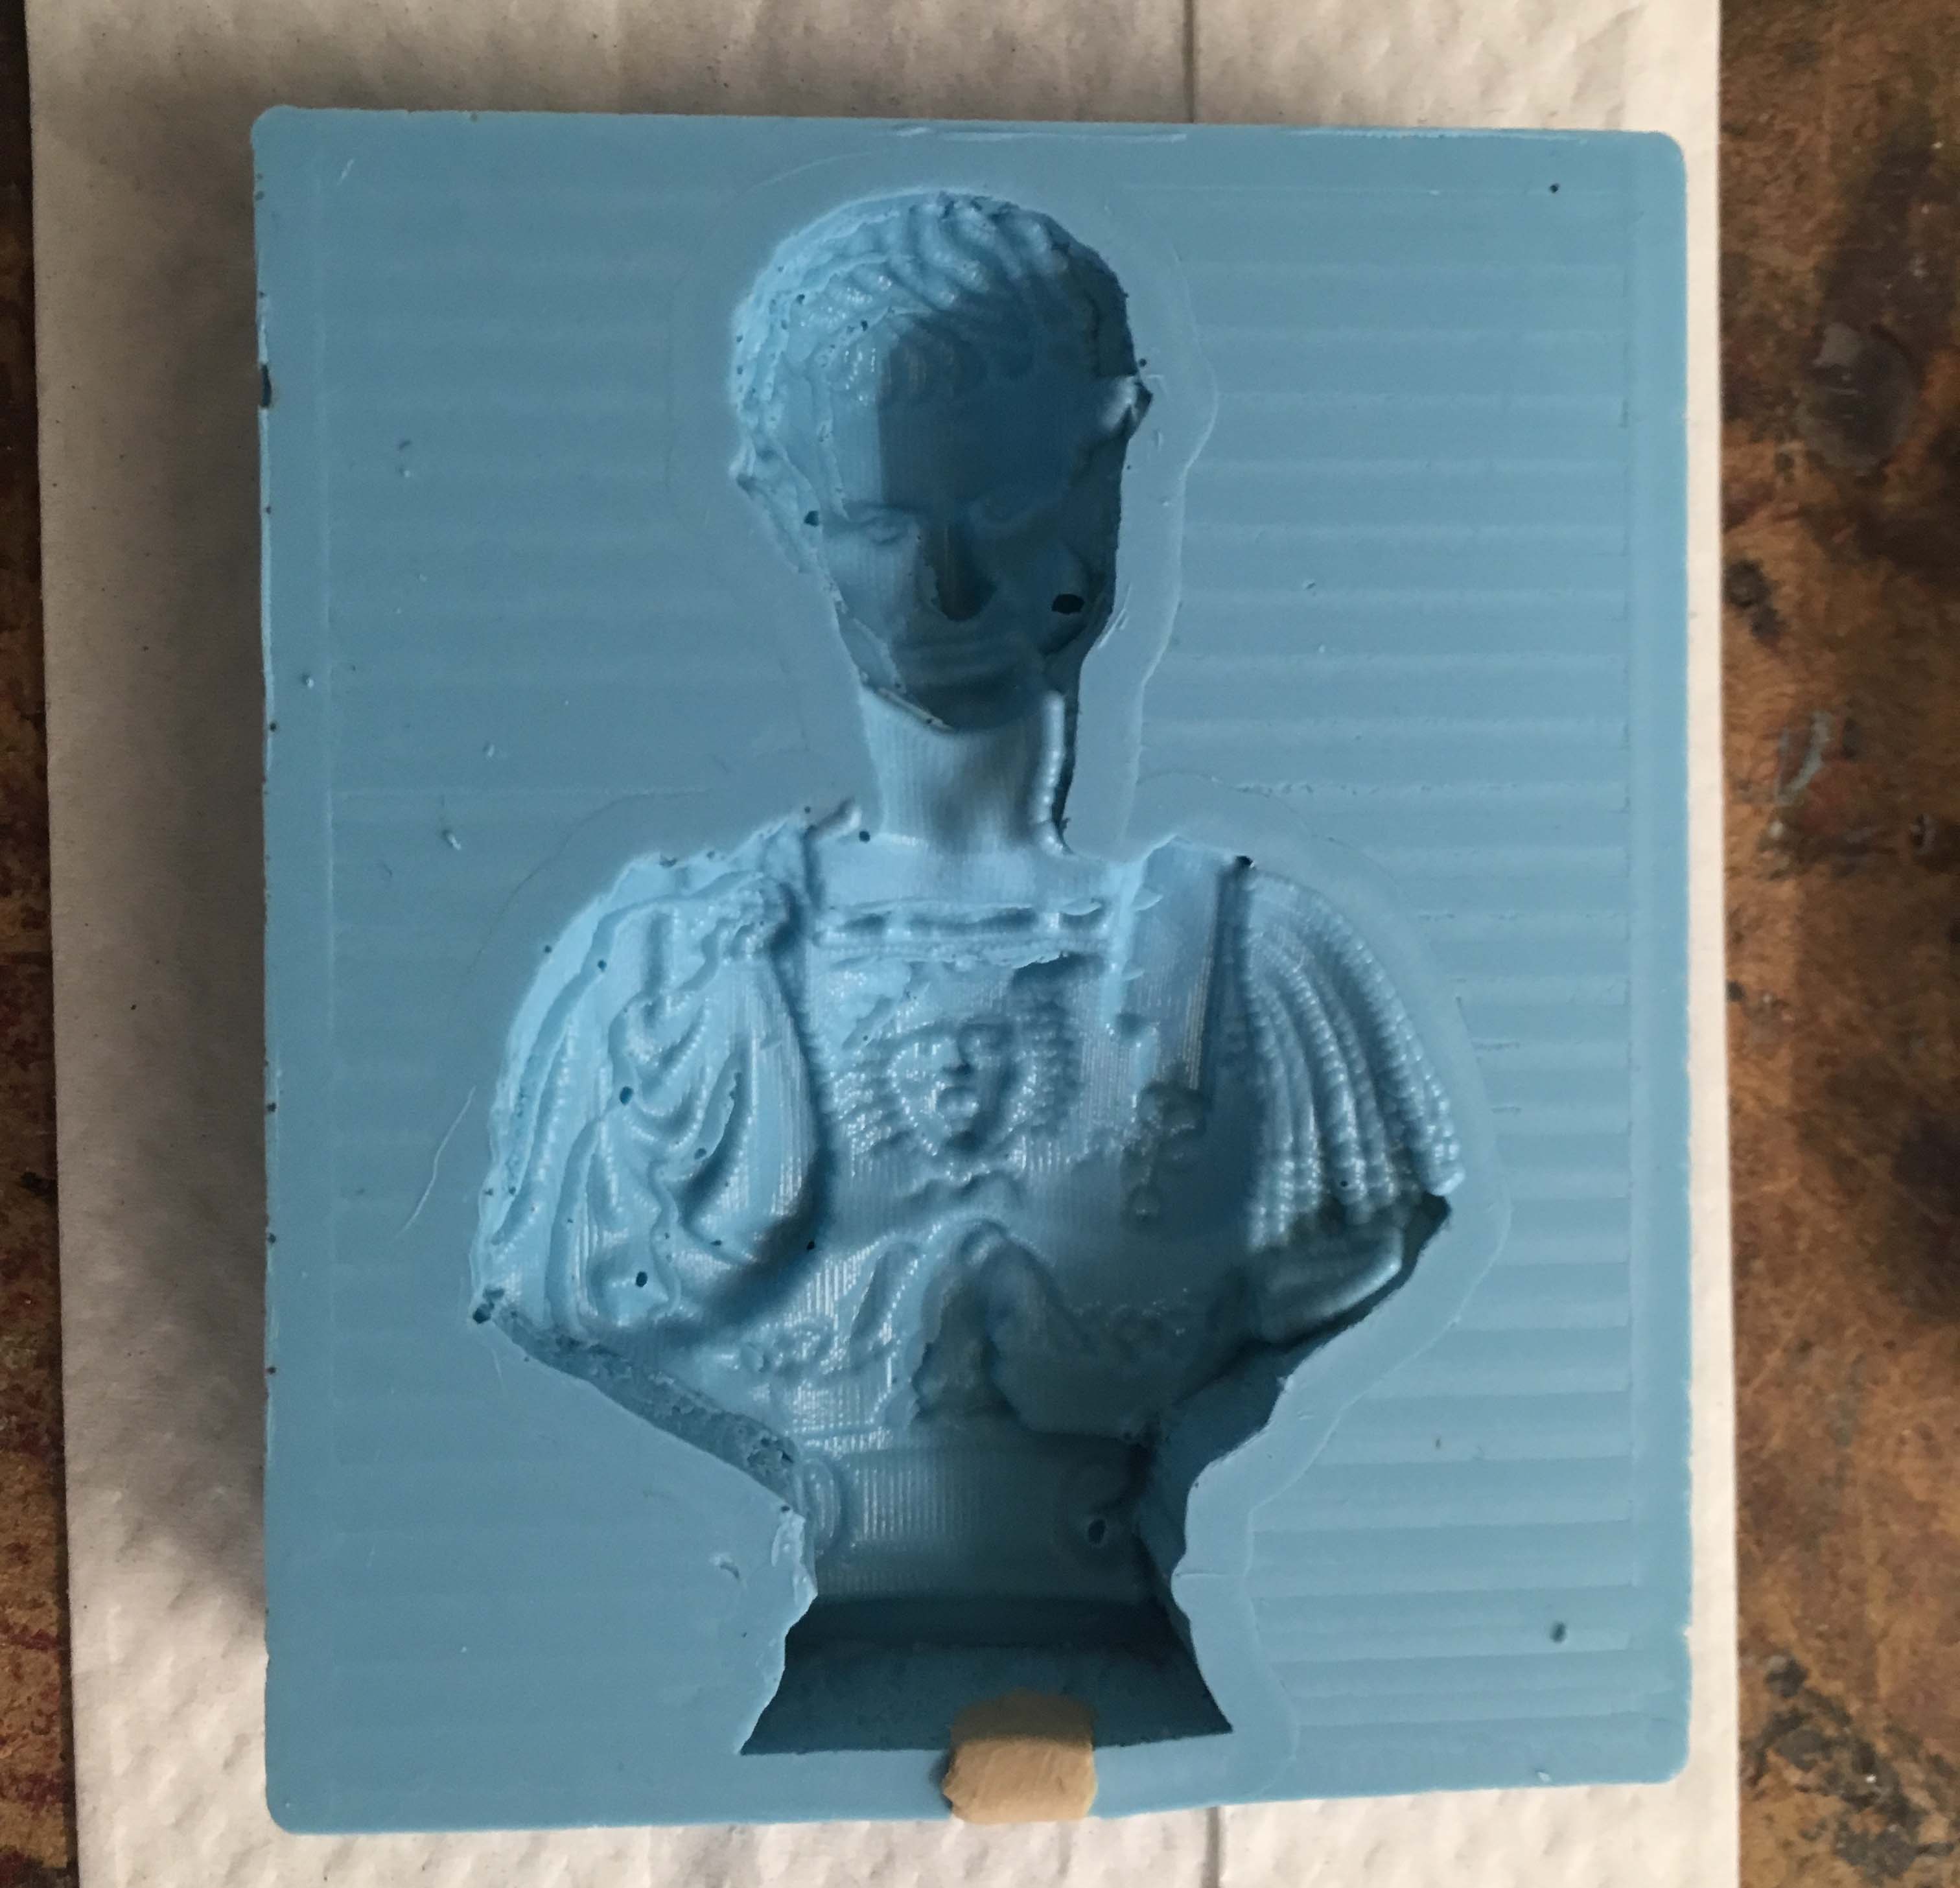
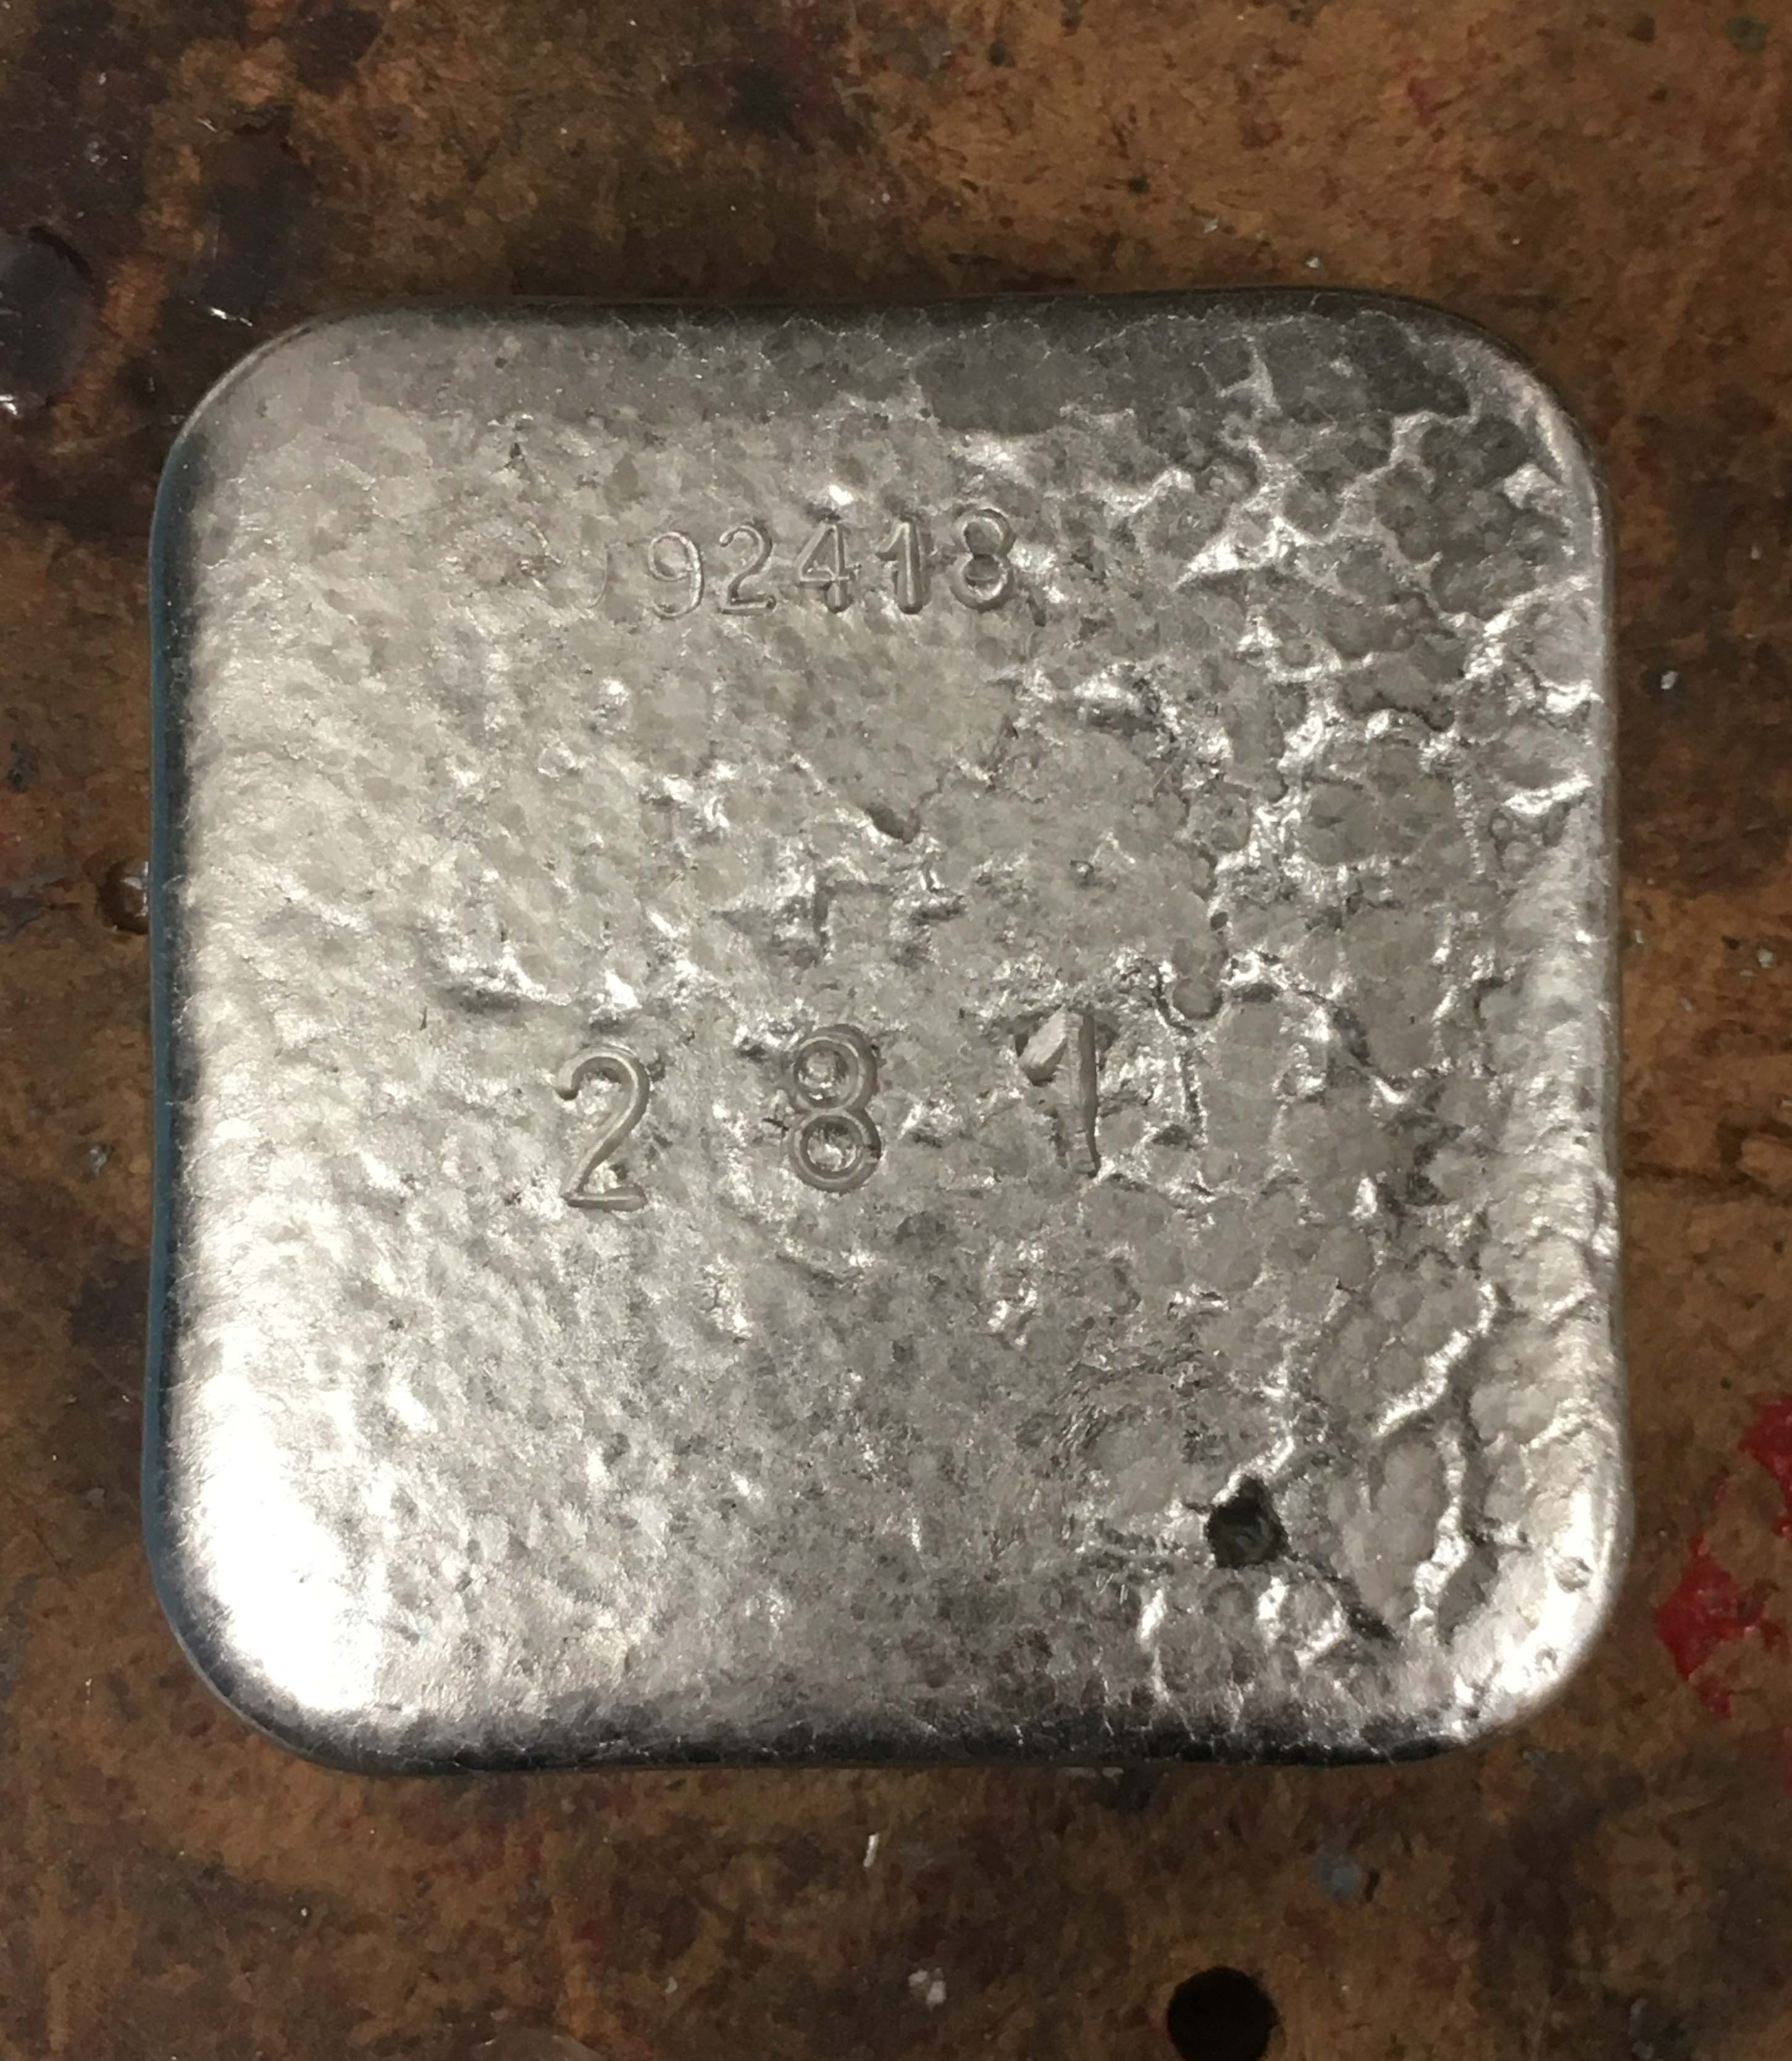
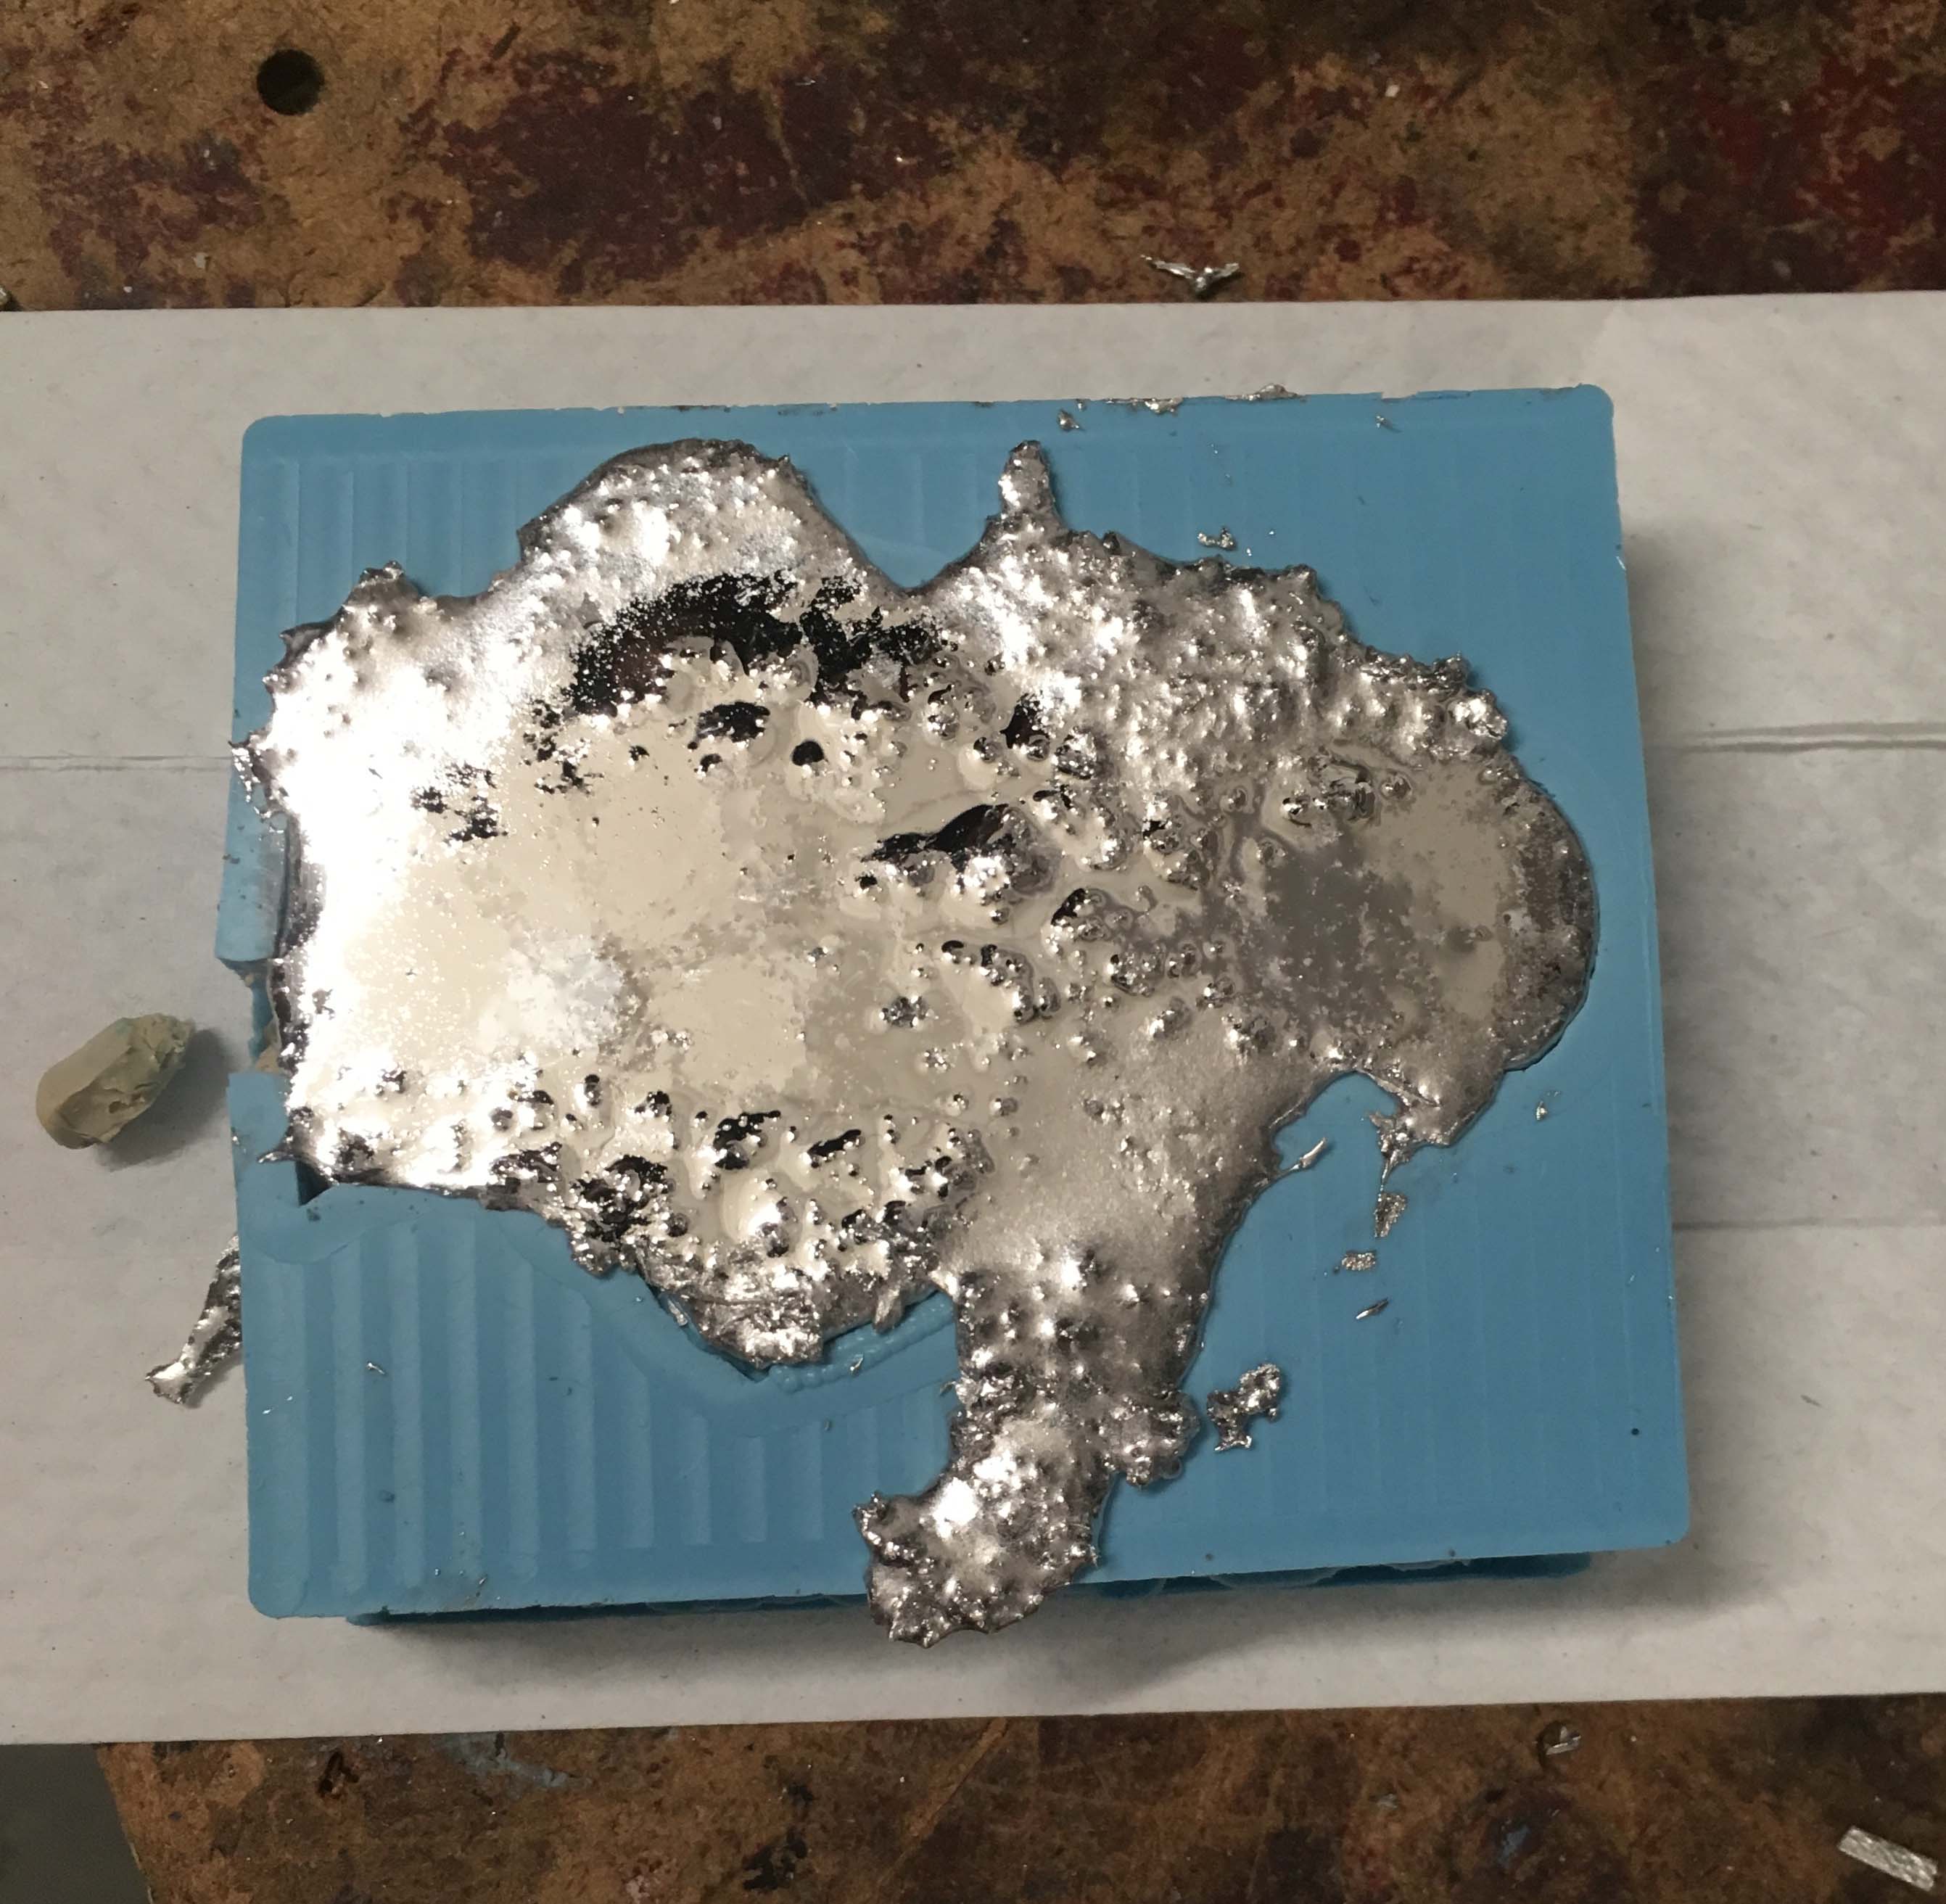
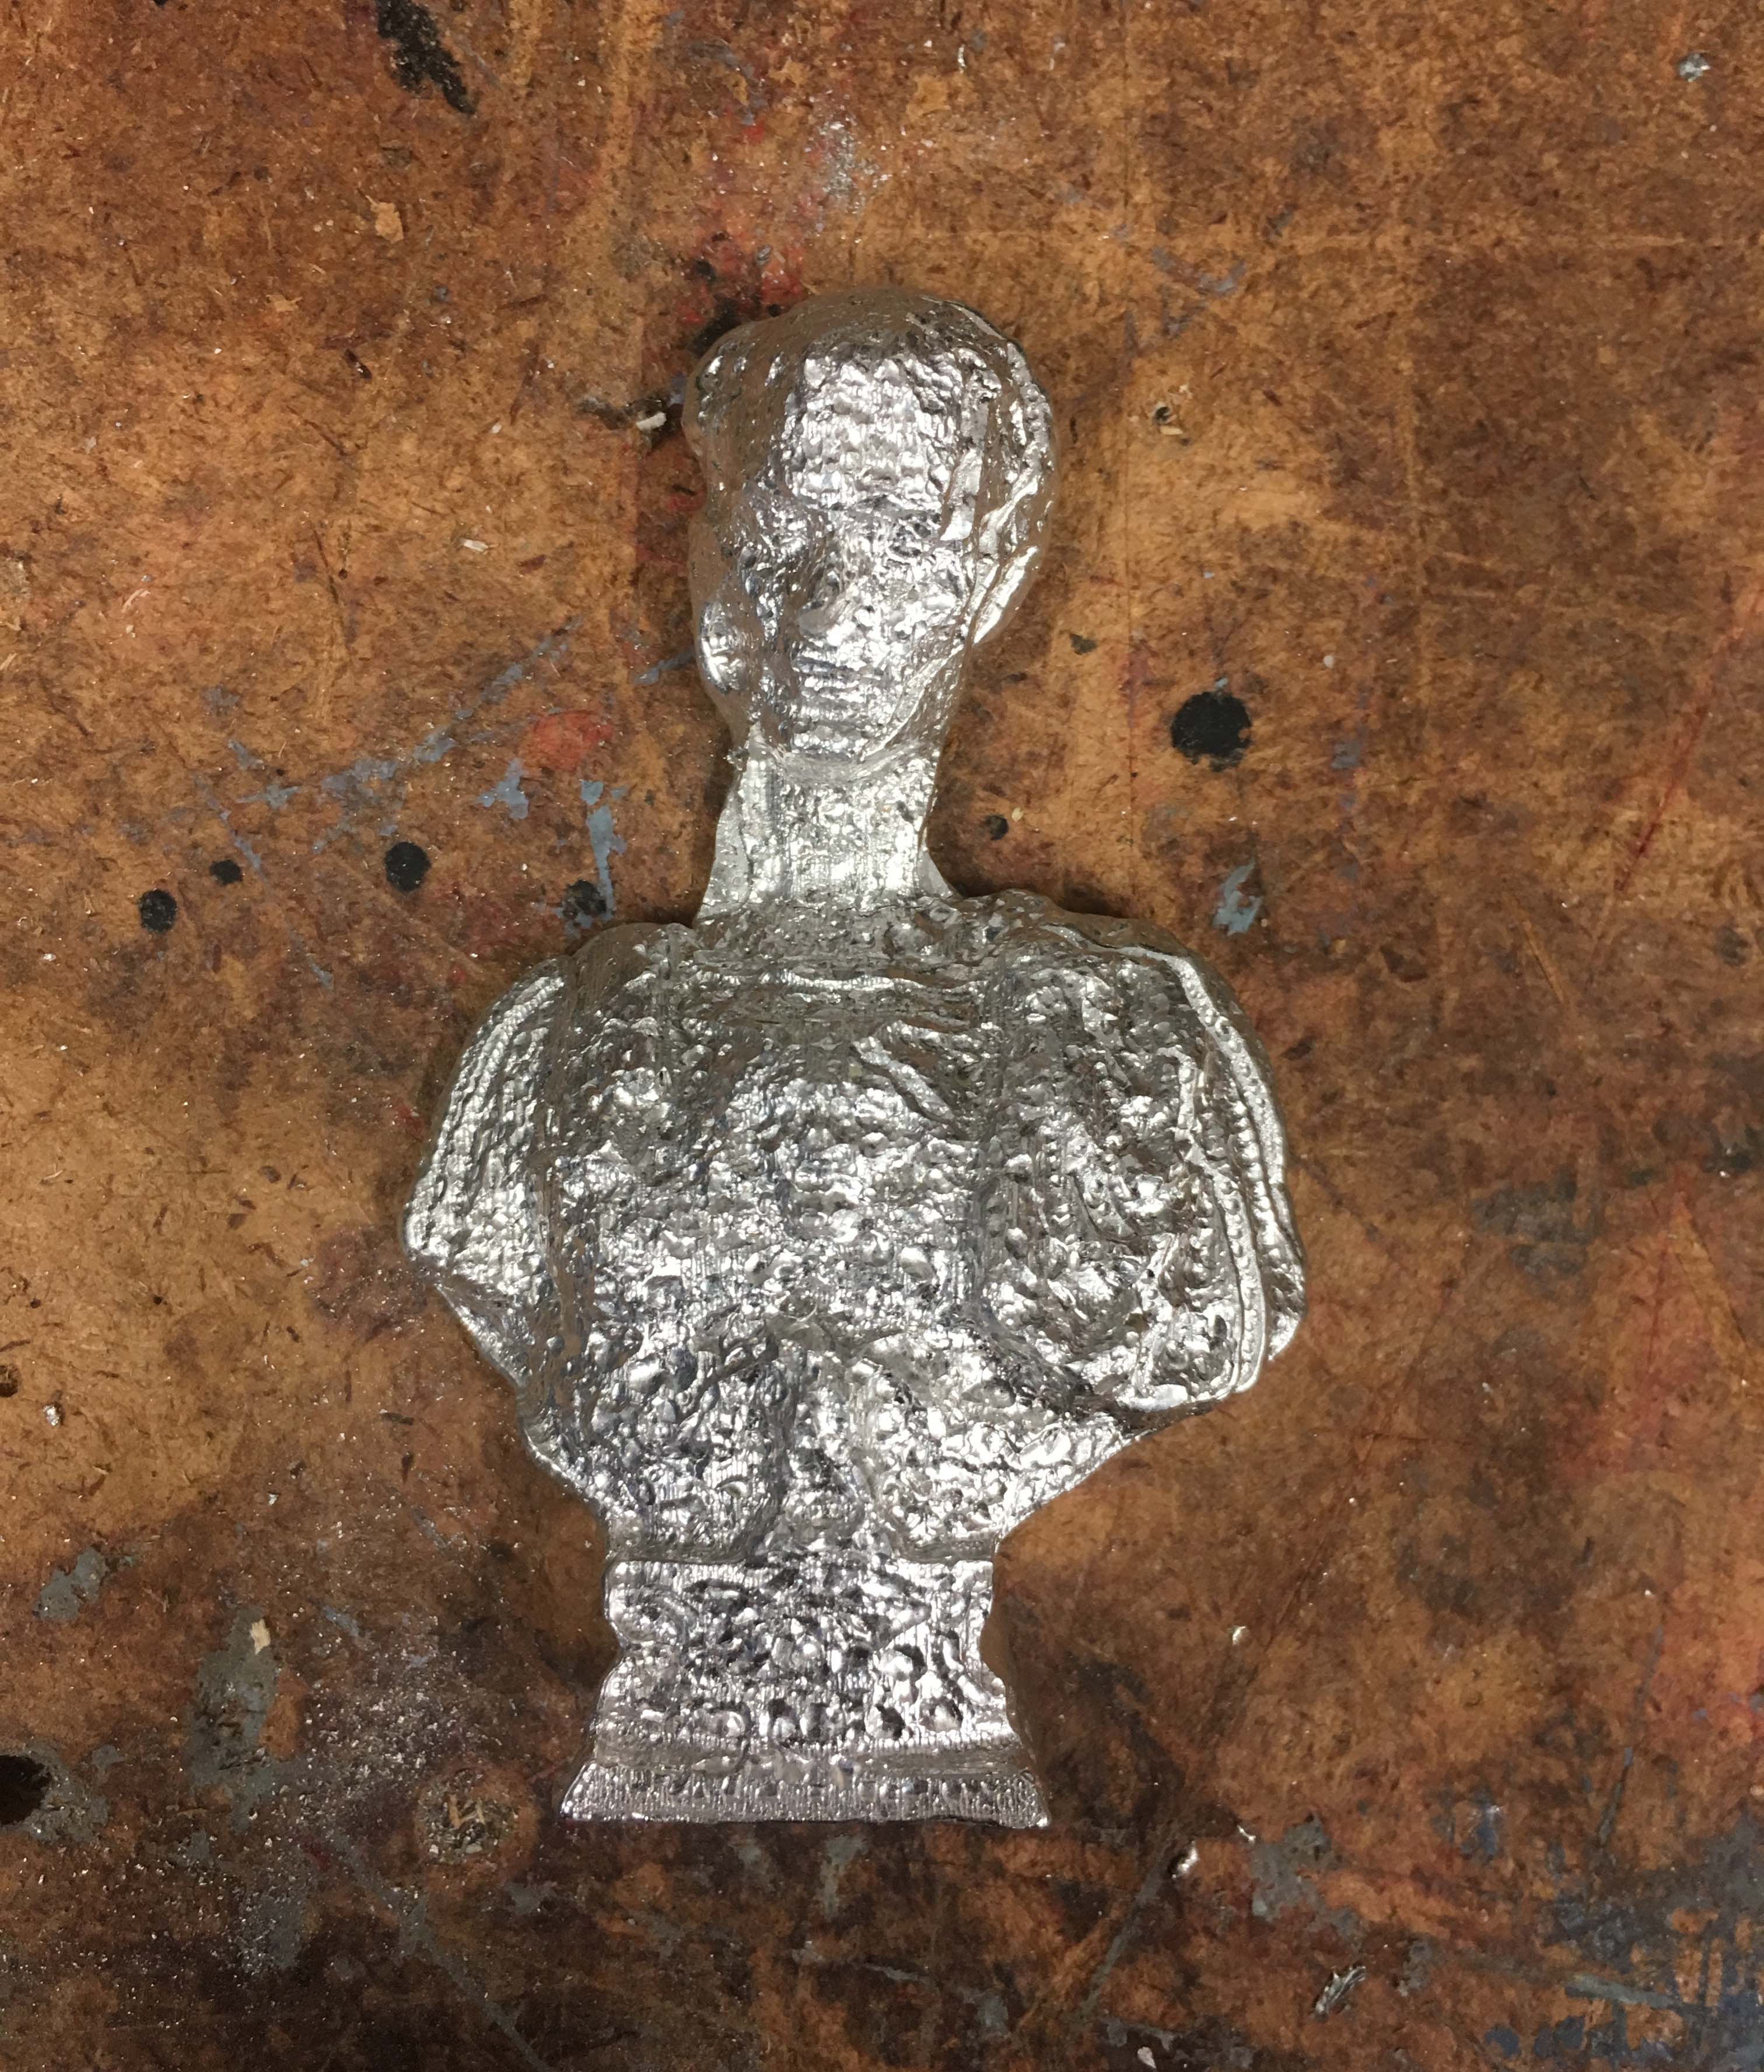
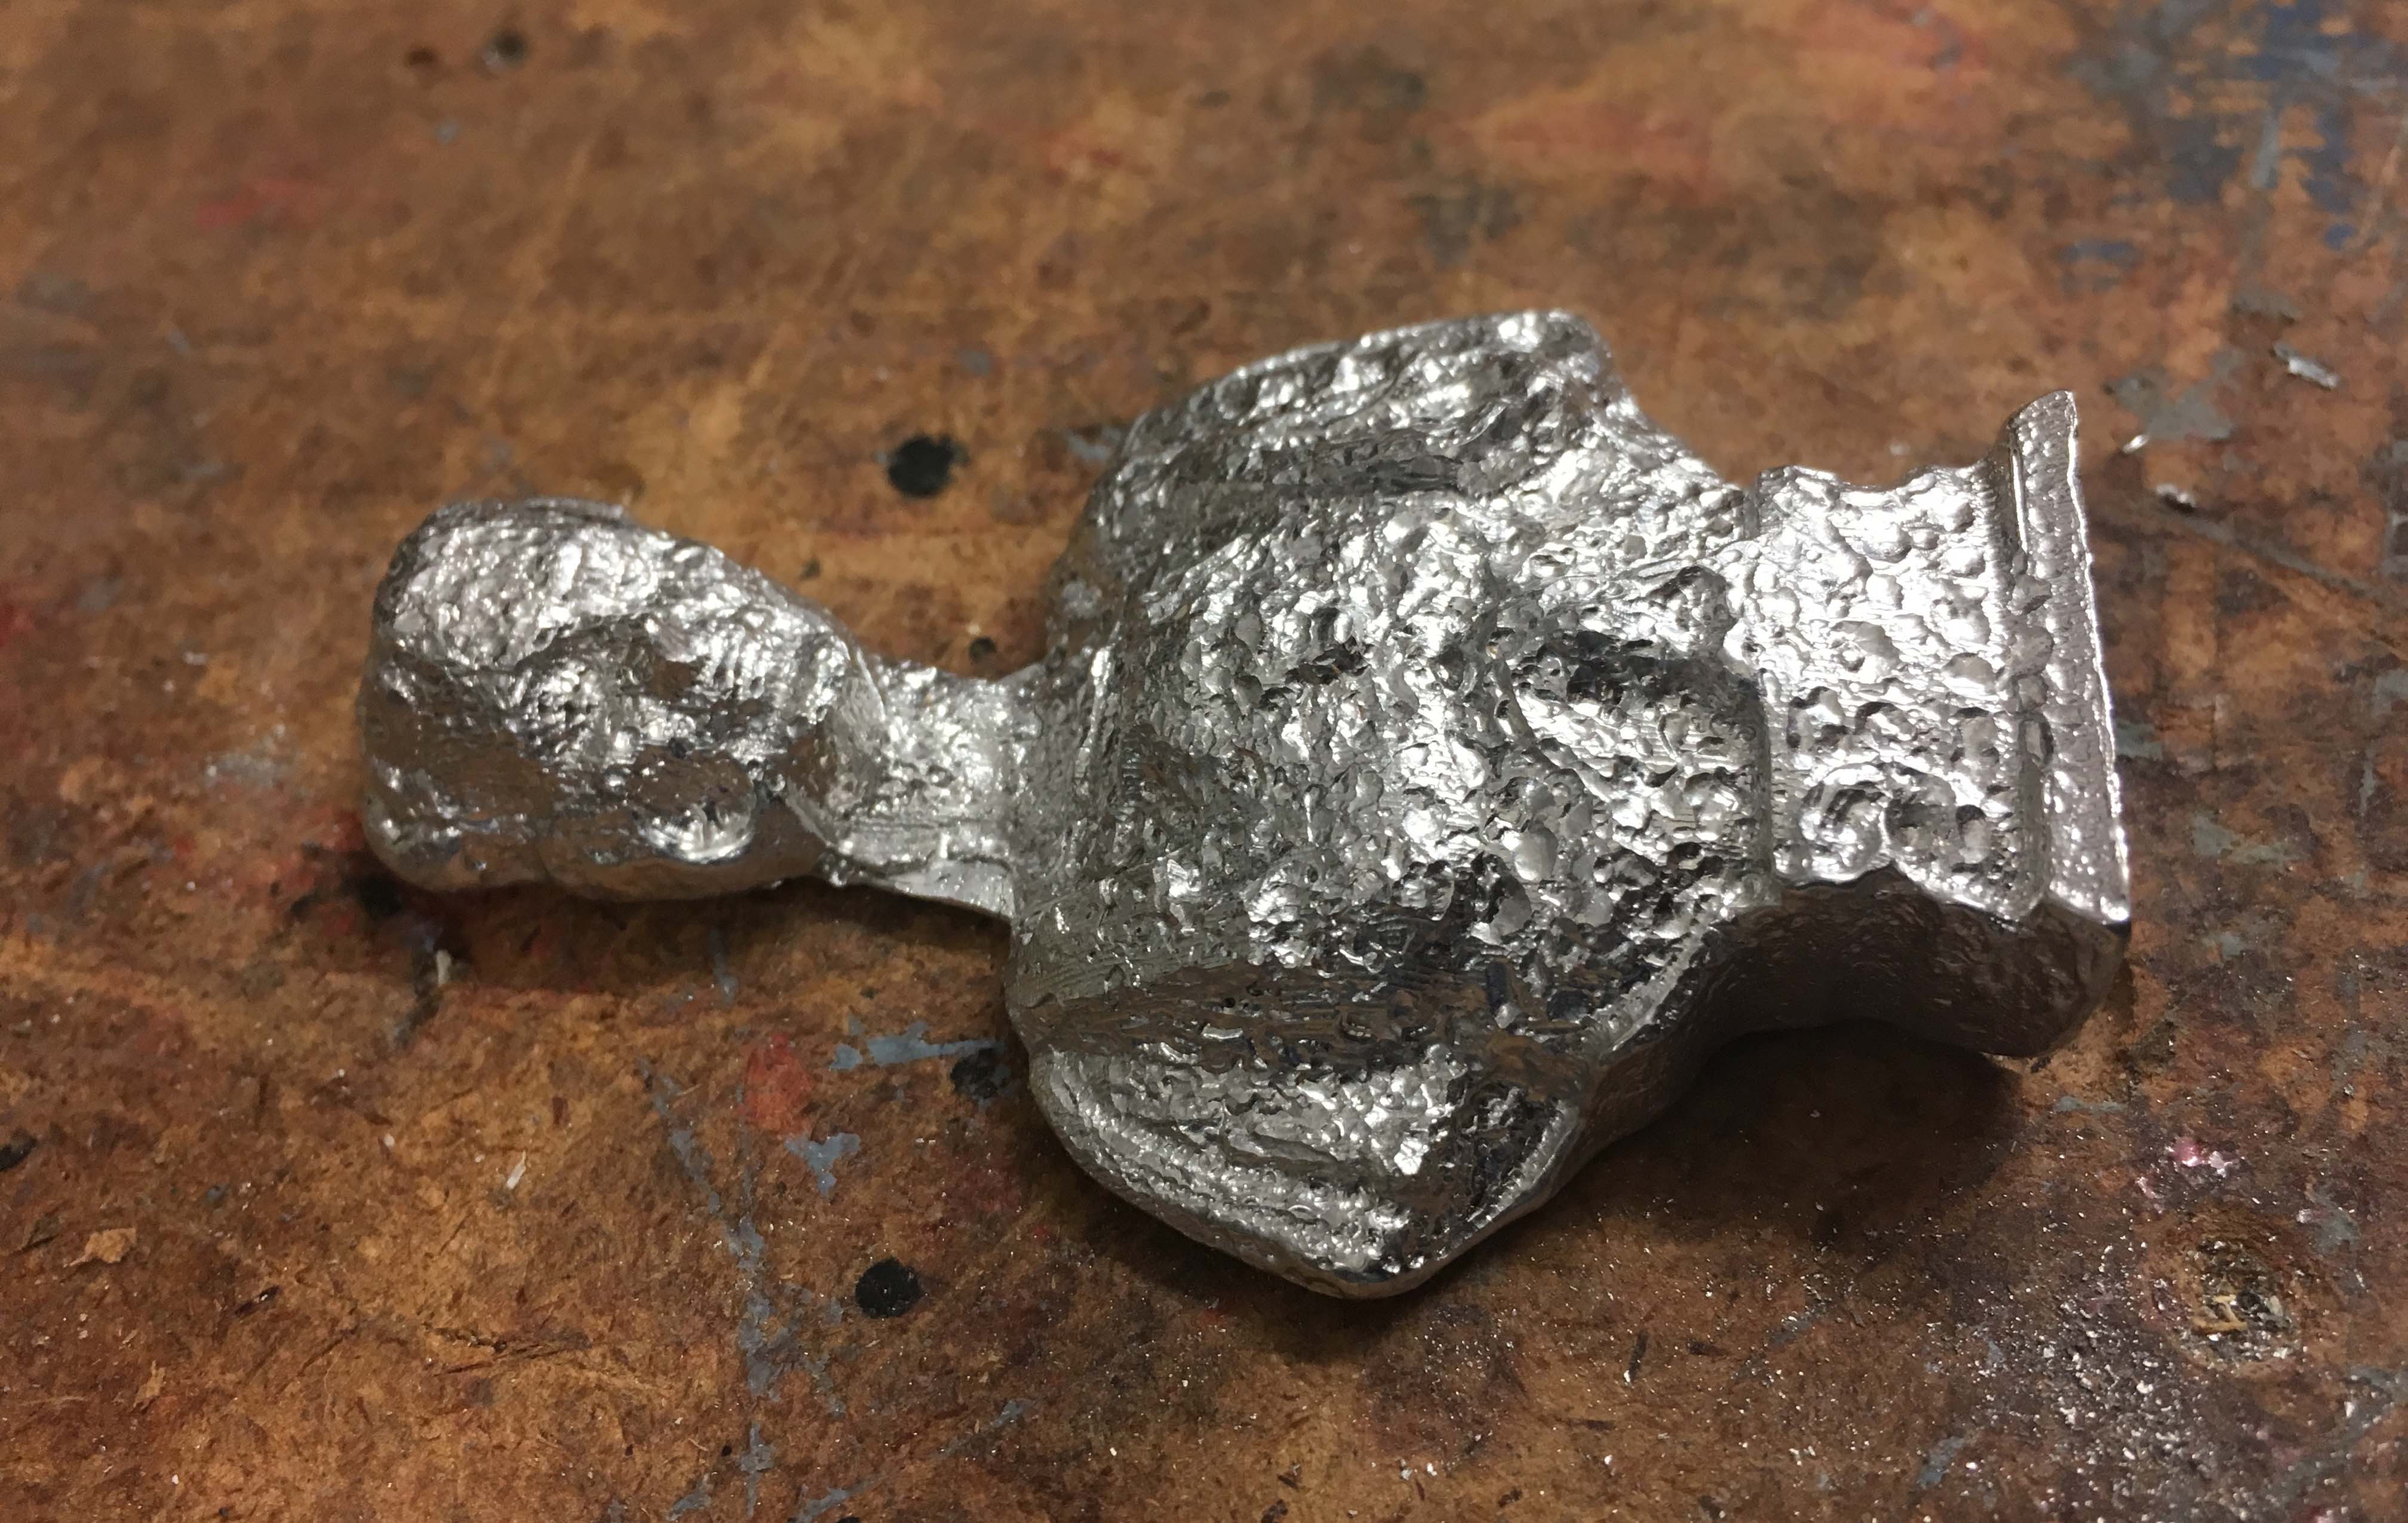
After breaking endmills and ruining a couple wax blocks, I had to take what I could get and move on, others needed time on the machines and the wax blocks were in limite supply. My wax positive was far from perfect but it looked good enoud to cast a mold. The Oomoo mold came out okay all things considered. I used it to cast peice in tin, which had some air bubble issues, still not sure why.
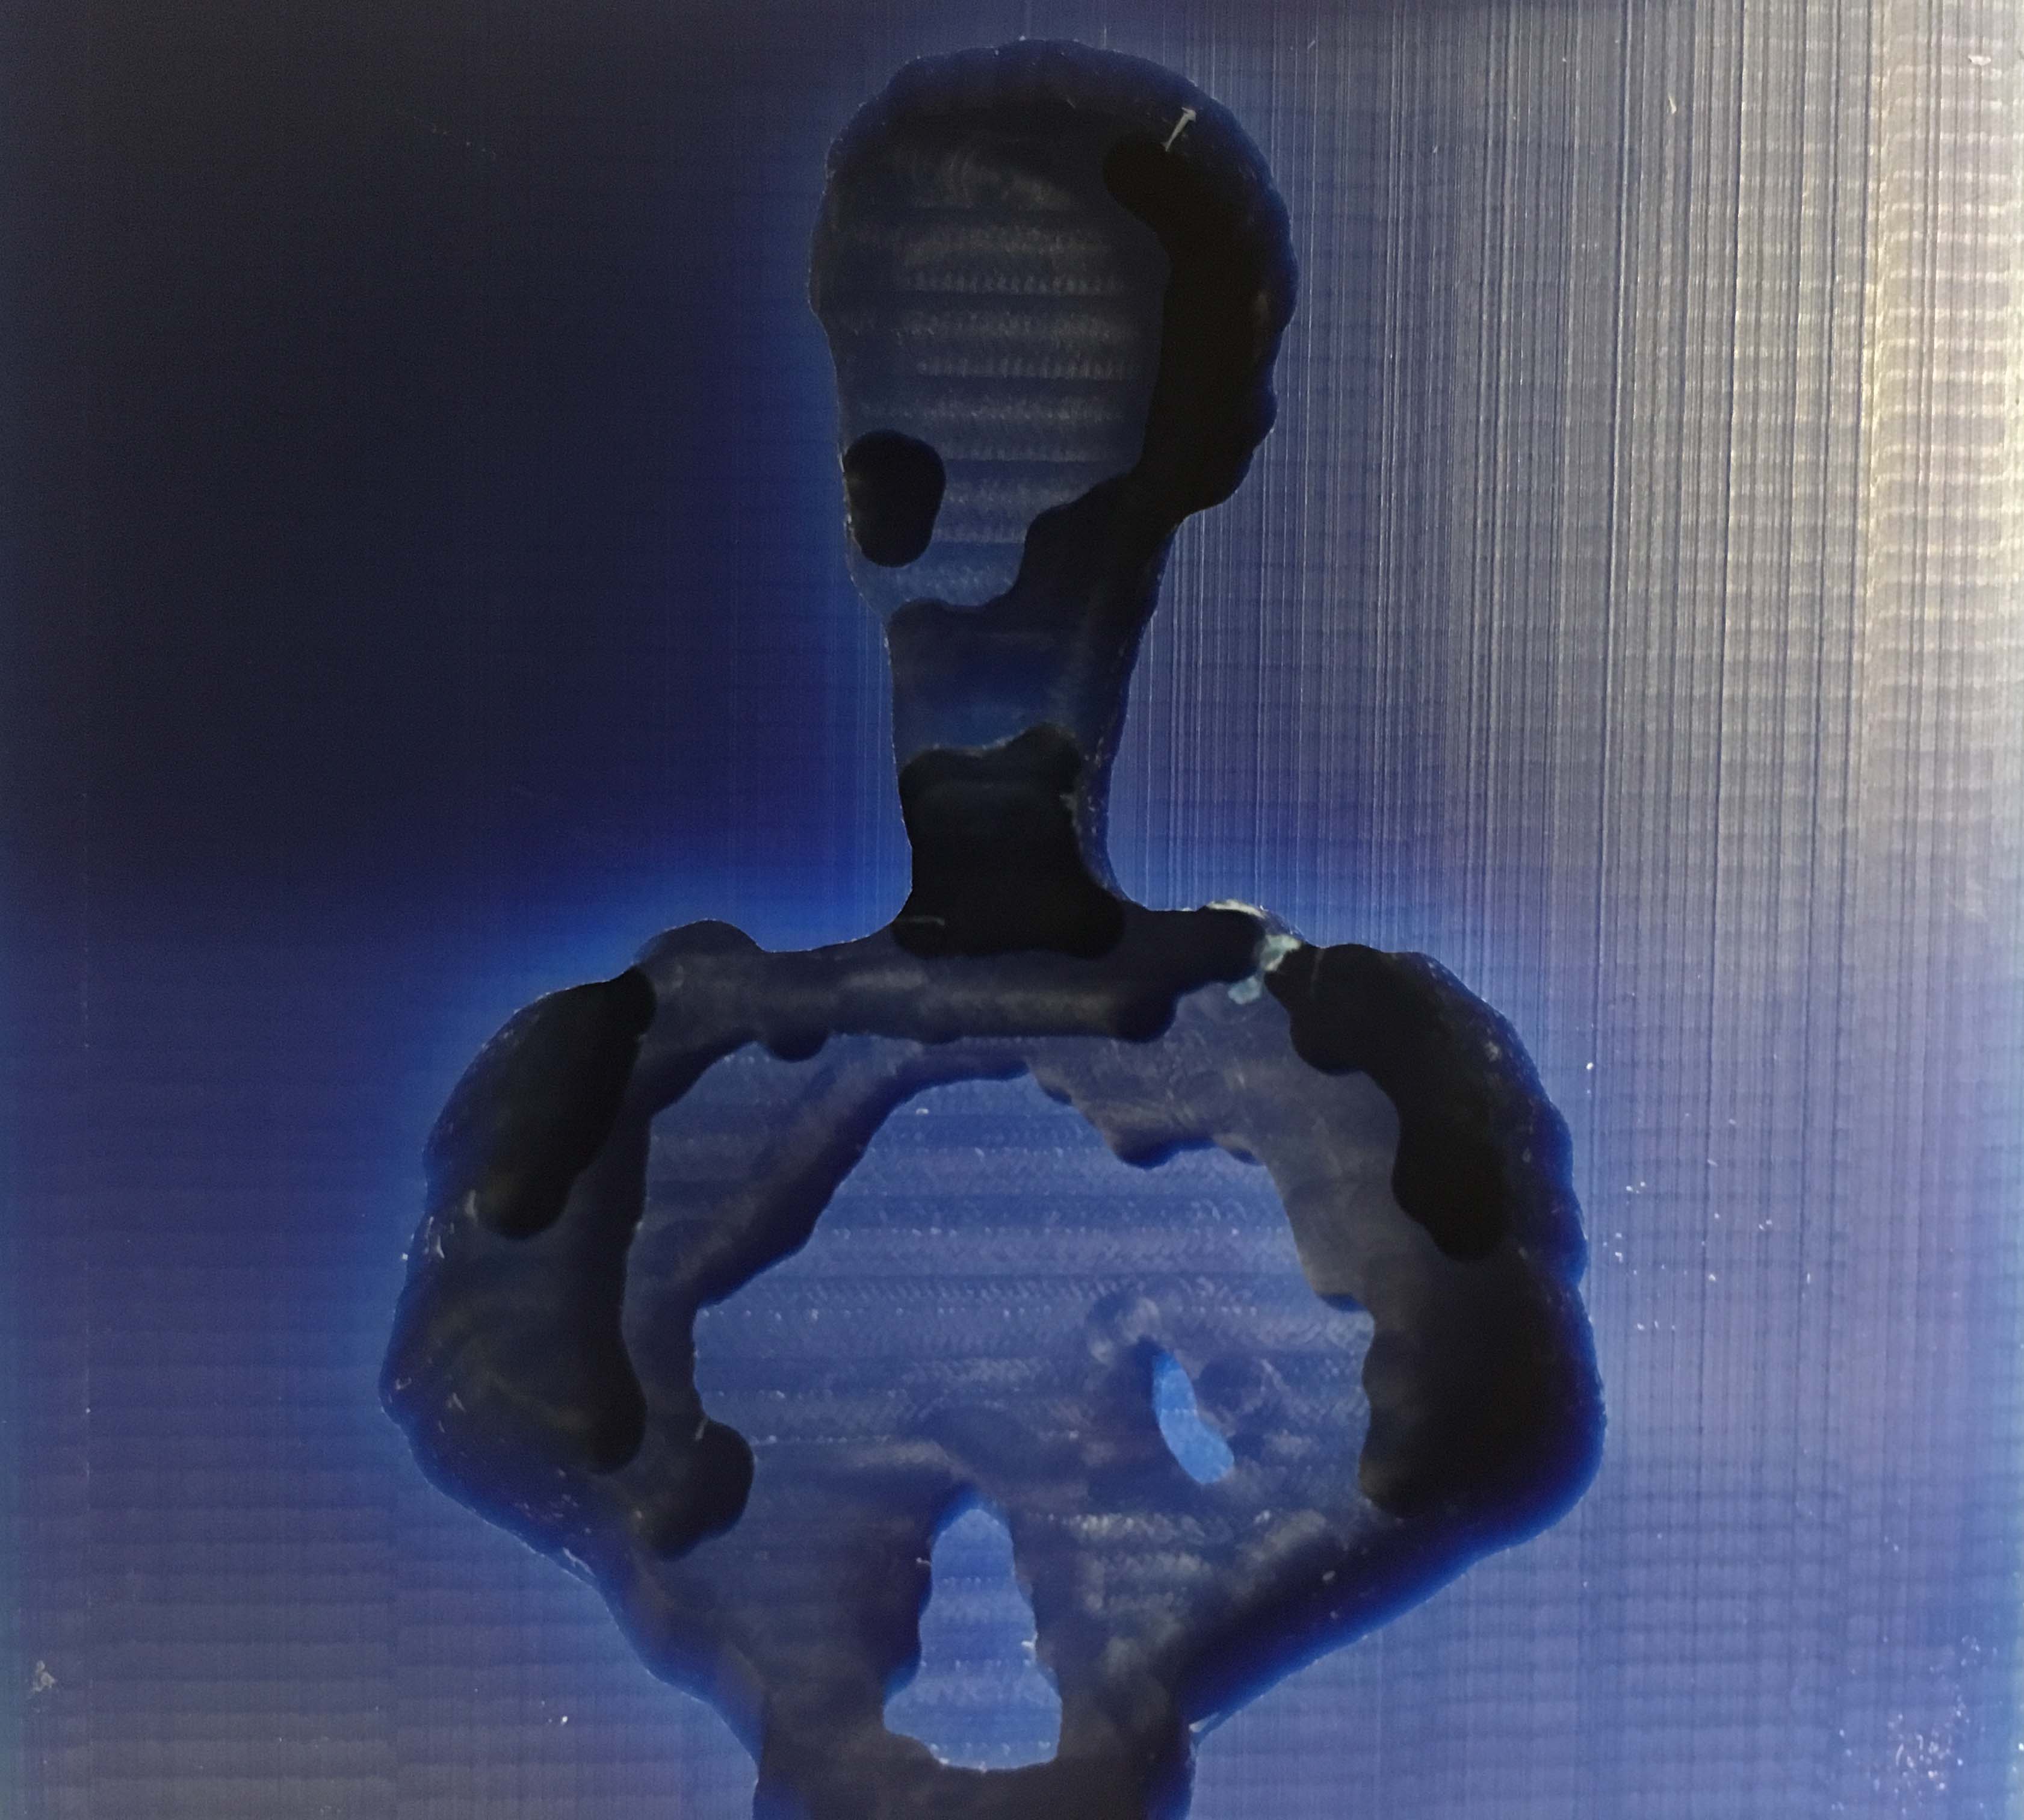
Fig.1 DO NOT mill your rough cut in reference to you MODEL boundary
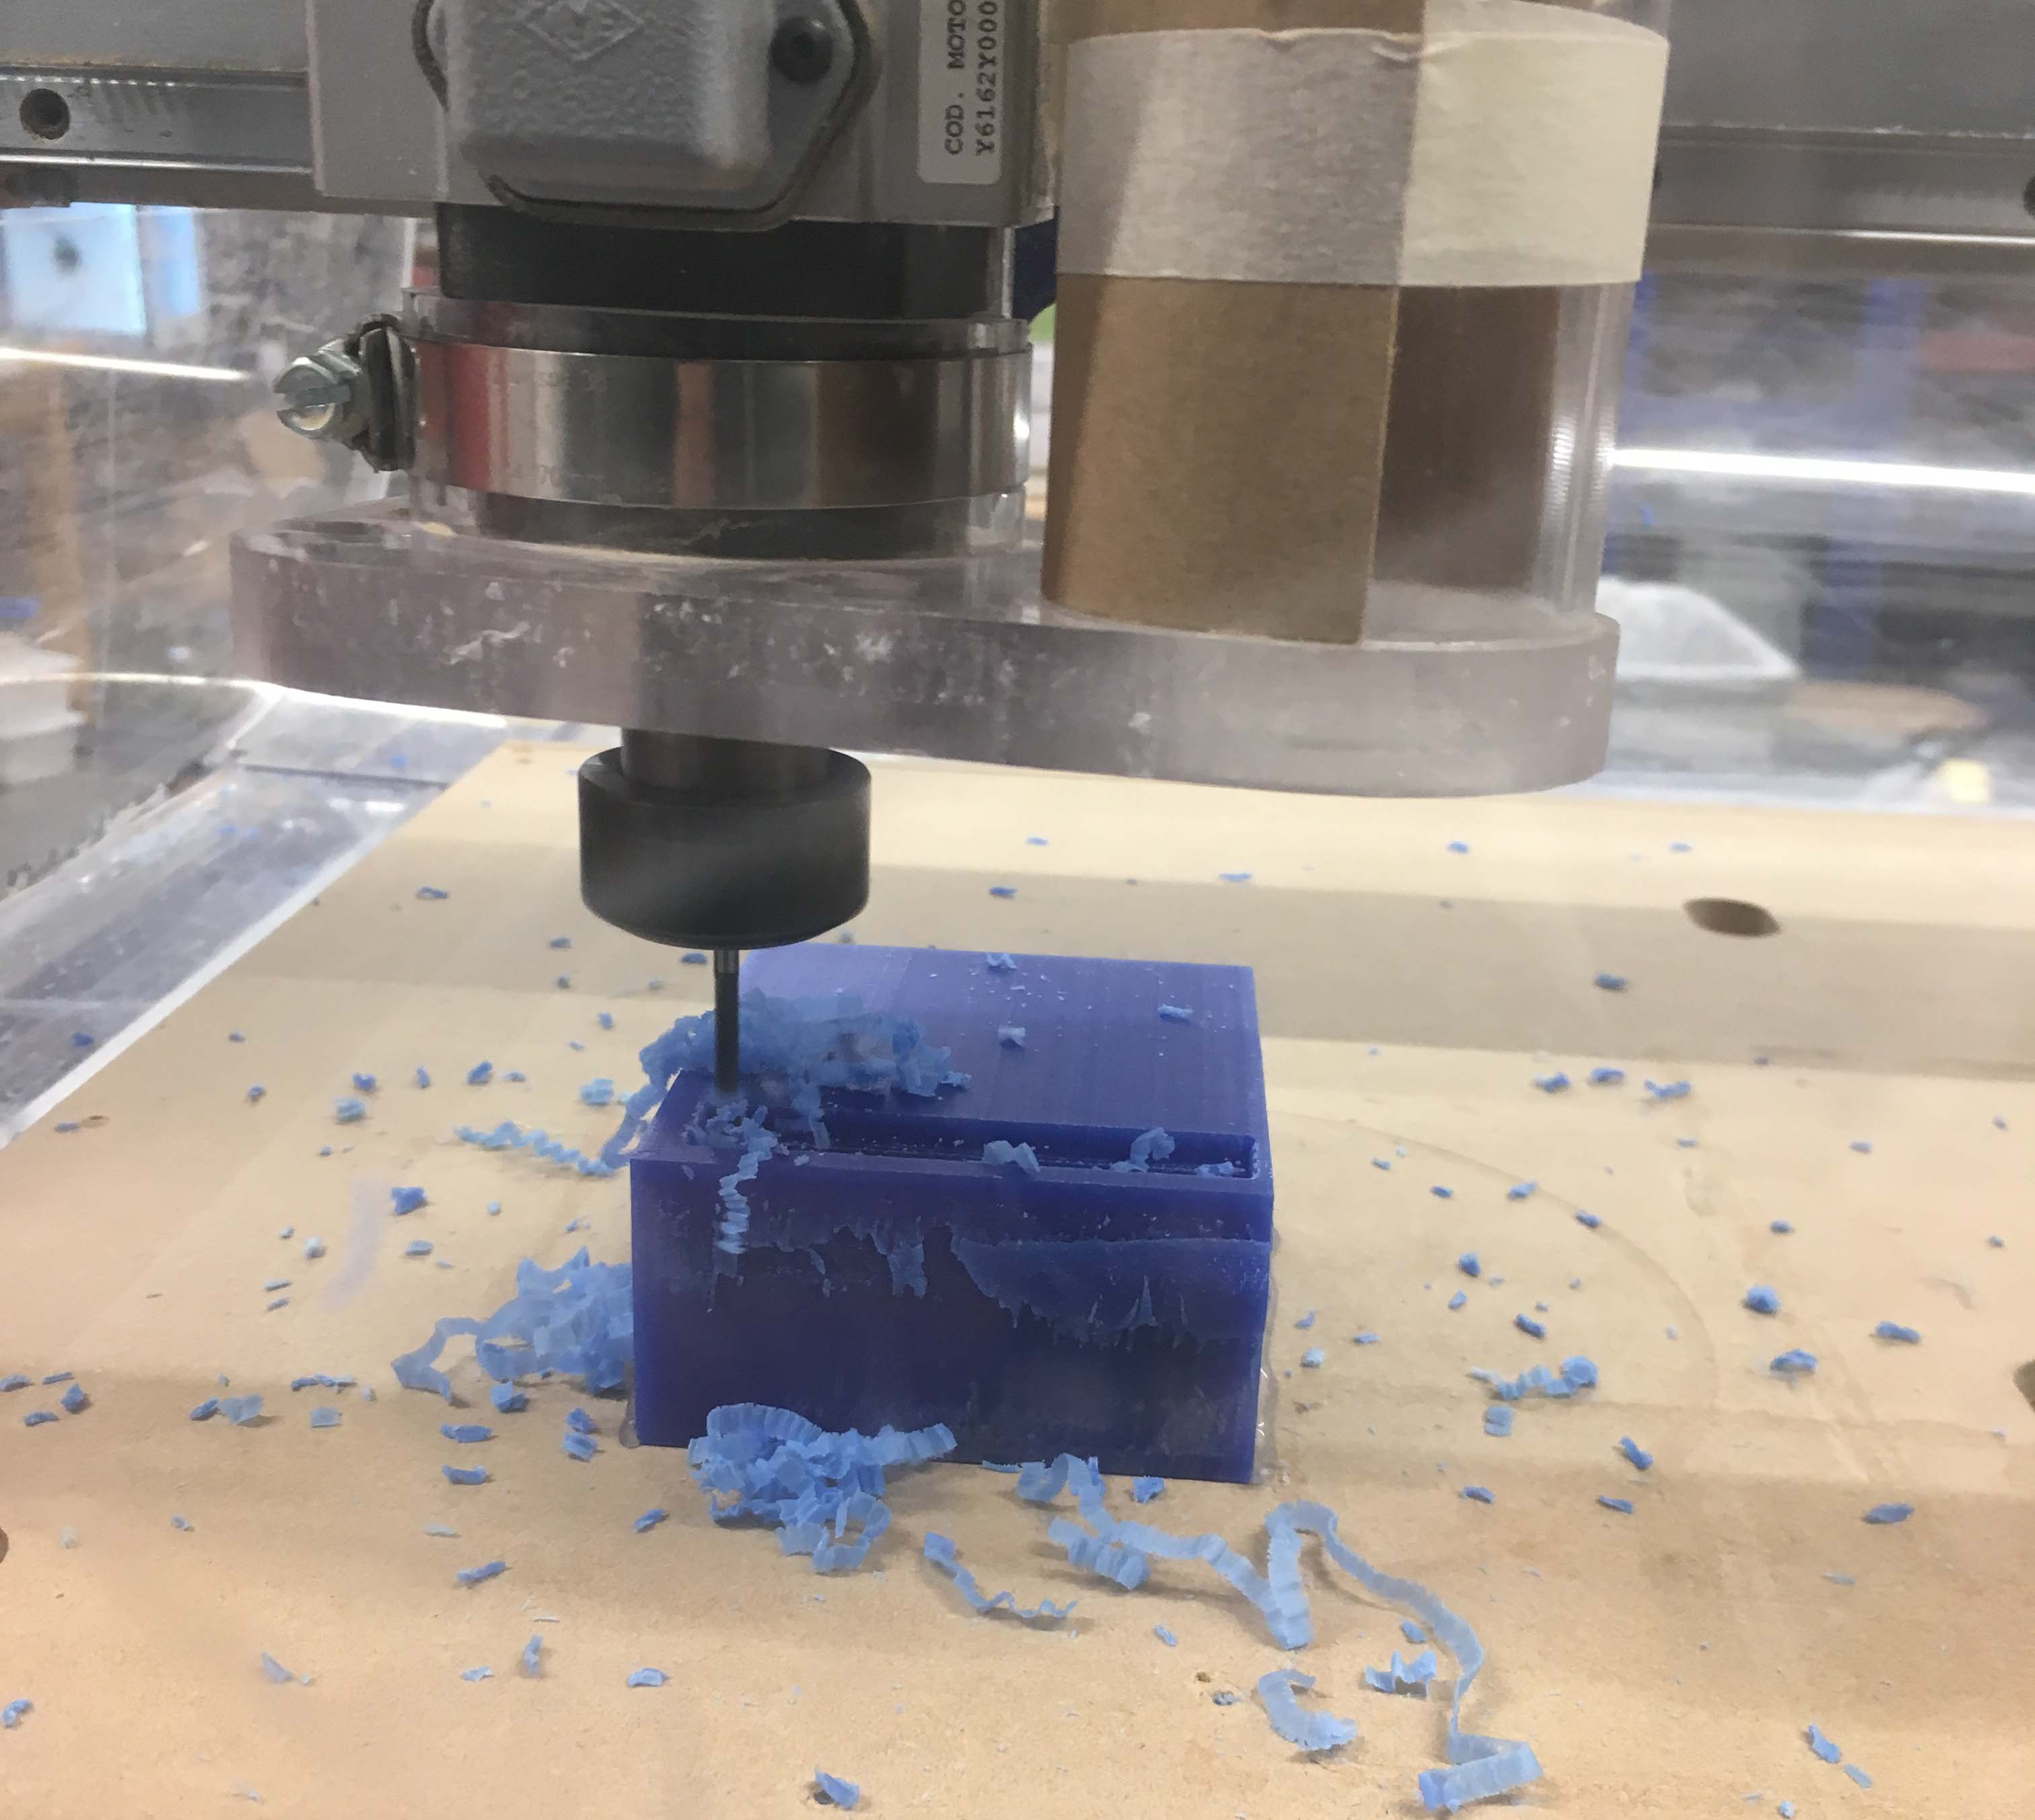
Fig.2 New block, milling my rough cut in reference to the MATERIAL boundary this time
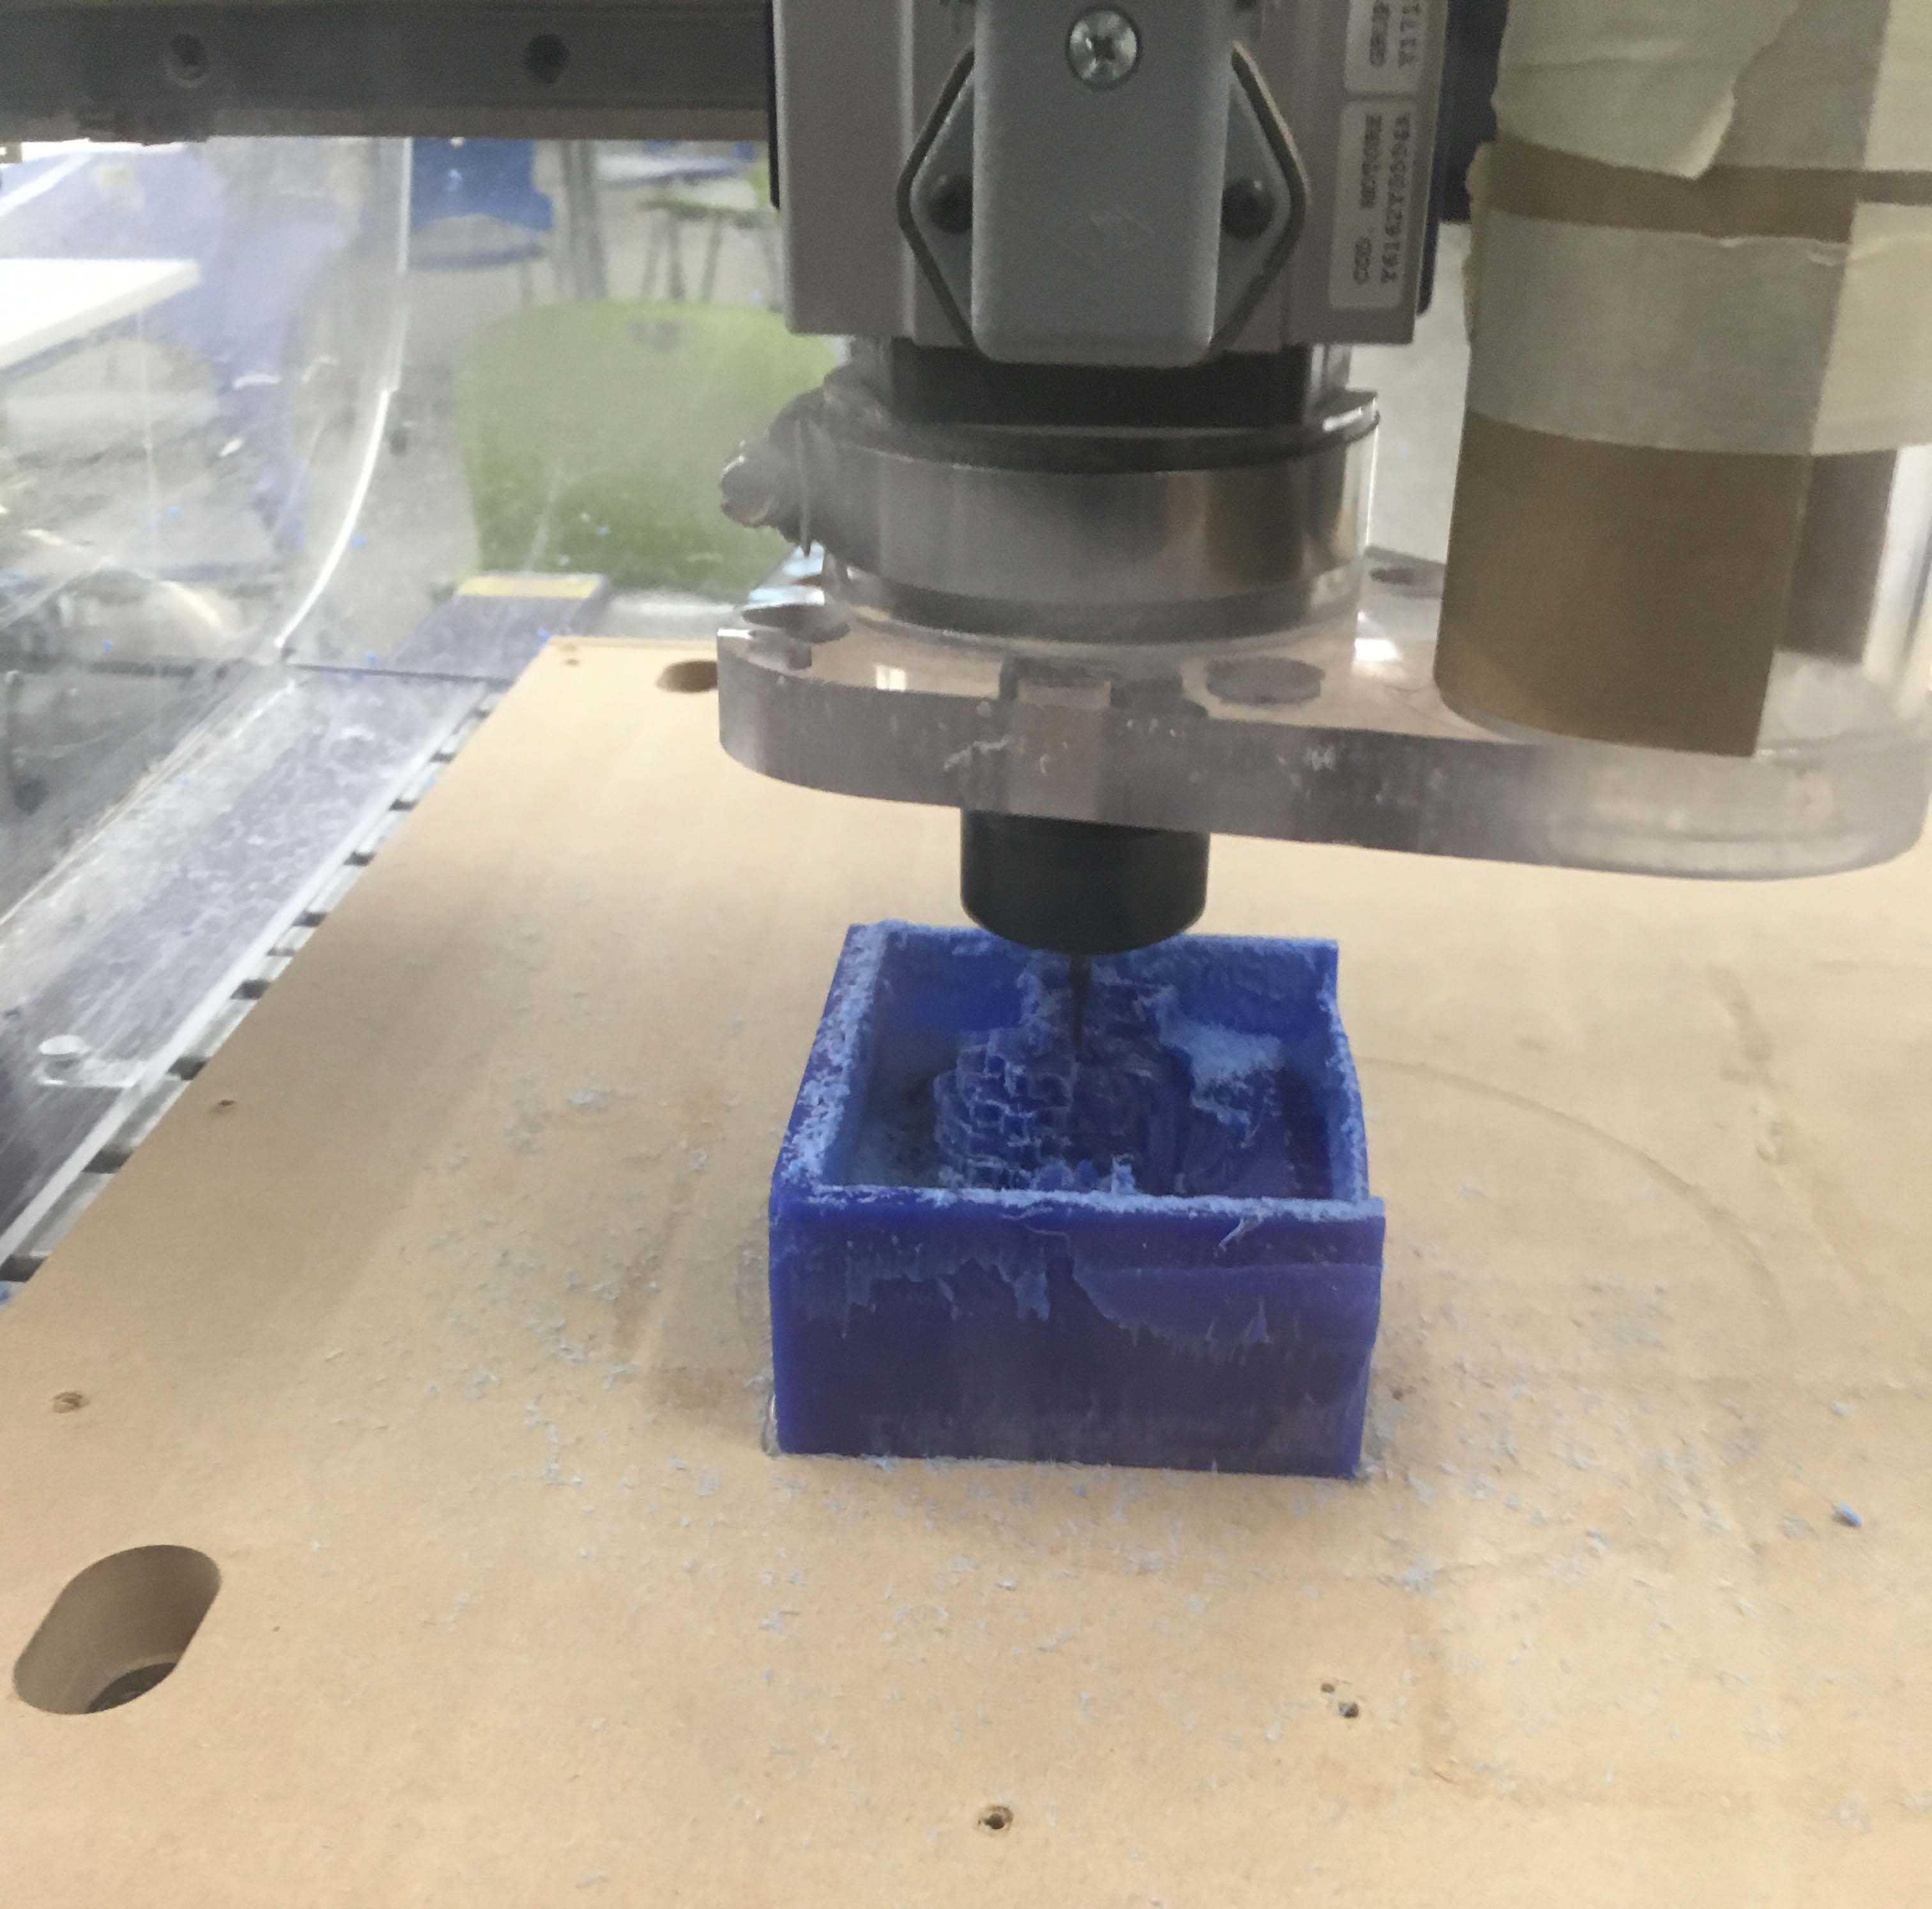
Fig.3 Smoothing path in progress, notice how the tool now has plenty of space compared to Fig.1
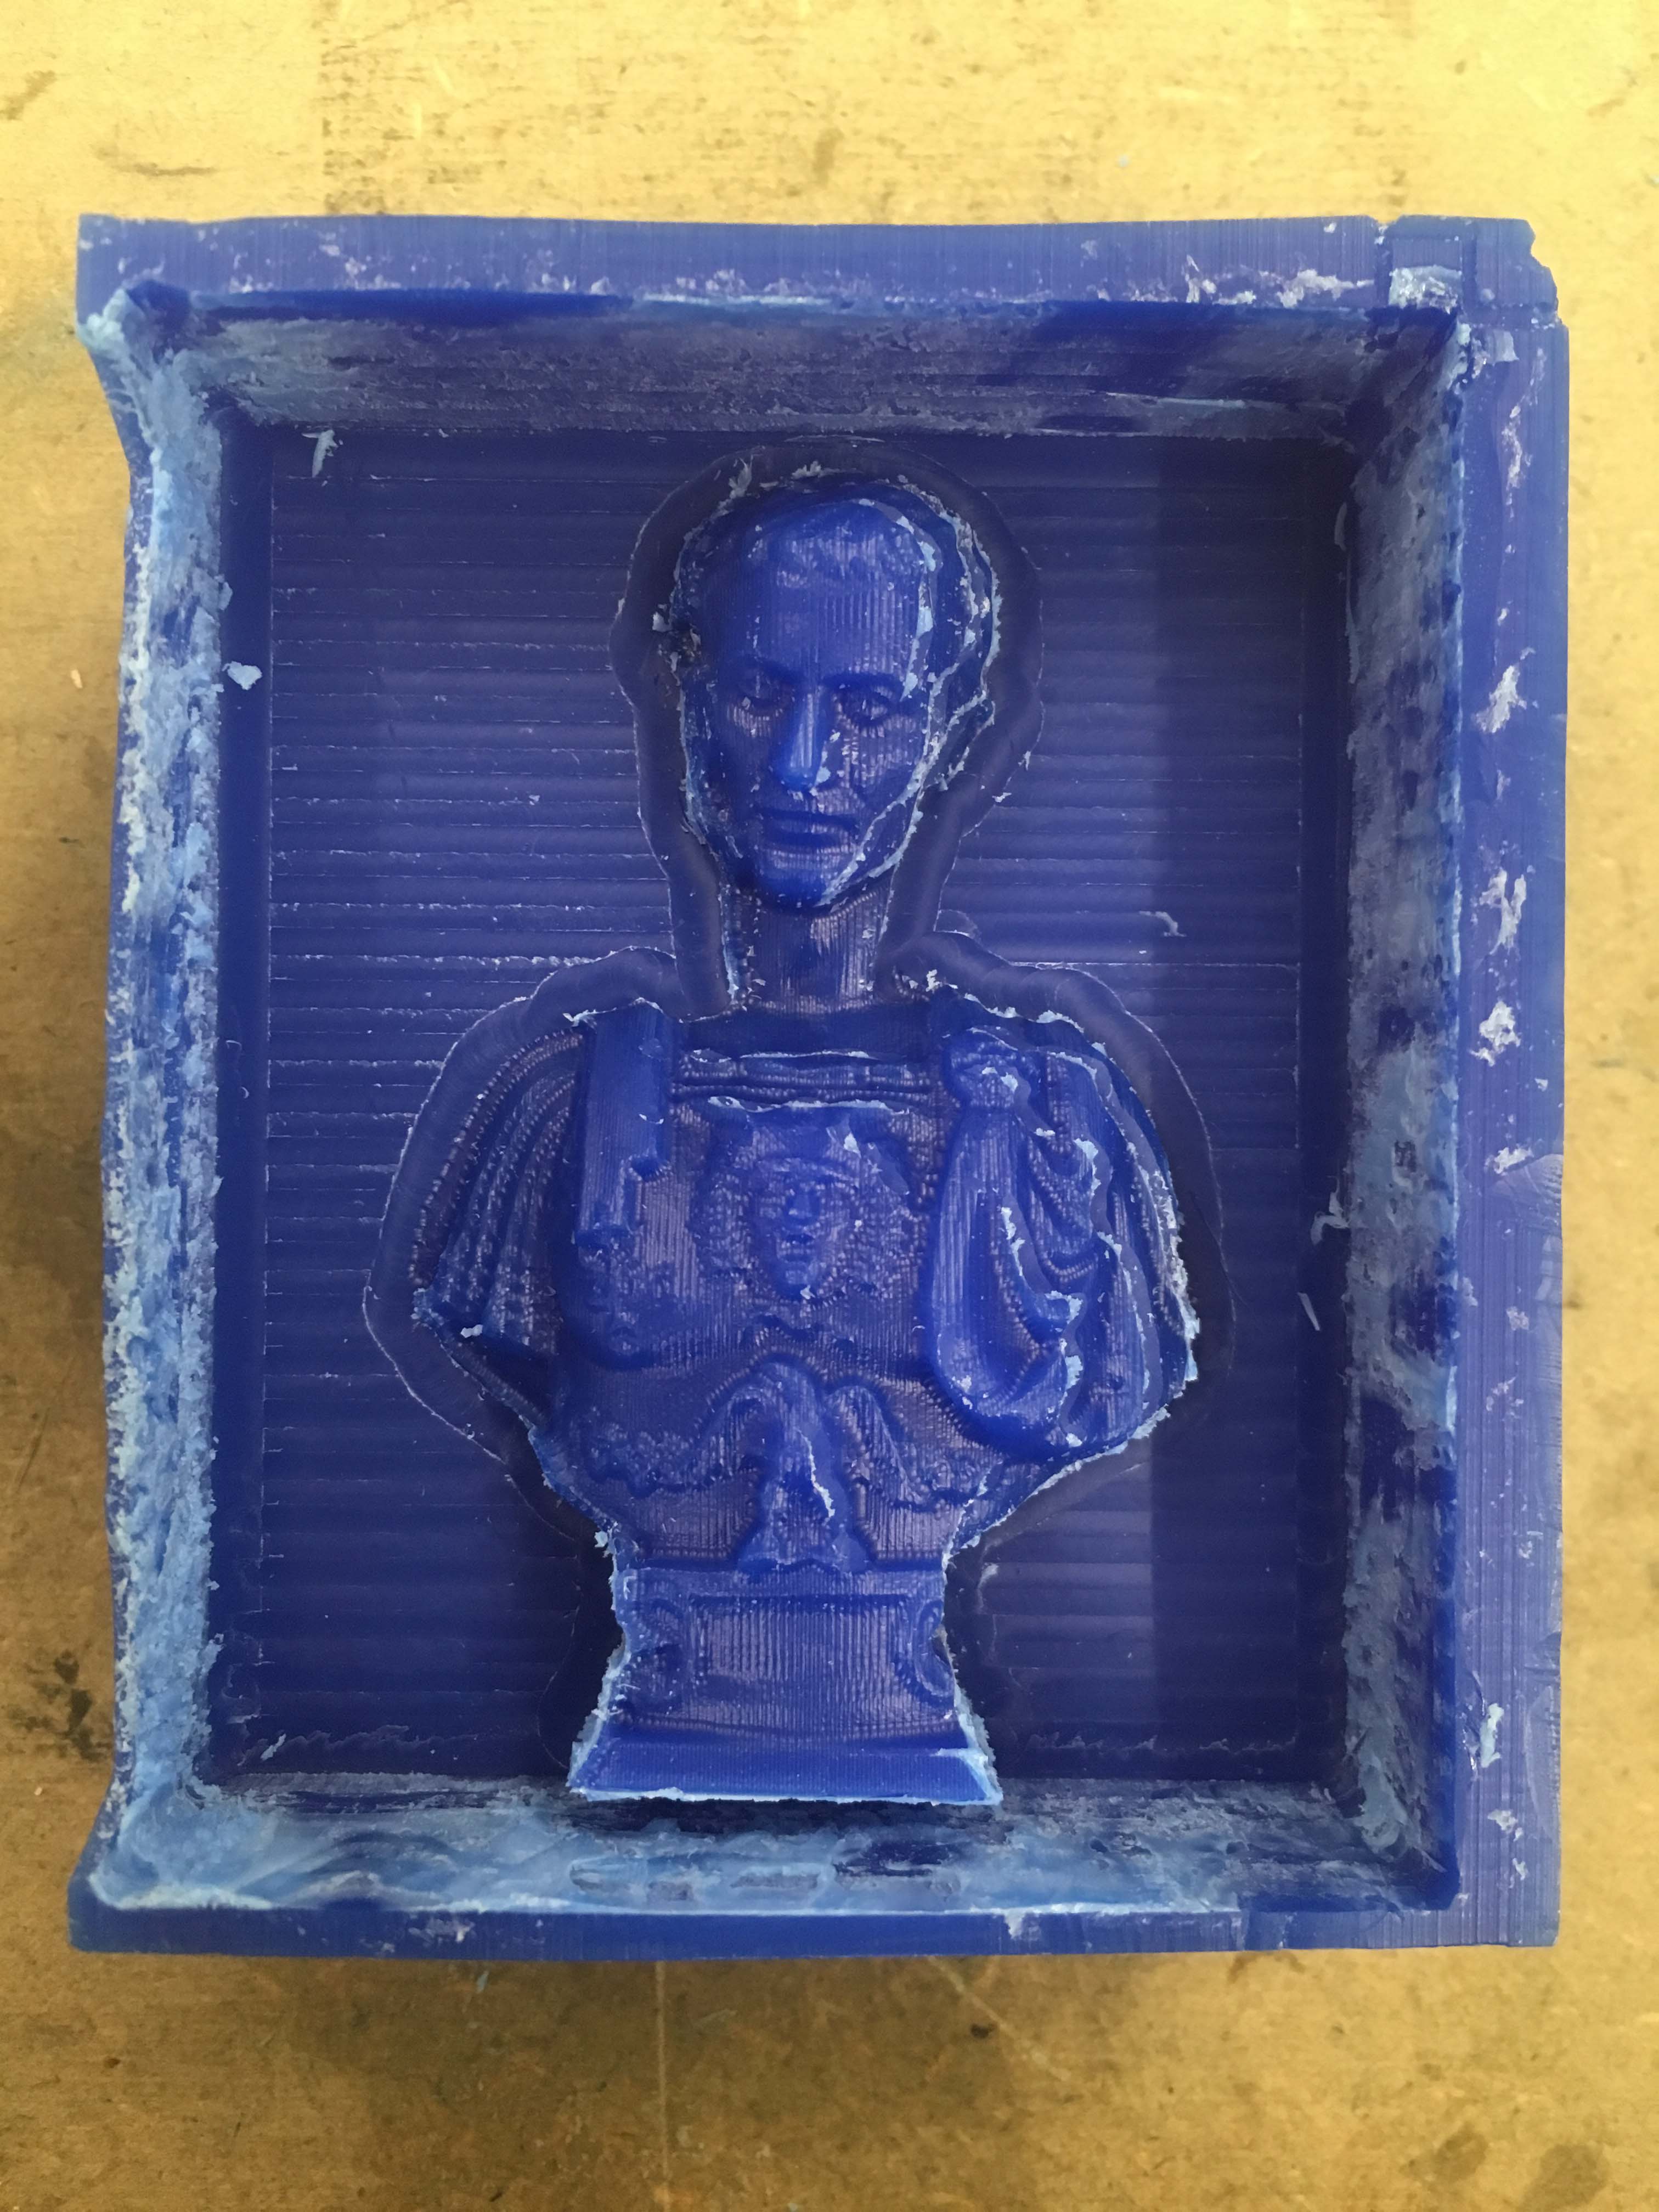
Fig.4 Finished cutting, used an Xacto knife to clean the melted wax around the edges. Vacuum the excess wax during your cut to avoid melting.
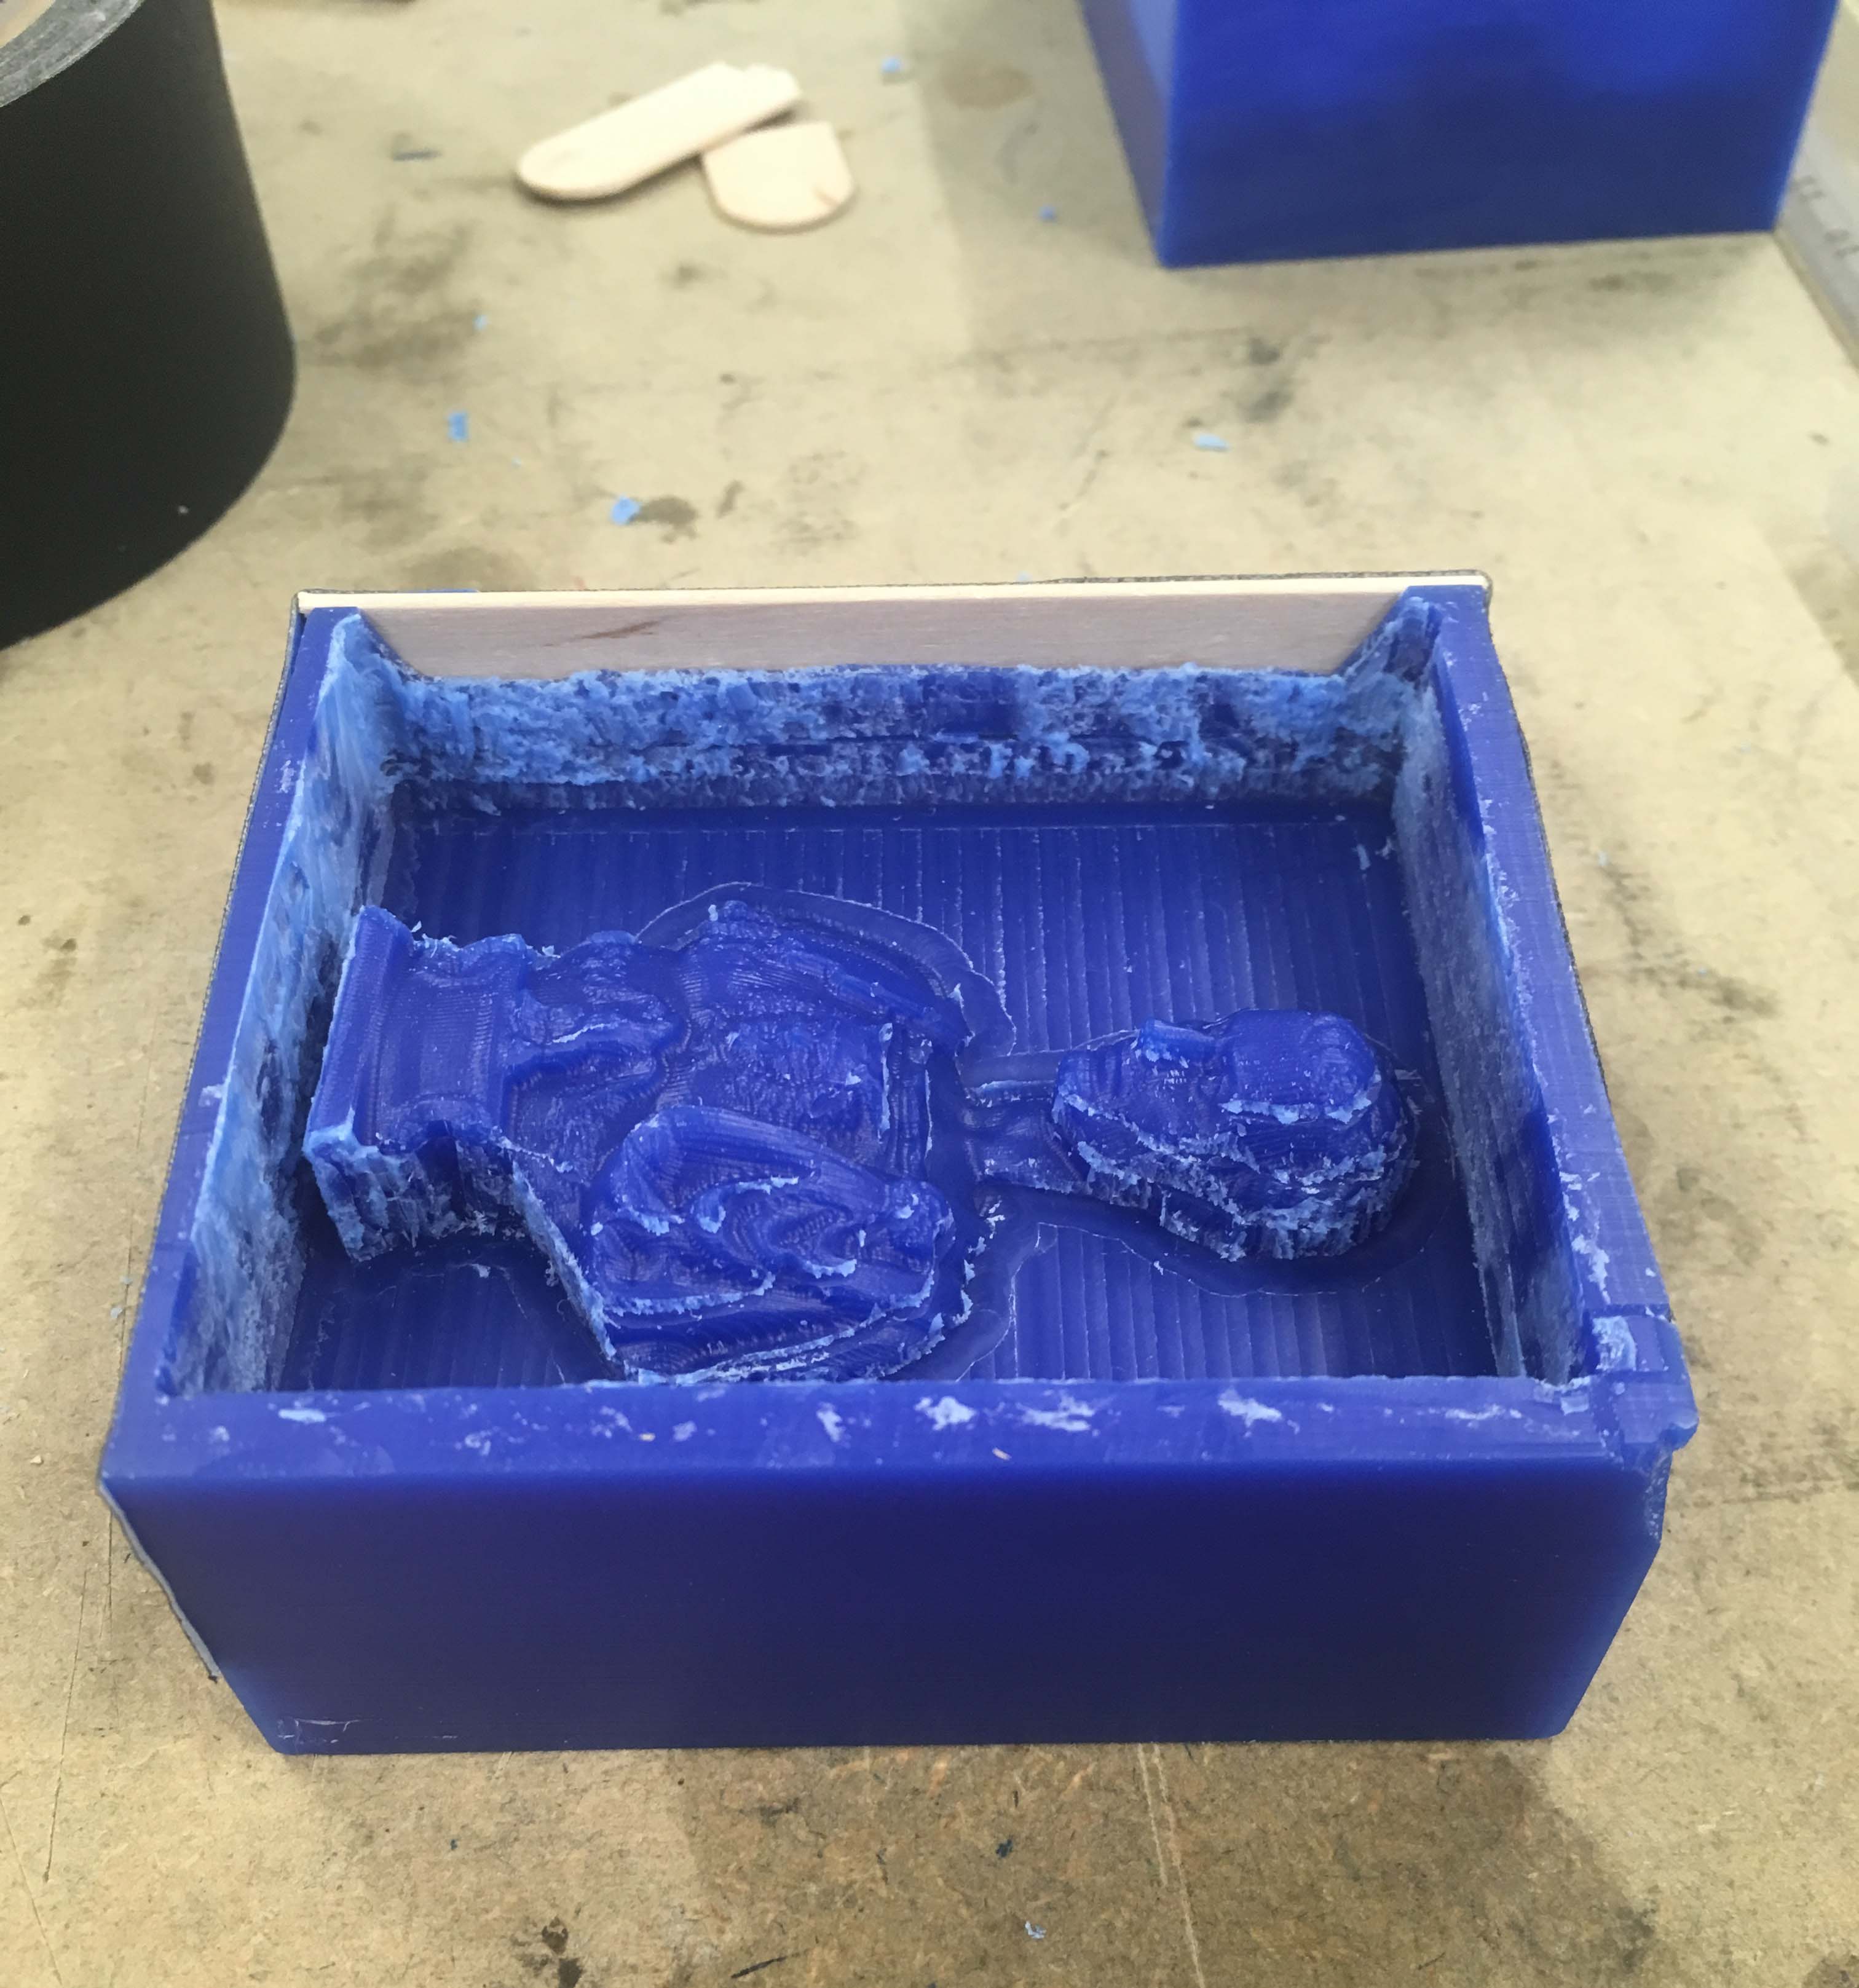
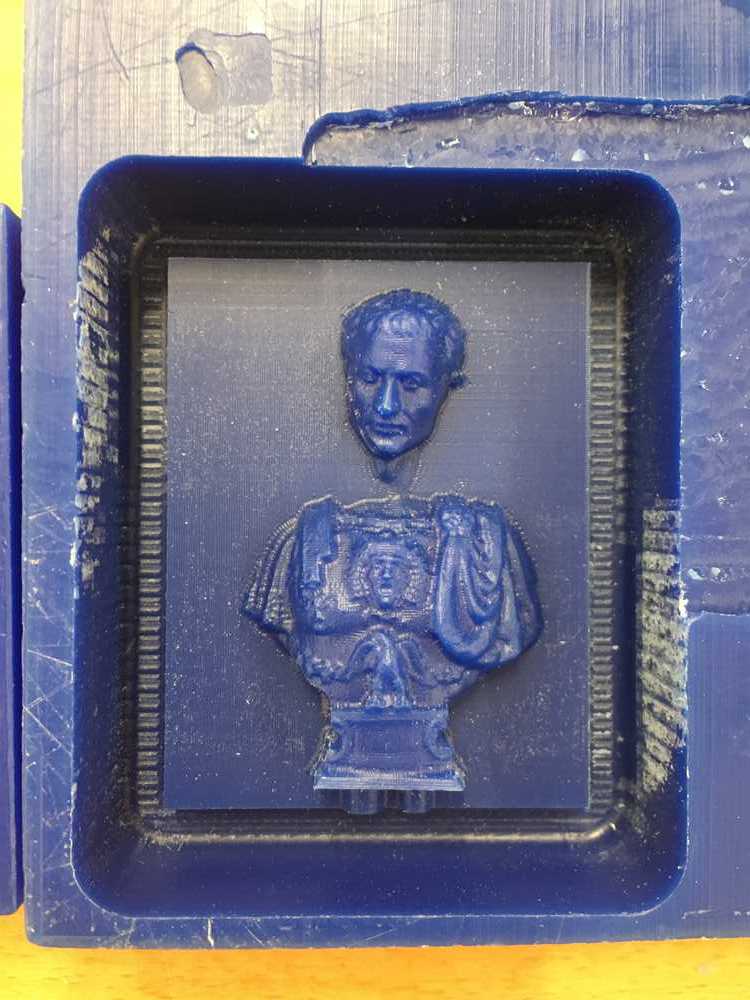
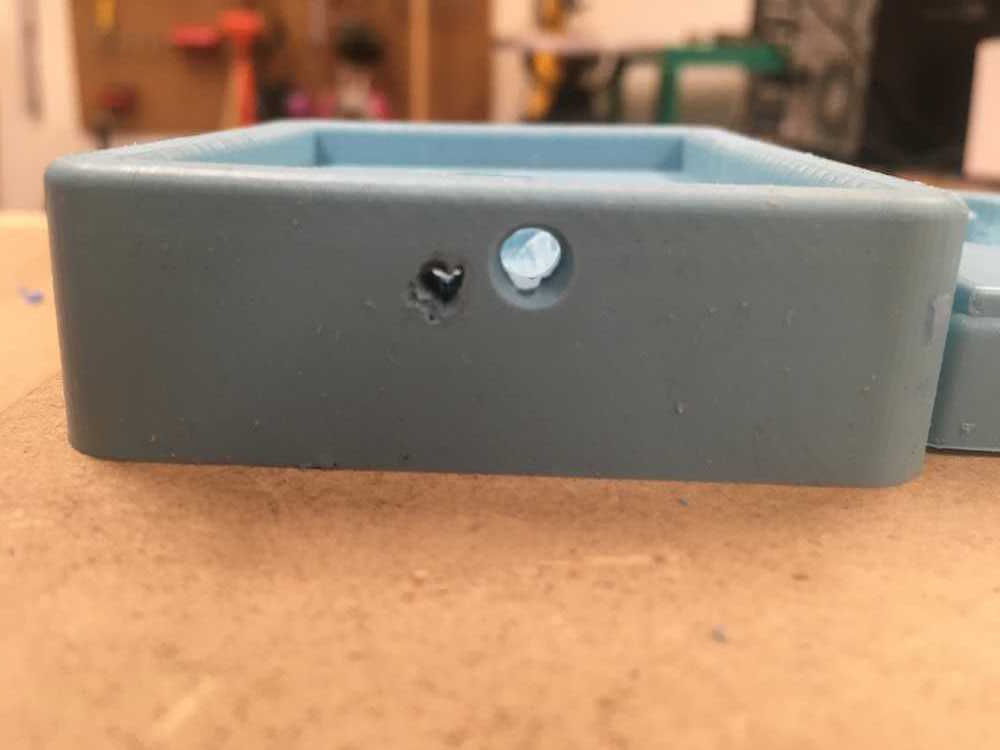
Fig.5 One of the walls of my mold was too thin and broke during milling. I repaired it with a wooded mixing stick and some tape
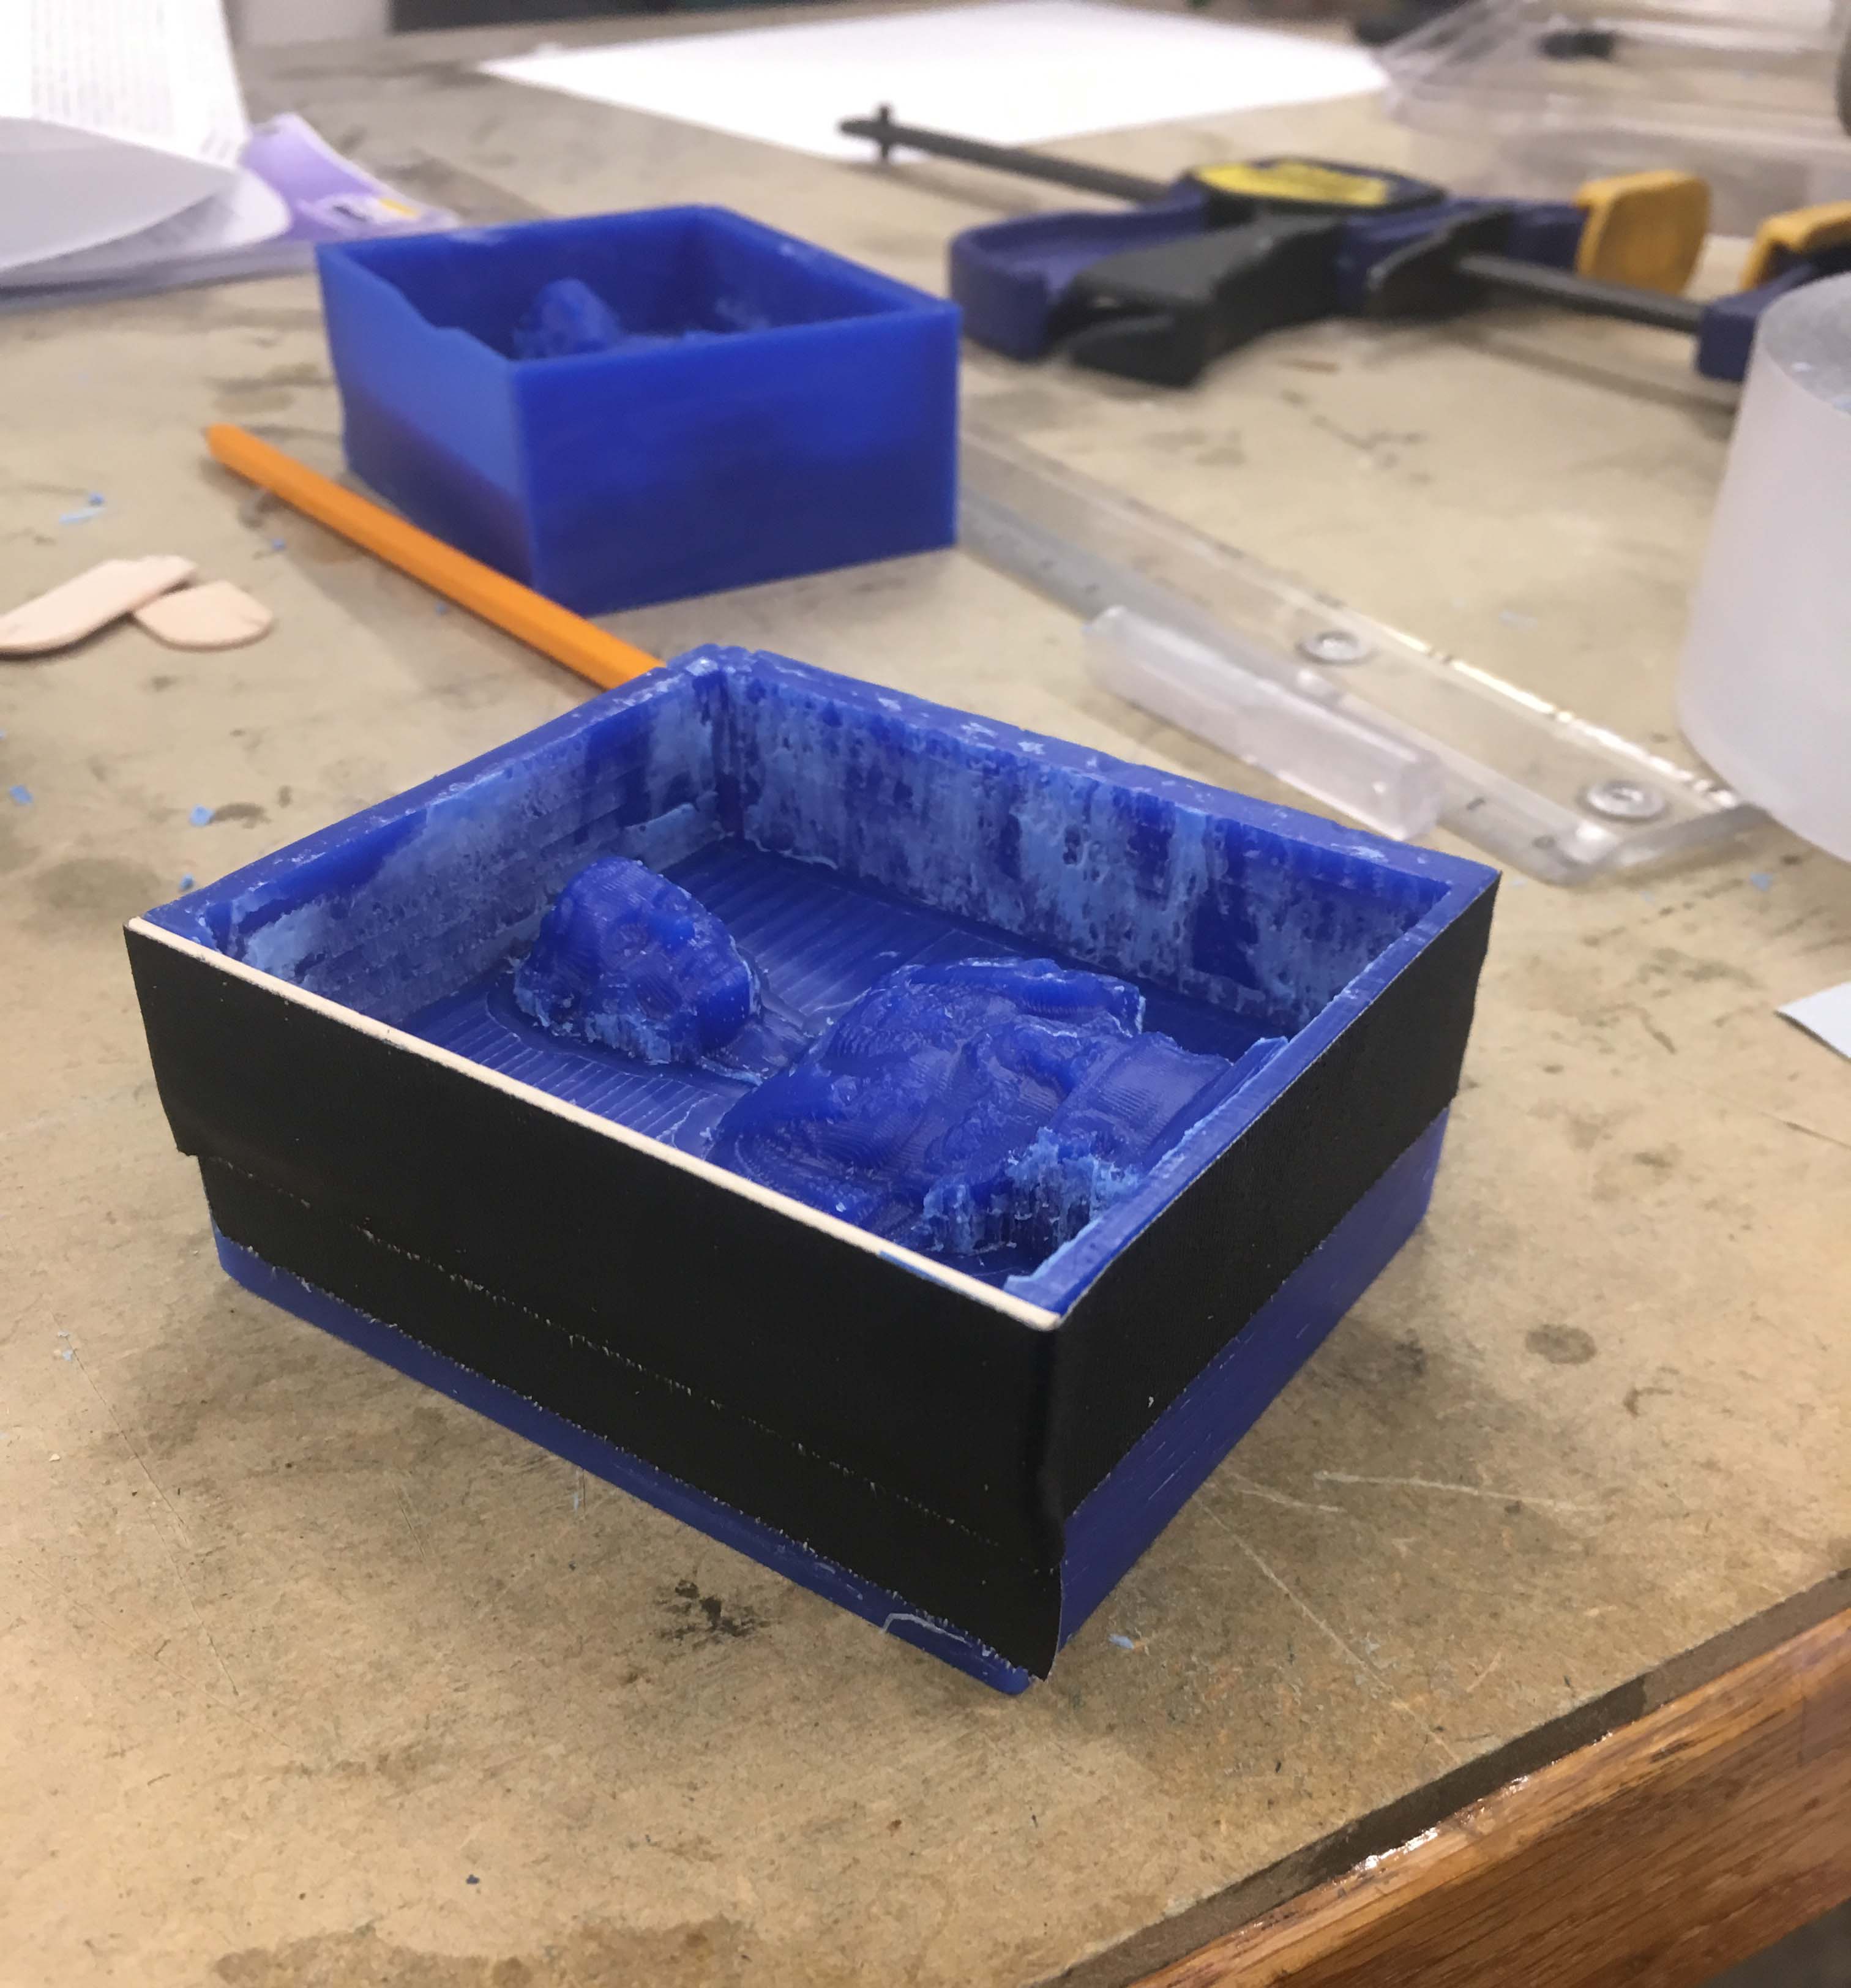
Fig.7 Fixed the broken wall
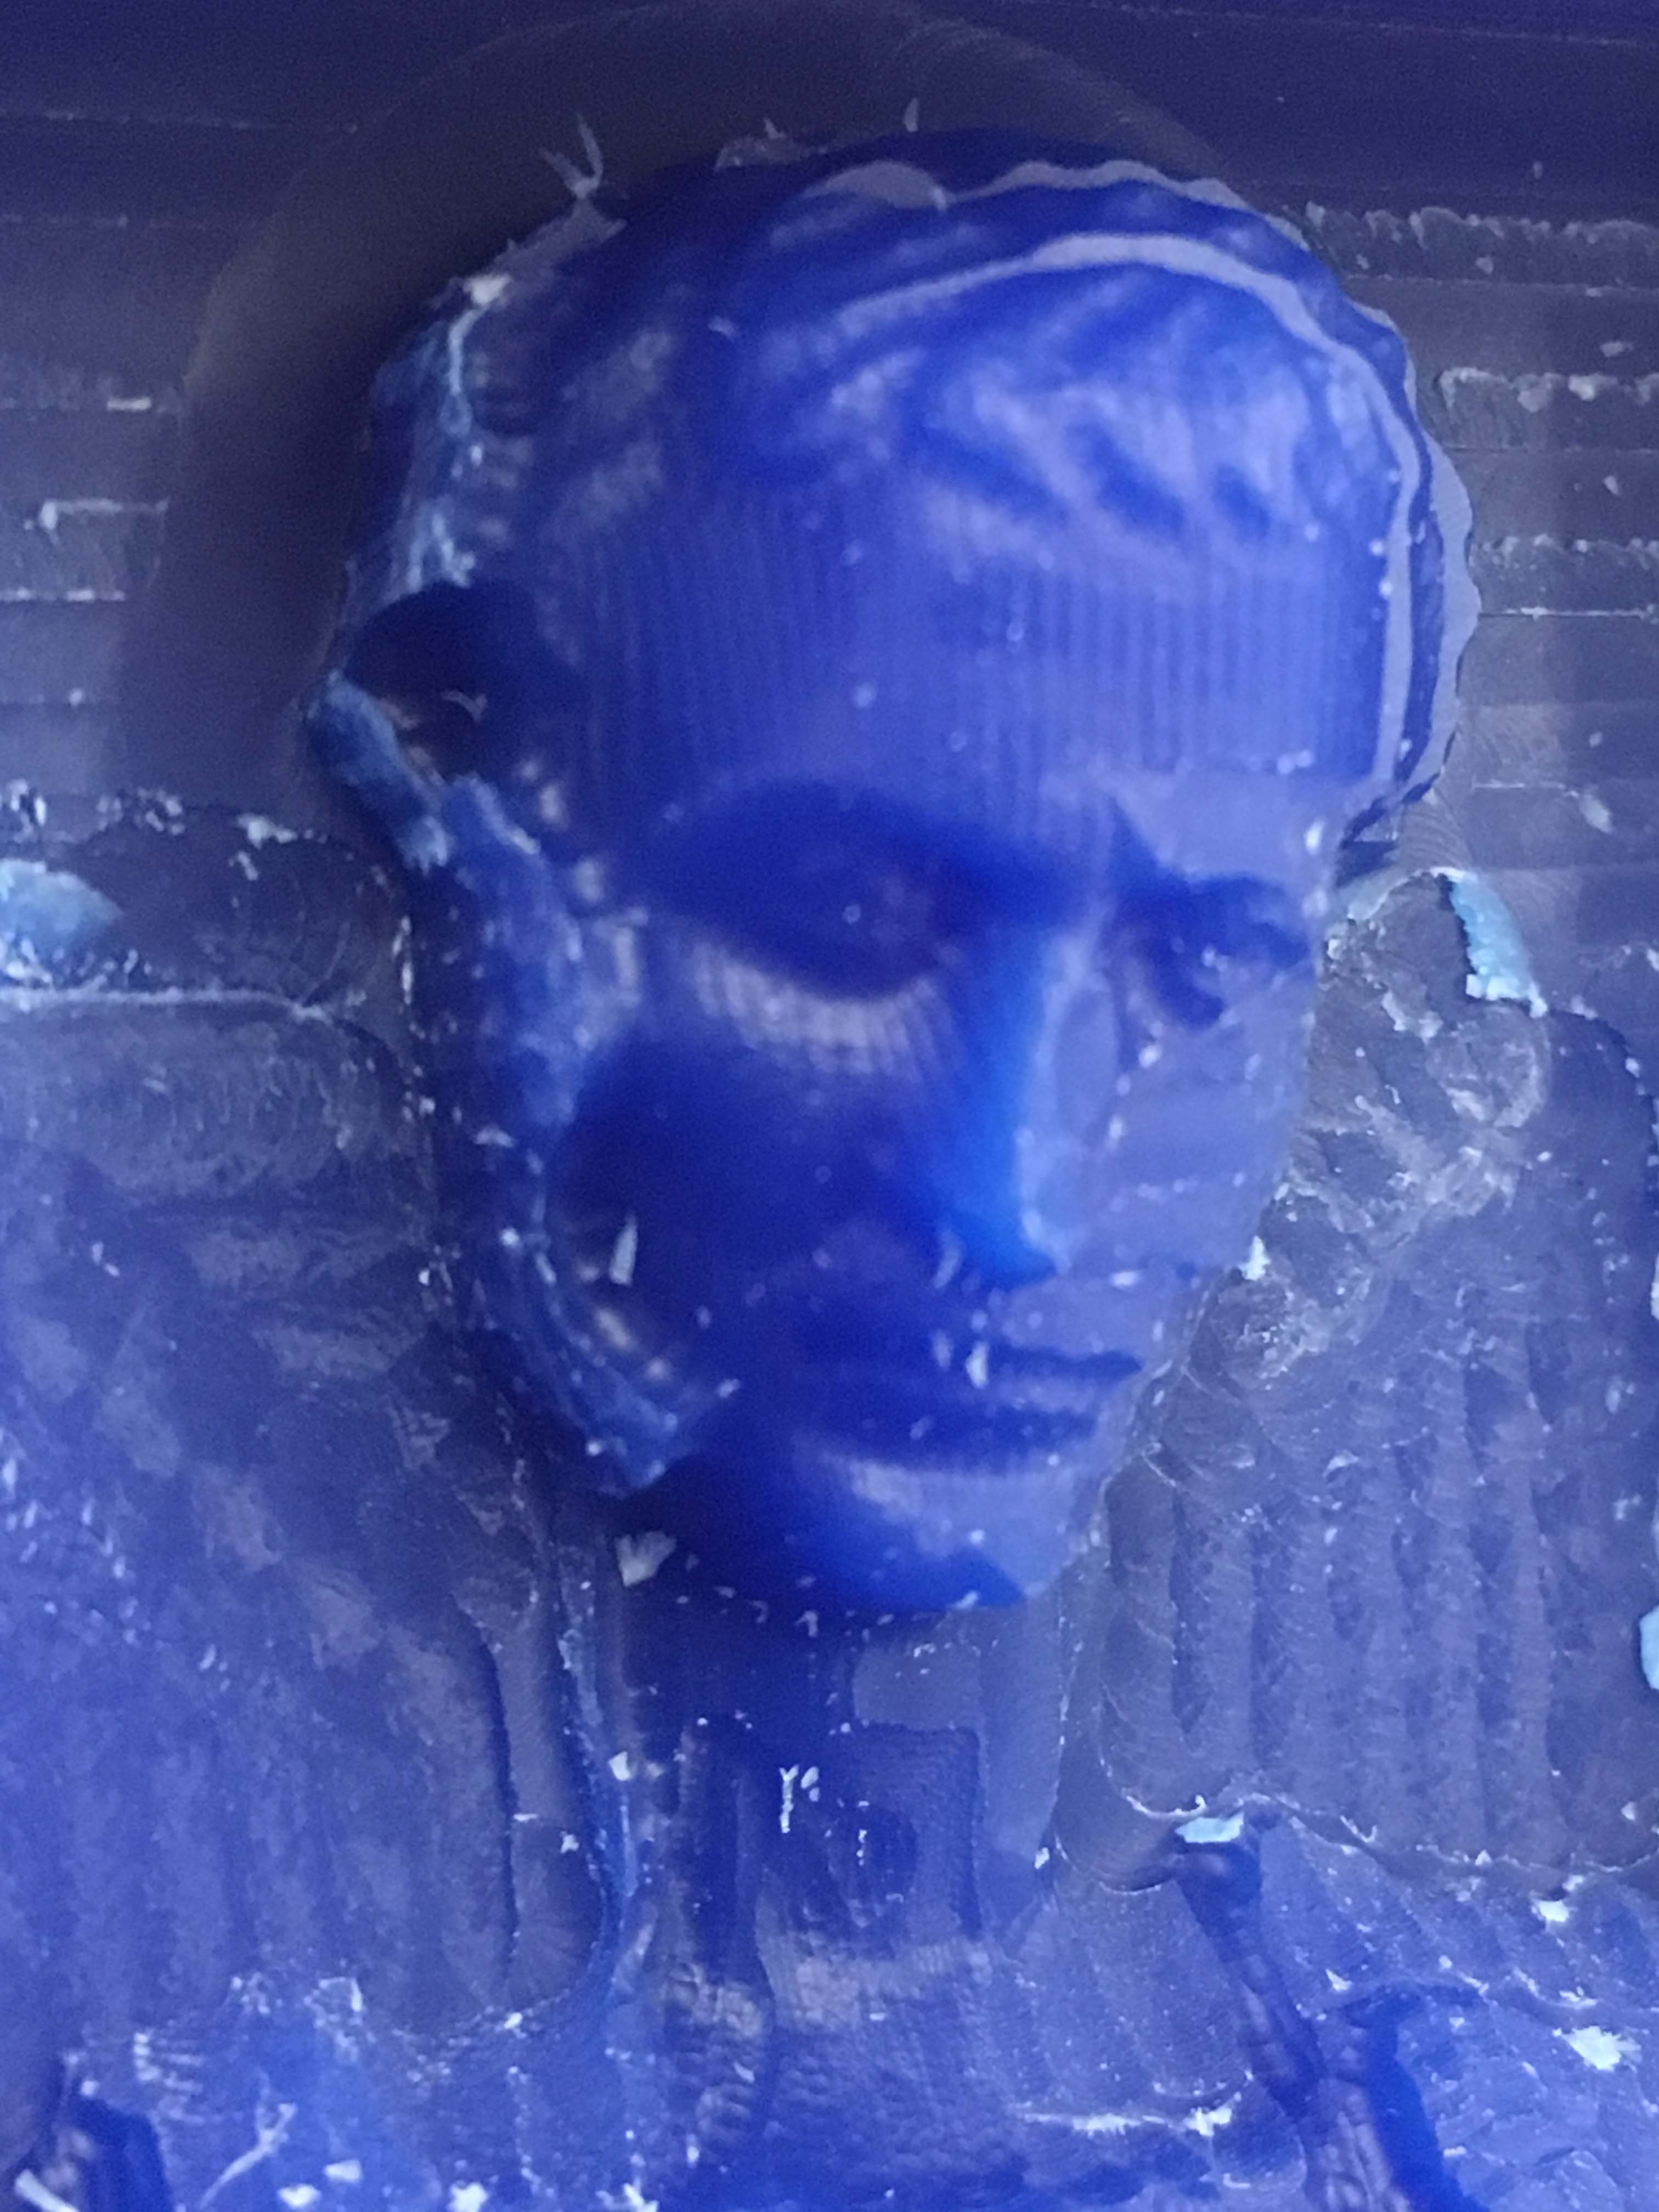
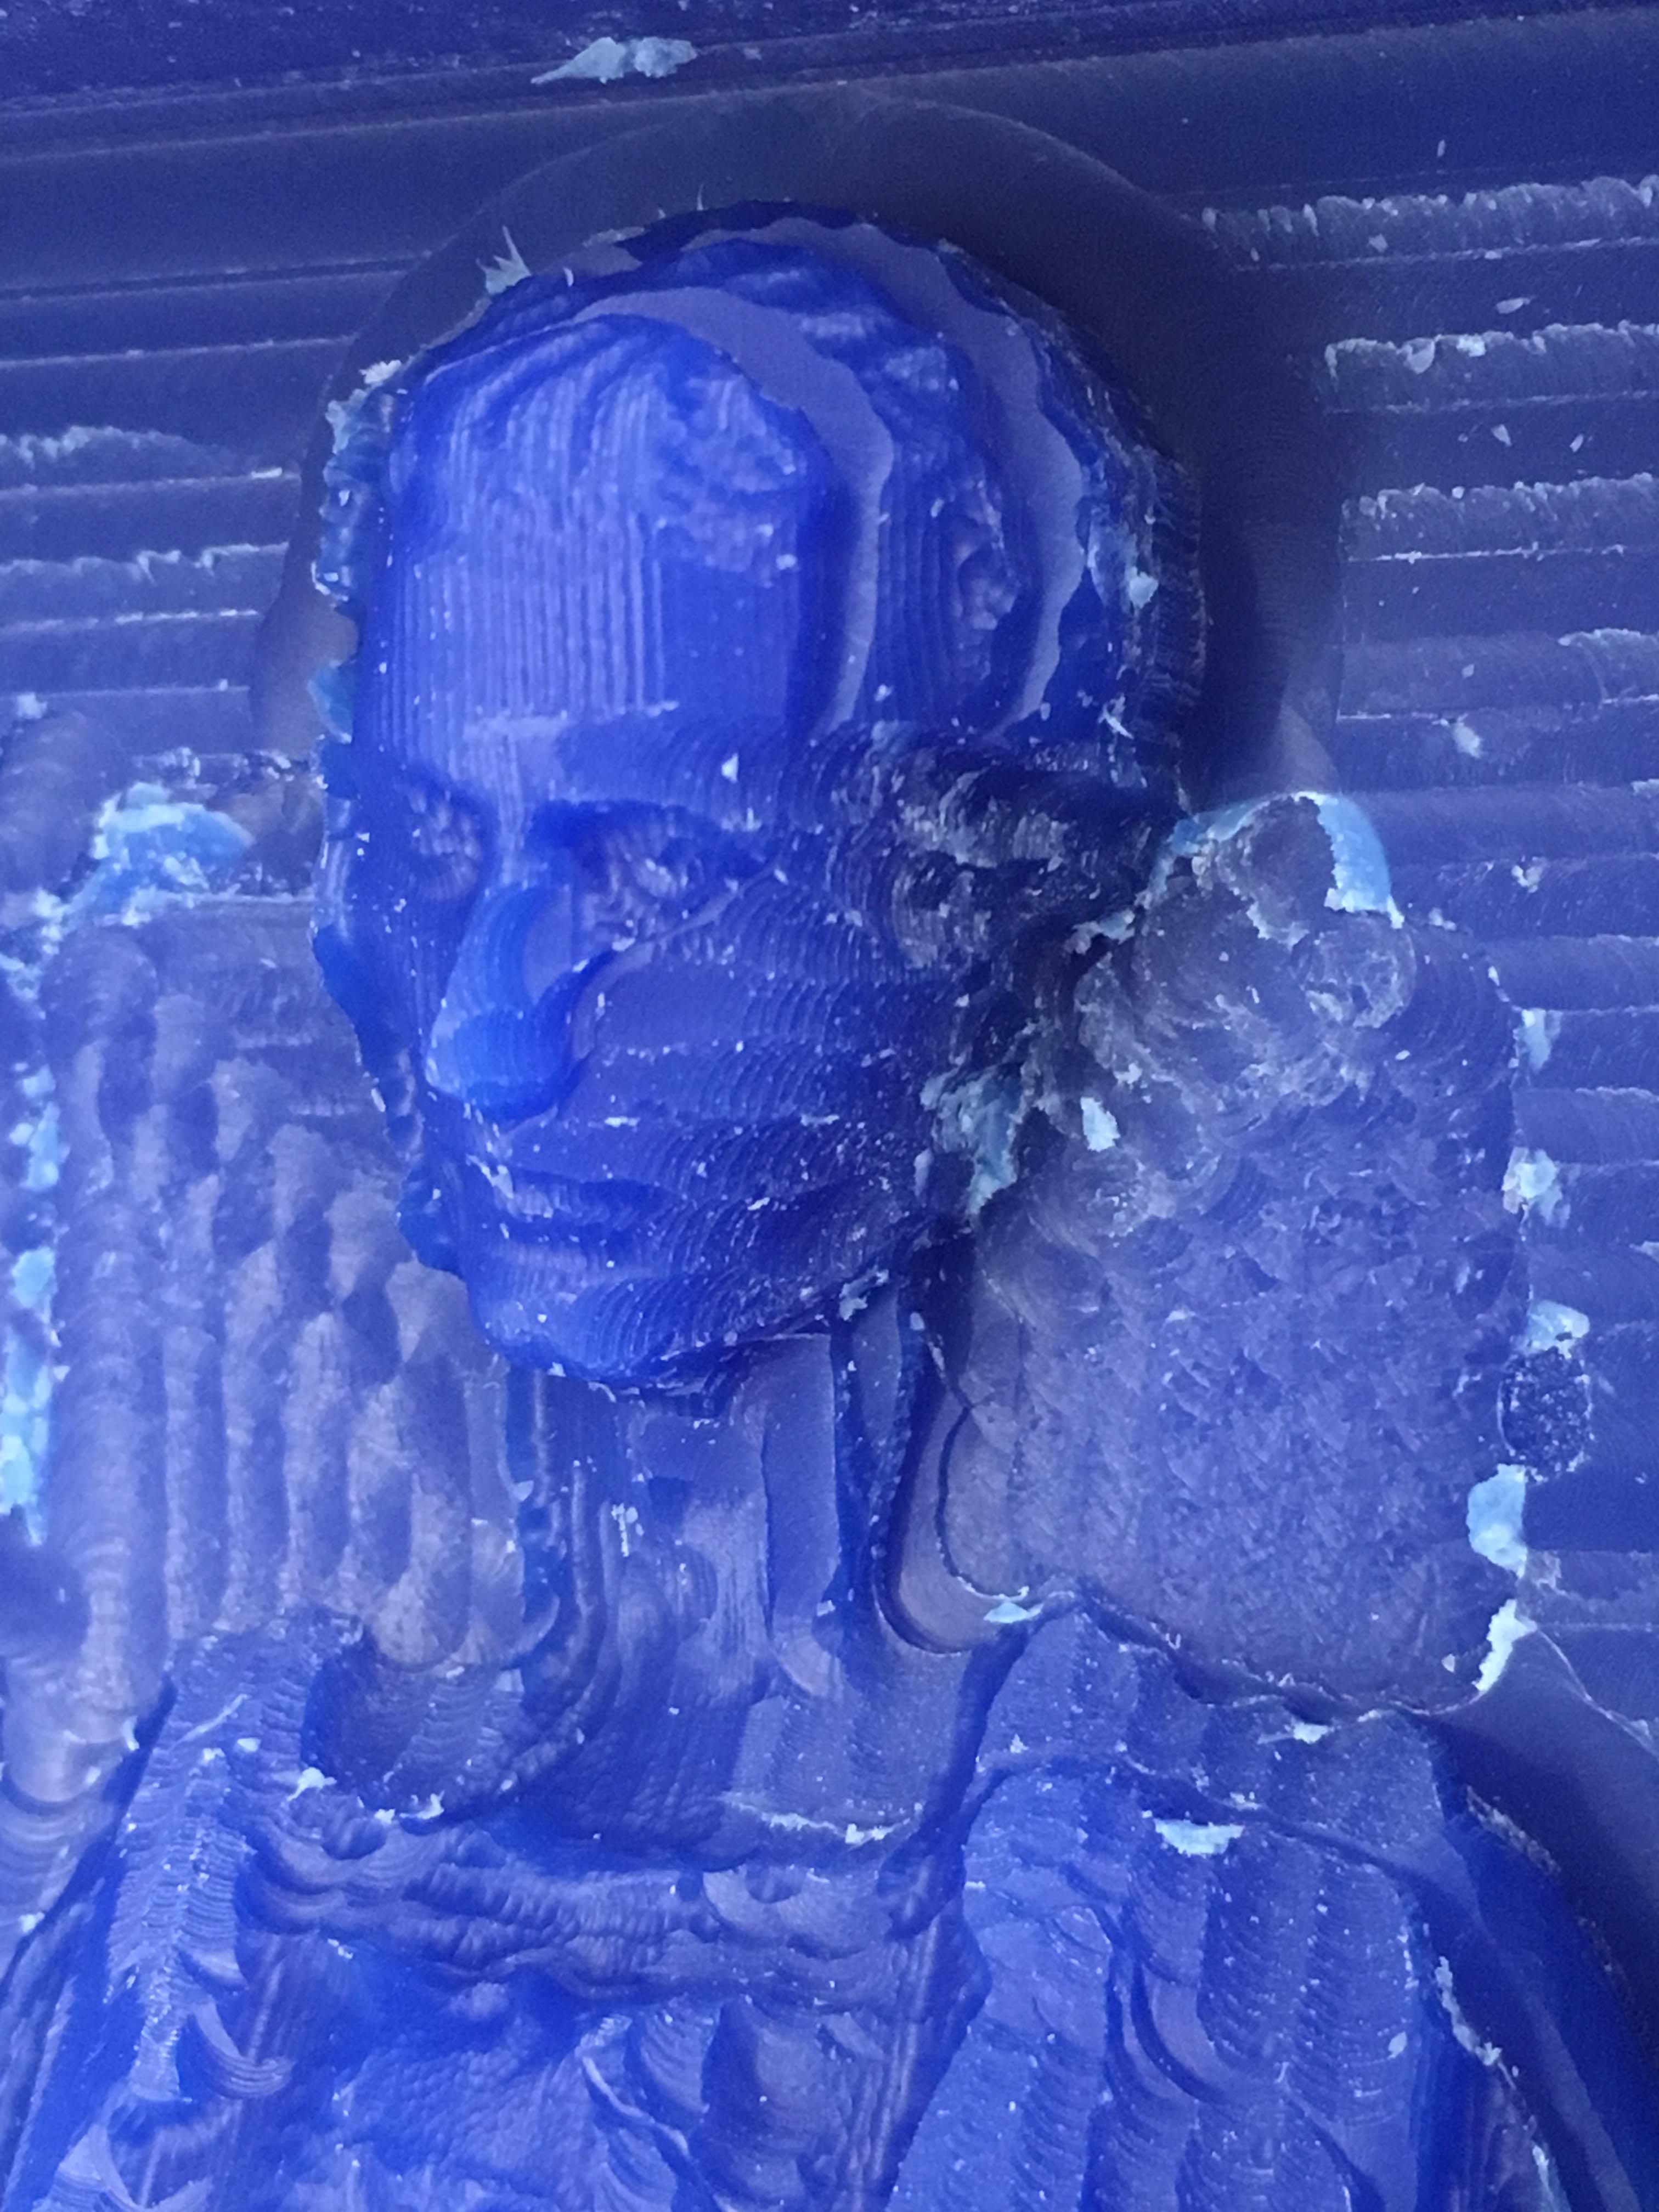
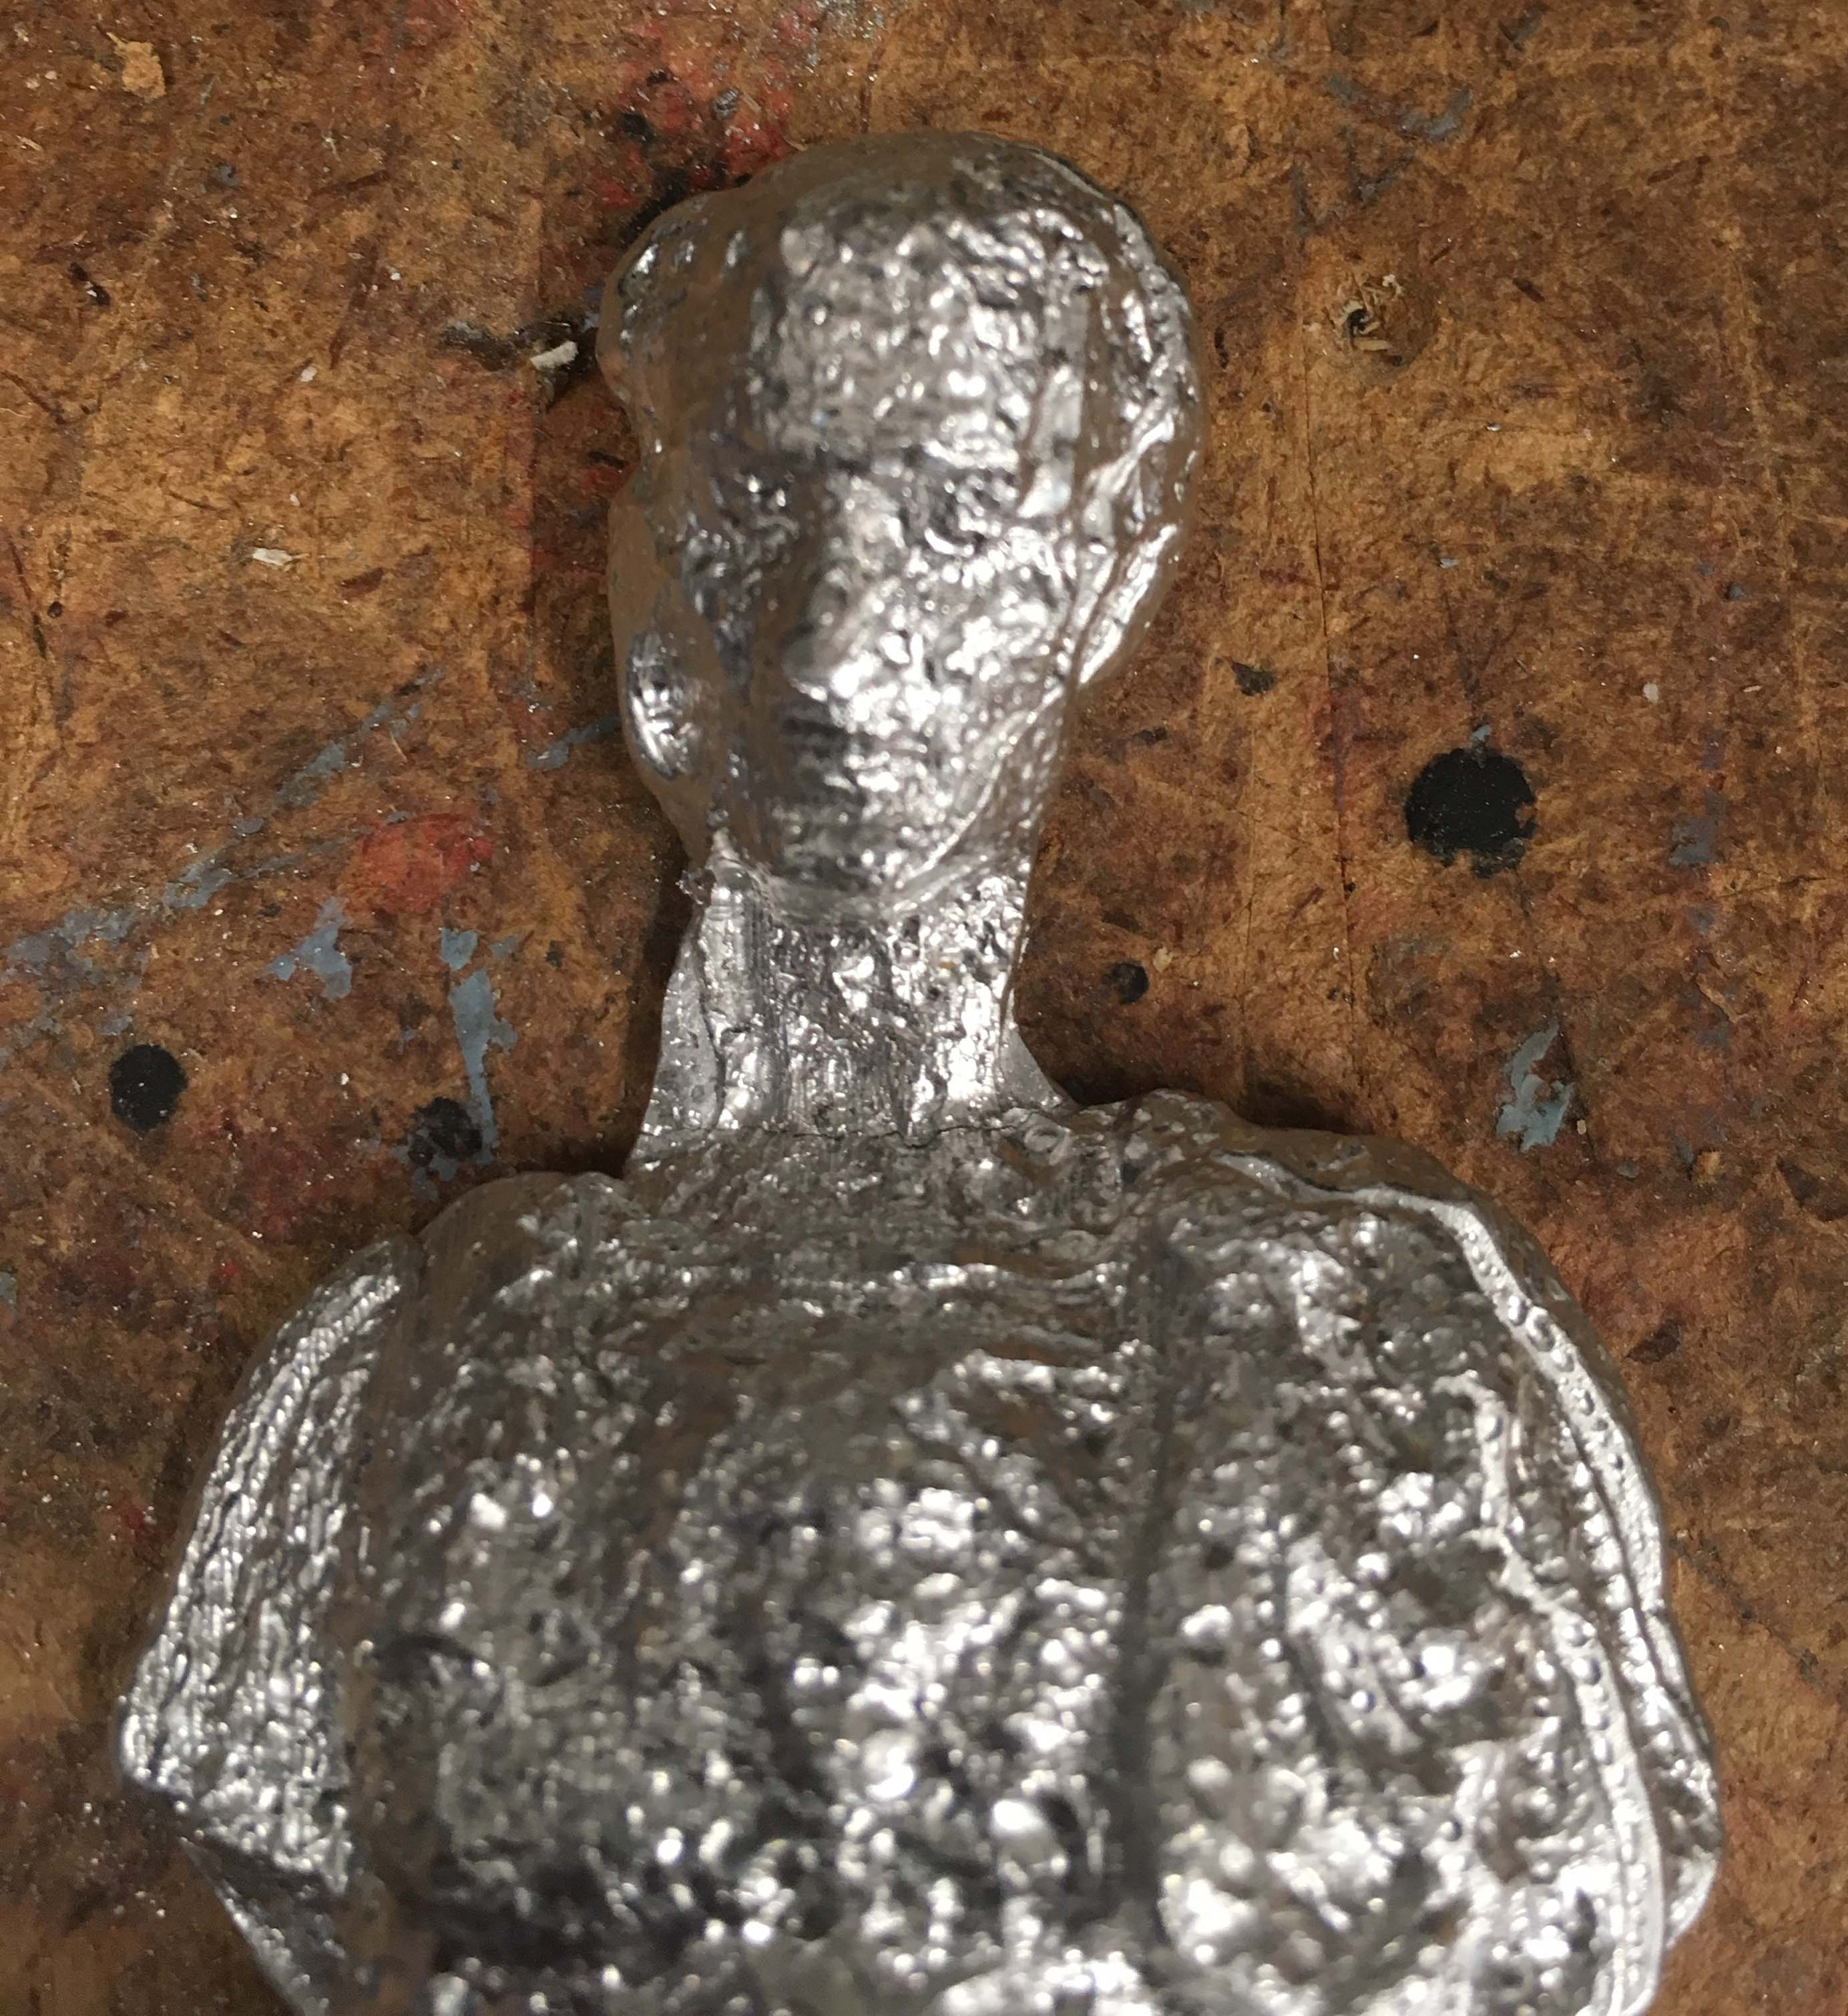
Fig.8 The unsmoothed wax on the left side of the face is probably due to a small undercut. I think a bit more negative offset from the model boundary would have helped.

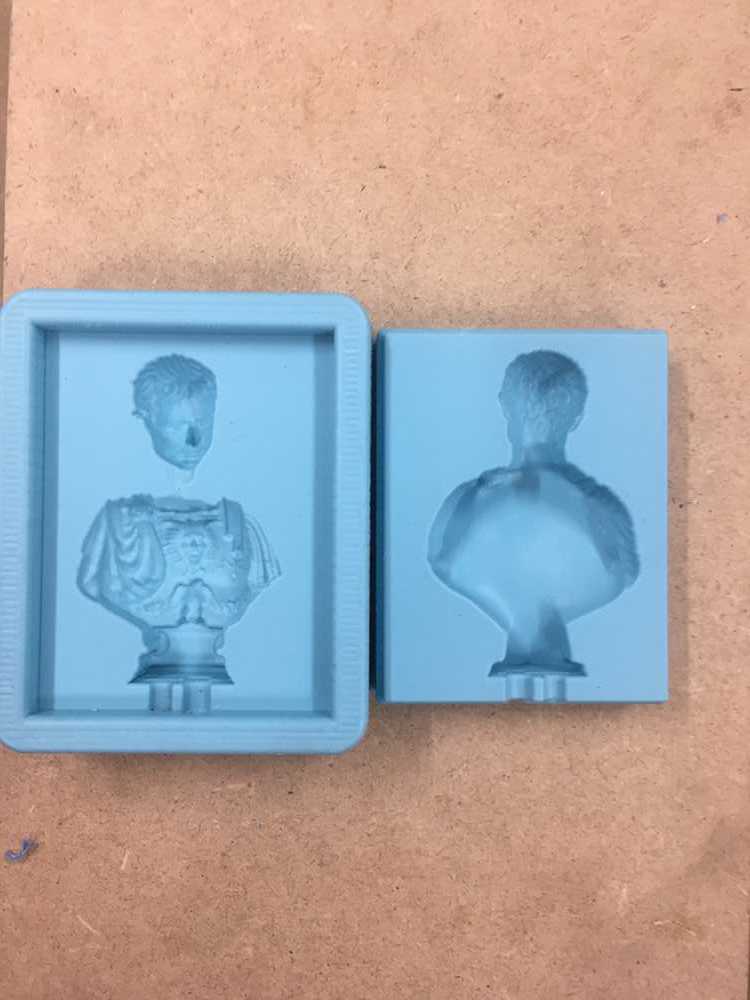
Second Attempt
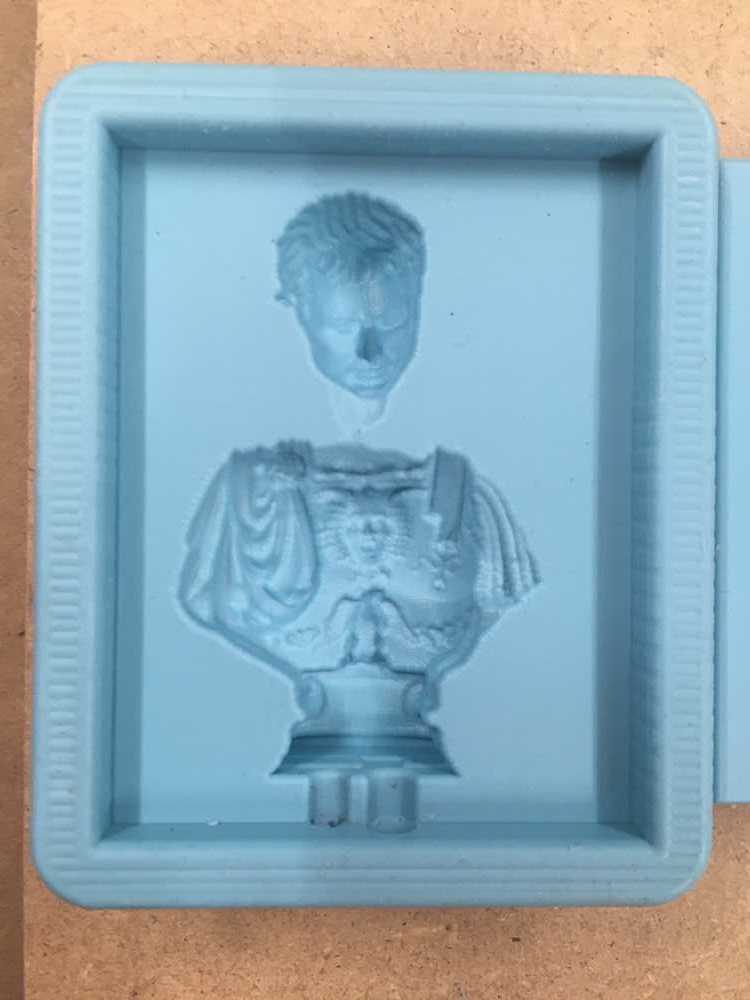
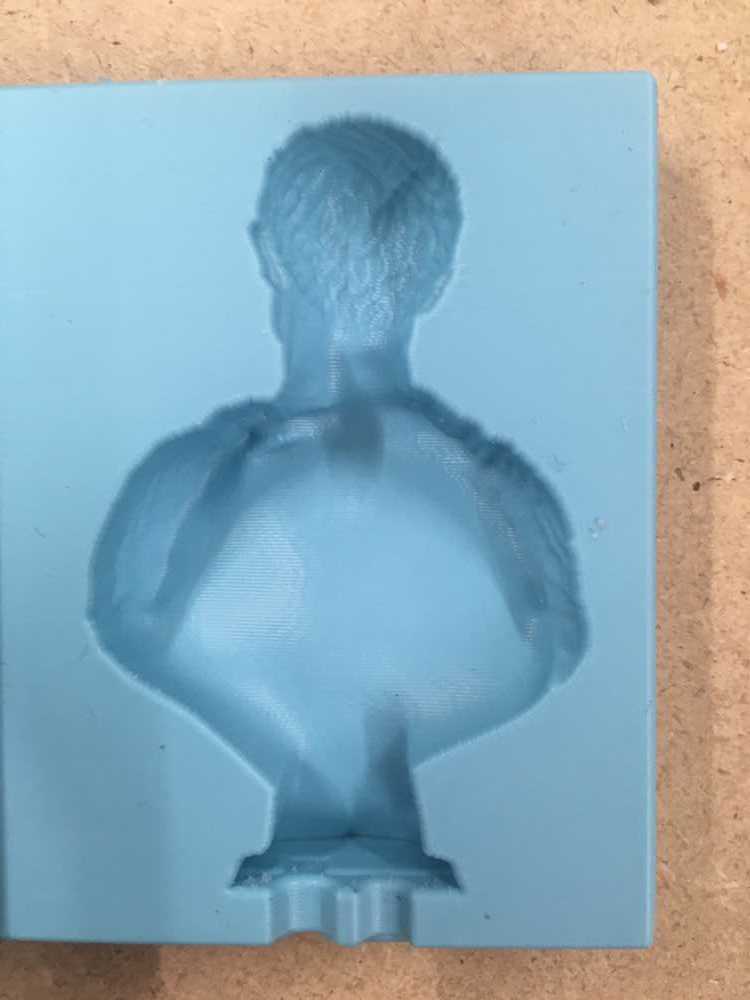
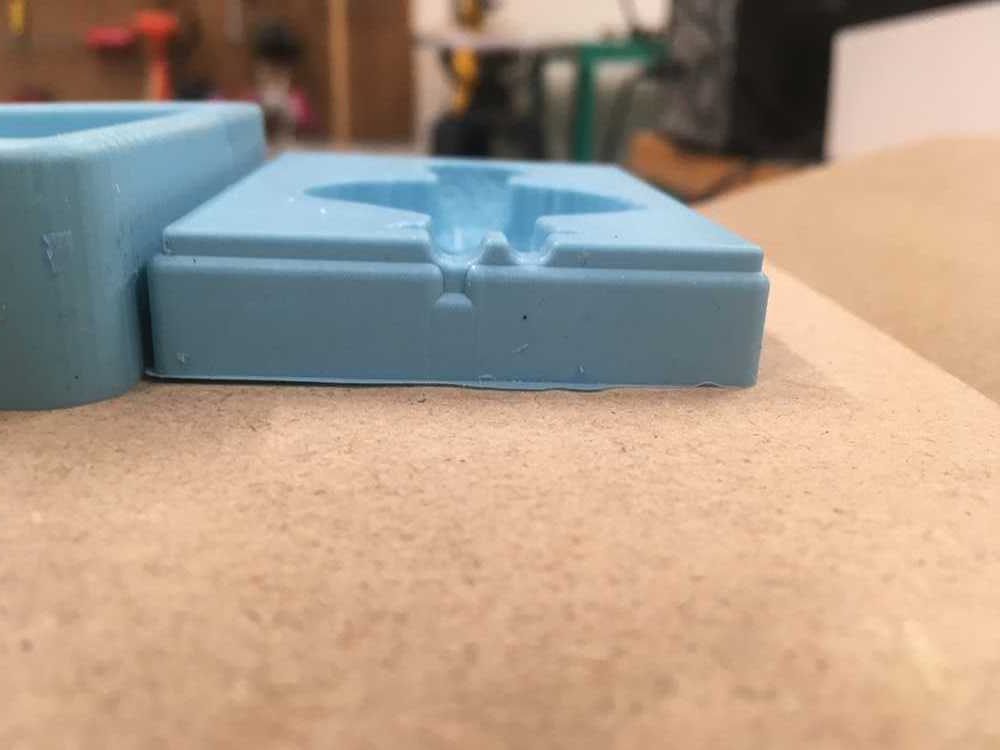
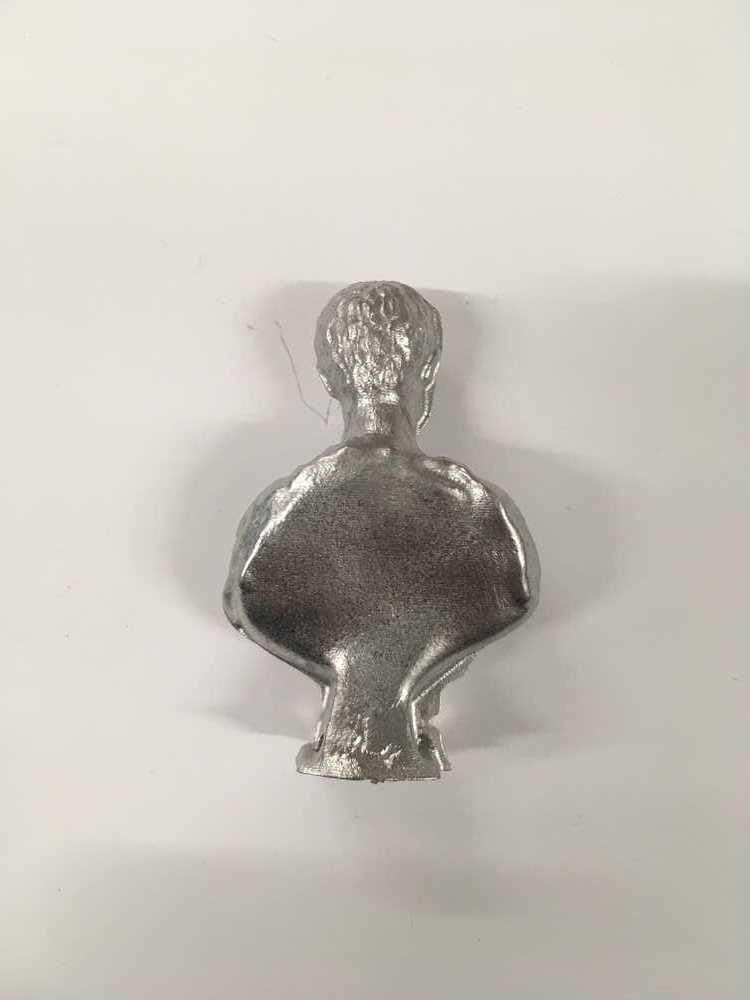
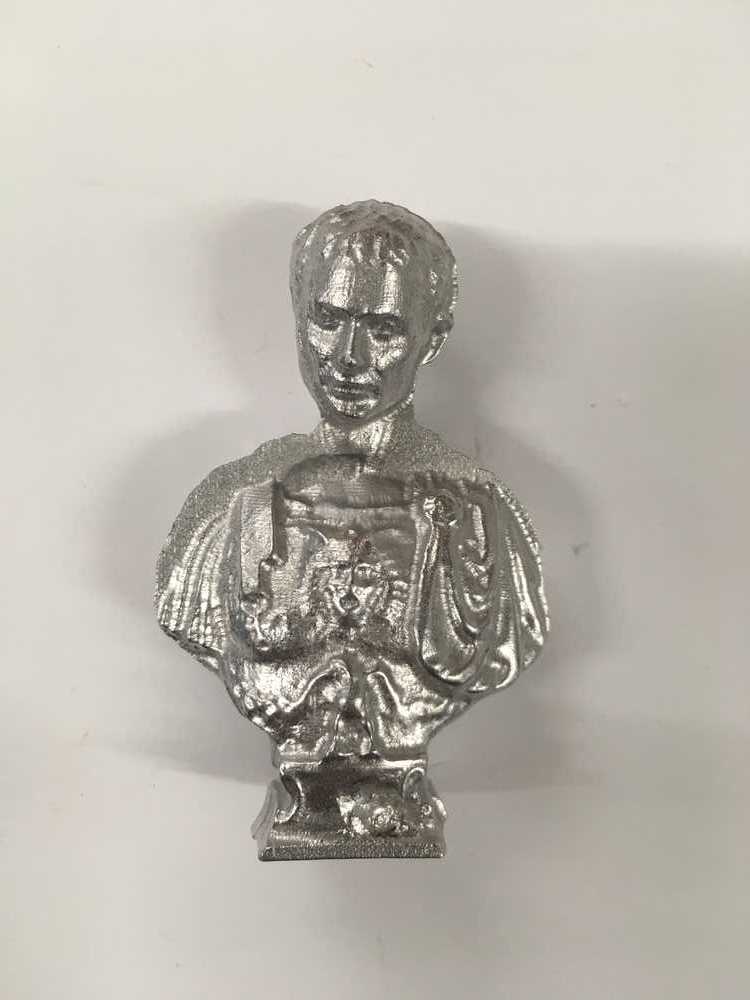
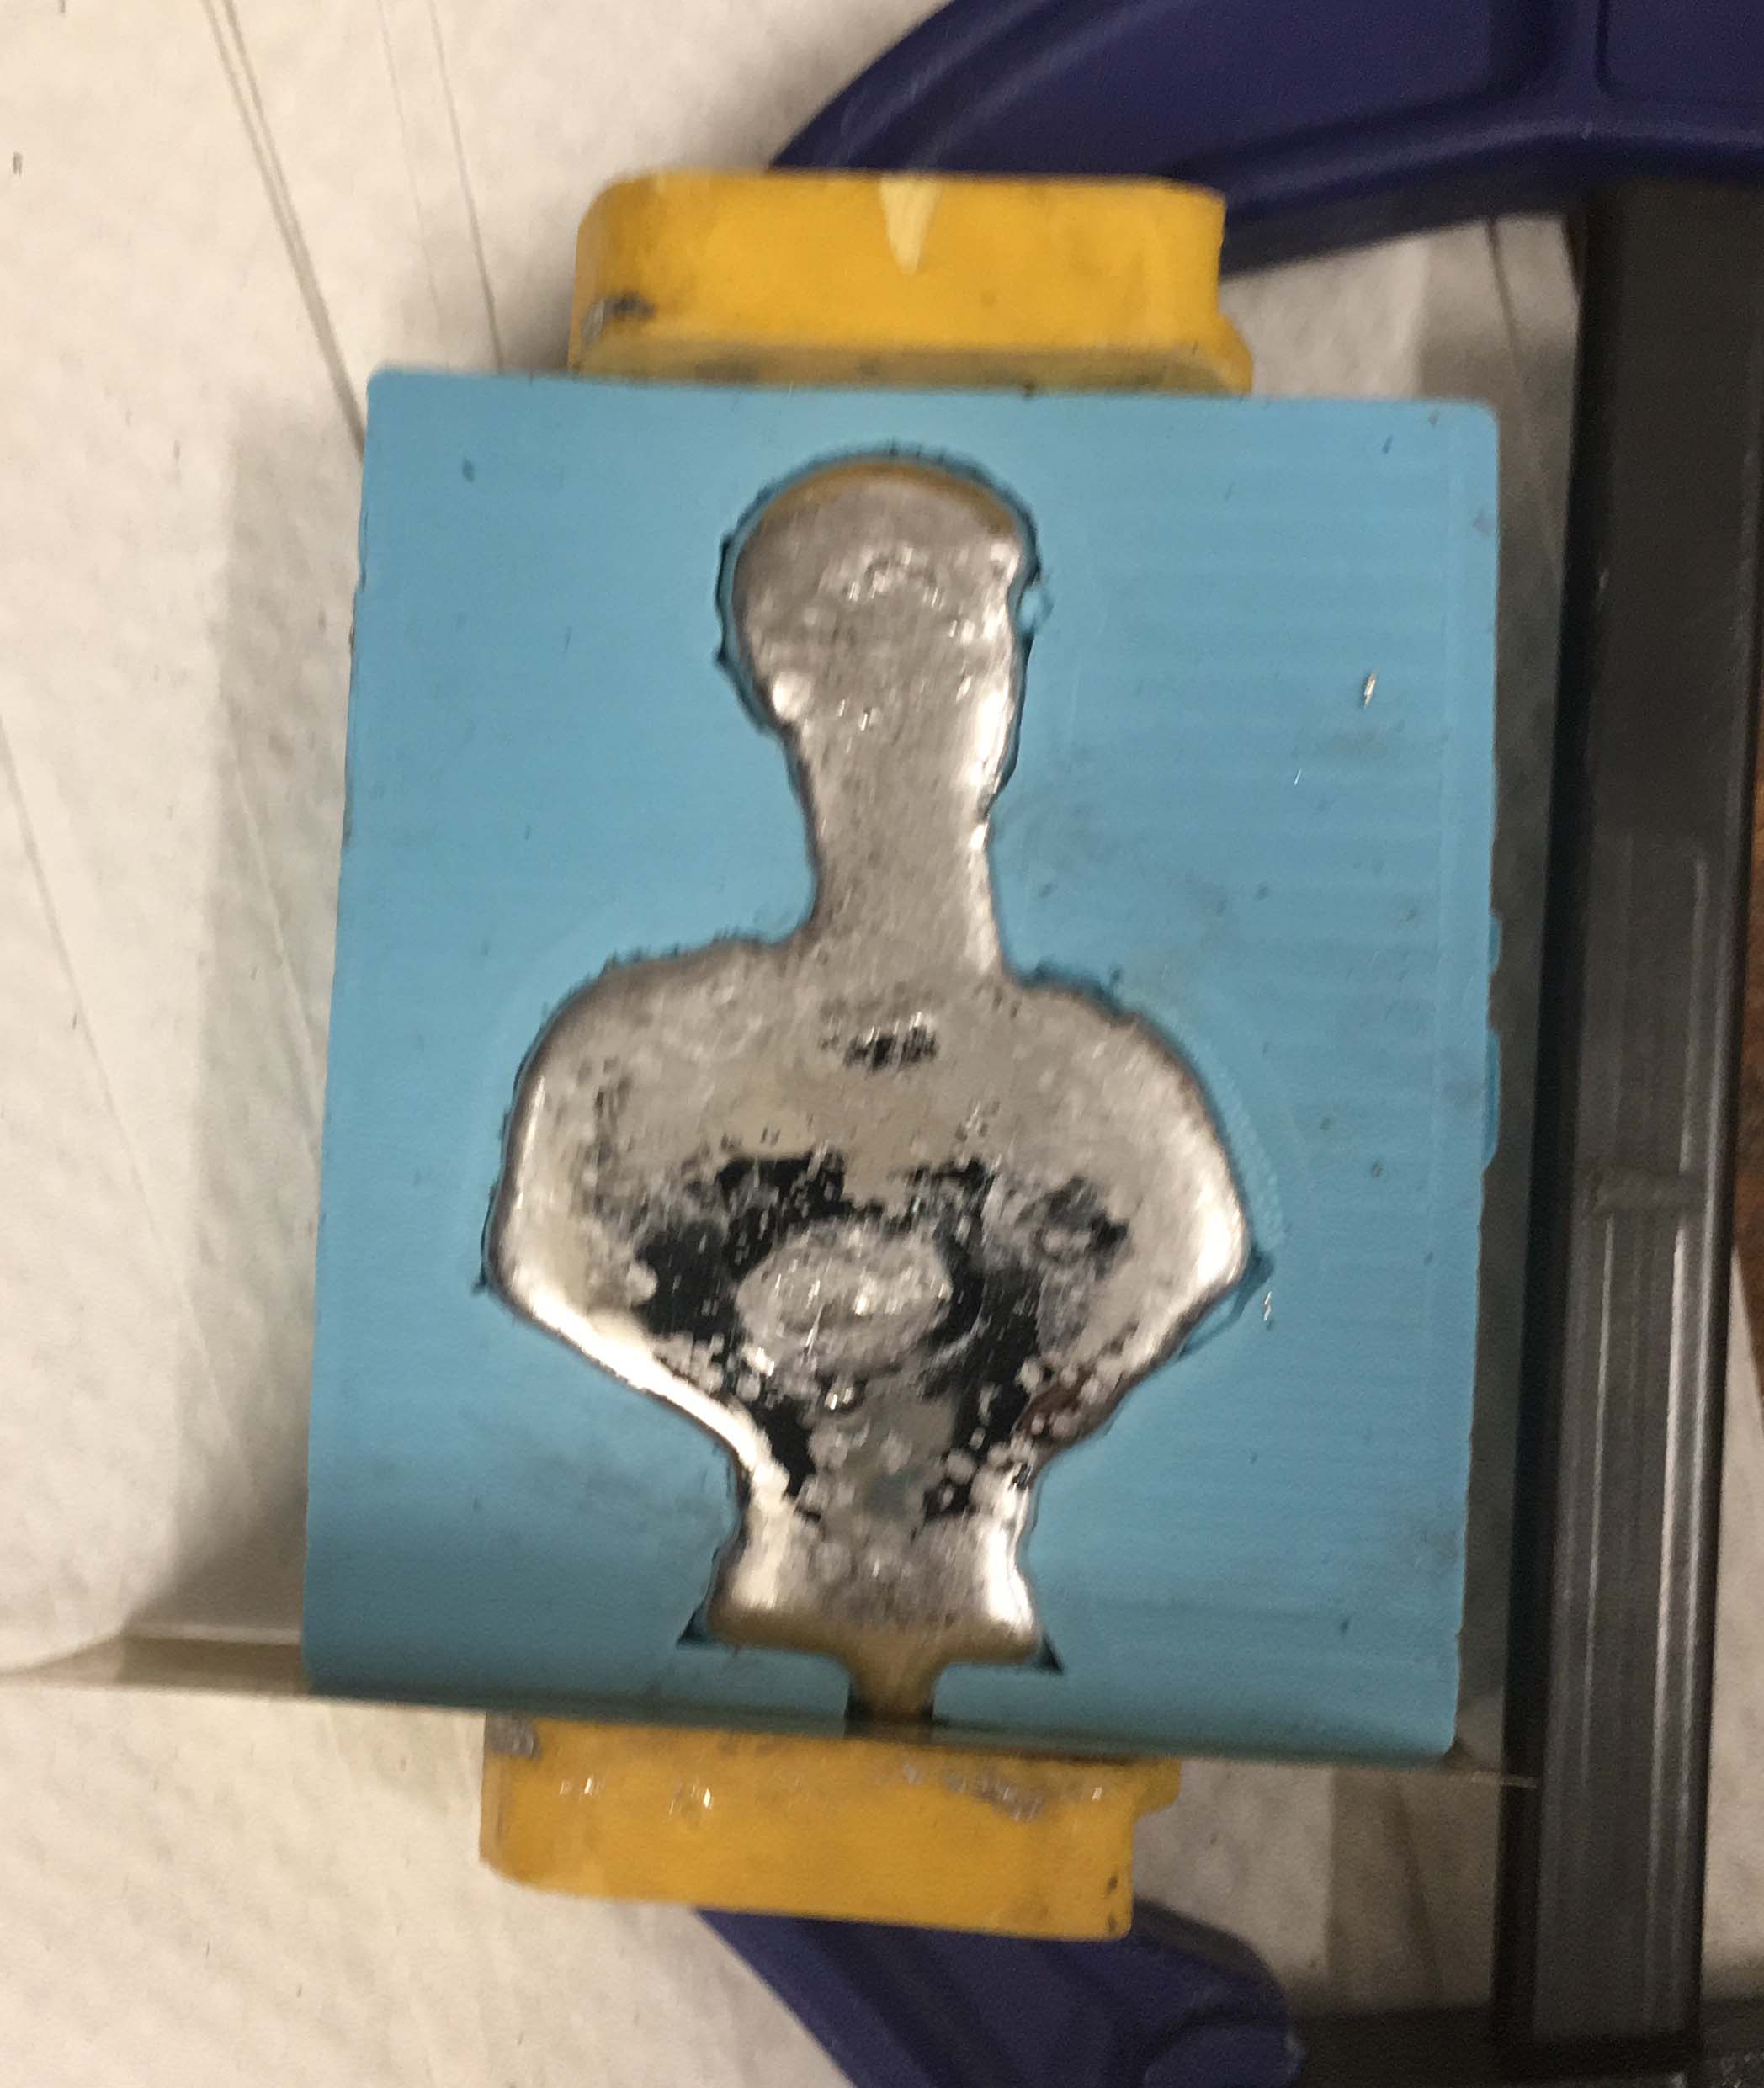
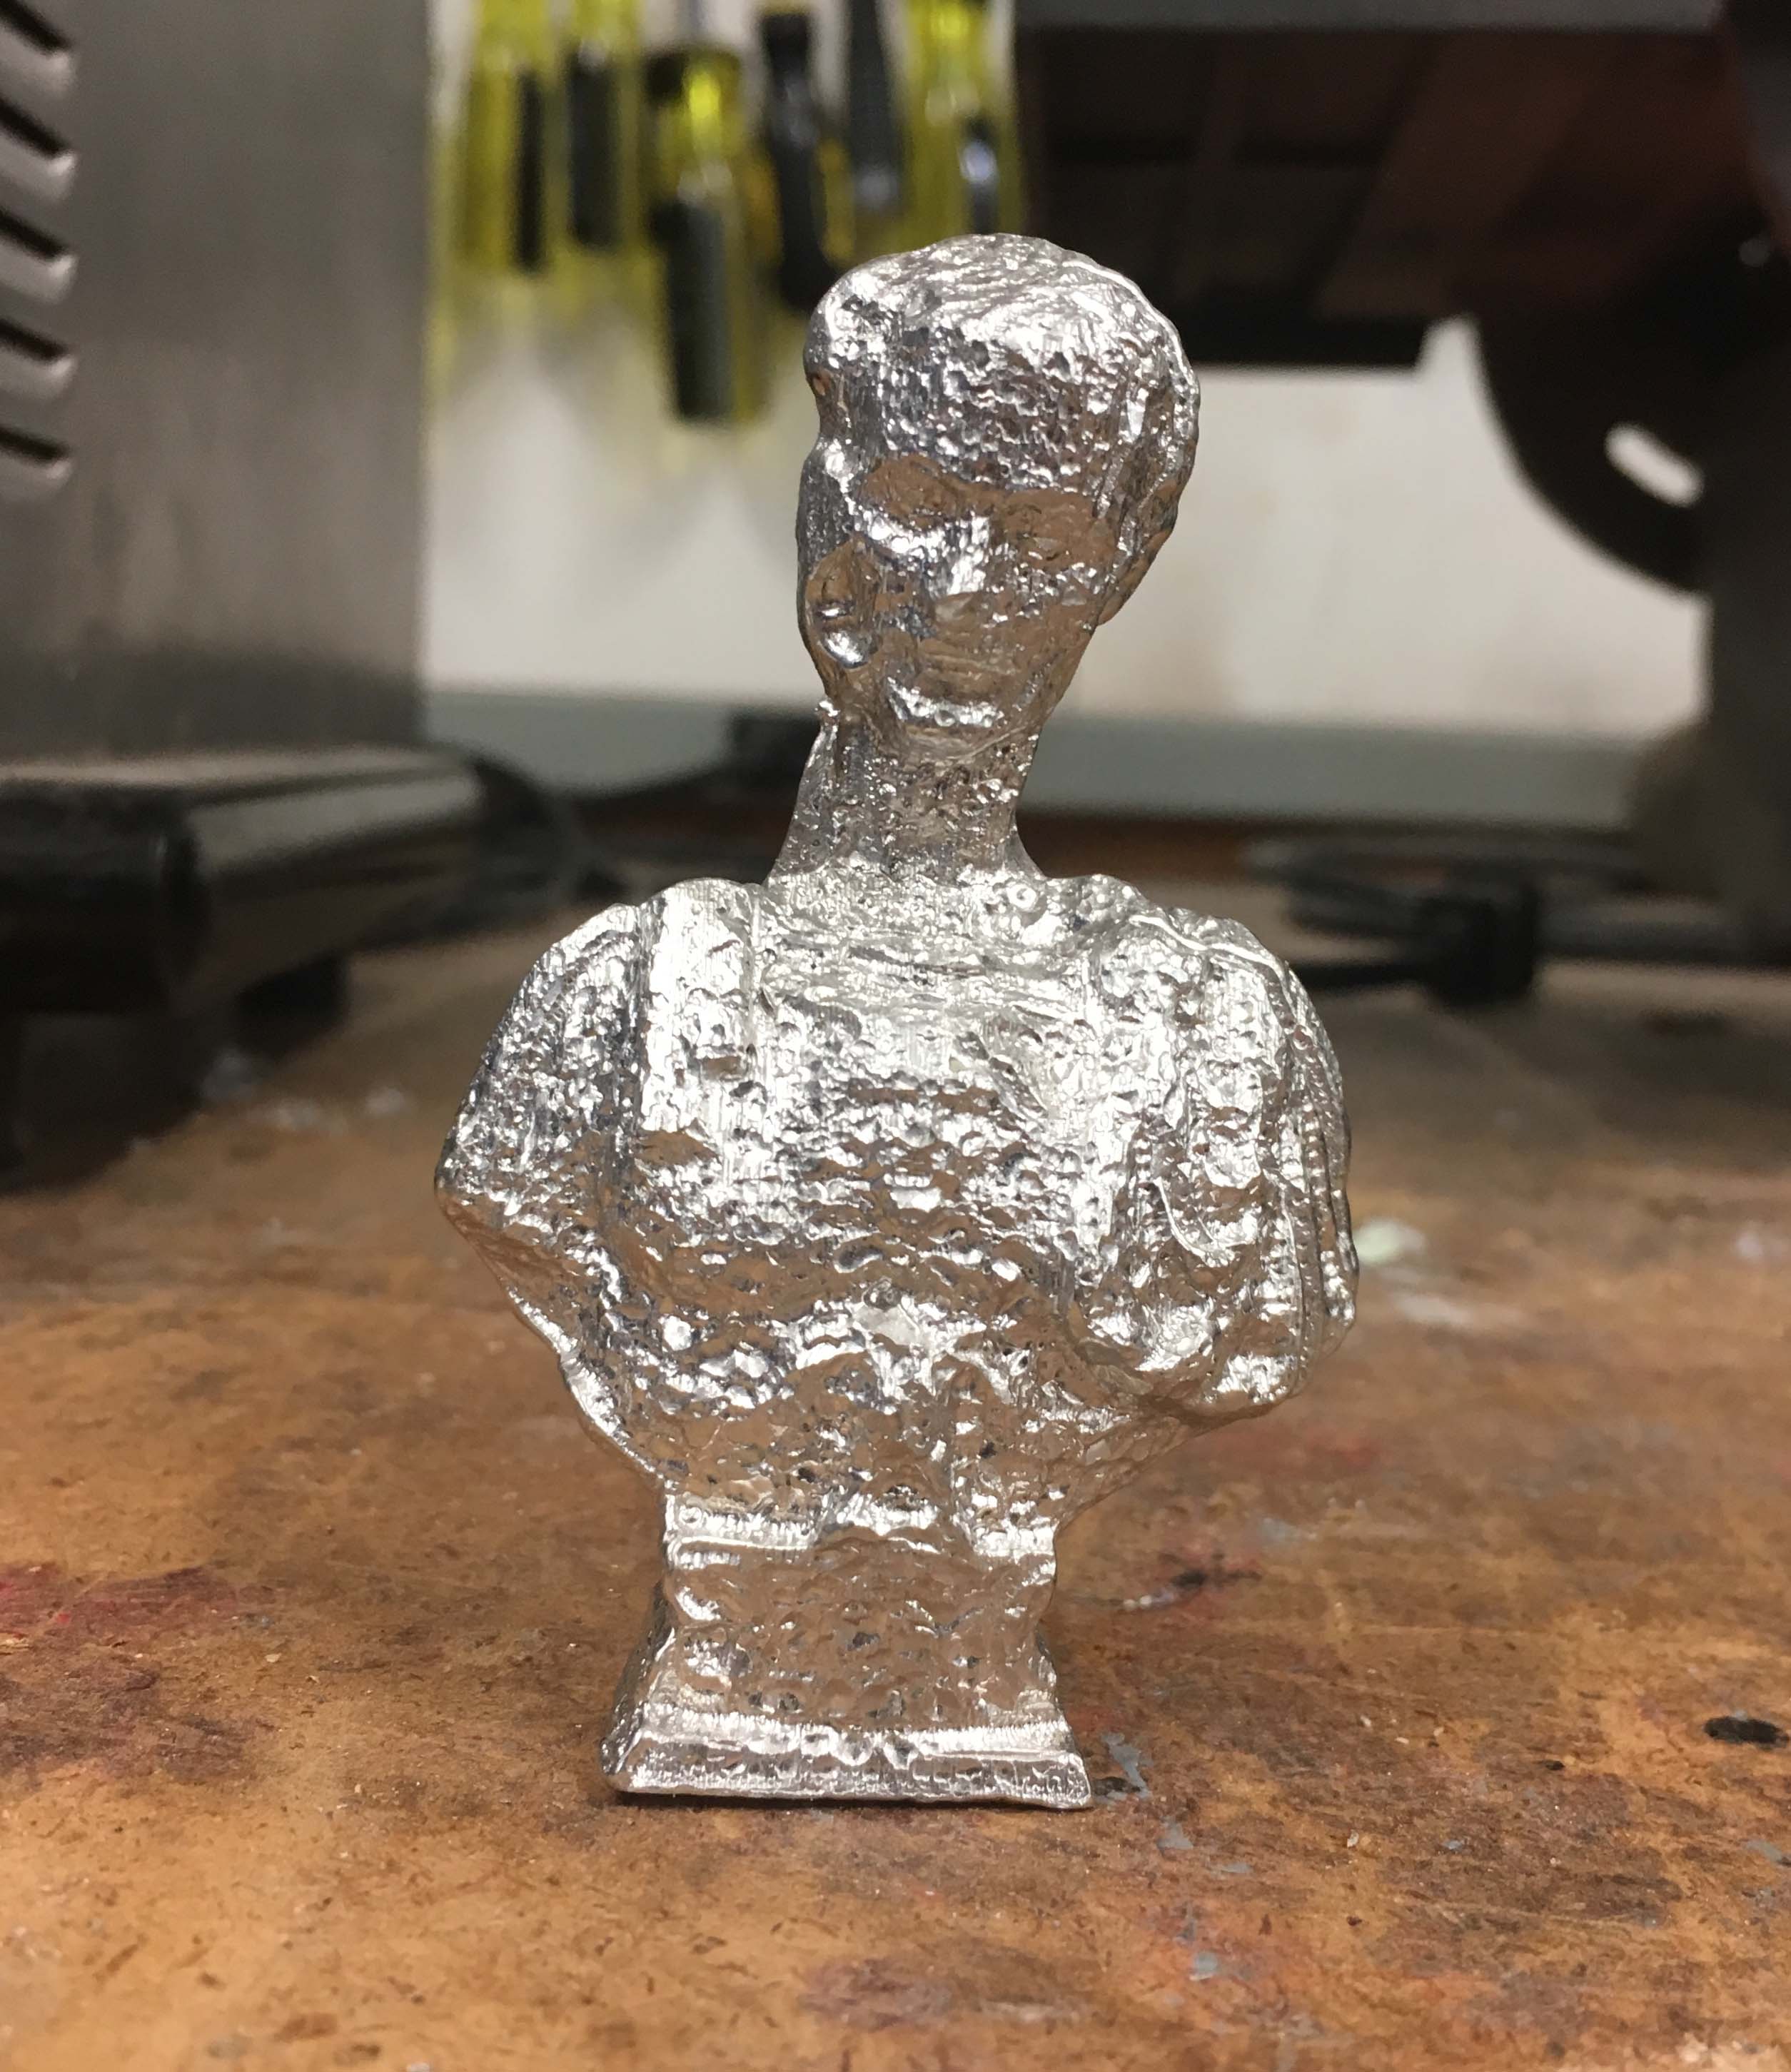
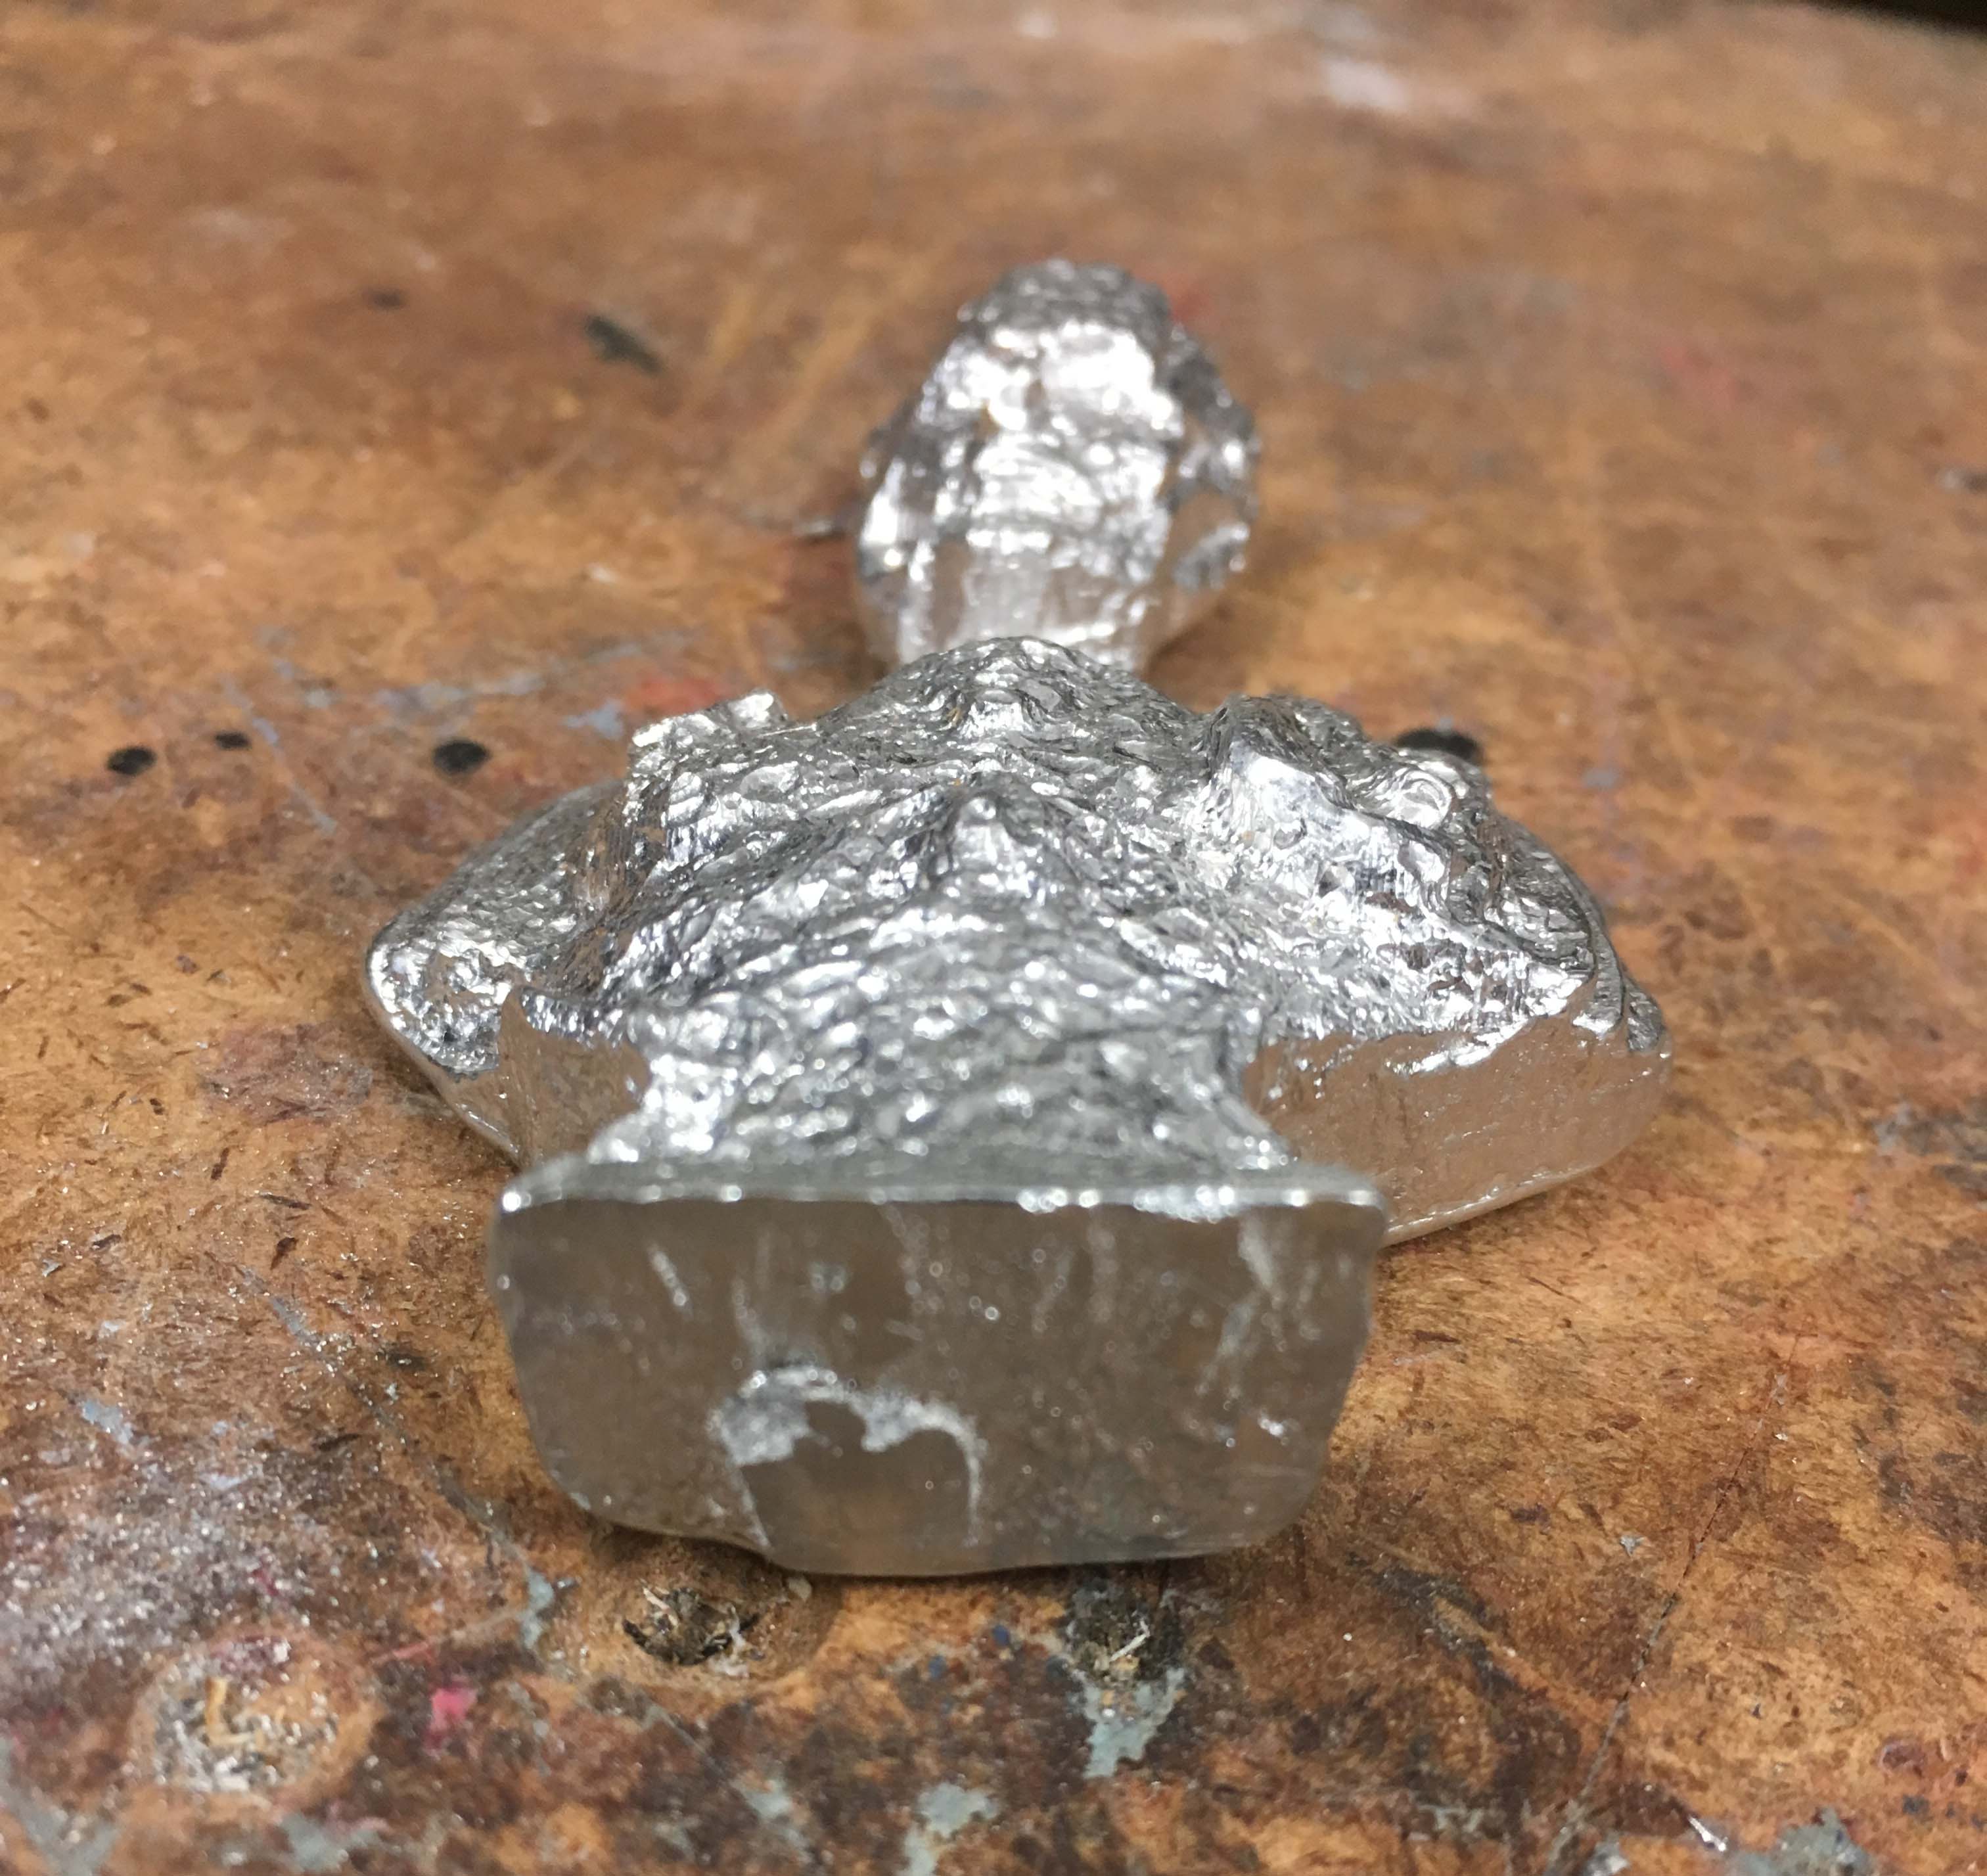
The second attempt was more ambitious but turned out much better. Not only did I create a back for the bust, requiring a second part to the mold, but I also desgned said part to nest inside its counterpiece, ensuring that the two parts would align perfectly each time. However, despite the nesting, which came off perfectly, I did not anticipate the undercut resulting from the figures sloping shoulders. This accounts for the mis-alignment in the final result. I want to make it clear that this had nothing to do with the nested molds and was merely an oversight on my part.
Notice the difference in quality between the final results. The first attempt, riddled with bubbles, was without talcum powder and the second attempt was with it. The difference is night and day.