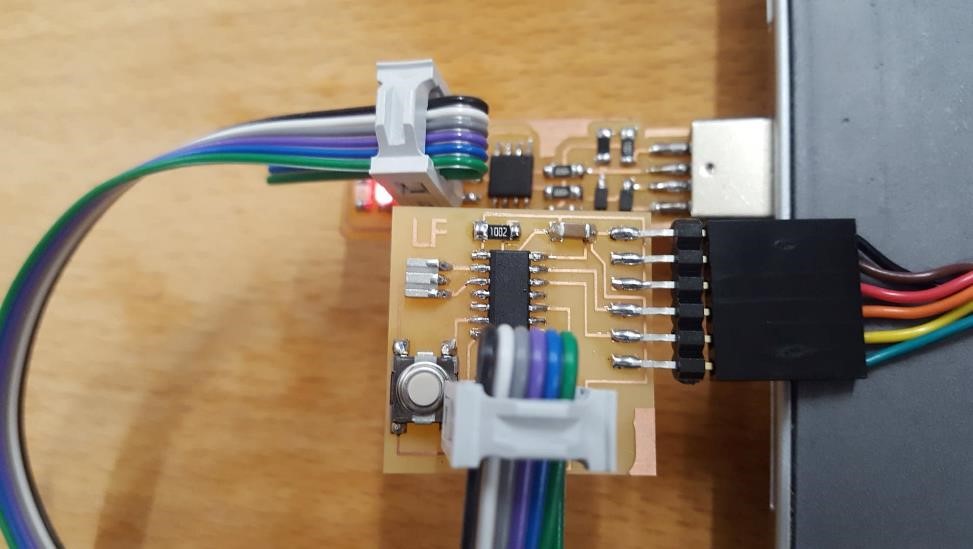
This week's work builds off of previous weeks--using our programming board to program our custom board. I chose a relatively simple task for starters--just lighting up an LED upon the press of a button.
However, there are some small things that need to be done first before any programing can begin: If you want to get anywhere, you need to make sure your have the proper drivers so that your ATTiny can talk with your computer (you can get those
here from Adafruit). You'll need to go to your device manager (assuming you are in Windows) to select the device and find the unzipped driver files to download. Then in your Arduino IDE, you also need to make sure you have proper libraries for Arduino's interface (there are good instructions on that
here).
Once everything is up and running (and the
programmer from previous weeks is ready to go), it is a simple matter of plugging things in and uploading code. The USB programmer needs to be plugged in to the computer, the ISP cables need to be connected between the programmer and the programable board, and a FDTI cable needs to be connected to the programee for power.
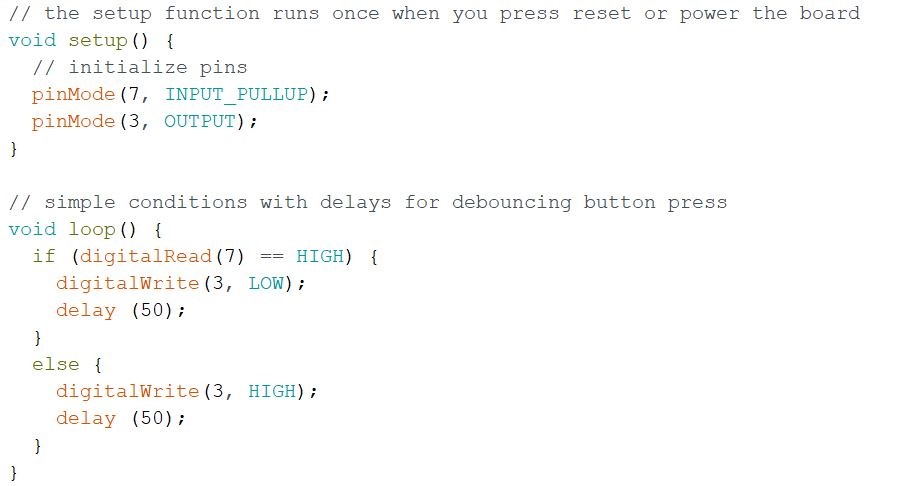
As for code, I initially tried an interrupt service routine to be connected to the button, but after a short battle, I switched to the simpler but less elegant method with a delay for debouncing.