Assignment 9
Output Devices
This week, the assignment is to make use of an output device. To save some time and work towards my final project, I decided to make a prototype for an LED indicator array to resemble a visable output from an input such as a potentiometer.
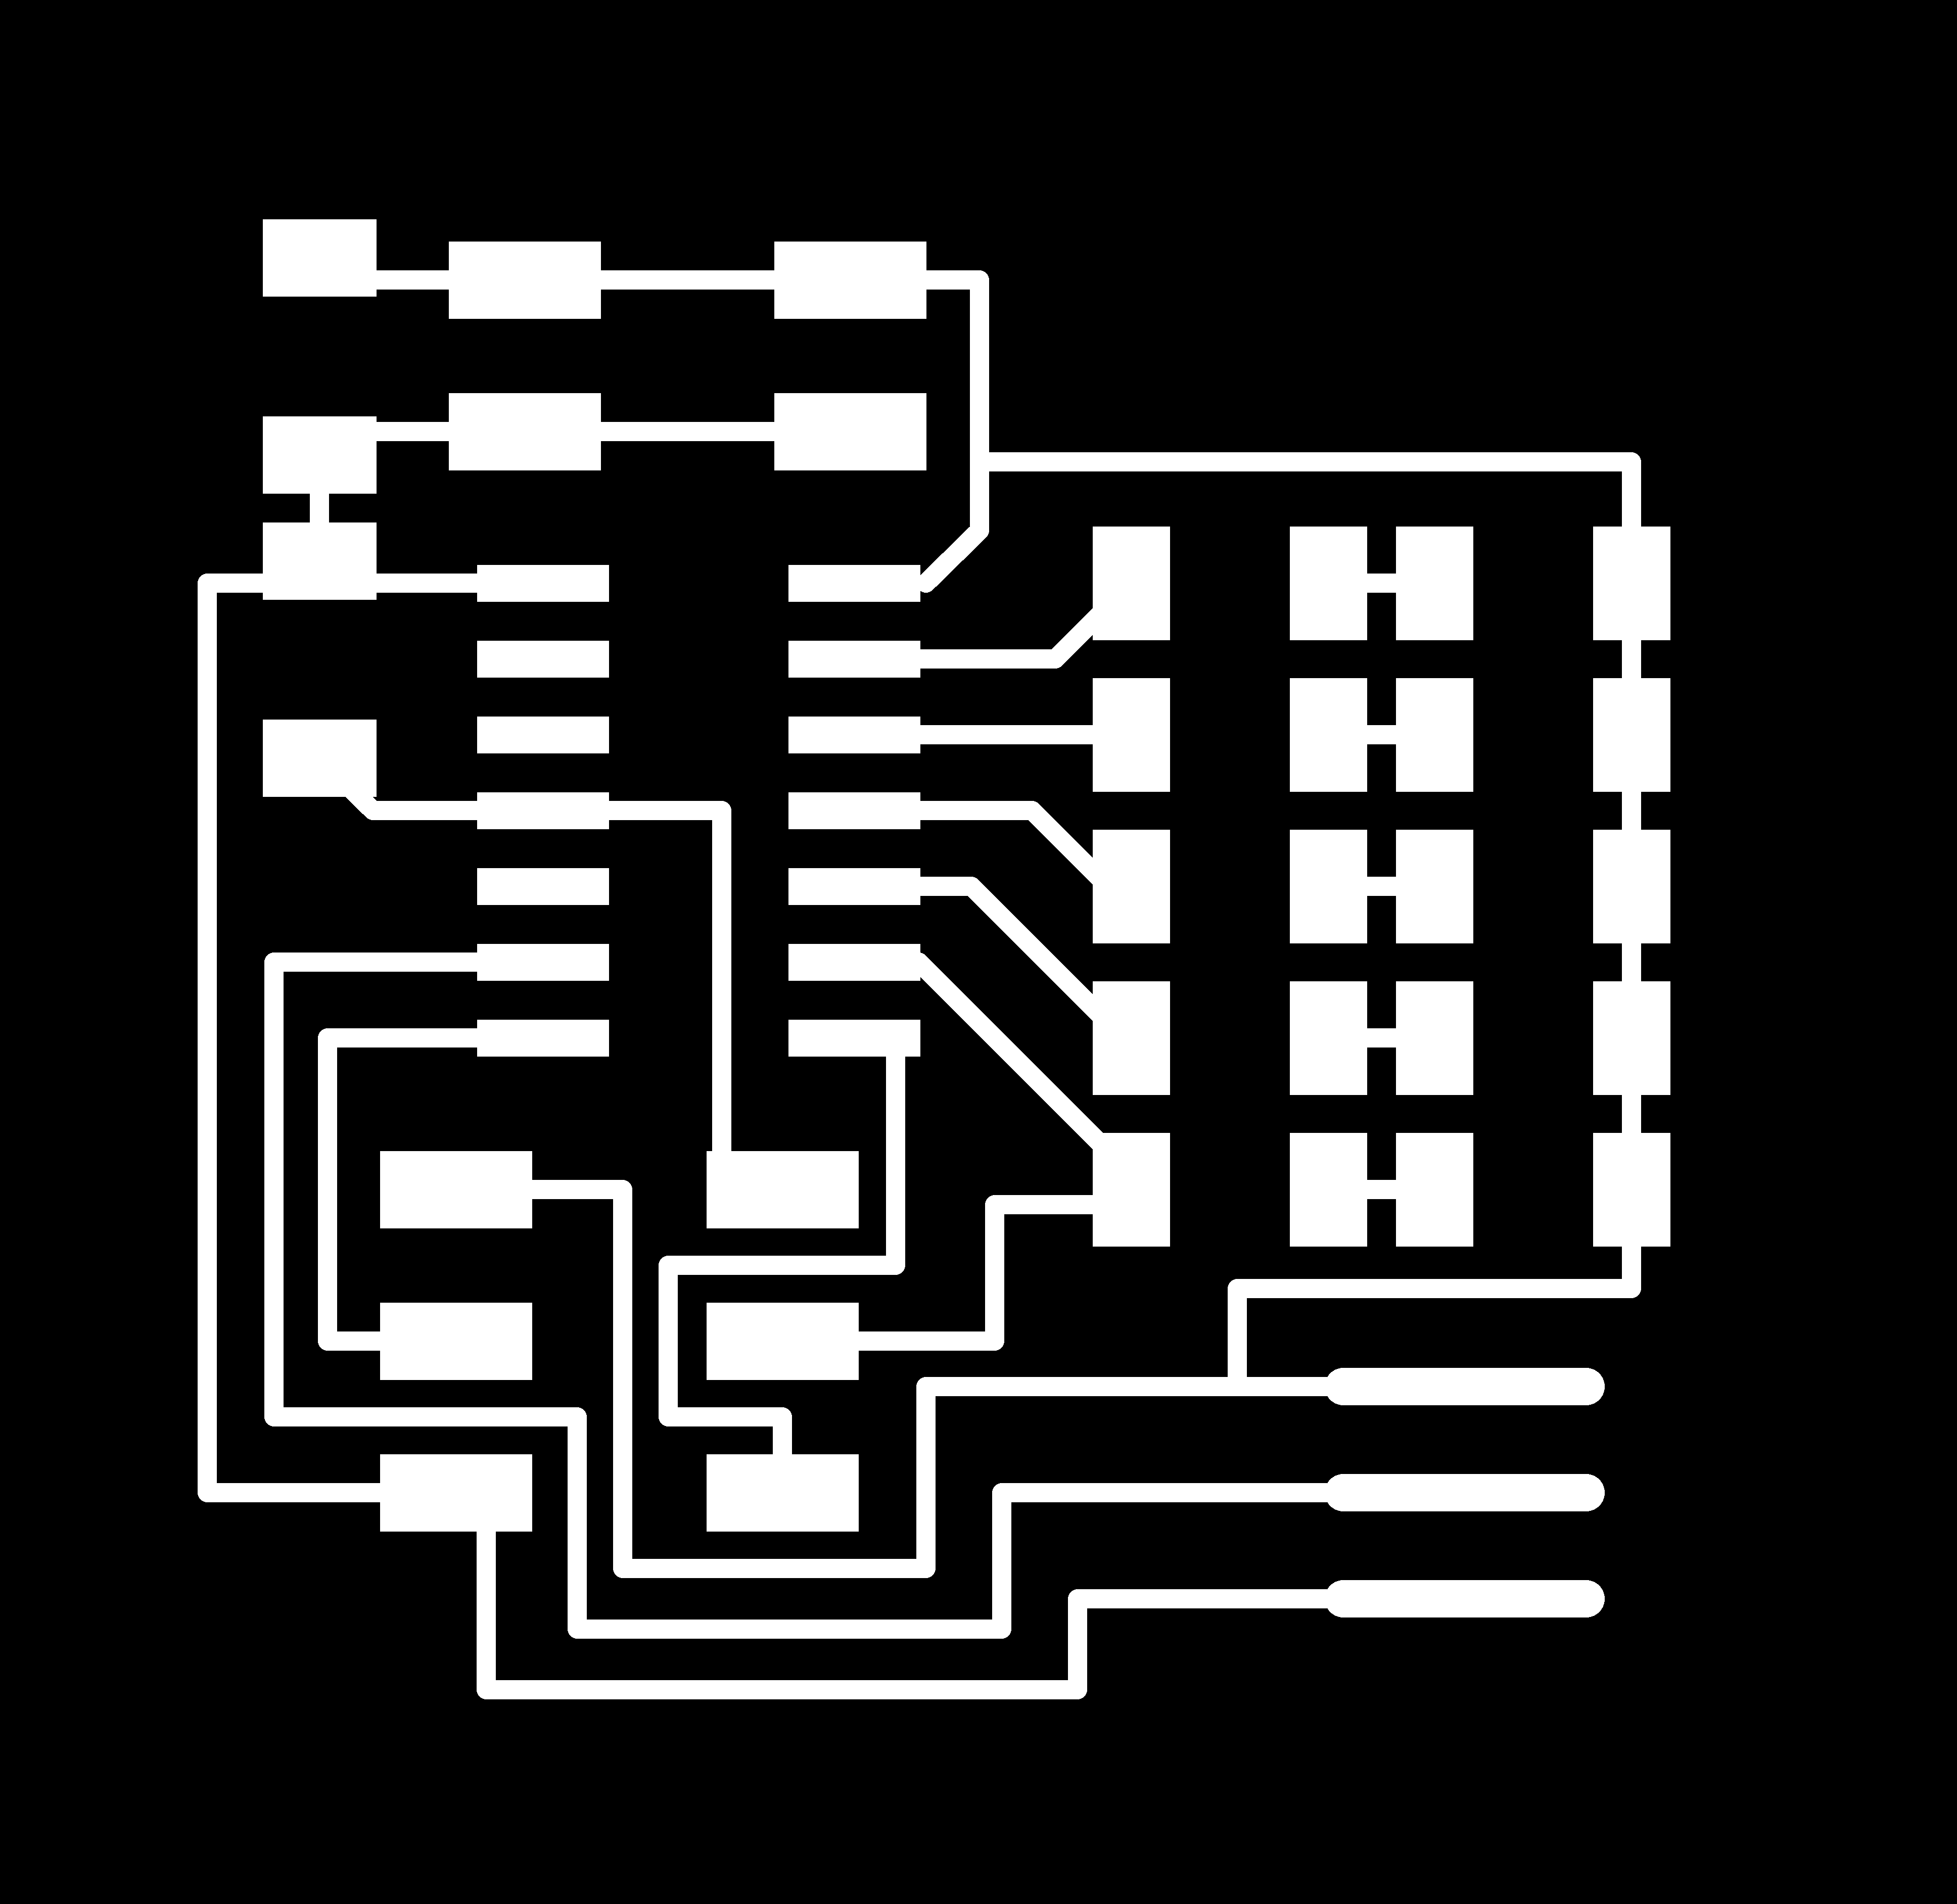
I started my making my programmable board in Eagle. I decided to use only five LEDs for this prototype to simplify trace routing and to not have to worry about power used by my board. Even though it wasn't necessary for this week's assignment, I added space for the attatchment of a potentiometer so that I can read values to the board like I will in my final project.
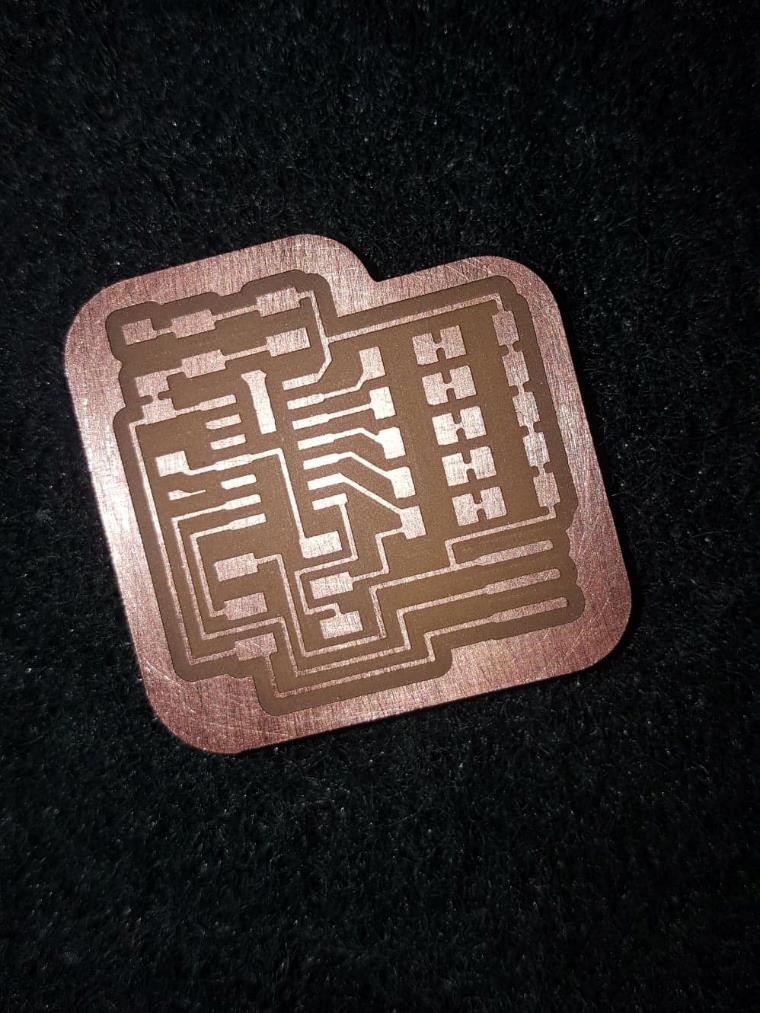
As per usual, there HAD to be some problem in the PCB milling process. This time it was my fault--I made the board a little too compact, and the mill was not able to fully cut out some of the traces. In a similar manner to what I did in Molding and Casting week, I tricked the milling machine into thinking it was using a smaller bit than it was using, making the resulting traces just slightly smaller, but good enough for me.
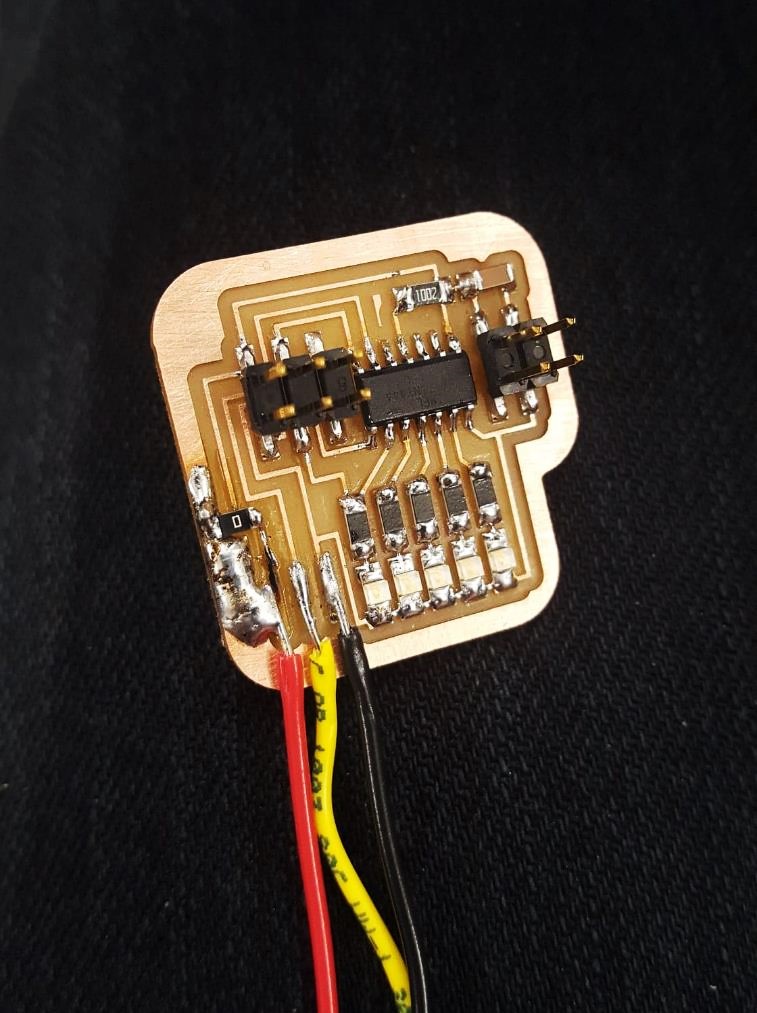
Upon stuffing the board, I ran into another problem--the thicker traces I created for attaching the potentiometer wires got crispy while I was soldering the wire to the board, and the copper in the trace delaminated from the board. As a redneck alternative, I did a awkward solder job with the leftover solder from my fluke, attaching the wire to the previously uncharged ring surrounding the board then jumped the cap to the trace with a 0 Ohm resistor. I'll definately remember to use headers next time.
Some strange and careful cabling was required--I don't think I'll use the 2x2 connectors for power next time, as there is then no straighforward way to provide power to the board.
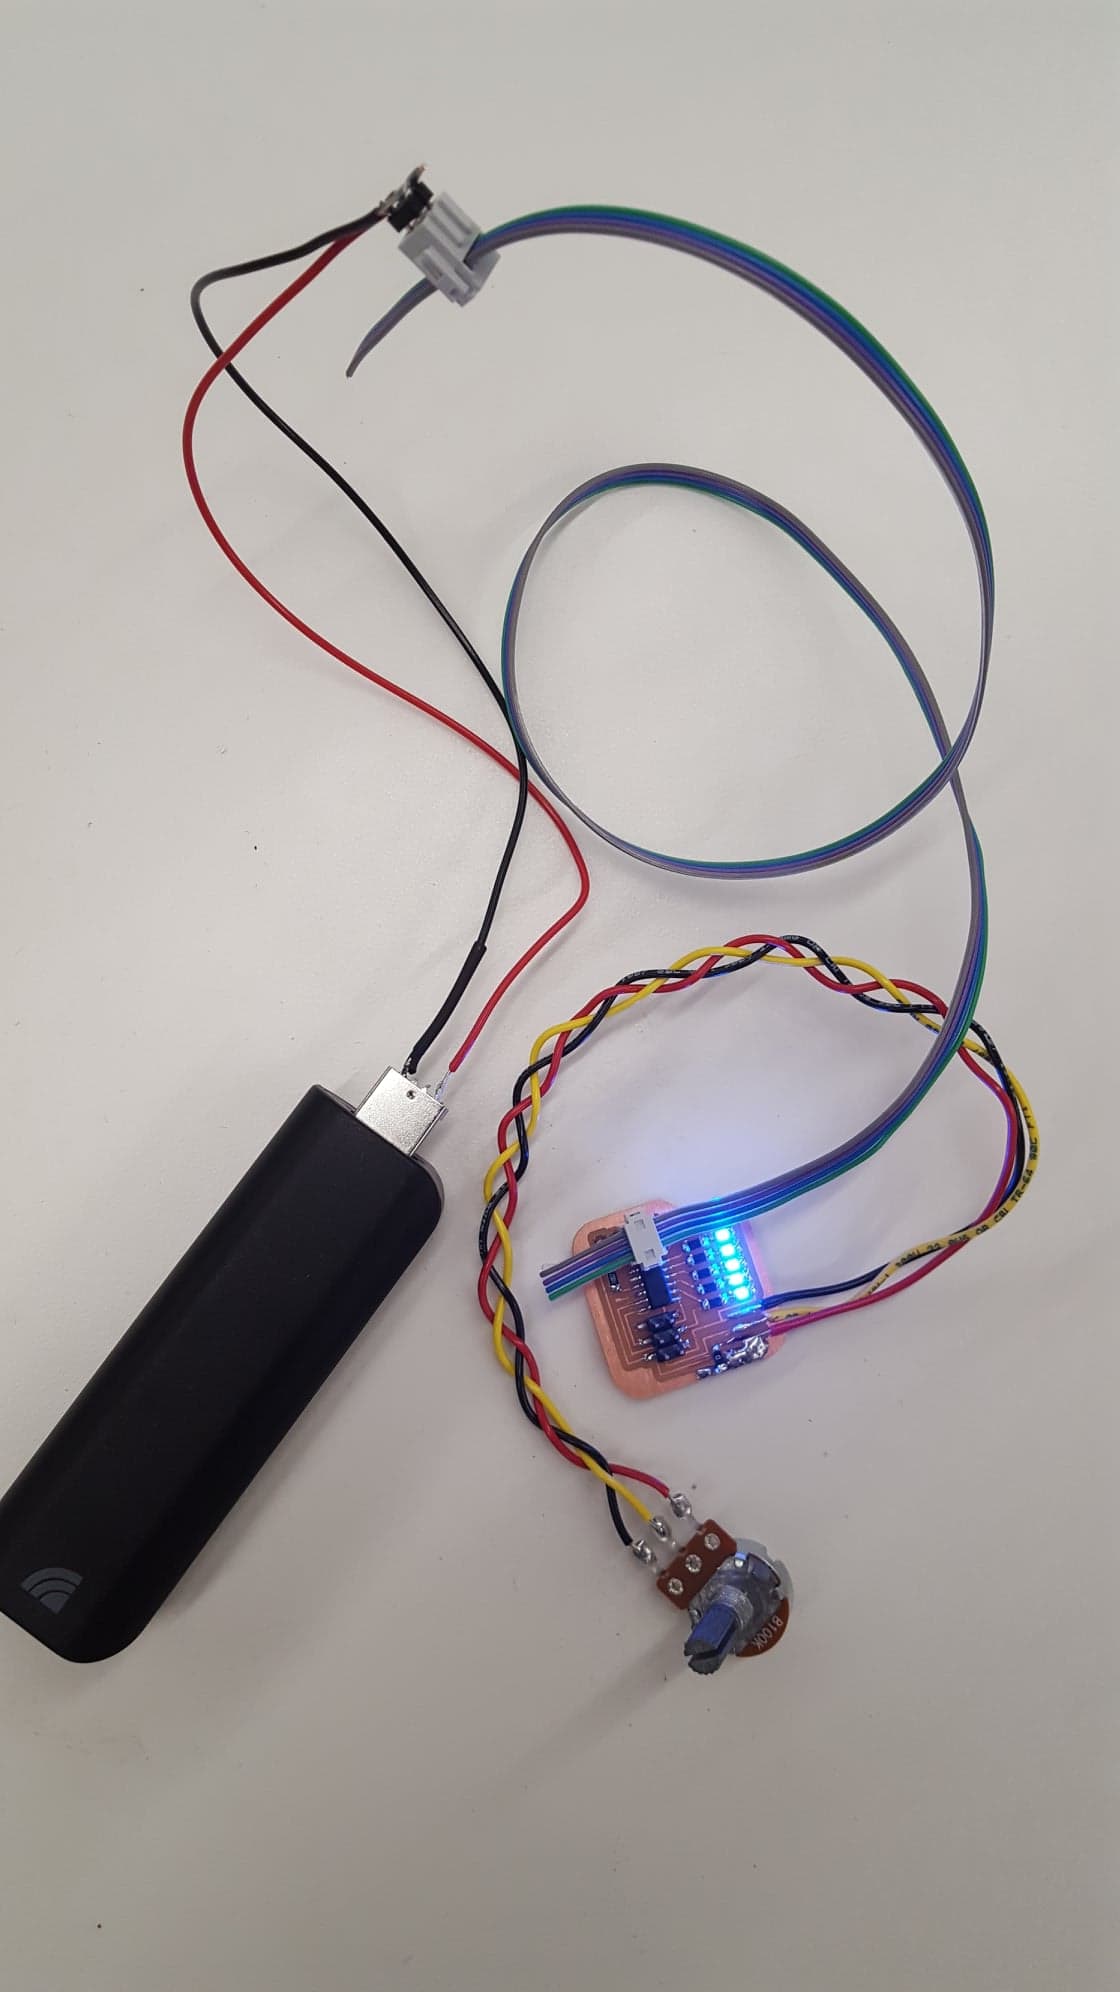
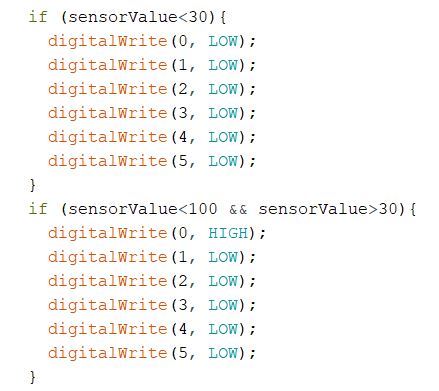
Nonetheless, I got it to work! I altered the AnalogInput sketch example in Arduino--as written, it can change the blink speed of one of the LED pins. Because that code relies on the analog value from the potentiometer, I could estimate what values the it was giving, and I set approximate thresholds where different lights turned on. Here is a small portion that shows how I set up the thresholds:
Worked like a charm, and will be very useful in my final project!
