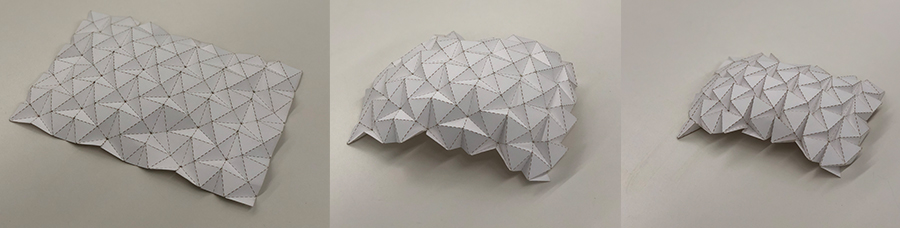
With my final project in mind, I decided to use the laser cutter and vinyl cutter to create an origami sheet that can be folded into a smaller flat object but also take on more free form shapes. I have previously made laminated, foldable sheets consisting of a layer of double sided tape sandwiched between two layers of Bristol. This technique is relatively simple, but does not allow for the mountain and vally folds to be programmed. For this assignment, I decided to explore a new design, a new material (wood) and a new fabrication method using the vinyl cutter.
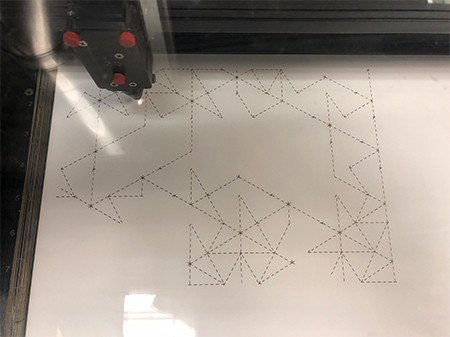
I started with a common tesselated pattern, parametrically modeled in Rhinoceros with Grasshopper. I lasercut the pattern using dashed cuts for the mountain and valley folds.
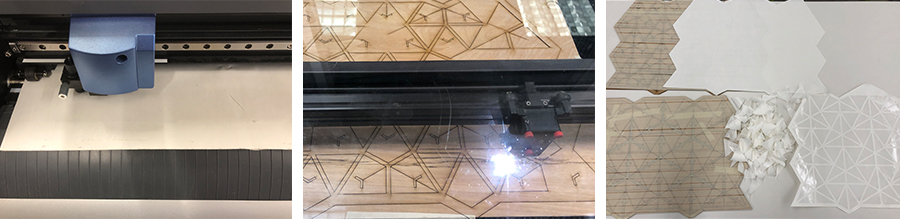
To make sure certain edges are not sticking to the double sided tape and hindering folds, I used the vinyl cutter to only expose areas that should stick.
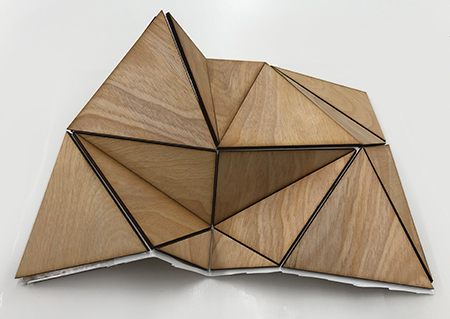
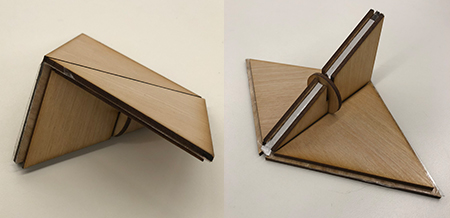
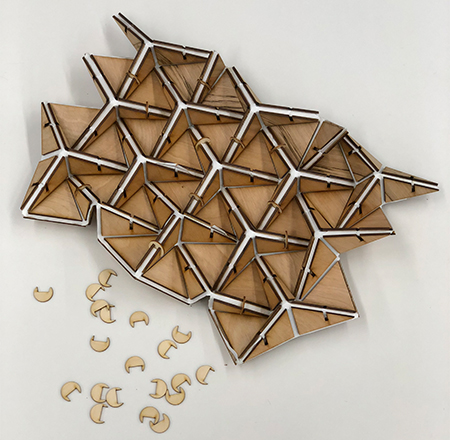
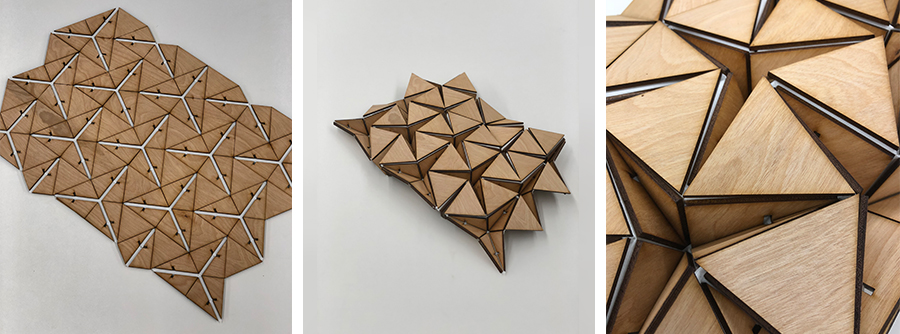
Subsequently, when the fabrication method of lasercutting two layers of wood, and vinyl cutting two sheets of double sided tape proved to work, I tested a geometry with slots for press fit pieces, to hold the whole surface in place in a folded position.
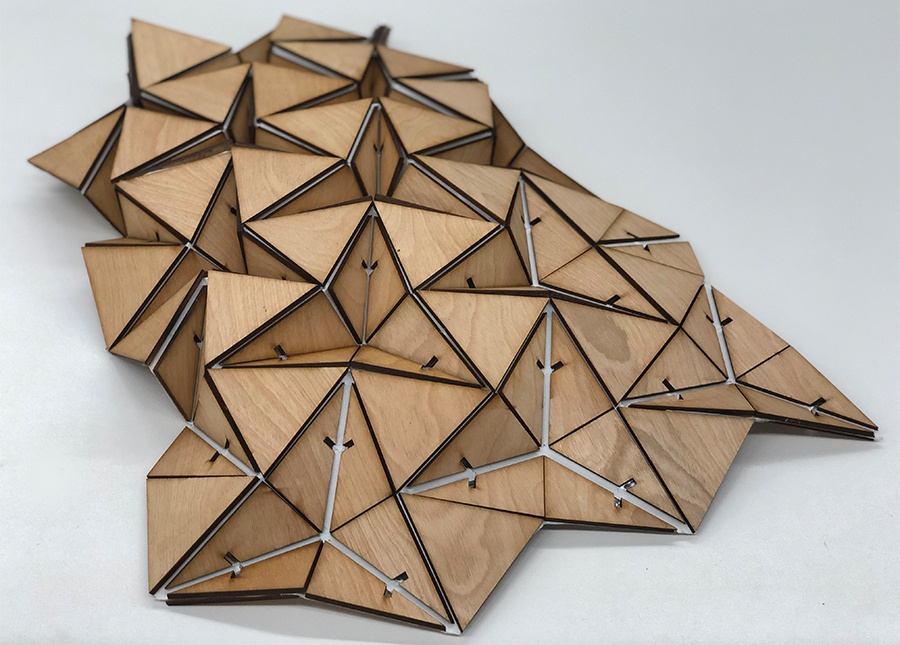
For the final piece I scaled the size of the triangles down, but went for a bigger surface area. I lasercut the wood and taped the pieces together so they would stay in their correct positions, but this also creates a neater finished product keeping the gap spaces perfect. To align all the layers during assembly, I incorporated a border in the design for the lasercutter and vinyl cutter. After using the vinyl cutter to cut out areas that should expose tape, and pulling those out with tweezers, I carefully placed each wooden sheet onto the corresponding tape geometry. Finally the two wood-tape laminates can be stuck together by completely removing the other paper side of the double sided tape.
The main advantage of this technique over scoring or dash cutting folds or a simple lamination is that it allows for the ability to program the mountain and valley folds. However, it is more tedious than a simple Bristol lamination, and it uses twice as much double sided tape, which at $1.50 per square foot is quite expensive.
triangle_tesselation.gh