Electronics Production
Make a Programmer
Time is a funny thing, you know? You start thinking there's plenty of time, and then all of a sudden it's later and you're SUPER NOT READY FOR THAT.
This week, I realized that I'll be gone - out of town, off grid, literally in the desert - for a week and a half starting next week. It'll actually take up almost two full lab periods. Not good, not good at all! So I talked to Rob, who suggested I get a jump on week 4 (Electronics Design) rather than week 3 (3D Scanning and Printing), since I guess the 3D printing and modeling is fairly straightforward.
Cool. Plans are good.
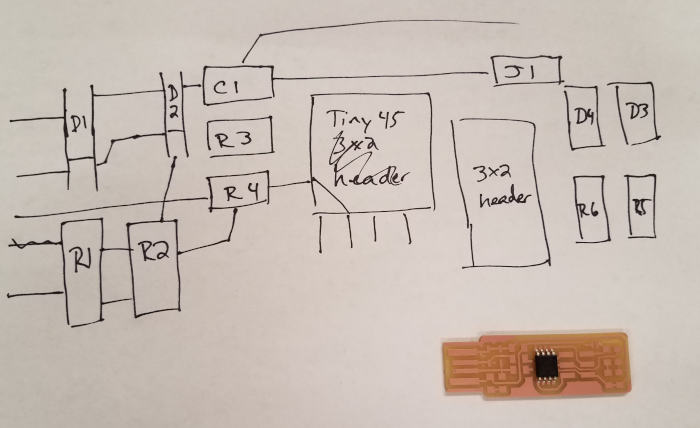
Creating the Programmer
Milling the PCB
So this was fun. And extremely draining on the eyes.
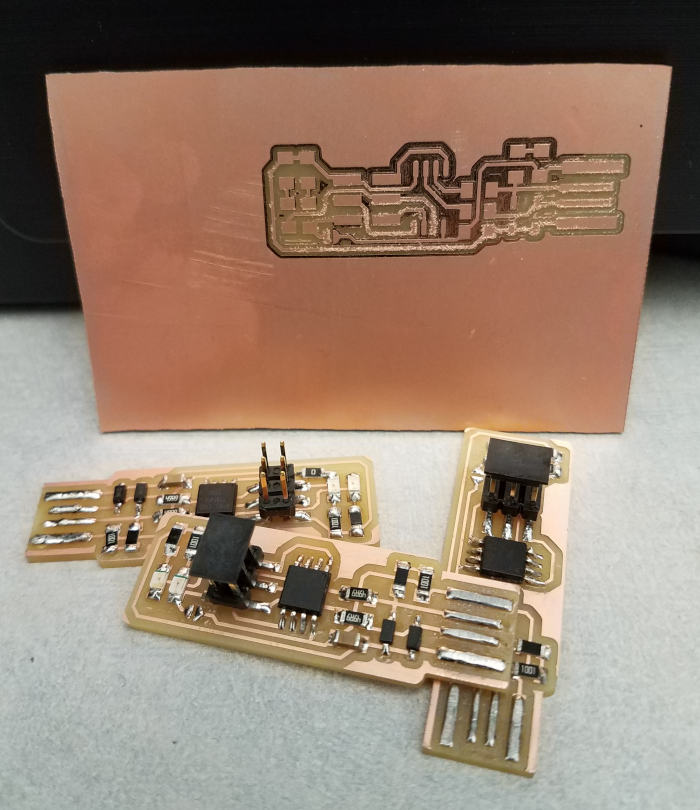
First, the milling. I did one just after the demo, and that worked fine. But I wanted to have another, in case I (very likely) screwed it up, so I went back on Thursday to mill again.
Less good. Kevin suggested that, given the ragged edges of the copper and inconsistent mill depth, that it was probably a mill-head issue.
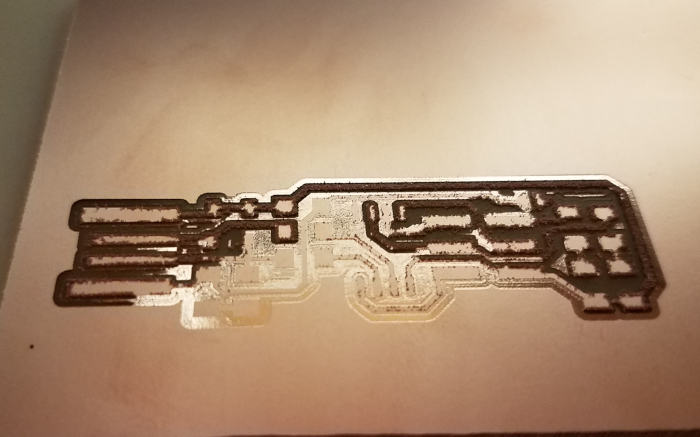
So changed the mill head, and did it again. Cool. Much better. So pretty!
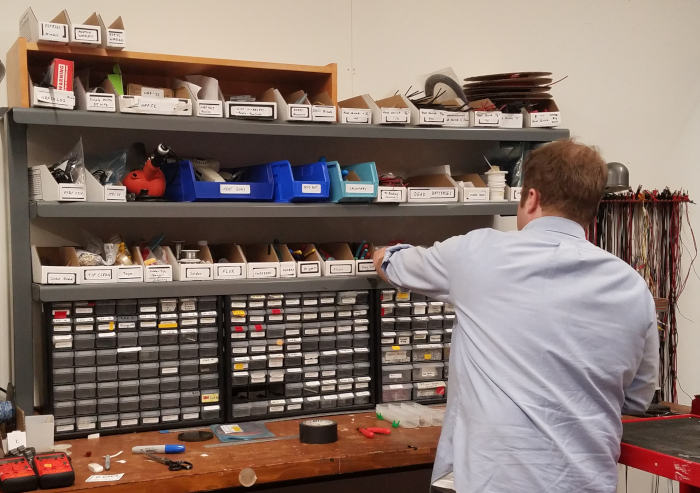
Gathering components is like starting a LEGO kit after it’s already been mixed in with the rest of your collection. Kind of fun still!
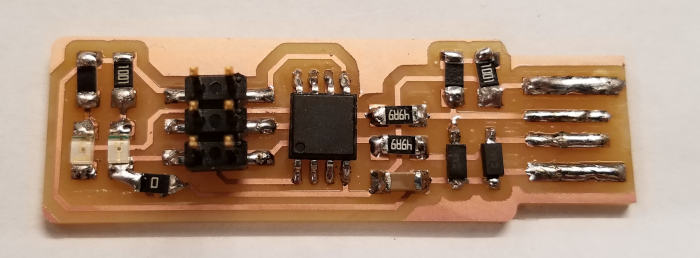
Then the soldering. Oy. I have GOT to figure out a better/more comfortable way to do this. No matter how spread out I began, about four minutes later I found myself hunched over my workspace, face inches above the board, solder off-gas floating up my nose (not good!), arms like a T-Rex and hands shaking, offering too much or too little resistance and always always always misaligning the component on first, second, fifth try.
I tried the tack method, and soon realized that I was using too much. Components would fall off before the solder melted, or fall unevenly, and I had to re-orient.
In general, my first attempt was okay, but not great.
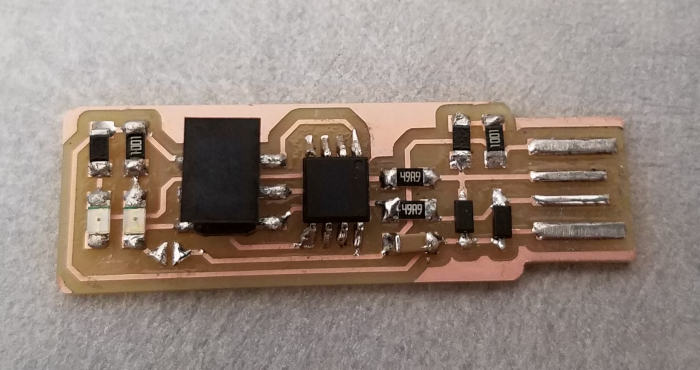
Second attempt was much better, but still not the best...
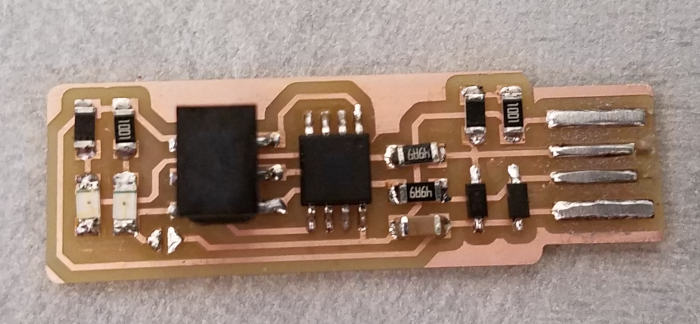
Third attempt pretty okay!
Programming the Programmer
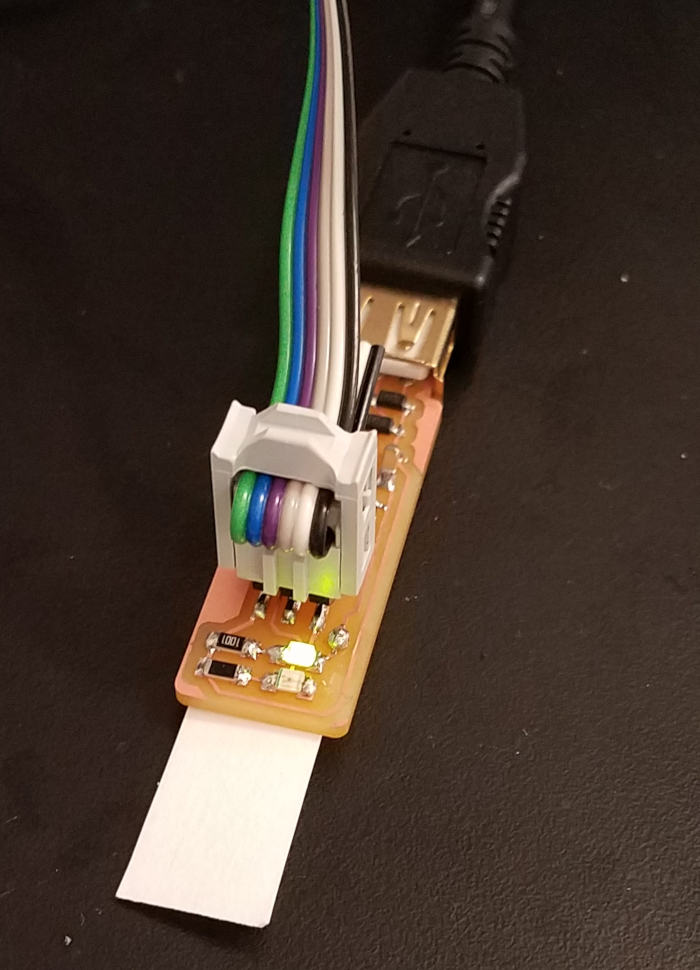
The second attempt was good enough to plug in and get a signal. I used a slip of paper as a shim, as I didn’t find an obviously appropriate material right there. But it worked fine! Though I realized that I switched red and green lights – whoops!
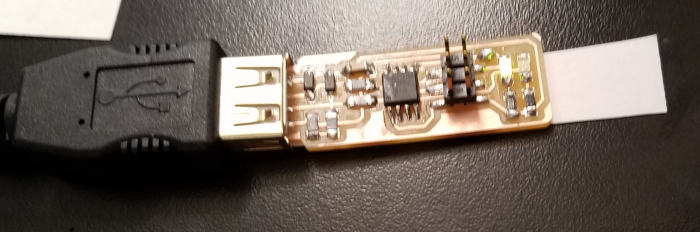
Then to the programming itself. Despite getting good contact and what looked like a good signal, I couldn’t program it on first attempt. Monserrat was there, and suggested I flip the ribbon around on my board. Whoee! That worked.
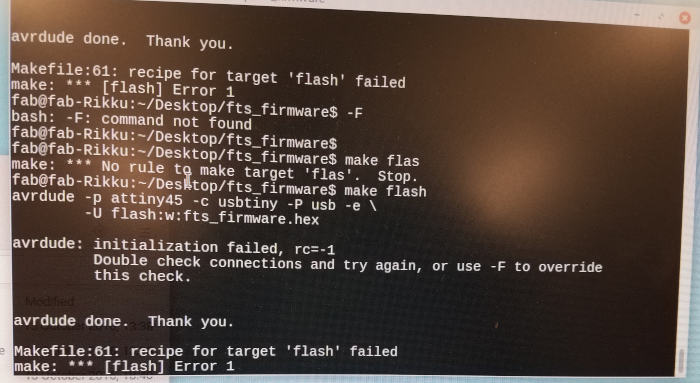
Run: Make Flash. Success!

Then I misread the instructions, skipped a step, and unplugged the board. Lemme tell ya – skipping a step is NOT HELPFUL. Because by the time you realize where you messed up, you’ve taken apart and put back together everything, but slightly differently, and you have to flip the ribbons again very systematically.
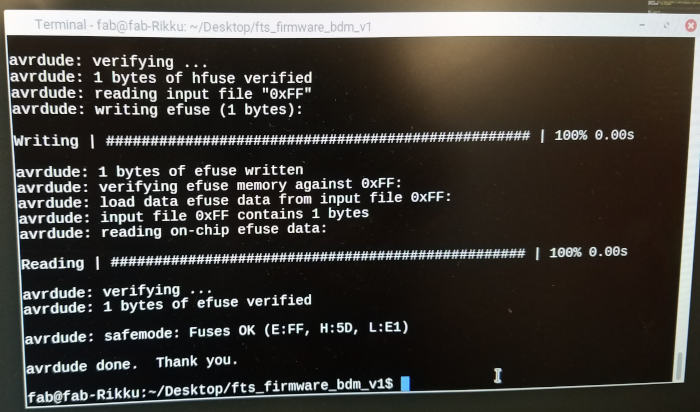
Run: Make Fuses. Fail. Flip. Make Fuses. Fail. Flip. Make Fuses. Success! Hooray!
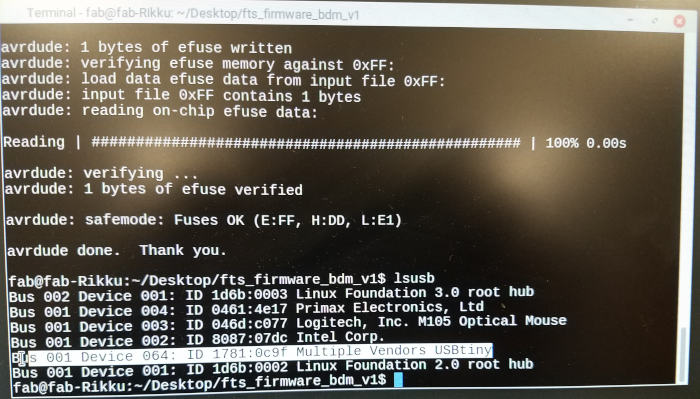
Test your work. Run: lsusb. Success!
Run: rstdisbl. Success!!! And successfully used board 2 to program board 3. BOOM.