Computer Controlled Machining
The First Real Step
Build Something BIG
I've been looking forward to this assignment since day 1. I had a grand idea for making a modular tree for my birds to hang out on - but given my relative inexperience with 3D modeling, the machine, and the fact that I was still half a week behind sugested I should walk my ambitions back a bit, and maybe spend some time working on the clock I was so excited about.
Which is not to say the tree won't happen - but it may be a project for another time.

So instead, I designed and built a case for the clock.
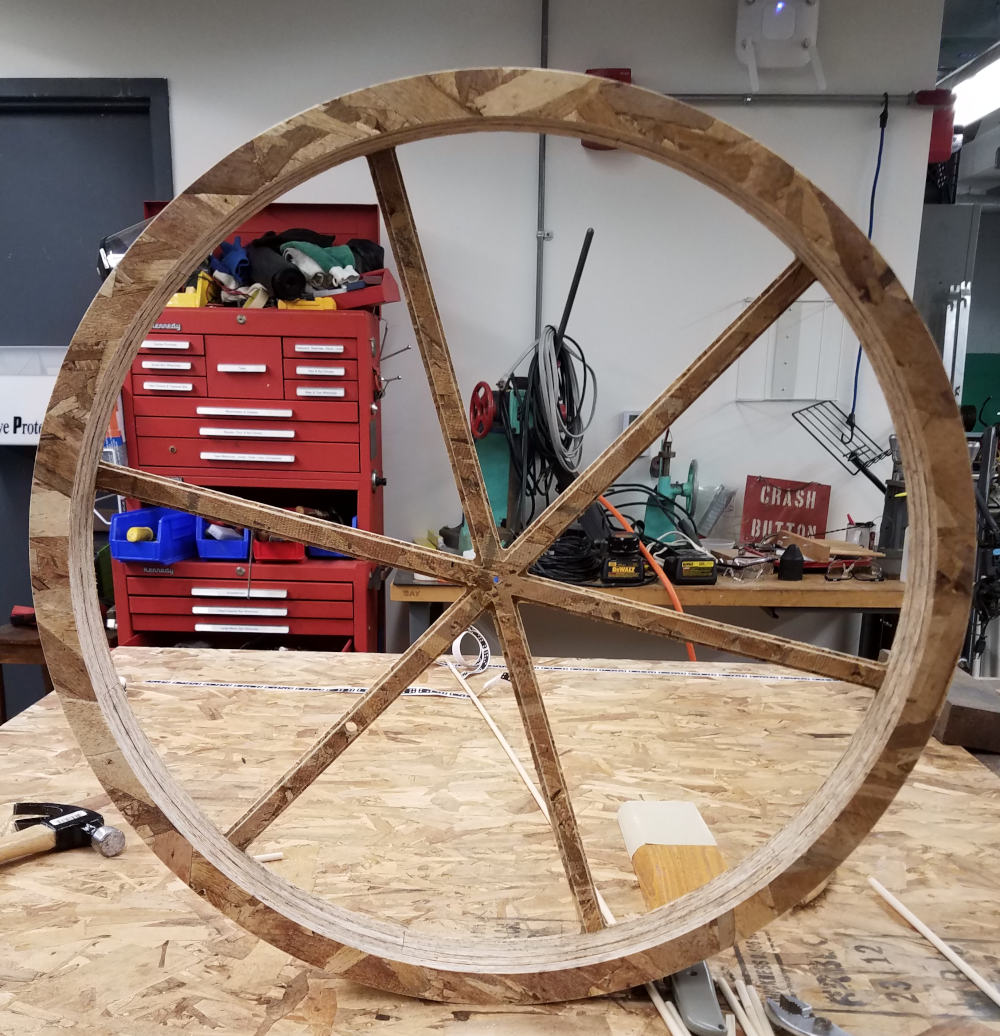
The concept of the clock is kind of silly. It's profound, in its way, but it's also kind of pointless. Definitely could be considered gimmicky. However, all watches, really, are kind of gimmicky. What matters is the style - what you do and how you do it. So I put a little more effort into the case than I otherwise might've.
I cut six spokes into the back of the piece, like you'd see on a skeleton watch. Within the windows, I created a shelf - for acrylic or glass windows, should I choose to use them. I will want to have a face, partially just to give the main axel something to attach to.
A few things of note that I learned here:
- Plan for this ahead of time - when you're choosing the size of the spokes. (Or make them parametric.) Otherwise, the shelves on each side will end up lopsided.
- Cut out the inner windows on the INSIDE of the line, otherwise what started as a good-sized shelf will become just a tad too narrow.
- I may need to revisit the center diameter, and possibly the width of the arms, based on the materials I decide to use. The current measurements offer quite a bit of give, but this may have a lot to do with the material as well.
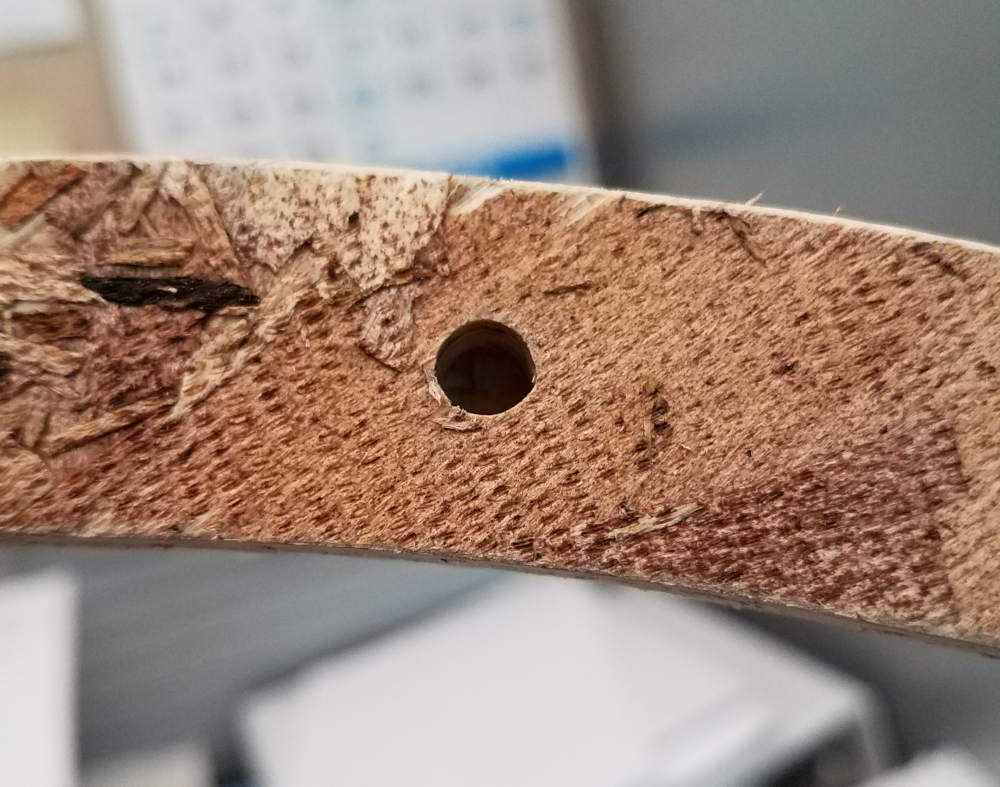
For the sides, I knew I needed more depth than I'd be able to get out of four layers of a complete circle - and honestly where would be the fun in that? So instead I made 60-degree arcs, with slots and tabs. Each arm had a 1/4-in hole, for a dowel pin that would hold each layer together.
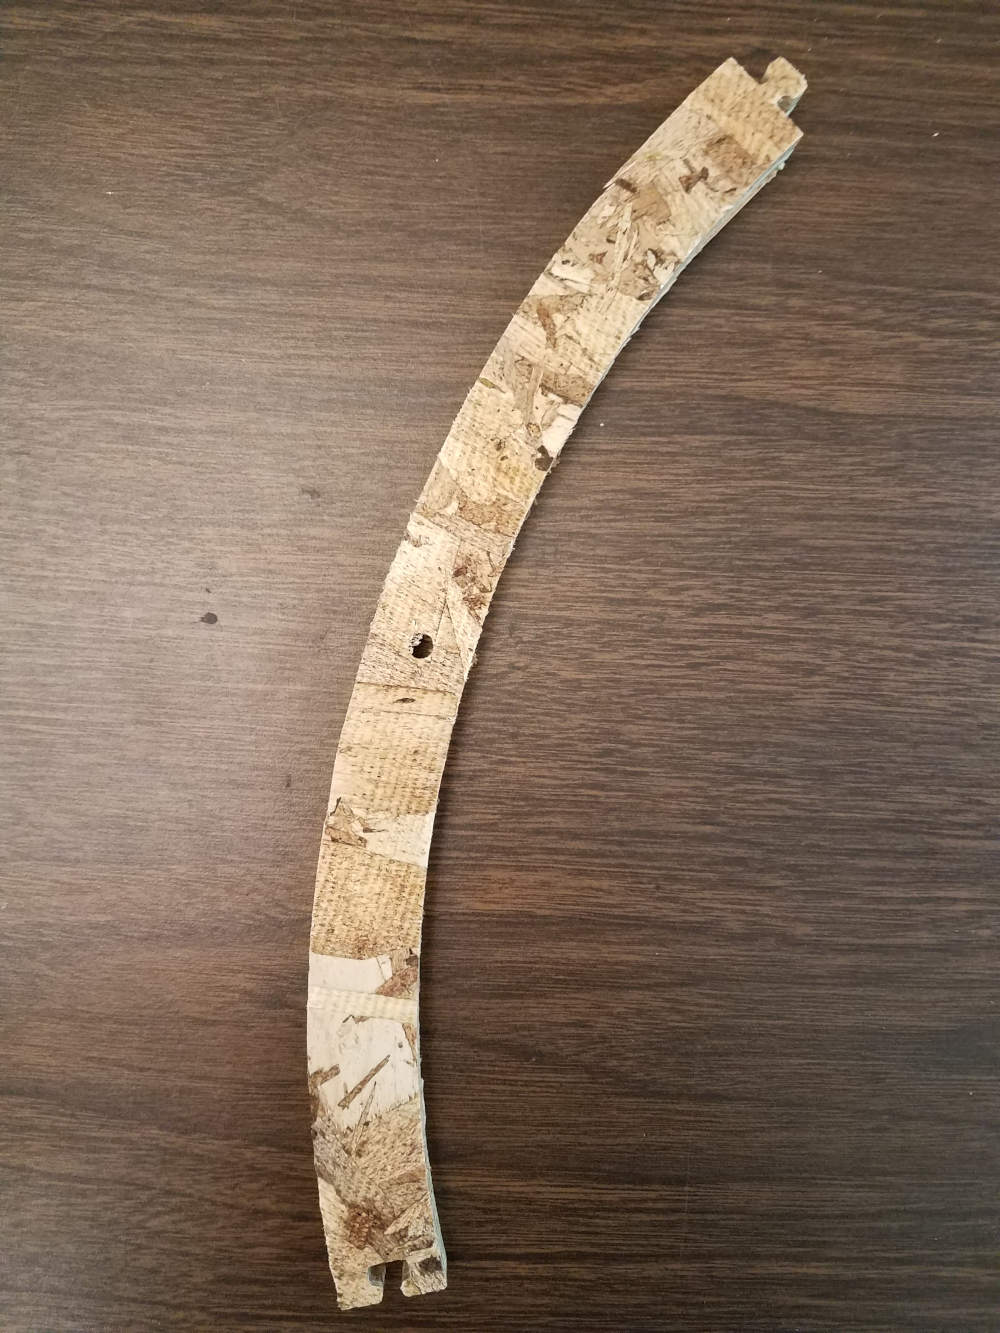
In this first version, I left the hole in the center of each piece. As a result, the sections are clearly visible in the prototype, and I expect would remain so even after finishing. I may stagger the pinholes in the next version.
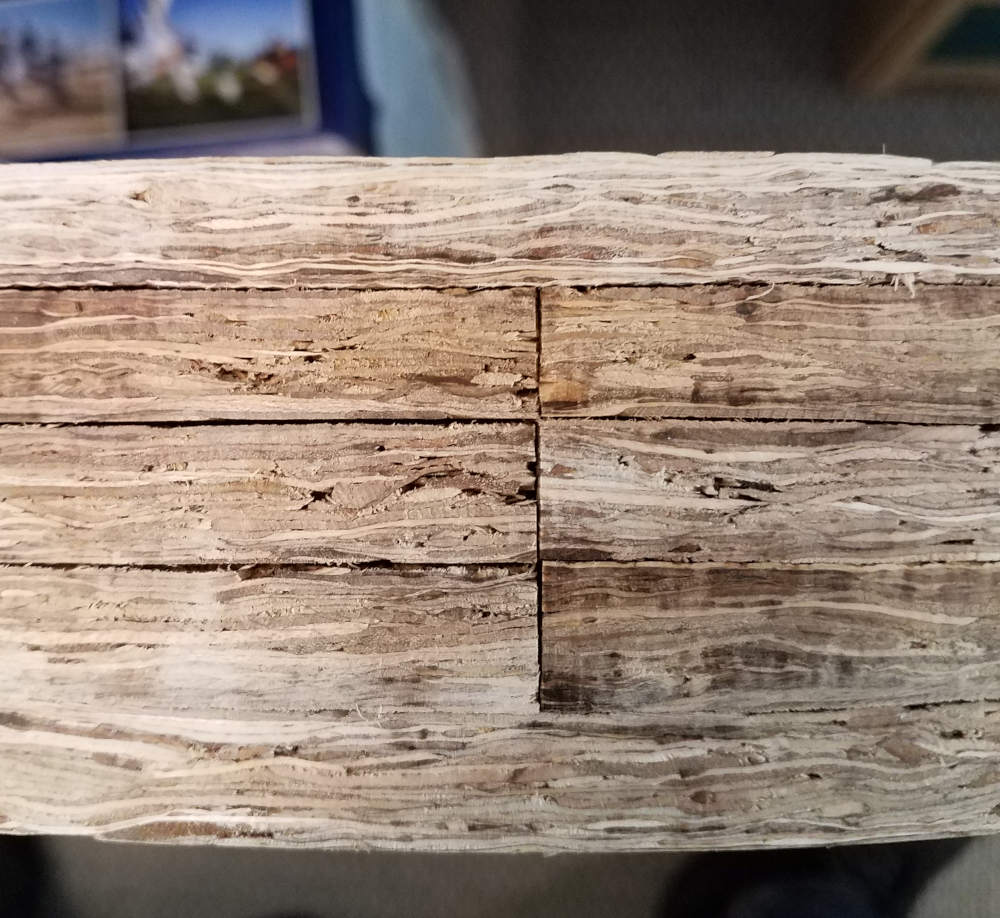
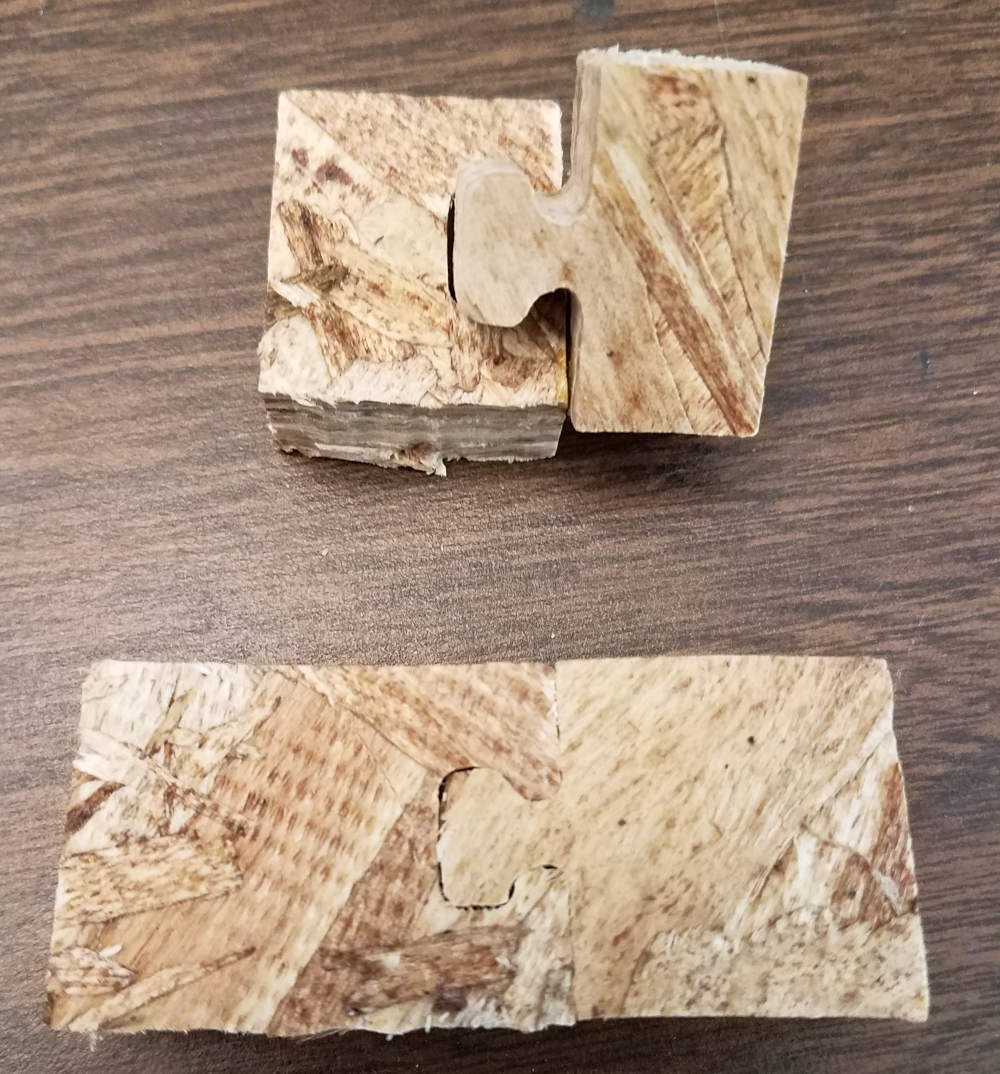
A good way to check your tabs is to physically (virtually) move them together! If there's just a bit of clearance between the lines, you're pretty likely to get a fit. It may still need to be adjusted, but if the lines are exactly on top of each other, the inner tabs will be just slightly larger than the slots they're meant to go in.
And TEST YOUR JOINERY before cutting even smallish pieces. Nobody likes to waste material. Everyone, however, likes the feel of a tab fitting perfectly into its slot.
Finally, the piece that will become the faceplate. This one has what Daniel called "blind holes" - holes for the pins to attach to, that don't go all the way through. I had meant to cut a shelf, too, similar to the windows on the back piece, but I forgot to plan for it in the cutting. It should have been the first cut I made, followed by a flip and the remaining cuts. Next time.
All in all - a pretty successful week.