Molding and Casting
Planning
I've done a little molding and casting before, in sand and glass, using what's called the "lost wax" method. It's very similar to the method we're using today , in that you start with a positive. I thought that experience would make this week easier, and I'm sure it did kind of - but I still struggled a fair amount this week.
First, I thought I'd just drill out the axle, with a few extra drill holes in the end so I could attach gearing later. NOPE - tool doesn't work like that.
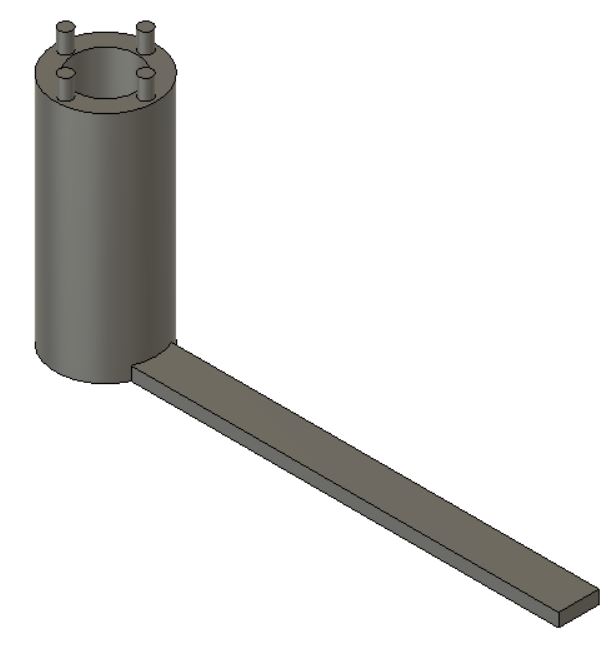
Okay... Then, I'll just chop it in half. NOPE - tool doesn't go sideways.
Alright... I guess I'll chop it in thirds, and do the pegs in one, and the sides in the others. Sure, that works, but be super careful about your mold registration, oh yeah, and if you want a straight tube you might want to have a way to keep that part straight - and don't forget the center piece too!
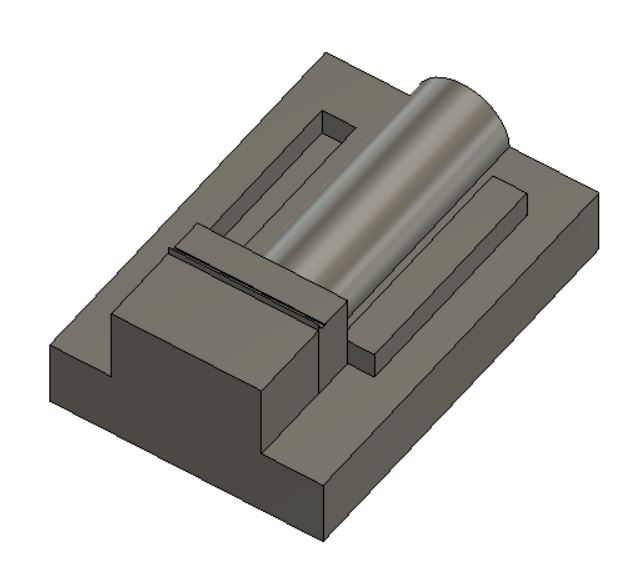
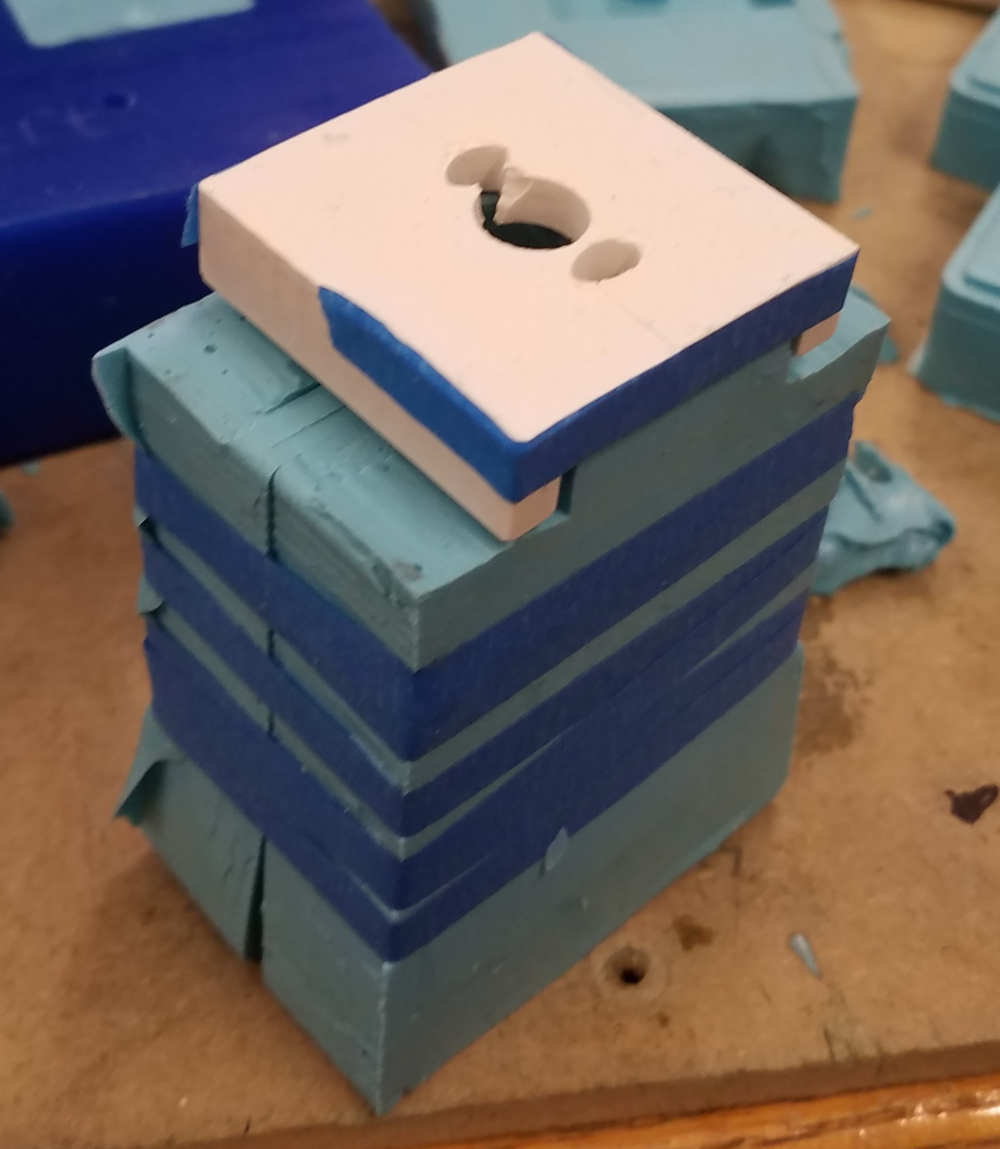
So I ended up with a 5-piece mold.
Cutting
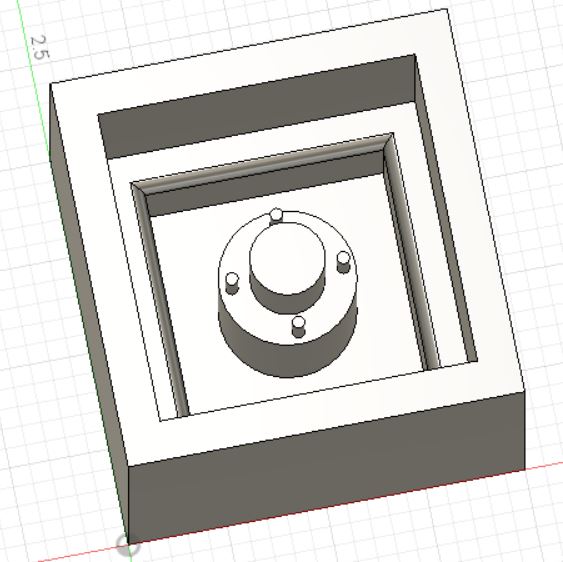
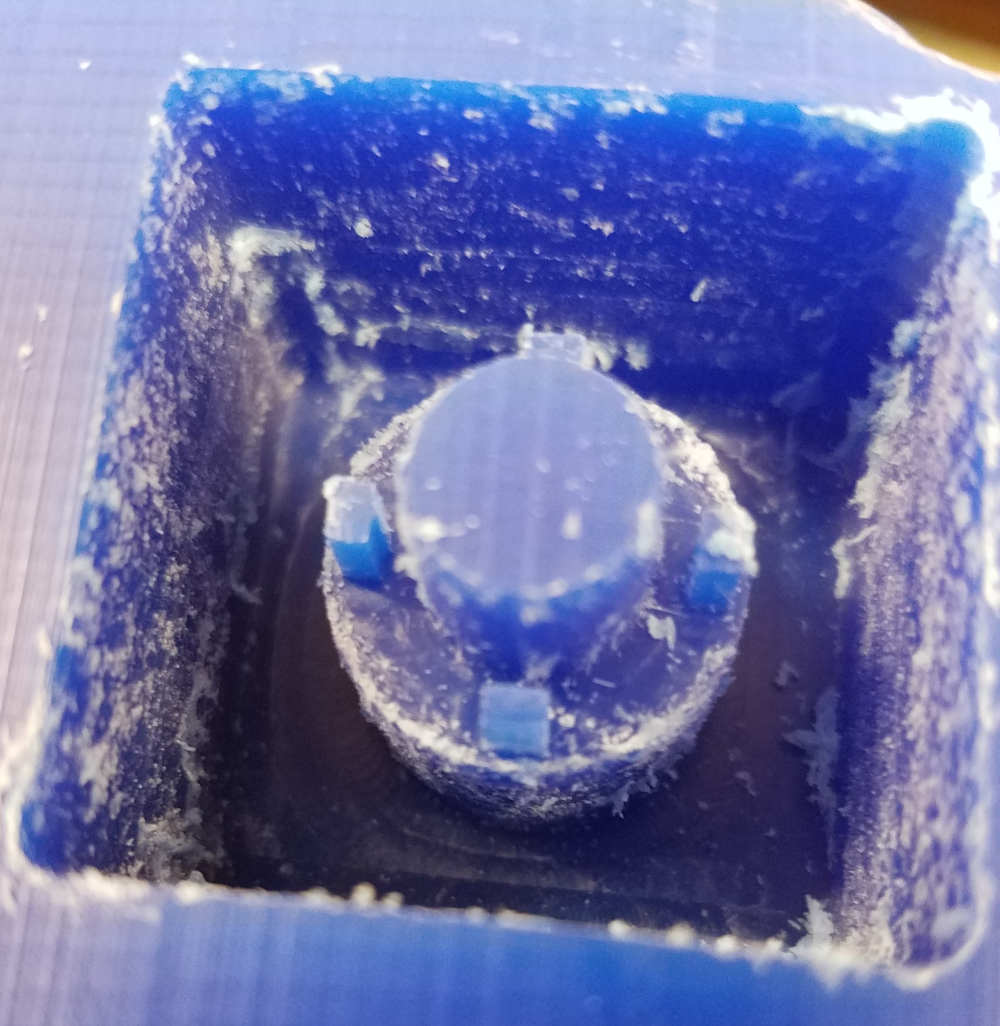
Once I imported my .stl files into VCarve, I had a whole slew of other problems. First, the pins: Since they were so small, they really needed to be milled separately from everything else - but since the .stl file treats everything as one piece, it was impossible to change the cutitng plan to accommodate. Dixon suggested using just a vector file for this one, and it did work. Except - except. The pins were too fragile and broke during milling. So I replaced the pins with rectangles, which seemed to work okay.
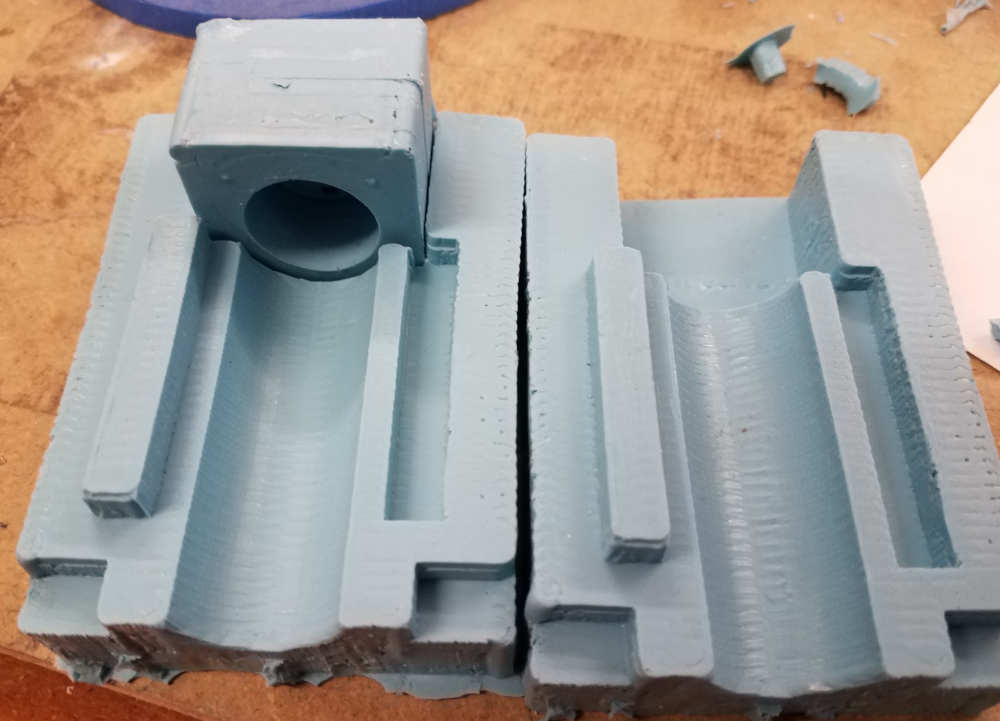
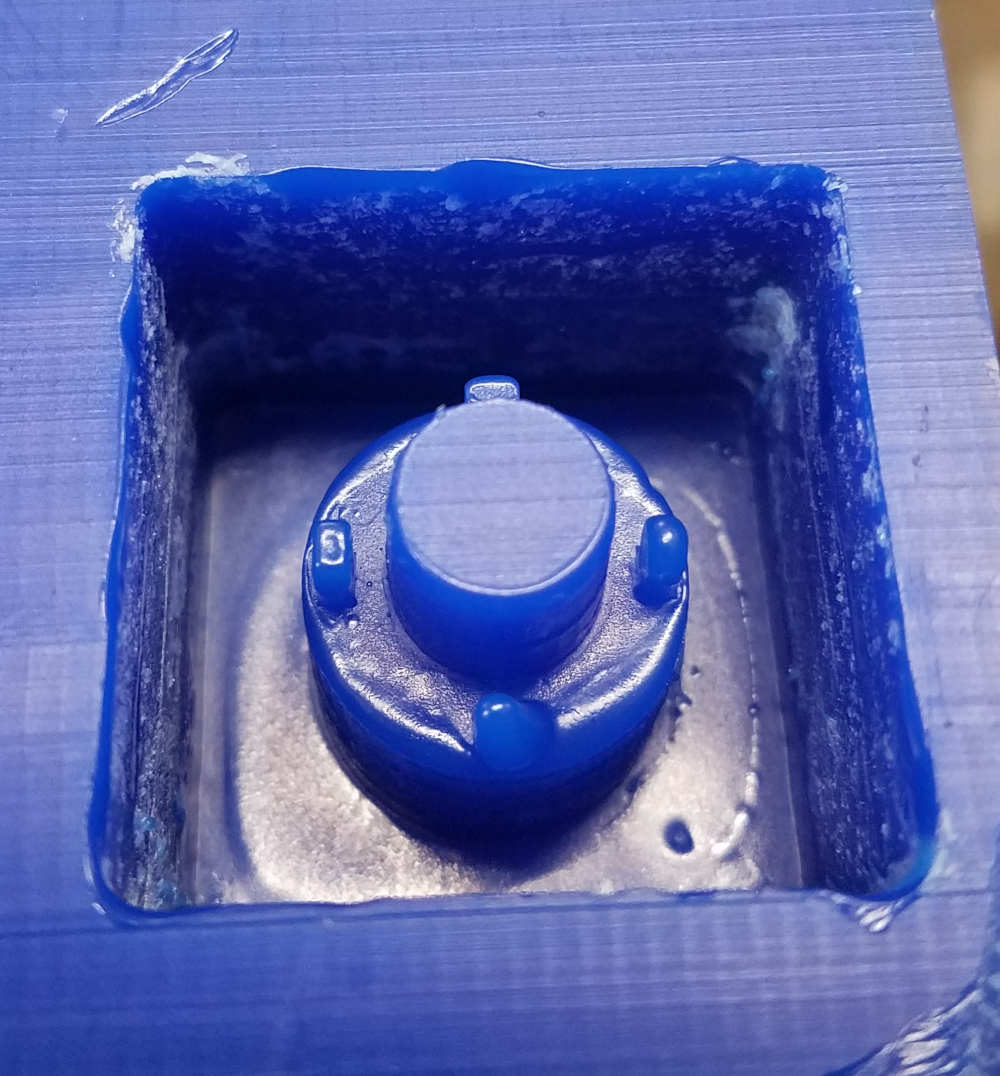
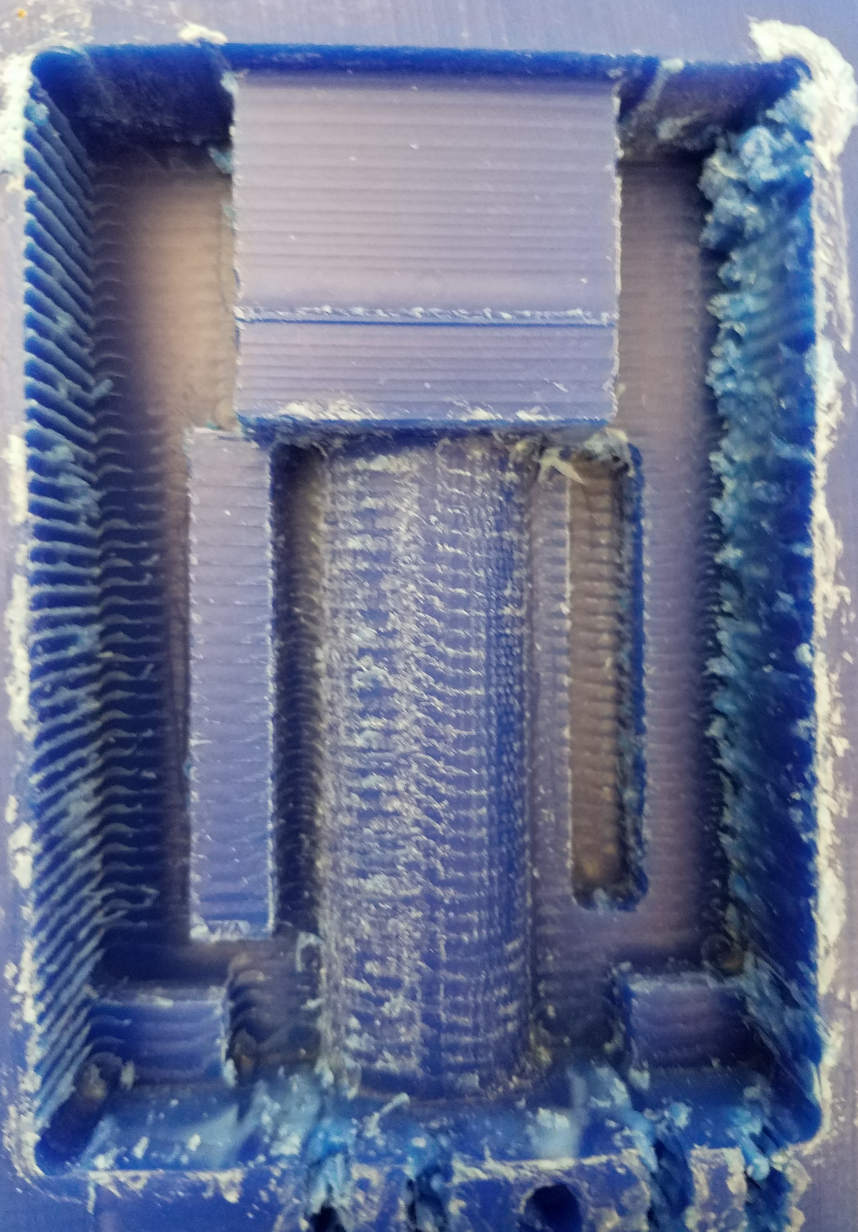
But then, the mold was really messy. There was a lot of loose material, a lot of gunk, even after a fine pass - which I was mostly able to clean up with an xacto knife - but then I got the bright idea to smooth it further with a heat gun, and melted one of the pins. Good job, me.
When I was cutting the cap, somehow the rough and fine cuts were of different lengths - so the fine cut passes bumped into and broke the outside of the wax mold. Not the worst - in fact it made removing the mold much easier - but it was kind of a pain in the butt.
Cutting the sides was an endeavor, too, simply because I was pressed for time. They needed a lot of clean-up, probably the most out of everything - and I used the heat gun trick again to smooth where I could.
Casting
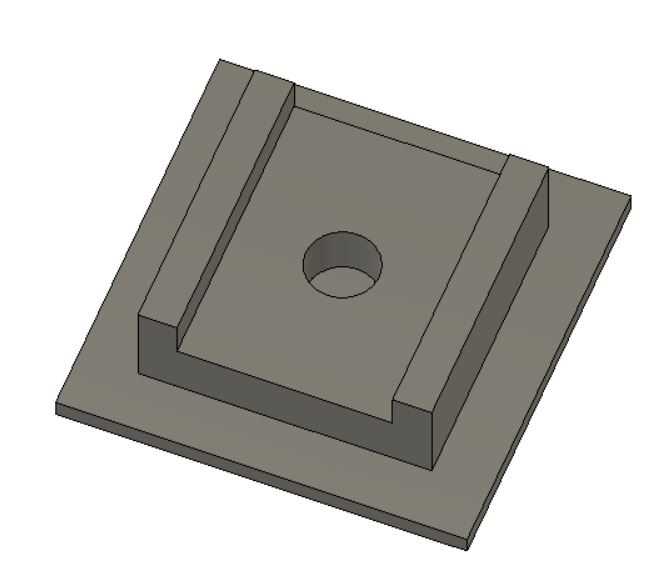
I decided to cast the cap in hydrostone, since it's really only for registration. If I'd been smart, I would NOT have cast this, only cut out what I needed, but c'est la vie. I decided to add a couple of vents and a pour hole, using clay.
Once I got all five pieces of the mold together, I realized there were some registration errors - basically all over the place. I'll need to cast after class and update!