Vinyl Cutter
This week I worked within Harvard's fabrication lab to vinyl cut laptop stickers and laser cut a press-fit cardboard construction set with the underlying goal to increase my understanding of these two machines and various CAD softwares.
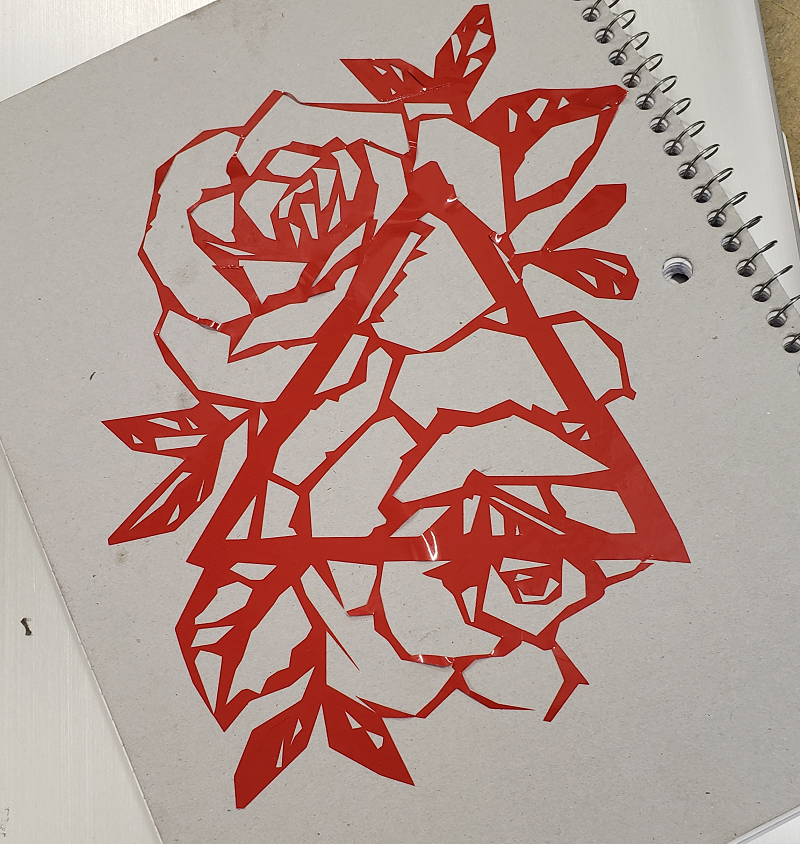
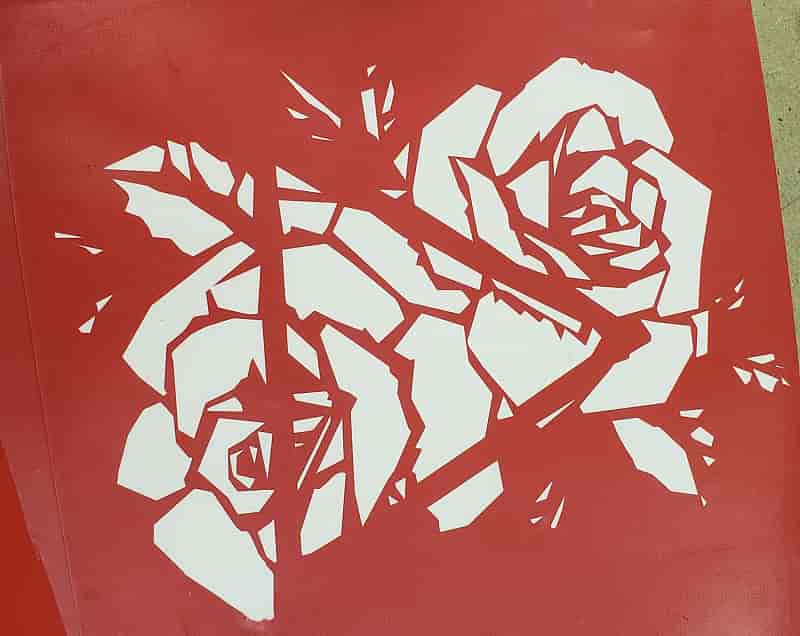
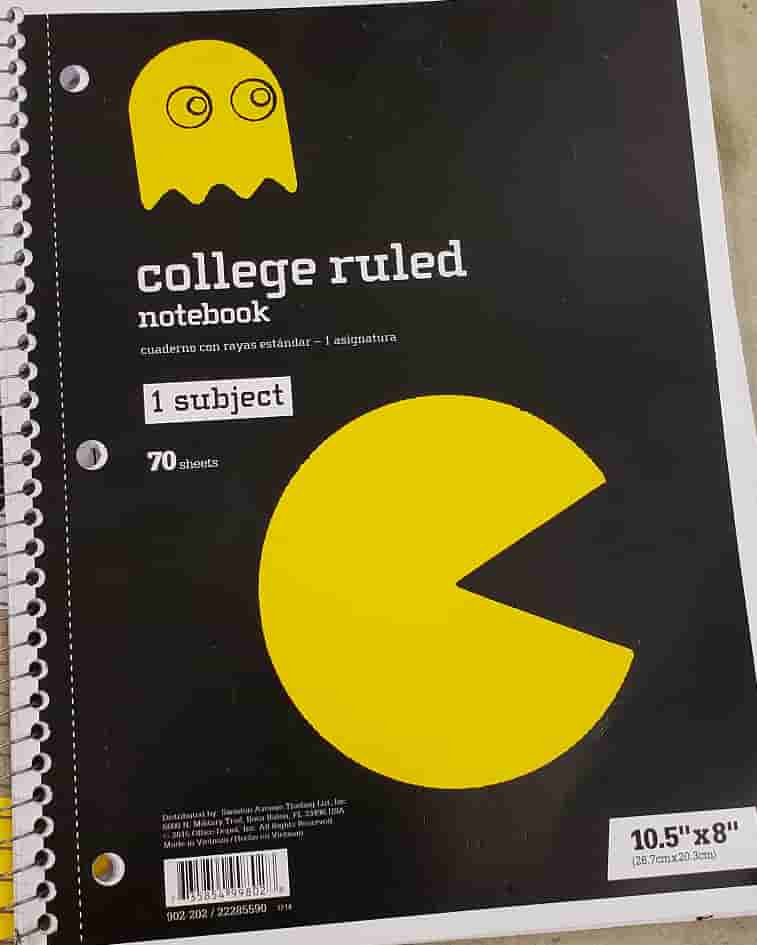
My first interactions with the vinyl cutter didn't create the stickers shown above and below. The first attempts I had didn't succeed because I: first attempted to use vinyl that bubbled and thus couldn't be cut into without tearing apart the material; second, I attempted to cut an image which was too intricate for the machinery. From this experiences, I learned about the details of the vinyl cutter, particularly that the vinyl cutter will cut along both sides of a line. This later influenced how I designed my future vinyl cut stickers; third, I didn't take the time to think through the transfer process and properply utilize the tools available to me causing me to ruin the sticker I had sucessfully cut. I corrected these mistakes by carefully thinking through the vector line constant to retain the intrciacies of the image without causing too many lines to destory the vinyl. Additionally, I utilized tweezers, transfer paper and a poke stick to effectively transfer over the sticker above onto my notebook. In doing so, I also took the time to make choices about which section of the sticker I actually wanted to keep and which were necessary to remove to achieve the image above. After the more complicated sticker was cut. I took the time to cut an easier image of pacman and a ghost to solidify these skills.
Laser Cutter
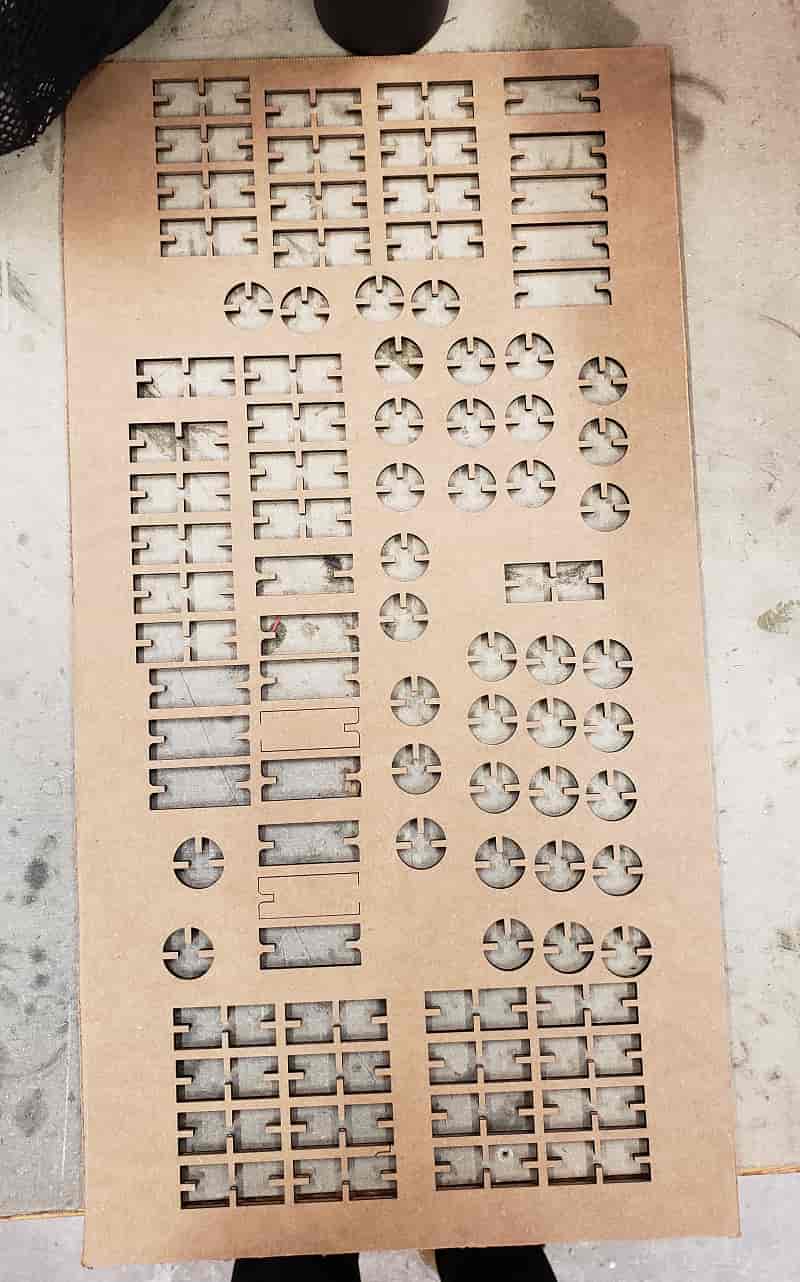
For the laser cutter portion of this week, I first began by categorinzing the the laser cutter in Science Center 102. I multiple slot of varying widths and measured what their actual width was. The extra width than the intended cut accross the cardboard was the kerf which I measured to be 0.3mm. From there I worked to create my construction set. Because this is my first time using CAD or laser cutting, I wanted to experiment with different methods in creating pieces. For my construction set, I wanted to laser cut what are essentially leggo pieces iwth different methods, push my creativity to create several different things and see how that impacted their actual build. For that I tried constructing rectangular pieces with filleted edges, pieces without, circles and rectangular pieces with more than two slots. I found that rectangular pieces with fewer slot, which might actually be a function of the large amount of stiff cardboard between slots, had a much stronger build so I was able to create higher and longer structure. Similarly, I didn't properly account for the amount the cardboard would overlap in connecting meaning that the rectangular pieces with 4 slots could only actually be connected in three piece. I also found that filleted edges create an easier construction time as pointed out in lecture. Below, you can see the various cardboard pieces I cut out as well as some of the structures I built. I felt that some resembled the bottoms of go-karts, geometric structures and a catapult.
You can find the CAD I created of my construction set here. I took these basics shapes that I made and copy and pasted as many of a DXF version that I wanted into the software of the page.