Chloe Nelson-Arzuaga
How to Make (Almost) Anything
Creating and LED ON/OF interface
This week we were tasked with creating an inteface for one of our boards. This week is thanksgiving so I also was not in town. I started by looking at what other people did and decided to use processing. This was because the code for it looks like arduino and it seemed pretty easy to learn. I watched a couple tutorials on how to use it, especially how to use it with arduino.
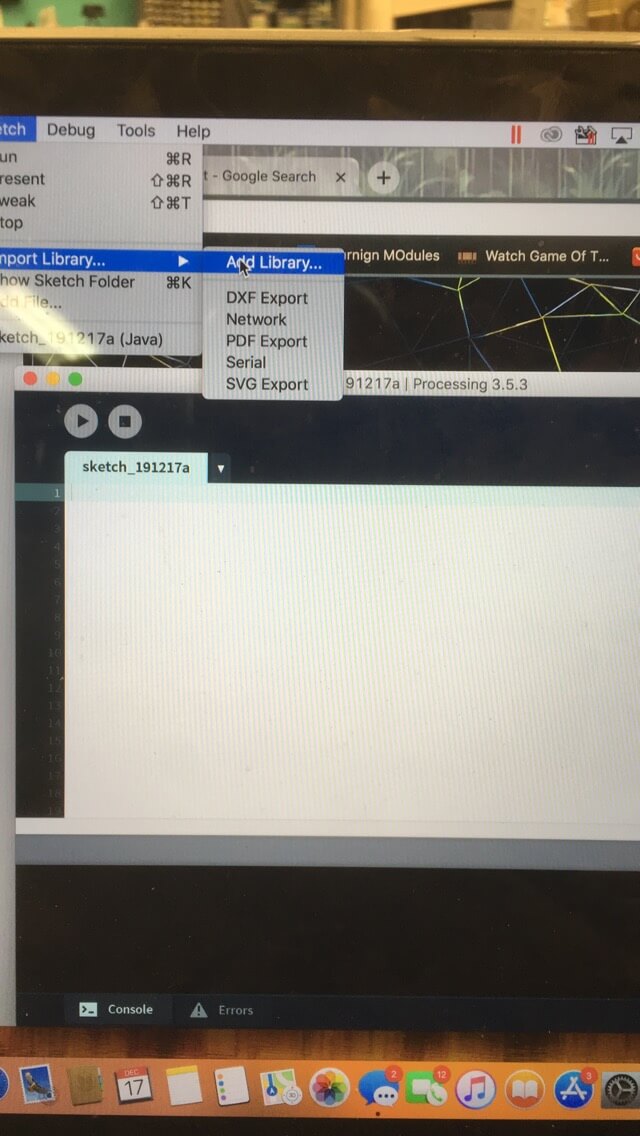
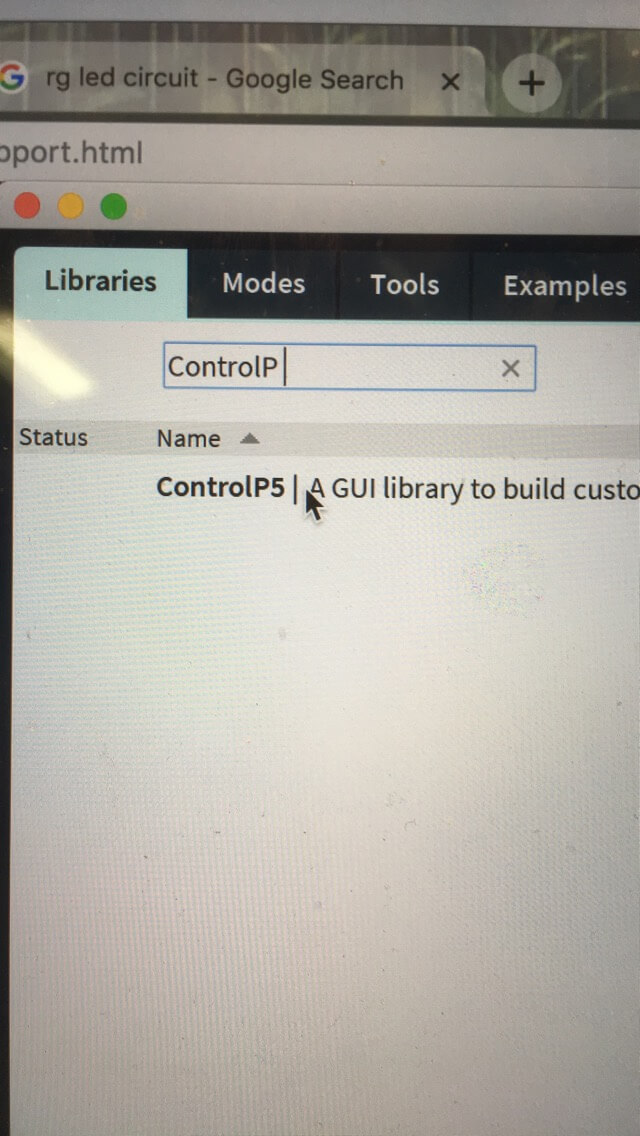
First I had to add the ControlP5 lirary which created GUI objects because this was the object type that my interface would be.
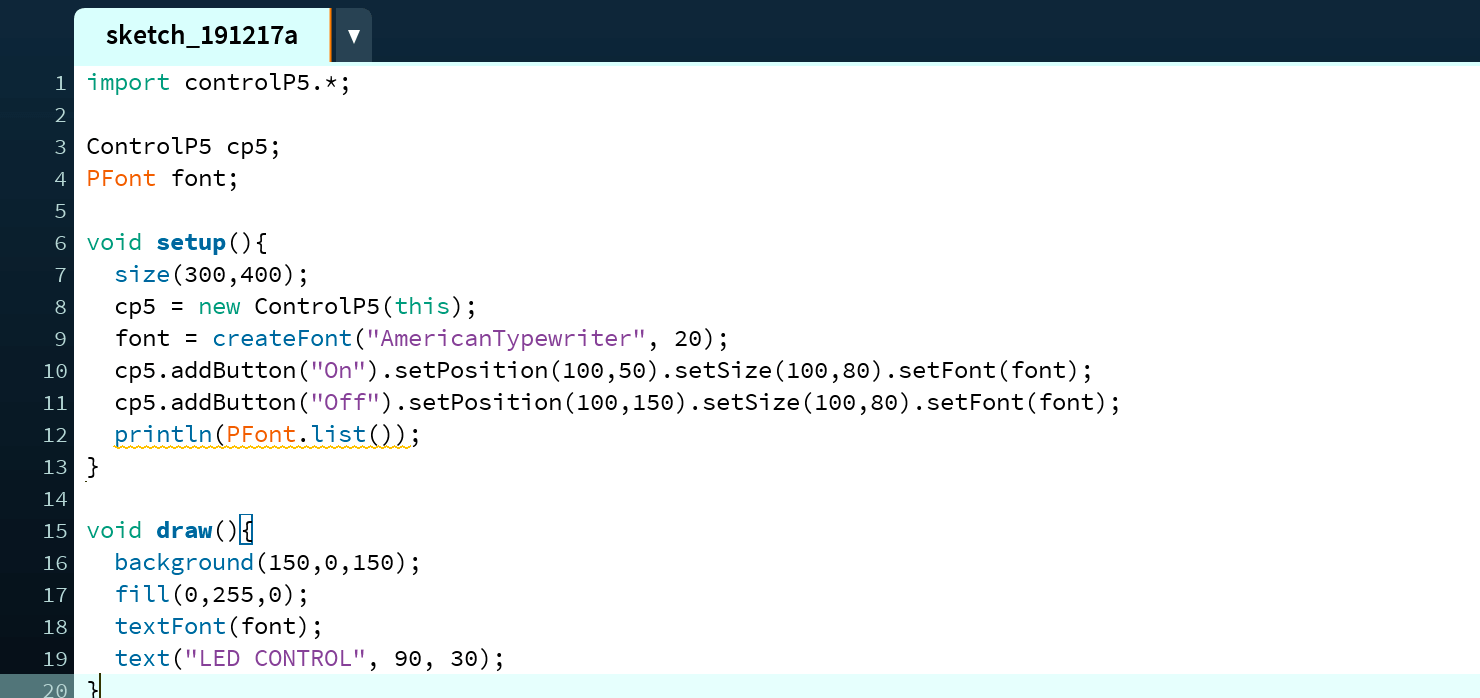
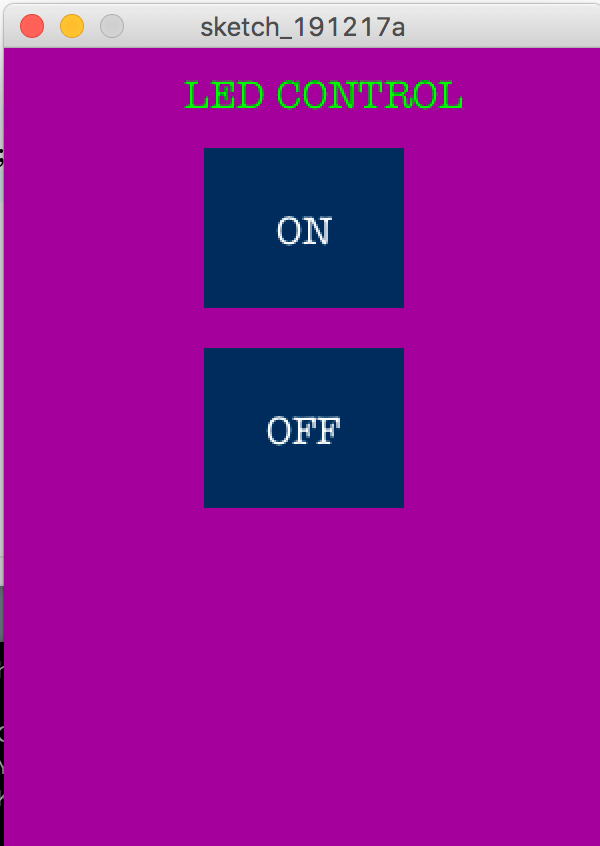
Next I followed along a tutorial for creating simple buttons and came up with the interface below. As I mentioned before, processing was very similar to arduino, even with the void and loop methods (loop is called draw in processinng). The line println(PFont.list()) printed out all of the possible fonts to the console but they were all in the same font (as in the font wasn't written in its own font.) so I spent a lot and I mean a lot of time playing around with the fonts. I love fonts and am easily entertained.

I finally ended up with American typewritter because it looked classy but wasn't so basic like times new roman and calibri.
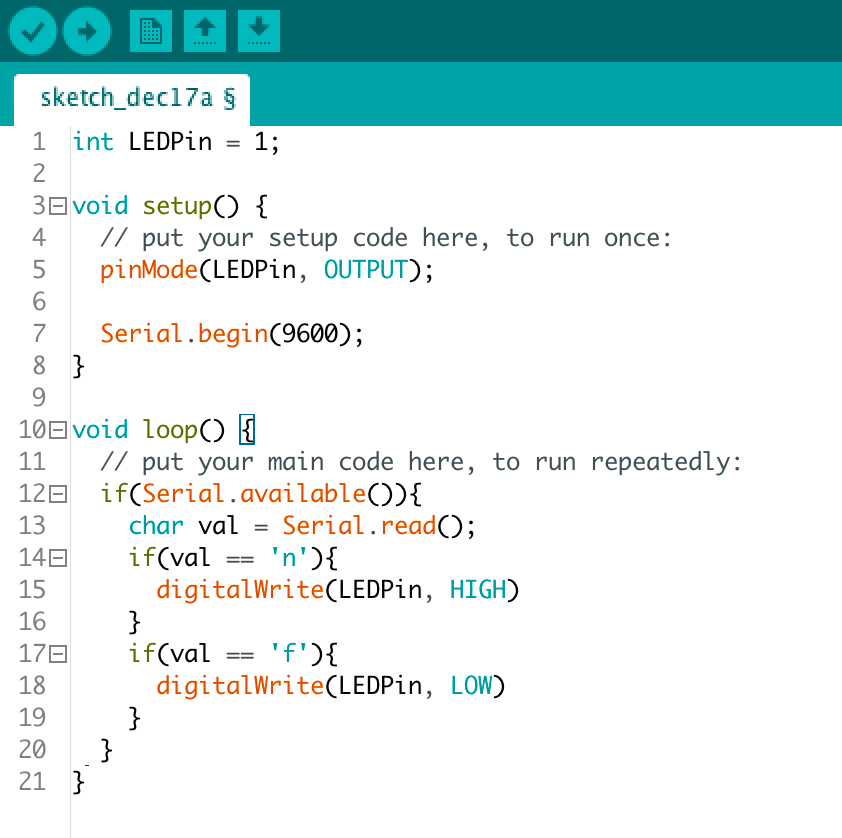
The Next part of this was writing the arduino code to interface with processing. This code was very similar to my code from networking and communications week. I chose the character n to represent on and f to represent off.
The last step was to add a little bit more code in processing. First I had to read the values and thus choose the serial port that I would be connecting to.

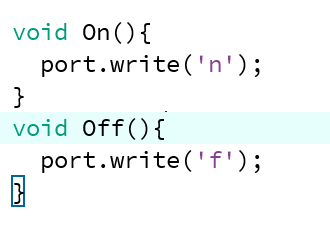
And Finally added the logic for the On and Off functions that were automatically triggered when the button was pressed.
My plan was to put this on my networking and communications board but unfortunately since I was out of town for thanksgiving, I couldn't actually put it on my board.