printing pumpkin
On theme with the start of October, I decided to 3D print a pumpkin and a ghost. And follow Neil’s advice to use this week as an opportunity to design without parametric functions, I used a software called Meshmixer to be a bit more artistic in bending and sculpting the figures.Starting with the pumpkin:
Meshmixer has a set of basic solids that you can import to start crafting your design. I imported the default sphere and tried molding it into the shape of a pumpkin. However, it was really difficult to resculpt the base shape without making the sphere look like a mess of over kneaded clay. It seems like Meshmixer is great for adding fine details and texture, but not easy to remold the general shale of an object.
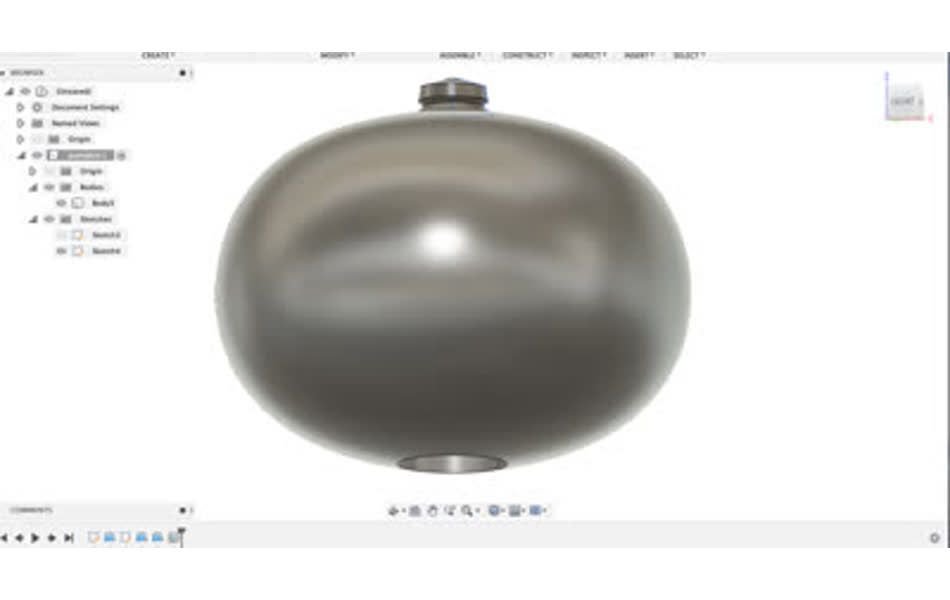
so I decided to draw the basic outline of the pumpkin in Fusion 360, export it as an .stl, then import it in to Meshmixer to sculpt.
Making a pumpkin in Fusion 360 looks a bit funny, but I was able to quickly add features that had been difficult in Meshmixer, such as the stem and the hole at the bottom. I also tried to make the pumpkin more oblong since 3D printing hollow spheres can be very difficult.
Then I imported into Meshmixer and used the smooth bubble tool and pinch tool to add pumpkin ridges and some deformation to the smooth surface. I also used the select tool to cut a face into the pumpkin. Then it was ready to be exported as an .stl and sent to Prusa slicer to be sliced and transcoded into g-code.
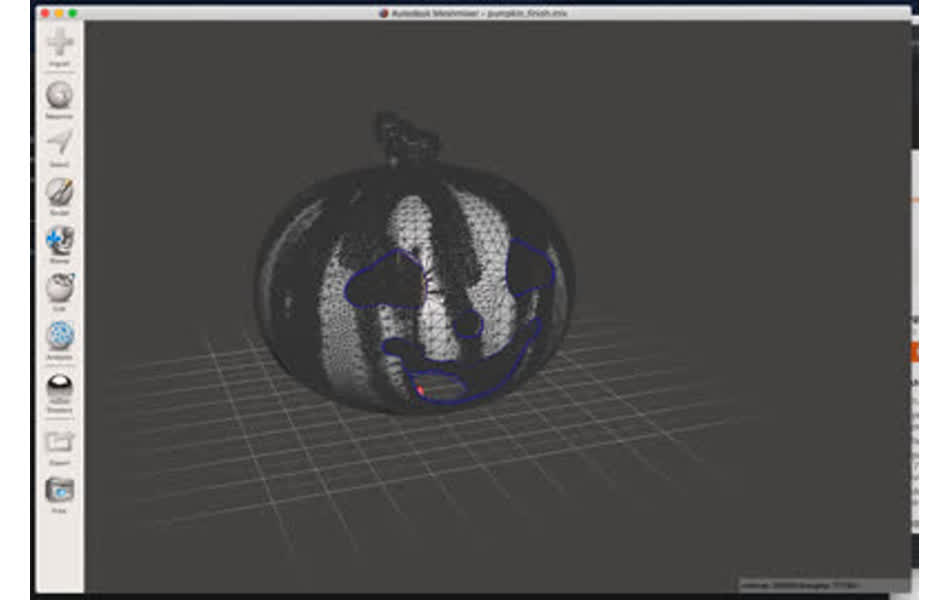
However, the pumpkin with a face could not be sliced because there were elements of the layers that were floating. Taking a closer look at the mold that I made, this is obvious. For example, the upper lip of the pumpkin face cannot be printed since the layers don’t have any support around the edges. I tried adding support everywhere to the print, but it would take much longer and the supports filled up the hollow center, which would be very difficult to knock away and defeat the point of having a hollow center to put in a light. In an urgency to at least get something printed, I reverted the Meshmixer to a pumpkin without a face and went ahead and printed that.
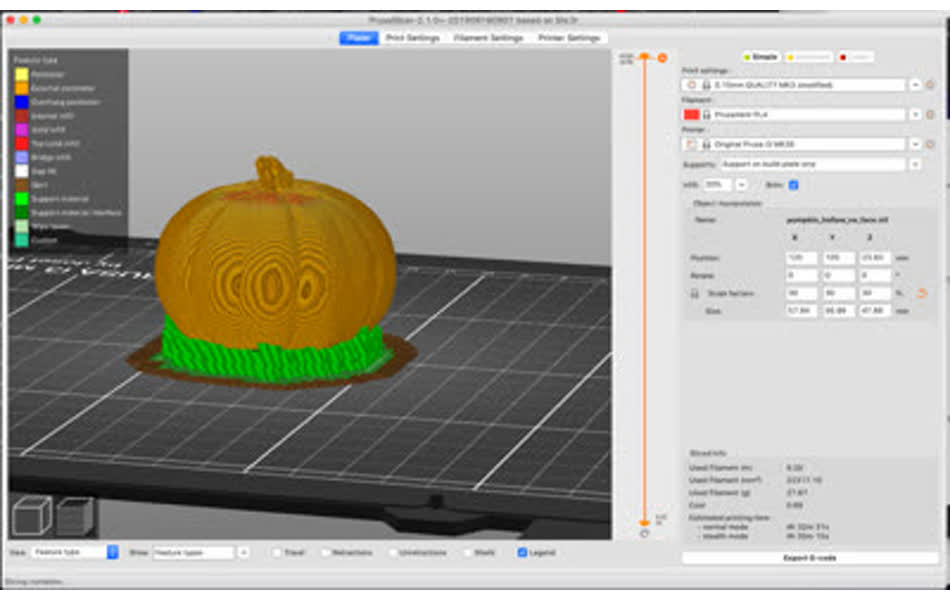
In Prusa Slicer, I added supports on the build plate only and everything sliced well. I sent the job to the printer with all the default settings for PLA.
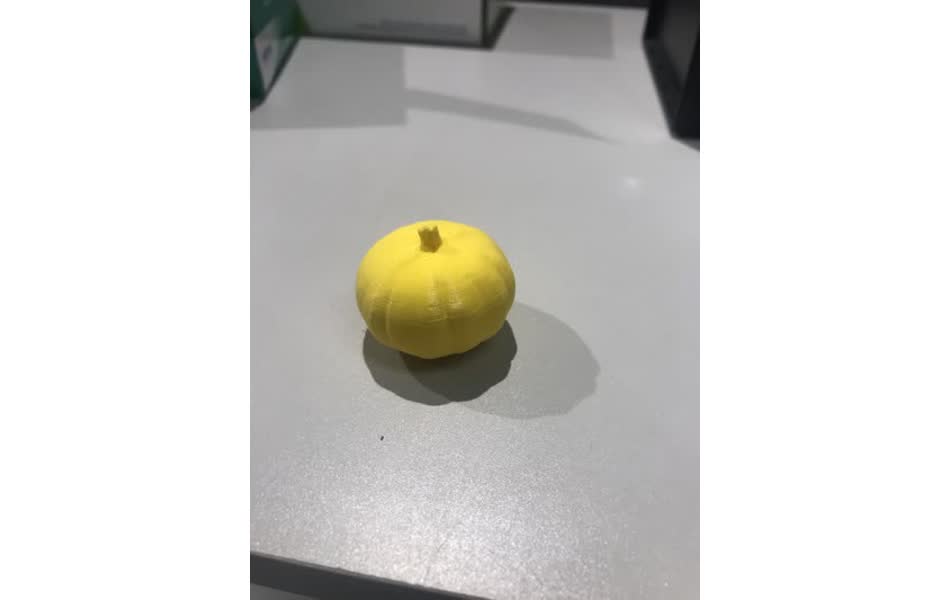
It took about 2.5 hours, then voila we have a pumpkin.
printing ghost
While the pumpkin was printing, I followed the same process to build a ghost. Starting with Fusion 360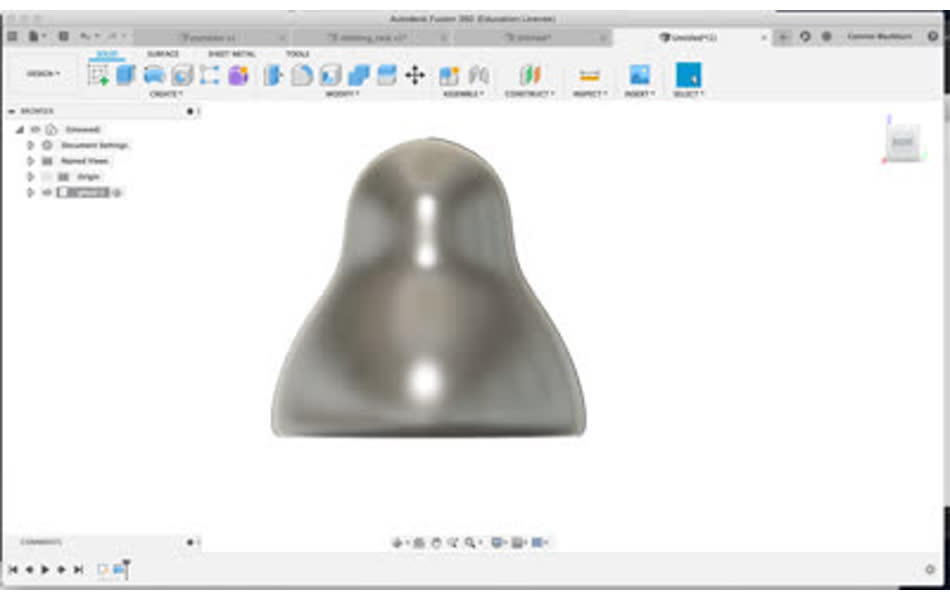
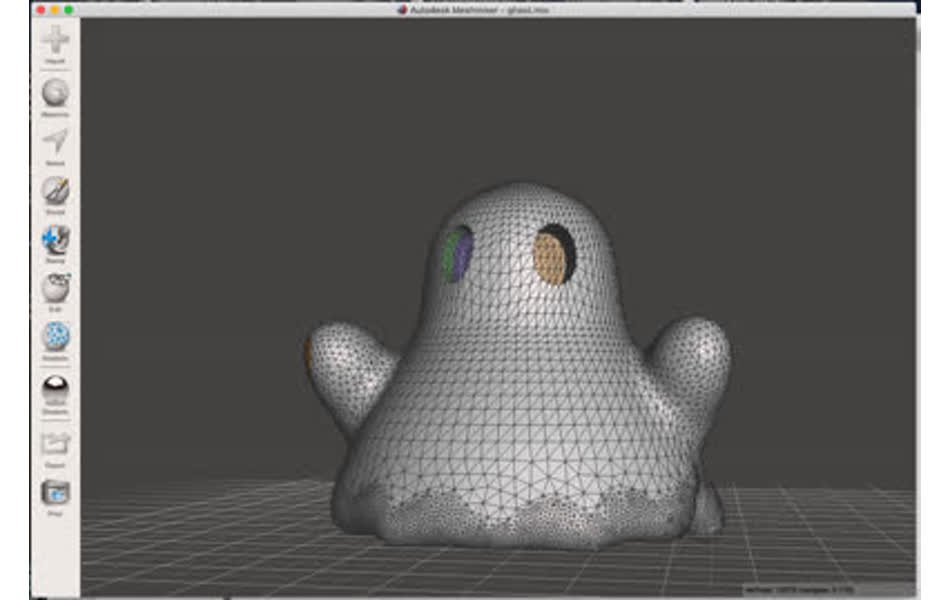
then blending and texturizing in Meshmixer. I definitely wanted a face on this one, but it also didn’t need to be hollow, so I extruded eyes for the ghost inward.
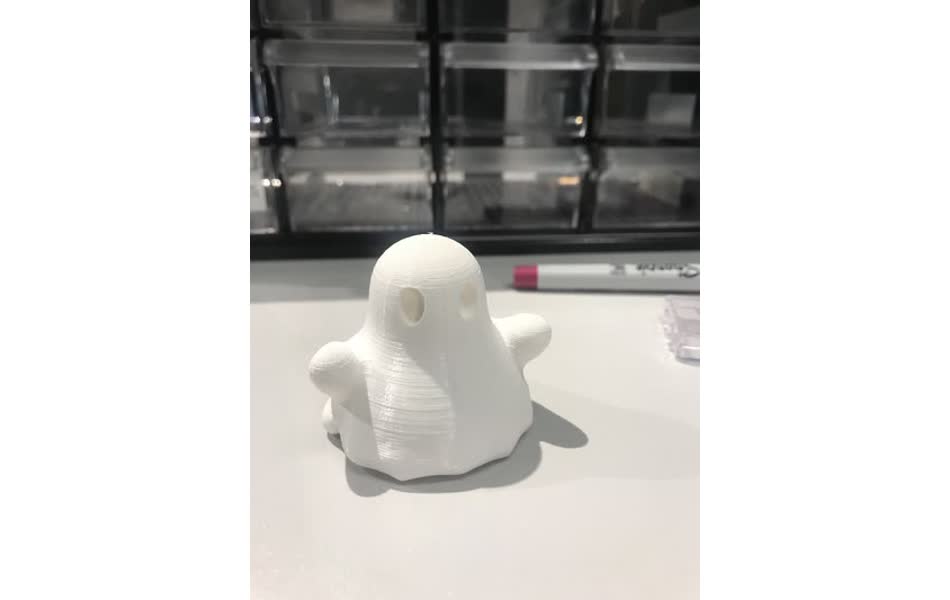
Everything sliced properly and the ghost was sent off to the printer with the same settings as the pumpkin. About 3 hours later, the ghost was printed!
clothing rack model
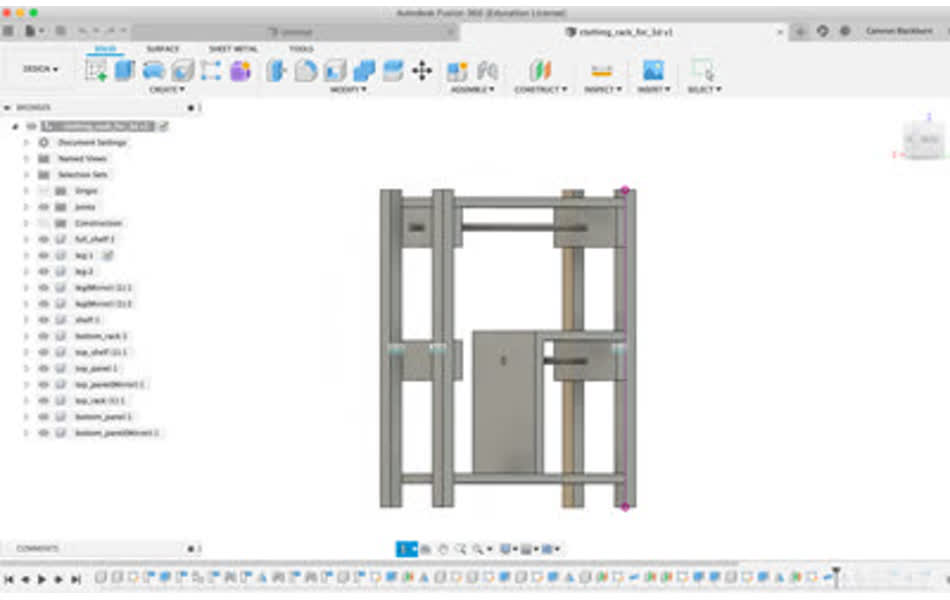
My room doesn’t have a closet. So for the “make something big” week that will be coming up shortly, I know that I want to make a clothing rack. I’ve been brainstorming designs for a while, but am intimidated by fusion 360 and haven’t turned any of my ideas into a model yet. So, in an effort to get more comfortable on fusion and visualize the clothing rack, I decided to 3D print a little rack.Here’s my first go at it. None of the joinery is modeled in fusion yet because that’s not necessary for the 3D print, but I think I’ll use through mortise and tenon joints since that give me the most flexibility in machining.
Then I exported it as an .stl file and loaded it directly to Prusa Slicer. Now that I’m a bit more comfortable with the 3D printer's limitations, it was obvious right away that printing the rack right side up would not be ideal. So I flipped it on it’s side, added supports to the stage only, everything appeared to slice fine (I thought) and sent it to the printer. I came back in the morning, and this happened:
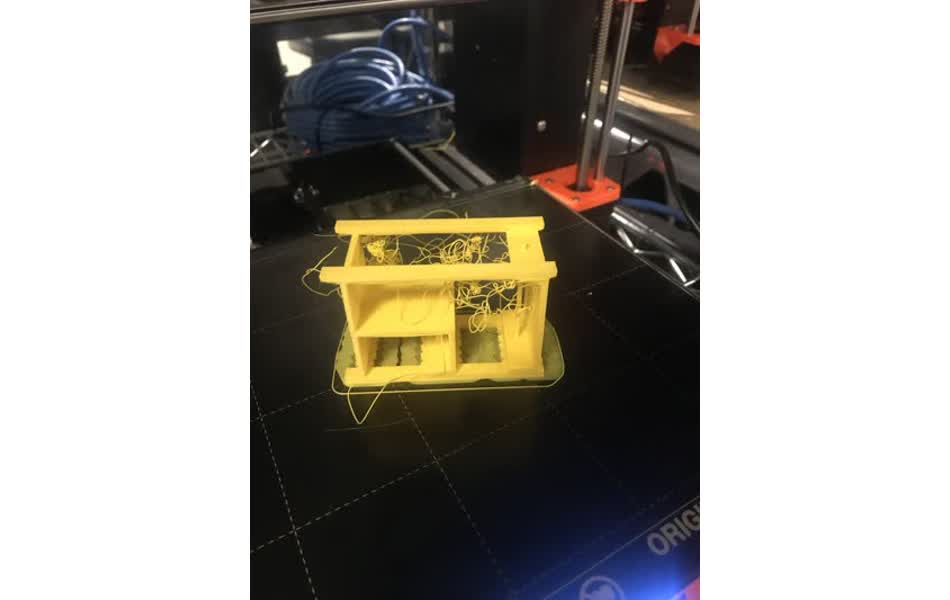
The panel on the top side of the rack was unsupported. In the future I’ll take a closer look at each of the layers being printed to check from areas that may need support off of the stage.
After cleaning it up a bit, the model didn’t come out so bad.
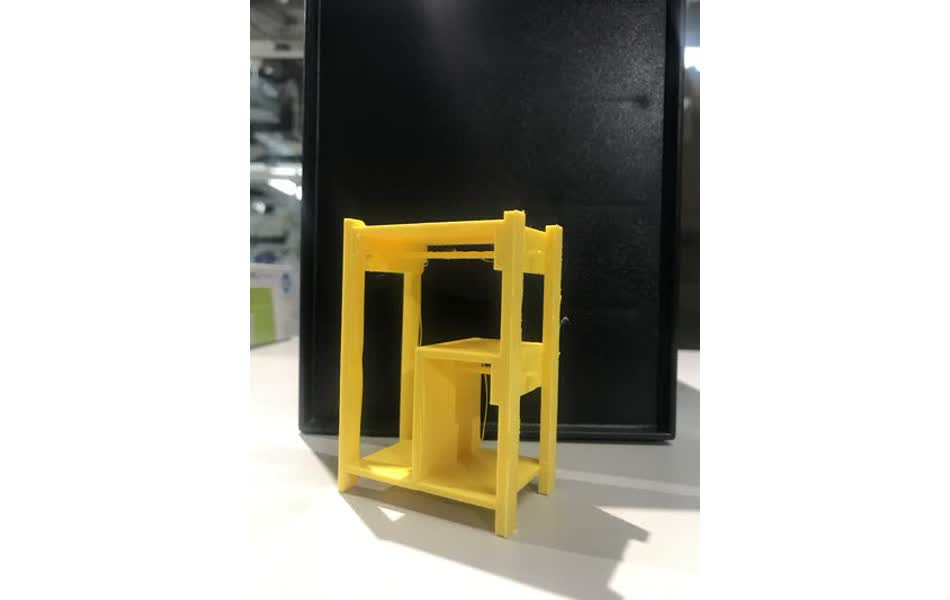
Taking a closer look at the printed rack, it’s a bit too deep for a single clothing pole. I’d like to either add a double rack or make it shallower. I’m going to take some more detailed measurements of my space for it and the size of my clothes and tweak the design accordingly.
3D scanning
In perfect karmic justice for waiting until the last possible night before class to use the Artec 3D scanner, the software for the tool would not load. When trying to open it, task manager shows that it's trying to load, but then quits with no reported errors. I've tried opening it with and without the scanner plugged in. The Artec Installation Center app will open and show that Studio 13 is successfully installed. And the separate diagnostic tool can open and successfully start up the scanner ….. so I’ll get to scanner something later in the week.However, I found an interesting paper that details a method for using multiple SEM images taken at different tilt angles to reconstruct a 3D mesh.

They took SEM images on a Hitachi S-4800 FE-SEM (similar to the setup here at CBA) if the same sample at varying title angles to generate a dataset of 2D images. Then extracted SIFT features this dataset, calculated optical flow across each tilt angle delta, and then somehow (this is the part I’m still a bit confused on) converted that to a 3D mesh exported as an .stl file.
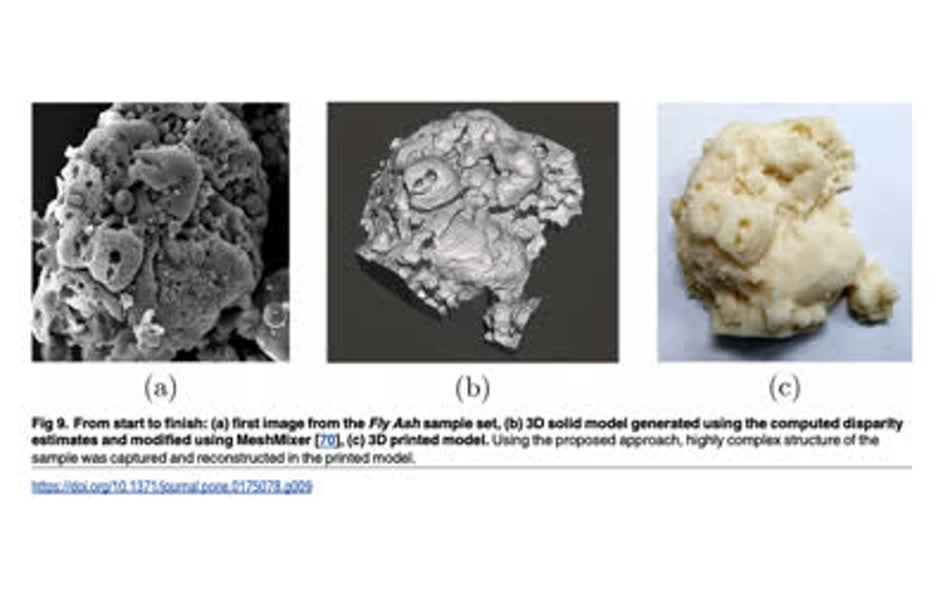
I started replicated the work a bit - opencv in python has a simple to use SIfT feature extractor and the paper is very detailed in its optical flow analysis so it shouldn't be too hard to implement. I’d like to spend a bit more time building this - it could be cool to be able to 3D print tiny things on a bigger scale. hopefully more to come.