Characterizing the 3D Printer
The first step was to become familiar with the 3D printers available and their various capabilities.
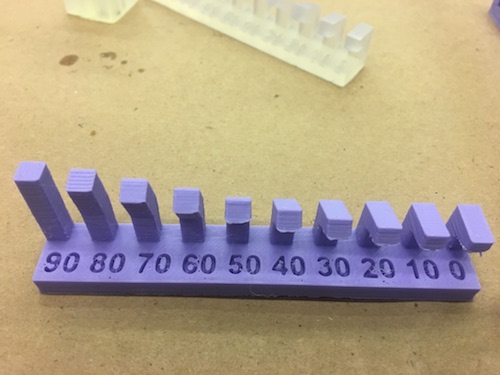
I first looked at the Prusa printer. I noted that the Prusa was able to print horizontally without supports until around 6 or 7 mm cleanly.
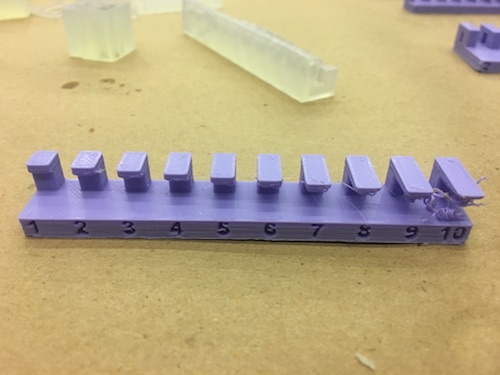
When it came to printing at angles, the Form3 seemed to do so more cleanly.

3D Printing
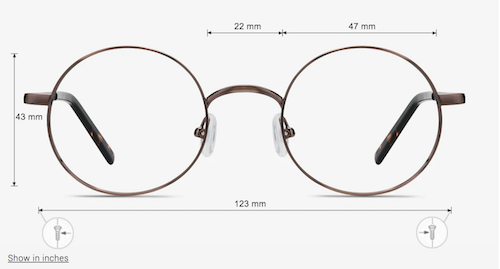
I wanted to 3D print a pair of glasses because I had always wanted explore being able to customize my own eyewear.
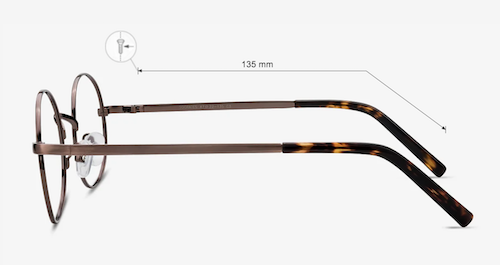
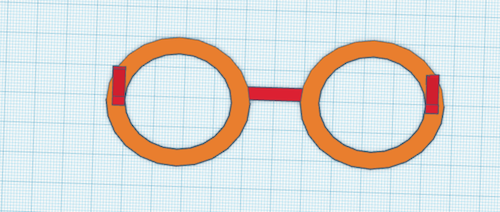
I started by looking at designs and measurements of eyeglasses online. I found this pair that I liked, and I emulated these proportions in my model:

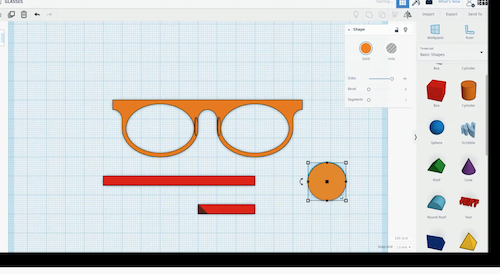
I have not previously used 3D modeling software. So I also practiced by following an online Tinkercad tutorial for modeling a pair of glasses.
Model A
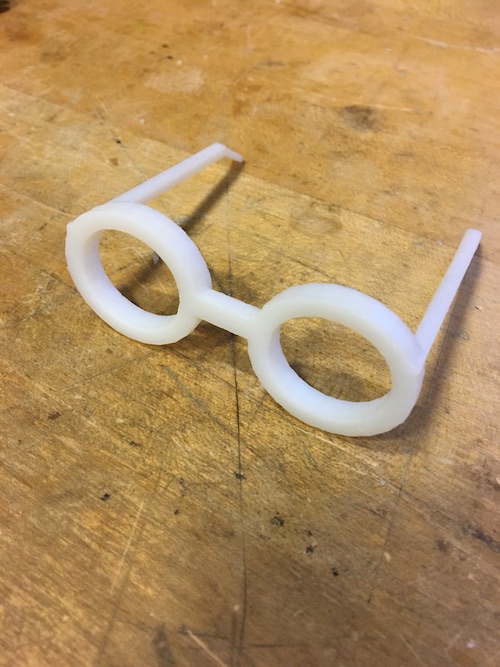
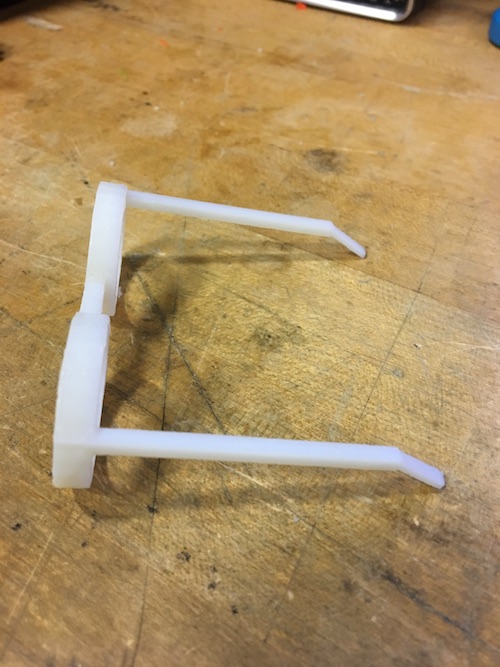
I then created an initial Model A of the glasses software. This model would later turn out to be not usable because the object areas had too many very thin lines that were unlikely to print well.
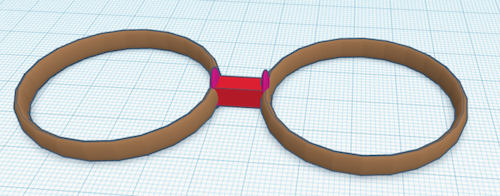

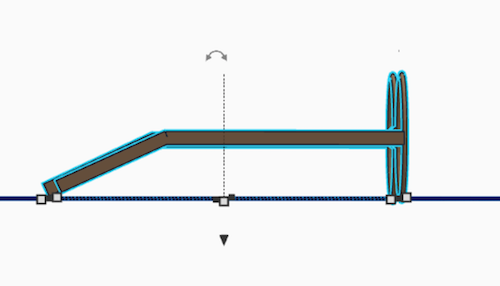
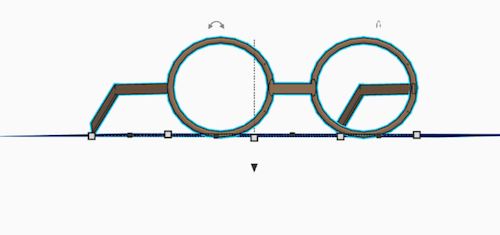
When I imported this model into the 3D printing software (Prusa Control) to convert it to GCode, I found that it would likely not print well because the lines around the glass rings and the handles of the glasses were too thin.
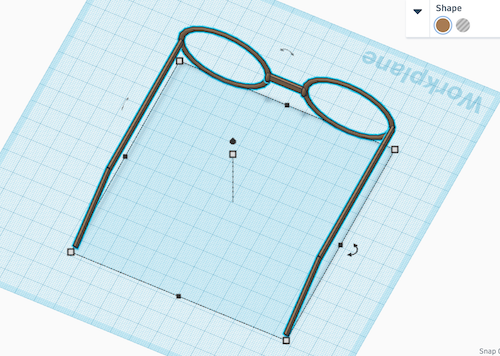
Model B
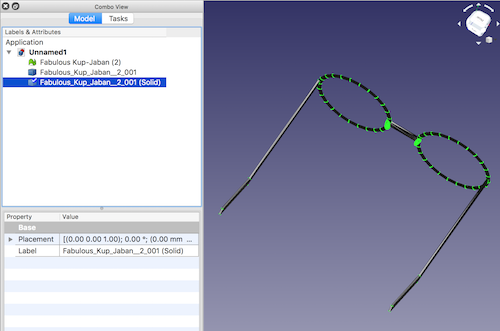
I created a second model where I significantly increased the width of the different parts of the glasses.


This model printed successfully, although due to time constraints, I reduced the size of the object down to around the size of the palm of my hand. I also initially tried this on the Prusa printer, but ran into issues with the machine which was missing a screw.

Scanning