Week 7: Molding and Casting
For this week's assignment I decided to explore the use of CNC cutting combined with molding and casting to create textural blocks out of generative algorithms. I have been heavily inspired by the work of the Nervous Studio that creates products with incredibly intricate generative forms.
Inspiration
Mostly inspired by the the Reaction Cup SetI decided to explore the use of Reaction Diffusion Algorithm to create a surface texture. Altough these cups are 3D printed I wanted to explore molding and casting to achieve similar results.

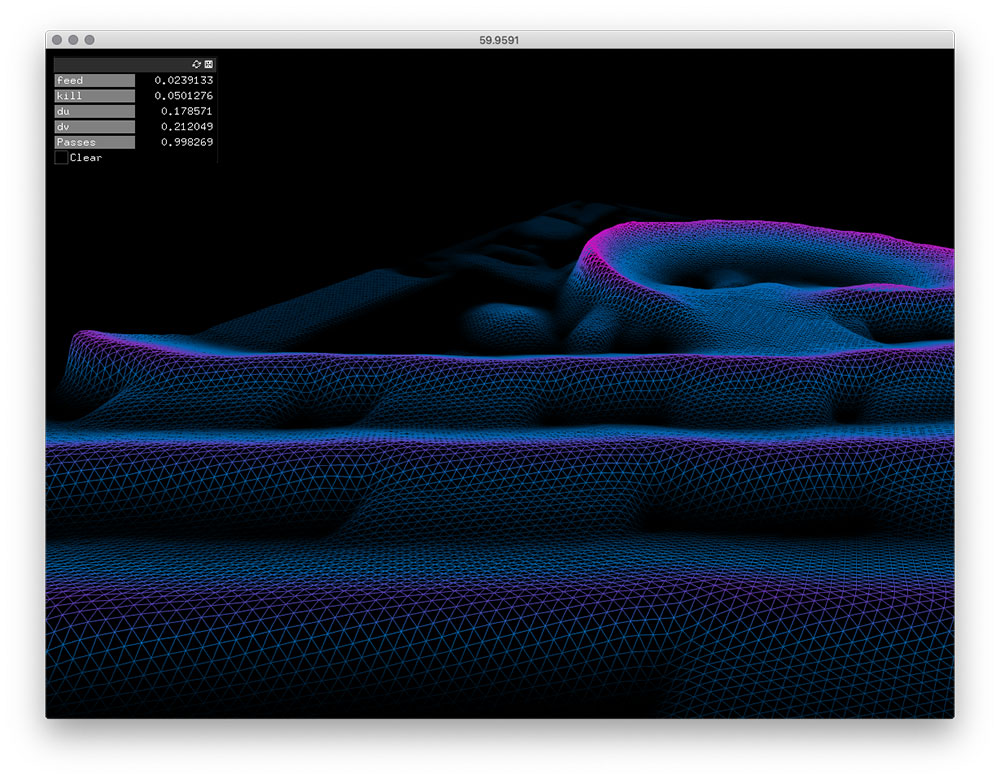
Reaction Diffusion Visualization
This algorithm is mathematical model which calculates the concentration of two substances at a given time based upon the substances diffusion, feed rate, removal rate, and a reaction between the two substances.
There are plenty of references online to implement this algorithm in 2D. In my case I used Reaction Diffusion OpenFrameworks Addon. The addon implements different algorithms for reaction diffusion. In my case I decided to use the Gray Scott algorithm.
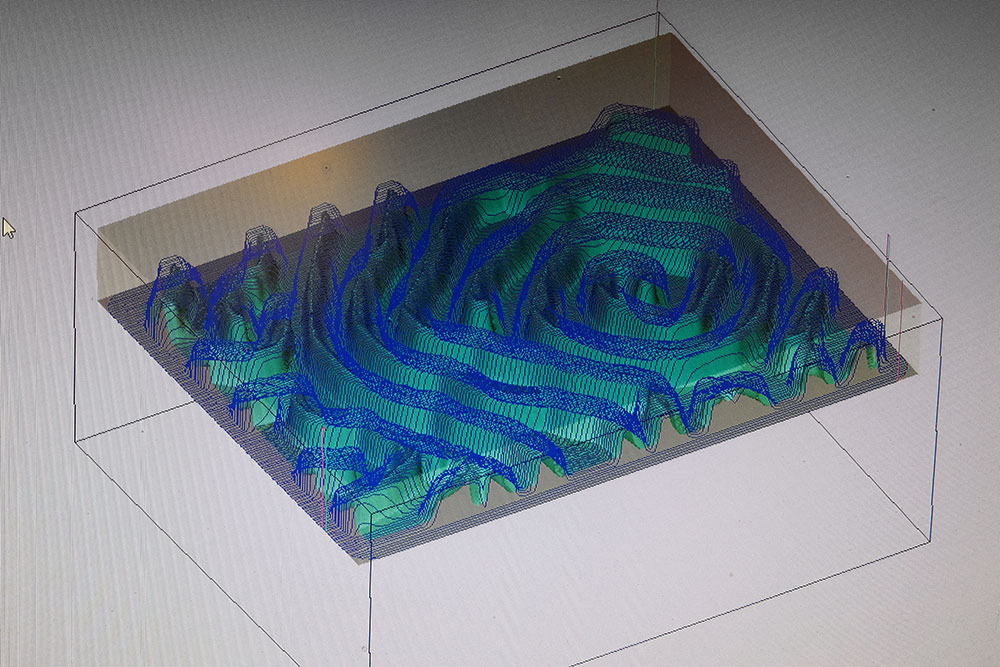
The first challenge was on how to convert the process that is essentially outputs a 2D visualization into a 3D mesh. For that (using Zach Lieberman's help) I wrote a simple program that reads a pixel buffer from the reaction diffusion algorithm and uses pixel brightness to define the Z elevation.
I also wrote a routine for exporting a watertight mesh based at a given point in time of the algorithm. So by pressing S i would save the state of the mesh in that point in time.
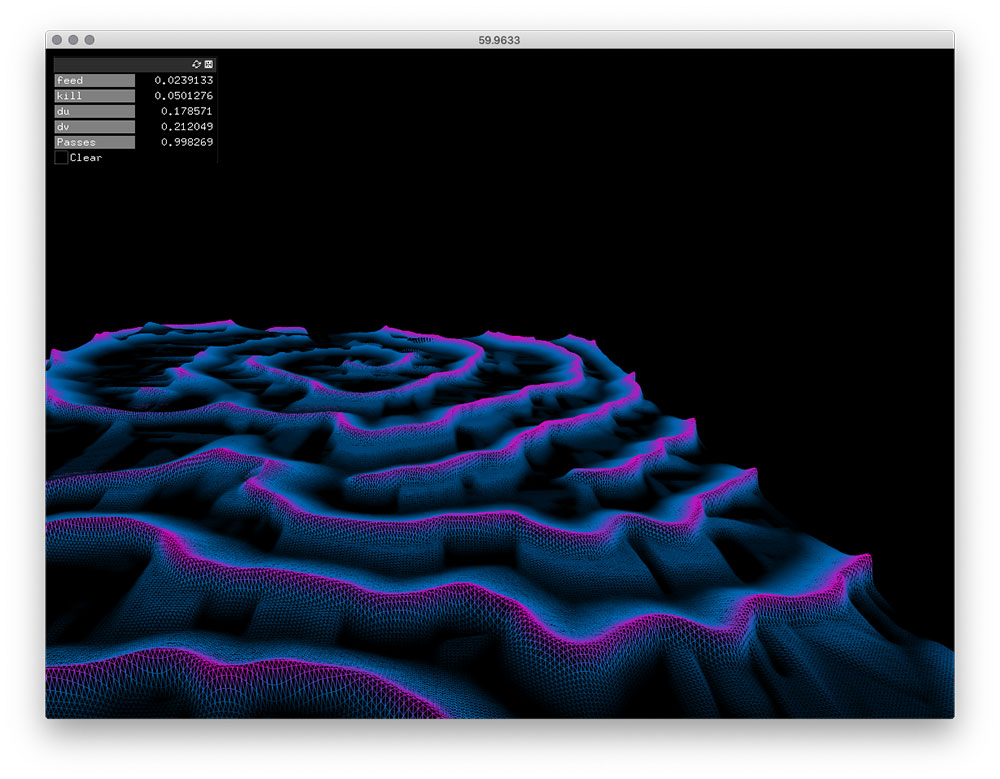
After tweaking the hyperparamters for the algorithm i got it to work pretty well and generate the shapes. I took me a bit of time trying different moments to snapshot the evolution of the mesh. I tried different moments but they not always gave me a good result.
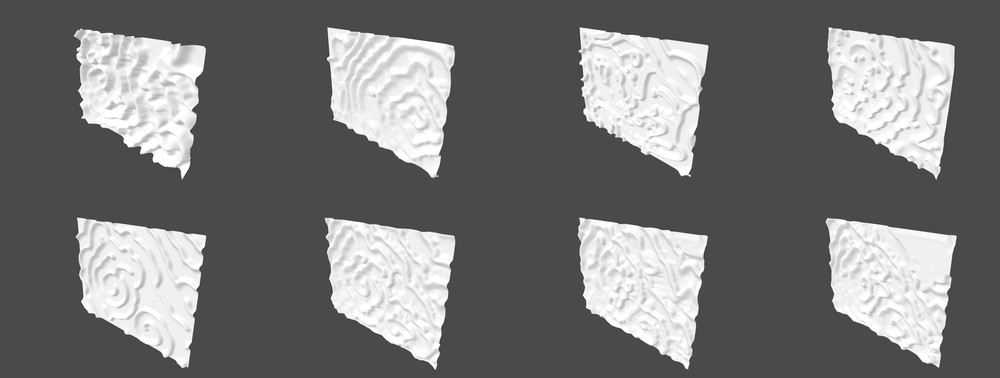
After I tried for a couple of times I was happy with two final states of my process. From OpenFrameworks I exported them as PLY, imported them into Rhino and exported the final STL. Below is what they look like:
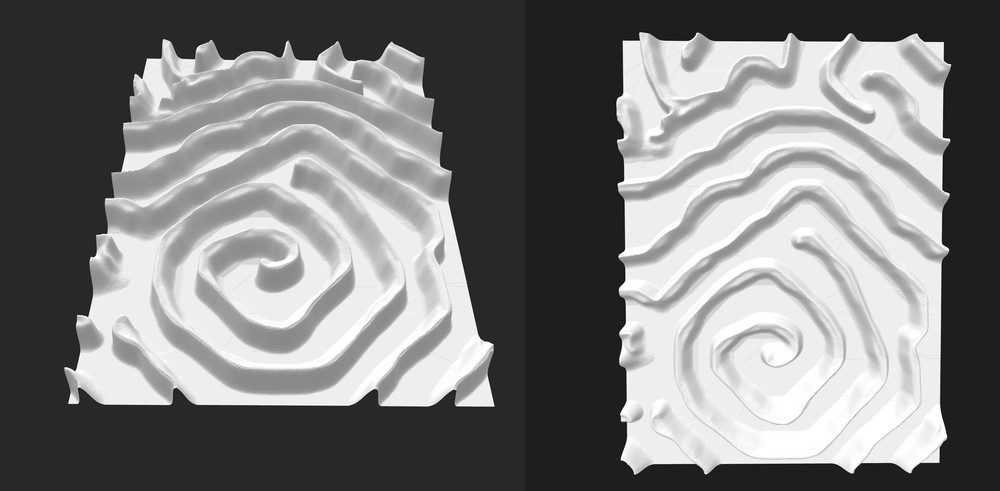
ToolPath
This is the final model (STL) that I will be minilling out of the block of wax. To do so I loaded the STL into the toolpathing software and started designing my toolpaths. My settings were defined by largely following Tom's recommendations:
Roughing:1. Settings with the 1/8" end mill
2. 40% stepover
3. 6000 RPM
4. 90 inches per minute feed rate
5. 50 incches per minute plunge rate
Finishing:
1. 10% step over
2. 6000 RPM
3. 90 inches oper minute feed rate
4. 90 inches per minute plunge rate
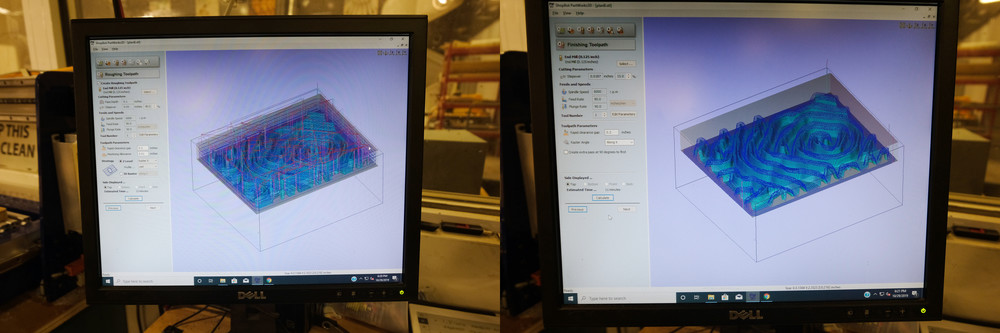
I realized that my design was a little over the stock size. I decided to leave it like that even though I lost a wall as I wanted the design to be as large as possible in the 3in x 3.5in x 1.5in wax pre-mold. Below you can see a visualization of my toolpaths. On the righ hand side the roughing layer, on the left the finishing.
Roughing
The milling went pretty well, using the desktop shopbot I used Shopbot software to zero the X,Y axis and zeroed the Z axis using the plate. After 20 minutes of roughing I could start seeing the results. I could see it had a great level of detail and I was happy with the resolution achieved for this step.
The roughing milling tool about 30minutes to complete and gave me a first insight of what my final piece would look like. On the left hand side you can see the stock prior to roughing and on the right hand side the stock after roughing.
Finishing
After the roughing cut I then did the finishing cut using the same mill. I could see it going up and down carefully carving the curves to higher detail from the rough cut.
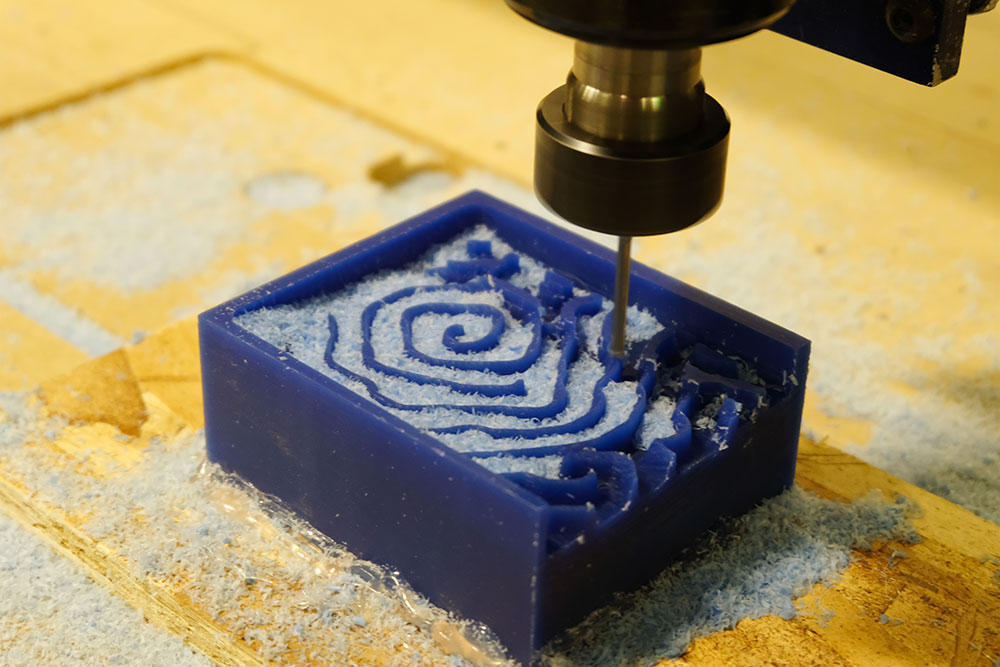
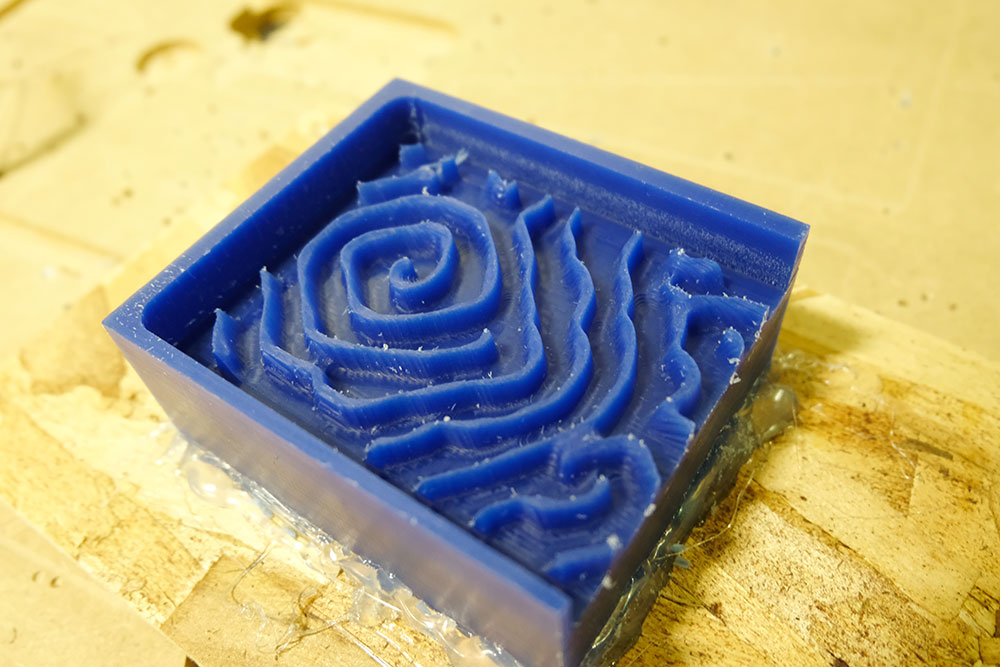
In total the finishing cut took about 50minutes and went as planned, it was worth the wait as the level of detail was incredibly high. You can see the marks imprinted by the flukes
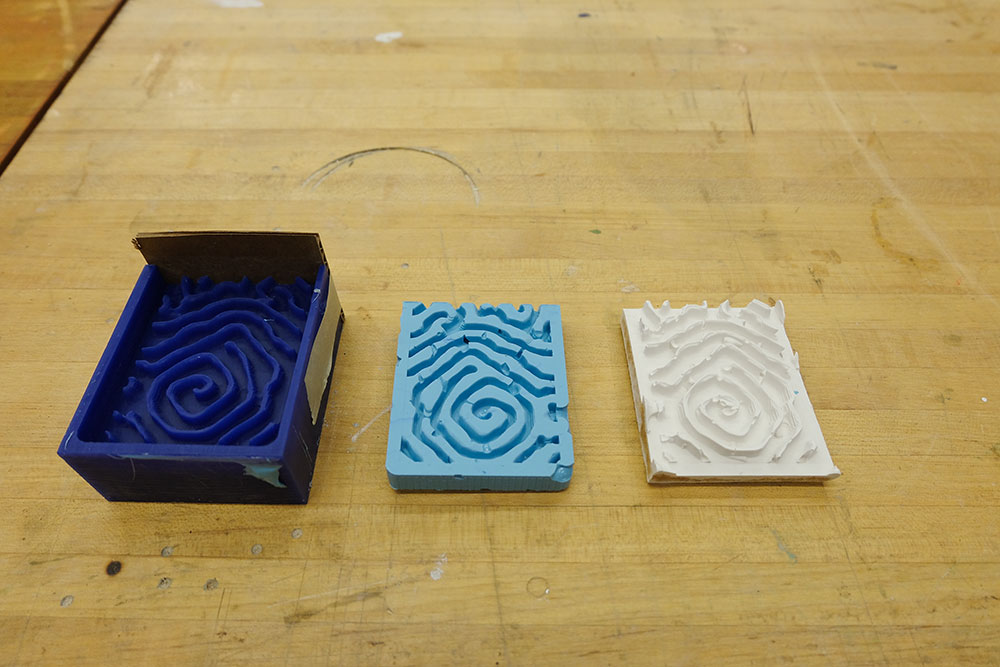
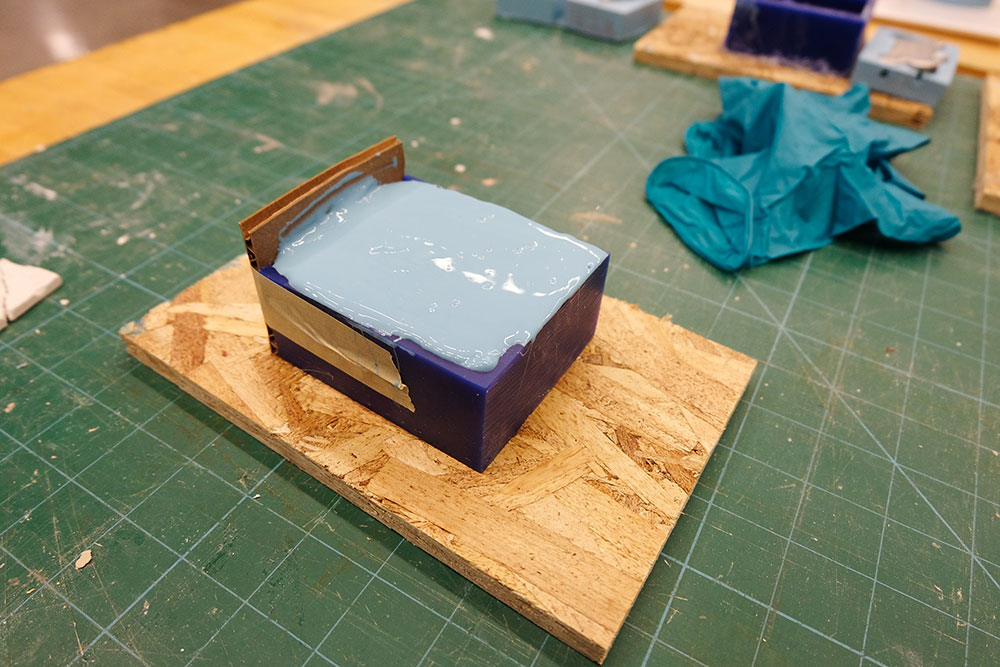
Creating Mold
One of the issues I faced was to cut one of the walls of my pre-mold. To fix this issue I added a bit of cardobard with tape to hold the mold in. To make the mold I used a mix of 1:1 of Oomoo sillicon rubber. I used two cups with silicion and following Graham suggestion, mixed it for 3 minutes and put the cup in vaccum.
After I could see the bubbles come to the surface I tried to slowly pour the Oommoo on to my premold. After doing so I then left it to cure overnight.
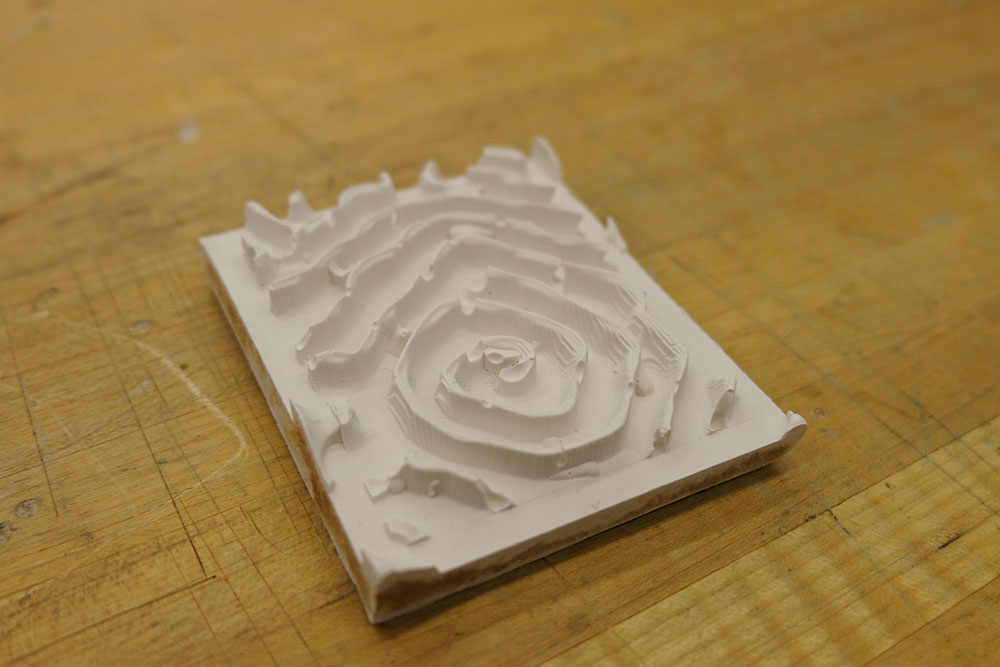
Casting & Final Result