Week 07
Here we go with that copper stuff again.
Starting to Get the Project Rolling
I have been wanting to get into my final project for all these weeks. So I was actually pretty excited for this week. I ended up making two boards. For class I only had the "Light Board" made, but ran into a few things that I had a lack of knowledge on.
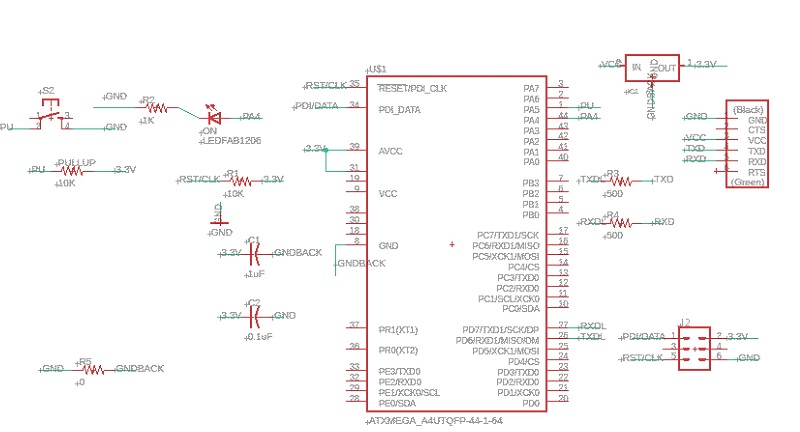
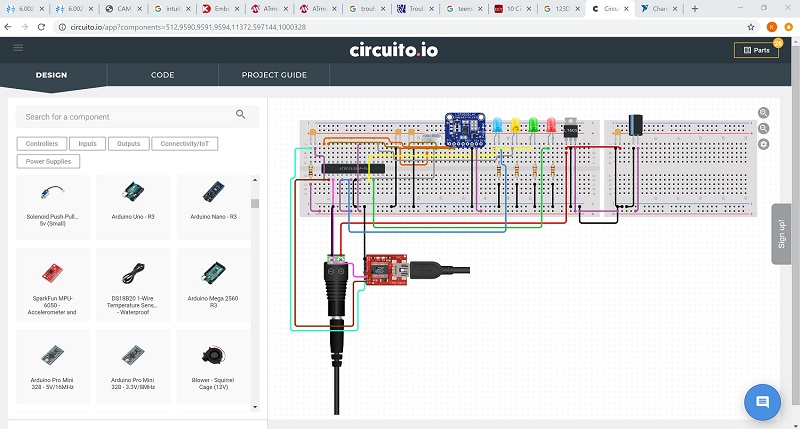
I tried to ensure that all the parts I put into my picture were from the fab library. This allowed me to think that maybe all the parts would be in the inventory. Basics that I would need: resistors, capacitors, IC (MEGA), switches, MOSFETs, etc. I never know how to put all my parts together so I started searching for a ckt design website. circuito.io let me play with all the different controllers and components that I could think about using.
I had wanted LED colors that weren't available in our store room, but I haven't done much digging as it doesn't matter so much at this point in time. I want red, orange, and running. Currently in EDS the LEDs are not particularily well distinguished and got jumbled through the week. I had wanted 4 different colors for the test board, but I did not end up with that. That's alright for now though.
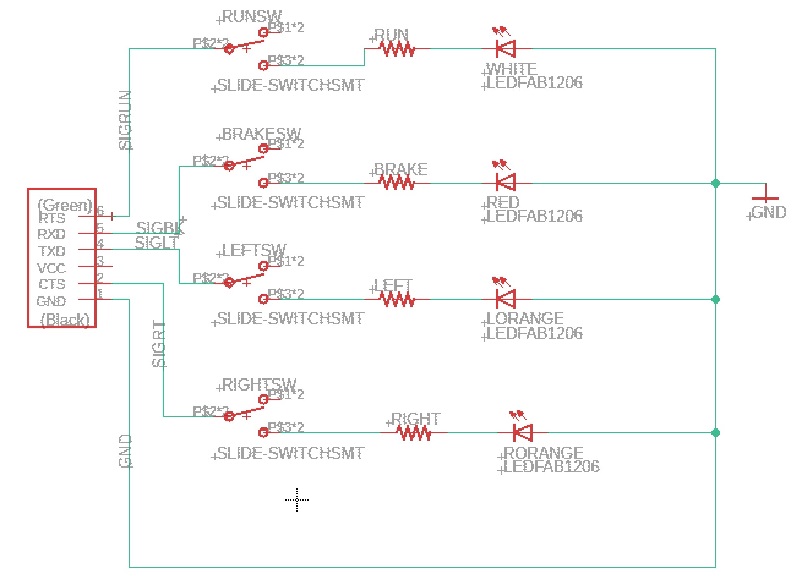
I initially wanted to use physical slide switches to allow for testing my signals. I got pretty fixated on this and Anthony struggled to understand why I wanted them (I totally know why he didn't understand my lack of reasoning). I still don't know why I wanted them.

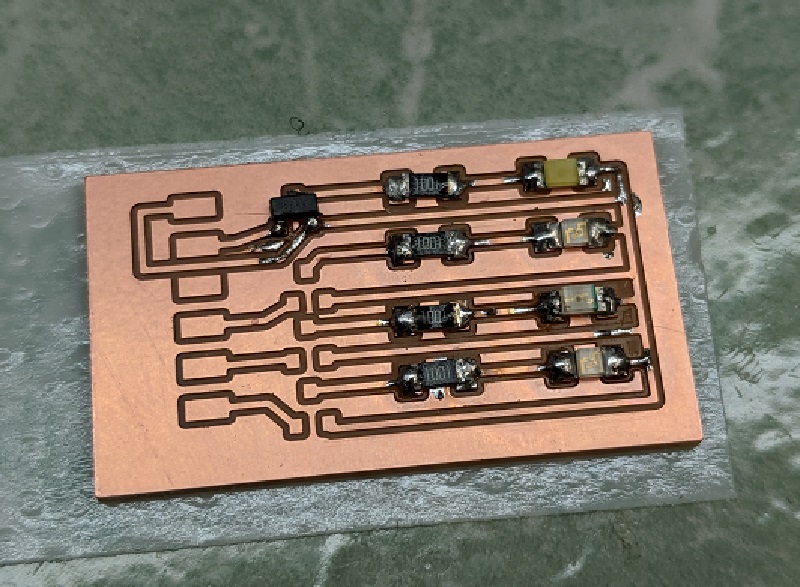
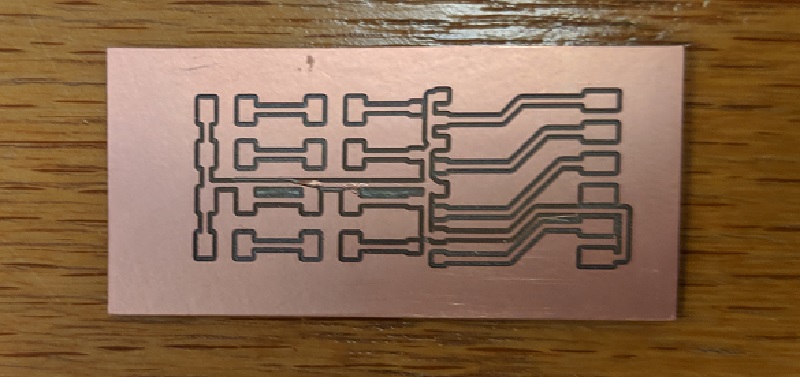
Considering how hard I fought to keep the switches in my ckt, I very quickly got rid of them as MOSFETs were introduced. You might notice in the above picture that the MOSFETs are not correctly hooked up. Unfortunately, I had not thoroughly understood what I was doing at this point.
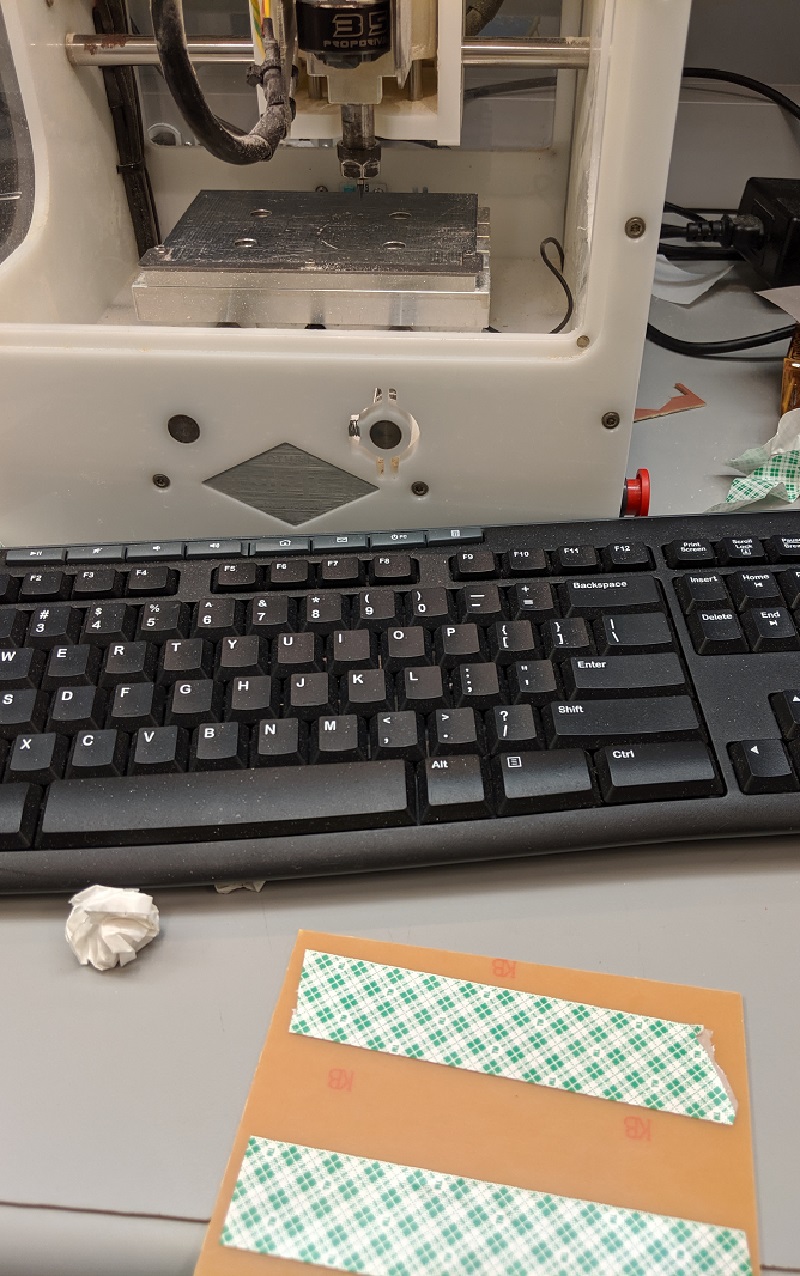

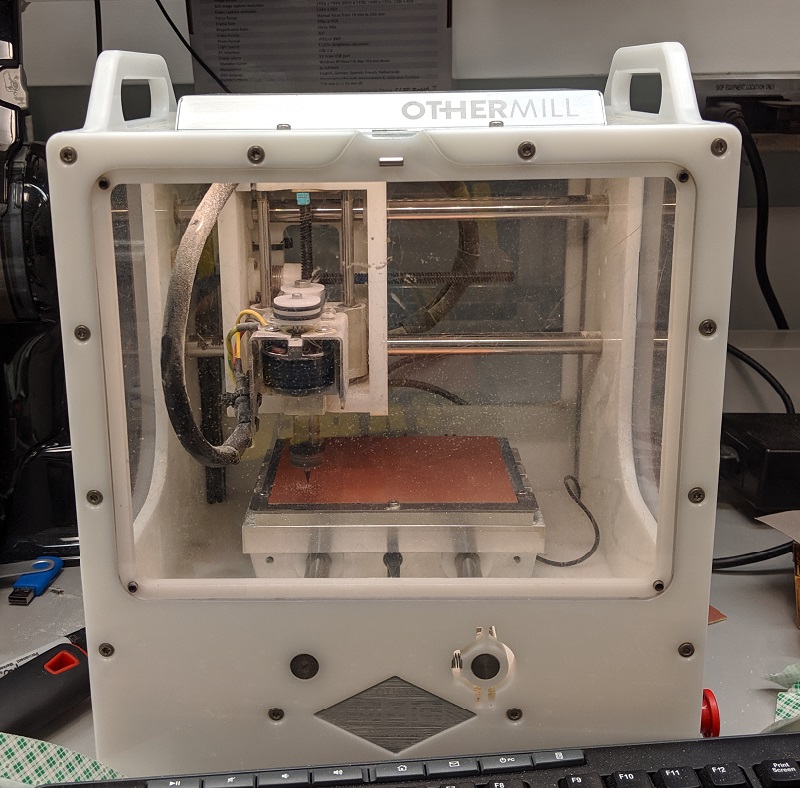
My overall set-up of the OtherMill was pretty simple. Initially my setup had traces that were too close to one another, so I was tired and not thinking and decided I would just cut off the extra copper.....That was not the best idea I have had.
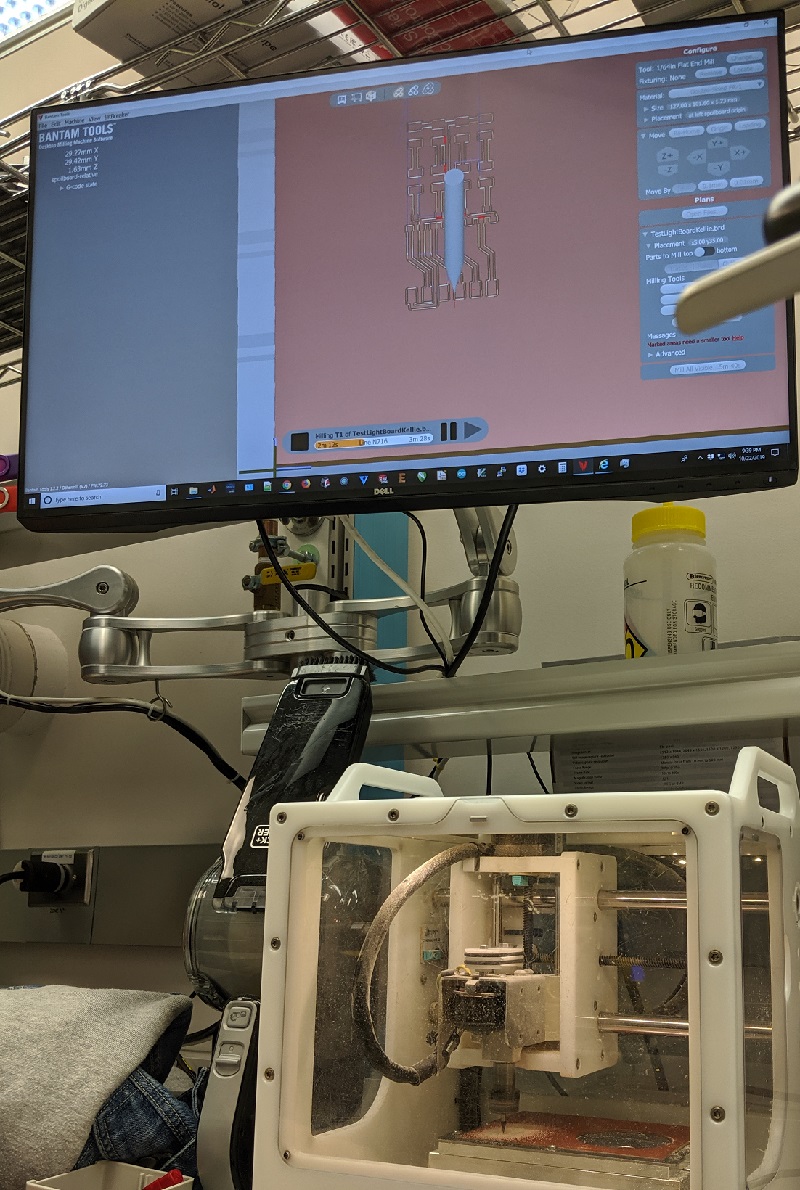
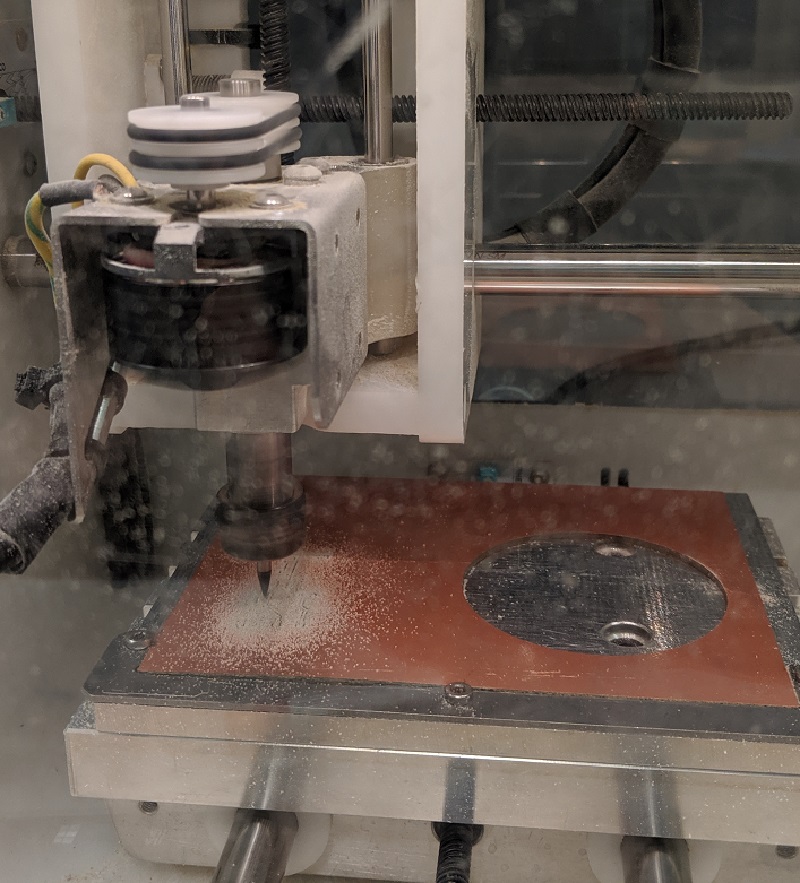
My milling all together took under ten minutes. I used 1/64th for all the traces, and then switched over to 1/32nd mill bit for the outline. I looked at the timing for using just the 1/64th and it went from 6 minutes up to 24 minutes. I did not have time to wait for that (nor would it have been good for the machine nor bit.)
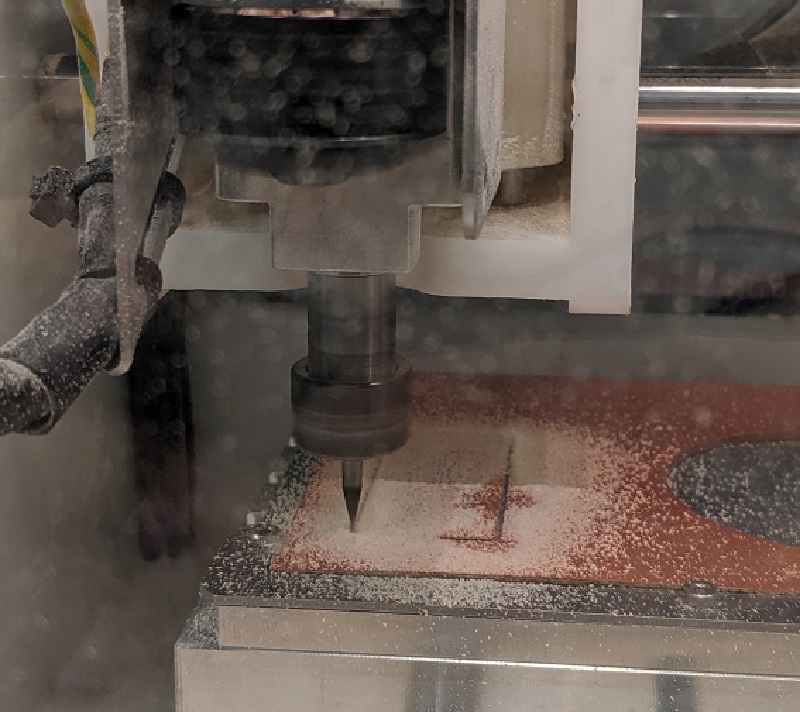


It's always a relief when everything comes out nice and neat. Buring was not excessive, traces looked good. Human error as always was present.
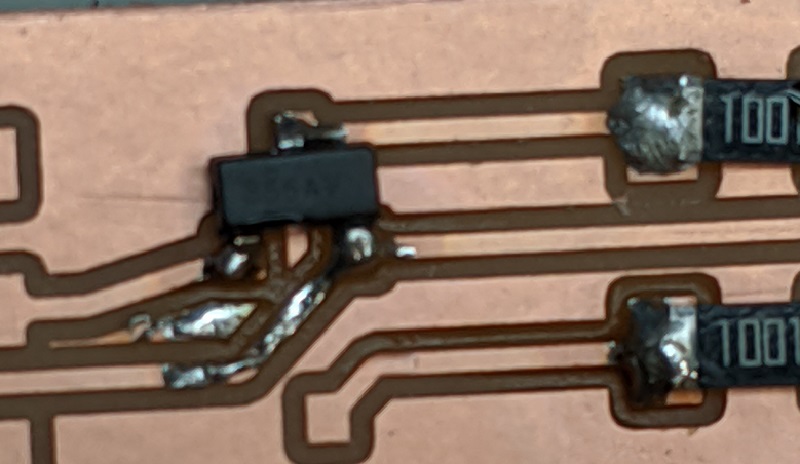
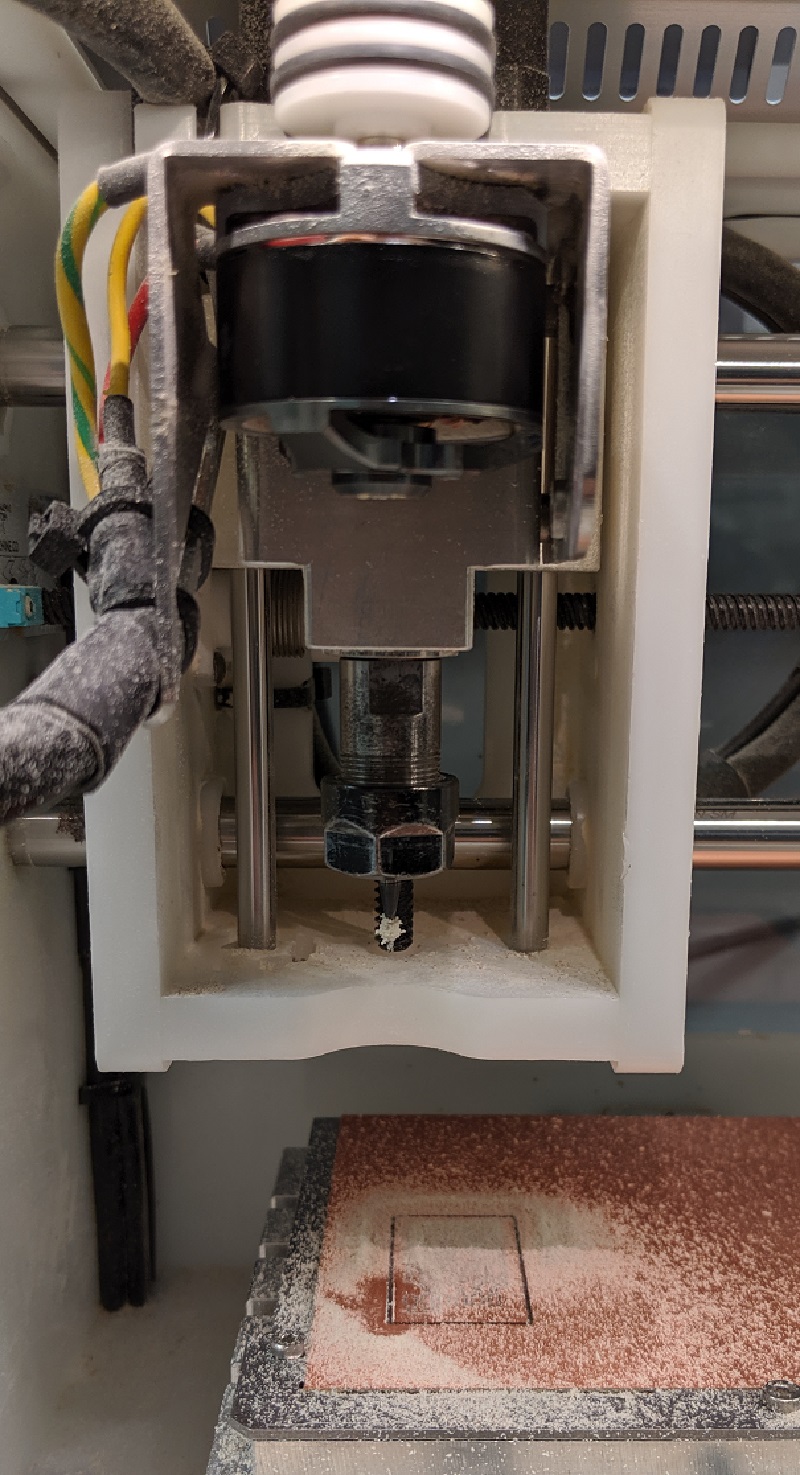
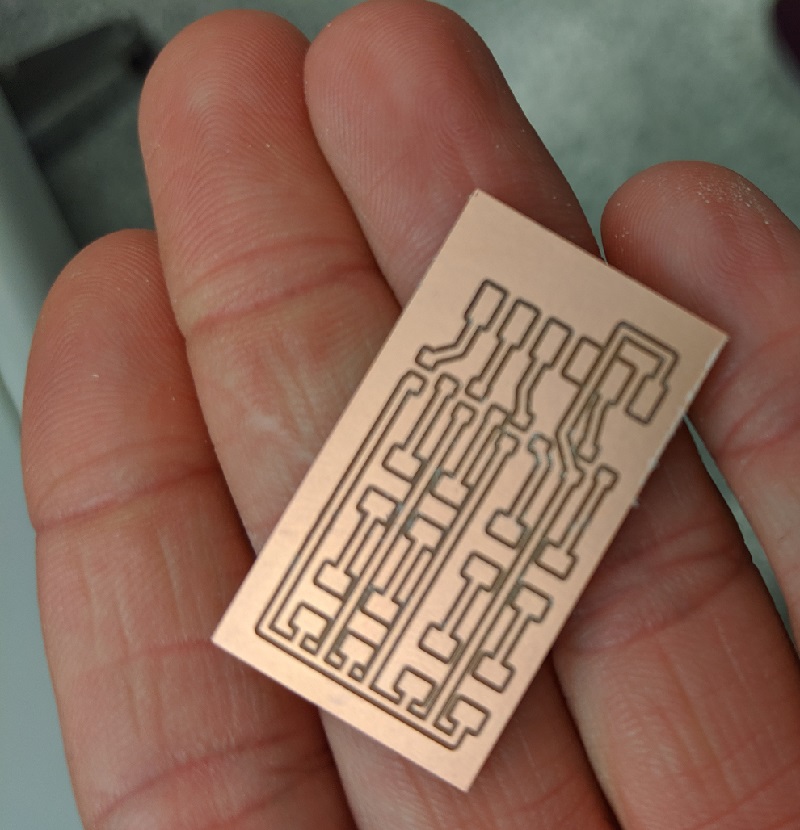
As you can see above, trying to cut the copper with an exacto knife was not a good idea. I did not cut myself, so that's a plus. Anothony, once again, you are the all knowledgeable and powerful beast of EDS. I ended up going back to the drawing board and retracing my board. After heading back to the OtherMill, I milled my board. It came out quite nicely.
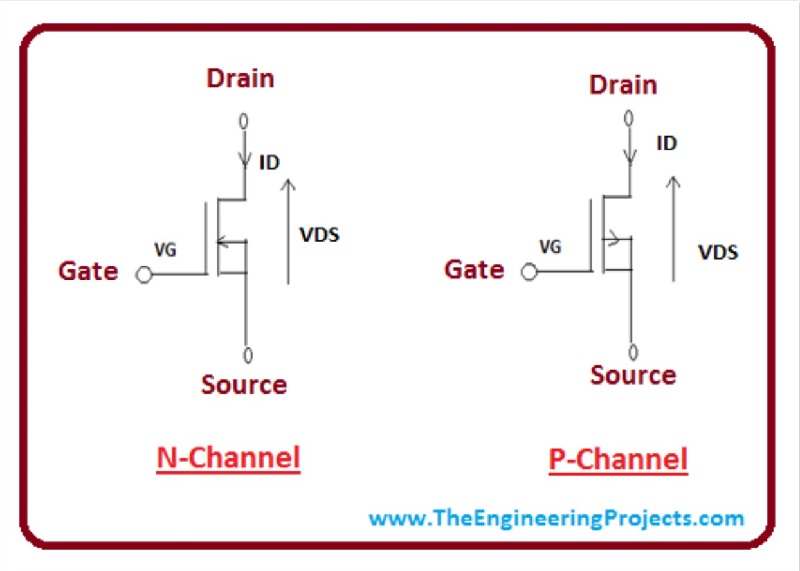
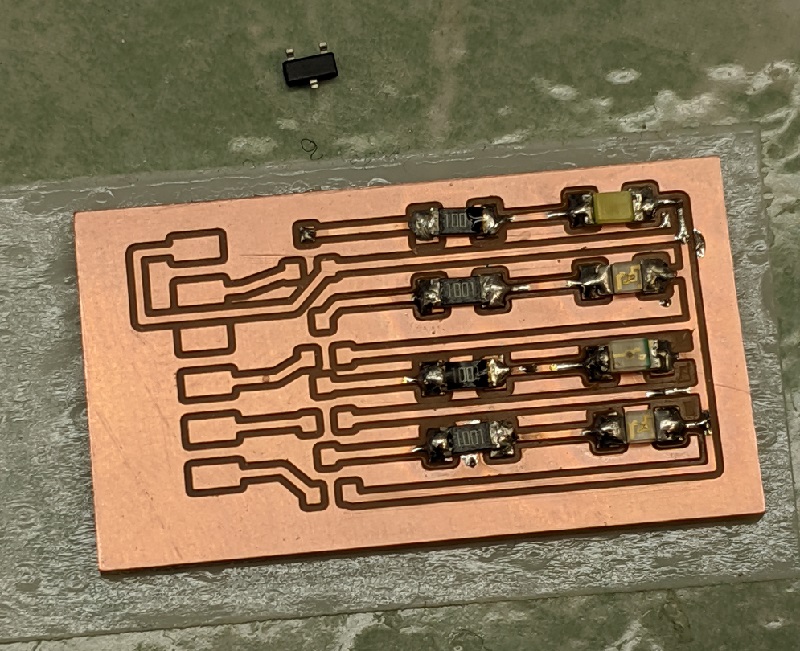
I ended up using N-Type MOSFETs for my Light test Board. These ended up being tiny. I still can't describe exactly how this electronic switching device works, but very roughly. You have a gate, source and drain. When the gate gets a logic high or low, it either switches on or off. (Which way it goes depends on the MOSFET type.) I hadn't thought about MOSFETs like this as I had been using them as a replicated load. Basically a bunch of MOSFETs with different resistors that all sat on a cooling plate, acted as a devices heat and energy use.