Week 3: 3D Printing and Scanning
Week three is here, and we have to design and print something with plastic filament.My inspiration this week comes from medieval lock designs, which used a super simple key and pin architecture to lock wooden chests and doors.
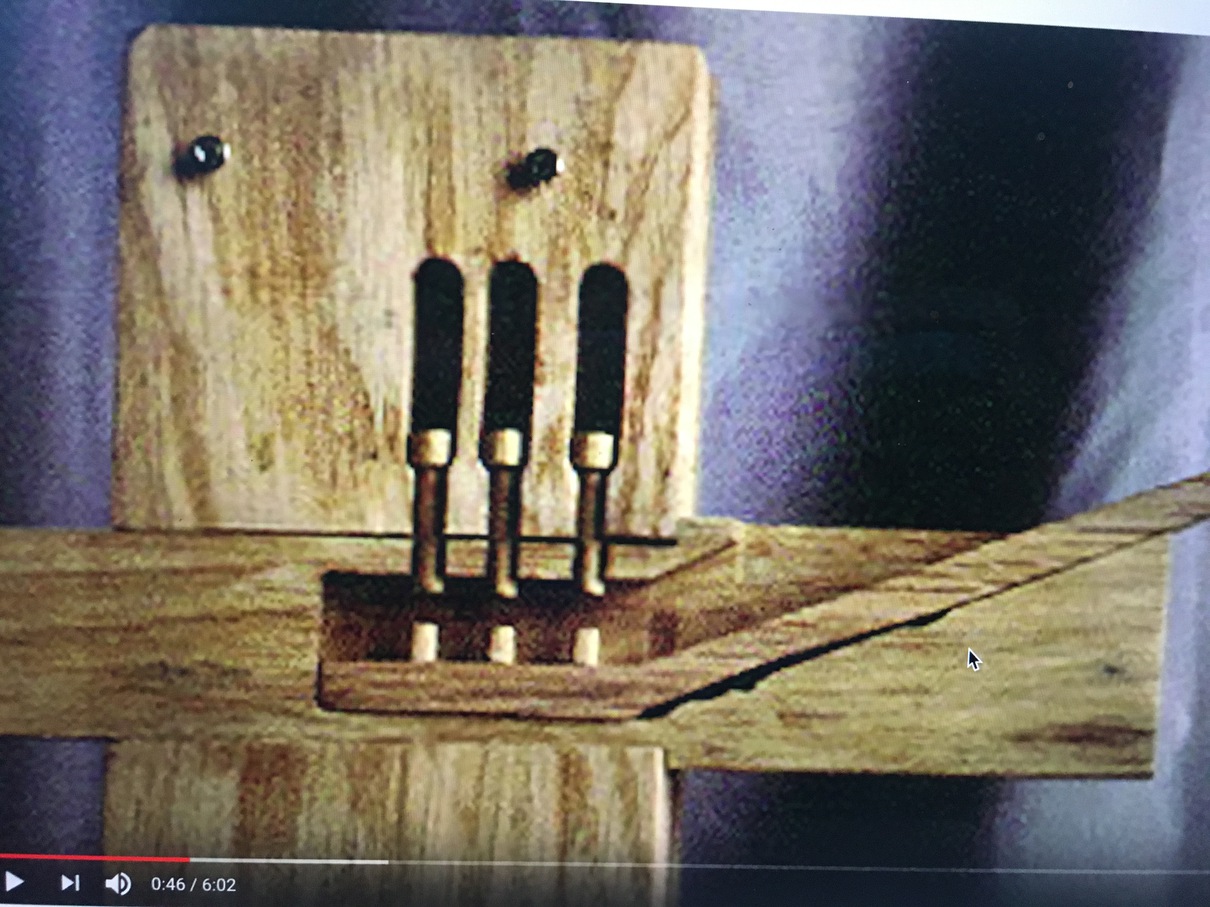
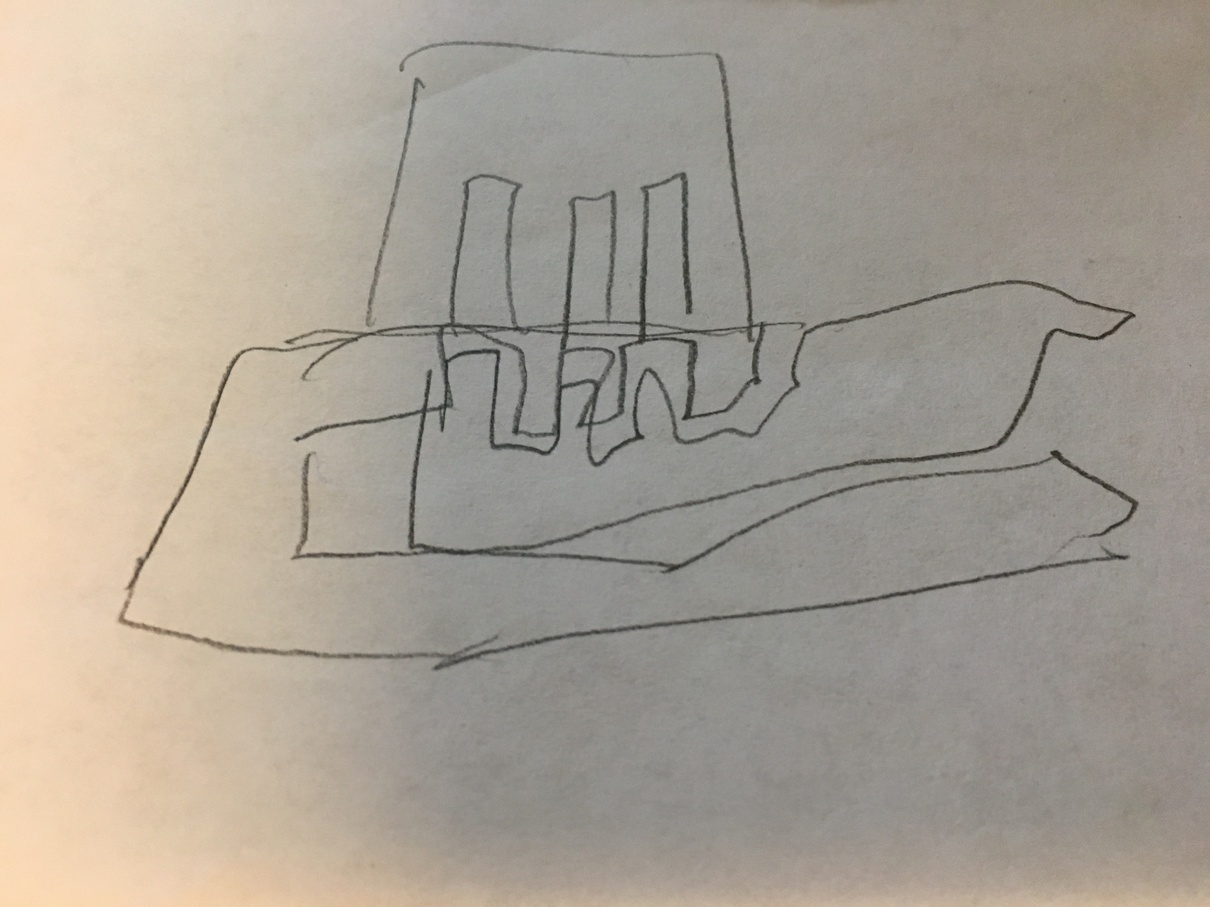
As you can see in the picture above, when locked there are three pins that hold a solid sliding piece which blocks an entrance. When a key with spikes in the right place is inserted, it pushes the pins up and lets the sliding piece escape. To the right is my precise sketch of the mechanism.
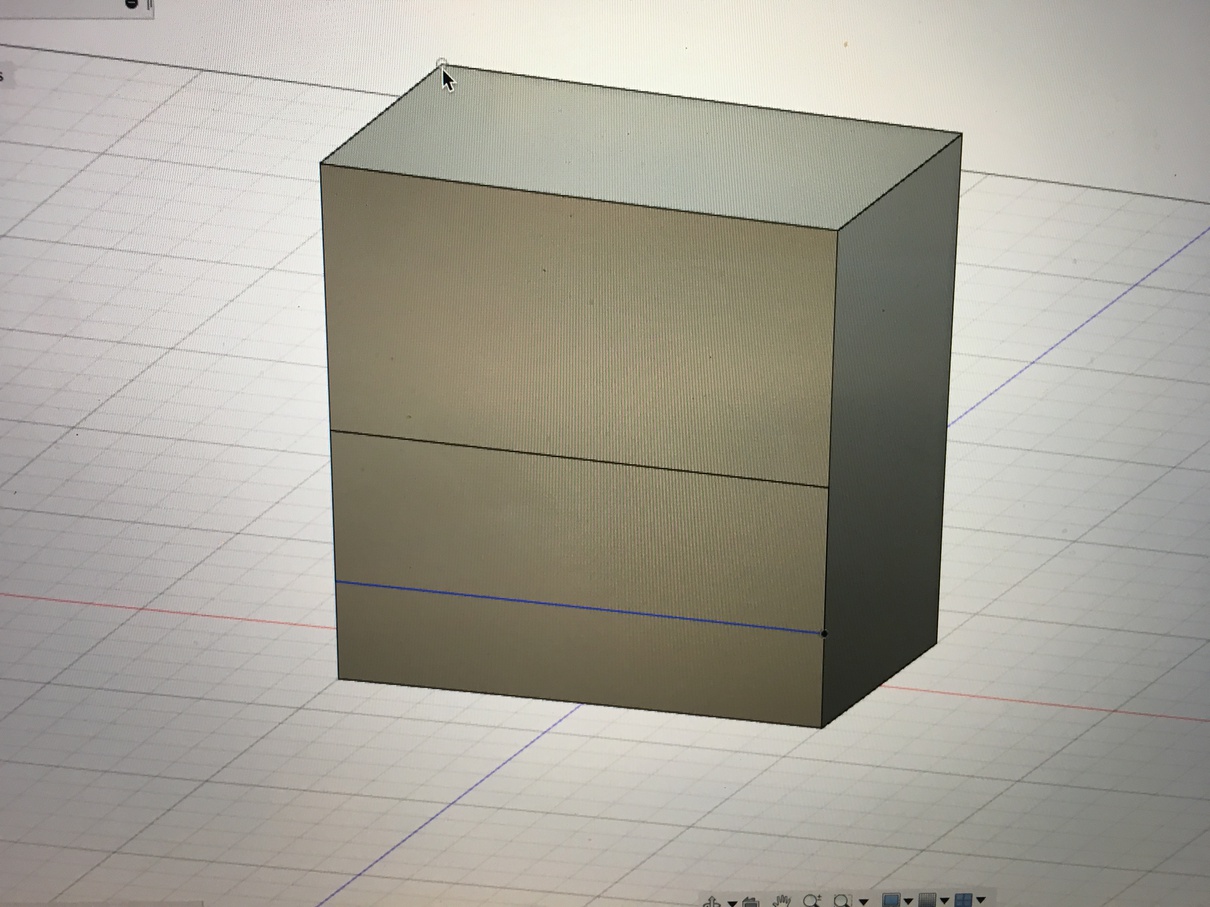
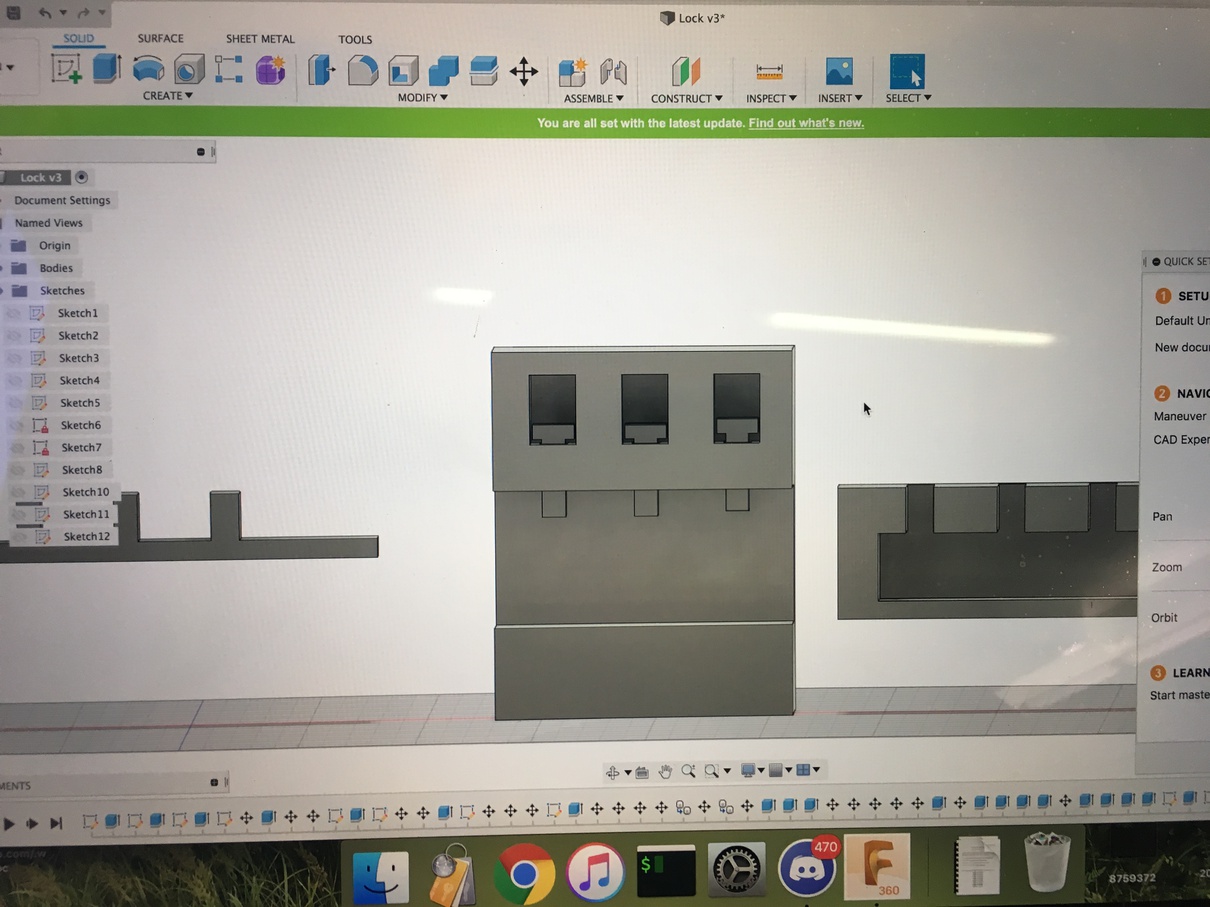
I started to design the lock in Fusion 360. This was my first time into 3D design so I had an adventure with getting things setup. Basically, my workflow was to make a sketch out of various rectangles and then extrude either inward or outward to make the physical components.
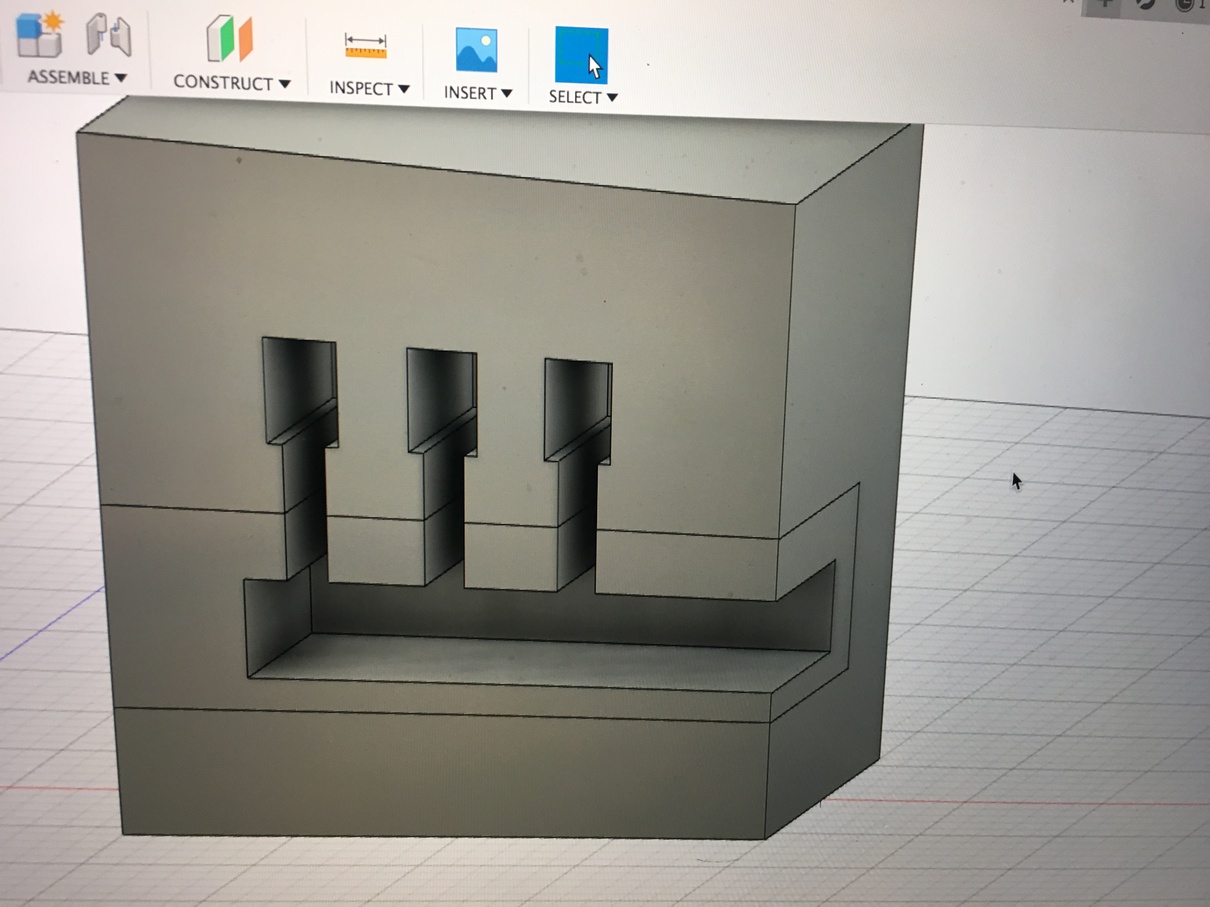
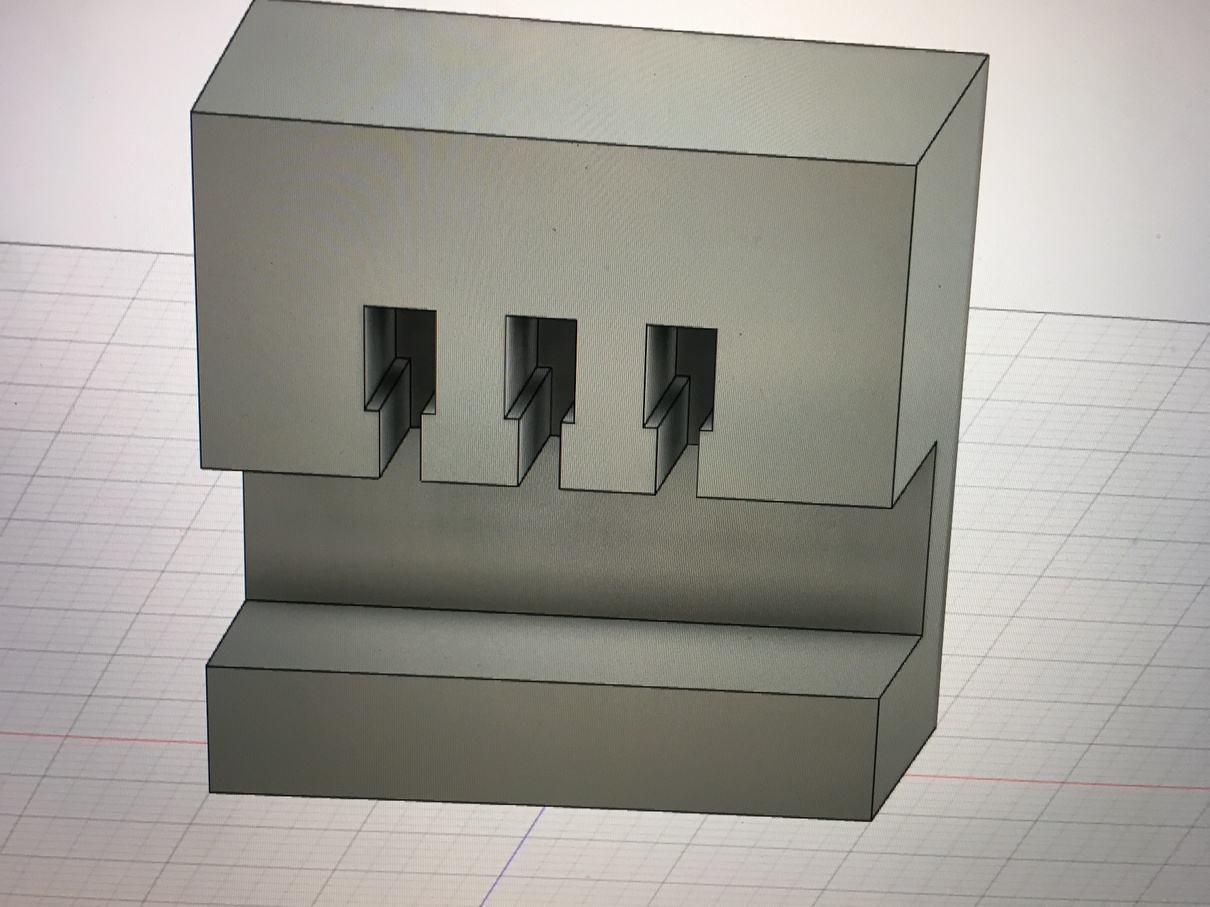
After I designed the pin holes, I again used the extrusion to make the sliding component along with the key that matched the pins. In modern locks, the pins are all different heights so only specific keys work, but for my model I just set them all to the same height.
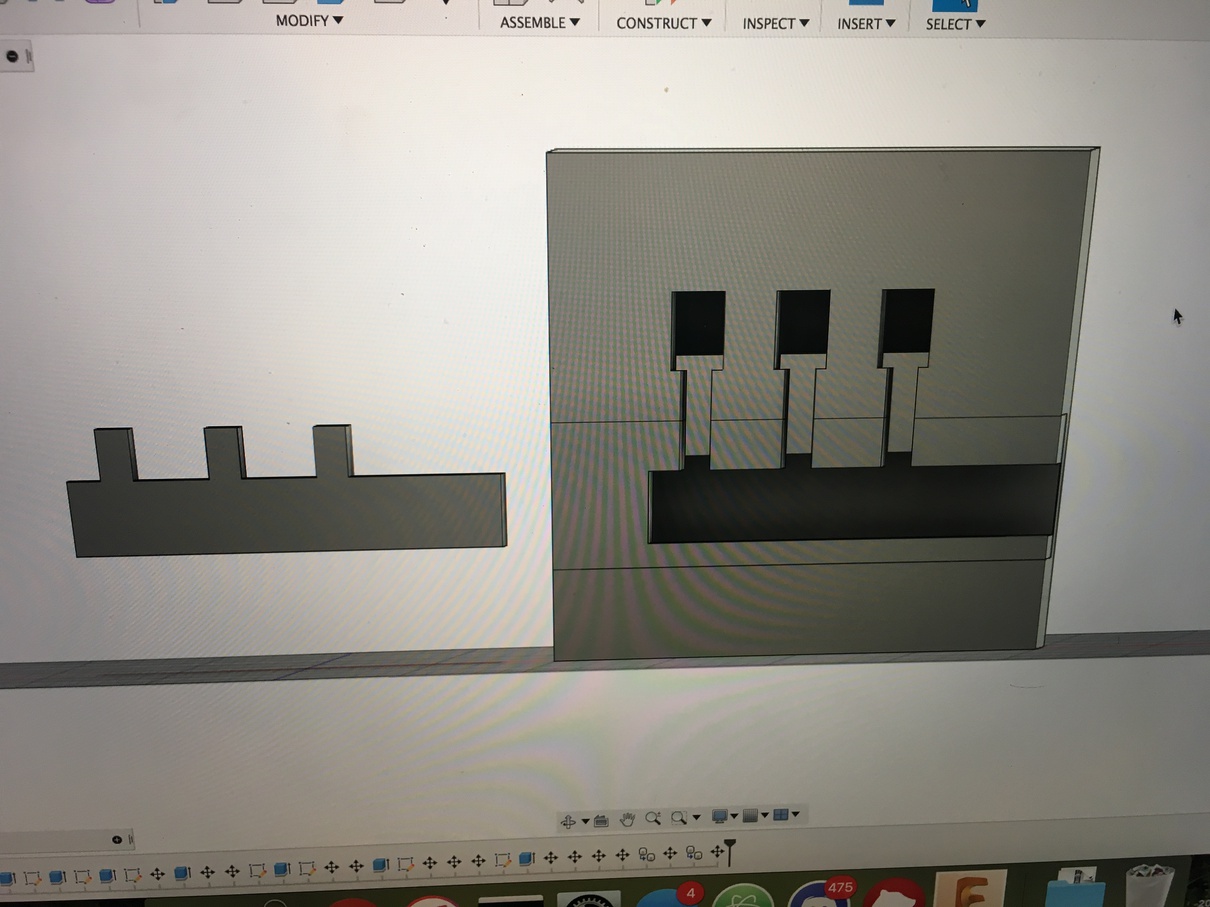
A key part in the design was putting in a threshold for the printer. Since the printer is not exact, a 40mm piece would not fit into a 40mm hole. To counter this, I shrunk down the pins, key, and slider so that they would still fit into their respective areas.
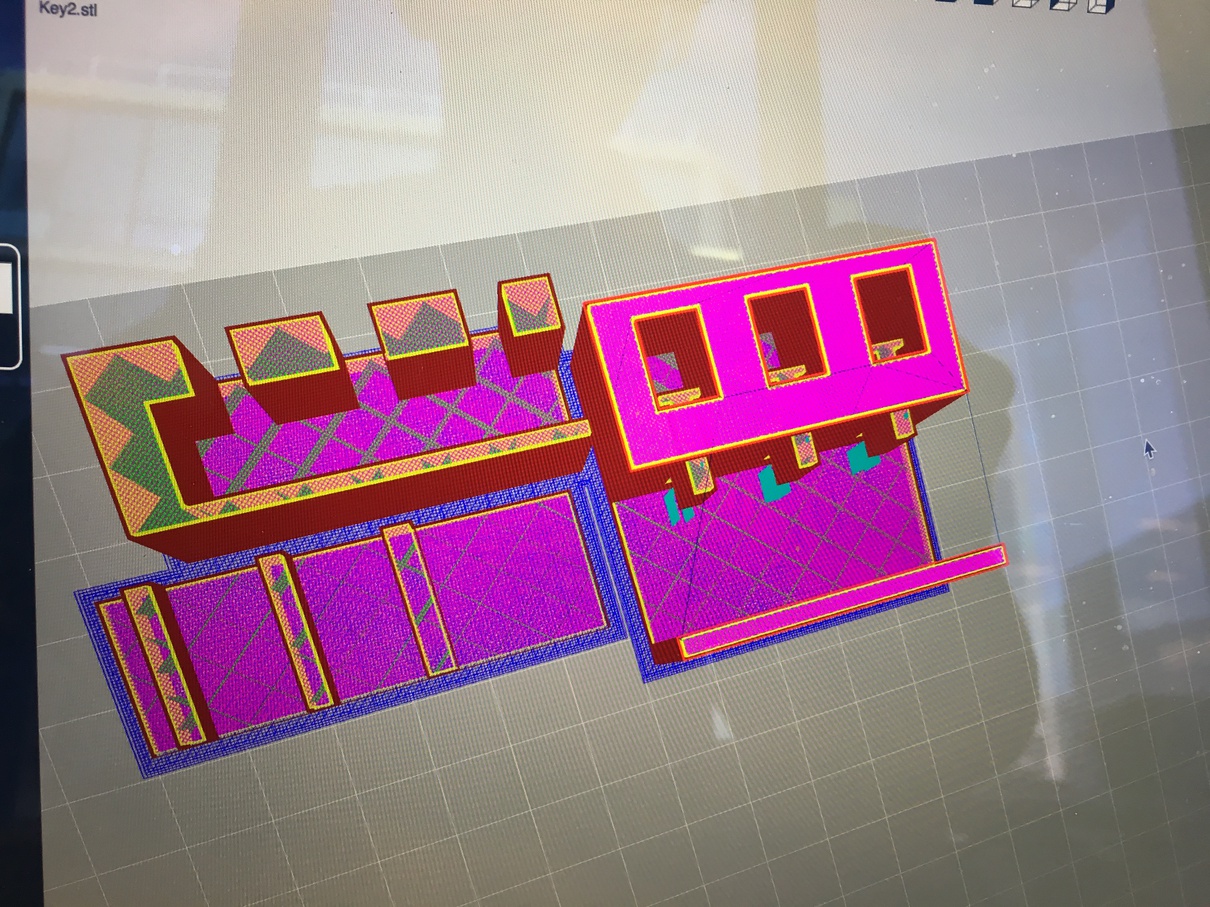
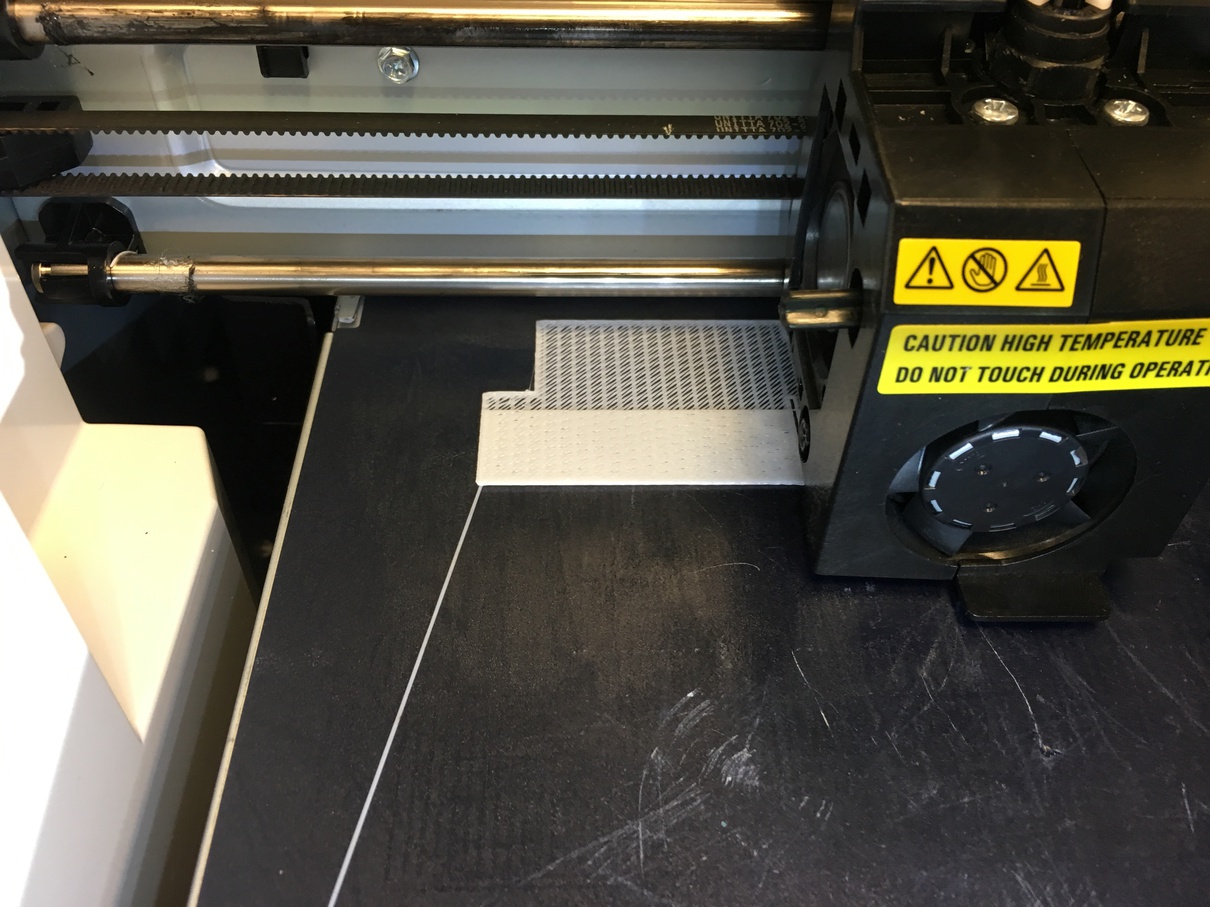
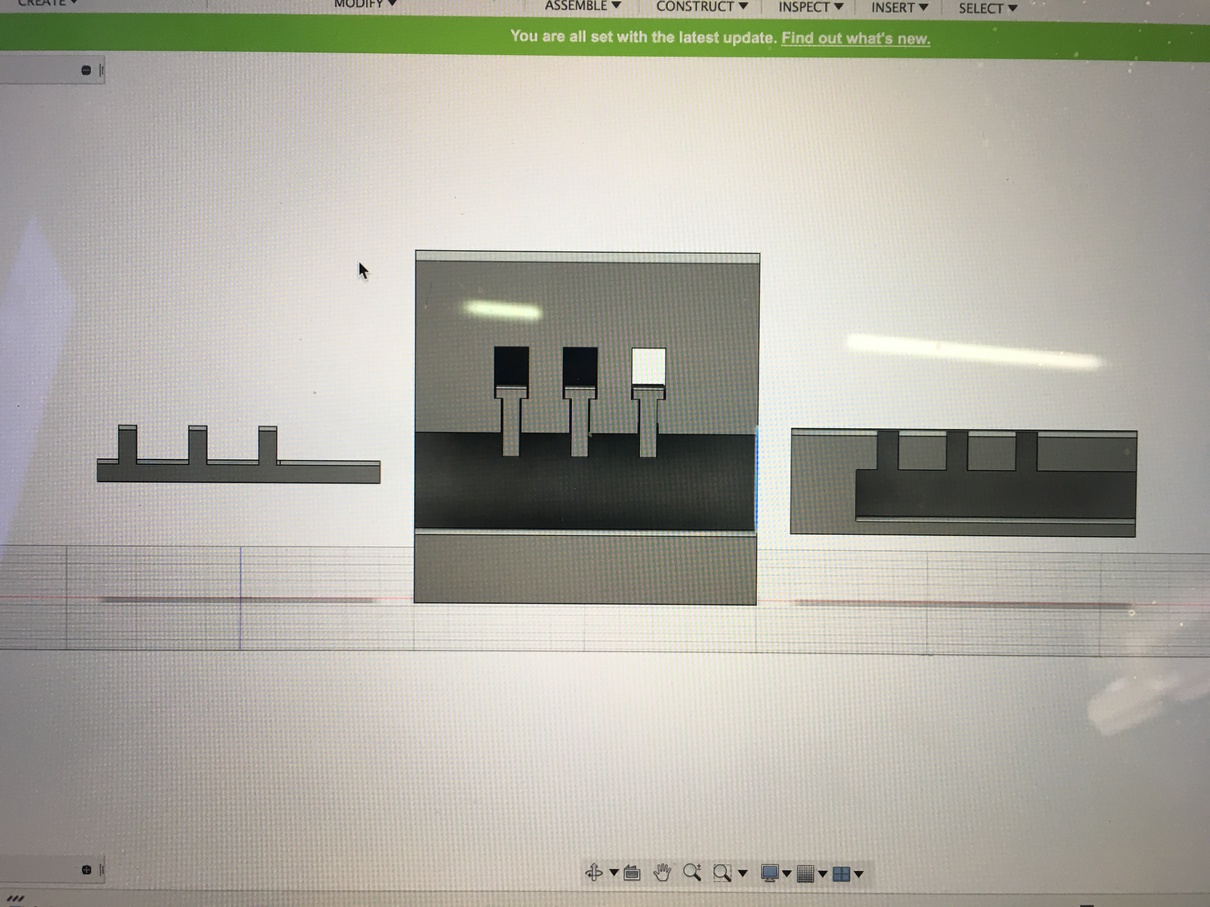
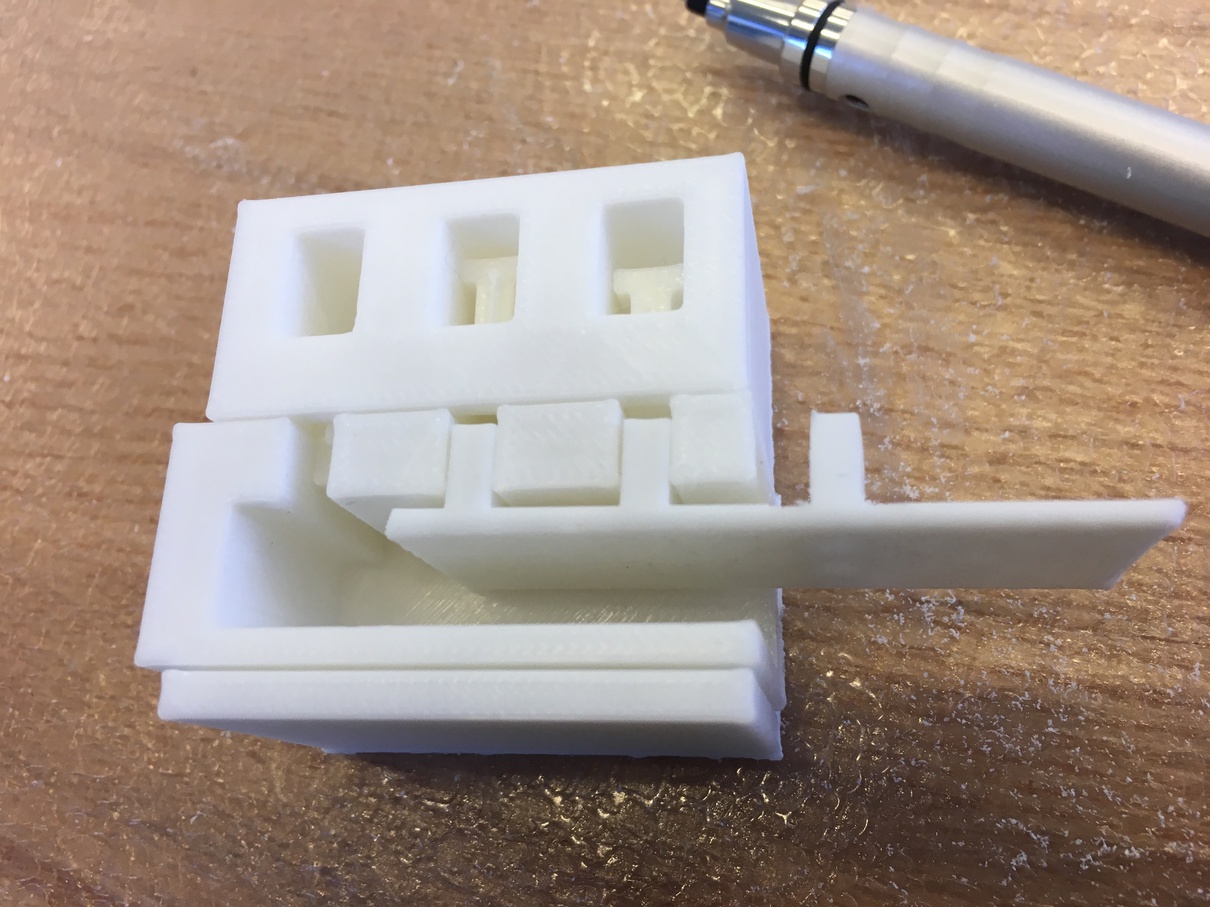
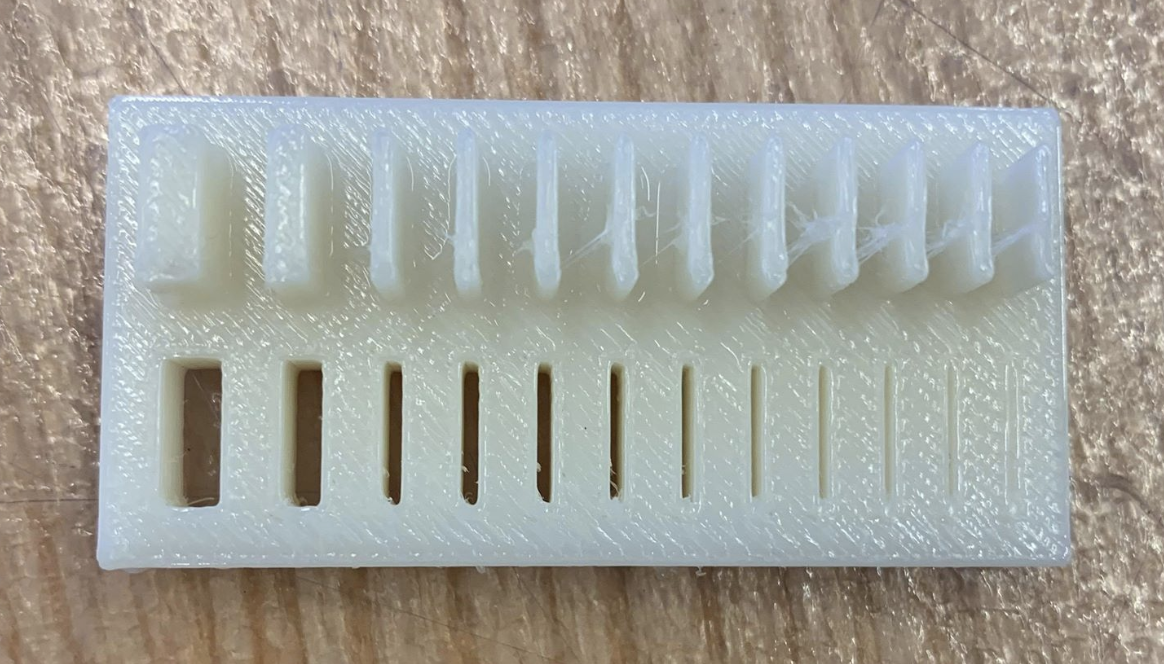
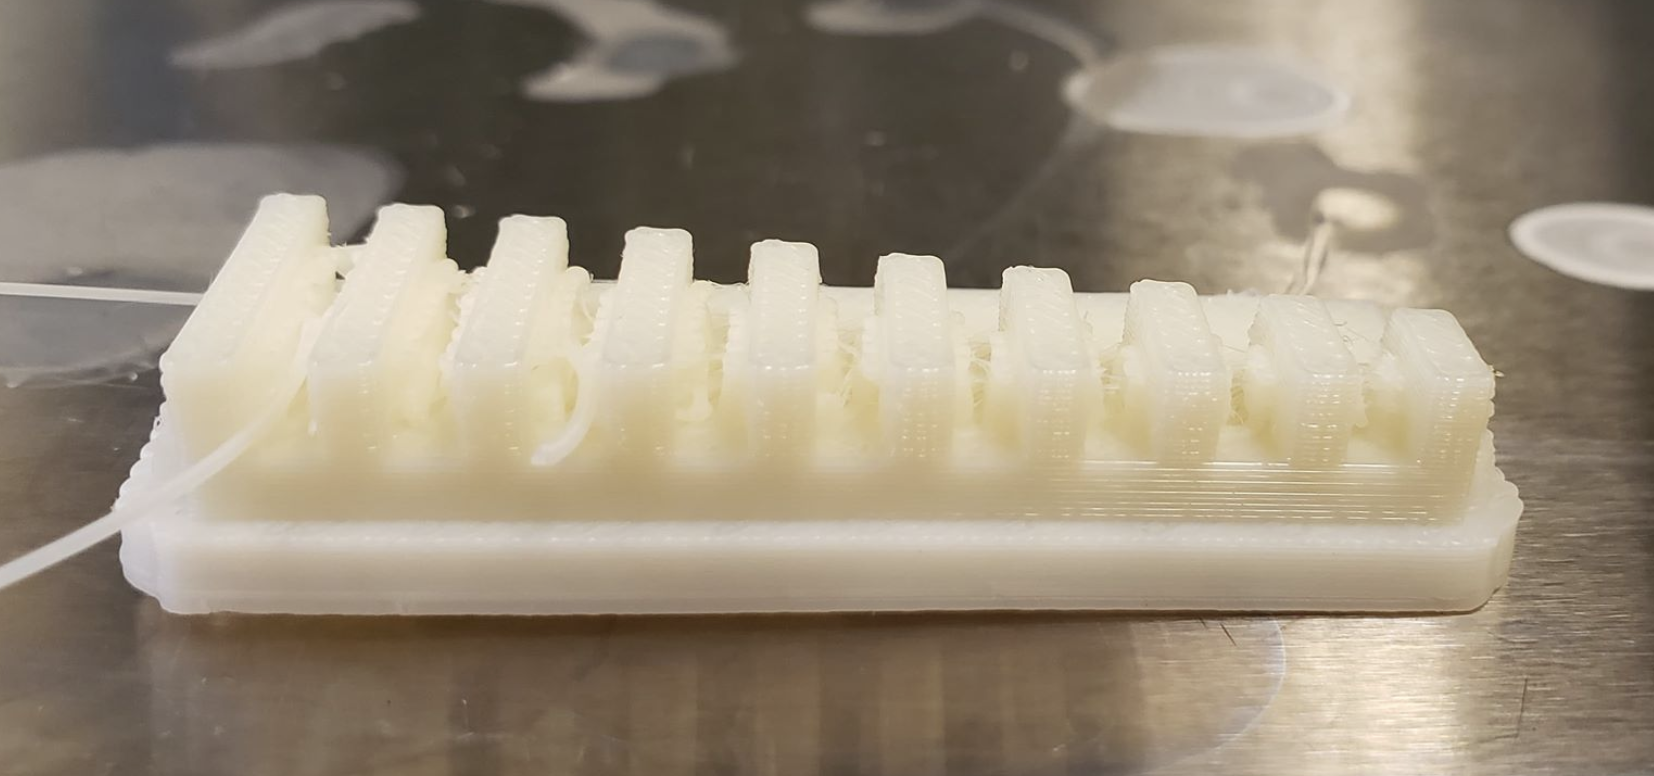
Printing time! I exported the individual parts as STL files and then imported them into the WOX software (left). I played with the settings, making sure to use supports for the pins that were free floating. It was also important to rotate the parts so that as much of the part could support itself as possible.
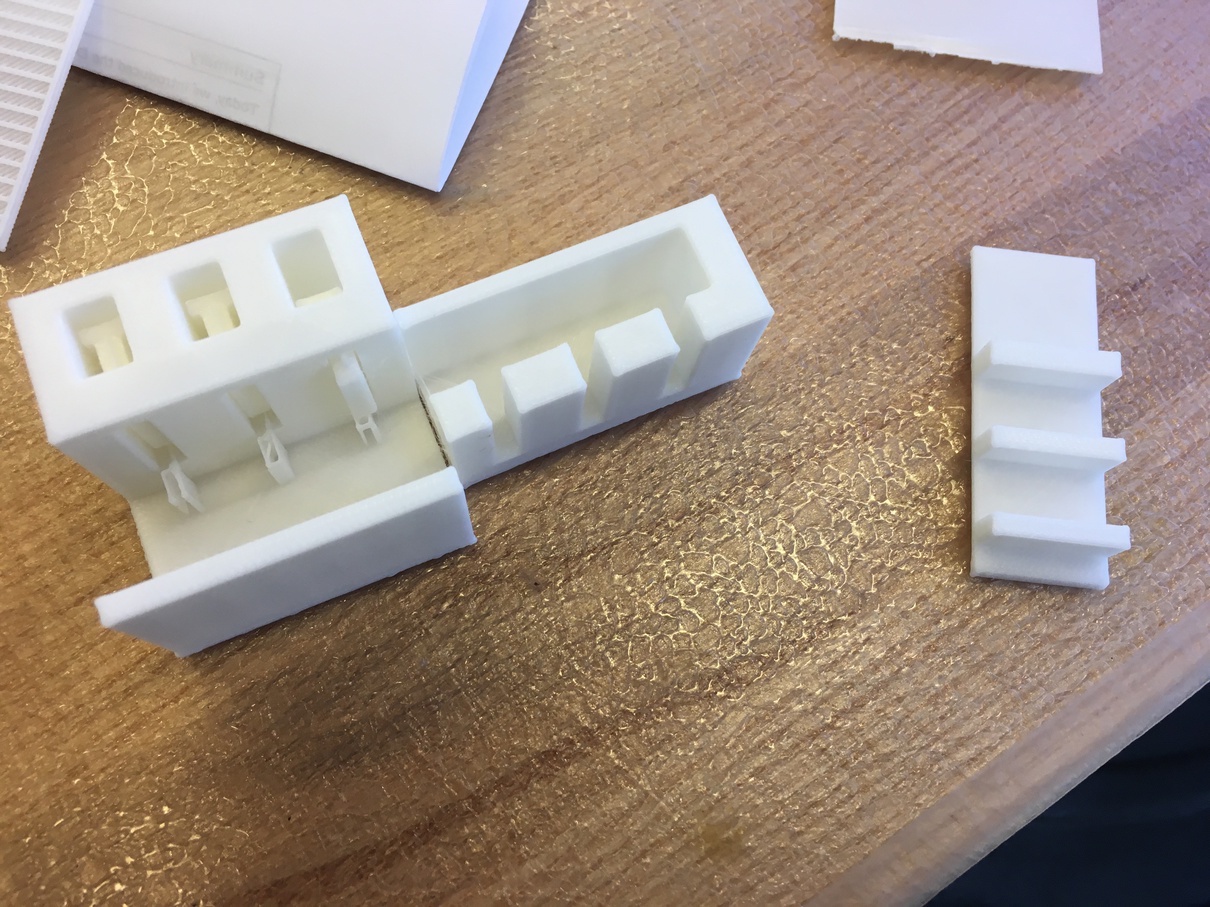
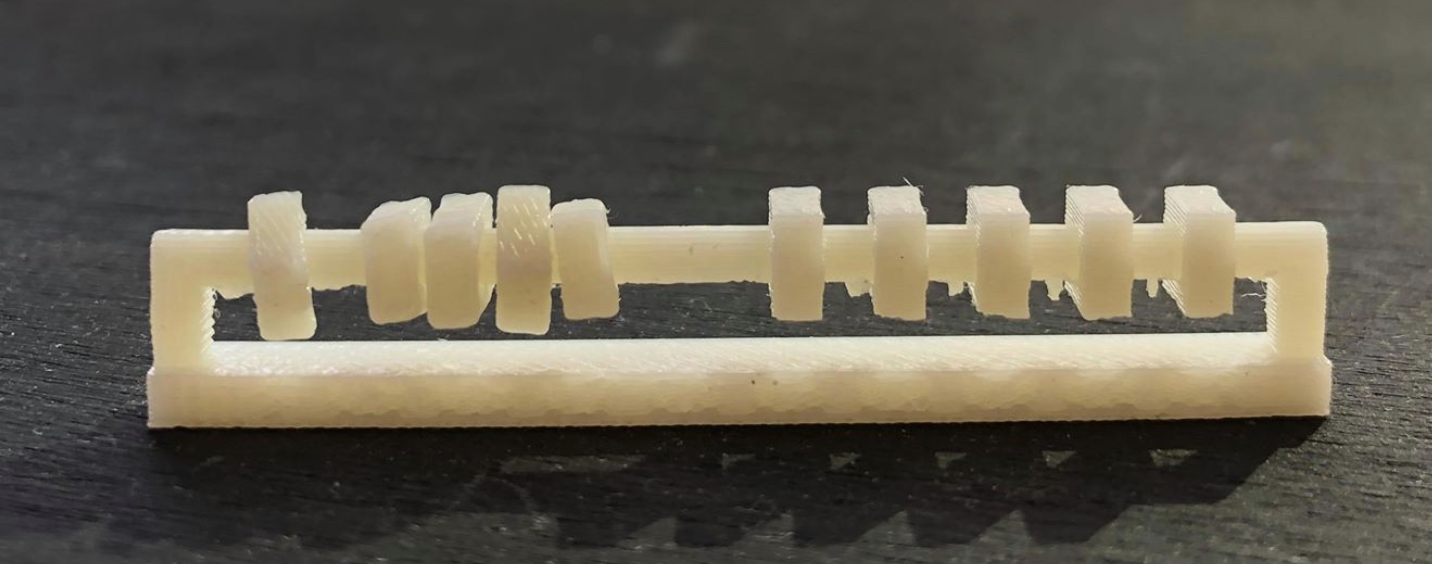
The parts came out looking something like this. As you can see in the pic (above), the pins still had supports on them that I had to snap off by hand. The key was also slightly too thick on one of the prongs so I had to sand it down with a metal file to get everything to fit snugly.
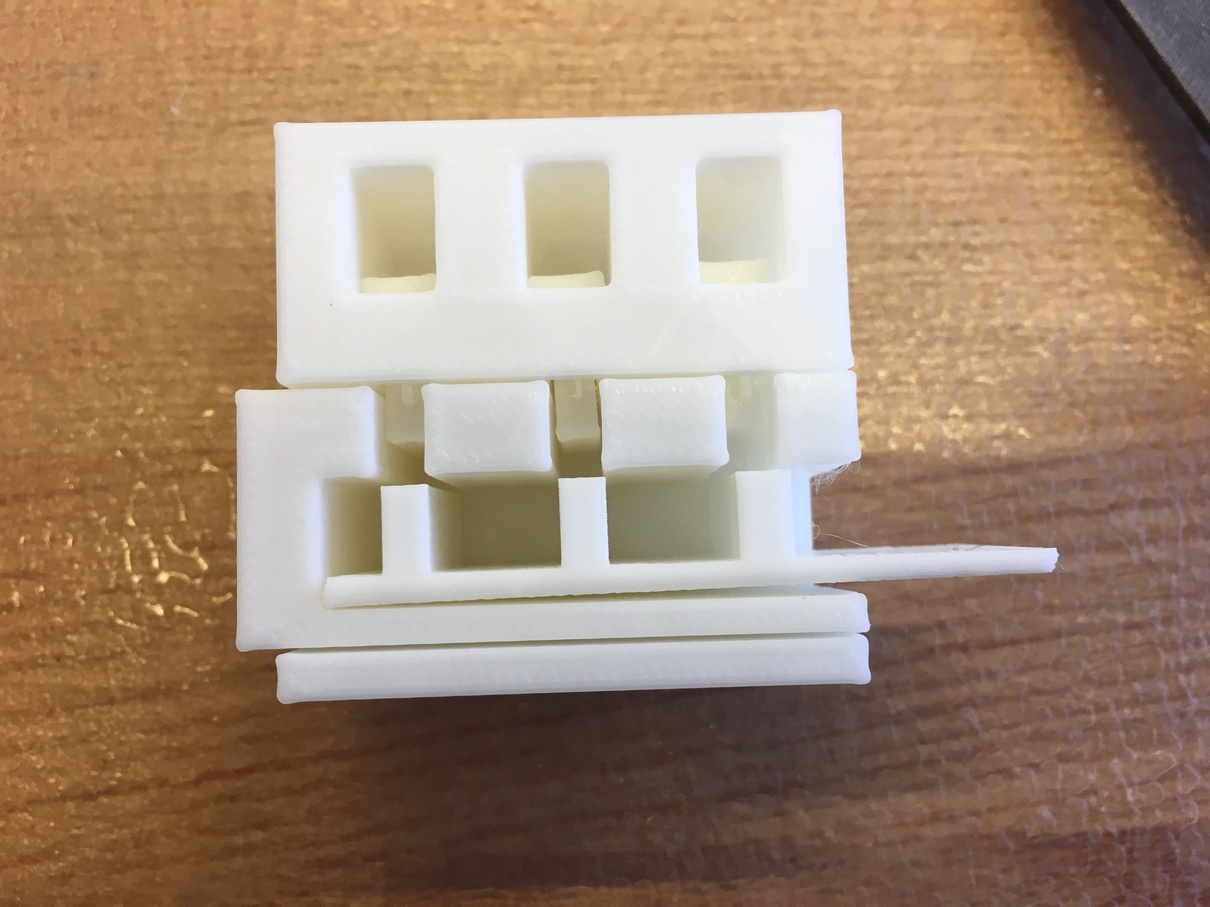
Finally, when put together, the lock works as intended! To the left is the lock in the locked state with all the pins pushed down, and to the right is the key unlocking the pins, allowing the slider to escape.
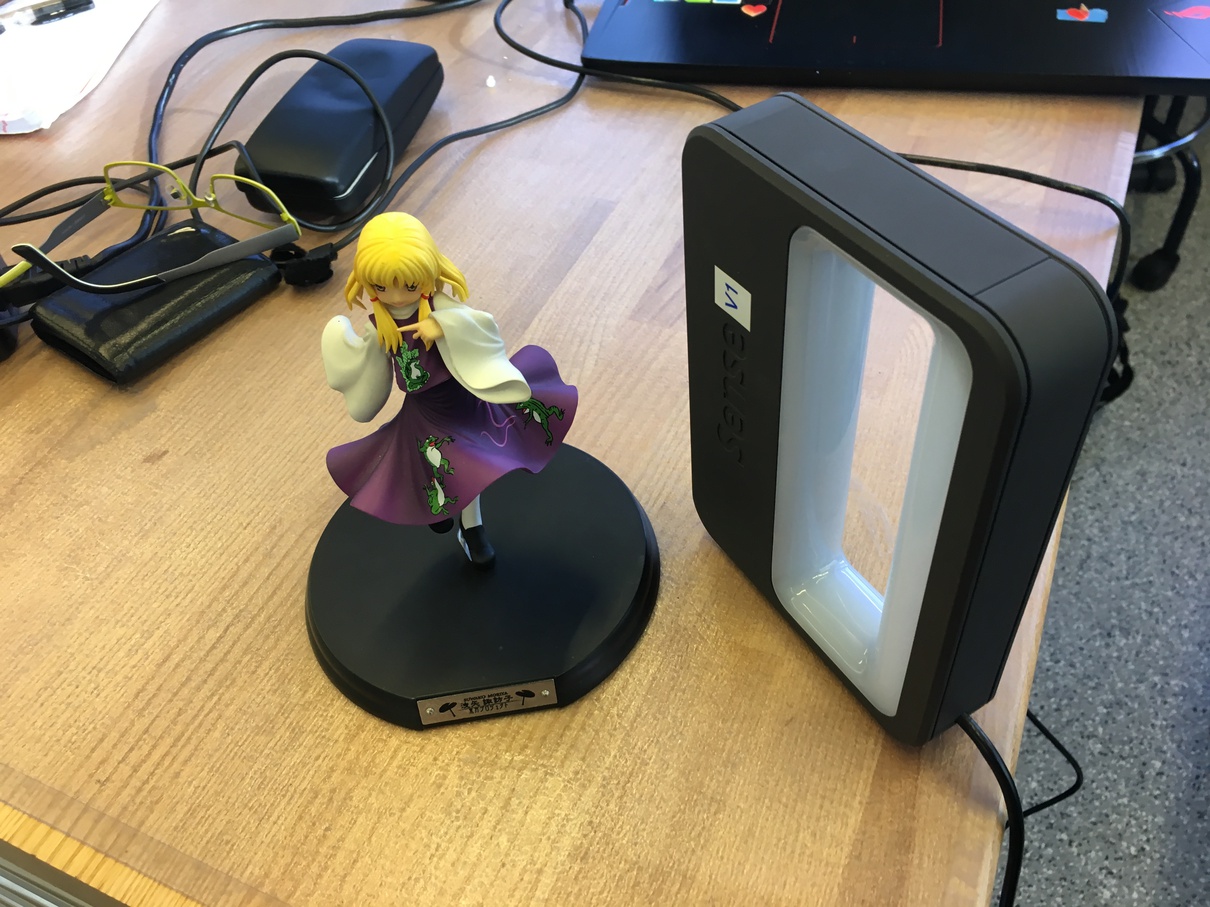
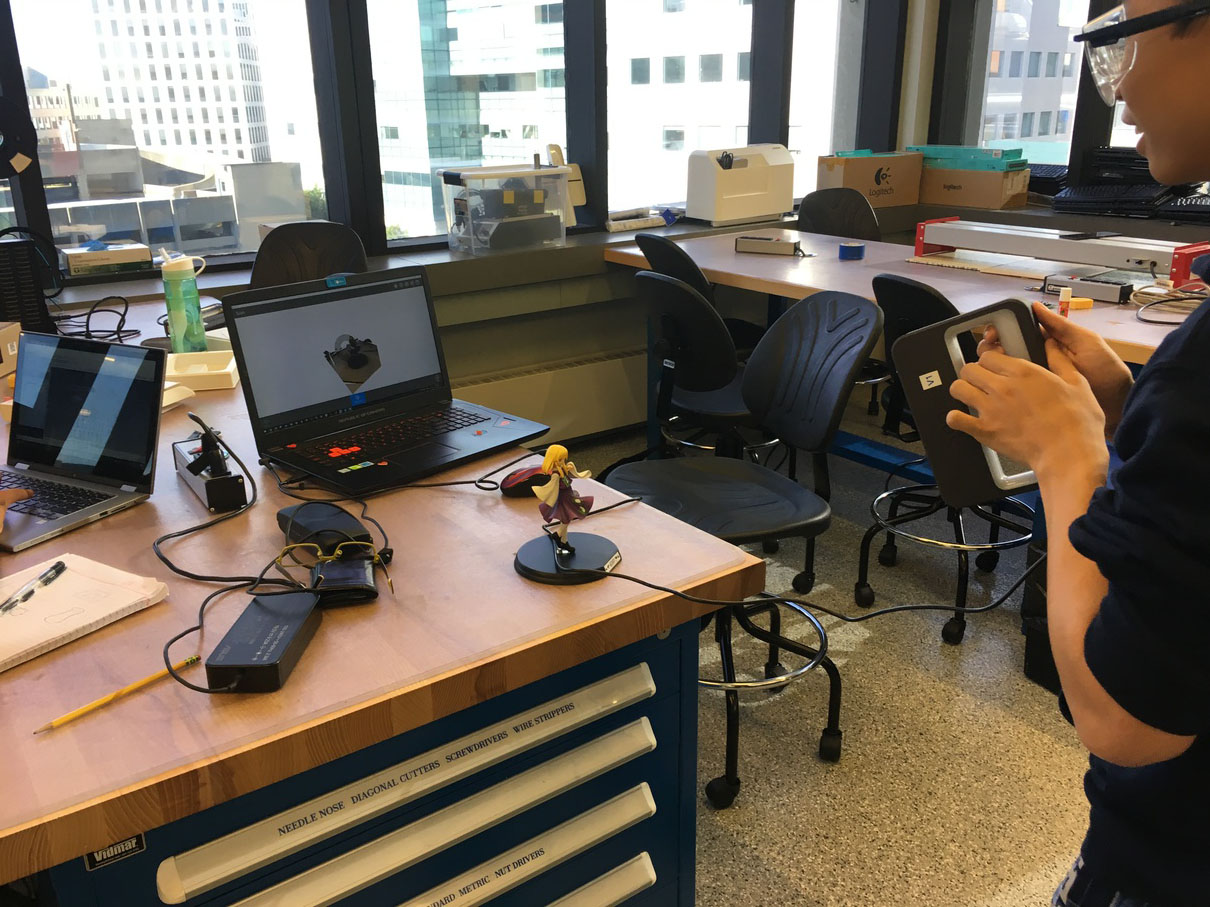
The other portion of the project this week was to scan a 3D object. I chose to try and scan in a plastic figure of Suwako I had. Scanning was pretty tricky since you need to move the handle in a loop around the object while maintaining a fixed radius, or the software would complain.
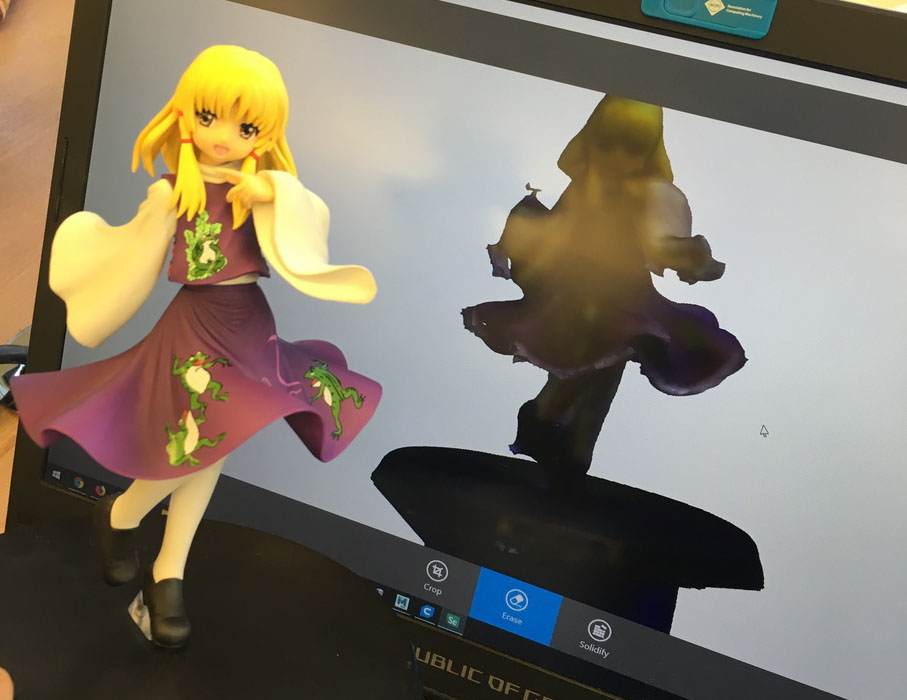
The final scan results looked like this. While it got the general idea, the scan quality was not very great. This is most likely because the figure was pretty small and had a lot of overlapping components so it was hard for the scanner to get a good read.
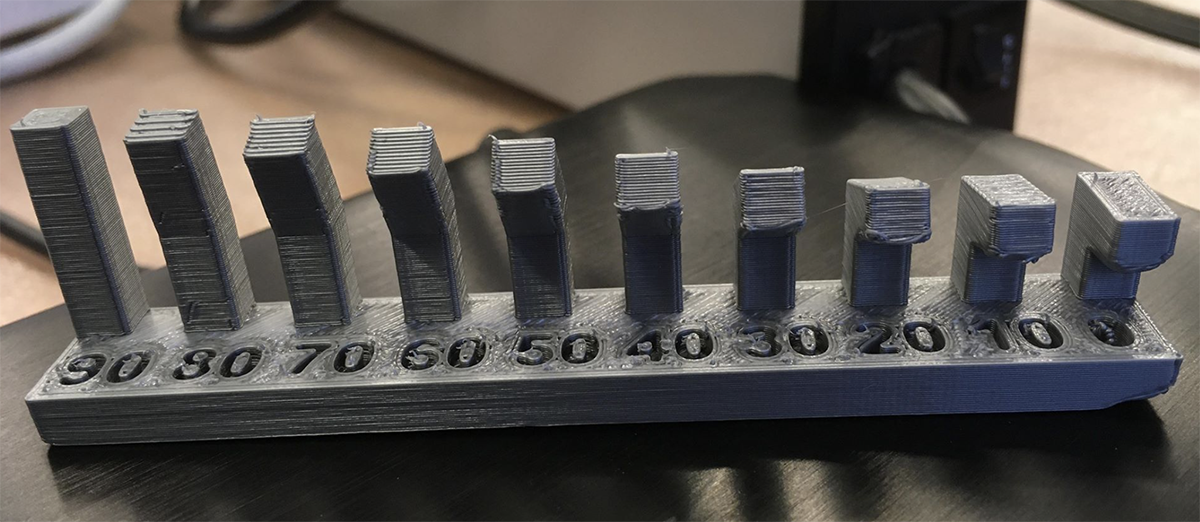
To wrap things up, here are some of the test prints that the EECS group ran to see how the printer behaved with differing thicknesses and angles. When the gaps between parts is too thin, the parts will either not rotate correctly or the gap will become filled in with extraneous filament. Angles seemed to behave well in general, although anything with a larger overhang usually required supports to function correctly.