ADAPTIVE WIRELESS RICE PAPER LAMP:
Lighting is important. Lighting when having a nice meal is super important. What is one to do if they have not wiring for a light fixture above their dining room table at their apartment? They'd have to make an actuating... wireless... LED... battery-powered... rice paper... hanging lantern lamp thing... of course. Here's the deal. It will be a glowing sculpture of magnificence, along the lines of the Akari light sculptures. The external form will be enclosed, allowing for evenly distributed light. Within, one will find low wattage, 2700k LED's, which will be connected to a power supply and micro-controller. Ideally, there will be three or so of these lamps, linked together. The hope would be to develop a small mechanism that can contain electronics required for actuating (raising and lowering) the expandable structures, along with storage of the battery supply. All of this will need to be lightweight and ceiling mounted.
Week 7 Update: This week, I began gathering materials for a prototype and discussing technical beginnings with Rob Hart. I sourced a ricepaper lampshade for a dollar from a local flea market and a battery-powered LED nightlight for potential use as housing for this prototype. In the coming weeks, the idea is to build complexity through programming by utilizing a lightweight motor for actuation of the expansion/contraction, along with programming functionality between wireless devices (to a remote). To be continued....
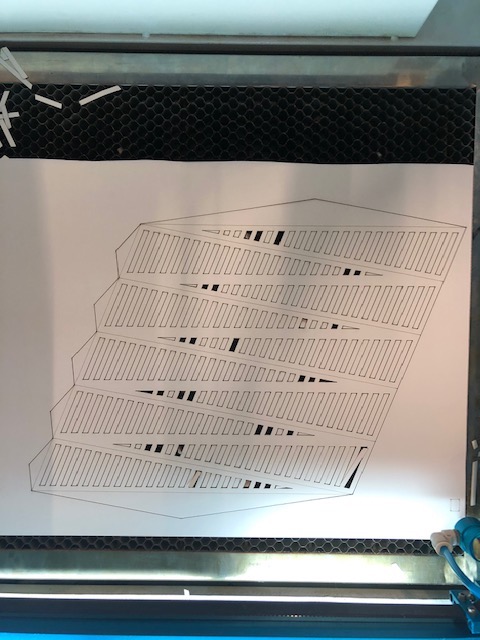
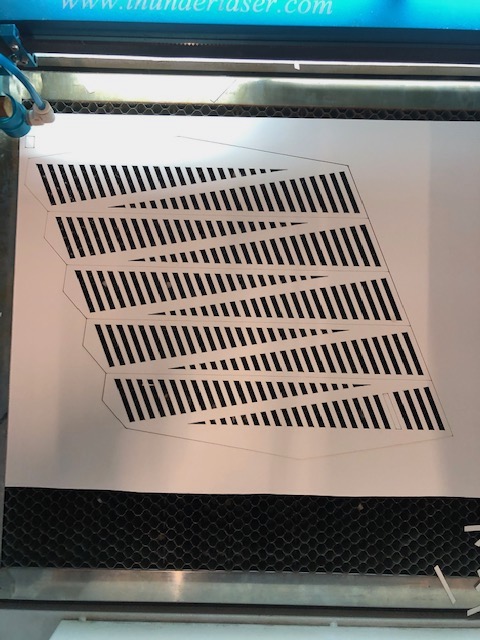
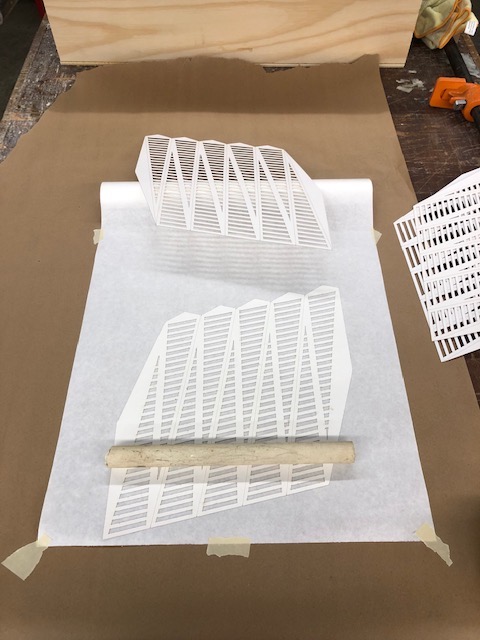
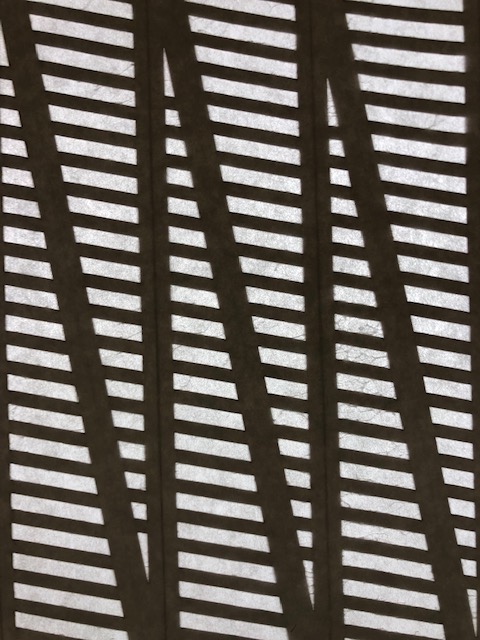
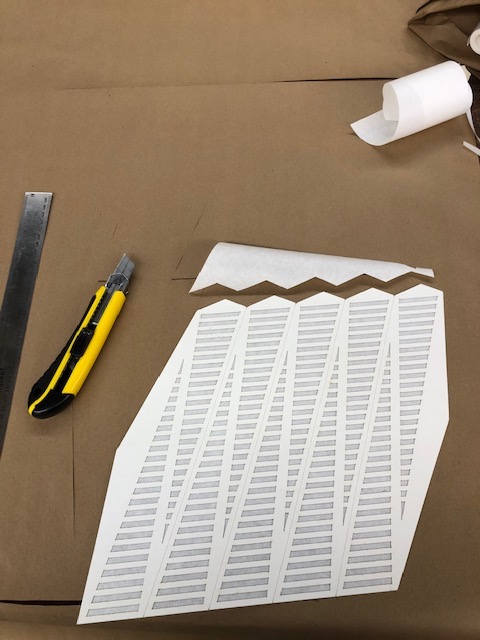
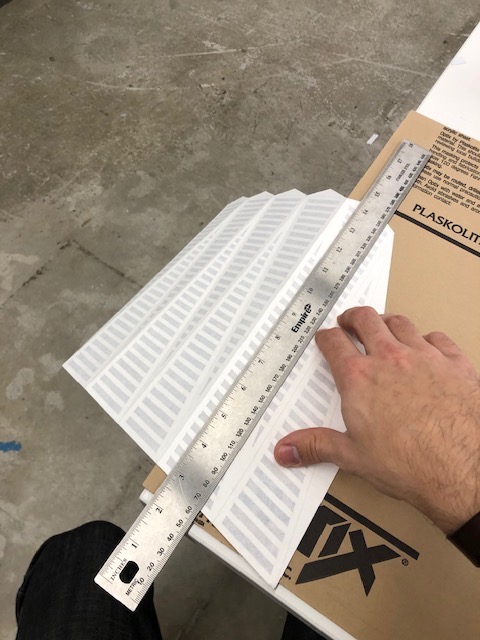
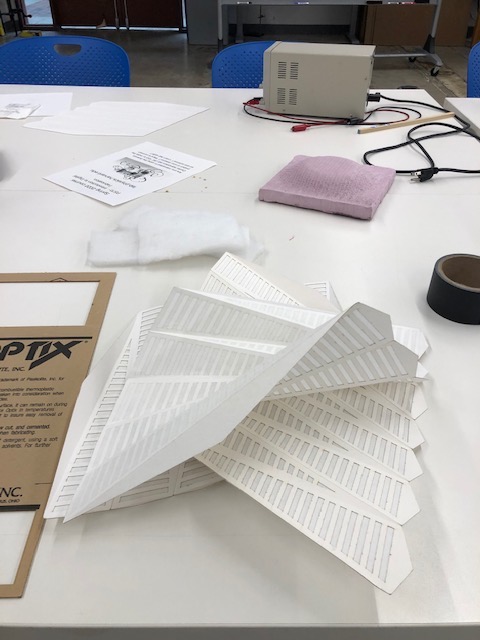
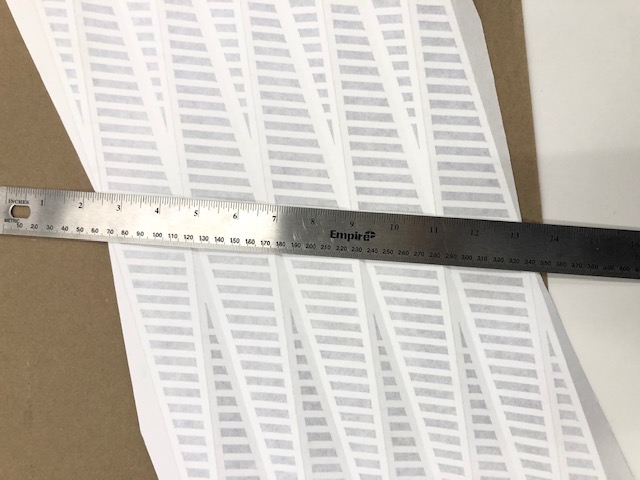
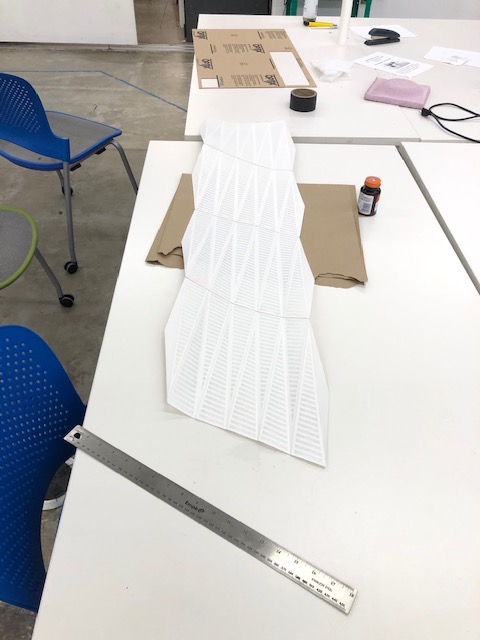
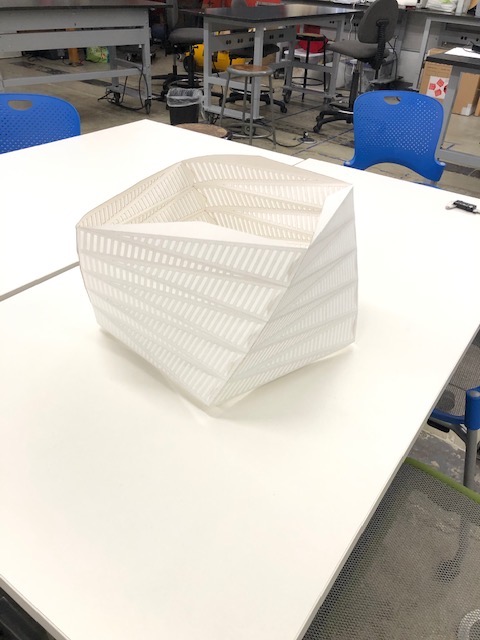
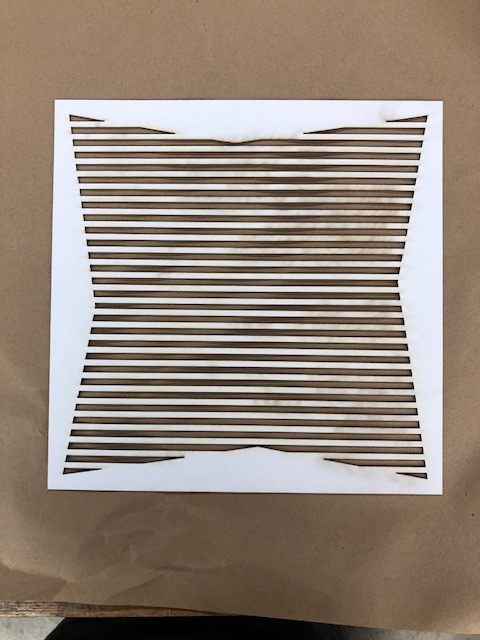
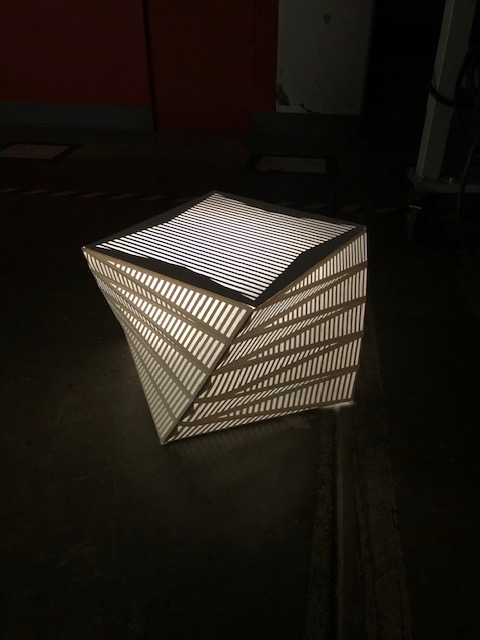
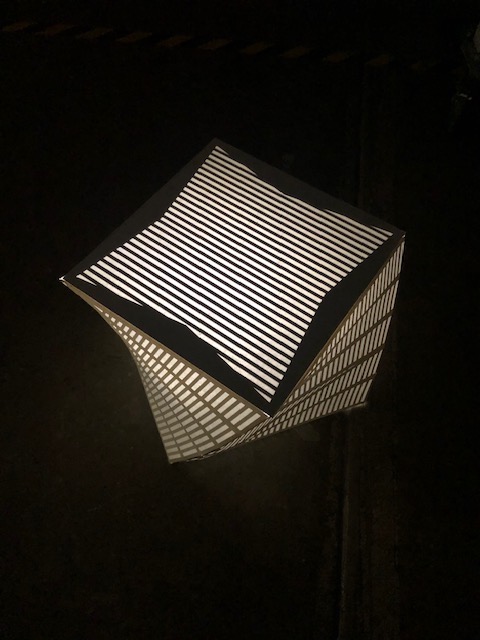
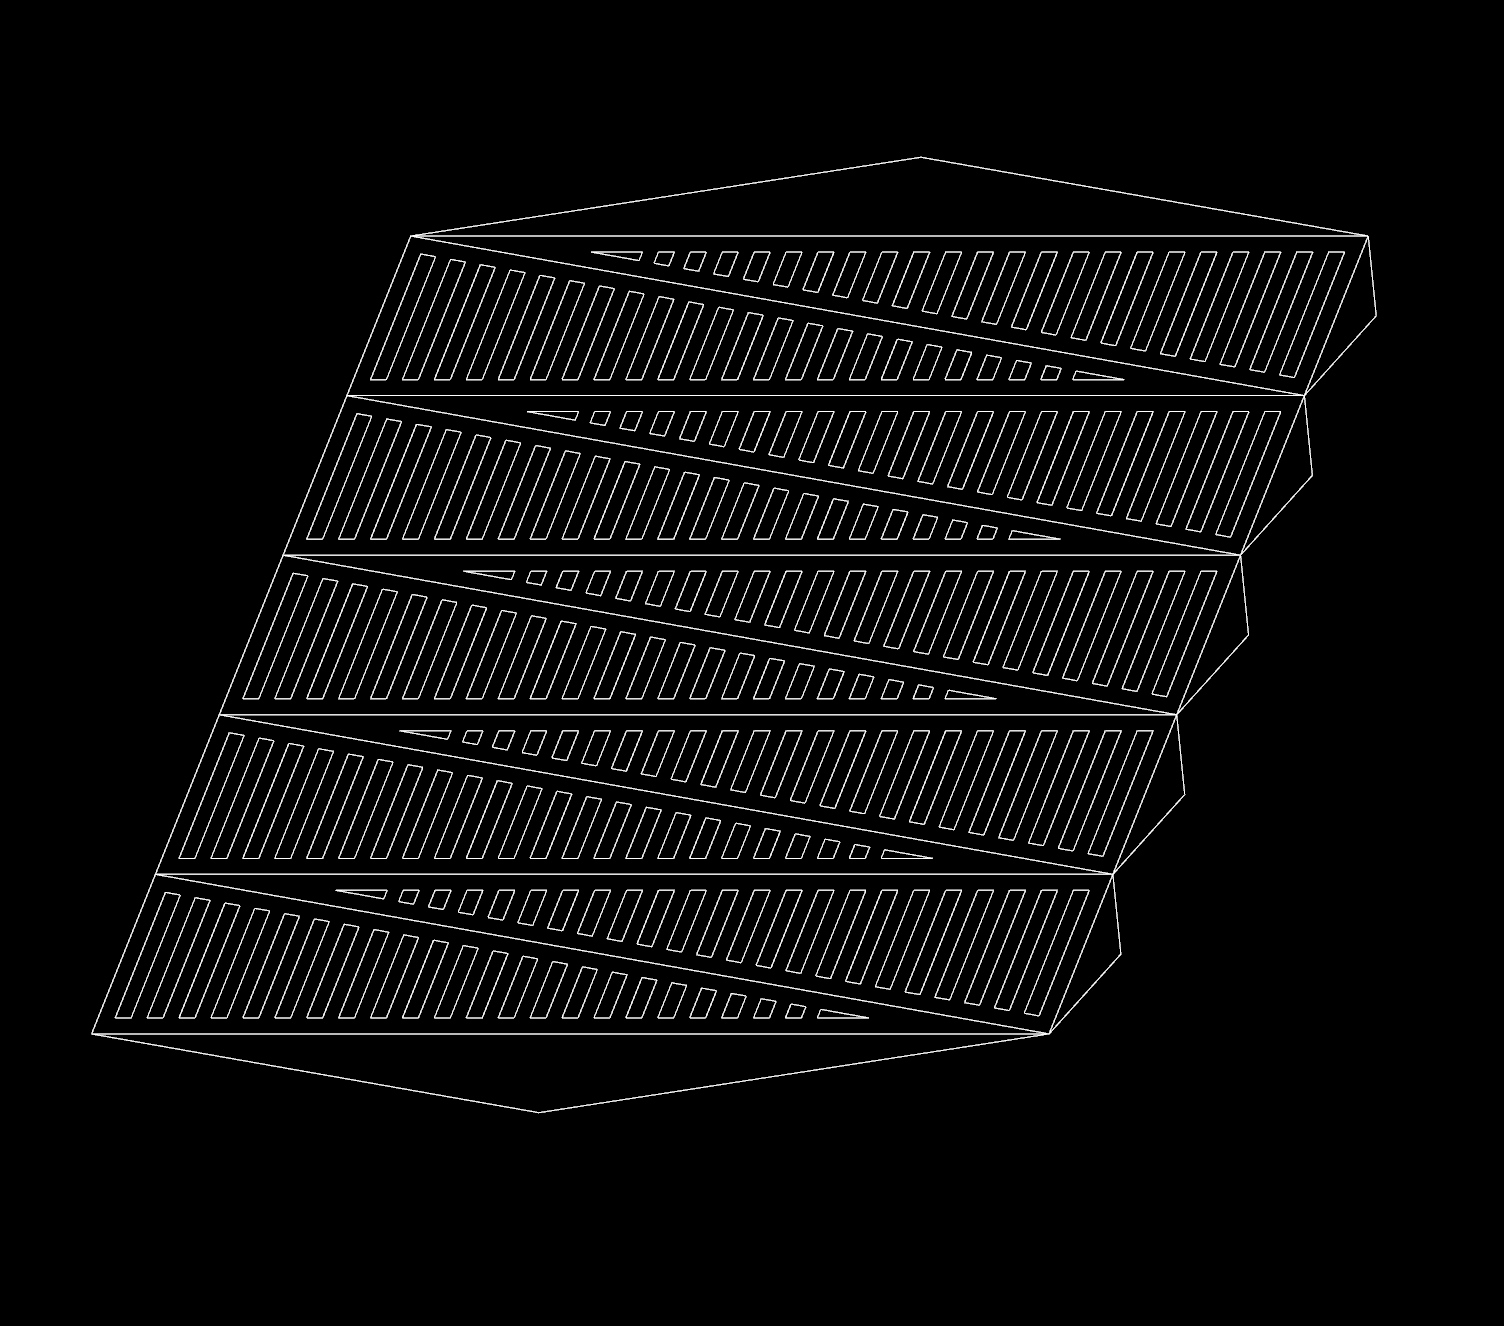
Week 14 Update: During Wildcard week, I explored pleating and had the opportuntiy to make significant progress on the final project by first experimenting with pleated geometries, then deciding on a material and technique for the lamp's external form. A pleated, faceted, parallelogram form was designed with perforations to allow light to pierce through, while allowing the thicker chipboard material to create structure behind the Shoji paper.
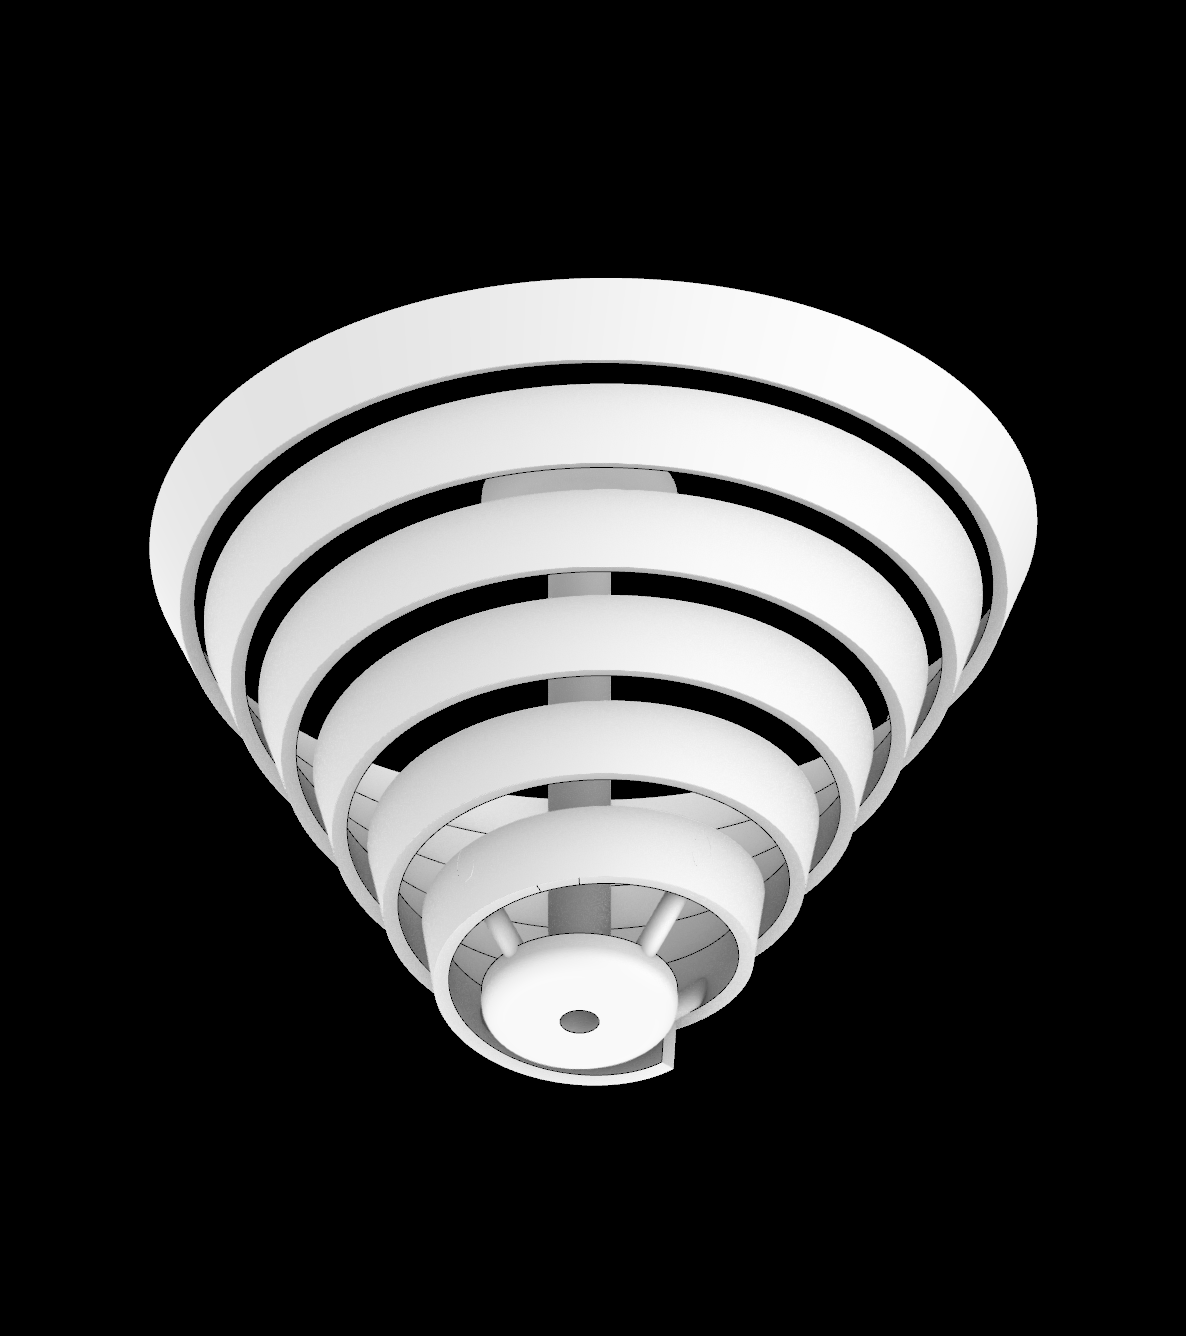
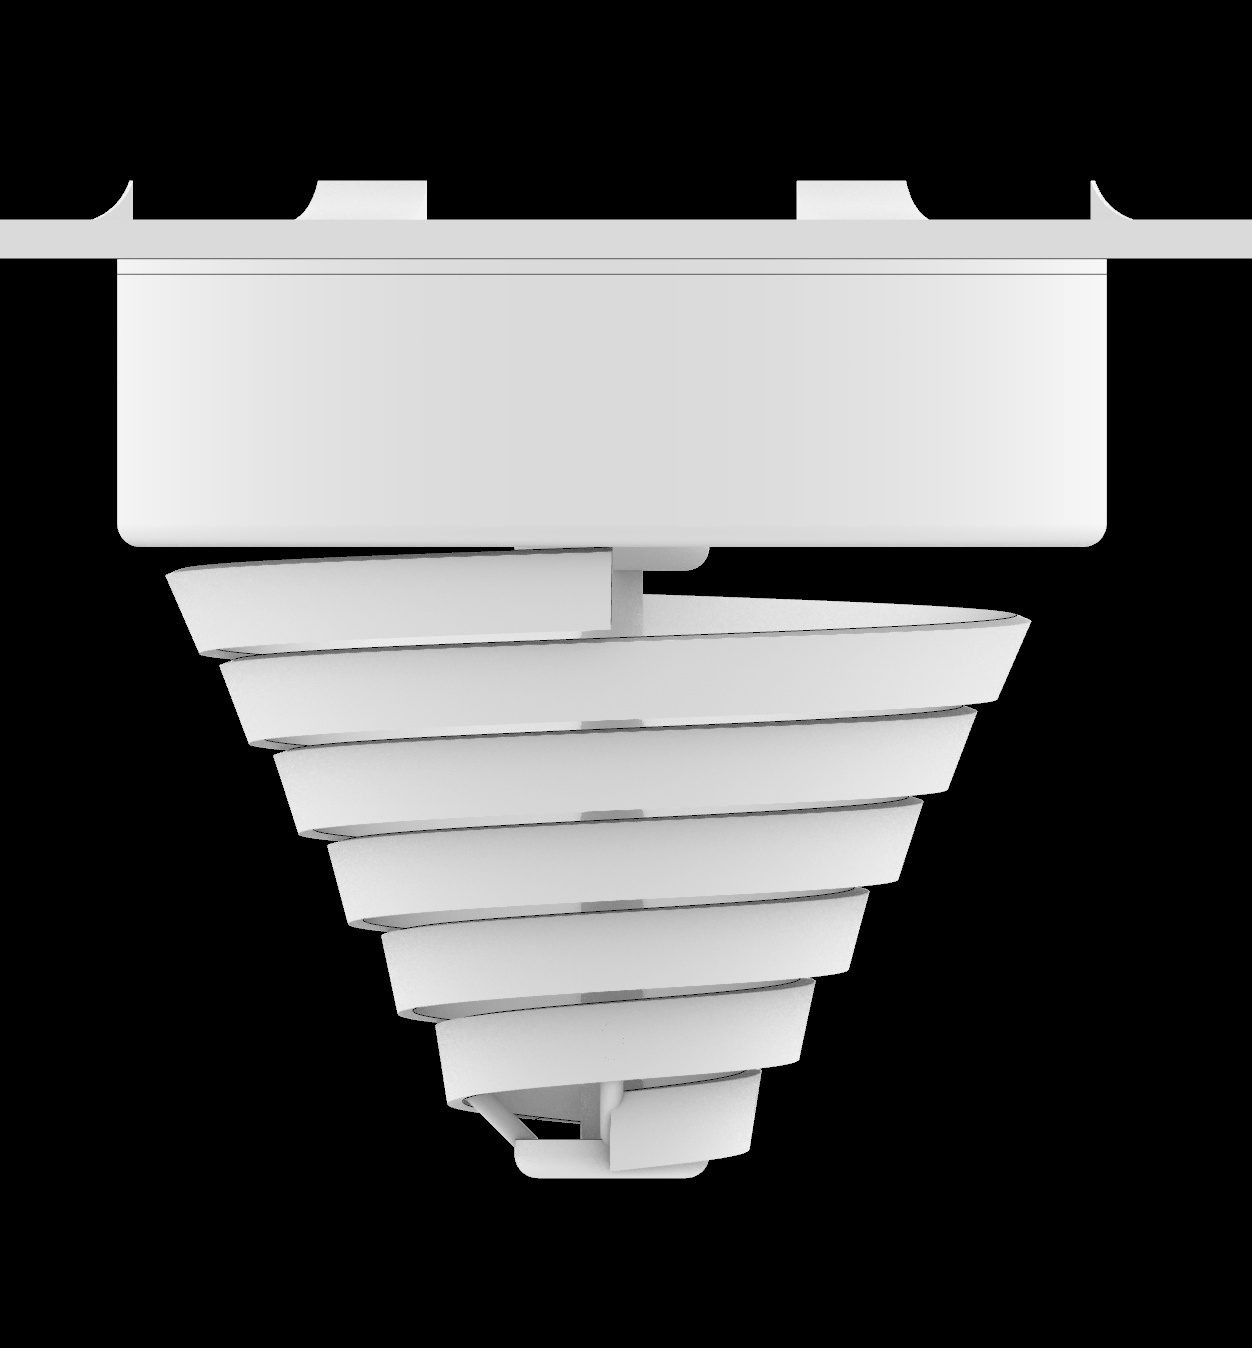
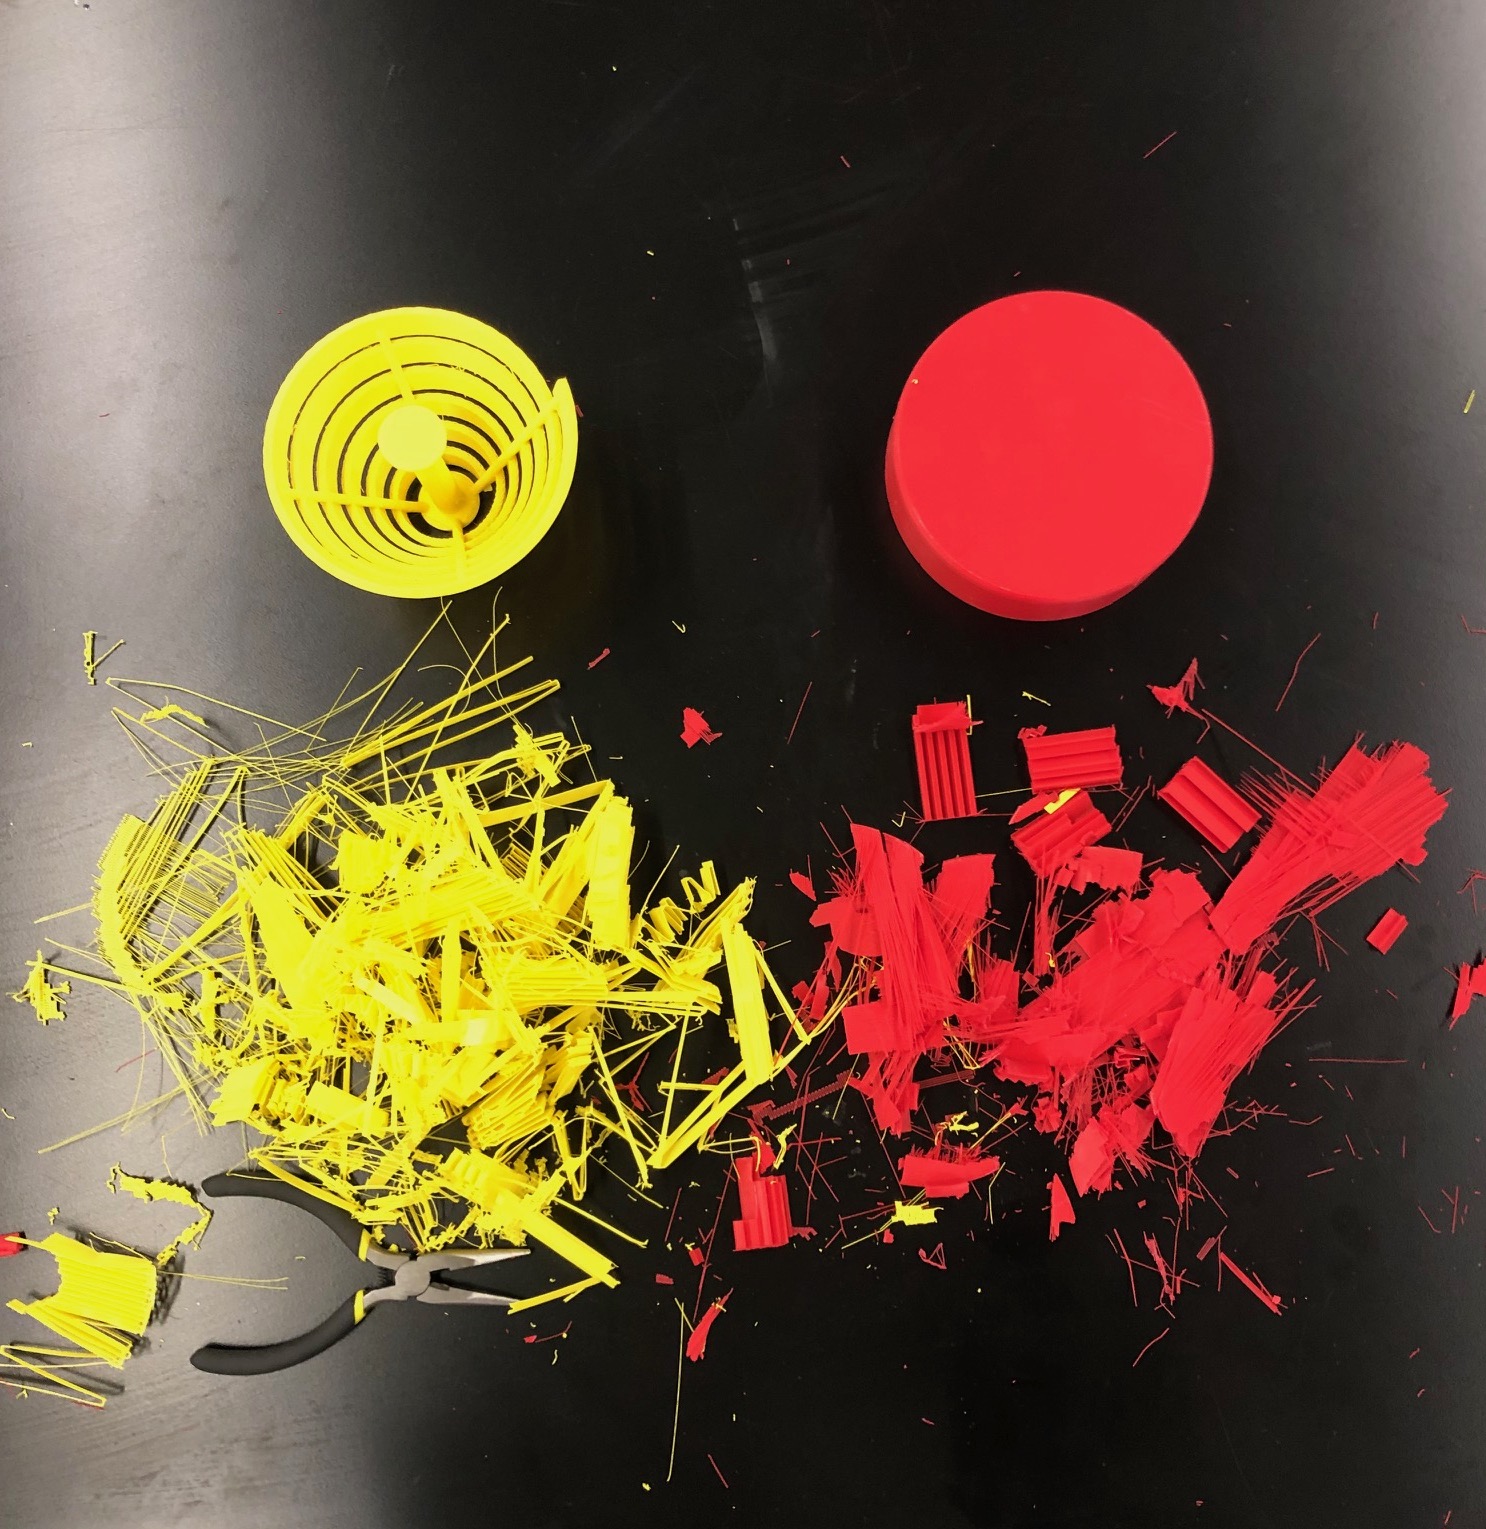
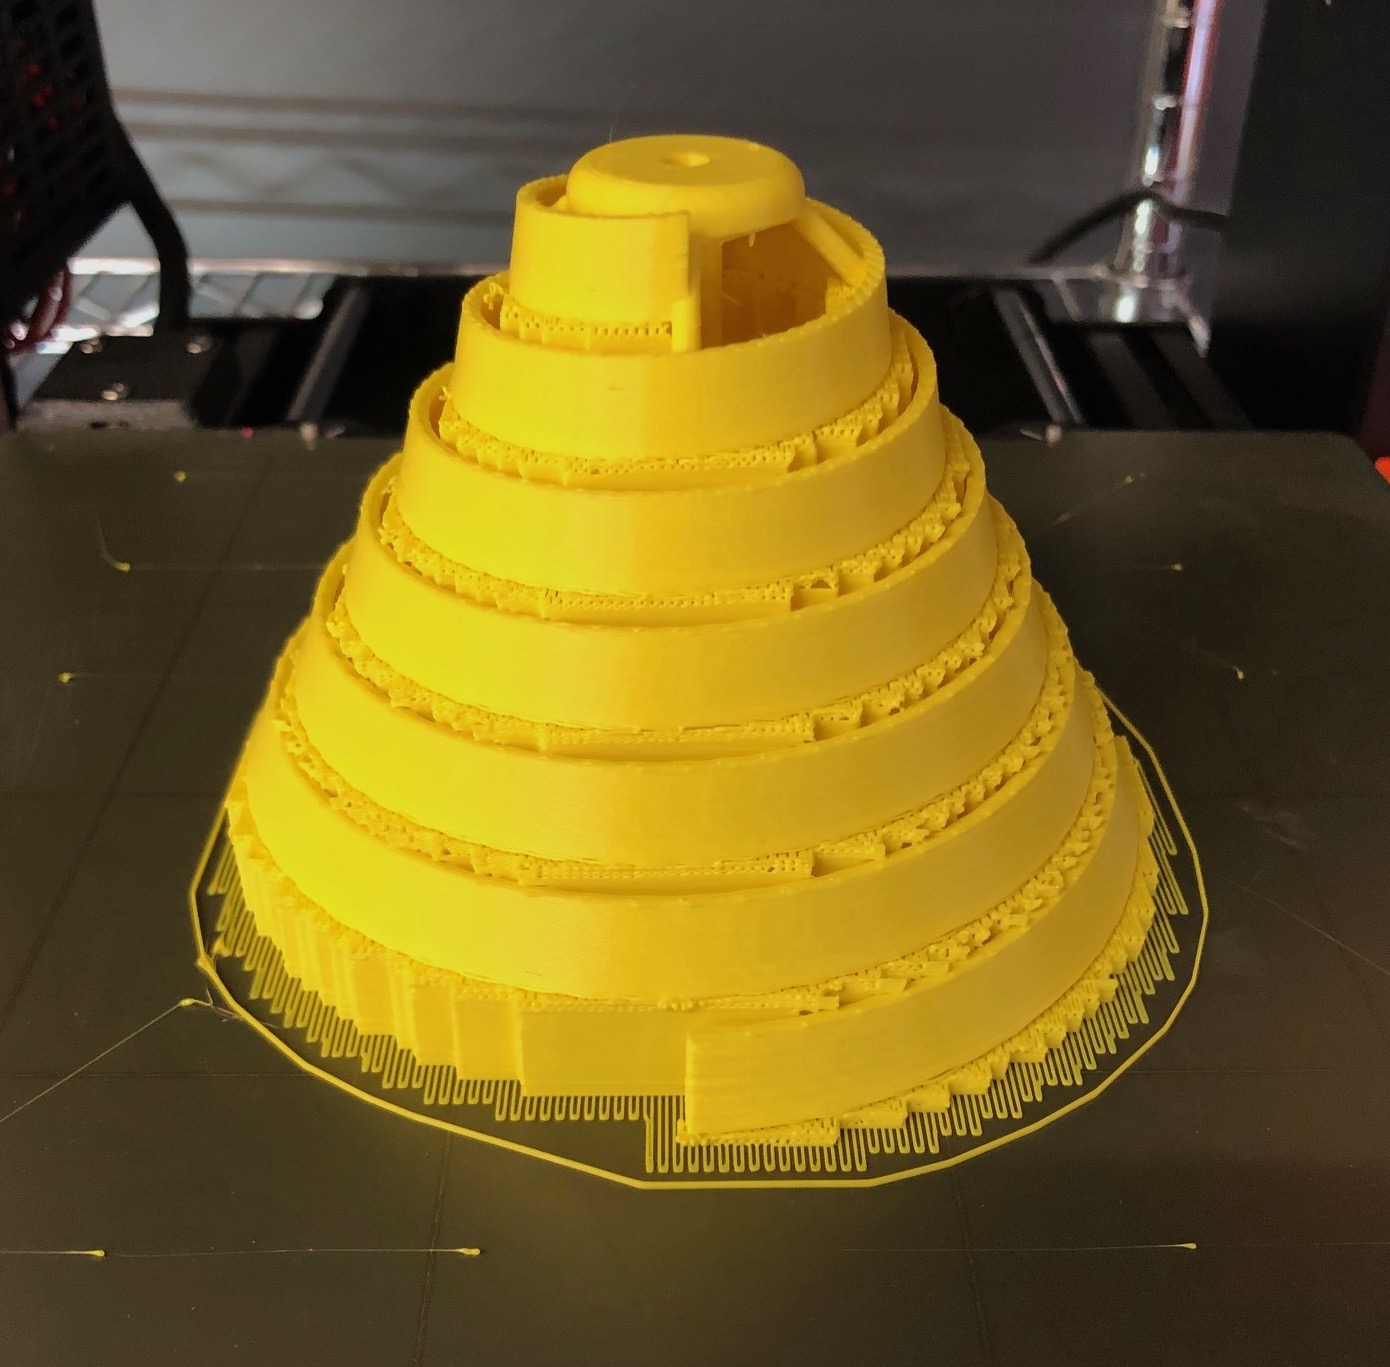
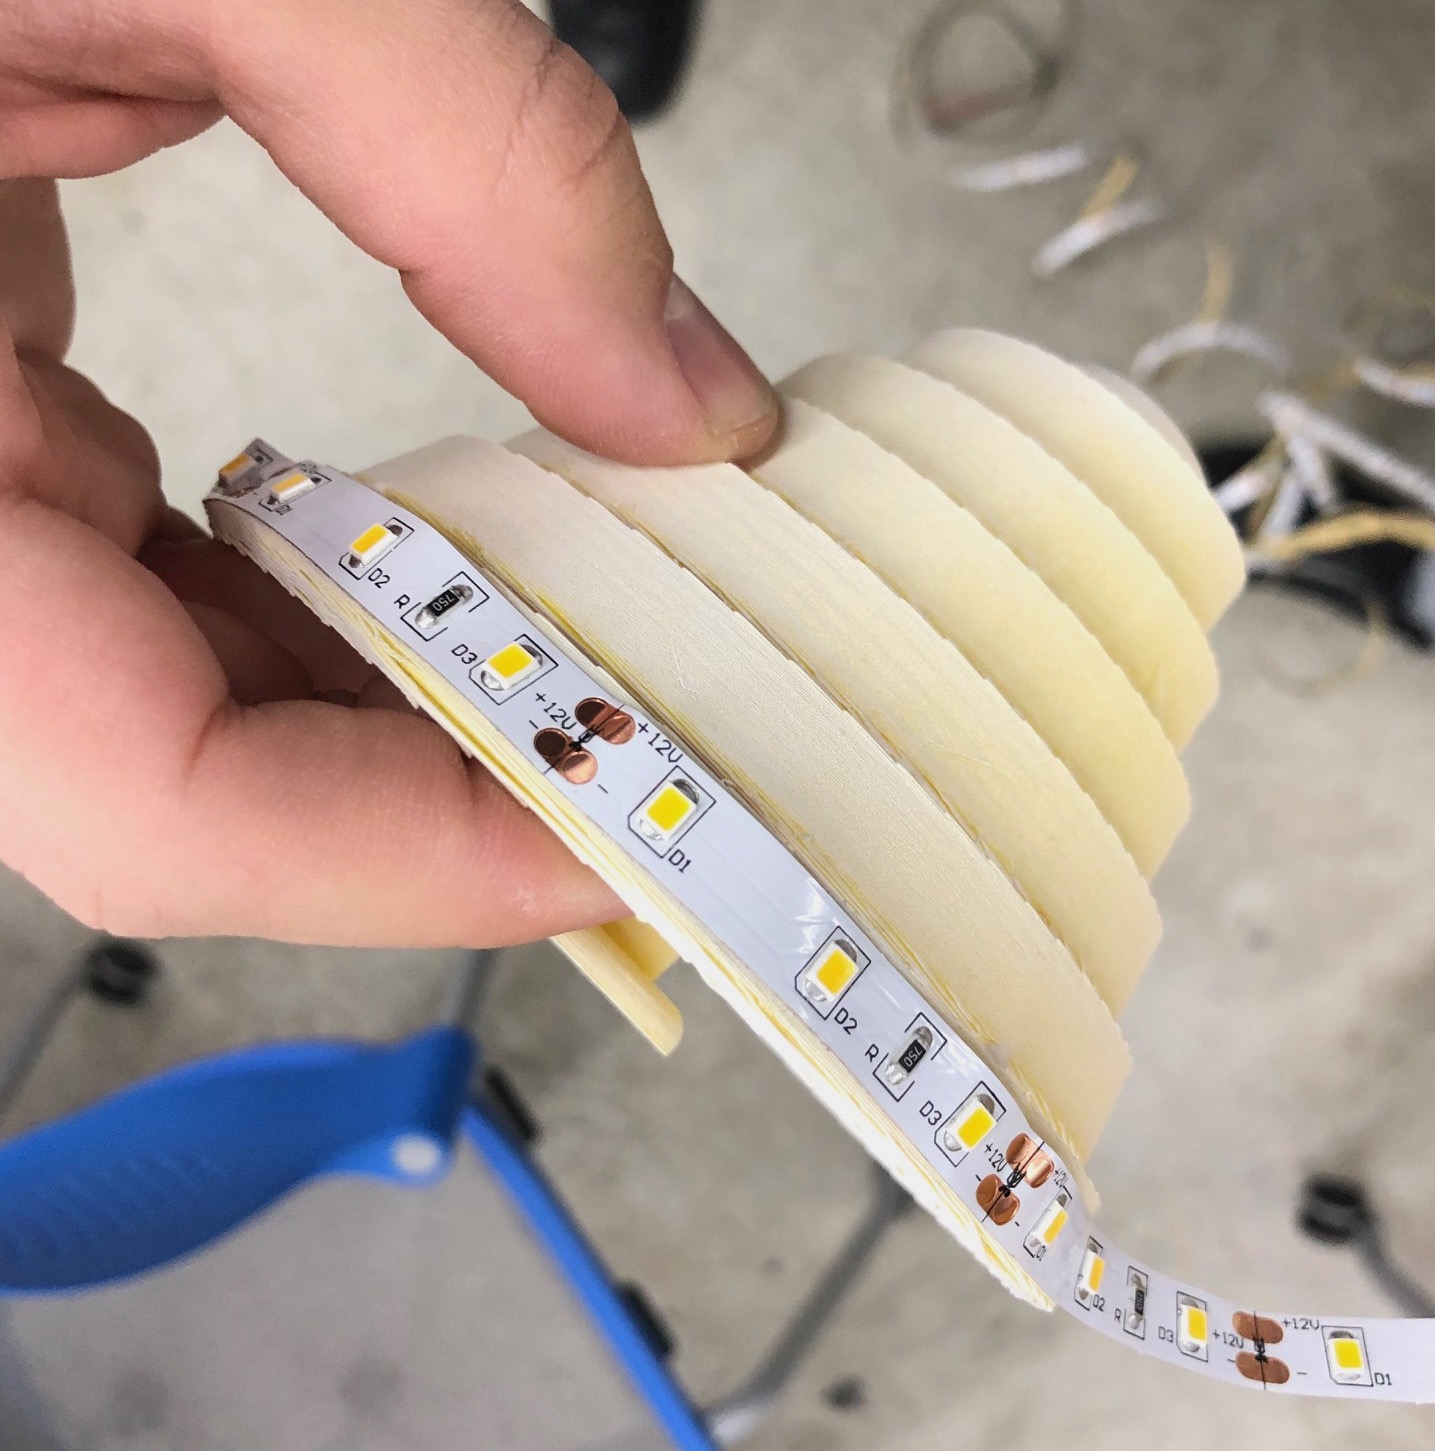
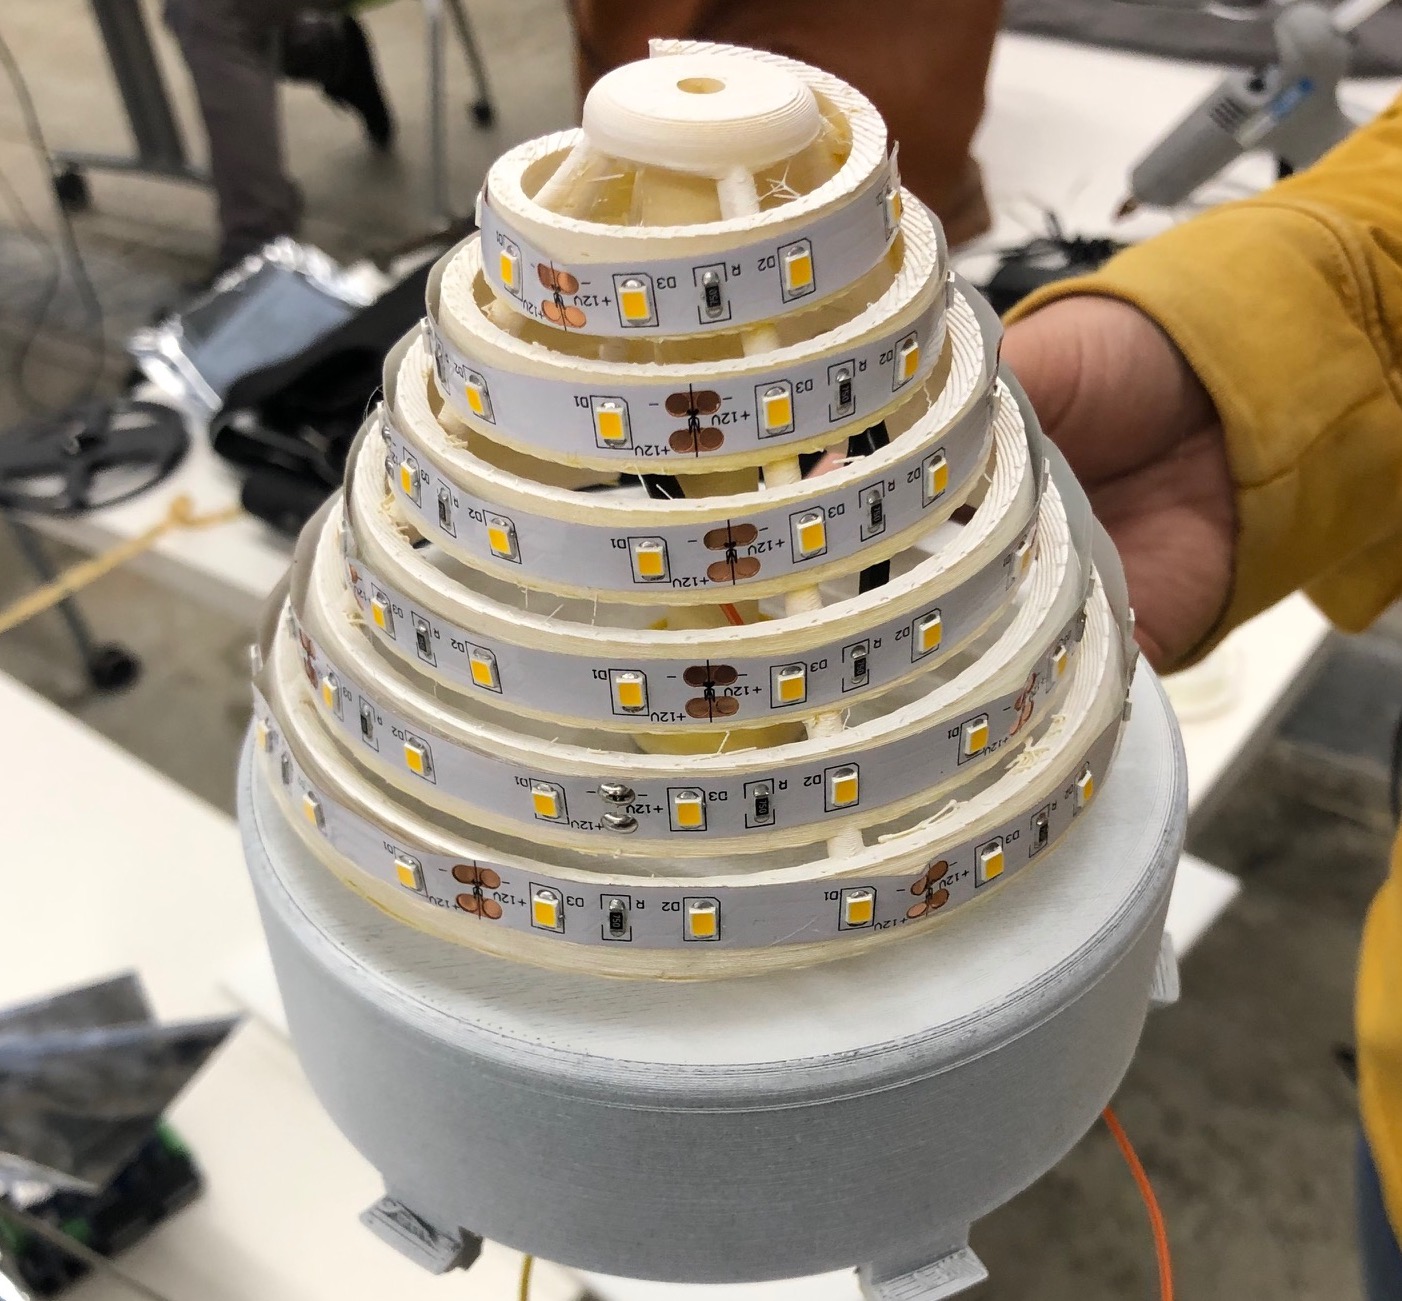
Upon completing the faceted lamp form (aside for the top), I moved forward in designing the electronics housing and also finalizing details for the light source itself. Rob and I discussed options for light, though decided that an LED strip would be the most streamlined method for this project. Given the strange formal qualities of the strip, (a spiral), this independently demanded a bespoke part. I went forward in designing a 3d printed component, which would become host to the LED strip, while accommodating for the nuanced spiraling.
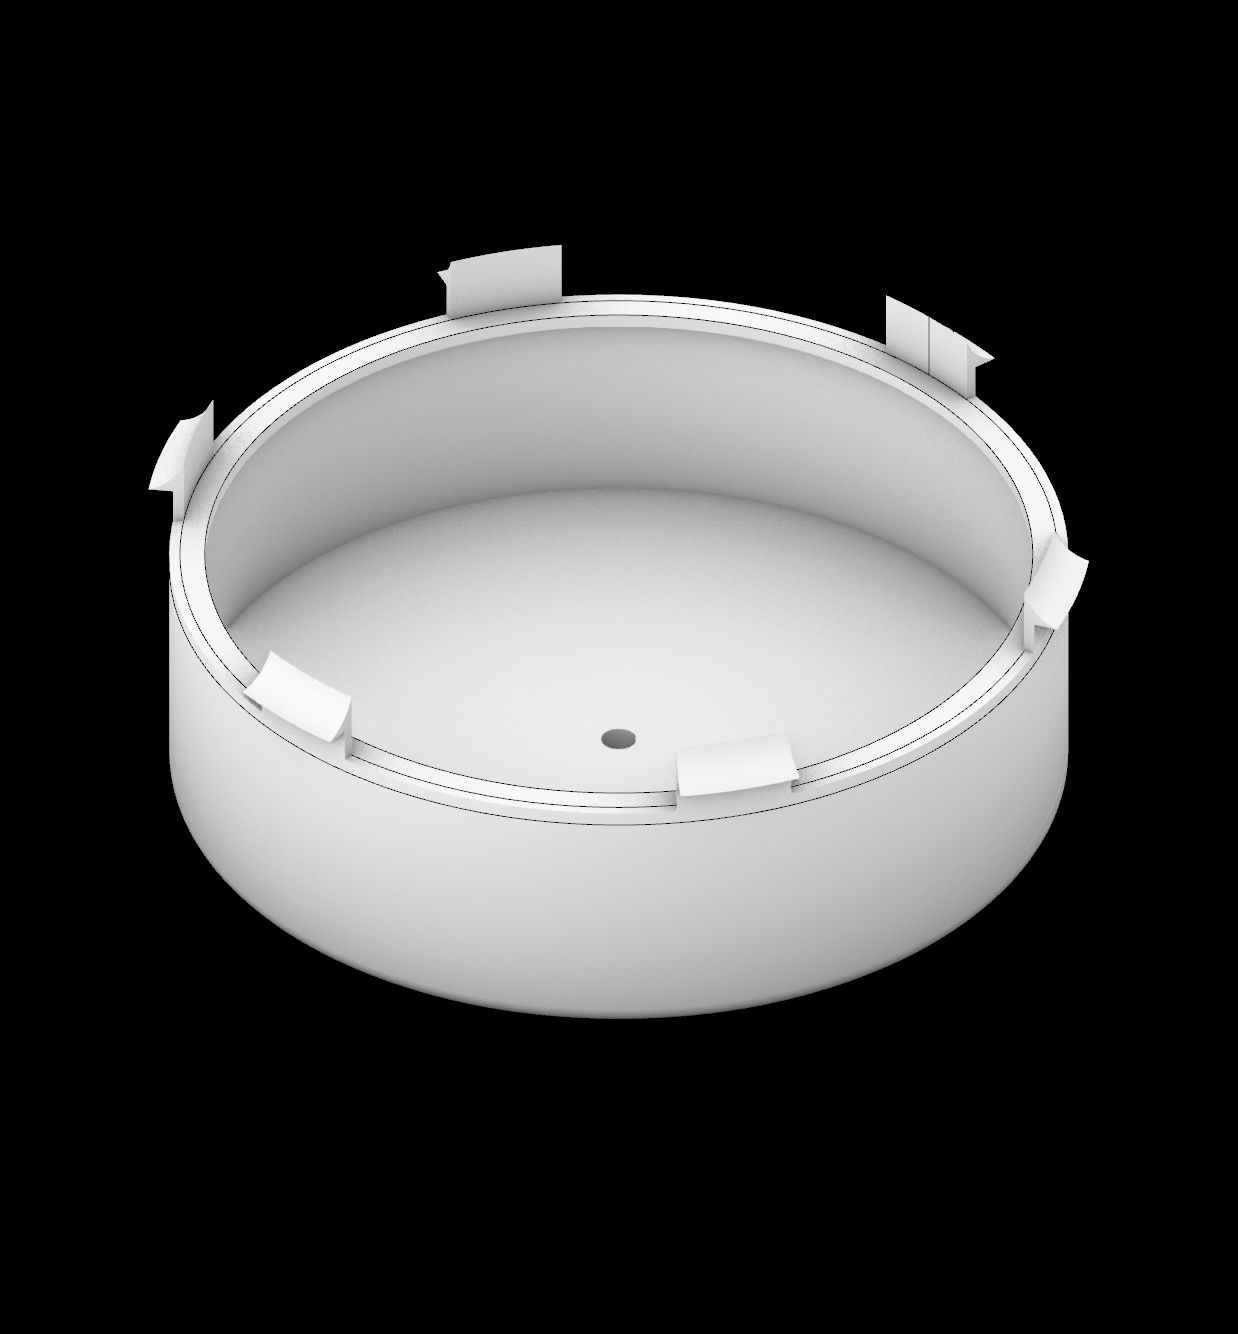
Additionally, The housing was reconsidered as far as placement. The initial plan was to hide electronics toward the ceiling, though the scale of this lamp allows for the material to be hidden within the lamp shade itself. That too has been designed and is shown below. It will depend upon a quarter inch sheet of plexiglass at the top. This housing will clip into the plexi plate thanks to pliable connections. Another plexi cap will cover the electronics housing area, so that it is hidden and flush to the surface.
What does it do?
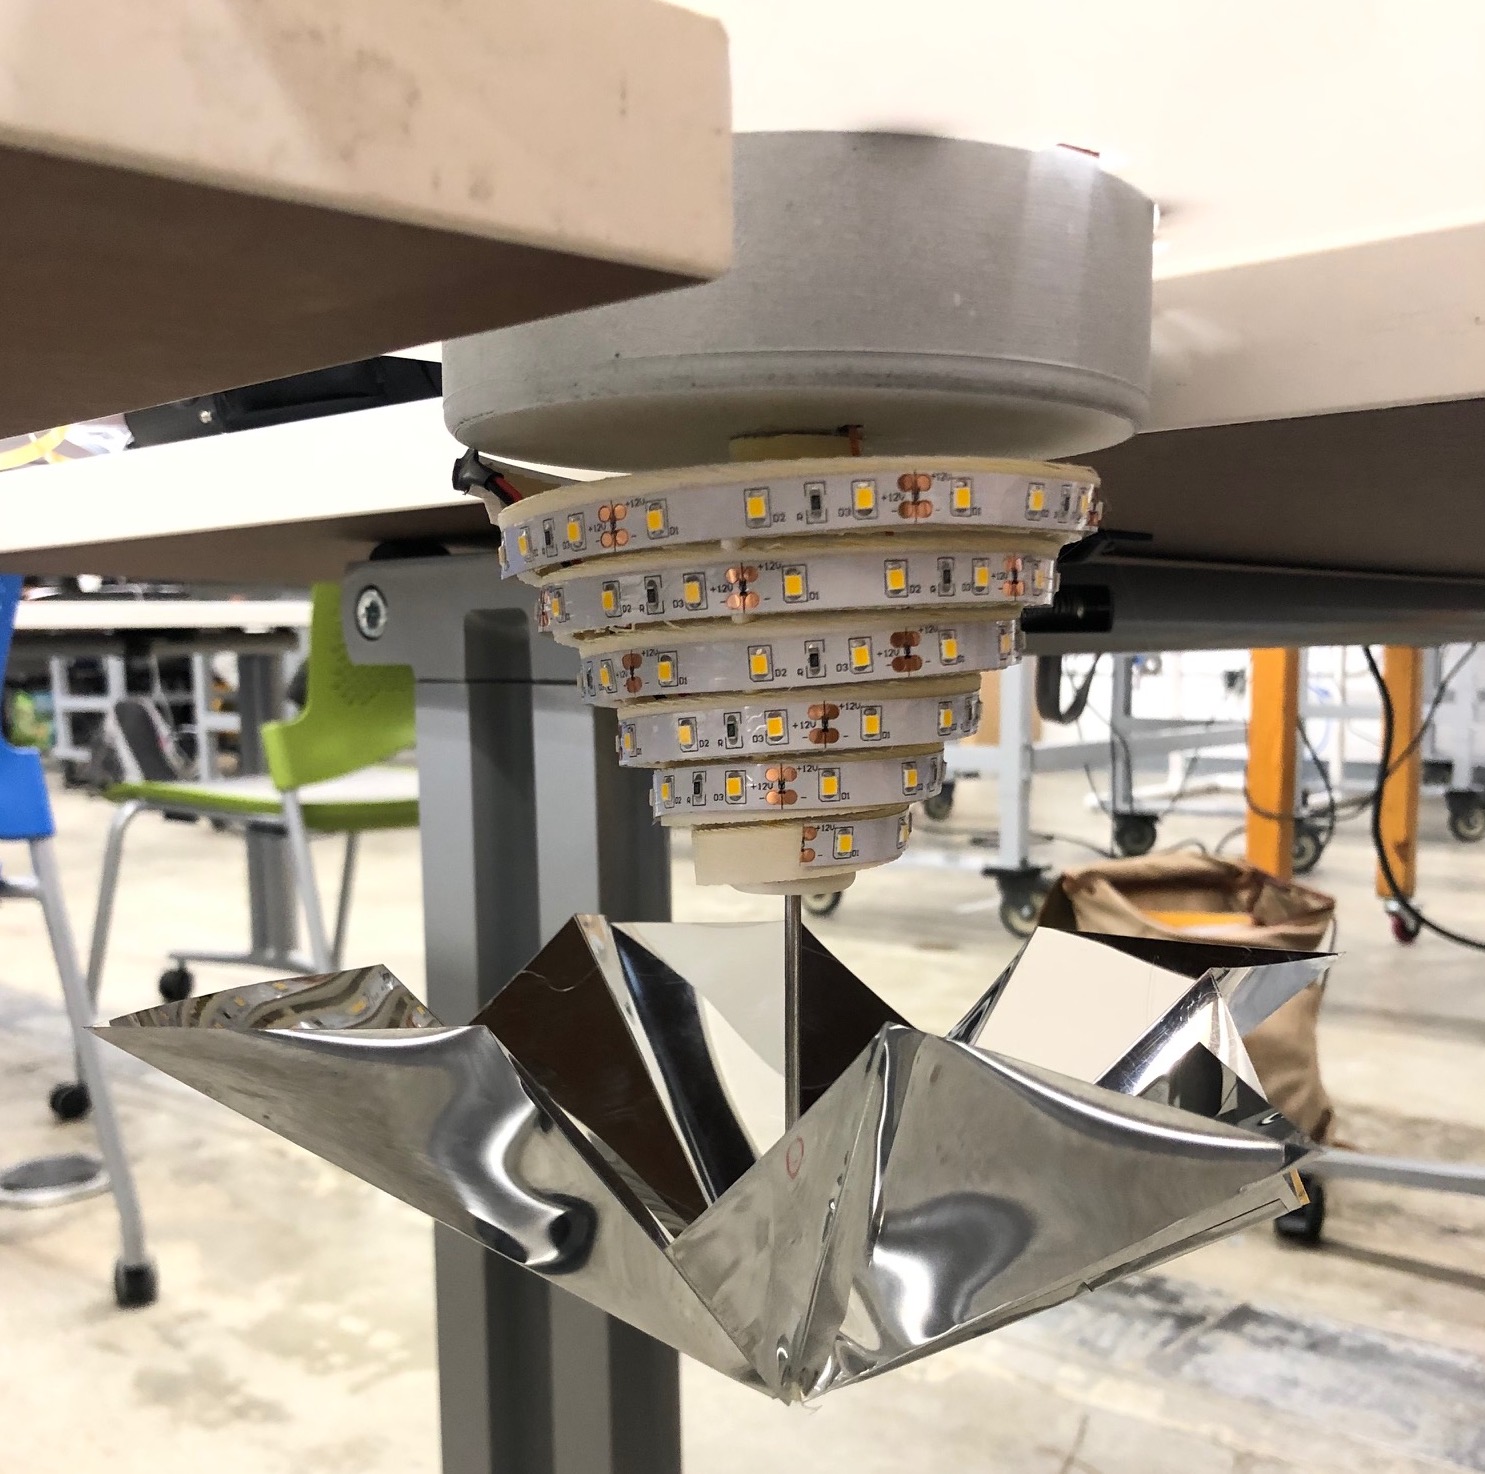
The final project for this course is a bluetooth-activated wireless pendant lamp with a shadow-scattering powered reflector on its interior. The reflector and light can both be controlled via IOS and include both speed and dimming. This project came about due to a need in my apartment to provide light above the dining table in a context where no wiring was available.
Who's done what beforehand?
In past years, there are a few examples of students who have chosen to explore lighting systems. Perttu Piirainen from Fab Academy Oulu developed a smartphone controllable WiFi based RGB lighting system. This example looks specifically at time as it relates to the functionality of the lamp. Another student from FabLab Oulu, Marjo Leinonen, developed a project for a warm glowing LED lamp, with capacitive touch sensors. This project utilized a number of additive and subtractive techniques to develop the housing and framework for the lamp.
What did you design?
I designed an iterated through global lampshade geometries based on pleating techniques. The housing for both lighting and electronics were also bespoke designs, along with the hanging technique and simple app interface. The housings use locking joints to hold the lamp together with great stability. With reference to the shade, I intended to produce this with shoji paper exclusively, though I found that the material was not stiff enough to maintain strength and form. In order to leverage the light qualities that shoji paper provides, I used this material in tandem with thin chipboard for the lamp’s framework.
What materials and components were used, where did they come from, and how much did they cost?
-Shoji Paper: Aitoh SG-B Washi Roll Shoji Gami Origami Paper, 18-Inch by 30-Feet. $12.39 per roll via Amazon.
-Thin Chipboard: Harvard FabLab inventory (typically $3 per 24 x 30 in sheet).
-Hatchbox 3D Printer PLA: Harvard FabLab inventory (typically $19.99 for a 1kg spool).
-12x12 inch sheet of quarter-inch white plexiglass: Harvard FabLab inventory ($20.95 from Falken Design on Amazon)
-6 feet of Photo Frame Picture Hanging Wire, Stainless: Harvard FabLab inventory ($3.95 or less otherwise via amazon)
-10x10 inches of Reflective Mylar Film: Harvard FabLab inventory ($19.99 for 4ft x 10ft roll from Amazon)
-Quarter-inch x 12 inch aluminum tube from K&S Precision Metals: Harvard FabLab Inventory ($4.59 via amazon)
-DSD Tech HM-10 Bluetooth 4.0 BLE Module: DSD TECH HM-10 Bluetooth 4.0 BLE iBeacon UART Module with 4PIN Base Board for Arduino UNO R3 Mega 2560 Nano (9.99 via Amazon… much less on eBay).
-Dimmable Single-Color 2500-2700k LED Light Strip: LEDJump Bright High Power Ouput Lumen Flexible 300 LED Light Strip Ribbon 16 Ft 5 Meter 3M Tape Warm White 2500-2700k 12V Dimmable Tape Light ($12.79 via Amazon).
-Hot Glue: Harvard FabLab inventory
-Upholstery Spray Adhesive: Harvard Science Center Supplies
-DC Motor: Harvard FabLab inventory
What parts and systems were made?
The electronics housing, LED Strip spiraling device, faceted lamp shade, hanging system, reflector, lighting interface experience, and motor-driven reflector interface experience were all made and designed.
What processes were used?
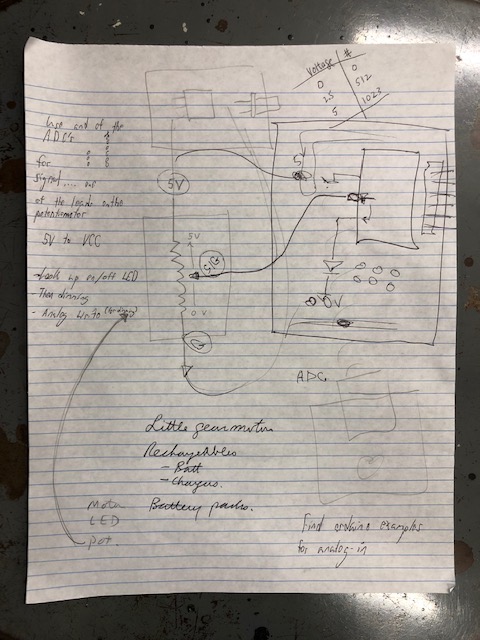
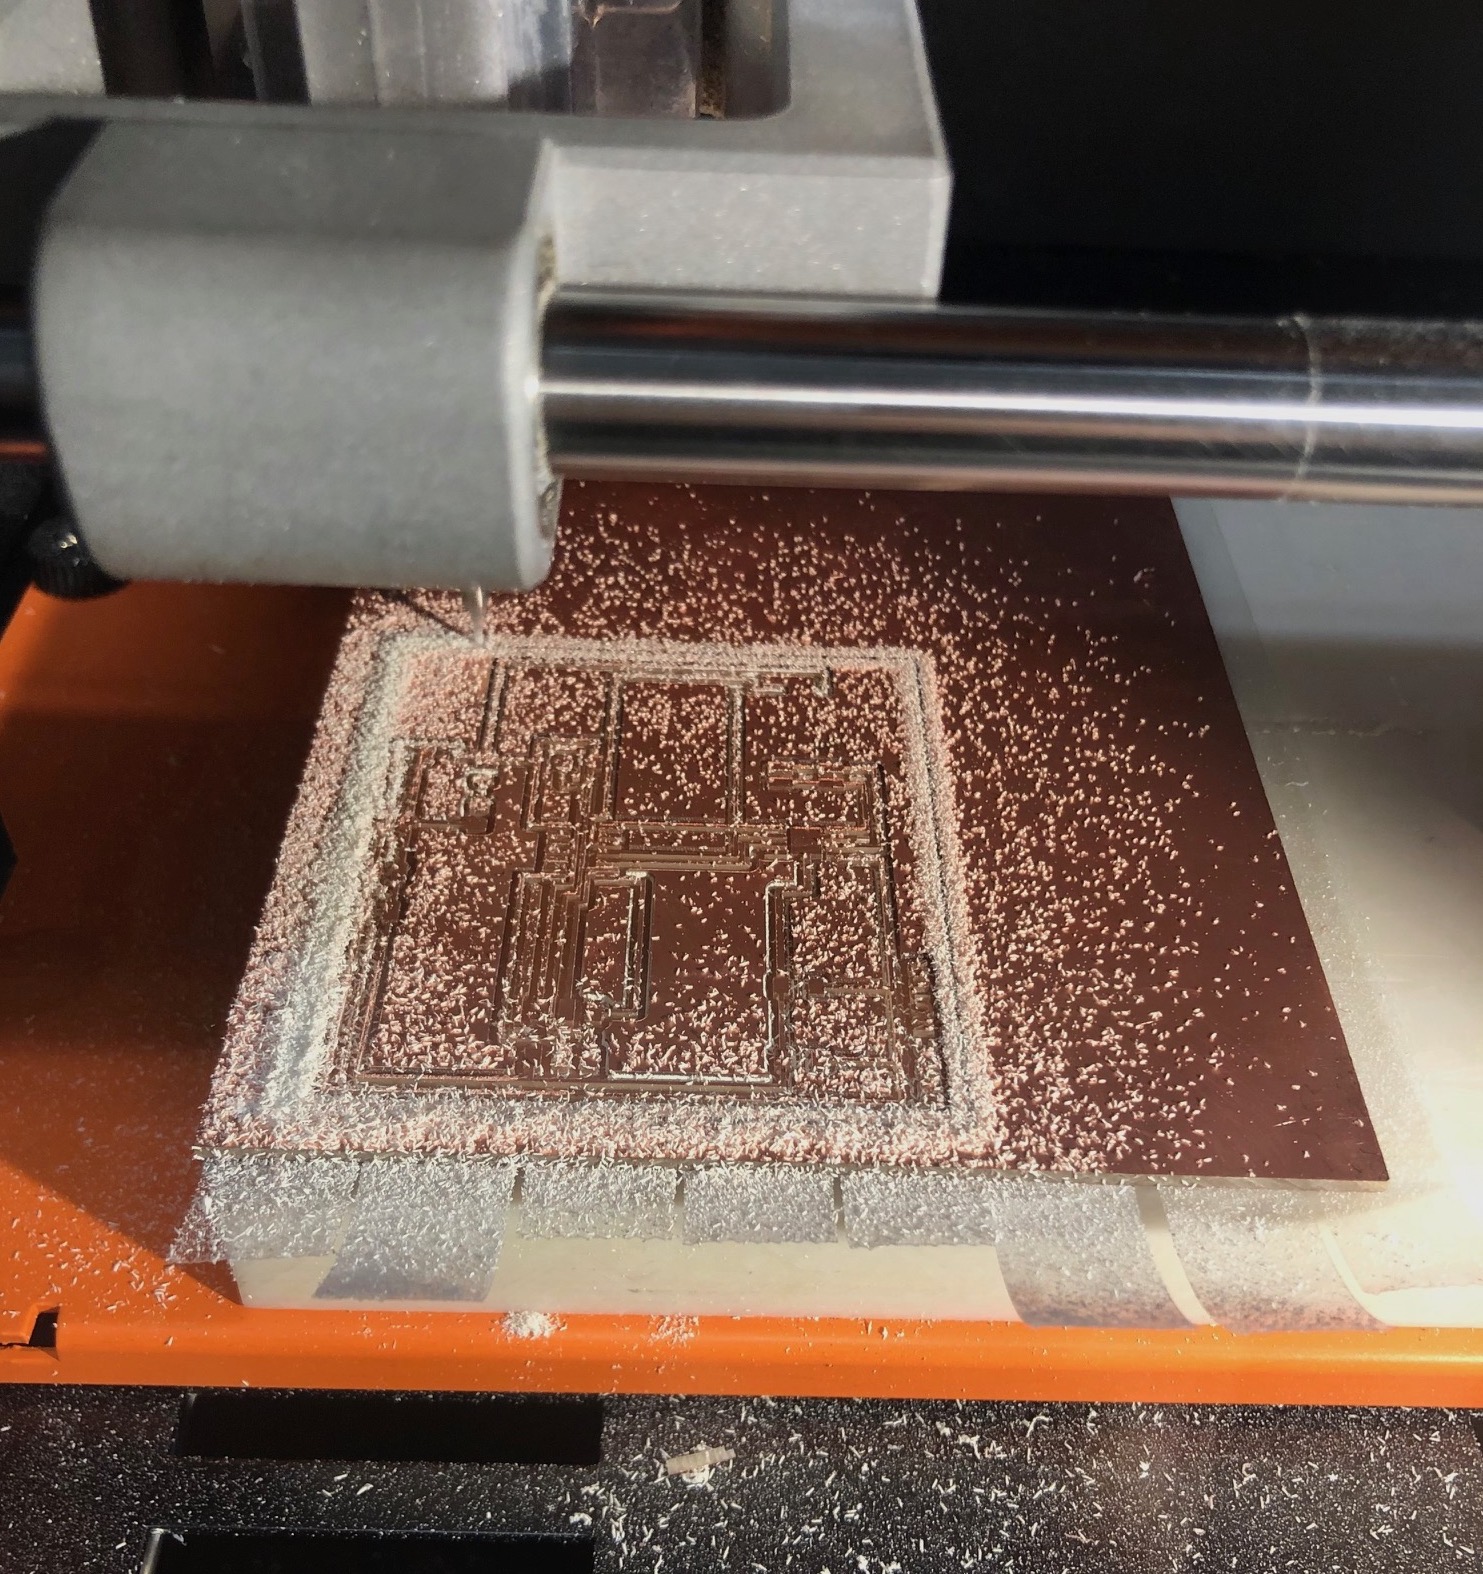
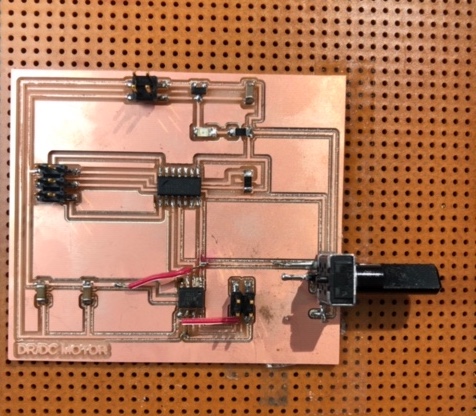
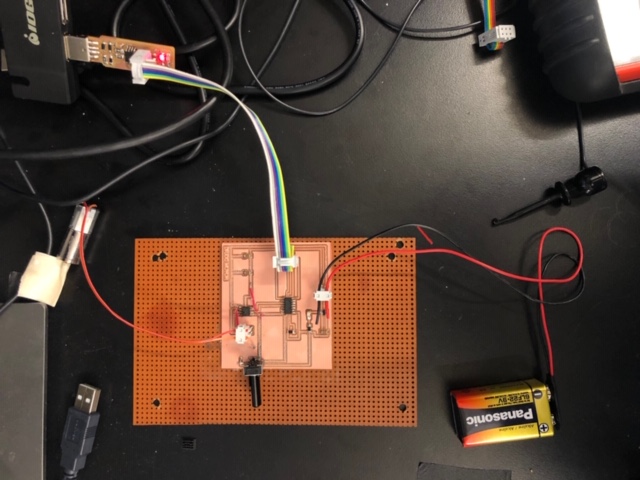
This project incorporated computer-aided design via rhino for the design of both additively and subtractively manufactured parts. Project management via HTMAA GitHub was used to track and log the progress of this project. Electronics projection and electronics design was used for the development of a DC motor circuit board with LED functionality. Embedded programming was used to program the functionality of the motor, lights, and BLE bluetooth device. Computer-controlled cutting (laser cutting) was used for the fabrication of the global form of the lamp/shade, along with the joint connections for the 3D printed parts. 3D printing was used for the housing and LED holding parts. Networking and communications were engaged to program the wireless (bluetooth) module to an iOS device. Finally, a simple interface was created for controlling the lamp from an iOS device.
What questions were answered?
This project answered questions around systems integration, where numerous processes, materials, and skillsets would come together to create a single product with multiple levels of functionality.
How was it evaluated?
The project has been well received, however, I feel as though there is work to be done in improving integration of electronics within this type of system. I would have ideally liked this piece to actuate in a more formally expressive manner and to also improve upon the longevity of the power supply. The overall form and concept, however, were received well and overall integration appears fairly adequate.
What are the implications?
This project works toward the dialogue that just about anyone can produce just about anything, especially in an age where so many resources are available online and where electronics are becoming less and less expensive every day. I feel as though this project and projects within the course show that integrated devices can be designed by individuals throughout numerous disciplines to propel both design and technology.
Prepare a summary slide and a one minute video showing its conception, construction, and operation