Week 1: Computer-Controlled Cutting
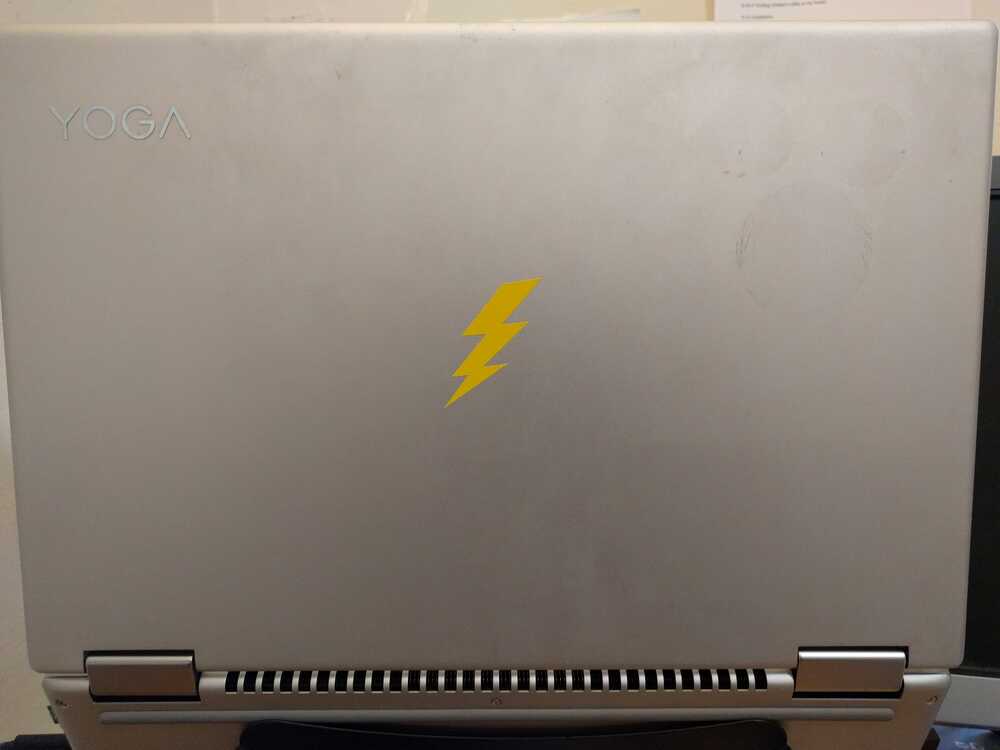
This week's assignment is to 1) design and lasercut a parametric construction kit and 2) cut something on the vinylcutter. For the assignment, I lasercut a parametric box and vinylcut a lightning bolt laptop sticker.
Parametric Construction Kit
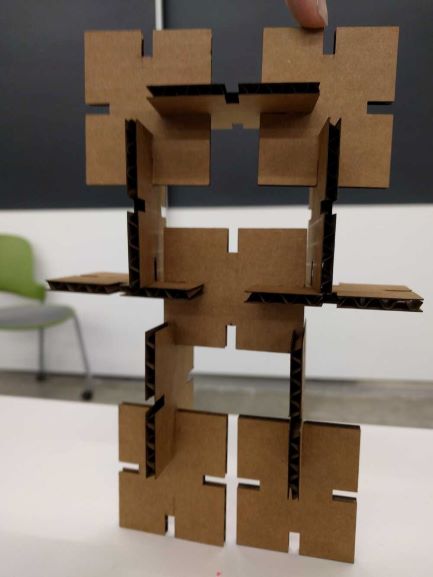
I created cross-like parametric designs to assemble a human-shape and a box.
First, in Autodesk Fusion 360 software, I designed the cross-shaped design with paremtric design. After making a square, I made smaller squares on each of the four sides symetrically. Then, I changed the parameters of the slot width and heights. I created a large main rectangle and four smaller side rectangles. I used Constraint and Symmetry (click two side lines and then center axis line) to make them symmetric. As one of the lines was stuck far away, I used collinear feature to bring it back. Then, I set the parameters of slot_width to the width of the cardboard, minus a few millimeters to get a firm grip (reduced from cardboard width of 4.34 mm to around 4.1 mm). I set the slot_height to around 10 mm (doesn’t really matter too much). With the ten crosses, I can make a variety of combinations, including a human!
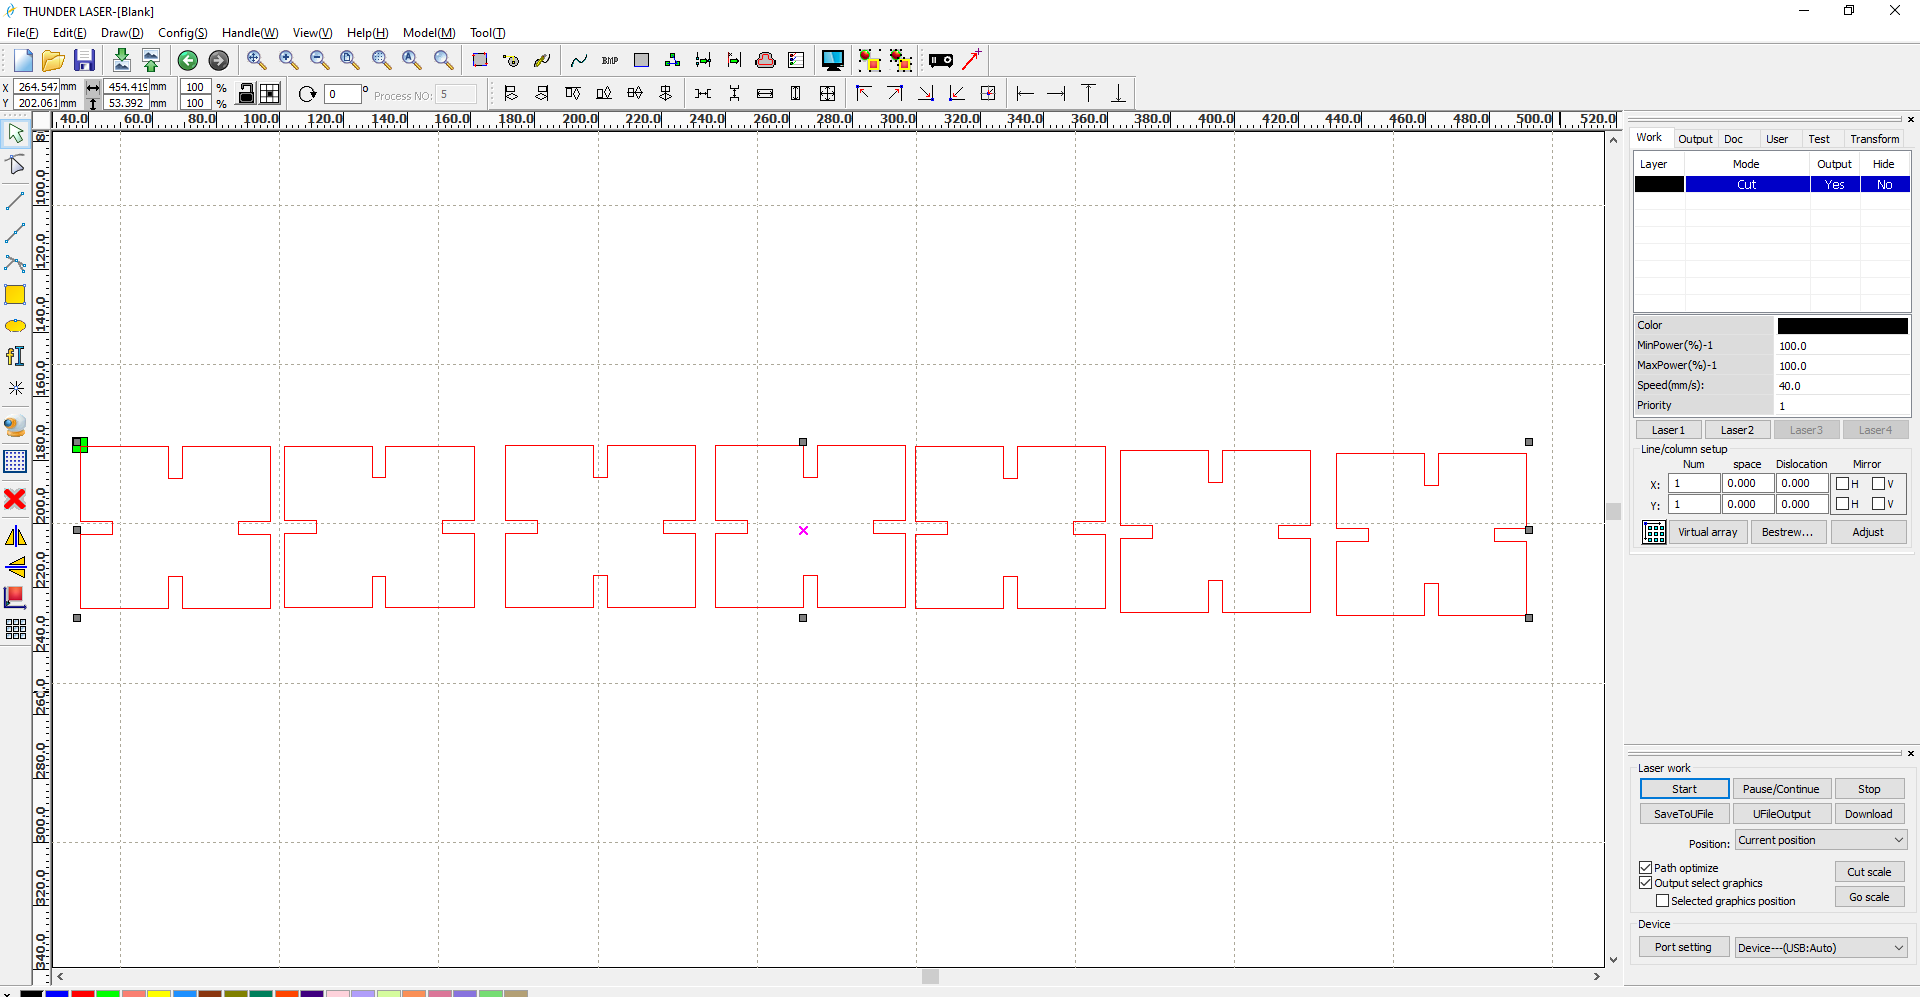
I also created a cube box. I need to create two pieces with four sides cut in, two pieces with two sides sticking out and two sides in, and two pieces with all four sides sticking out (for top and bottom). I also should make the slot_height larger to make the pieces fit in more deeply and make the slot_width smaller to make the pieces tighter fit. I used this cardboard box to enclose my final project. I covered the box with vinyl for stickiness and color.


Then, I selected the whole outline, extruded it into a body, pressed “p” to project, and right-clicked on my new sketch to export as a DXF file, which I saved to my USB and imported it into the RDWorks V8 software. I followed the laser cutter procedure for Thunder Laser Nova 24. I set the MinPower to 100, MaxPower to 100, and speed to 40 (50) mm. I can copy and paste multiple of the shapes for faster cutting.

Vinylcutting
I always wanted a cool lightning bold laptop sticker because it represents my brand of cool style, instant speed, and amazing power. Although I considered designing my own lightning shape via Adobe Illustrator, but I found a nice model online.
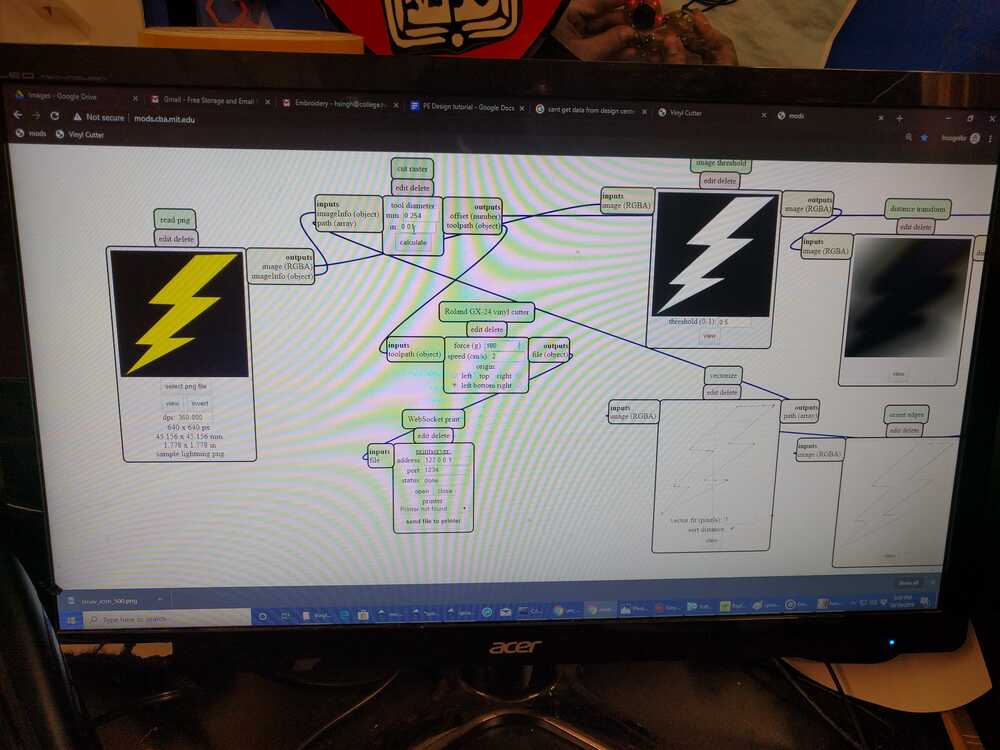
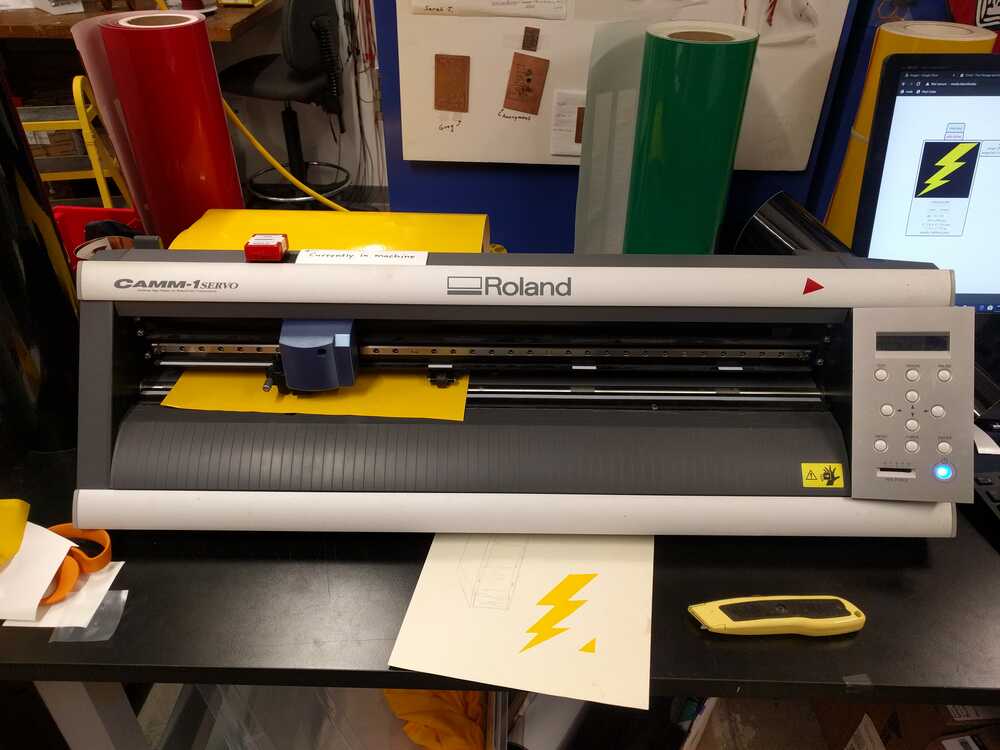
After converting the images to png files, I uploaded them to the mods program on the Harvard computer connected to the vinylcutter and followed the instructions. First, check to ensure the knife is protruding. Then raise wheels annd ensure the left long white strip is fully covered. Insert the sheet. Then, change the dpi to the right image size. Set the force arouund 100g. Then click calculate.
Notes and mistakes: The wheels should be directly below the white strips. When the machine does not connect with the computer, try restarting and going through steps again.
Second, increase the threshold from 0.5 to 0.9 to more clearly and firmly draw the image. My lighter lighning image was not showing up because it was too faint (check "View").
