Week 3: 3D Printing and Scanning
This week’s assignment was to design and 3D print an object and 3D scan an object.
3D Printing
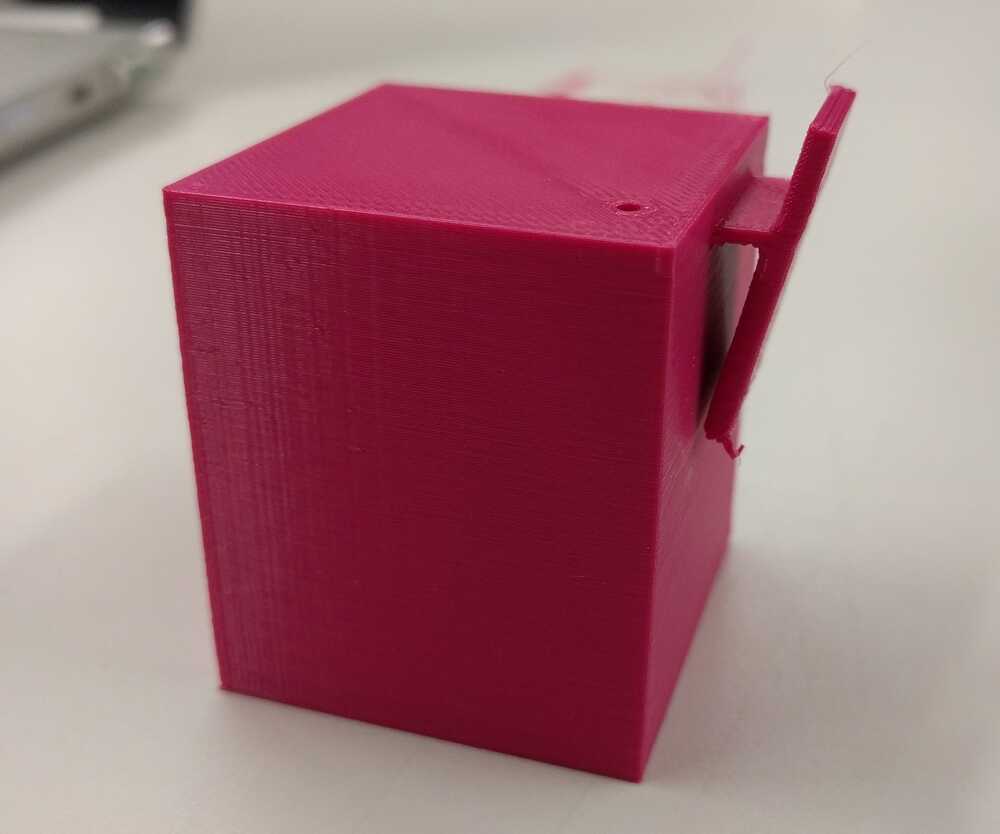
Summary: I designed and 3D printed a hollow box with a clip to hold the parts of a posture-correcting wearable device, which is my final project.
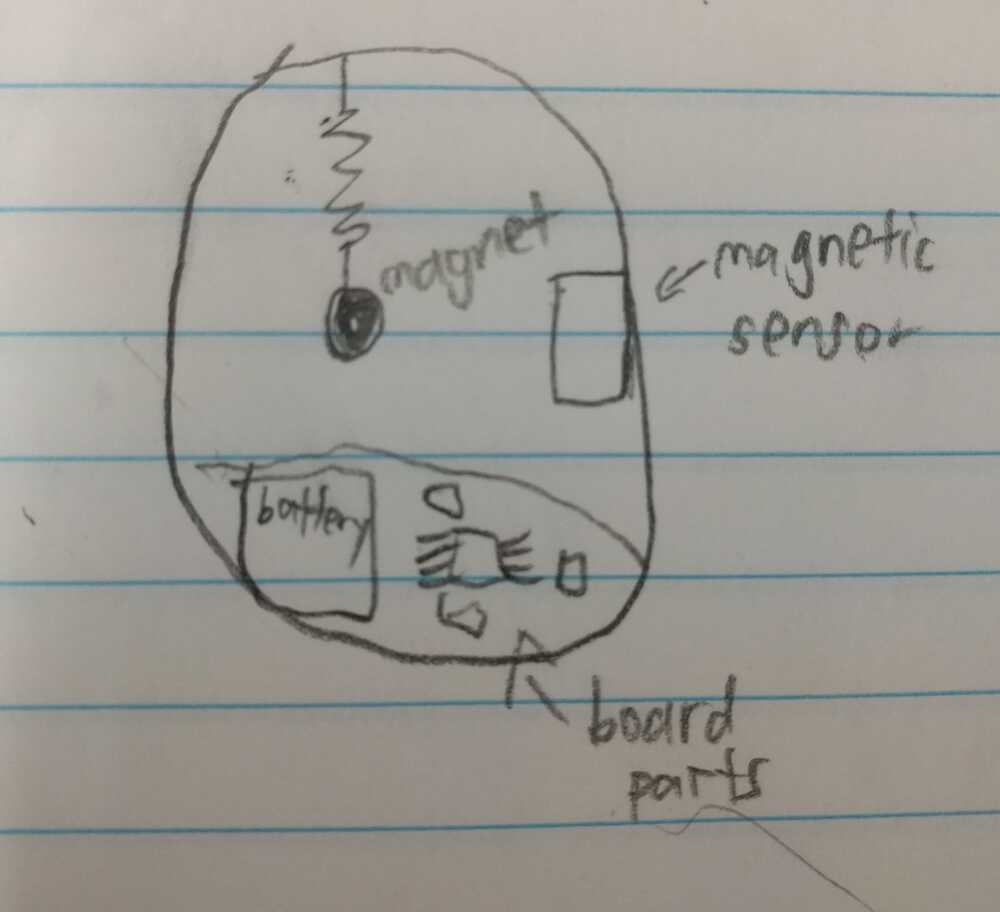
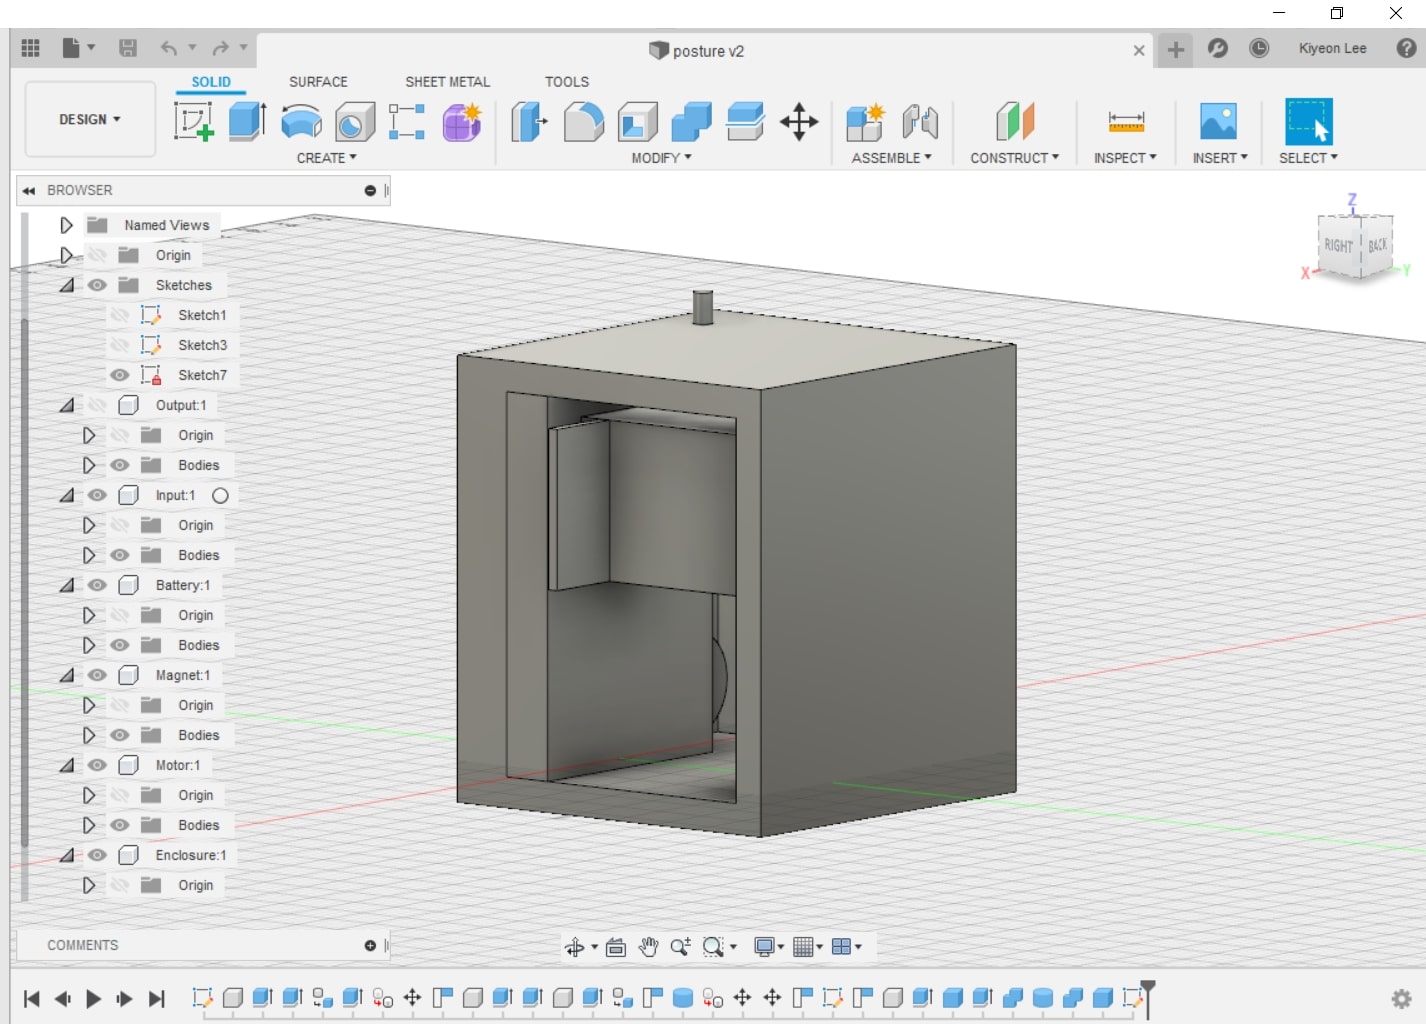
Design process: First, I designed the figure in Fusion 360. I designed the inner parts then added the outer enclosure. I used a caliper to measure the dimensions of the length, width, and height of each part (input, output device, battery, vibrating motor, and magnet). Then, I rendered that in 3D (first make rectangle, then extrude). I’ll need to figure out how to fit them together into a more compact 3D space.
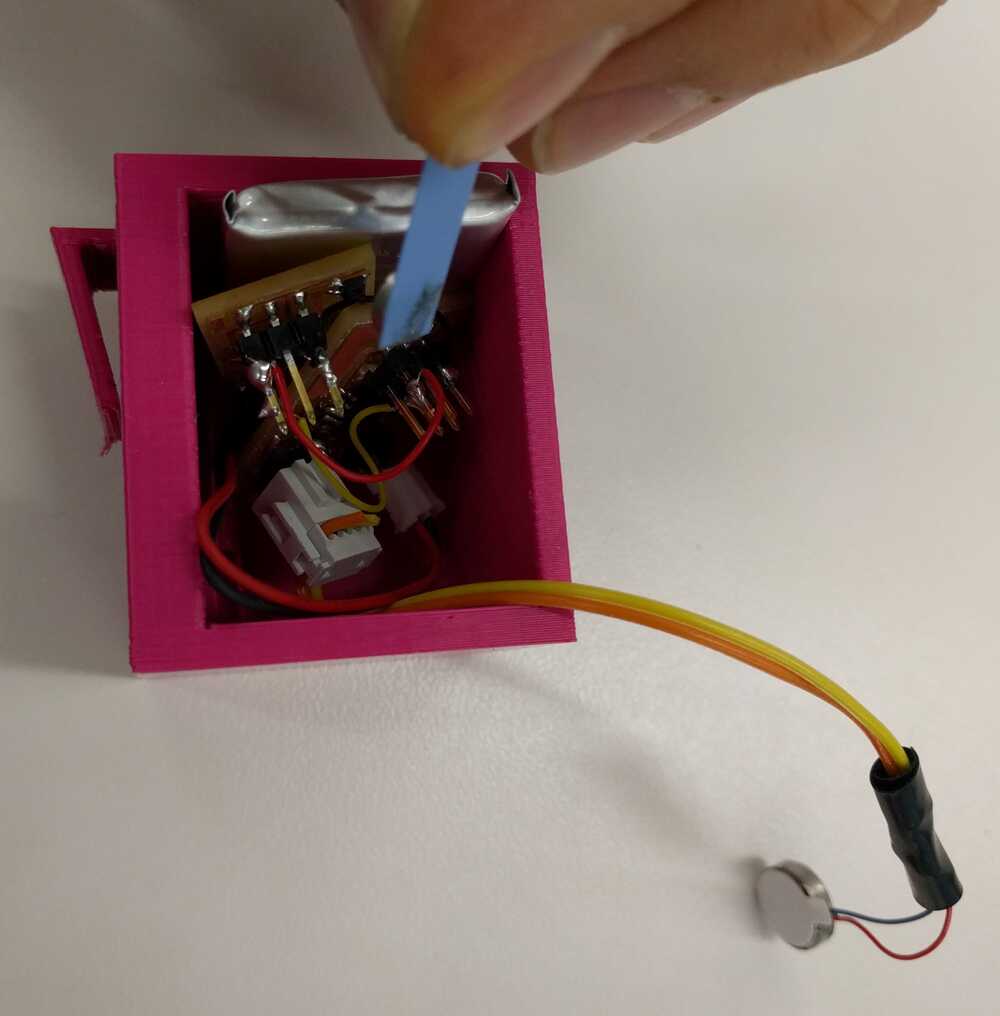
Design choices: Since the magnetic sensor can sense the magnet even when it’s on the side or behind the board, to save space, I’ll put the magnet behind the board, with a string attached to the top. I’ll place the battery right along the wall to save space. To make the vibrations better felt and to save space, I’ll drill a hole along the wall for the vibrating motor to directly touch the skin.
Notes: Put enough height space for the wires to connect, although later I hope to get rid of the wires and solder connections directly. Made space for FTDI cable to connect to show app interfacing via wires. If there’s time, could make Bluetooth connection. I’ll soon add a cover.
Notes: Need to attach the device to my chest. Binder clips or tape may work, but not attractive. Therefore, I designed a clipper with fillet (for easy bending) attached to the main body.
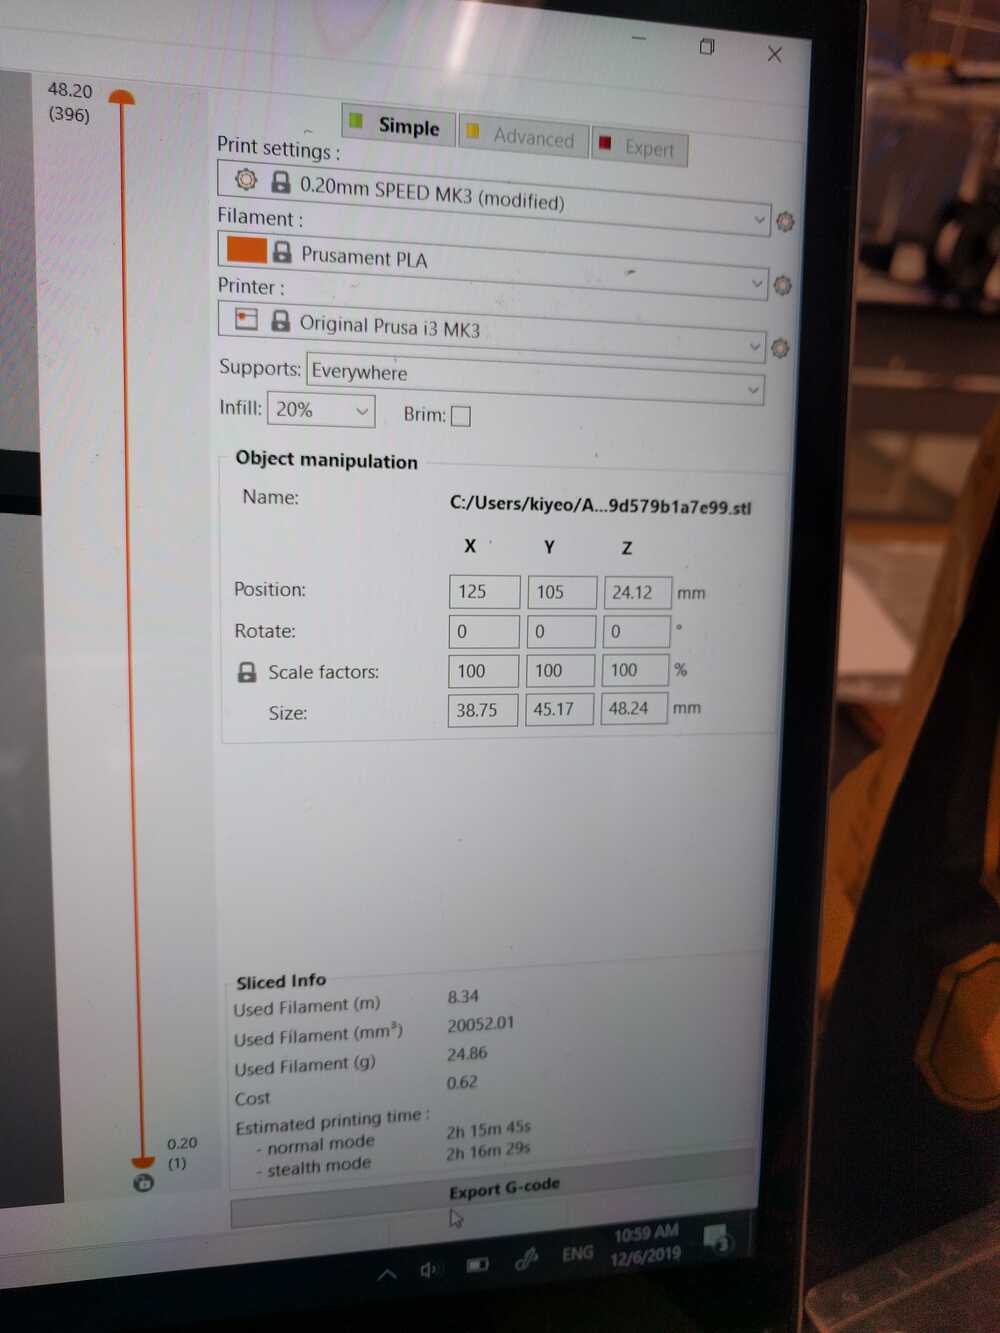
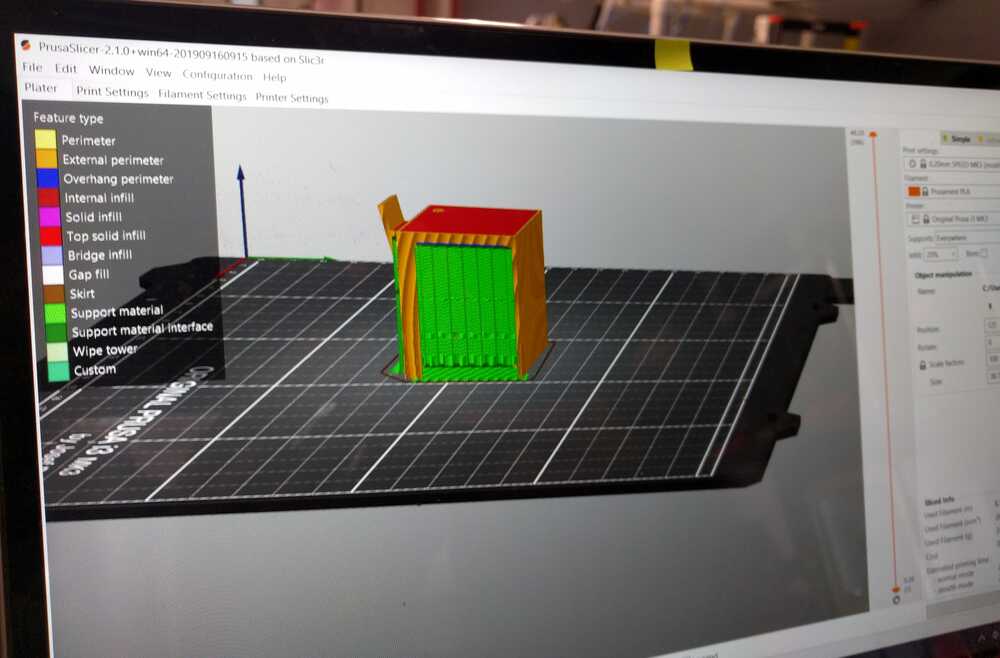
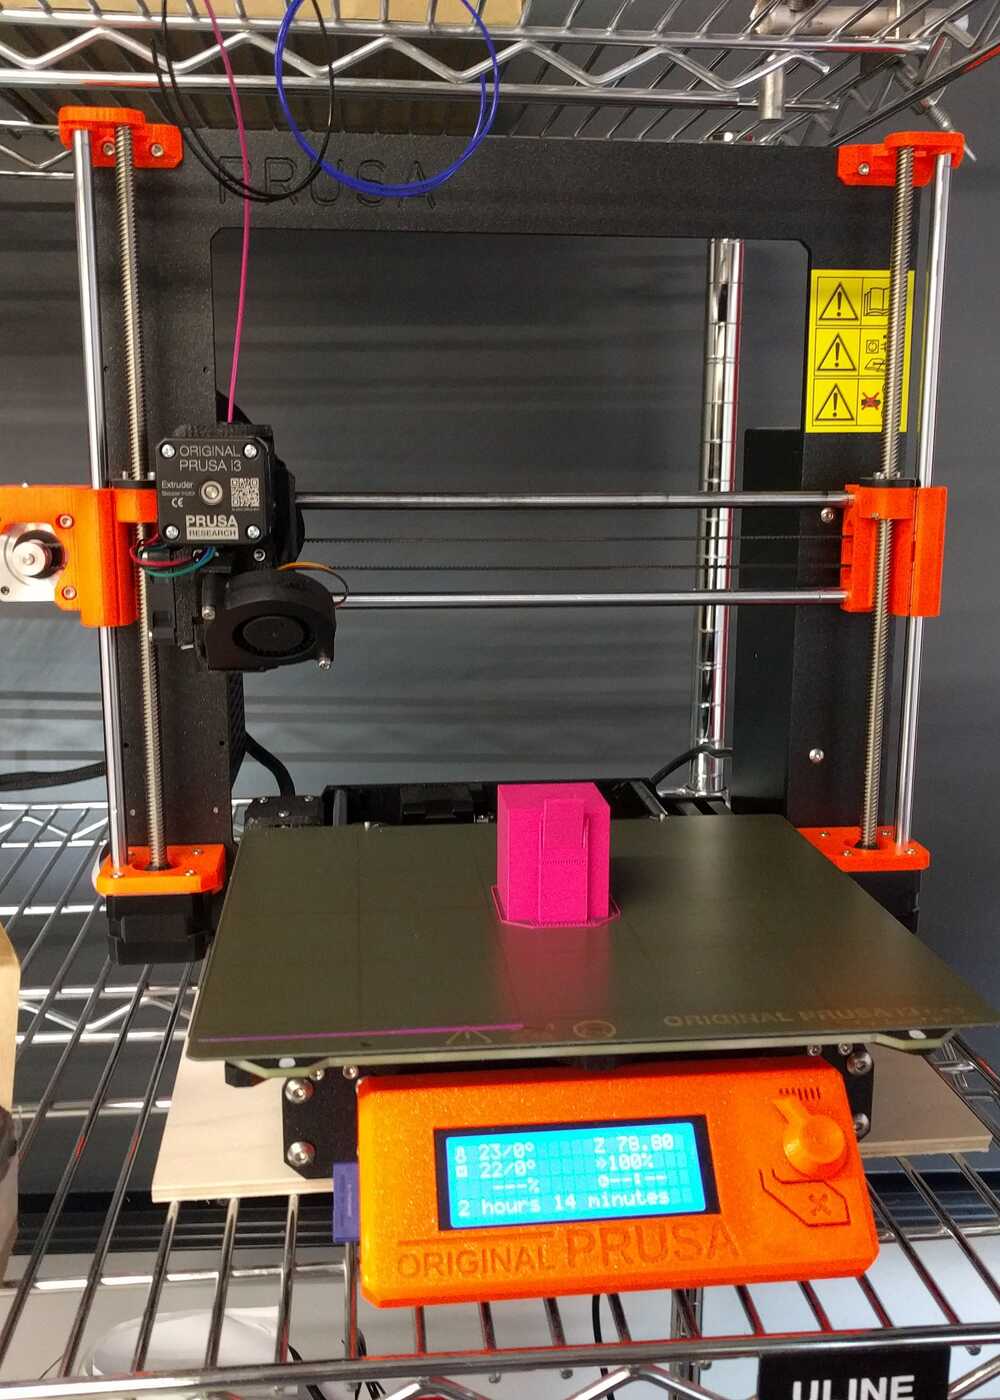
How to 3D print: Download the drivers and apps for Prusa 3D Slicer. Select correct (second) Prusa. Select the outer edge I want to print. Upload to Prusa software (by selecting Prusa.exe file). Within Prusa software, use G code and upload files to USB with SD card slot. Then plug in SD card into Prusa machine. Ensure correct settings on the machine (color, temperature, etc). Plug in correct PLA wire down into the hole. Run file. This enclosure takes about 2 hours to print.
3D Scanning
I 3D scanned my head by having someone take a 360 scan of my head using Sense scanner.
For some reason, the lab computer was unable to save the file, so I'll try again on a computer with a different operating system. But here’s the video of the file: