Week 2
Let's go home
Vinyl Cutting
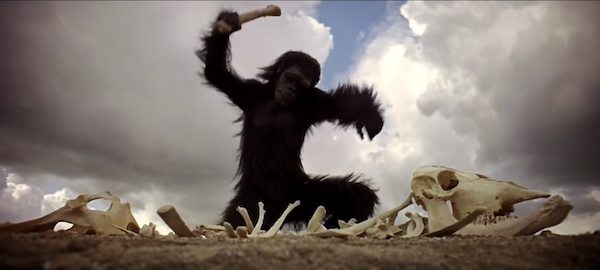
Last year, I watched Stanley Kubrick's film, 2001: A Space Odyssey for the first time. It was awesome and I can clearly see why it's a classic. The beginning of the movie chronicles a pack of apes. And in one of the most iconic scenes, one of the apes discovers that it can use a bone as a tool to smash other objects. You can watch that scene here:
It's in this moment when you realize things are going to change forever for these apes. TOOLS! What a marvelous concept. It's possible to use physical objects to accomplish goals and solve problems. You can even use tools to make even better tools that are more complex and can solve more interesting problems.
At the start of this class, I kind of feel like that ape. I just discovered that there are many tools out there. And I barely know what to do with any of them. But I'm really excited to learn and find out.
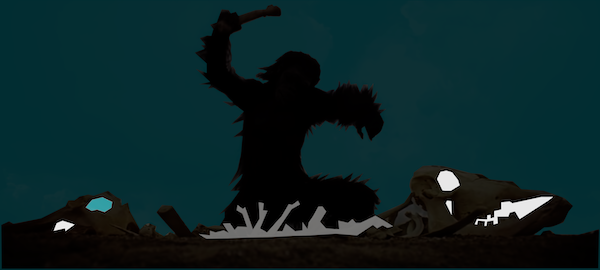
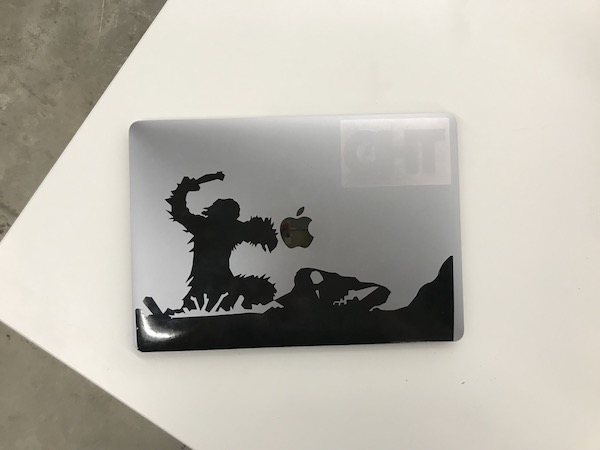
So for my first project, I wanted to pay homage to this scene from 2001: A Space Odyssey by vinyl-cutting a laptop sticker of the ape discovering that it can use a bone as a tool.
I started by finding the frame of the scene that stood out to me most and screenshotting it, which you can see below.
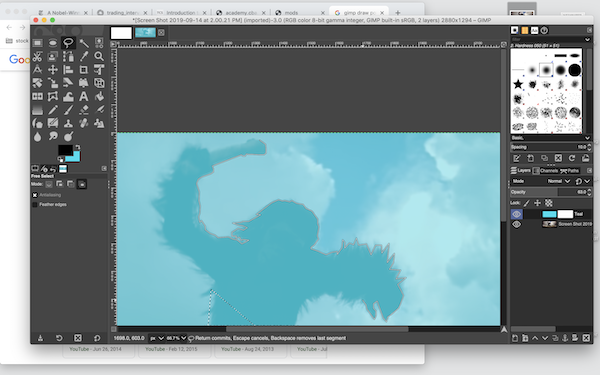
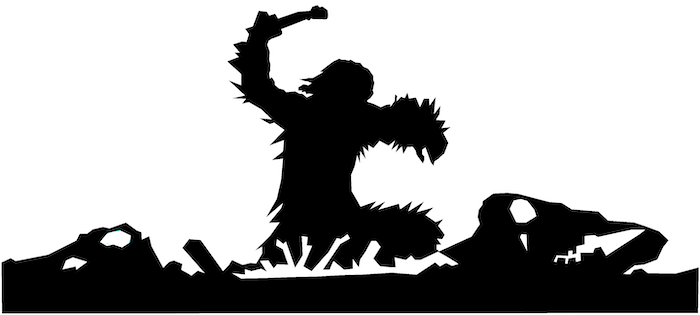
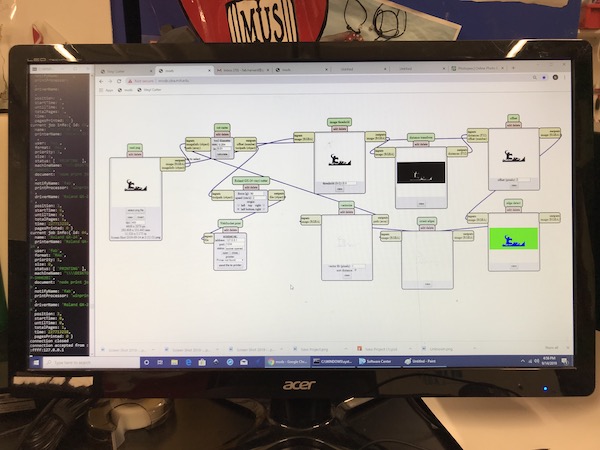
I then used GIMP to draw a polygon around the ape in order to create an image mask that represented the silhouette of the ape holding the bone above its head.
After drawing that silhouette, I realized that the scene would be way better if it incorporated the bones, skeleton, and rocky patch of earth the ape was standing on.
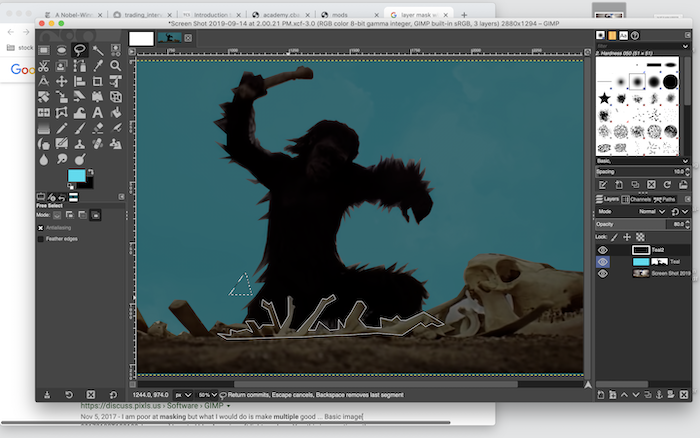
I made four different layer masks in order to capture all these pieces. However, they were all different colors, and I realized that the foreground of the image should really just be black and the negative space should be white. Why did I make so many colors!?
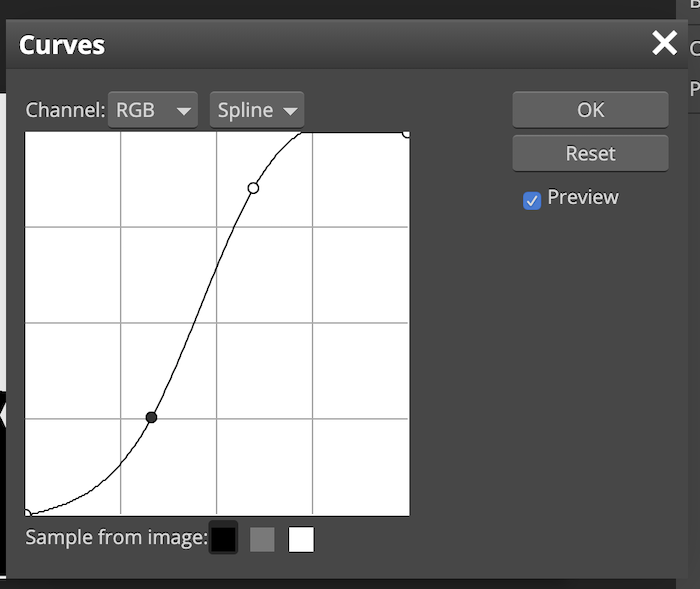
To fix that, I used a contrast curve in order to push all of the non-black colors toward white.
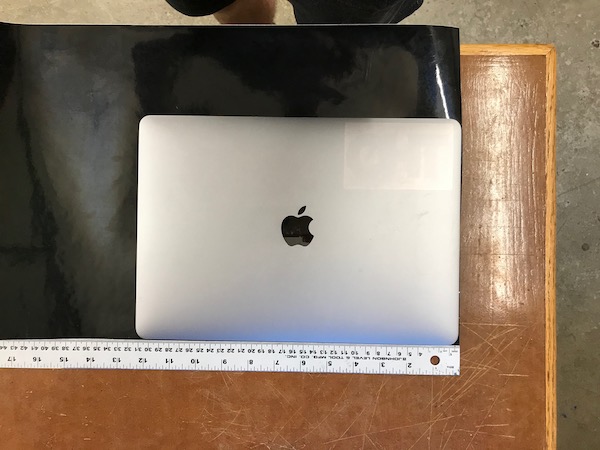
I then found an image of a macbook pro that had the same dimensions as my own latop. I used this as a template to figure out where to place the sticker and how I should crop and scale it.

From there, I cut a piece of black vinyl sticker that would give me enough room to print the right sized cut-out.
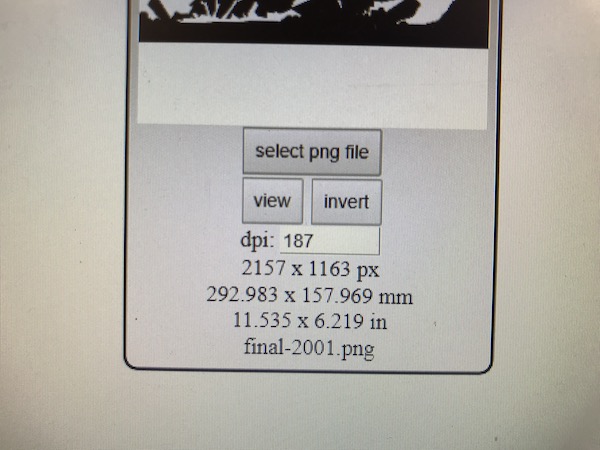
Ready to print, I uploaded the png image to the vinyl cutter mod at mods.cba.mit.edu
I adjusted the size of the print so that it would fit my laptop dimensions.
After printing, I weeded out the negative space, leaving me with just the black sticker that I wanted on my computer.
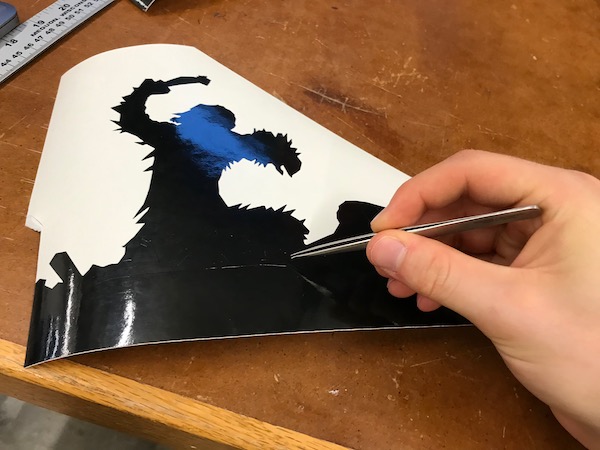
I set the sticker on transfer paper, which allowed me to move the sticker while holding the entire design in place.
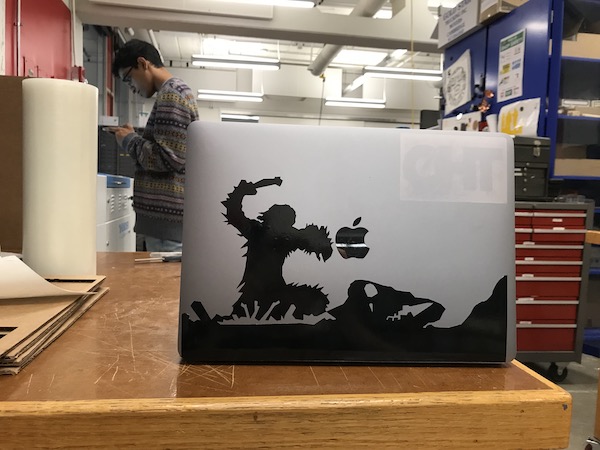
And then I set the sticker on my laptop and pressed hard over the entire image so that the sticker stuck to its new home. And voila!
Laser Cutting
Next up... laser cutting!
In Zen, there are little riddles called Kōans that are used to help awaken people to enlightenment. One ancient and famous one goes like this. A student approaches the Zen master Jōshū and asks, "Does a dog have a buddha-nature?" Jōshū simply replies "mu!" (無), which means something like "no" or "nothing" or "nothingness". But it's not that a dog doesn't have buddha-nature. Every sentient being has buddha-nature! Some people think that Jōshū said "mu" not to answer "no" to the question, but rather to say "no" to the asking of the question in the first place! But that's only one interpretation. It's complicated. And also simple! Ahhhh. Zen.
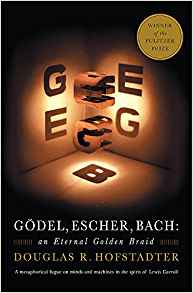
I wanted to represent this koan in a 3D object by representing both a dog and the buddha at the same time. I also really like the cover of Douglas Hofstadter's book Gödel, Escher, Bach, which actually references the concept of "mu" as well. The cover takes a single 3D object and shines a light on it from three different planar directions to produce three different letters: G, E, and B. Could I do something similar for a dog and the buddha?
First, I found an SVG image of the buddha and an SVG image of a wolf/dog howling that were both labeled for reuse.


After spending hours attempting (and failing) to create what I had in mind in FreeCAD, I eventually switched to Autodesk Fusion 360. I started by important both SVGs into Fusion 360, I extruded both of them so that they became 3D objects and were easier to manipulate. I then aligned each of them to two different faces of a cube and parameterically scaled them so they were the same height.

Then, I hid the cube and extruded the two objects even more so that they each passed through each other. Now, we're talking.
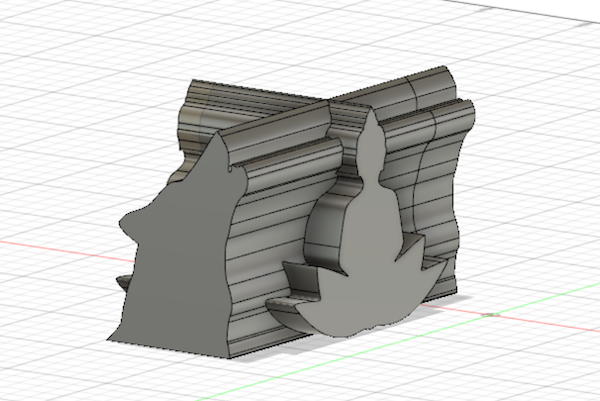
I then used the intersection tool in Fusion 360 to compute the intersection of the 3D wolf and the 3D buddha. The result is the 3D object below! It has a pretty strange shape overall, but it does have the property that when you look it from one planar direction, it appears like the buddha and hwn you look at it from a different planar direction, it looks like the wolf howling. You can download the stl file that represents this 3D structure here: 3d-buddha-dog.stl

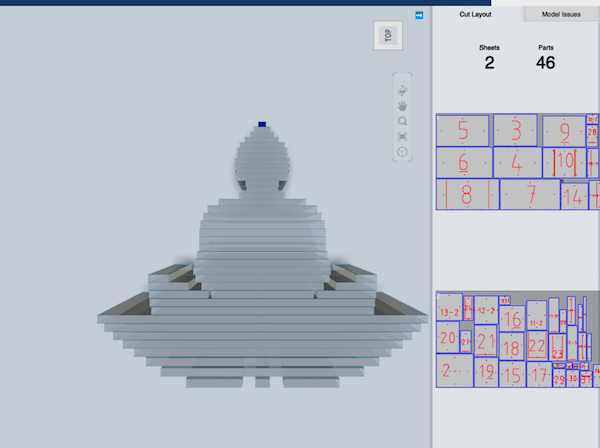
Now, I needed a way to turn this 3D object into something that I can use a laser cutter to help me build. I settled on an extension for Fusion 360 called Slicer that transforms 3D objects into slices using custom parameters. I used a set of calipers to measure the thickness of the cardboard sheets we used and found that it was 4.5mm. I then used this value as a parameter to define the thickness of each slice. I also wanted my final sculpture to be about 6" tall. I used this value as another parameter in Slicer so that I could calculate how many slices to use. Lastly, I set the slice angle so that it would be parallel to the XY-plane. Slicer automatically creates a sheet of slices that can be used to assemble the larger 3D object. You can see this on the right-side of the image below.
You can also download the two dxf files that contain all the 2D slices for assembly here:
3d-buddha-dog-0.dxf, 3d-buddha-dog-1.dxf.
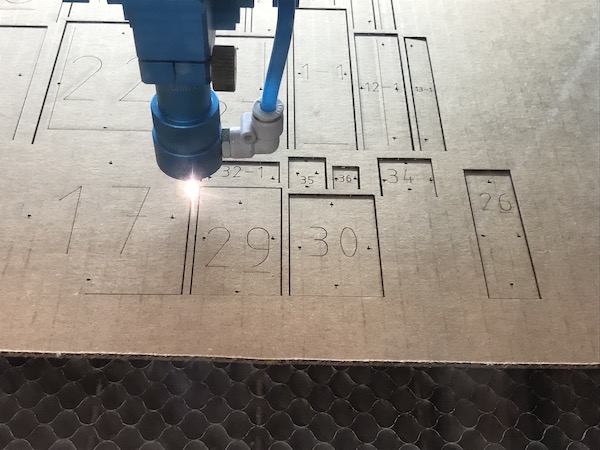
Finally, it was time to print all the pieces! I wanted the blue lines on the dxf file to cut completely through the material but wanted the red marks on the dxf file only to make a small etching in the very top of the cardboard. In order to accomplish this, for the blue lines, I set the power of the laser to 100 and the speed to 45. For the red lines, I set the power of the laser to 2 and the speed to 100.
Here's the laser cutter at work.
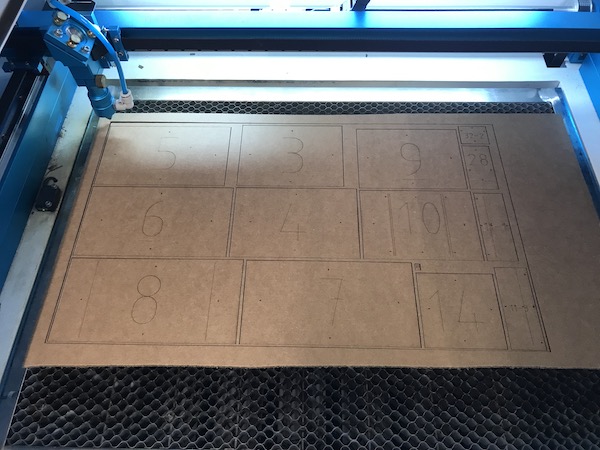
All the pieces in one sheet.
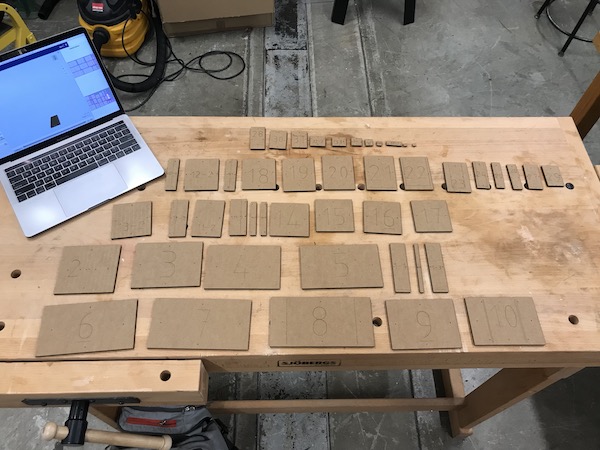
All the pieces from both sheets organized on a table, ready for construction. Organization is key!
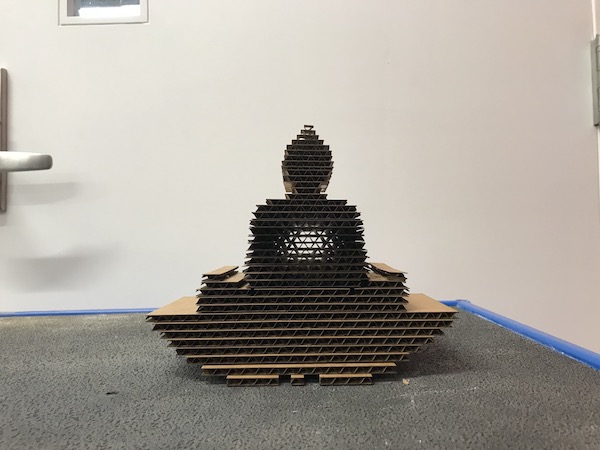
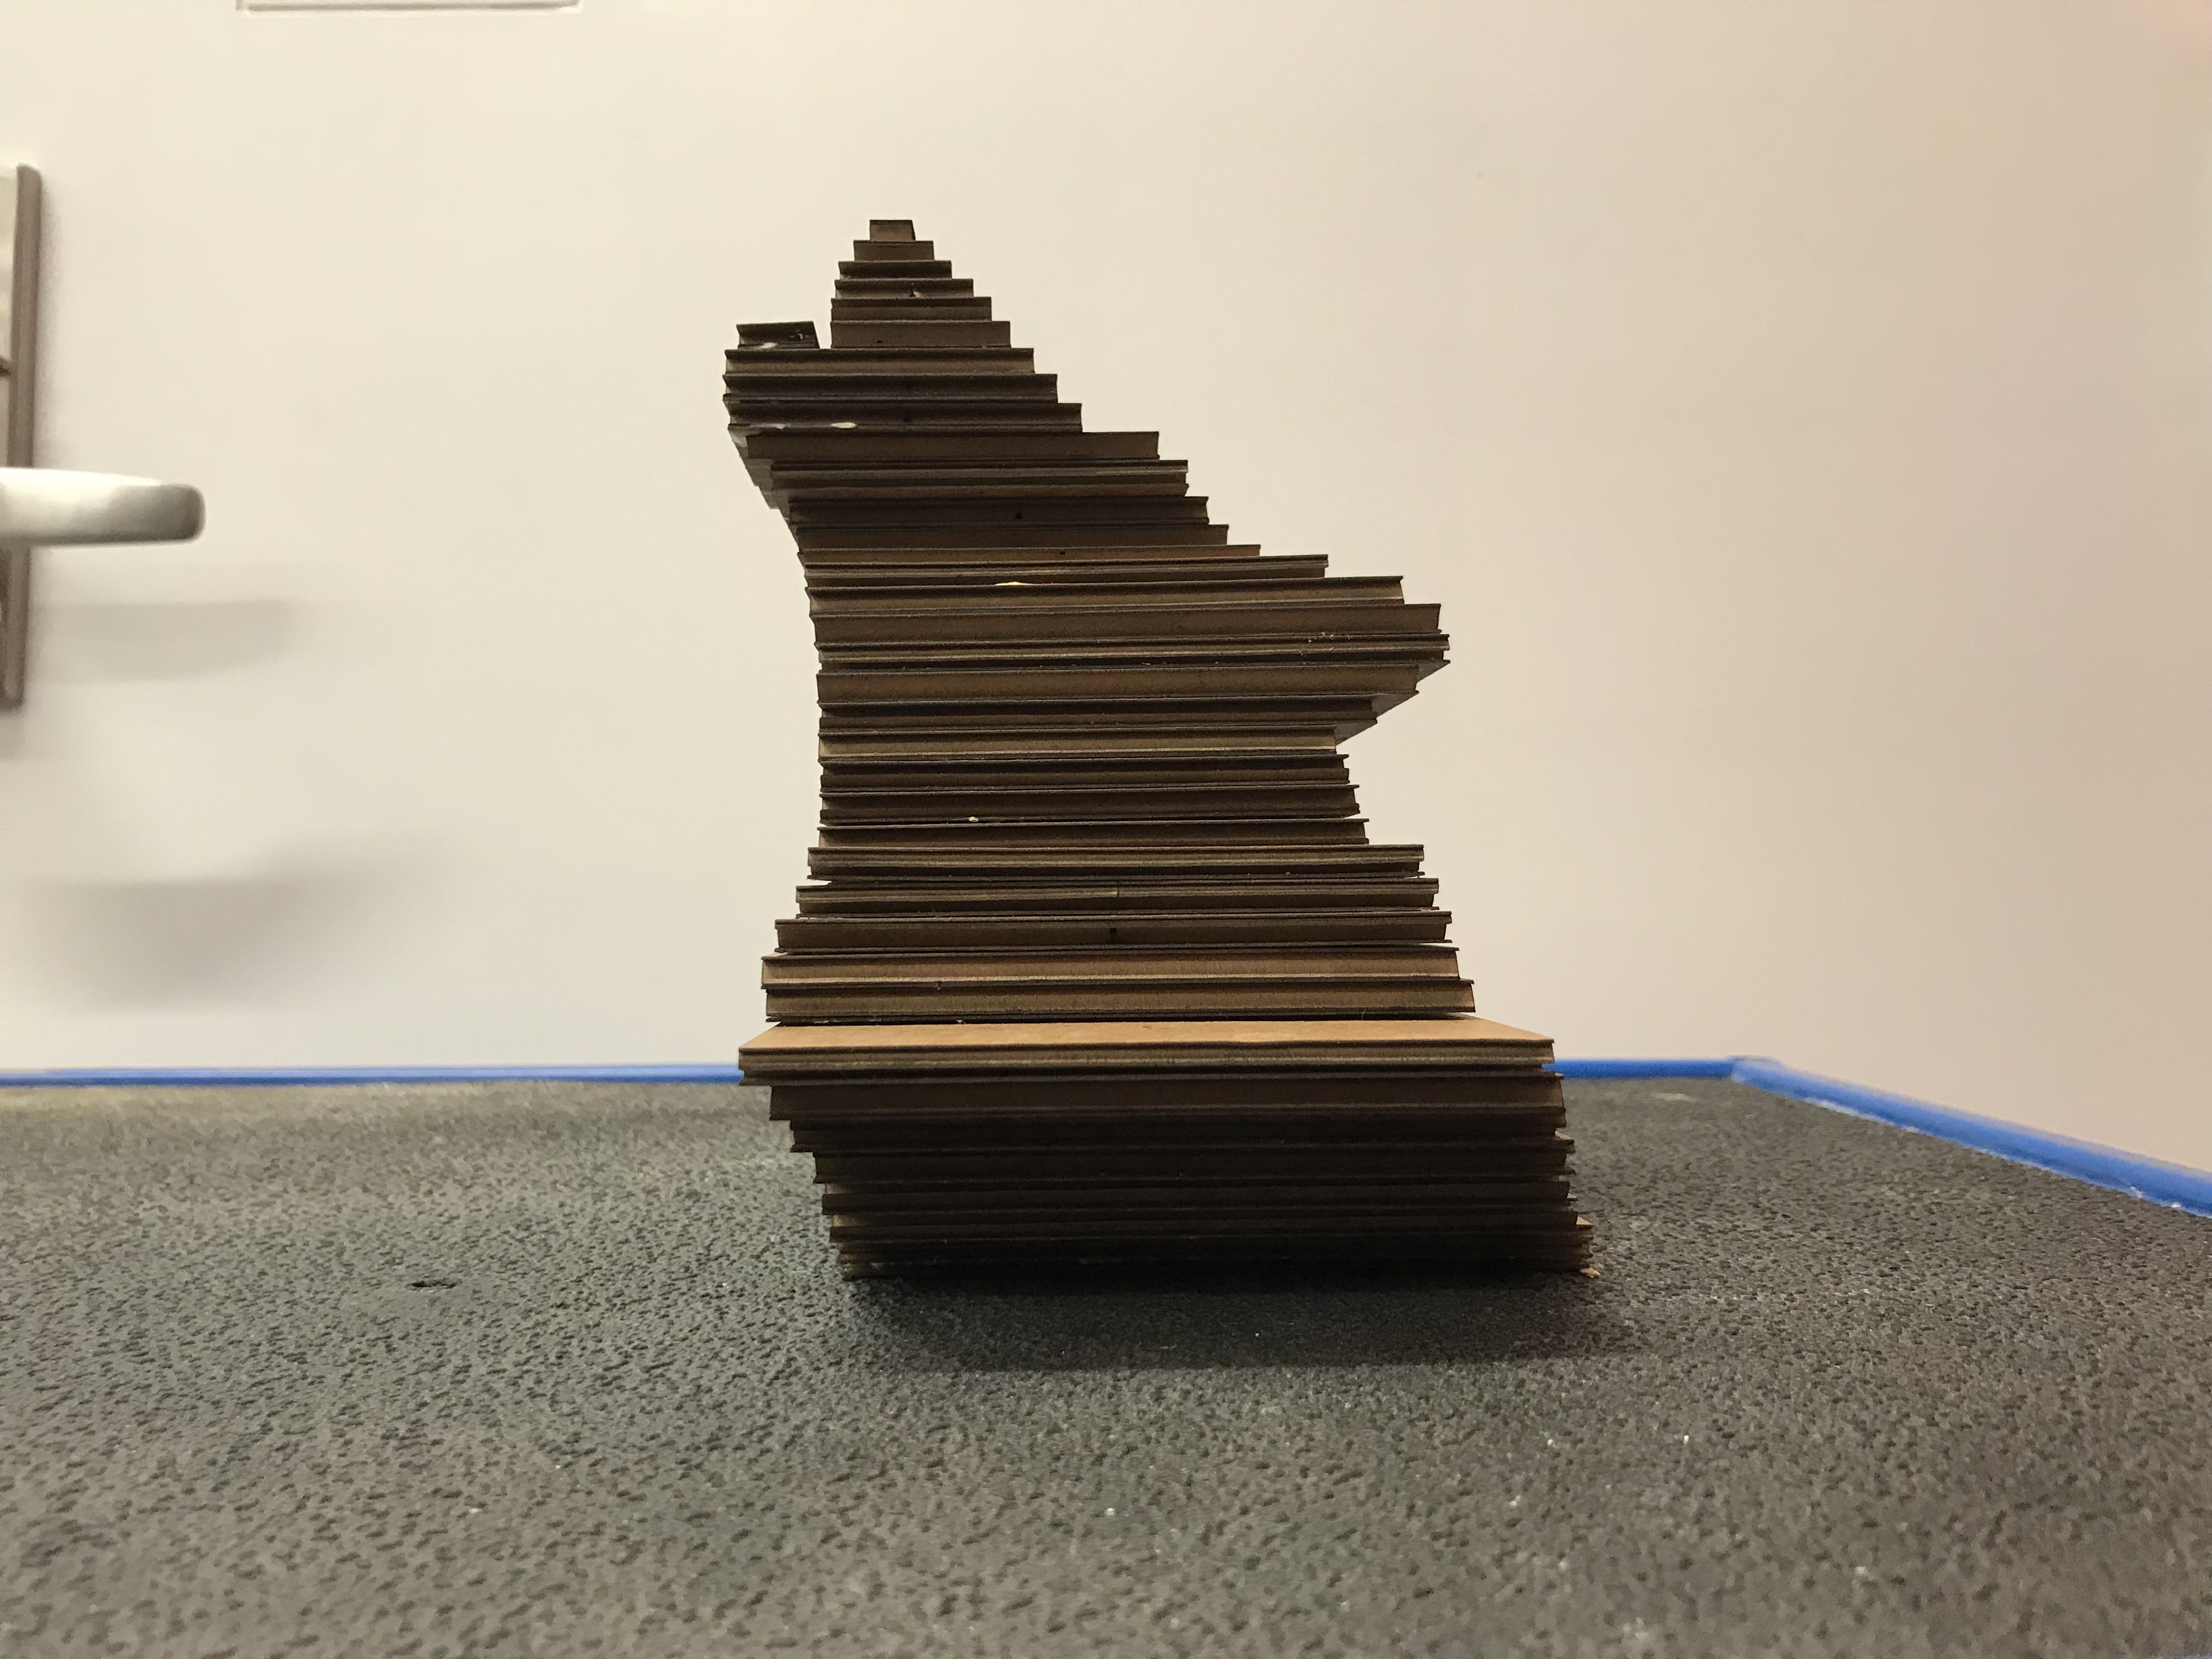
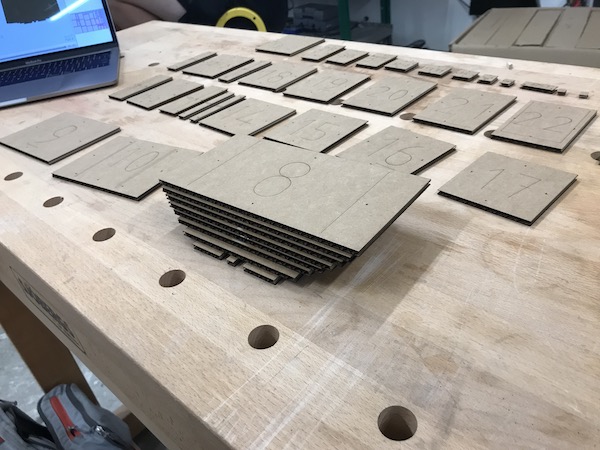
I started to assemble the pieces based on their numbers. I started with 1-1, 1-2, 1-3, 2, 3, 4, etc. I was able to figure out how to align all the pieces based on these little dots that the laser cutter punctured on each piece. I used wood glue to stick the cardboard together. You can see the work in progress in the photo below.
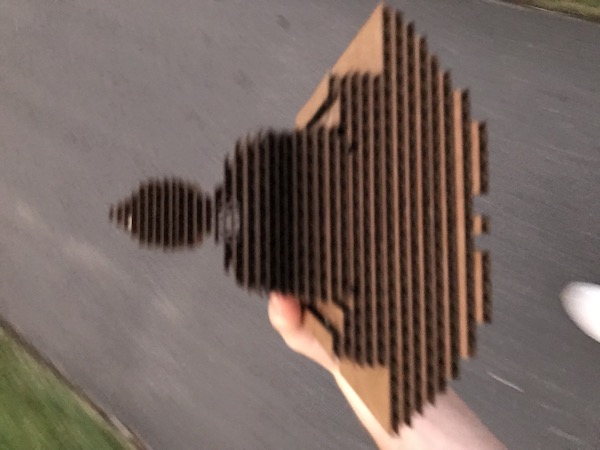
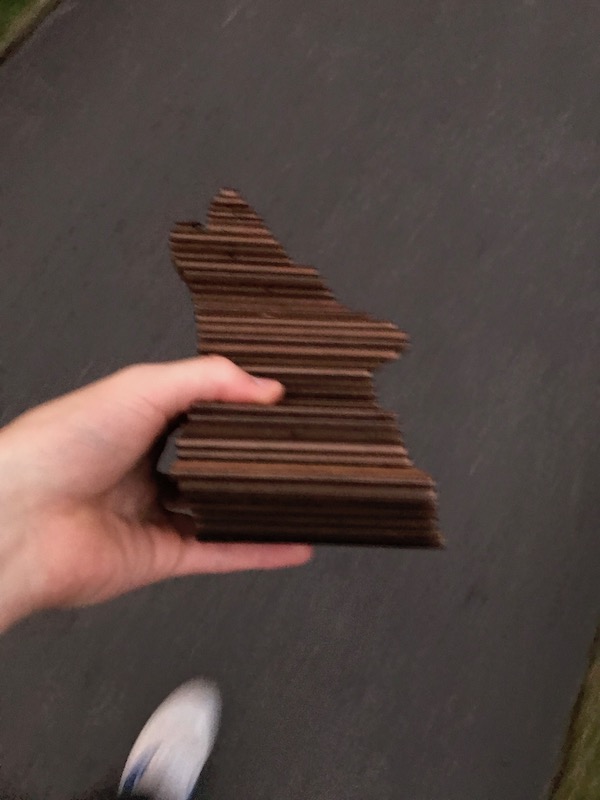
And finally, after finishing the construction, here's the finished product!