Websites, GitLab, and Git
HTM(a)A Recitation 9/12 2019
Welcome!
Still a little confused about how to make your webpage?
Unsure how to use GitLab?
Want to learn a bit more about git?
You've come to the right place.
This recitation is organized around four strategies for creating and managing your site, starting as
simple as possible and getting fancier from there.
Despite the meme, it's not necessarily best to use any particular strategy. Everyone should gain
some familiarity with the first two methods, but you don't need to explore the others unless you
want to. Neil, after all, eschews templates and site generators in favor of good old fashioned hand
coded HTML.
Level 1: GitLab GUI
This is the bare minimum needed to get your site up and running.
-
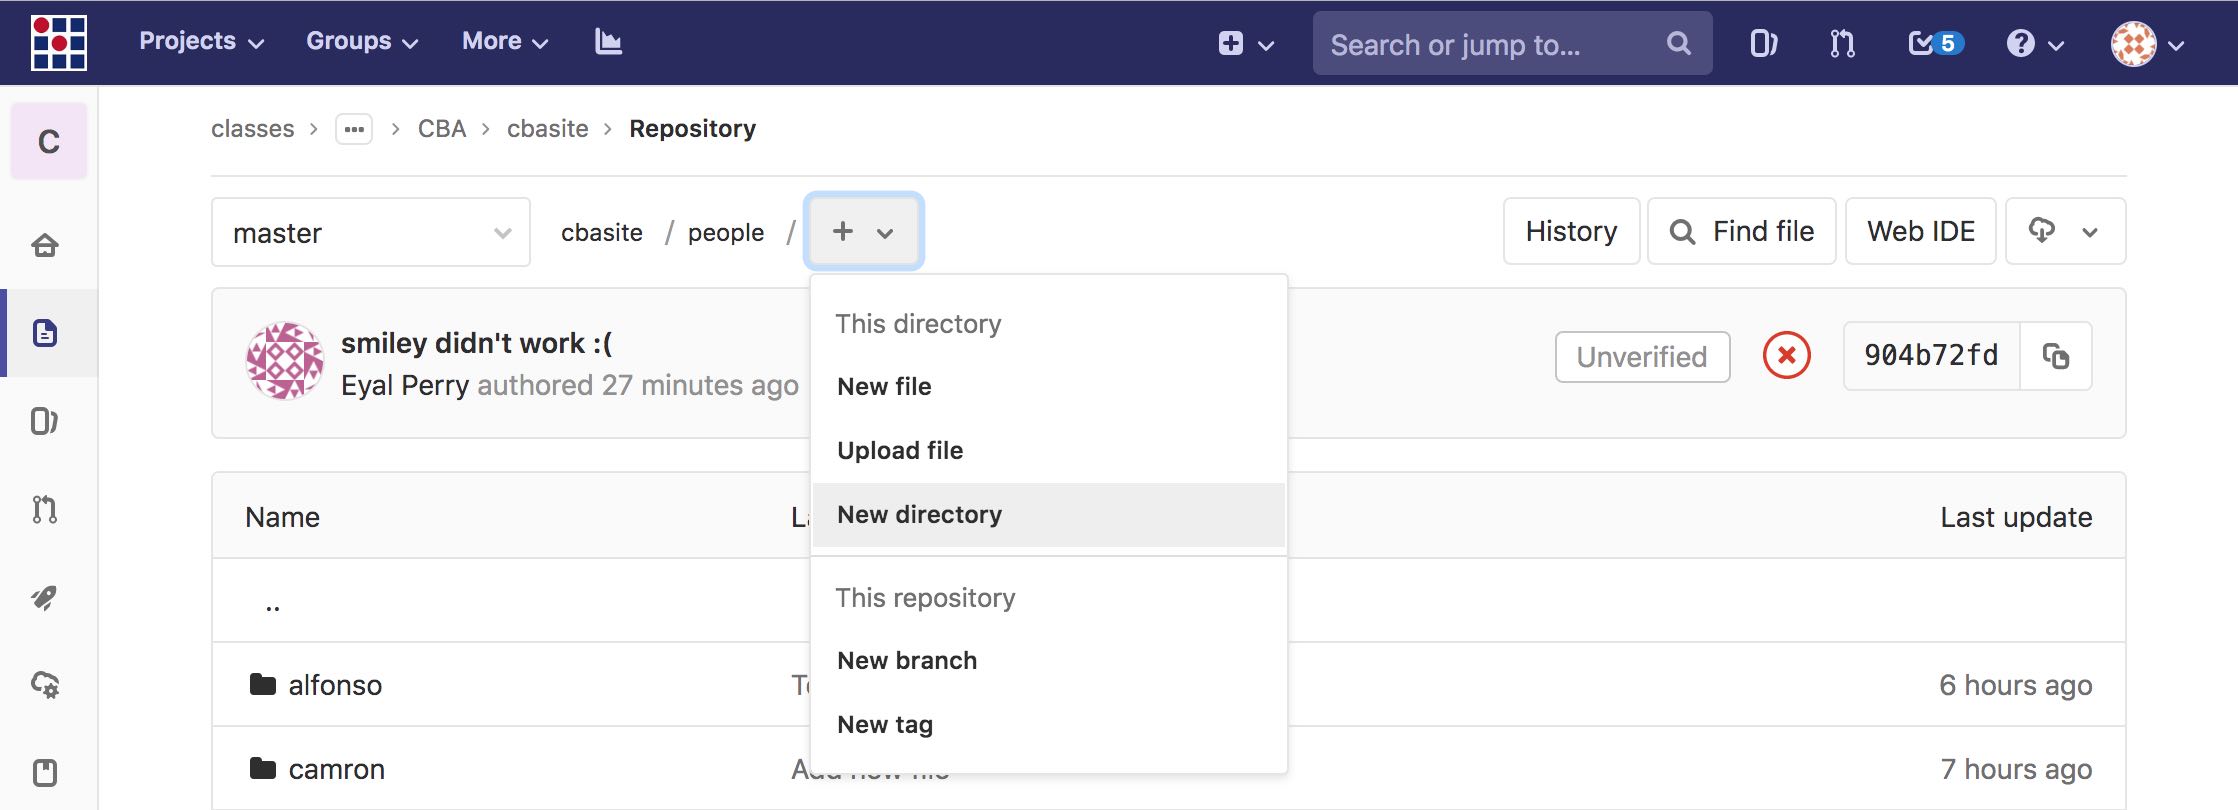
Go to your section's people page on GitLab.
-
Make a new directory with your name.
-
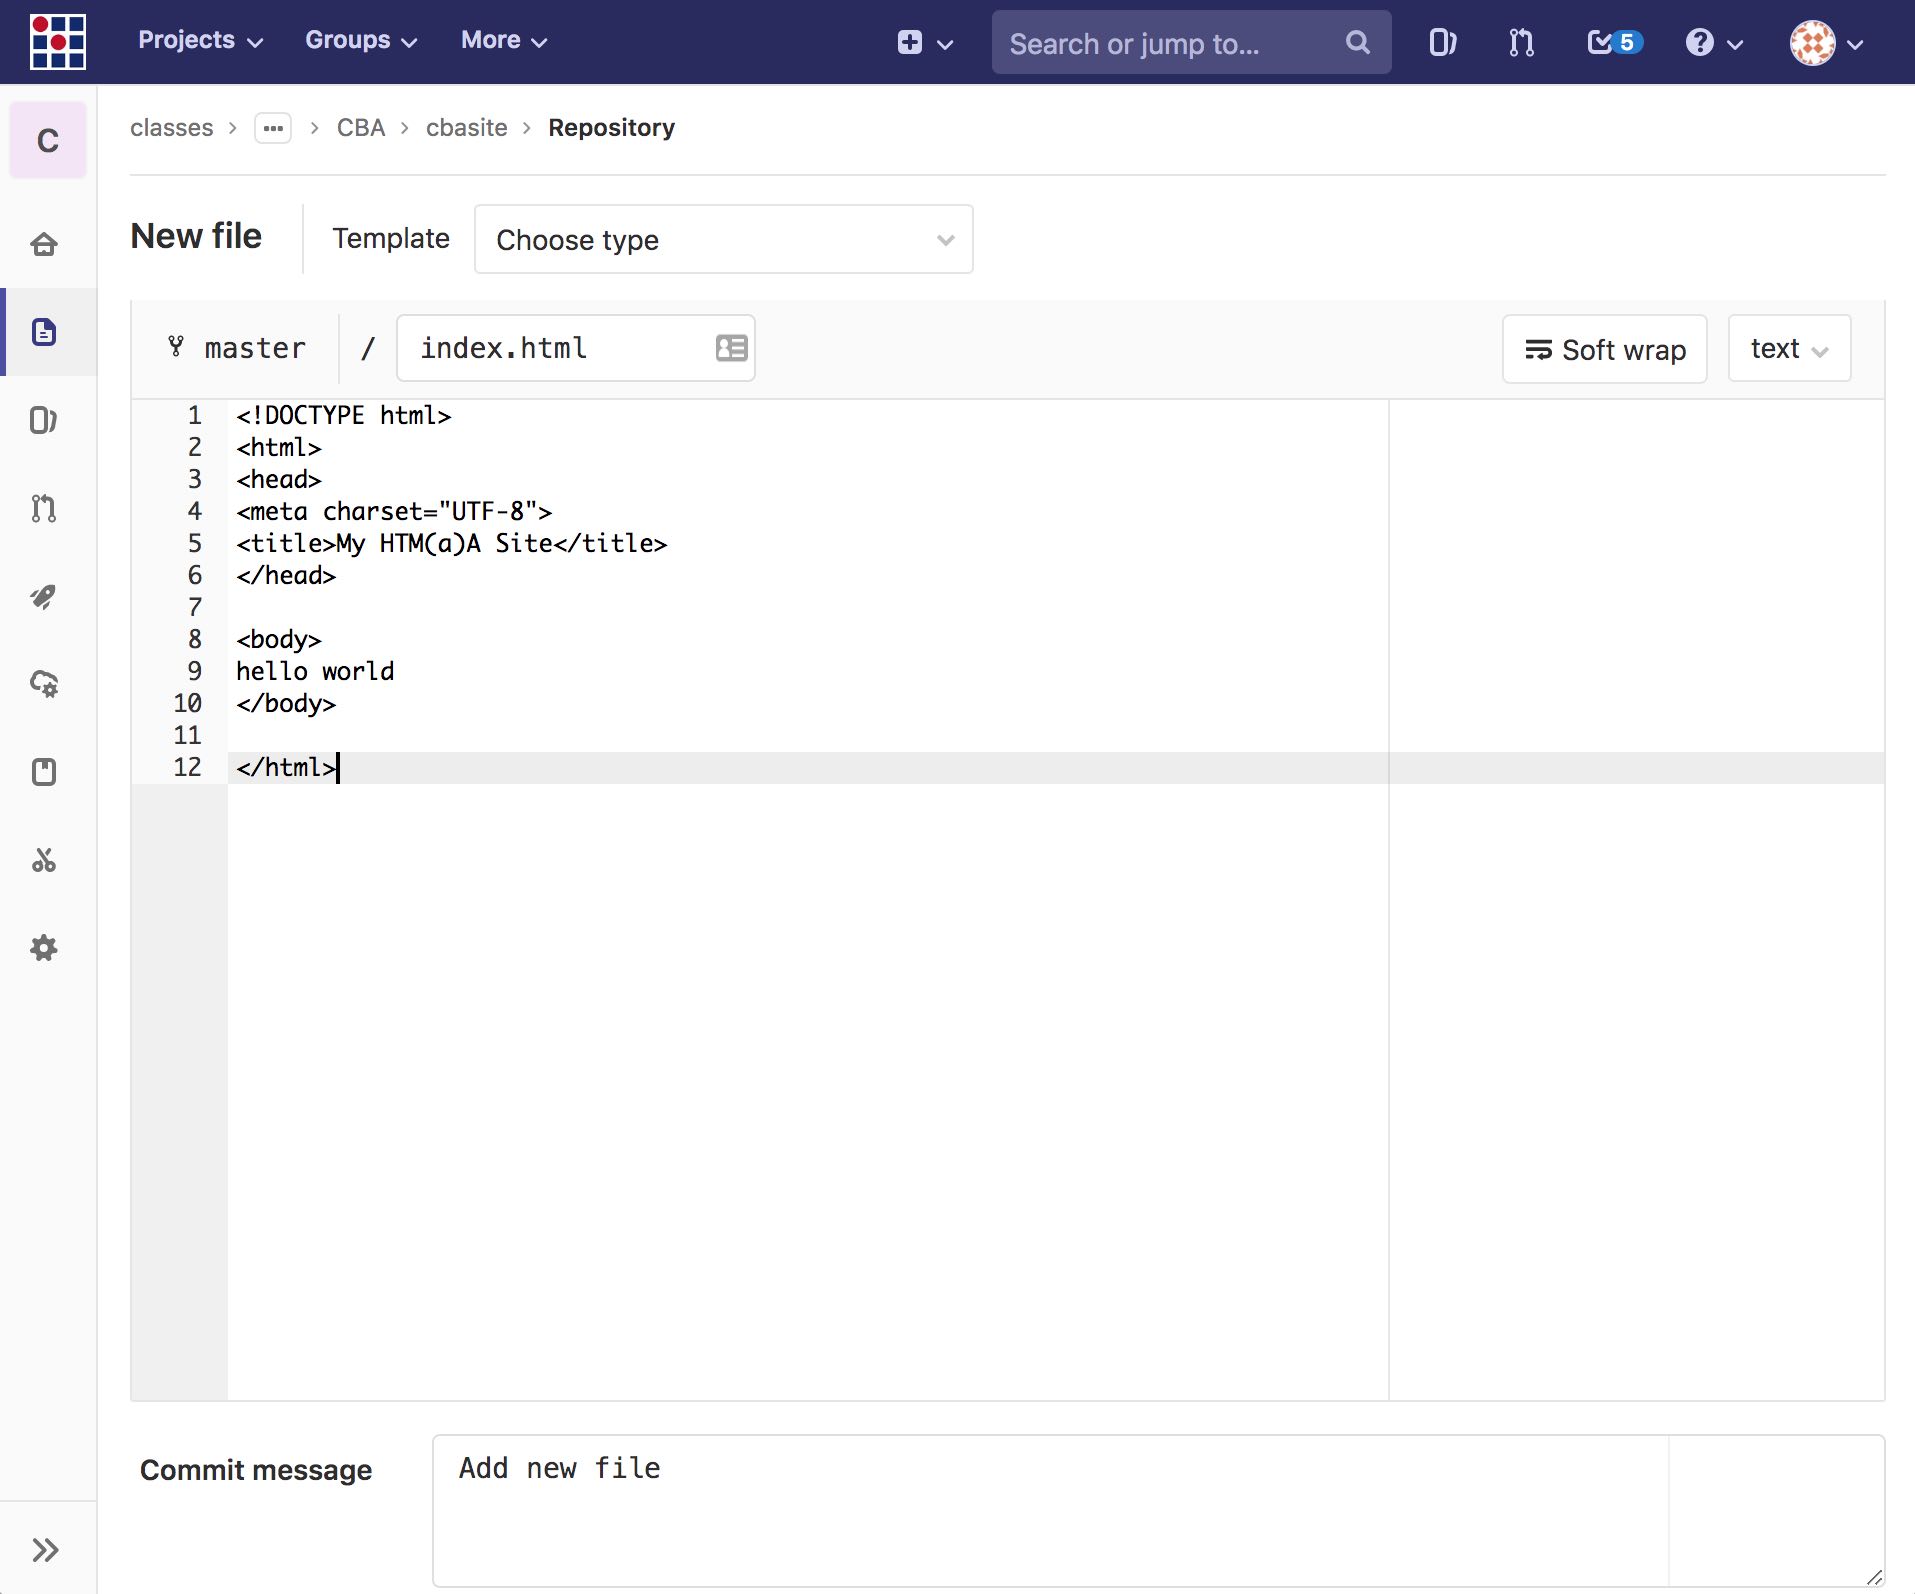
Make a file called index.html.

-
Edit your section's index.html so your name links to your new page.
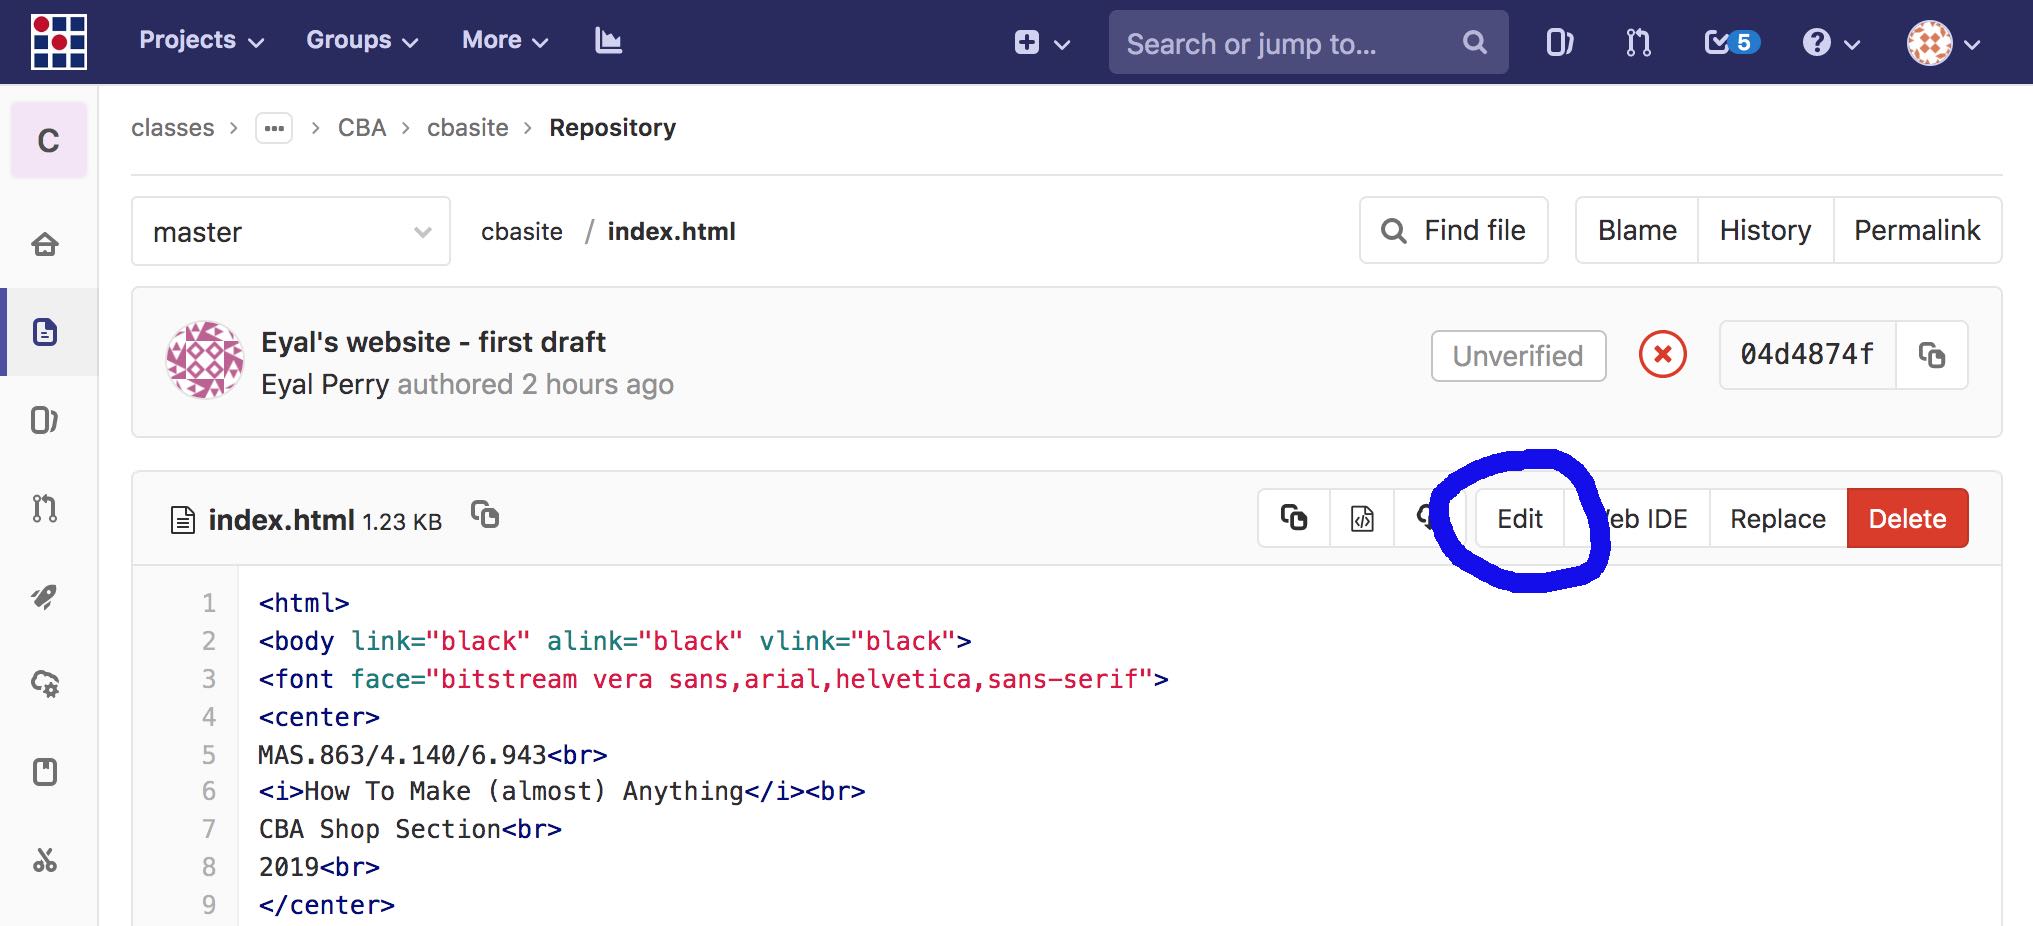 You'll want to change "Your Name" to something like
<a href="people/your_directory/index.html">Your Name</a>
You should see your link appear on the
arch,
cba,
eecs, or
harvard index.
Note that you don't need to add a link to the global people
page — this page is only
editable by staff/TAs.
You'll want to change "Your Name" to something like
<a href="people/your_directory/index.html">Your Name</a>
You should see your link appear on the
arch,
cba,
eecs, or
harvard index.
Note that you don't need to add a link to the global people
page — this page is only
editable by staff/TAs.
How you structure your files is up to you. If you want to stay as minimal as possible,
headings,
paragraphs,
links,
images, and
lists
go a long way.
If you're looking for inspiration, all of Neil's lecture pages are built with hand-coded HTML, as is
the page you're
looking at now.
Level 2: Local Editing
Technically speaking you could use the GitLab GUI for everything in this class, but if you try
you'll probably get frustrated before long. First and foremost, you won't know if you've made a
mistake until you've already committed your work (for example, forgetting to close an <a> tag
or mistyping a url in a link href). And then searching for your error involves a lot of extra
clicking around. And if you don't have an internet connection, you're straight out of luck since you
can't access GitLab.
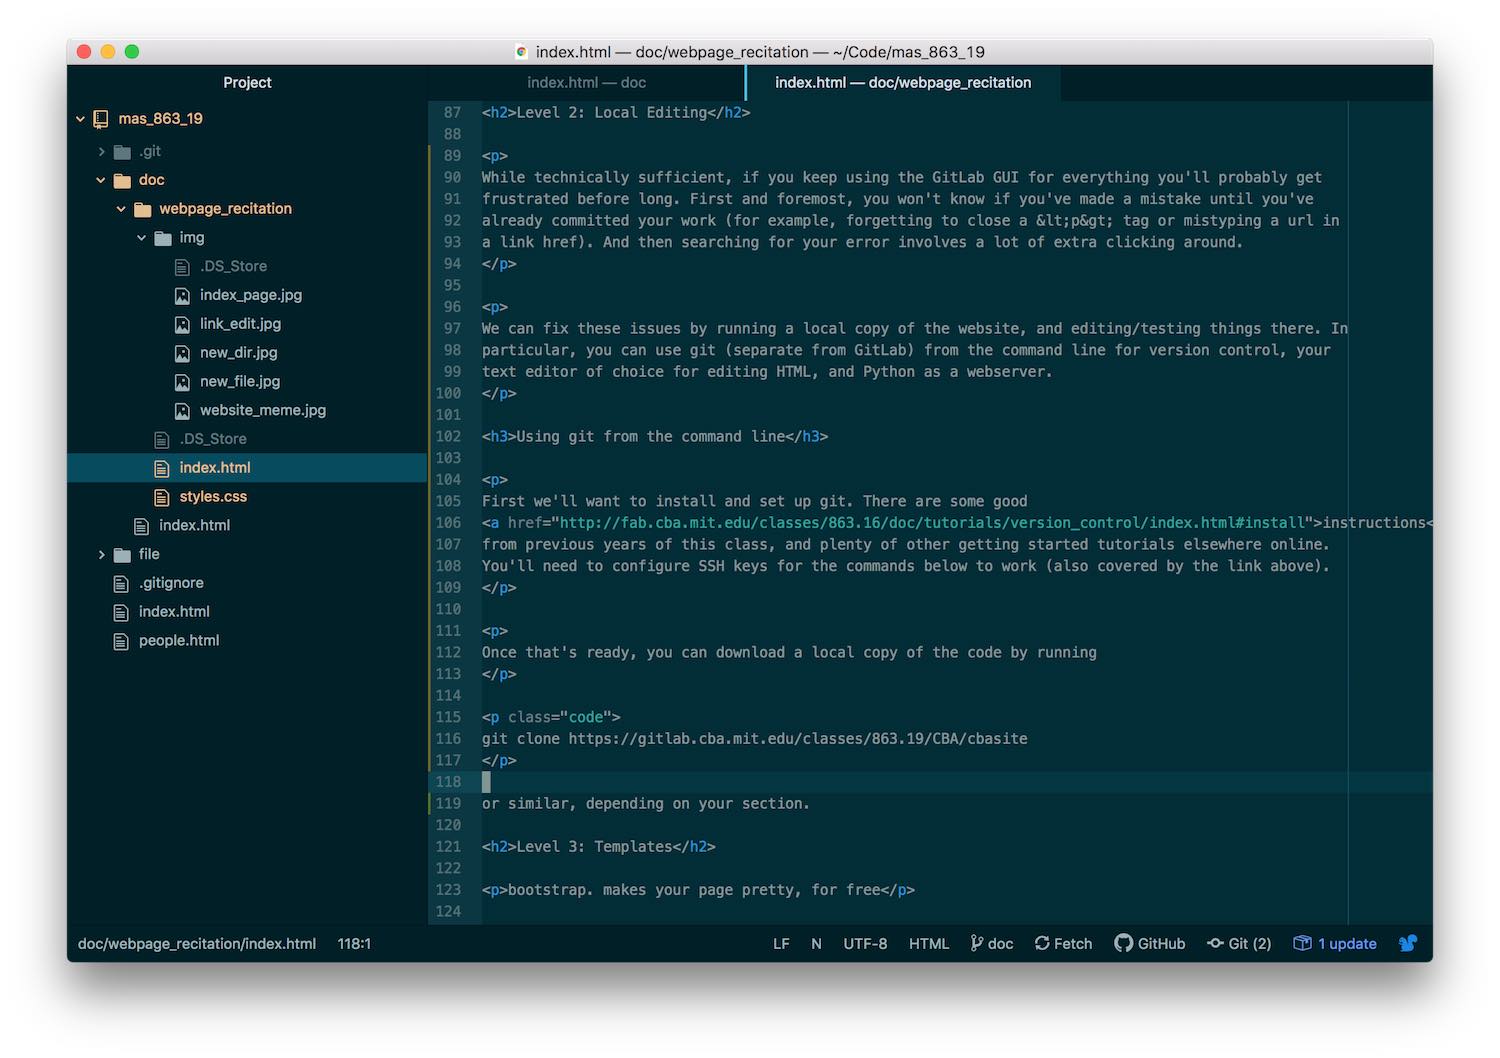
We can fix these issues by running a local copy of the website, and editing/testing things there. In
particular, you can use git (separate from GitLab) from the command line for version control, your
text editor of choice for editing HTML, and Python as a webserver. Many of these steps involve basic
use of the command line, so if you're not already familiar with how to navigate between directories
and list files, it would be a good idea to go through a
tutorial or
two.
Cloning the Repo
First we'll want to install and configure git.
Here is one resource
that can help you; you can find others elsewhere. Many git commands require authentication (i.e. any
command that accesses data on GitLab that you have to be logged in to see). You can type in your
username and password as needed, but it's probably worth the few minutes of effort now to
set up an SSH key so you never have to bother.
Once that's ready, you can download a local copy of the code by running
git clone https://gitlab.cba.mit.edu/classes/863.19/CBA/cbasite
or similar, depending on your section.
Local editing
Now you're ready to edit the code locally. You can use any text editor you want, but
Atom is a good choice if you're not sure. It comes with a convenient
file tree view and syntax highlighting right out of the box.
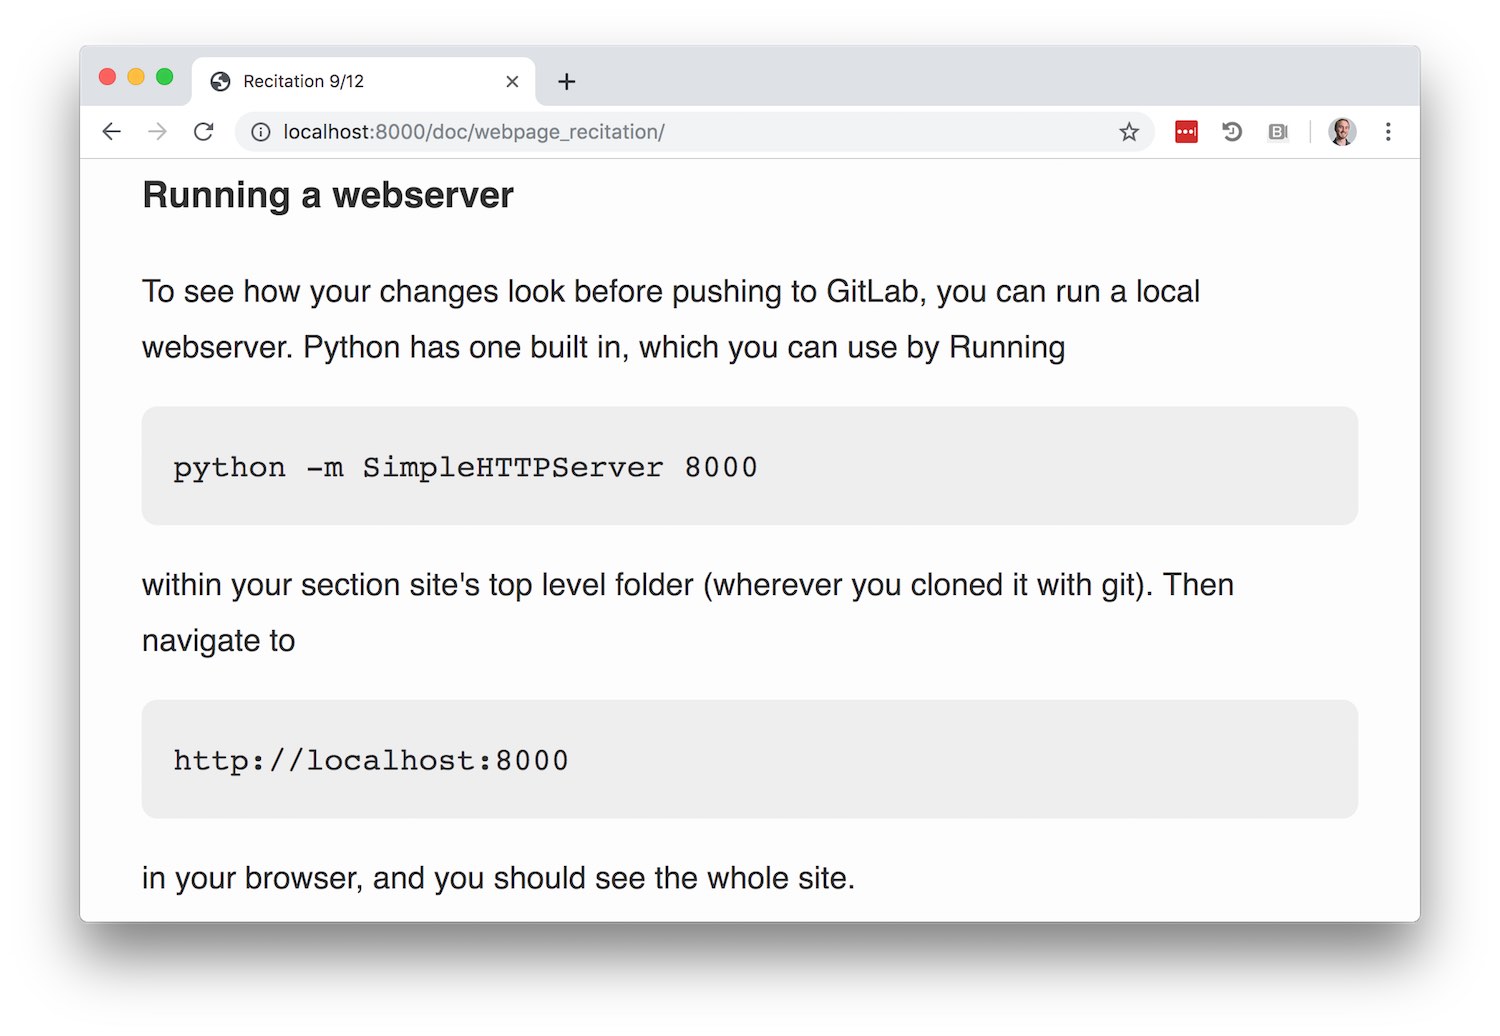
Running a webserver
To see how your changes look before pushing to GitLab, you can run a local webserver. Python has one
built in, which you can use by running
python -m SimpleHTTPServer 8000
within your section site's top level folder (wherever you cloned it with git). Then navigate to
http://localhost:8000
in your browser, and you should see the whole site.
Staging and commiting on the command line
At this point it's really worth your time to become more familiar with using git from the command
line. Unlike on GitLab, you can commit changes to multiple files at once, easily work across
multiple branches, and a lot more. Check out the git resources linked to on the main doc
index. It can also help to use a local git GUI (I like
GitUp, but it's Mac only).
Level 3: Templates
To make your webpage a little more stylish, it can be helpful to use a website template. A good
template will also ensure your site is readable on all sorts of screen sizes.
Using a template just means starting with a basic HTML and CSS structure that someone has already
designed, and filling in your content wherever appropriate. For instance, you could copy the HTML
and CSS structure from a previous student page (or this page, if you want a particularly minimalist
start). Another good place to start is the collection of
Bootstrap templates. (Bootstrap is a popular CSS
framework.)
Level 4: Static Site Generators
After hand editing enough HTML, it becomes rather tedious. All the <p> tags, hrefs, etc. are
annoyingly verbose, and for a lot of site layouts it becomes tedious to keep everything in sync (ex.
when you add a new page you need to remember to link to it from your index). This is where static
site generators like Jekyll or
Hugo can help.
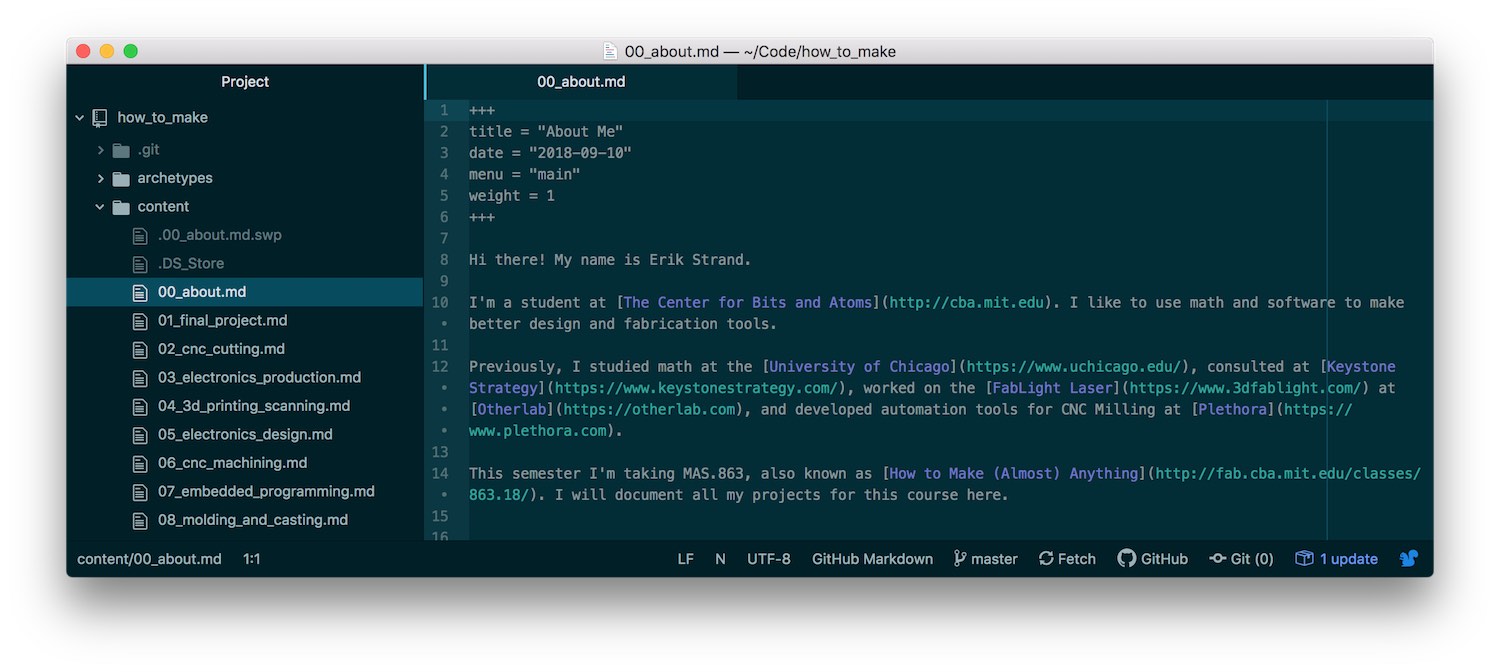
The most popular static site generators these days let you write
Markdown instead of HTML. So basically you
write some simple text like this:
And your static site generator turns it into HTML like this (note that it keeps going for a while;
this screenshot isn't long enough to get to the actual content):
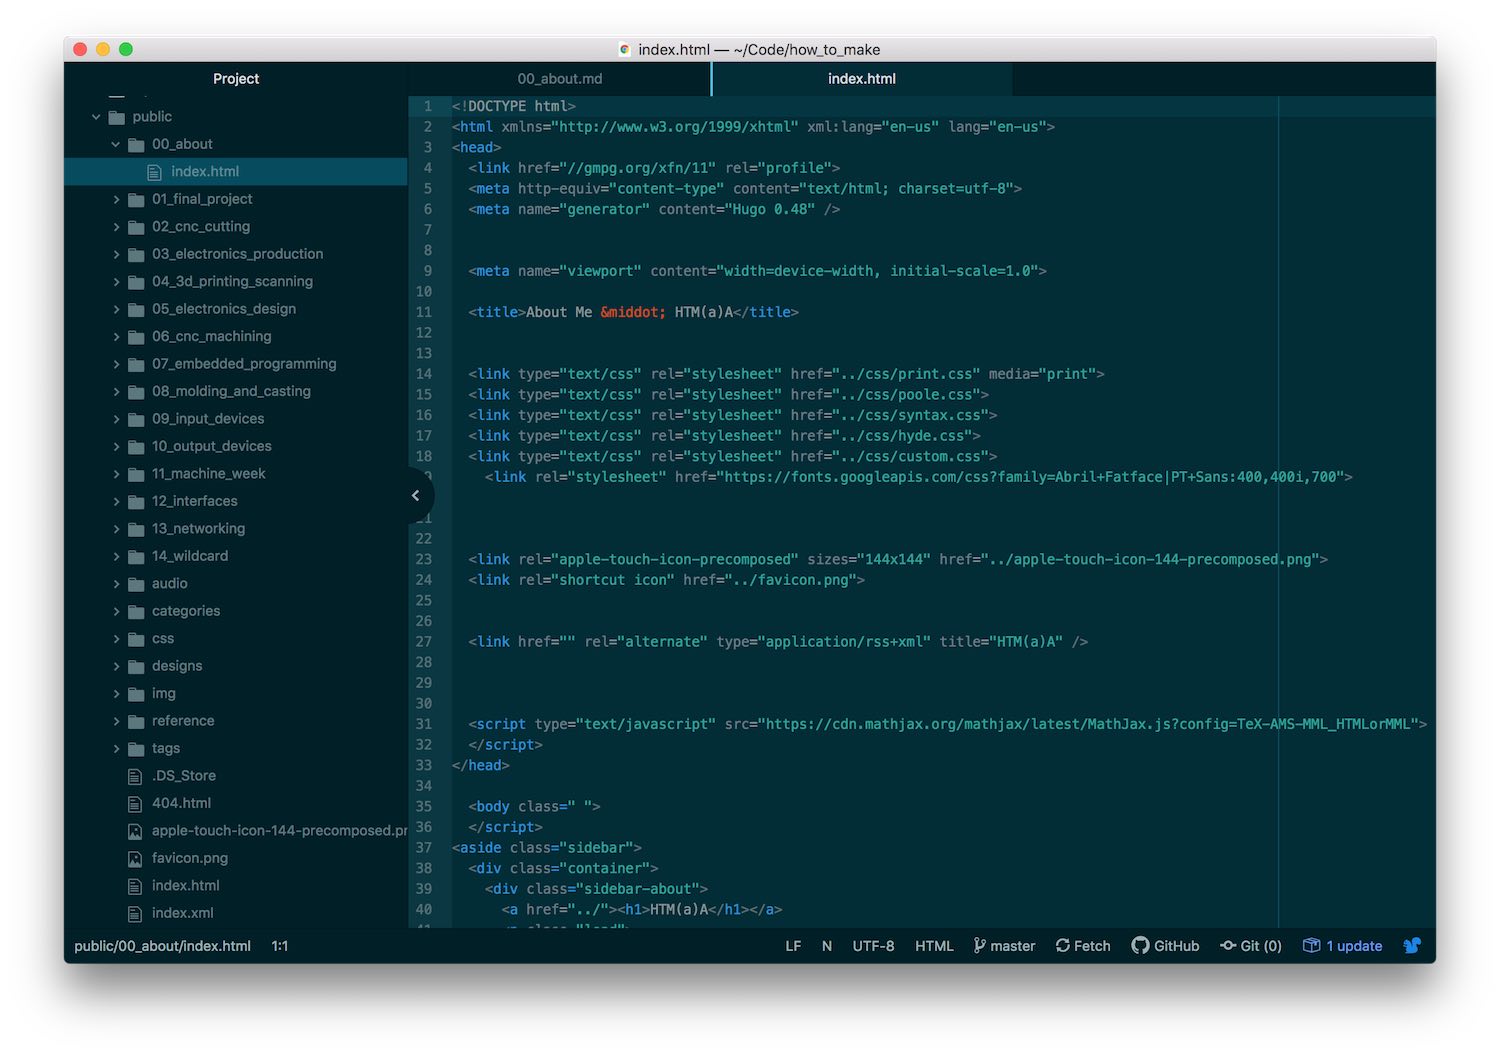
Then you copy that HTML to your personal directory in your section's site repo, and in the browser
it looks something like this:
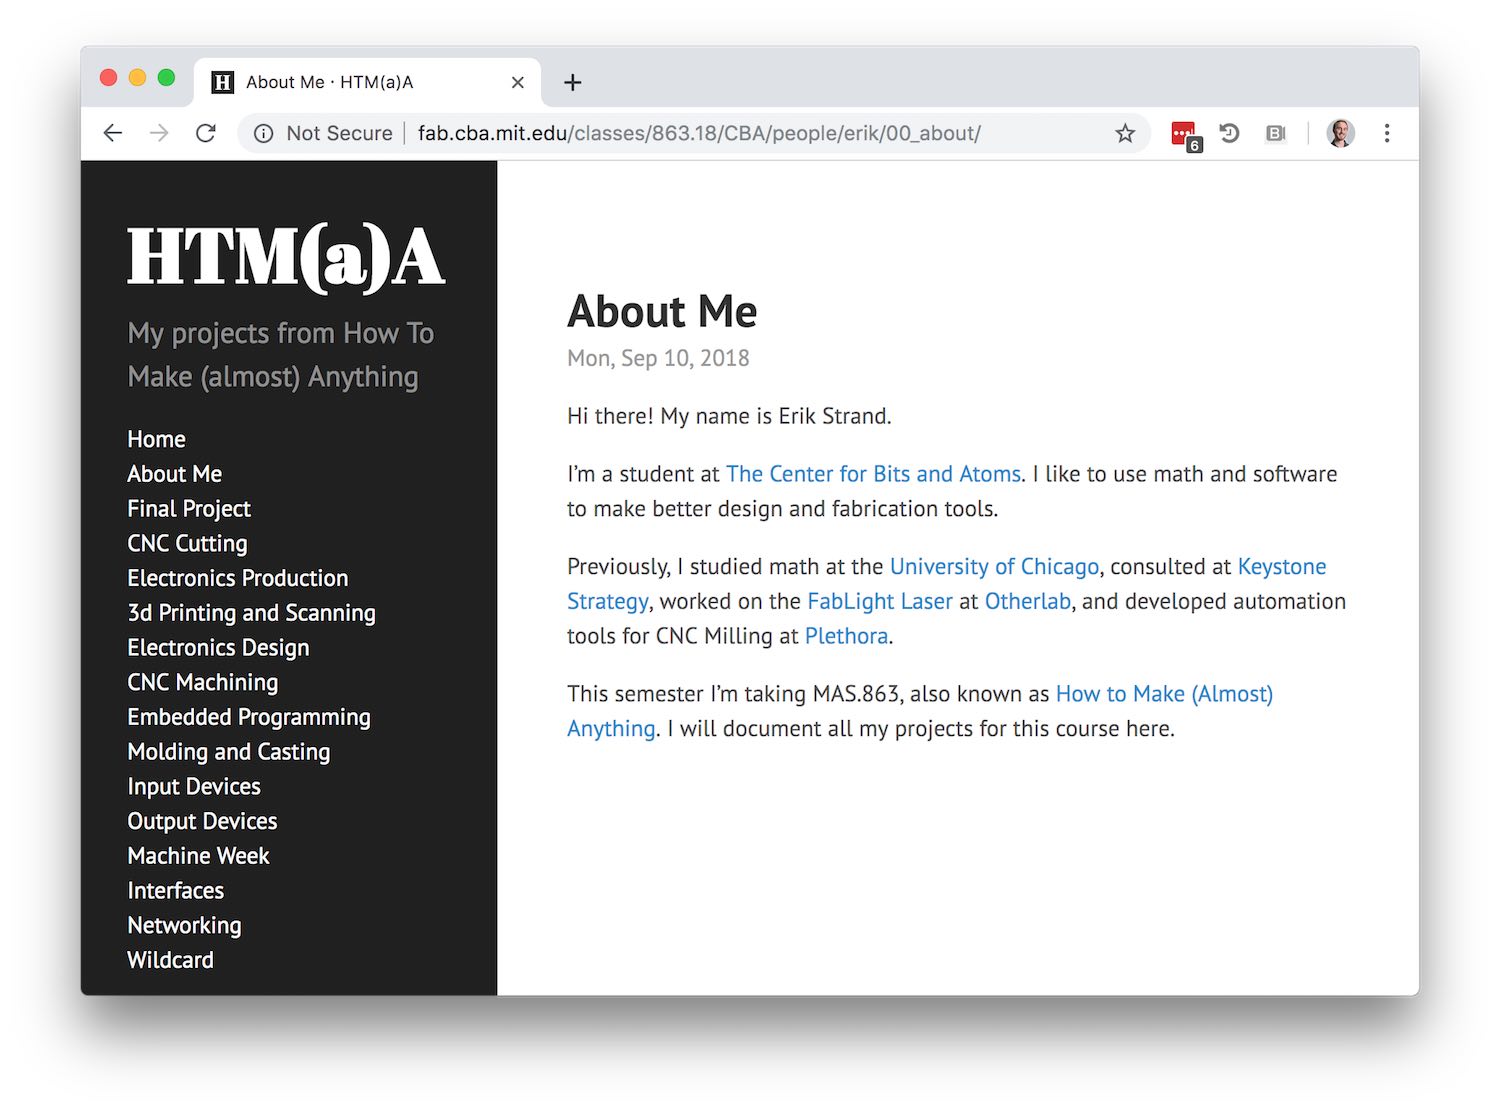
The title, sidebar, and formatting all happen automatically.
I (Erik) used Hugo for my How to Make
site. Later I used
Jekyll to make my site for another
of Neil's classes, Physics of Information Technology. The repos for these projects are available
here and
here in case it's helpful. You might try looking
through their git histories — seeing how the sites were built step by step can be easier to
absorb than just seeing the final product. (Note: The separate repos were just to manage the
Markdown. I'd then generate the HTML locally and push that to the class site. You don't need to make
another repo on GitLab to manage your markdown, but having it version controlled somewhere can
really help.)
Notes from the recitation
- link to windows comand line options
- link to more git clients
- note how to view page source
- fix link for outdated ssh key instructions
- link to better git intro