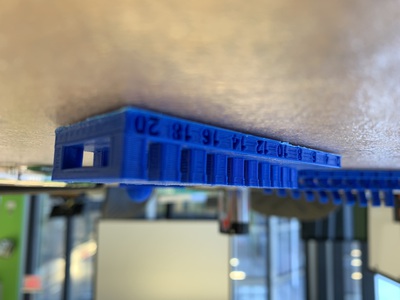
Group Assignment 2: Test the design rules for your 3D printer(s)
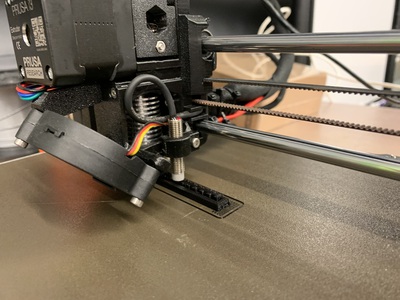
The first thing we did was learn how to operate the different printers as well as scan. Then we got to work printing something on the Prusa. We initially printed the clearance file from the website,but in order to try and save time, we thought it would be smart to scale the part to be half as big to try and save time. It was not smart, and Anthony was disappointed in us. We reprinted this part, and to *actually* save time on the other parts, we put multiple parts to print on the same job.
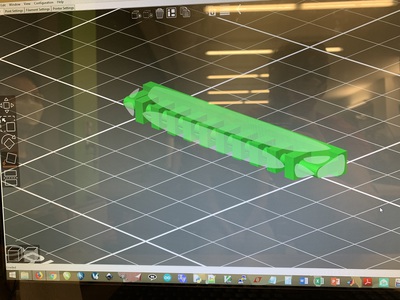
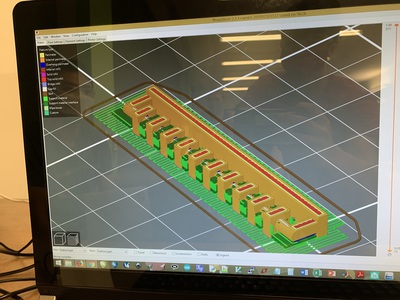
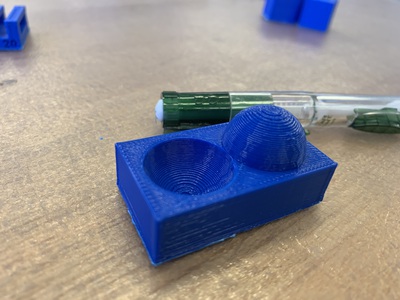
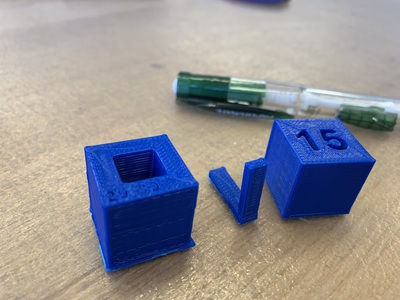
These two pictures above and below show us paying around with orientation and looking through the layers before printing. We discovered that we should flip it because at first the numbers on the object were on the bottom which made for a weird layer of supports and printing for the bottom layer.
Our first printing job!
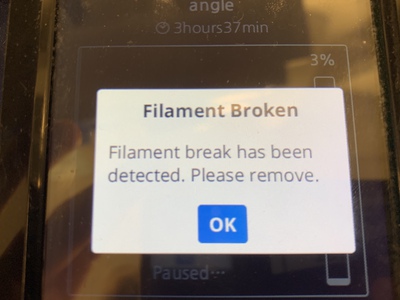
Abruptly cut short. We had to clean and reload new filament. Thanks Anthony!
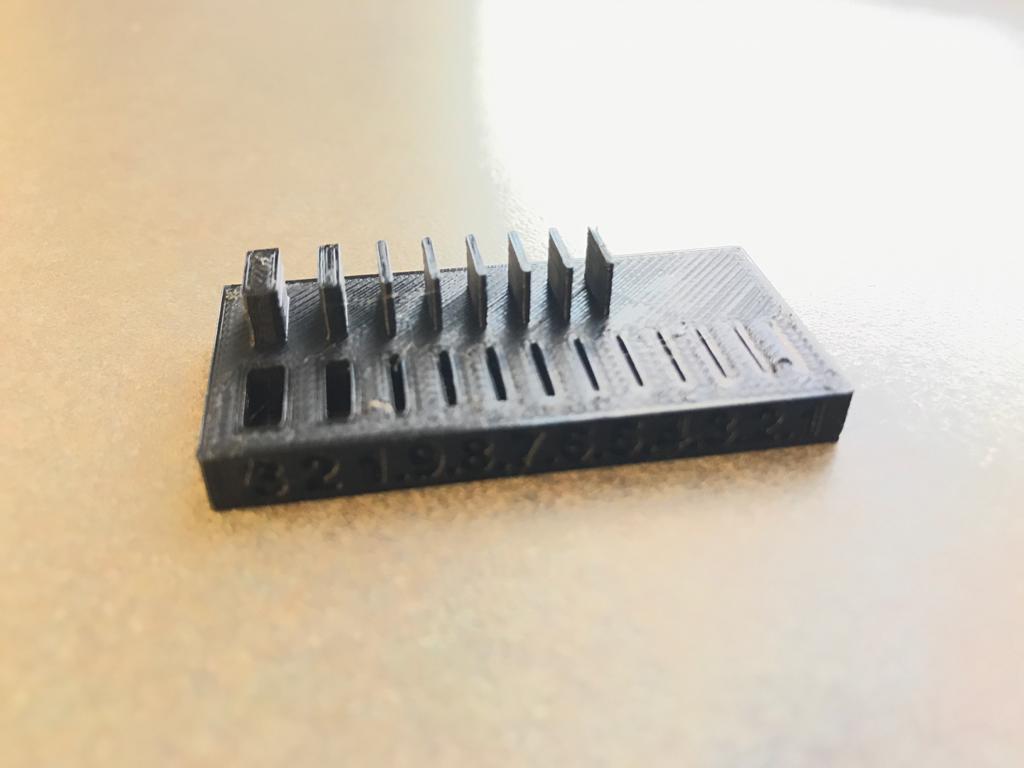
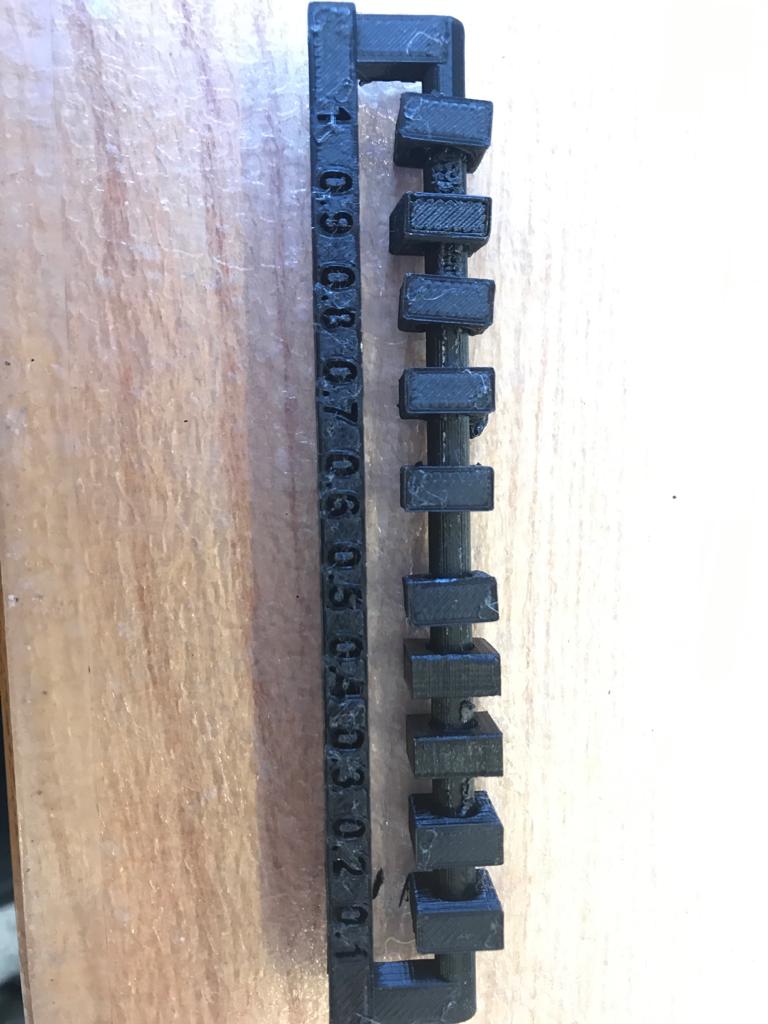
Then we went for it and printed all the other tests.
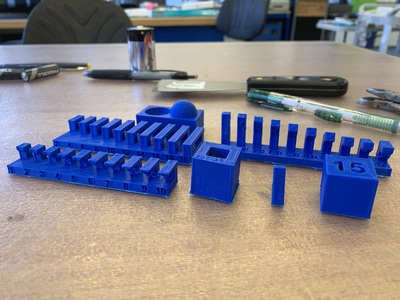
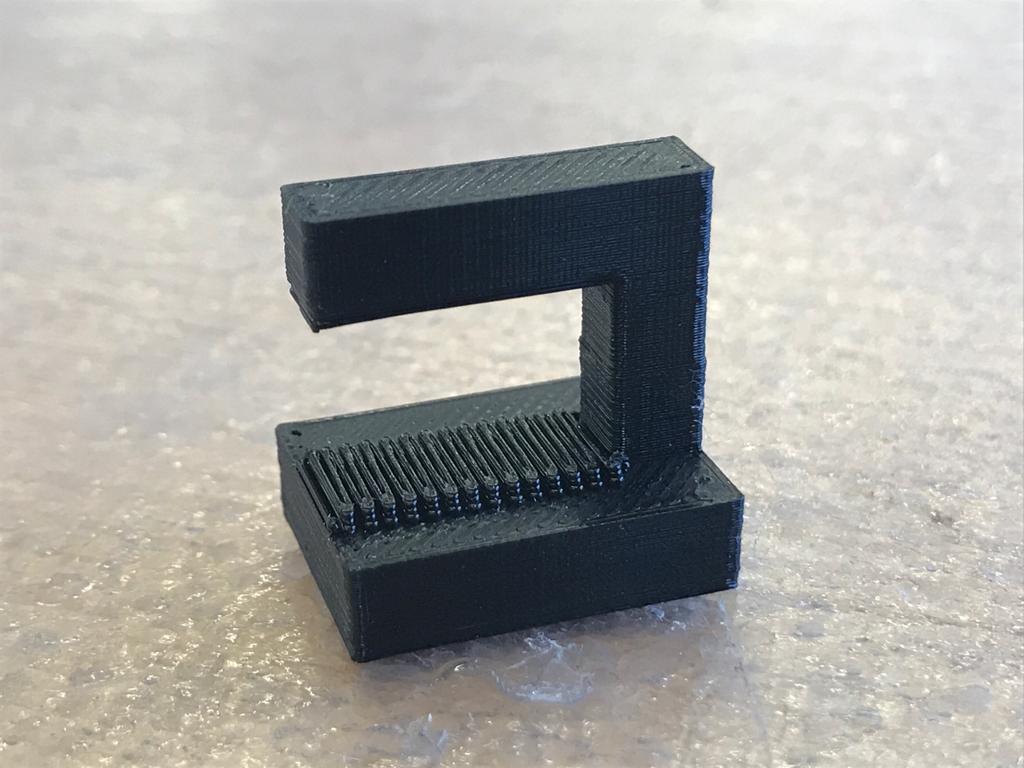
Unsupported overhangs were basically bad no mattter how far out they went. If they were less than 45 degrees, however they ended up printing well.
Supported overhangs worked well.
Cleaning up the pieces can actually take a while. A chemical bath would be pretty cool.
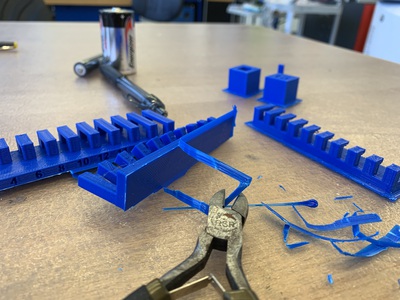
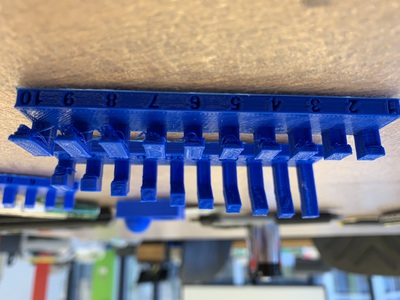
The overhang on the prusa worked much better.
At .4 the thickness broke down for both the sliding abacus and the thickness print