Week 1: Computer Controlled Cutting
What I associate with traditional "maker" projects.
2D Design
I've cut vinyl before. Usually you end up with your
own single layered sticker. I've recognized it as
those wall text in museums or as decals for
on vehicles or on laptops.
I ended up turning an image I previously made in Procreate into a vector using Inkscape, then cut that out. I find that clean-edged black and white images work well, with a limit to how small the cuts can be. Inkscape has a handy tool to turn images into vectors by looking at brightness differences or detecting edges:
Inkscape: > path > trace bitmap


Vinyl Cutting & Weeding
Usually the most time-consuming portion, to get from
cut vinyl to the part you want, the excess needs to be
removed.
I just had to slide under the cuts, using thin X-acto blades or sewing needles, and peel it off. It also helps to apply pressure to keep the parts you don't want to remove down
Here in the ArchShops, Jen's (the shop manager's) advice is to cut the edges cleanly. The "test" cut suceeds if a circle can be removed while the square inscribed inside it still stays on.
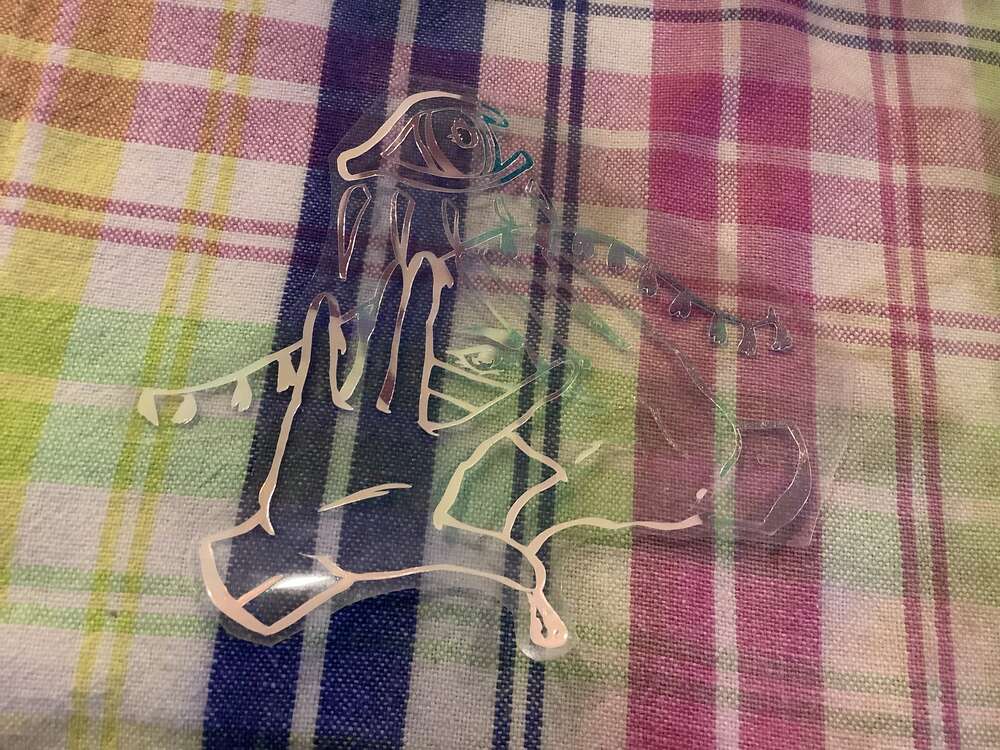
Vinyl Wearables
I was looking for heat-transfer vinyl to make
deigns for clothes alteration purposes. While I couldn't find any,
I heard that normal vinyl also works, so I tried. Unfortunately the image of
the final piece is pending upload


UPDATE @local makerspace
I returned home for the holidays, and turns out my local
public library has its own makerspace with a cricut vinyl cutter!
I ended up making some more vinyl design with holographic iron-on film!
Would always recommend carrying a "maker" USB or keeping on the cloud some files that you can pull up whenever you find yourself with the chance to make something. :)
Would always recommend carrying a "maker" USB or keeping on the cloud some files that you can pull up whenever you find yourself with the chance to make something. :)

2D Design for 3D Structures
Laser cutting is much like 2D design, except it has
thickness that can be designed with
I wanted to make a box that could be used as a modular storage solution to stack things.
My workflow was FreeCAD to Inkscape.
FreeCAD was a modelling software Neil liked since it's open source unlike many other CAD tools out there. It also allows parametric modelling. However, I've never used this particular software, so it was quite a learning curve! I used sheet metal to model cardboard, since I had prior experience using sheet metal modelling in SolidWorks to design a robot for a class before.
Inkscape helped me clean up. Weird edges came from using sheet metal, so I fixed those and added color and marked out actual lines for cutting and removed construction lines.
Files:
FreeCAD file | Svg file


Characterizing the cutter
My notes on characterizing the laser cutter can be found here:
Group Characterization
I lasercut the different sections on cardboard. The issue of warped stock caused some parts of the stock to be higher then the rest and lead to uneven cuts and kerfs. The tolerances that would fit using one stock wouldn't fit with another. Eventually all the good stock left was pretty warped :/
One solution Jen had was to cut the stock into halves or smaller pieces so any warping would be less exaggerated. However my design needed too much of the stock.


