Week 4 - 3D Printing and Scanning
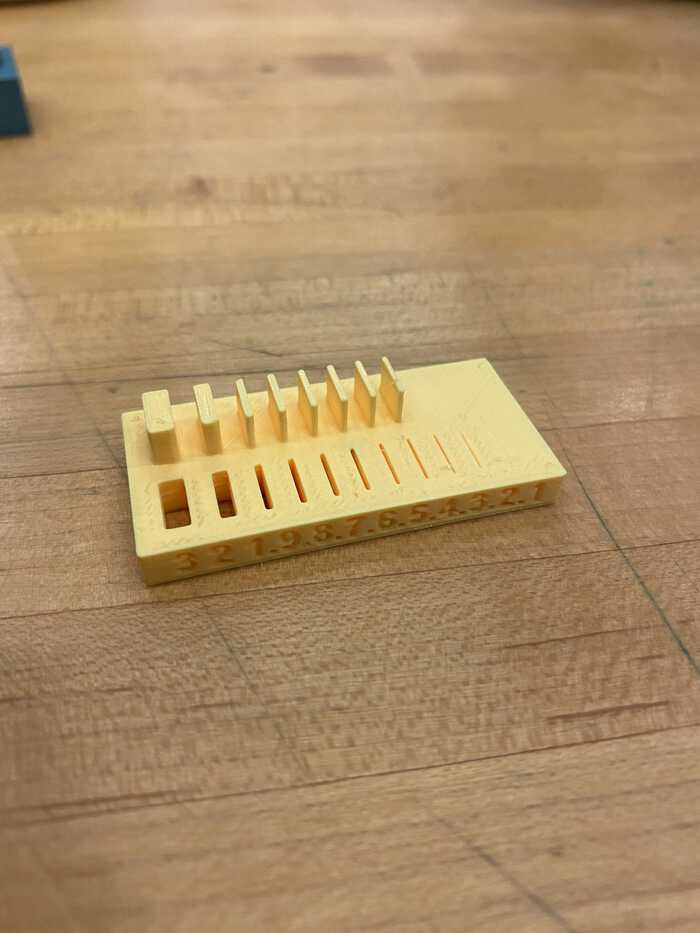
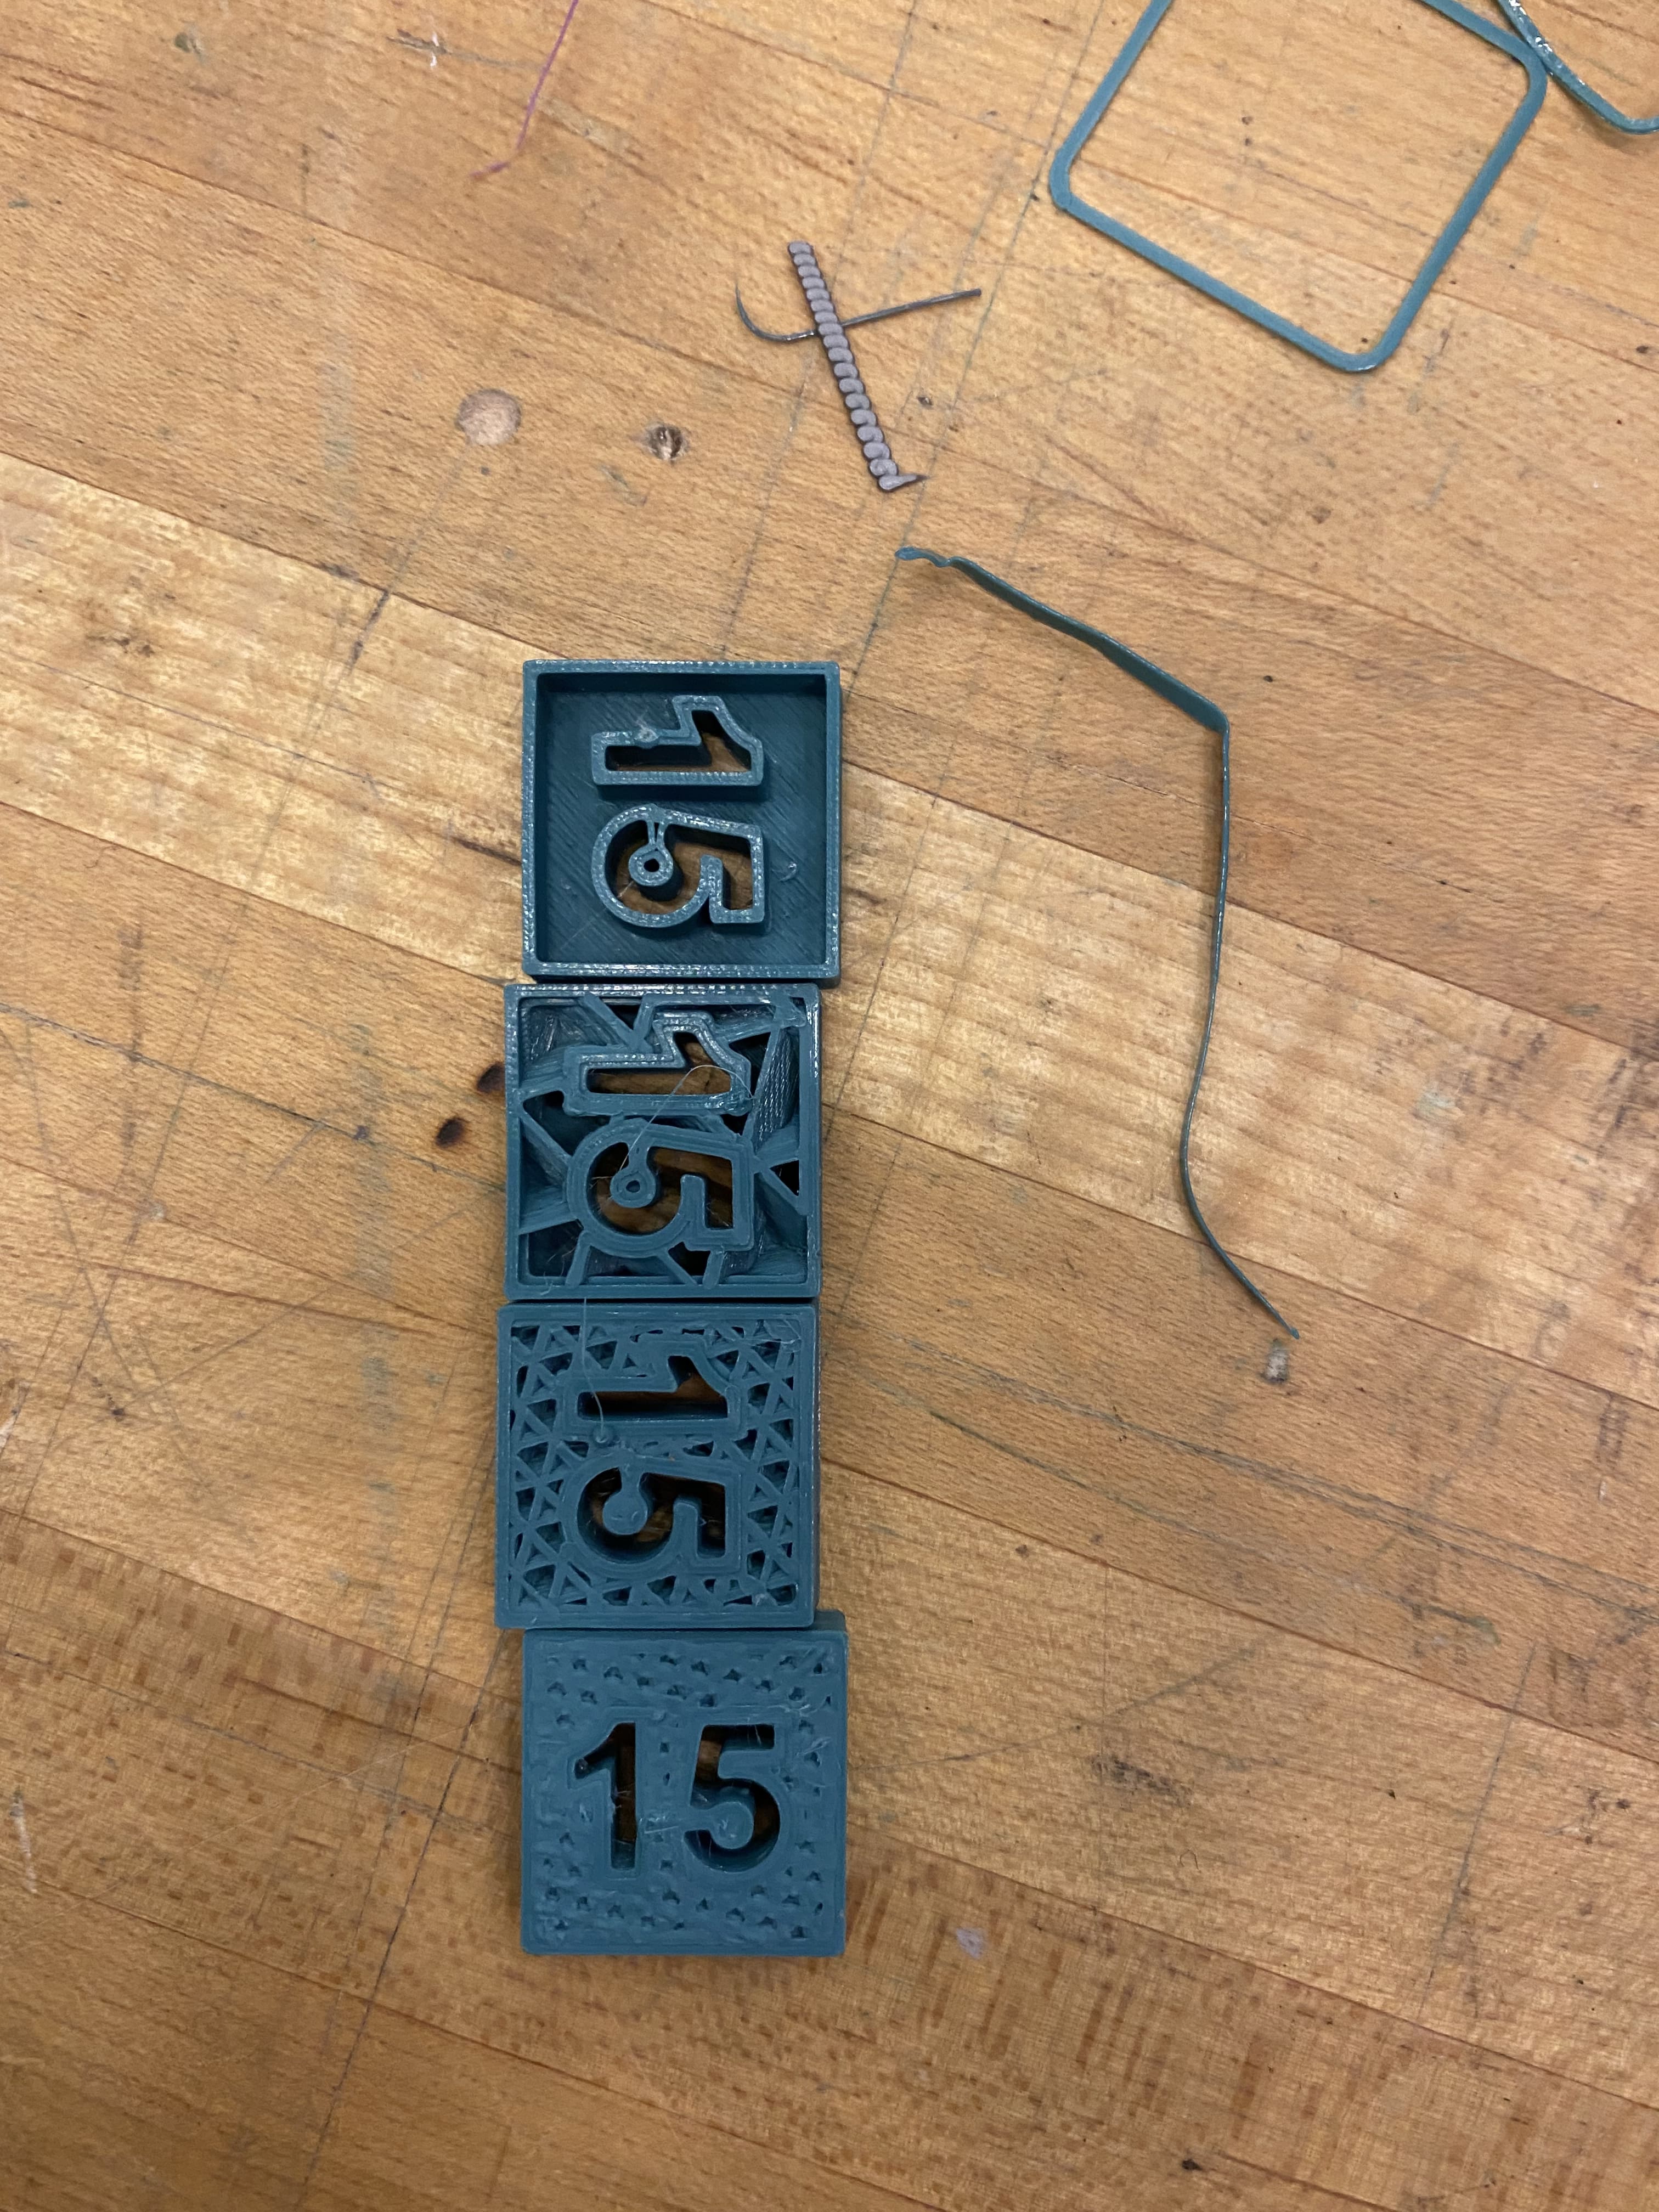
Due to some travel, I only had two days to work on this assignment and I am not good at designing 3D things. I first started off by doing a couple of prints for group assignment just to get used to printing things on Prusa i3 MK3. Me and Thais Xisto started the prints for surface finish , wall thickness and infills

Next I started with trying to 3D Scan something using https://www.artec3d.com/portable-3d-scanners/artec-leo Artec Leo - A 30k machine. I wanted to scan something with a bridge and overhang of sorts. I decided to scan my tea pot which is reaching the end of it's life and is a gift and a constant companion through out the pandemic.
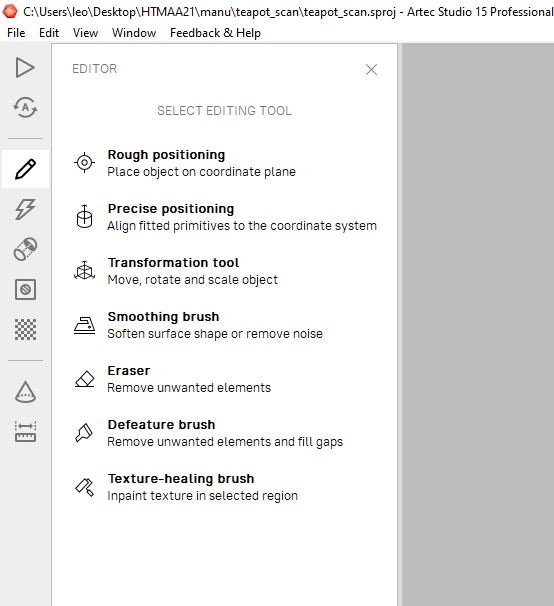
To scan the teapot, I placed it on the cardboard atop the trash bin and slowly walked around it with the Artec Leo - Patience is the key. Then I took the SD card and inserted it into the desktop and opened the file in Artec Studio. After loading, We used the autopilot tool to prep the model for printing.

The autopilot tool goes through many steps for creating a model that we can 3D print. When I did the scan of the teapot - it also registered the cardboard and other things in the background.
I just clicked through OK on every screen for autopilot and waited for it to complete. There is a option to erase the cardboard at this point in the background - but don't do it. Just let the autopilot do it's job
Next, I used the editing tool and the eraser. The eraser gives you many options - select a plane, spline etc. I used a variety of the eraser shapes to completely remove unnecessary background elements of my scan
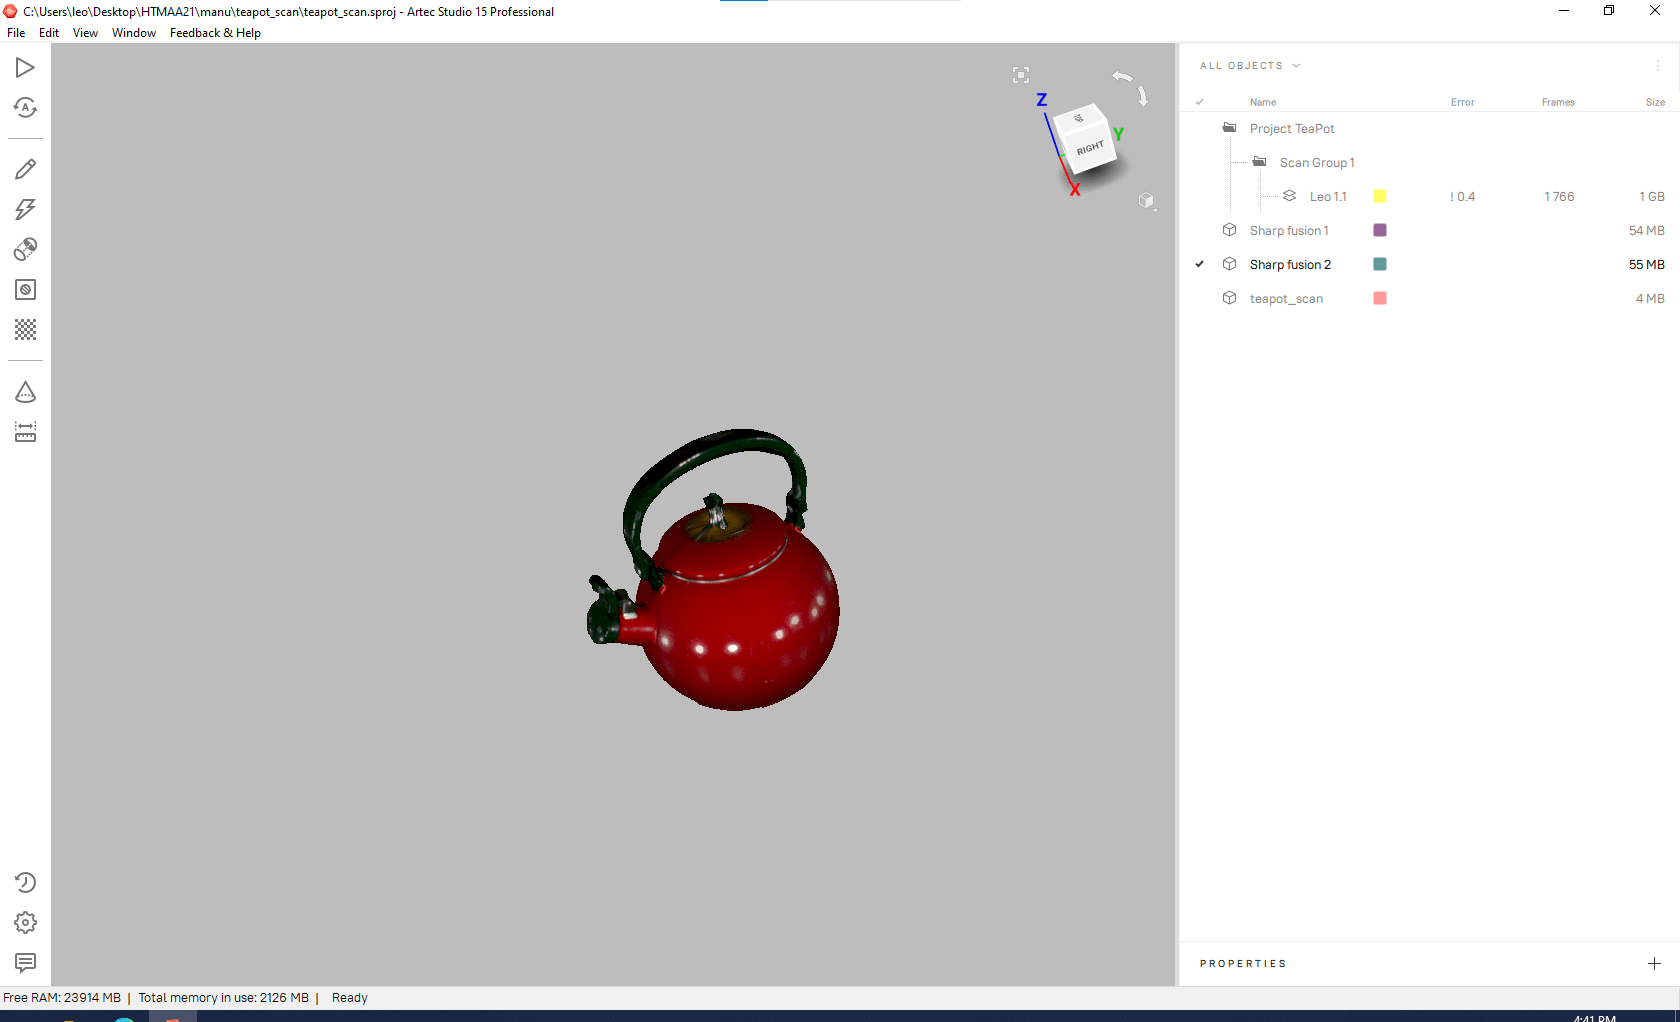
And then it looked like this!! Last, I used the fix holes - clicked through the default options - to make sure the bottom was closed.
After I exported the file and showed it to Tom, I realized I didn't apply the texture correctly - So I went back to Artec Studio and applied the texture back again using the below tool

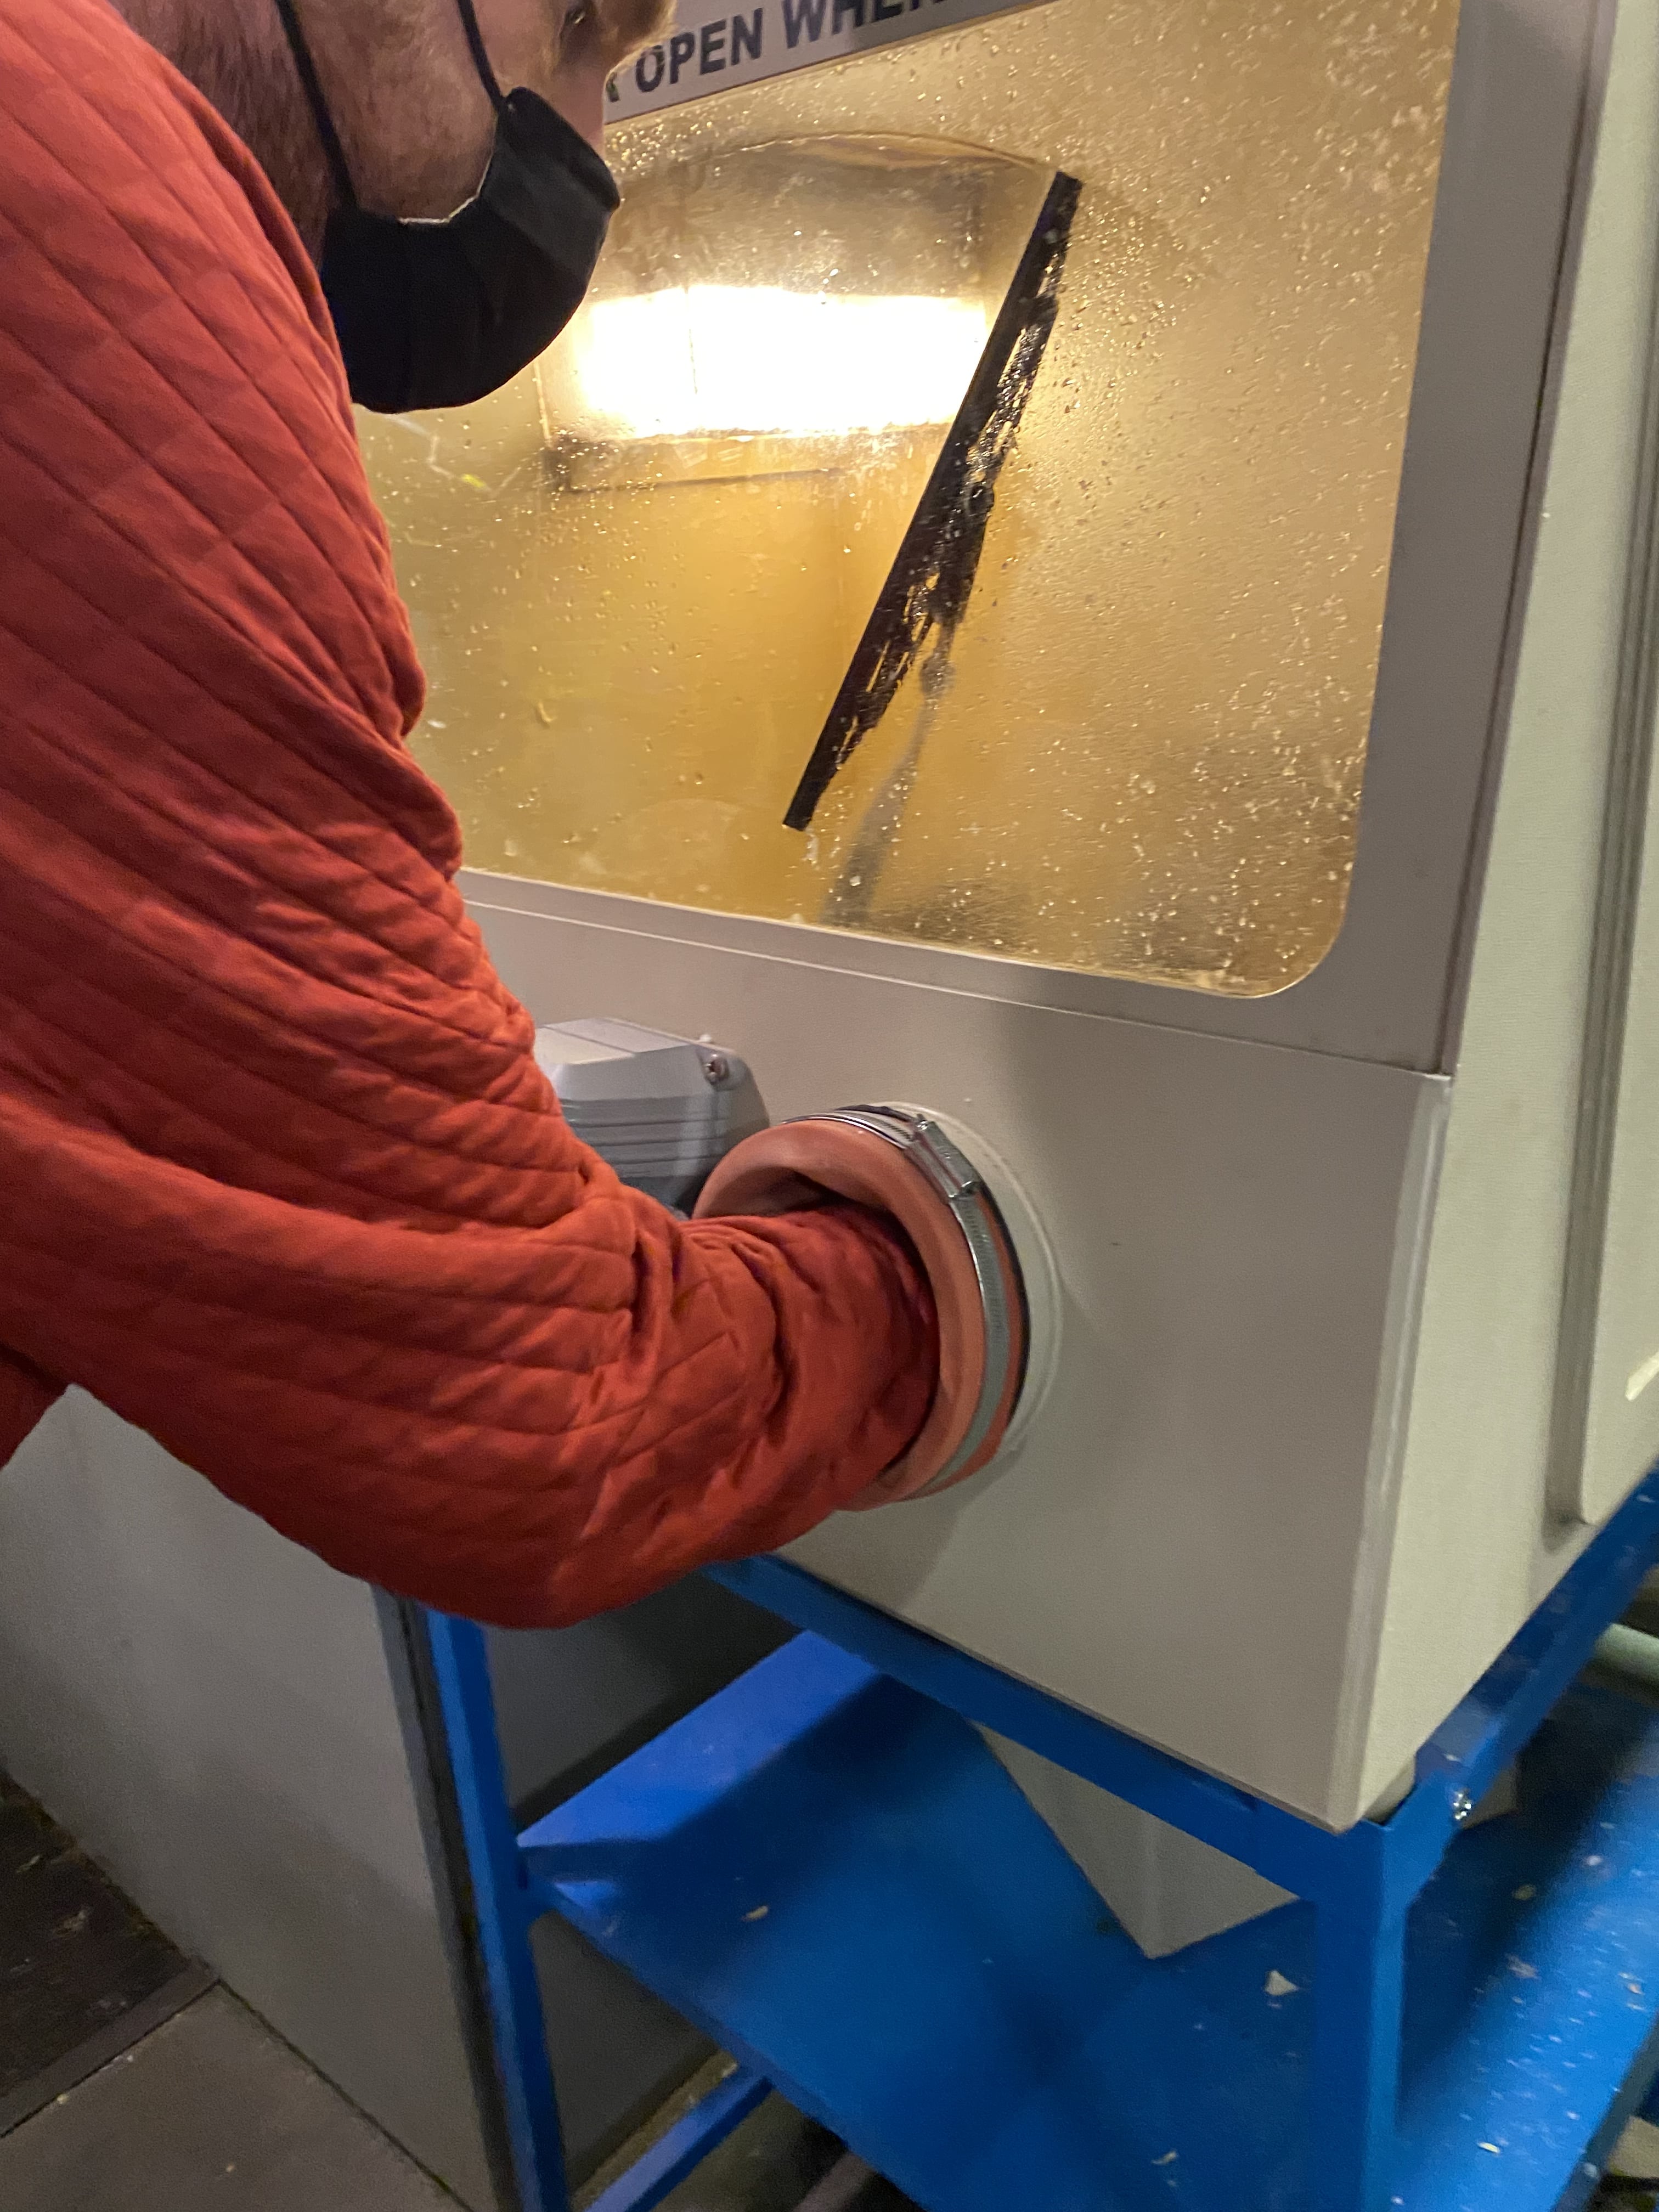
Then export the scan as wrl and texture file as a png/jpg and submitted it as a print on stratasys j55. I then picked it up the next day and followed tom's instructions on the high pressure water jet to clean the support material of the print from j55.
I thought this was a ton of fun. (Note - keep the door on the side open to prevent mold from getting in)
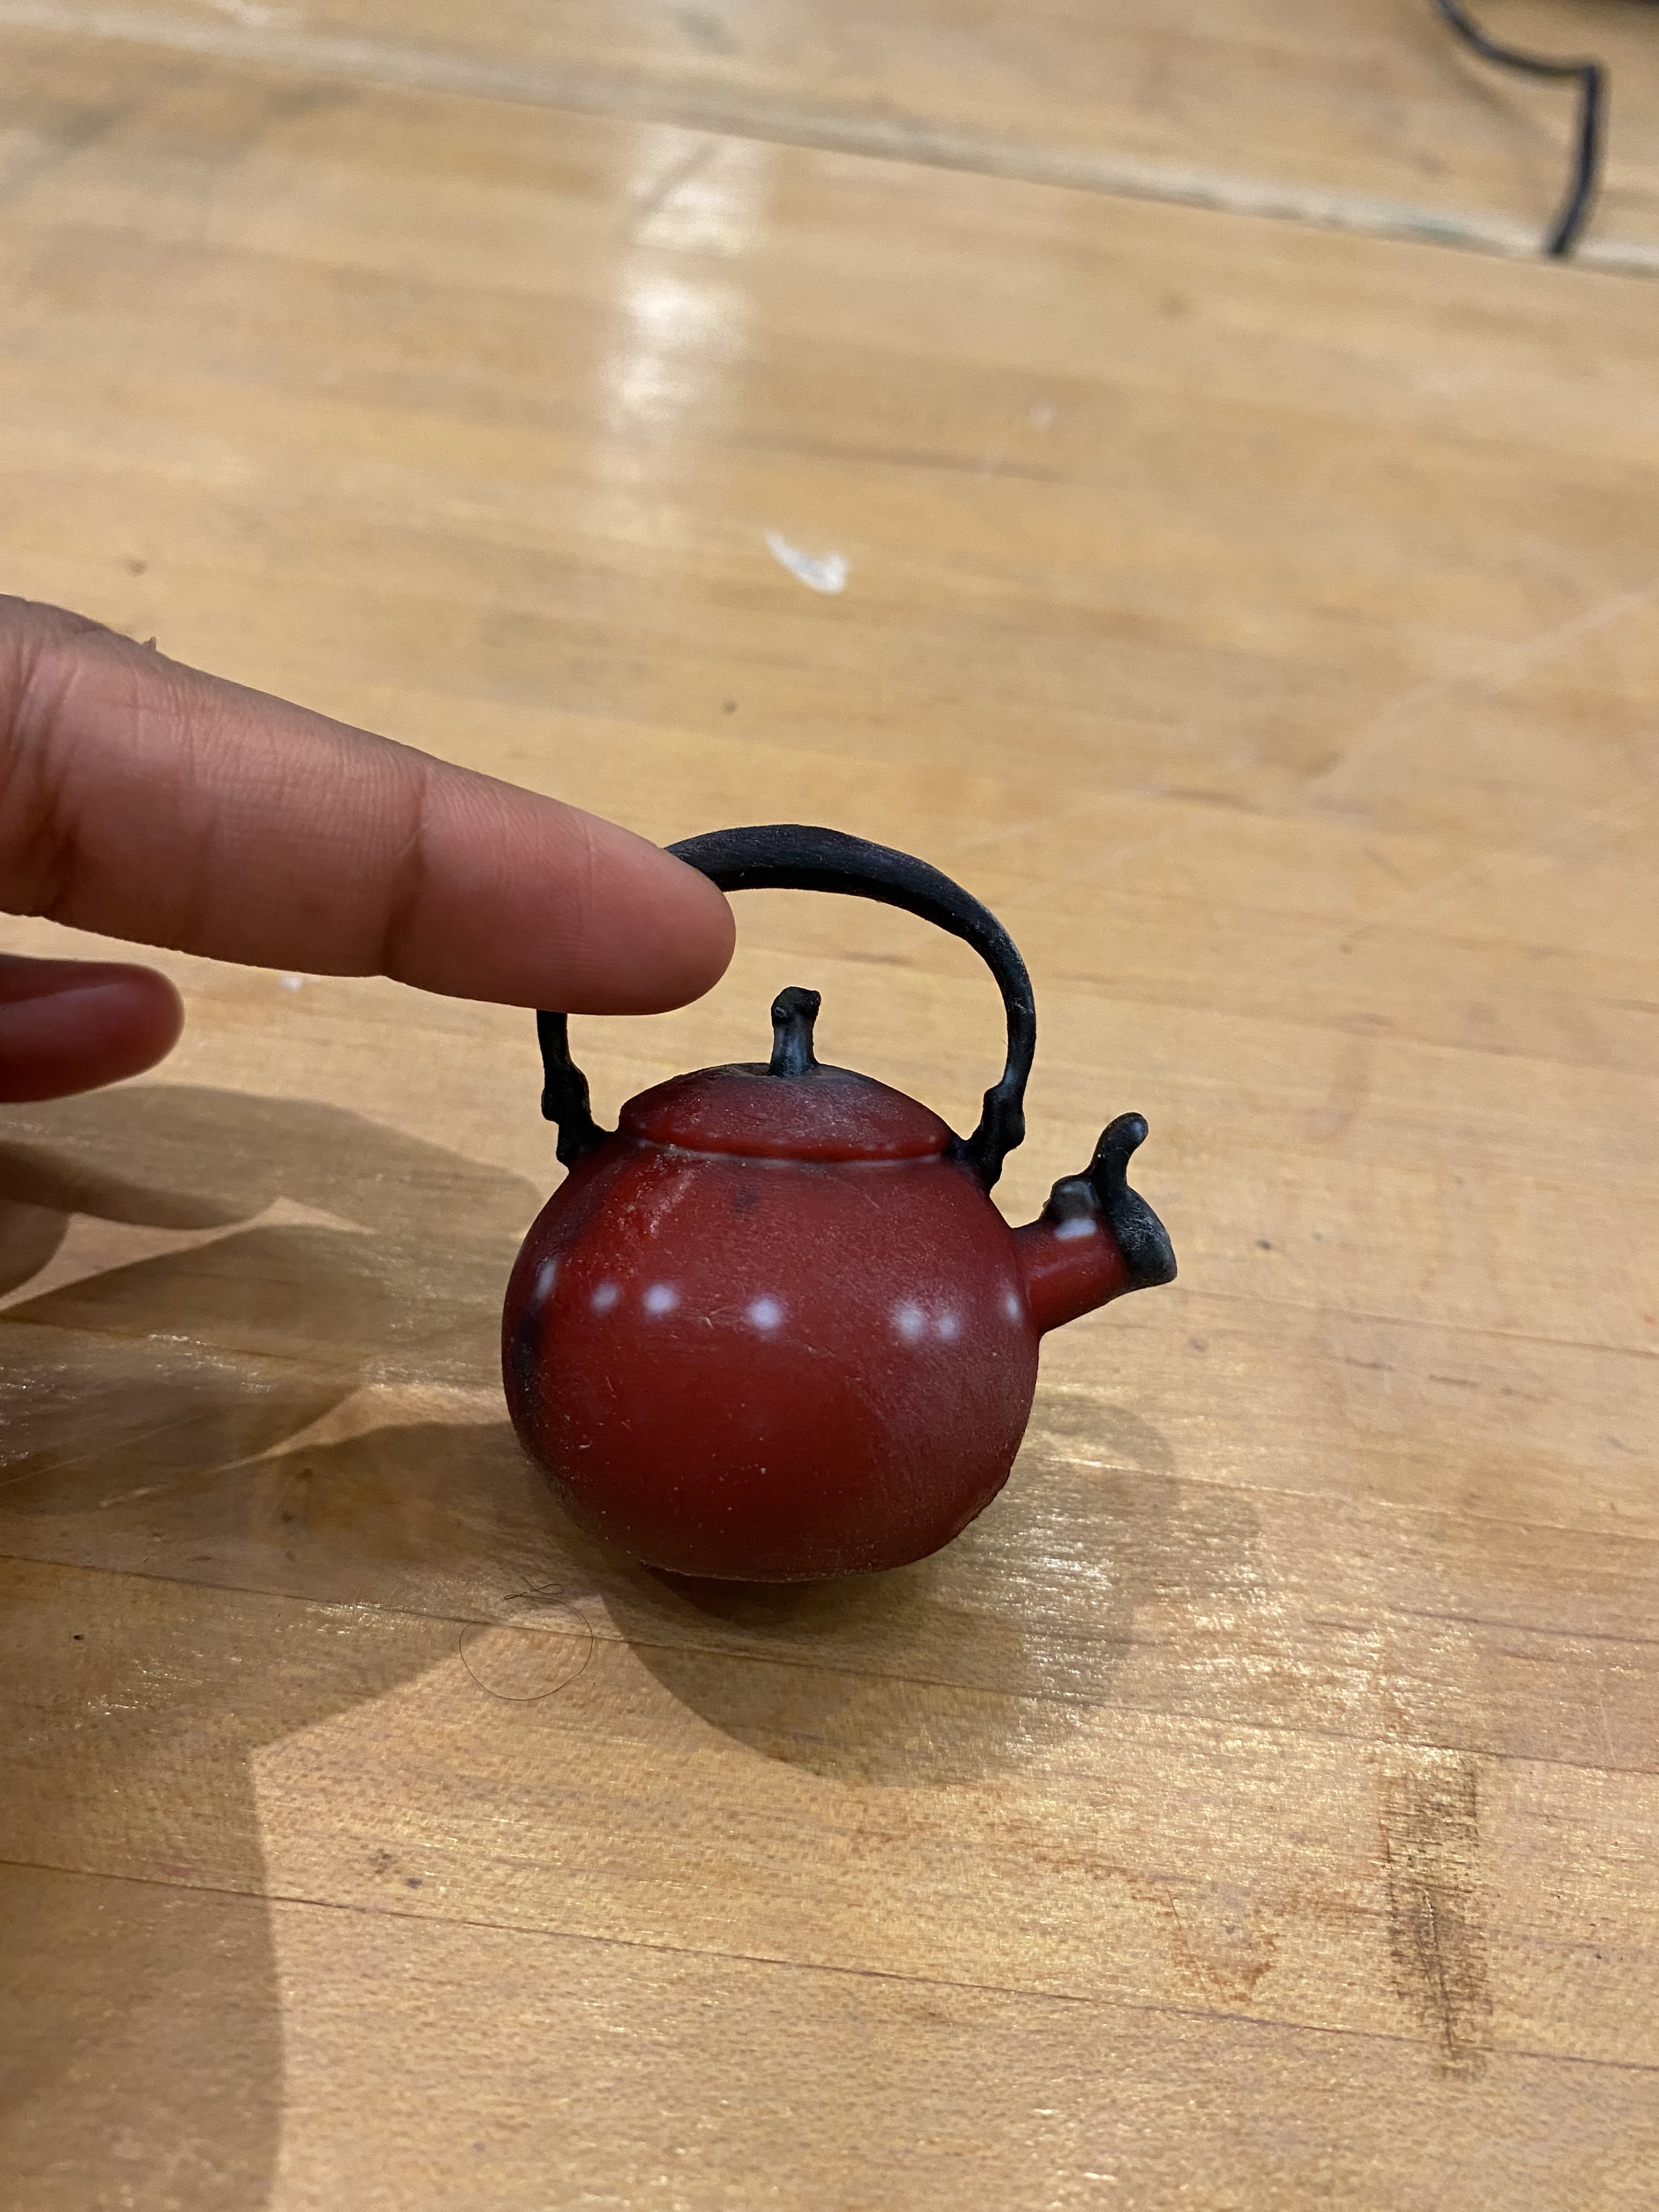
And finally the end result looked like this. I think the tiny tea pot is so cute. It even has the light reflections from the scan as tiny dots!
Next, I used the Prusa i3 MK3 to 3D Print something. First, I used the STL files Pat at Fluid Interfaces made of the media lab logs for a 99F project we were trying to work on. I printed the ML logo and put it into a Petri dish but unfortunately the cultures got contaminated so nothing fun to see here
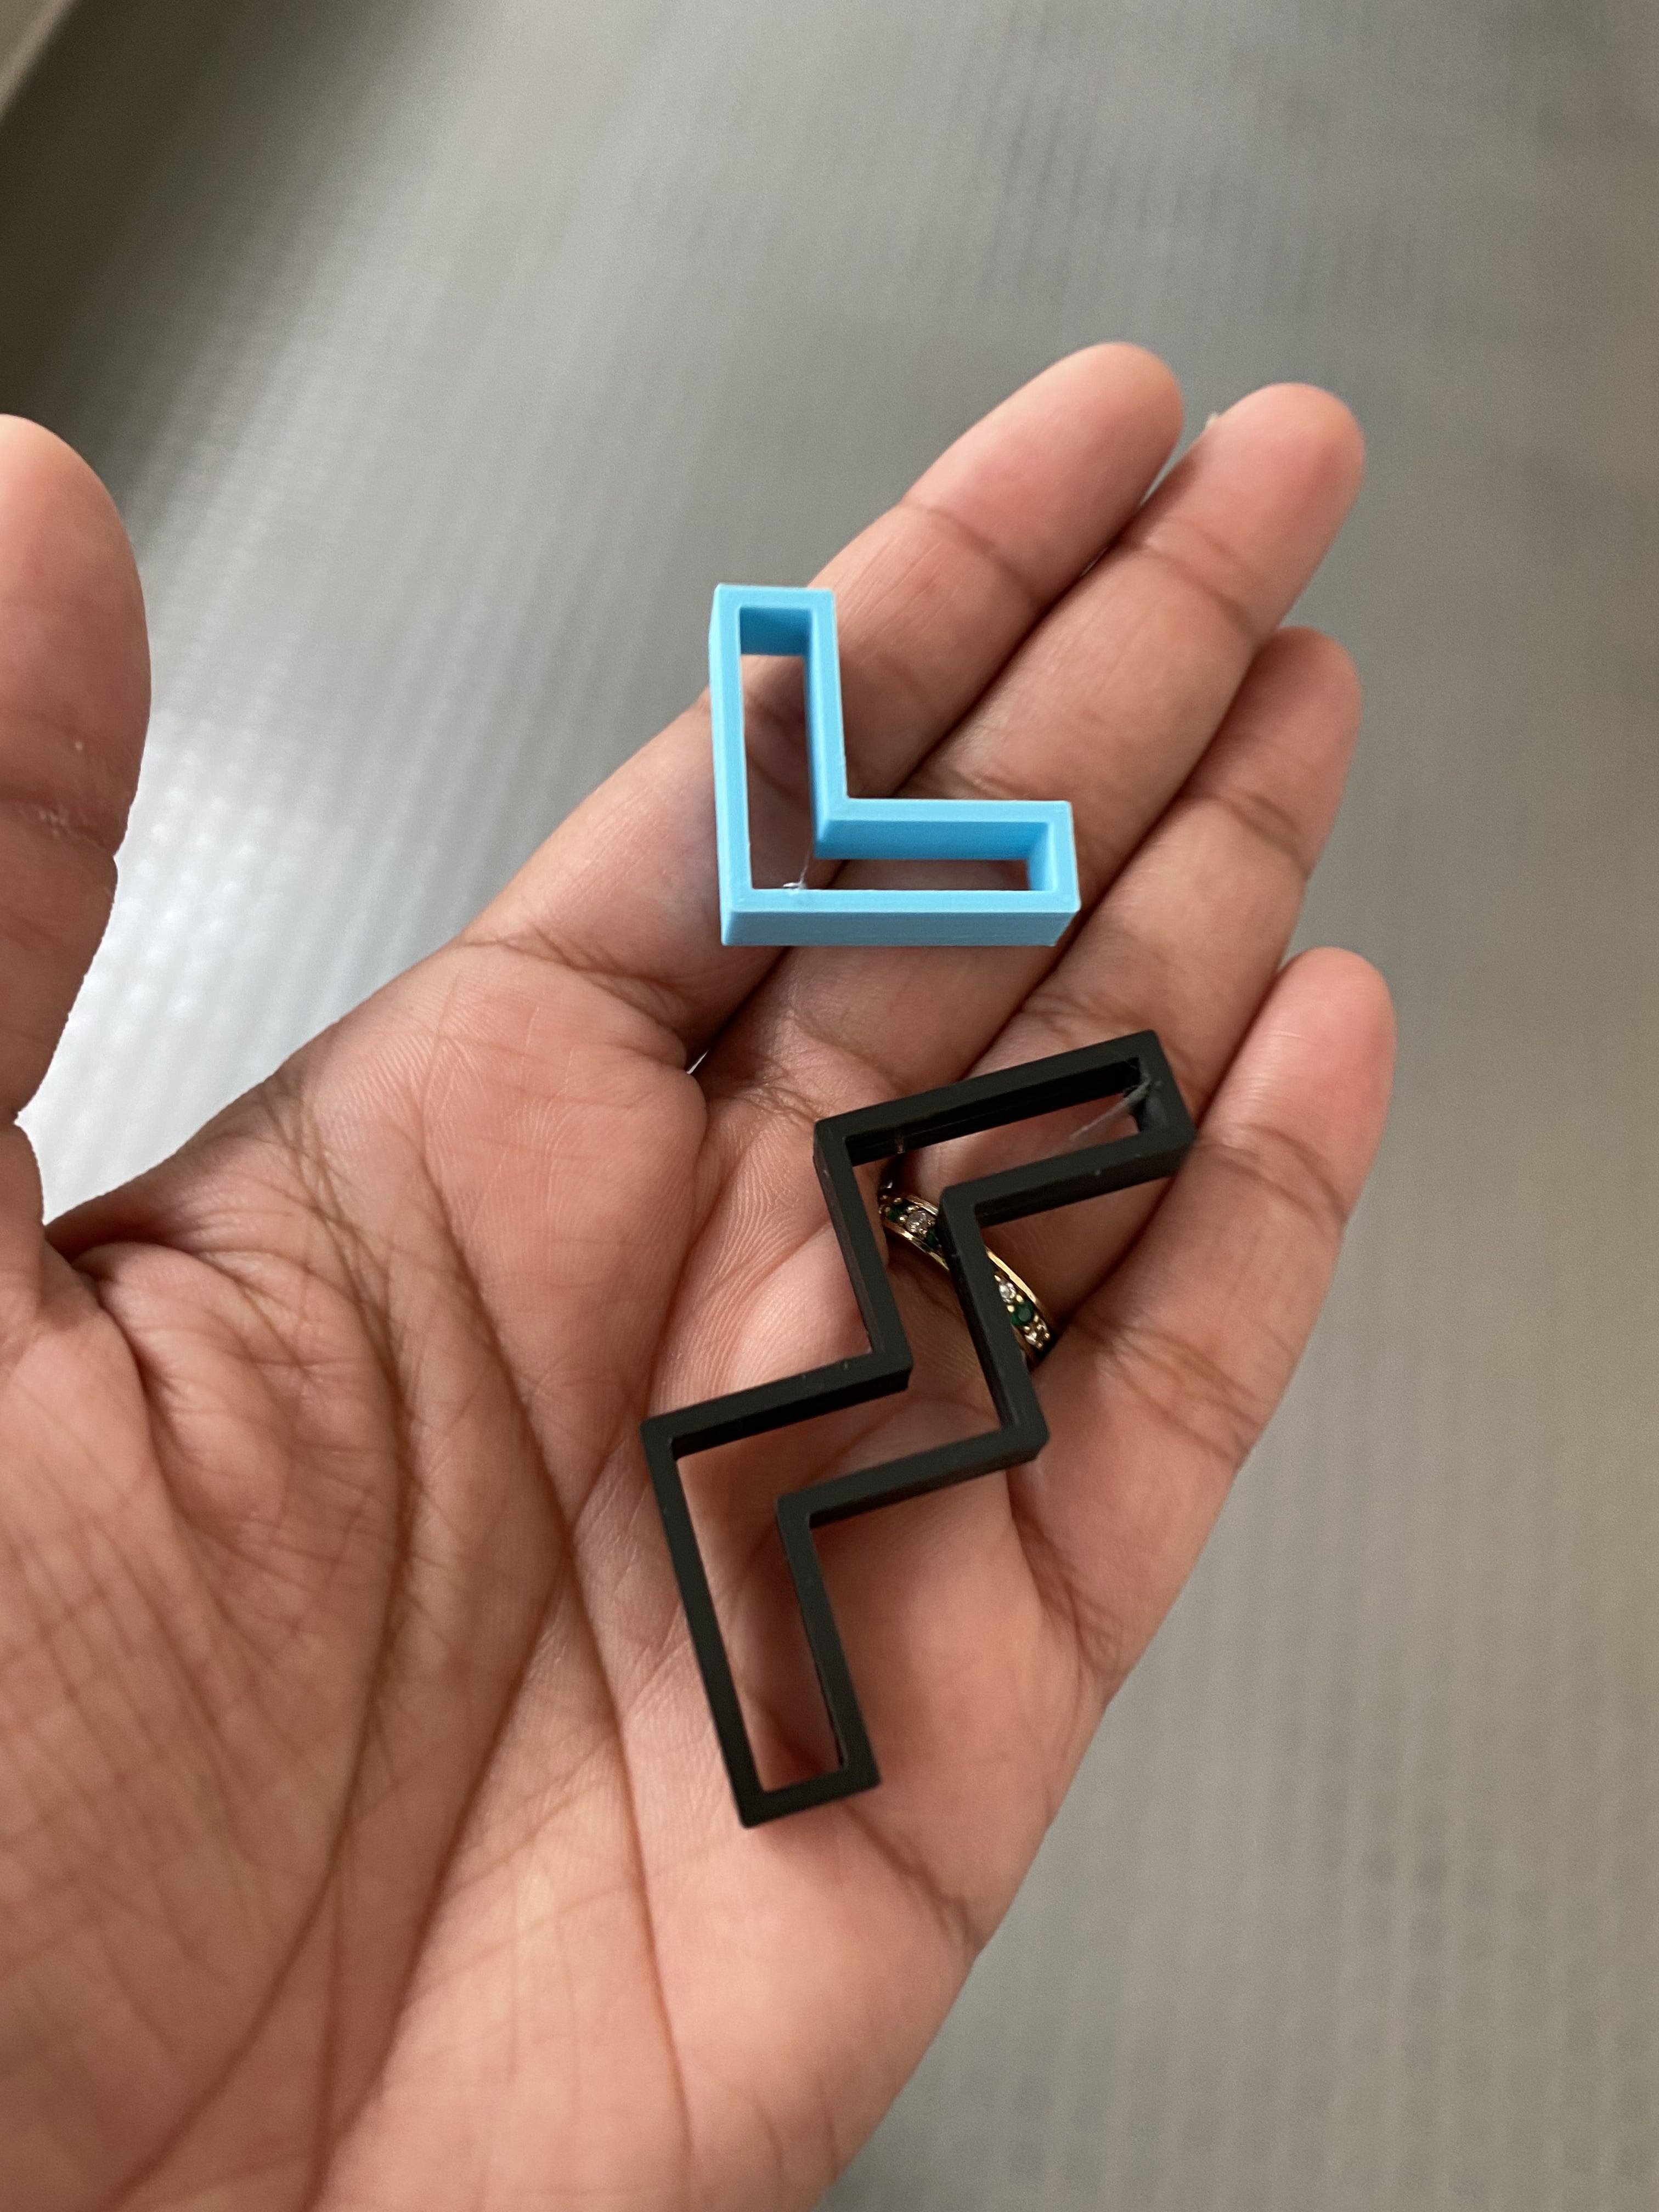

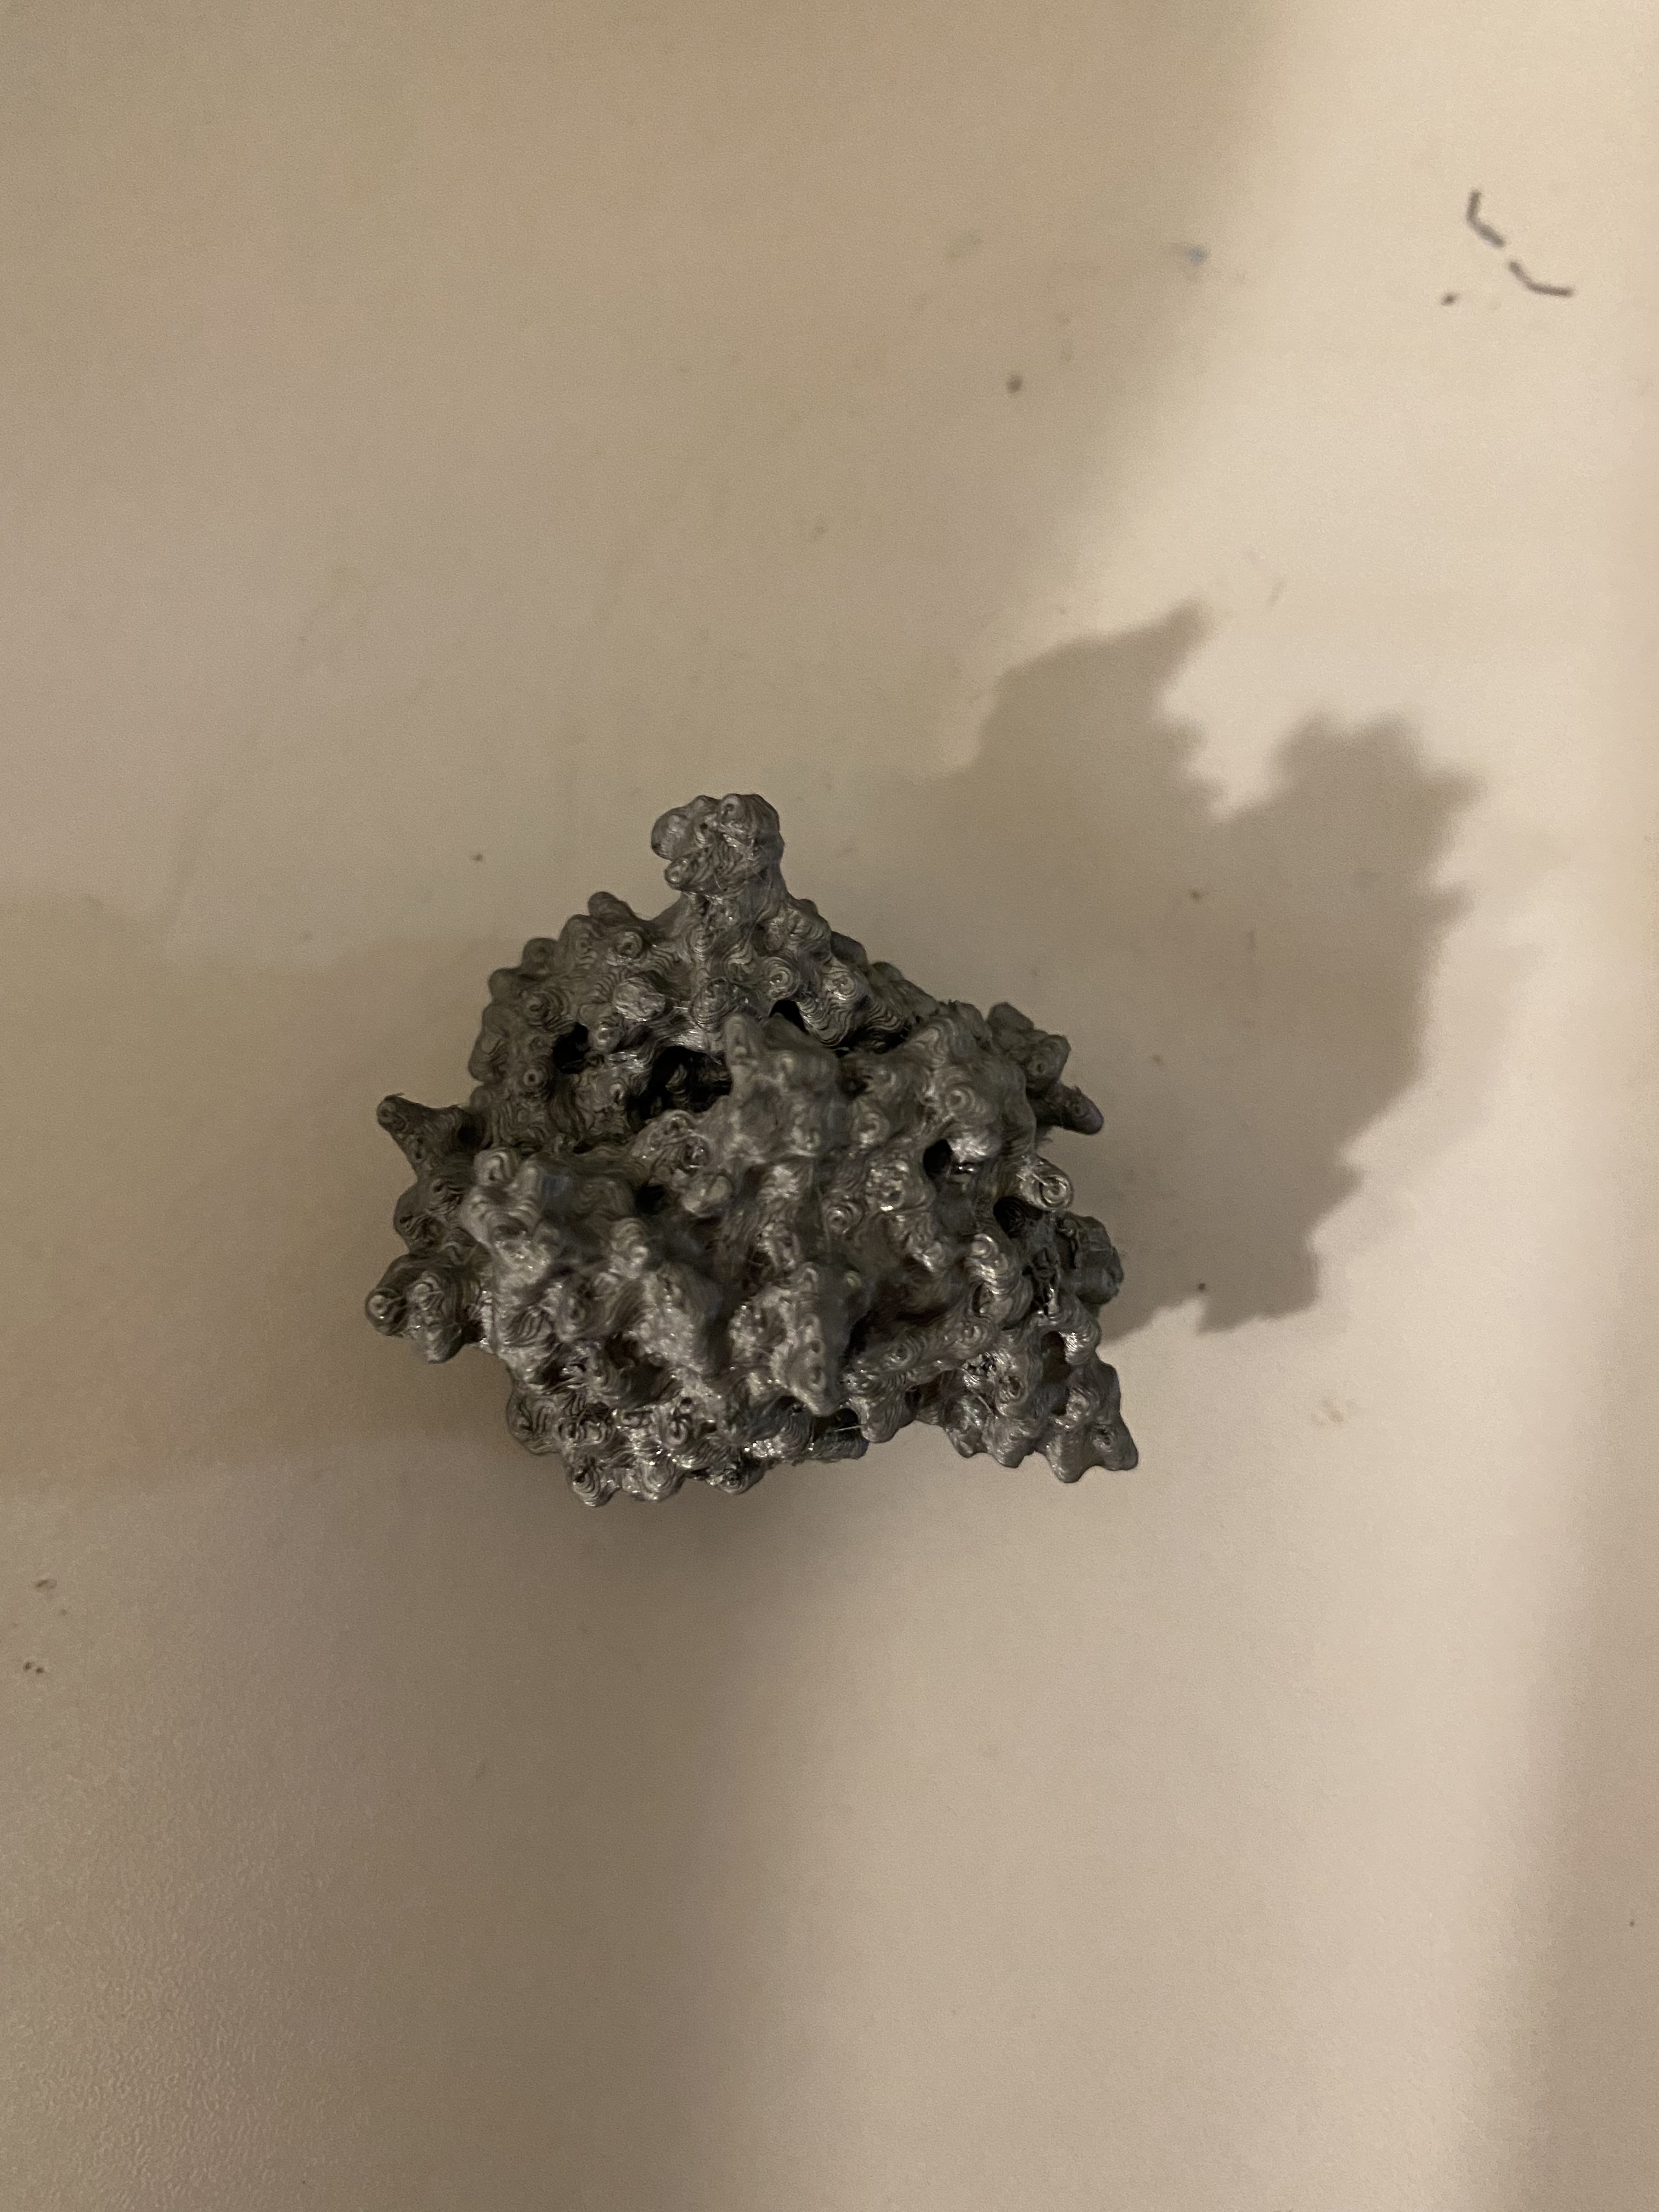
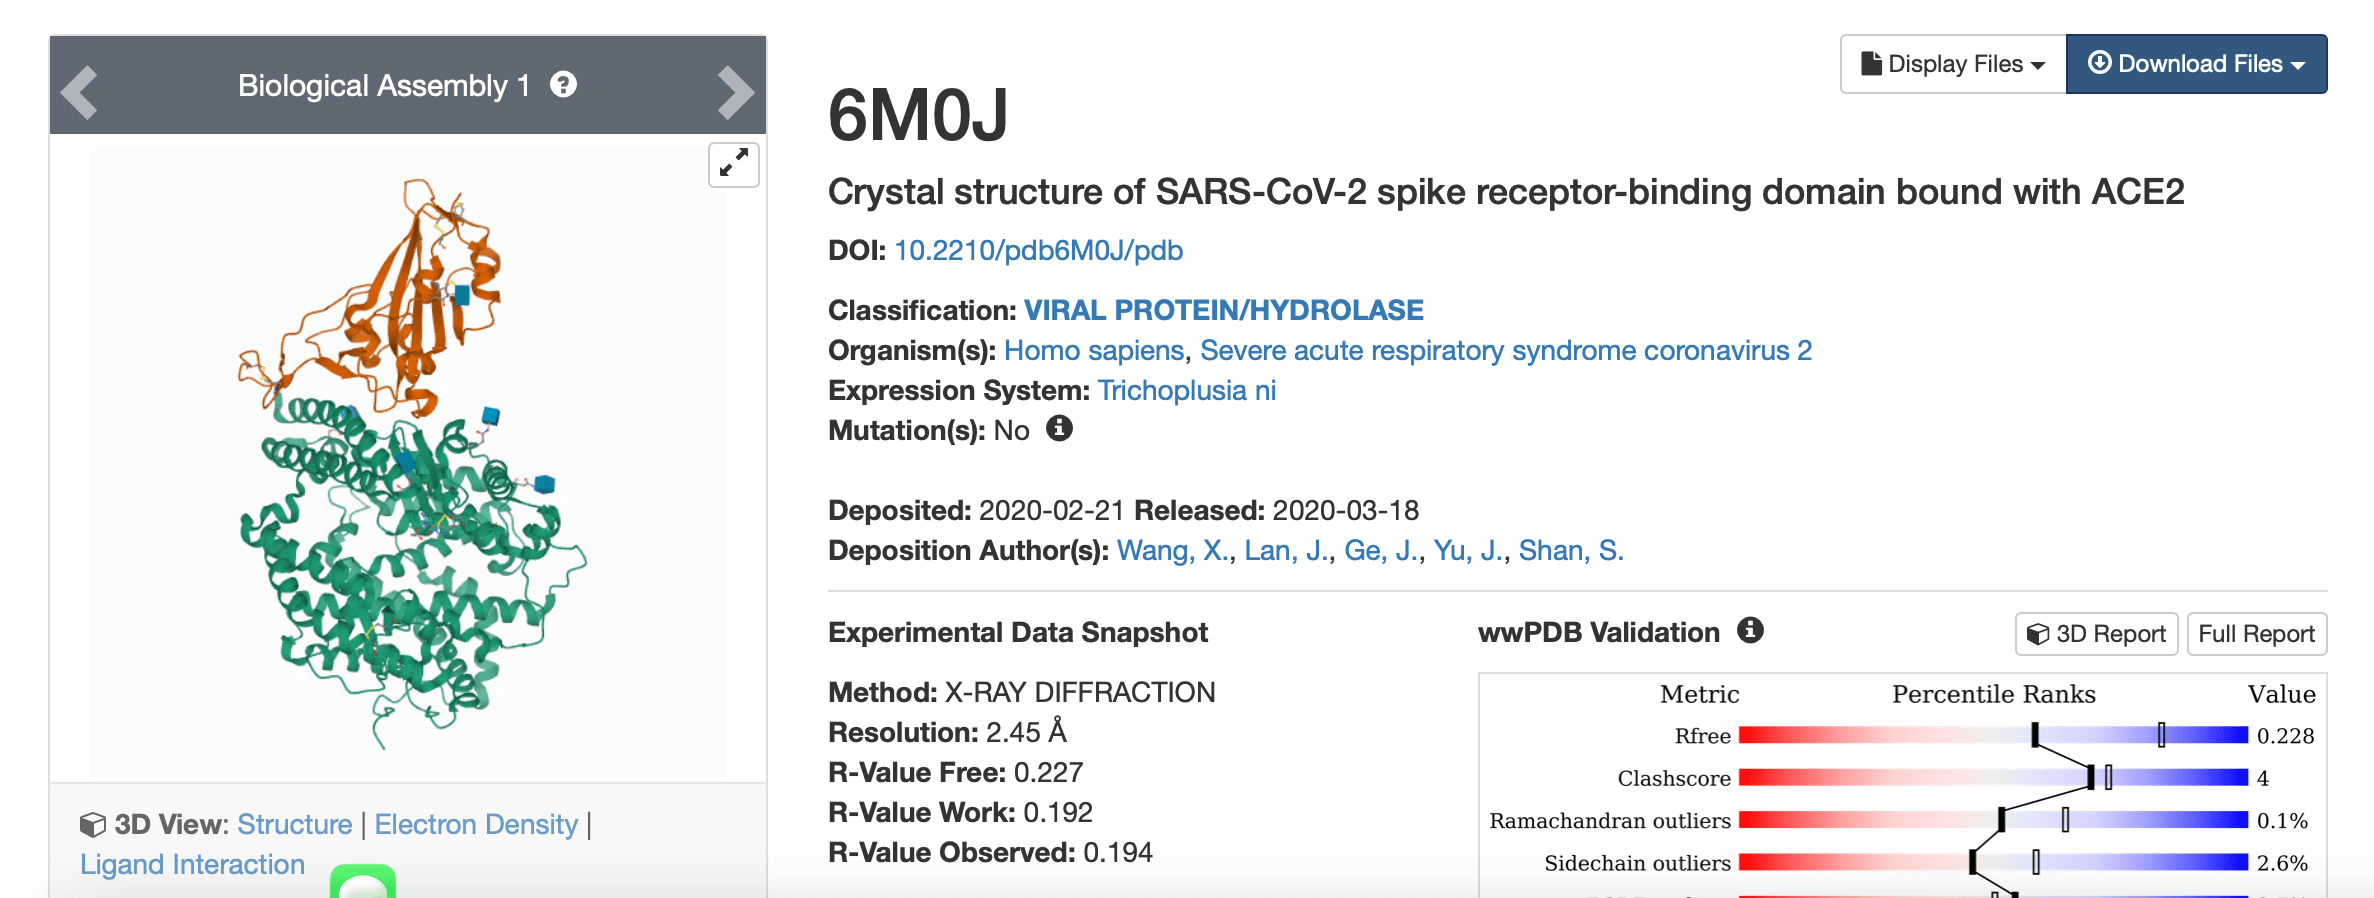
I initially started to work on designing a compliant mechanism inspired by - https://www.compliantmechanisms.byu.edu. But I couldnt get my designs done in time -> still learning to use CAD tools. Since I was running out of time, I 3D printed a protein. I decided to pick the ACE2-receptor - the protein that SARS-CoV-2 Spike RBD interacts with to enter the cells. I downloaded the crystal structure from 6m0j https://www.rcsb.org/structure/6M0J
I then opened the file in Chimera - https://www.cgl.ucsf.edu/chimera/
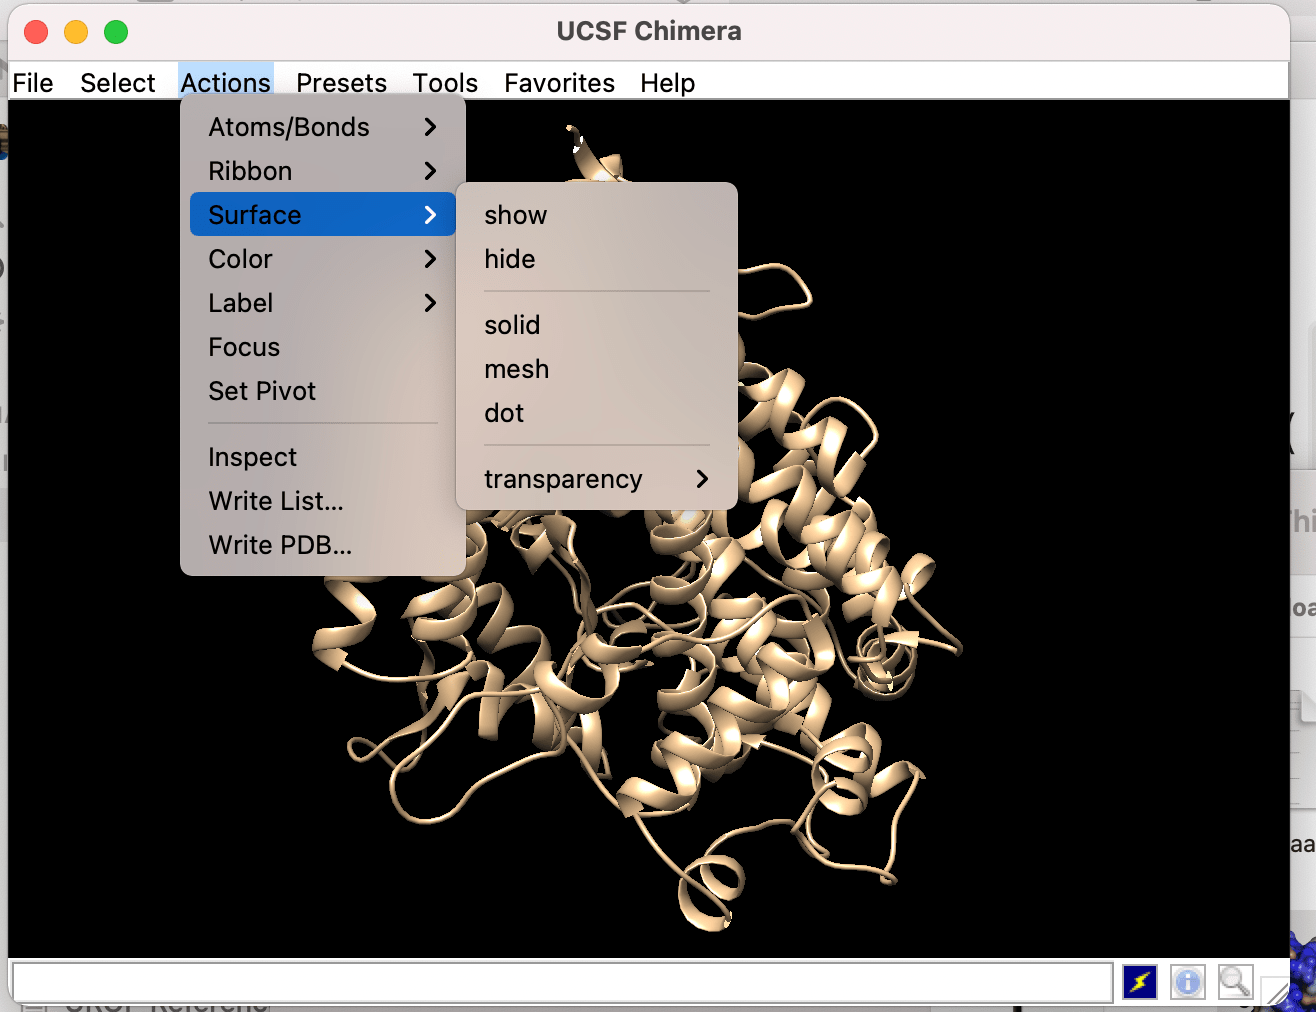
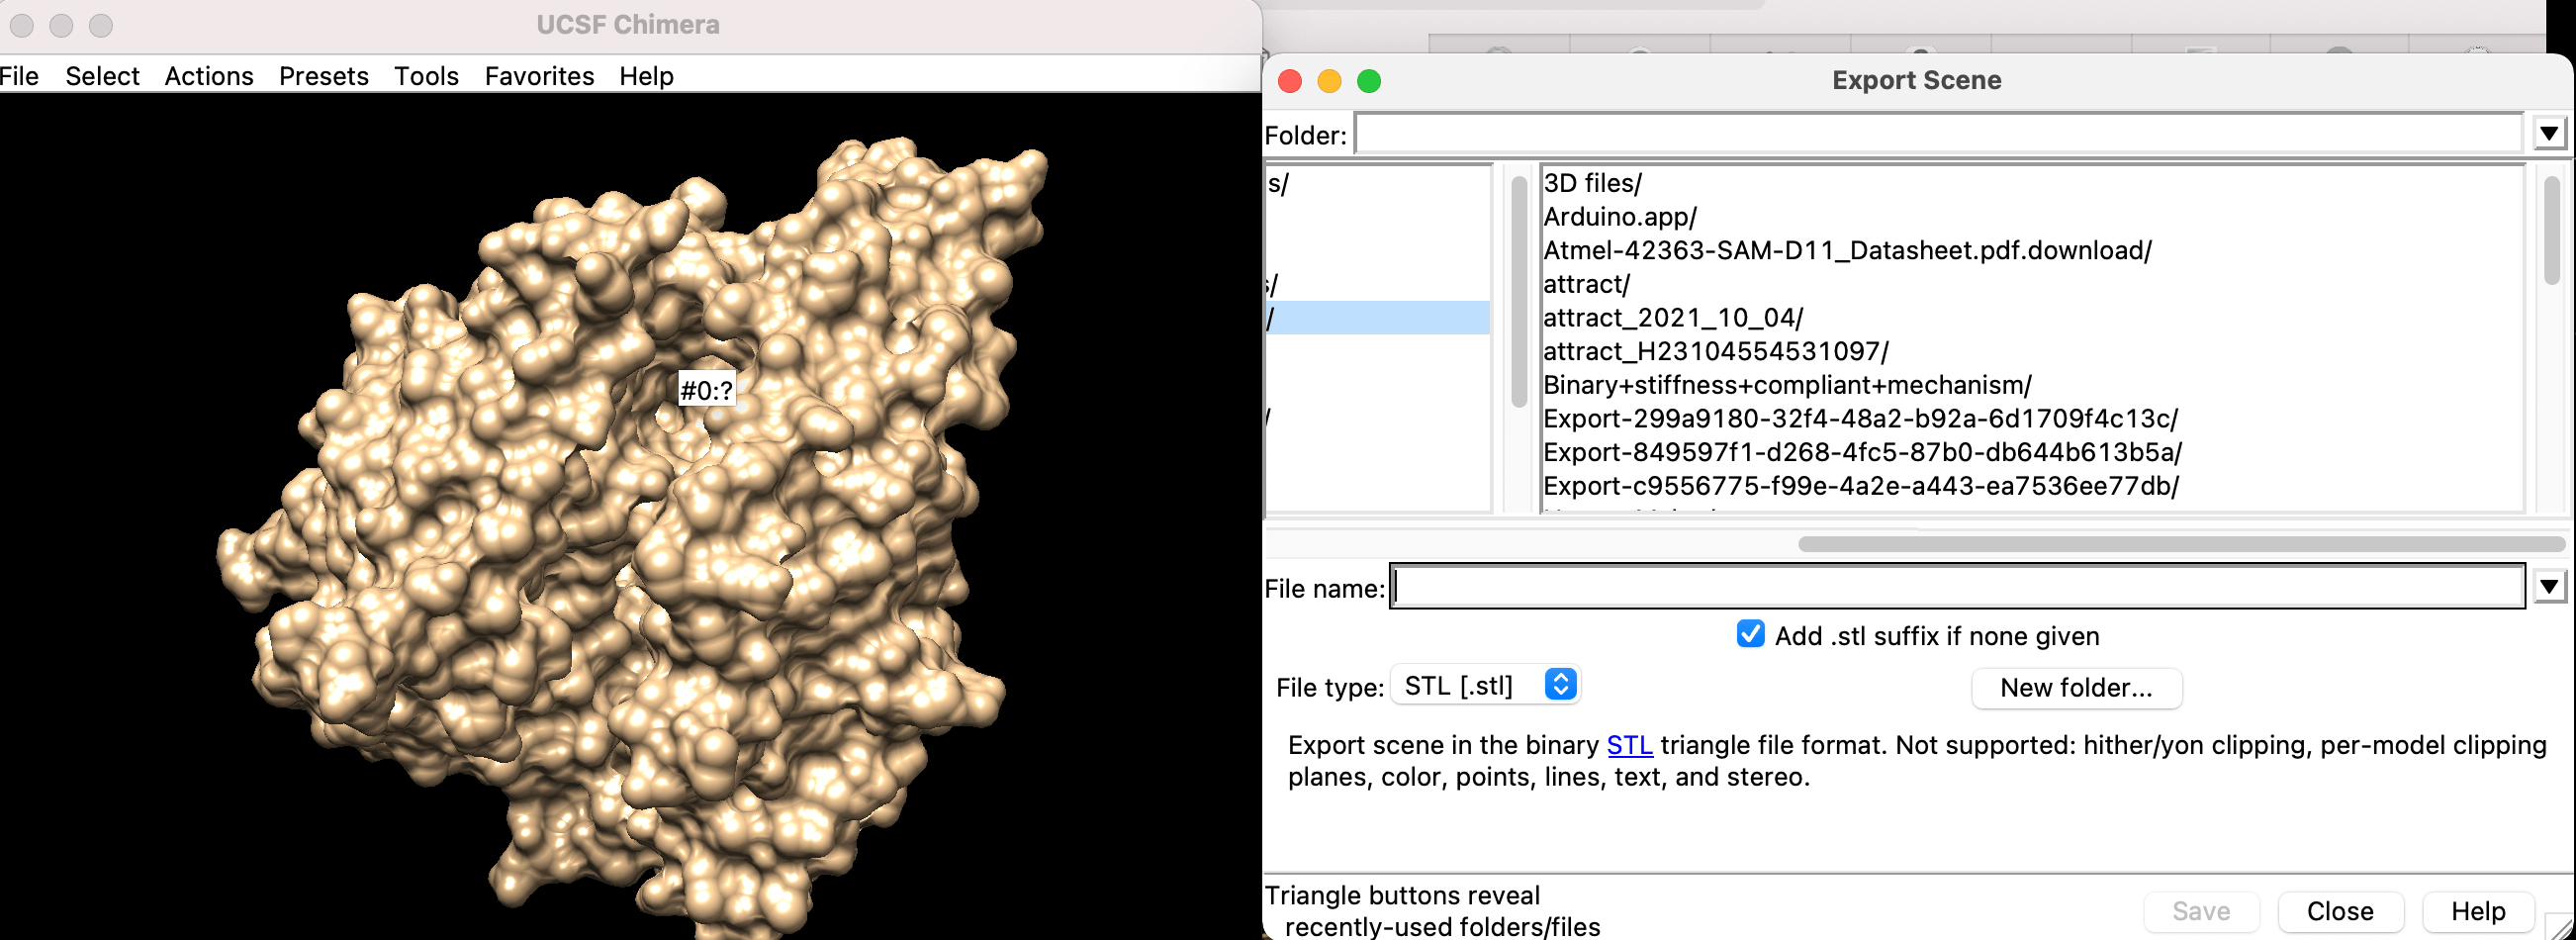
It's hard to prevent the protein with the ribbons etc so I changed the settings to create a surface.
Next, Export the protein surface as a STL
I then opened the STL in Prusa Slicer - I set the supports to everywhere because the surface is so uneven and bumpy. I ended started the job on Prusa i3 MK3. It took a total of 2hr 20 min.
I ended up with a blob of supports like this
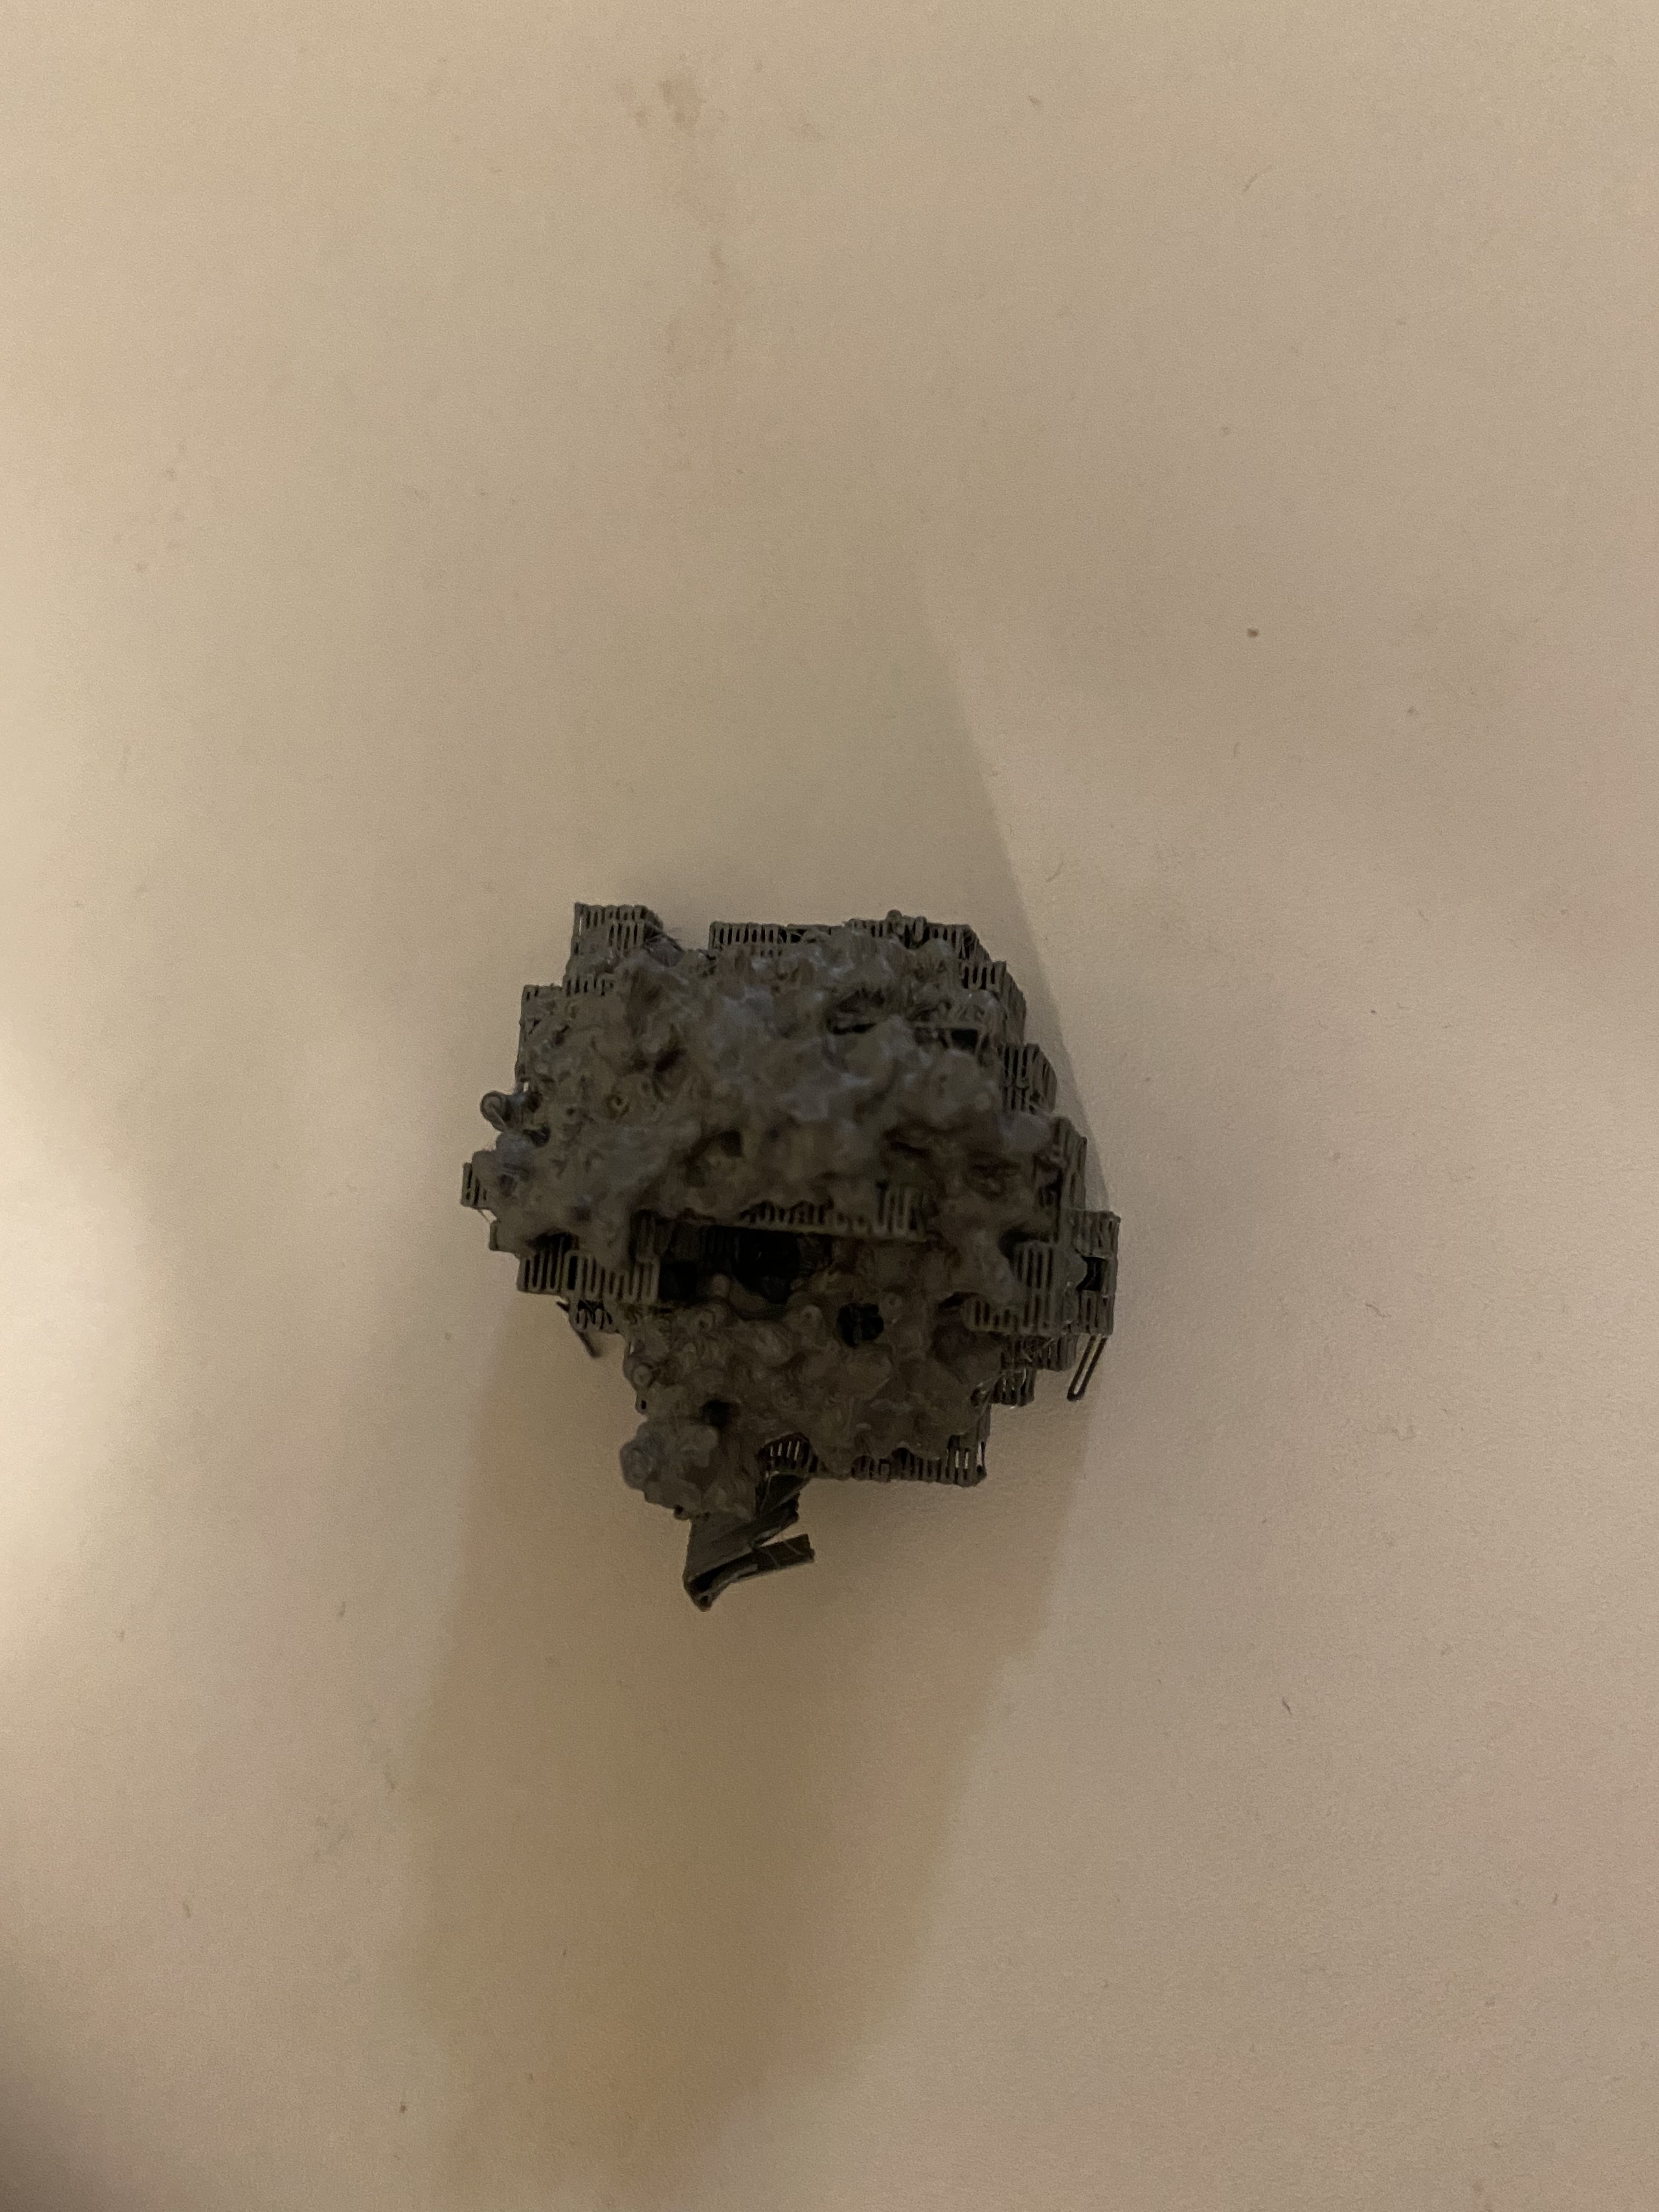

it took me 20 minutes with two different pliers to get all the supports out
It finally looked this. Turns out - it still looks like a blob.