Week 8 Molding and Casting
I did this along with my week 9 because I was sick and didn't have access to campus during the molding and casting week.
I like resin and made fun things with colored resin and used electronics like this

I wanted to make a puzzle set with many colored pieces and some white lines through it which would make a picture. But I saw the size of the wax block we are allowed to have so decided to tone down what I wanted to do.
I chose to instead make a T-puzzle. T-puzzles are very common tiling puzzles. There are also many extensions/variations on it. You can read more about this - https://en.wikipedia.org/wiki/T_puzzle
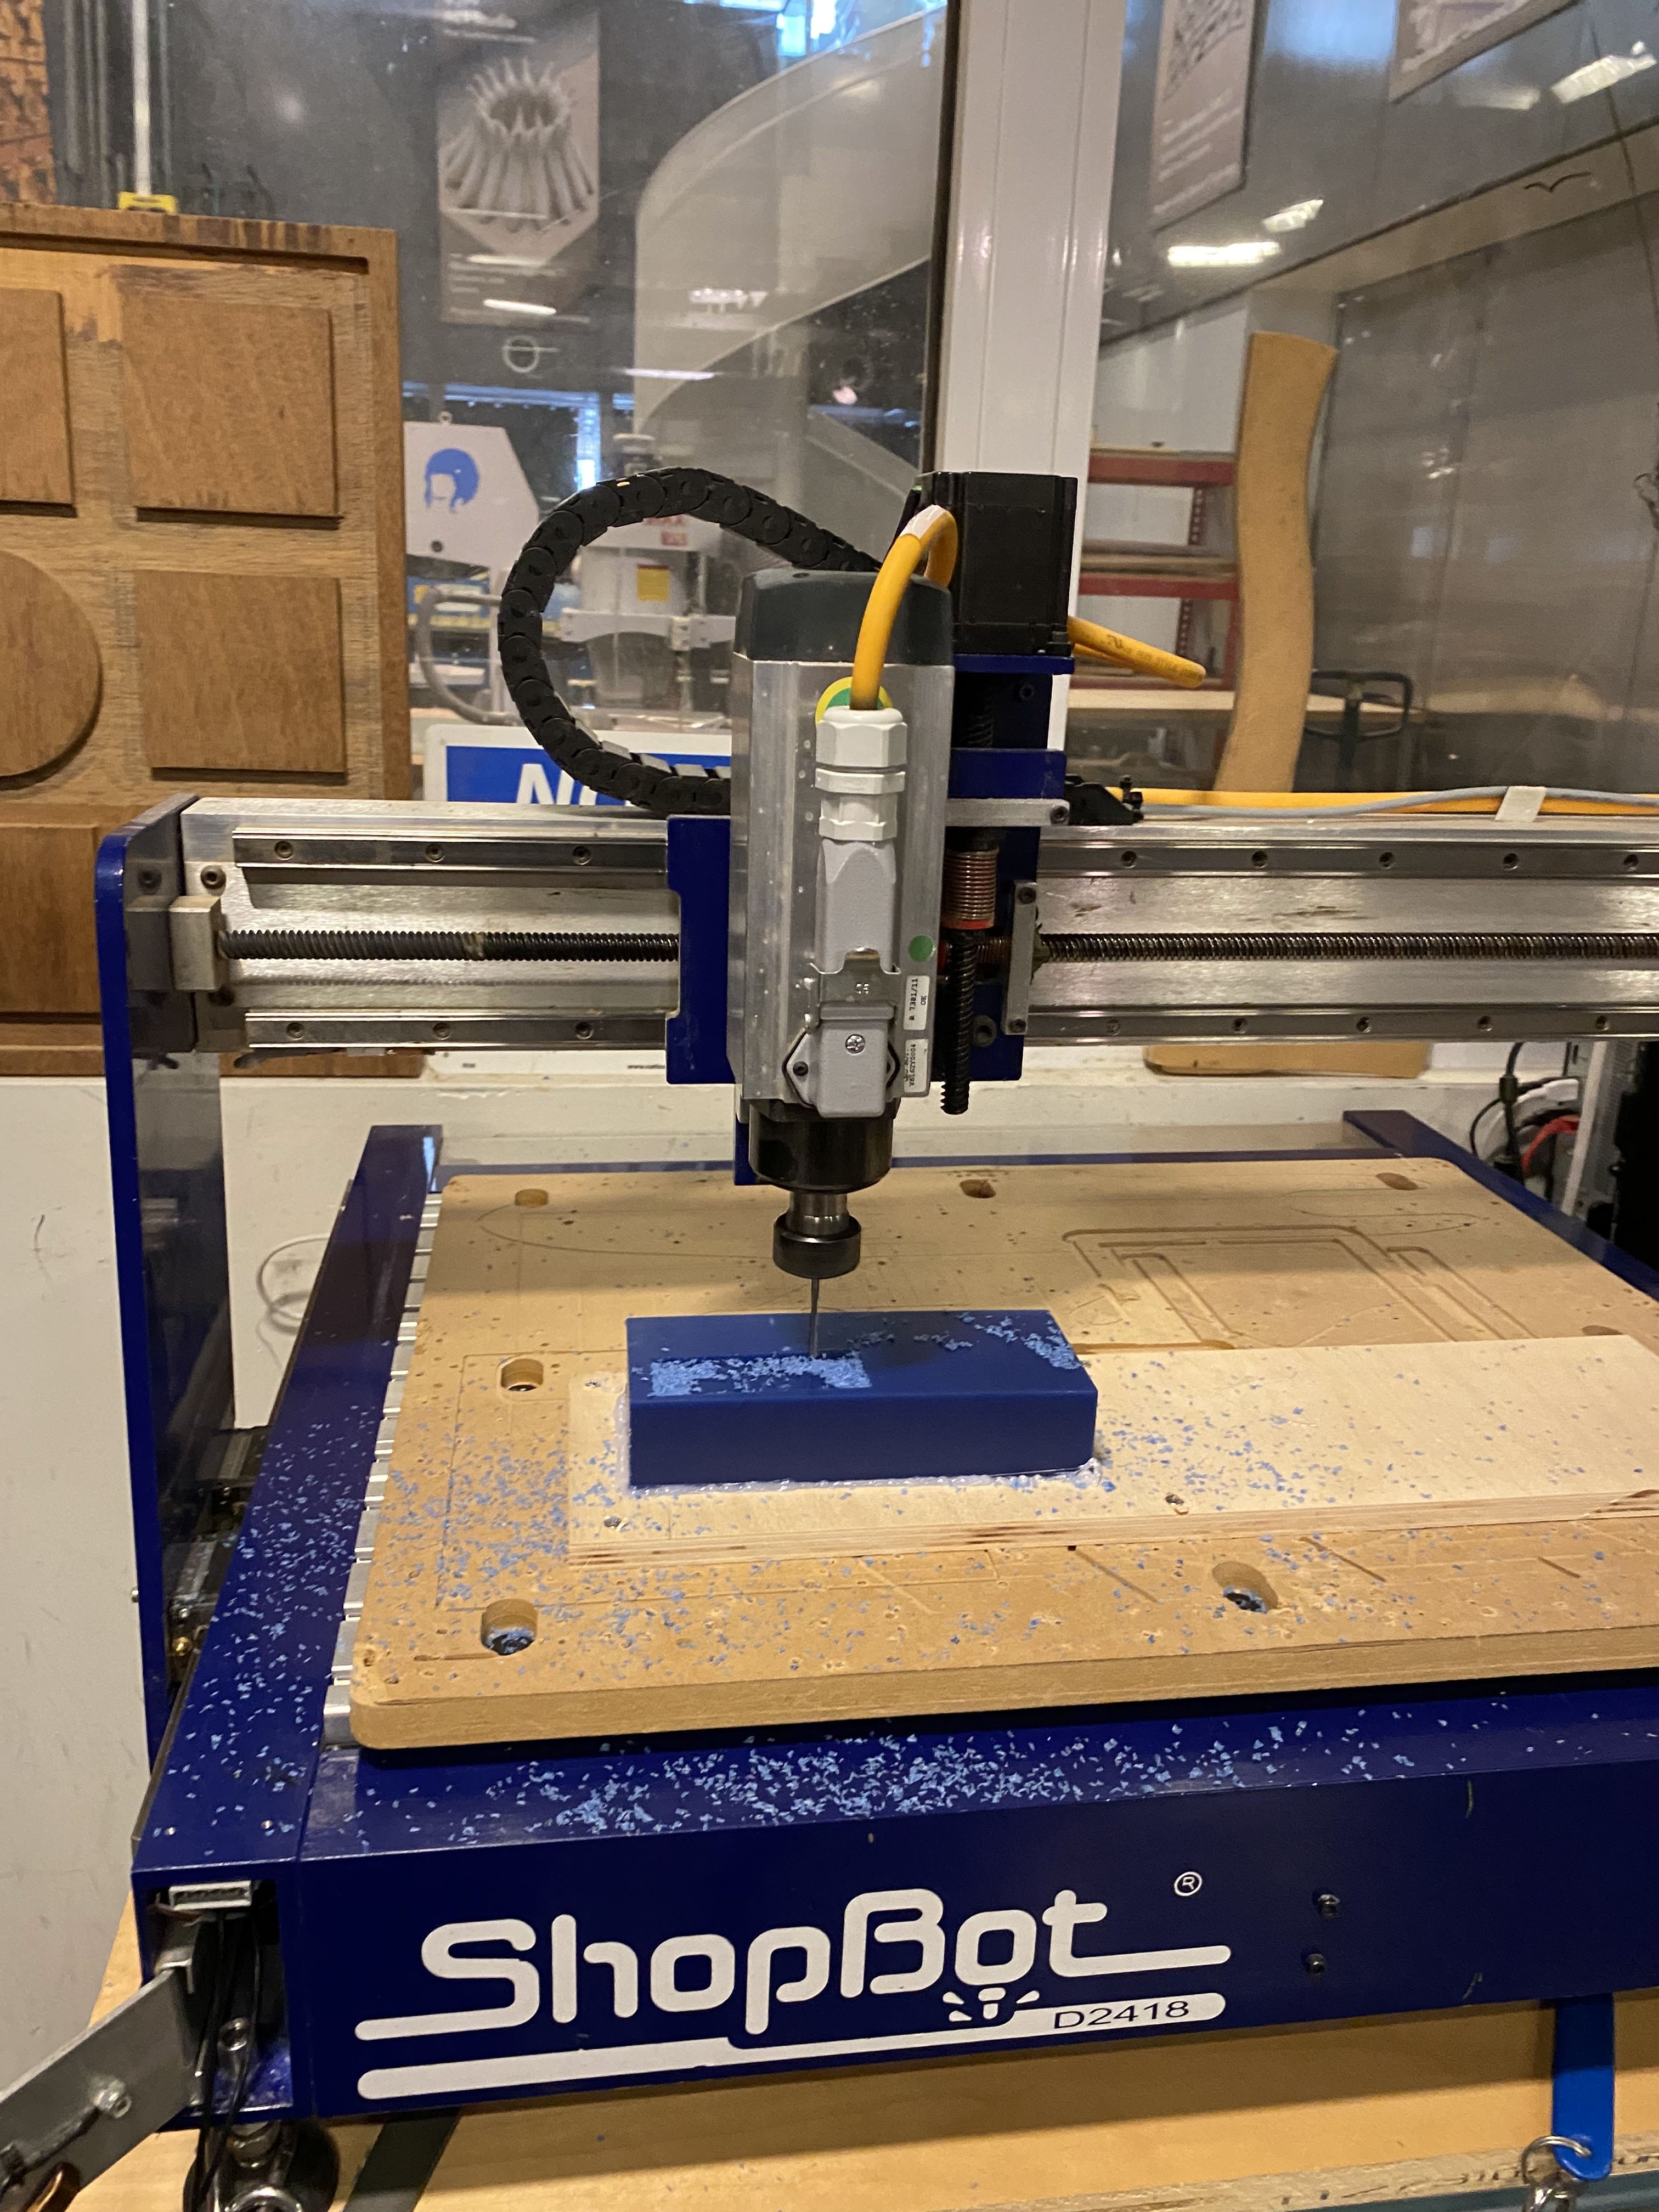
Luckily I was able to make a video of Tom talking during training so I reviewed it to operate the shop bot safely. I was less terrified of this one - because of it's small size.
Steps
1) Glue the wax block on a piece of wood using a glue gun. I have never used a glue gun!
2) Then drill the wood board into the shop bot with some screws. I tried to keep the board as parallel to the x-axis as possible - not sure that matters
3) Next we have to zero it. For this you open the shoebot control panel and use the arrow keys till the position is where you want it.
4) Open the shopbot application and hit on the zero xy axis
5) Next we have to zero the z-axis - for this first take the plate on the side and put it on wax block and attach the clip to the spindle
6) Next click zero z-axis and the axis will be zeroed.
7) Time to mill!
8) Go to v-carve and load your files - make sure the settings are correct like the end mill size etc - I attached the link to Tom's training video here to see what the standard settings are
9) While the shopbot mills, Vacuum away the wax pieces that are generated once in a while.
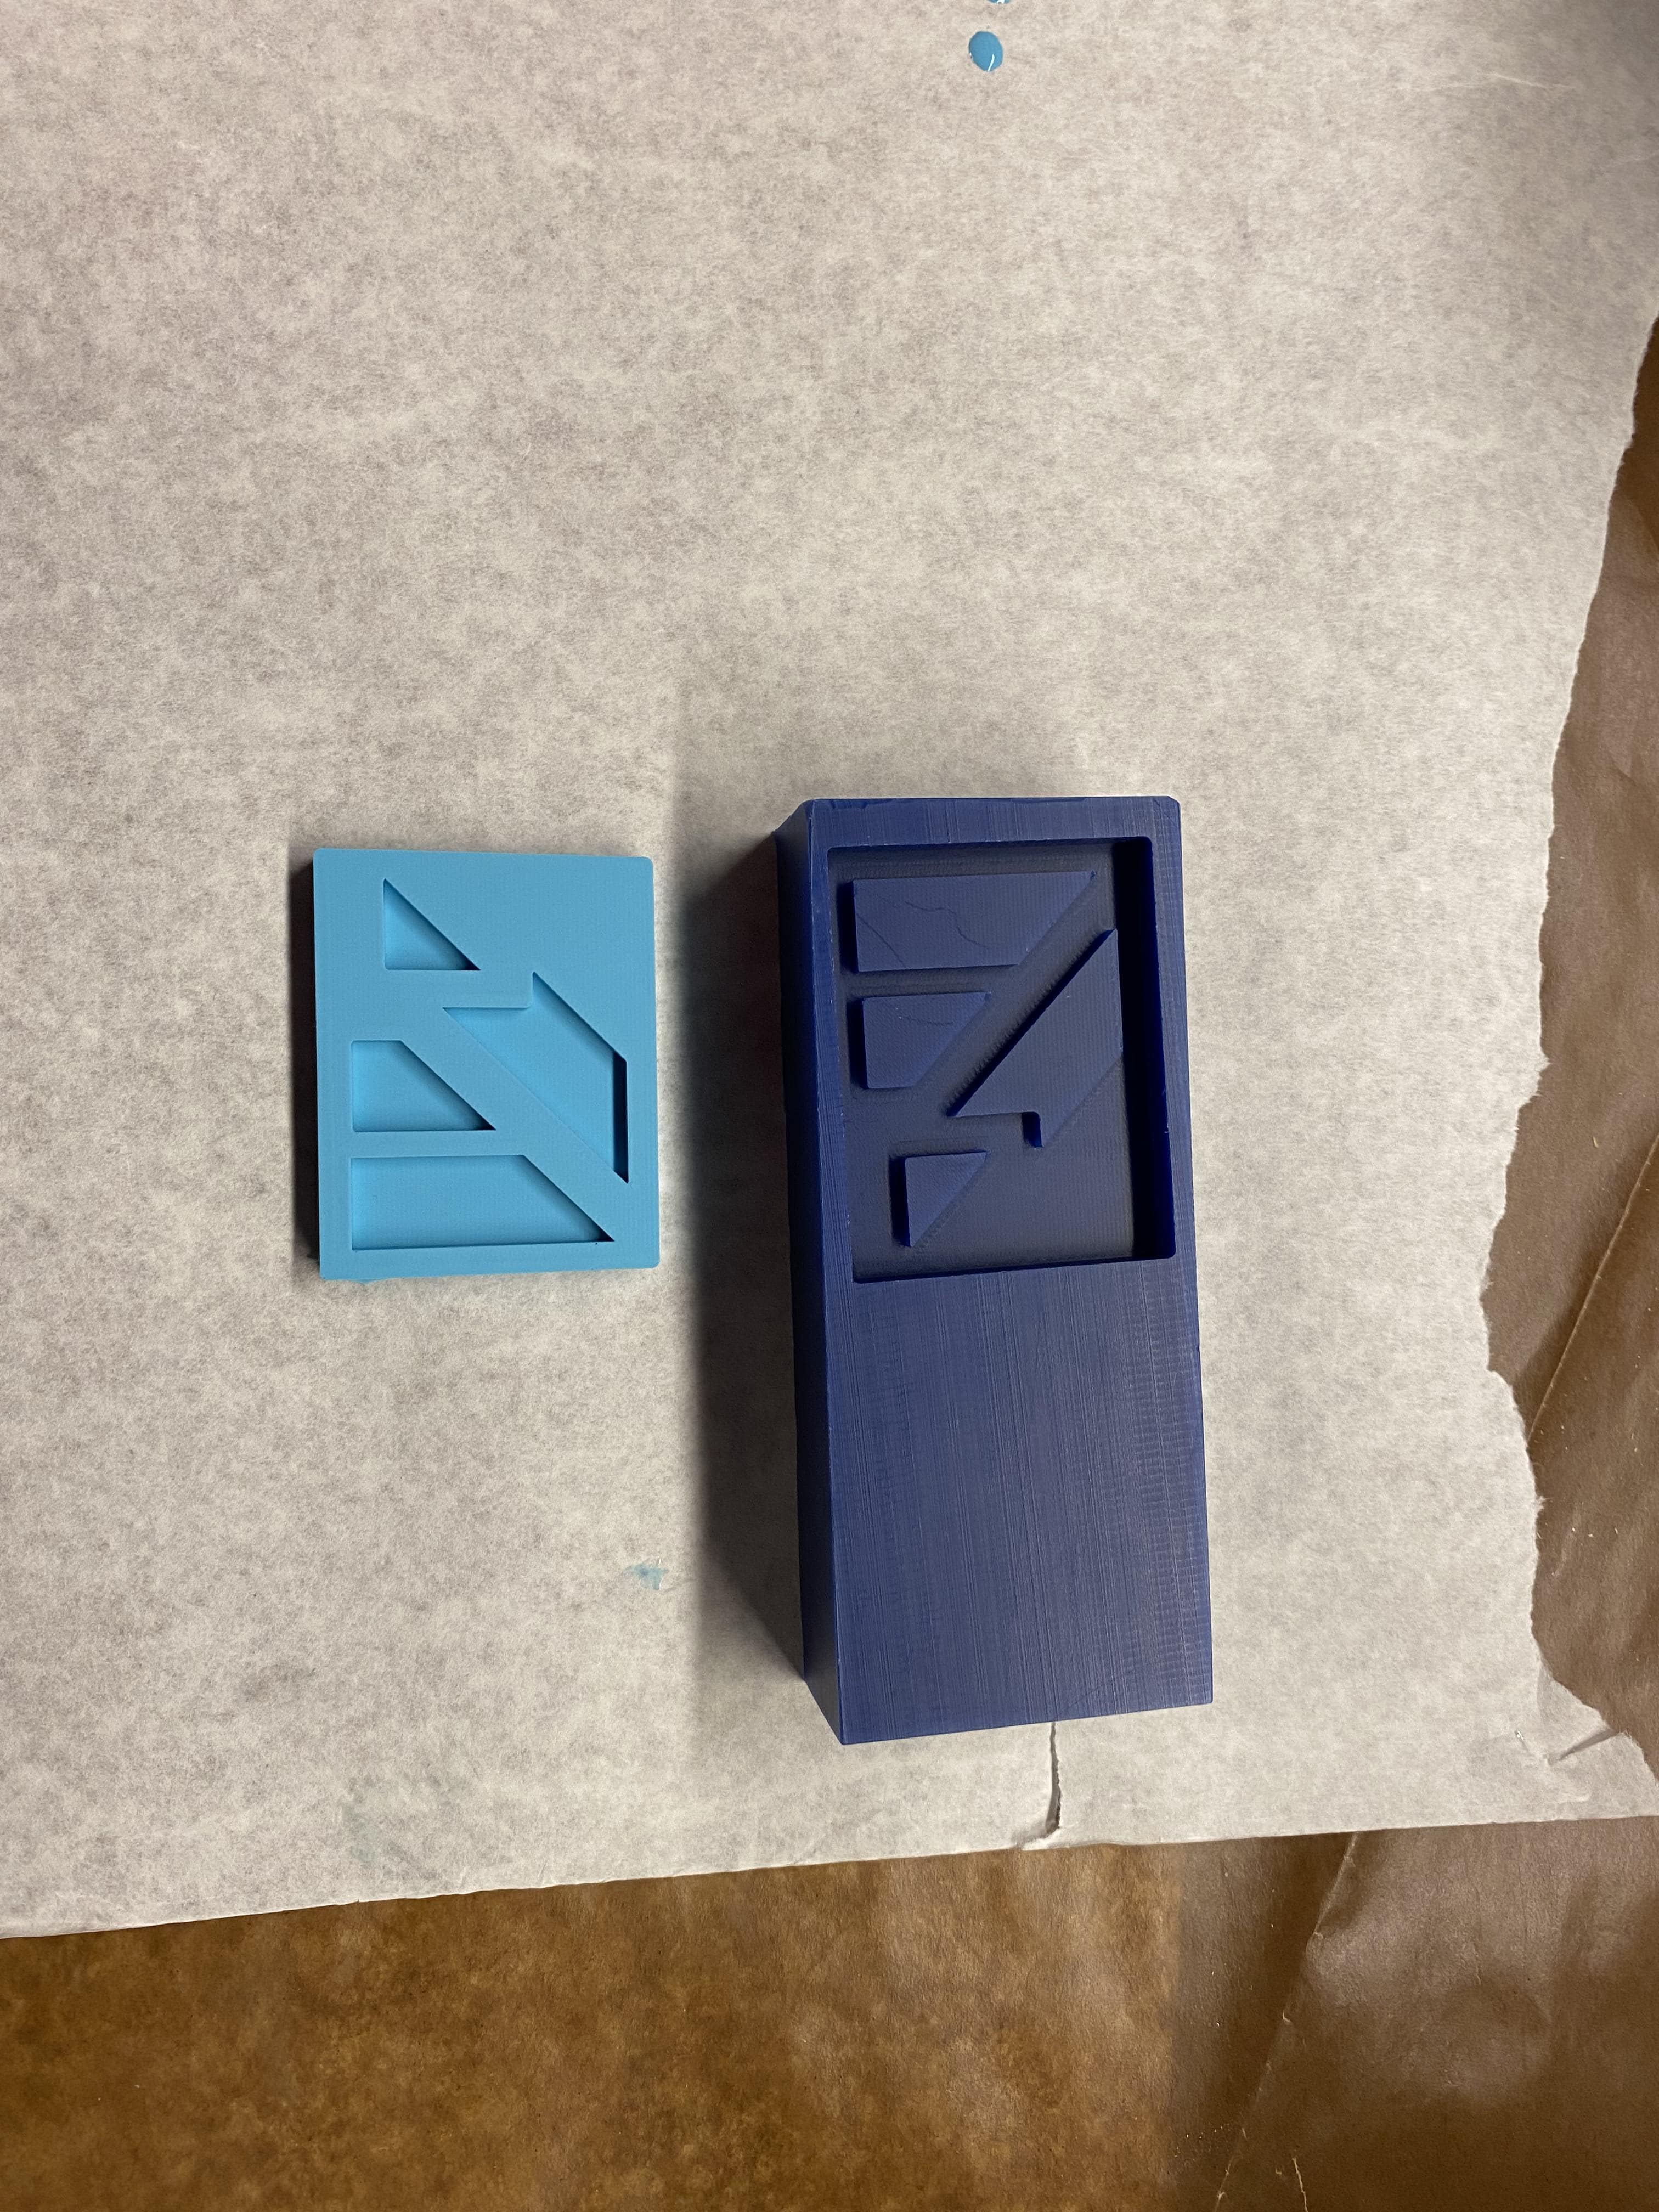
10) After what seemed like a long time I finally have my milled piece
Next, we have to make a mold using the milled wax block. To do this we use something called the oomo. There are two parts to it. Part A and Part B. You have to stir them very well on their own for 3-5 min while still in the bottle. Next, pour the quantities required of each into separate cups and mix thoroughly. Pour the mix into your mold - You don't have to move it around, the mold mix will flow so just hold it over one spot and keep heaping the liquid on that one location slowly. When the mix is unto the wax block wall. stop. I tapped the wax block to release any air bubbles inside.
Wait for 6-8 hrs. I waited for an entire day before trying to release the mold. It came out so well!
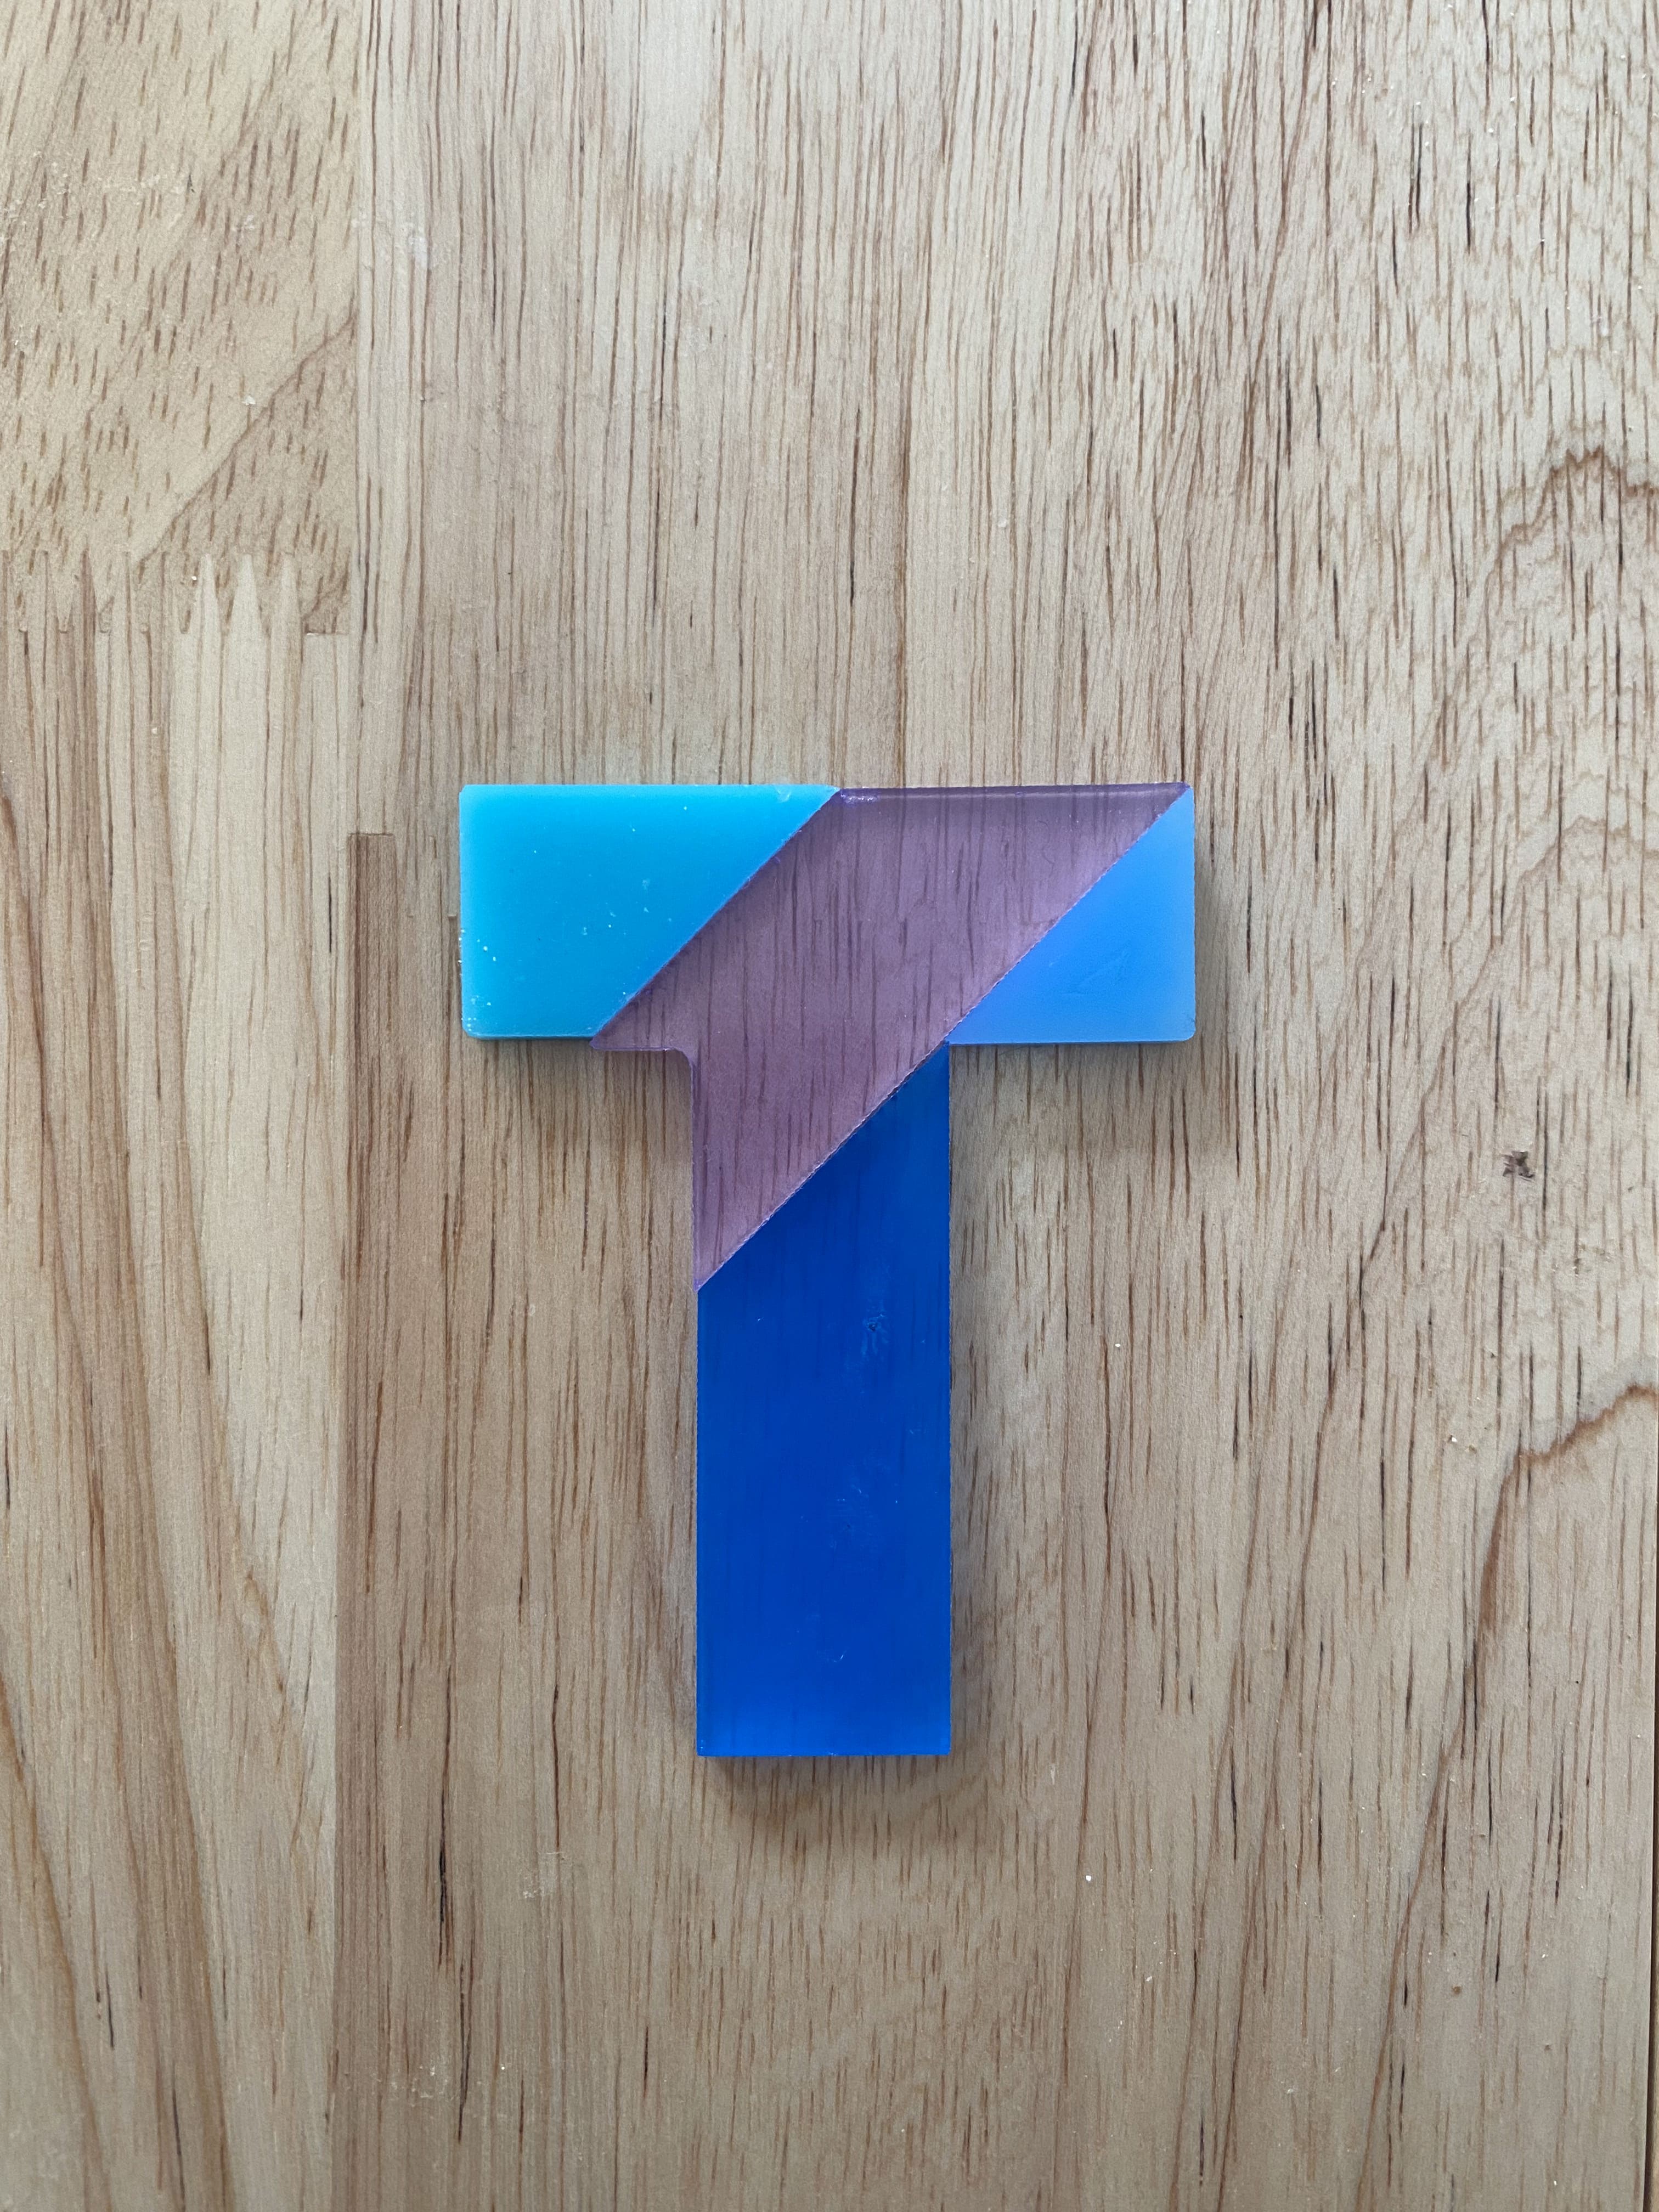
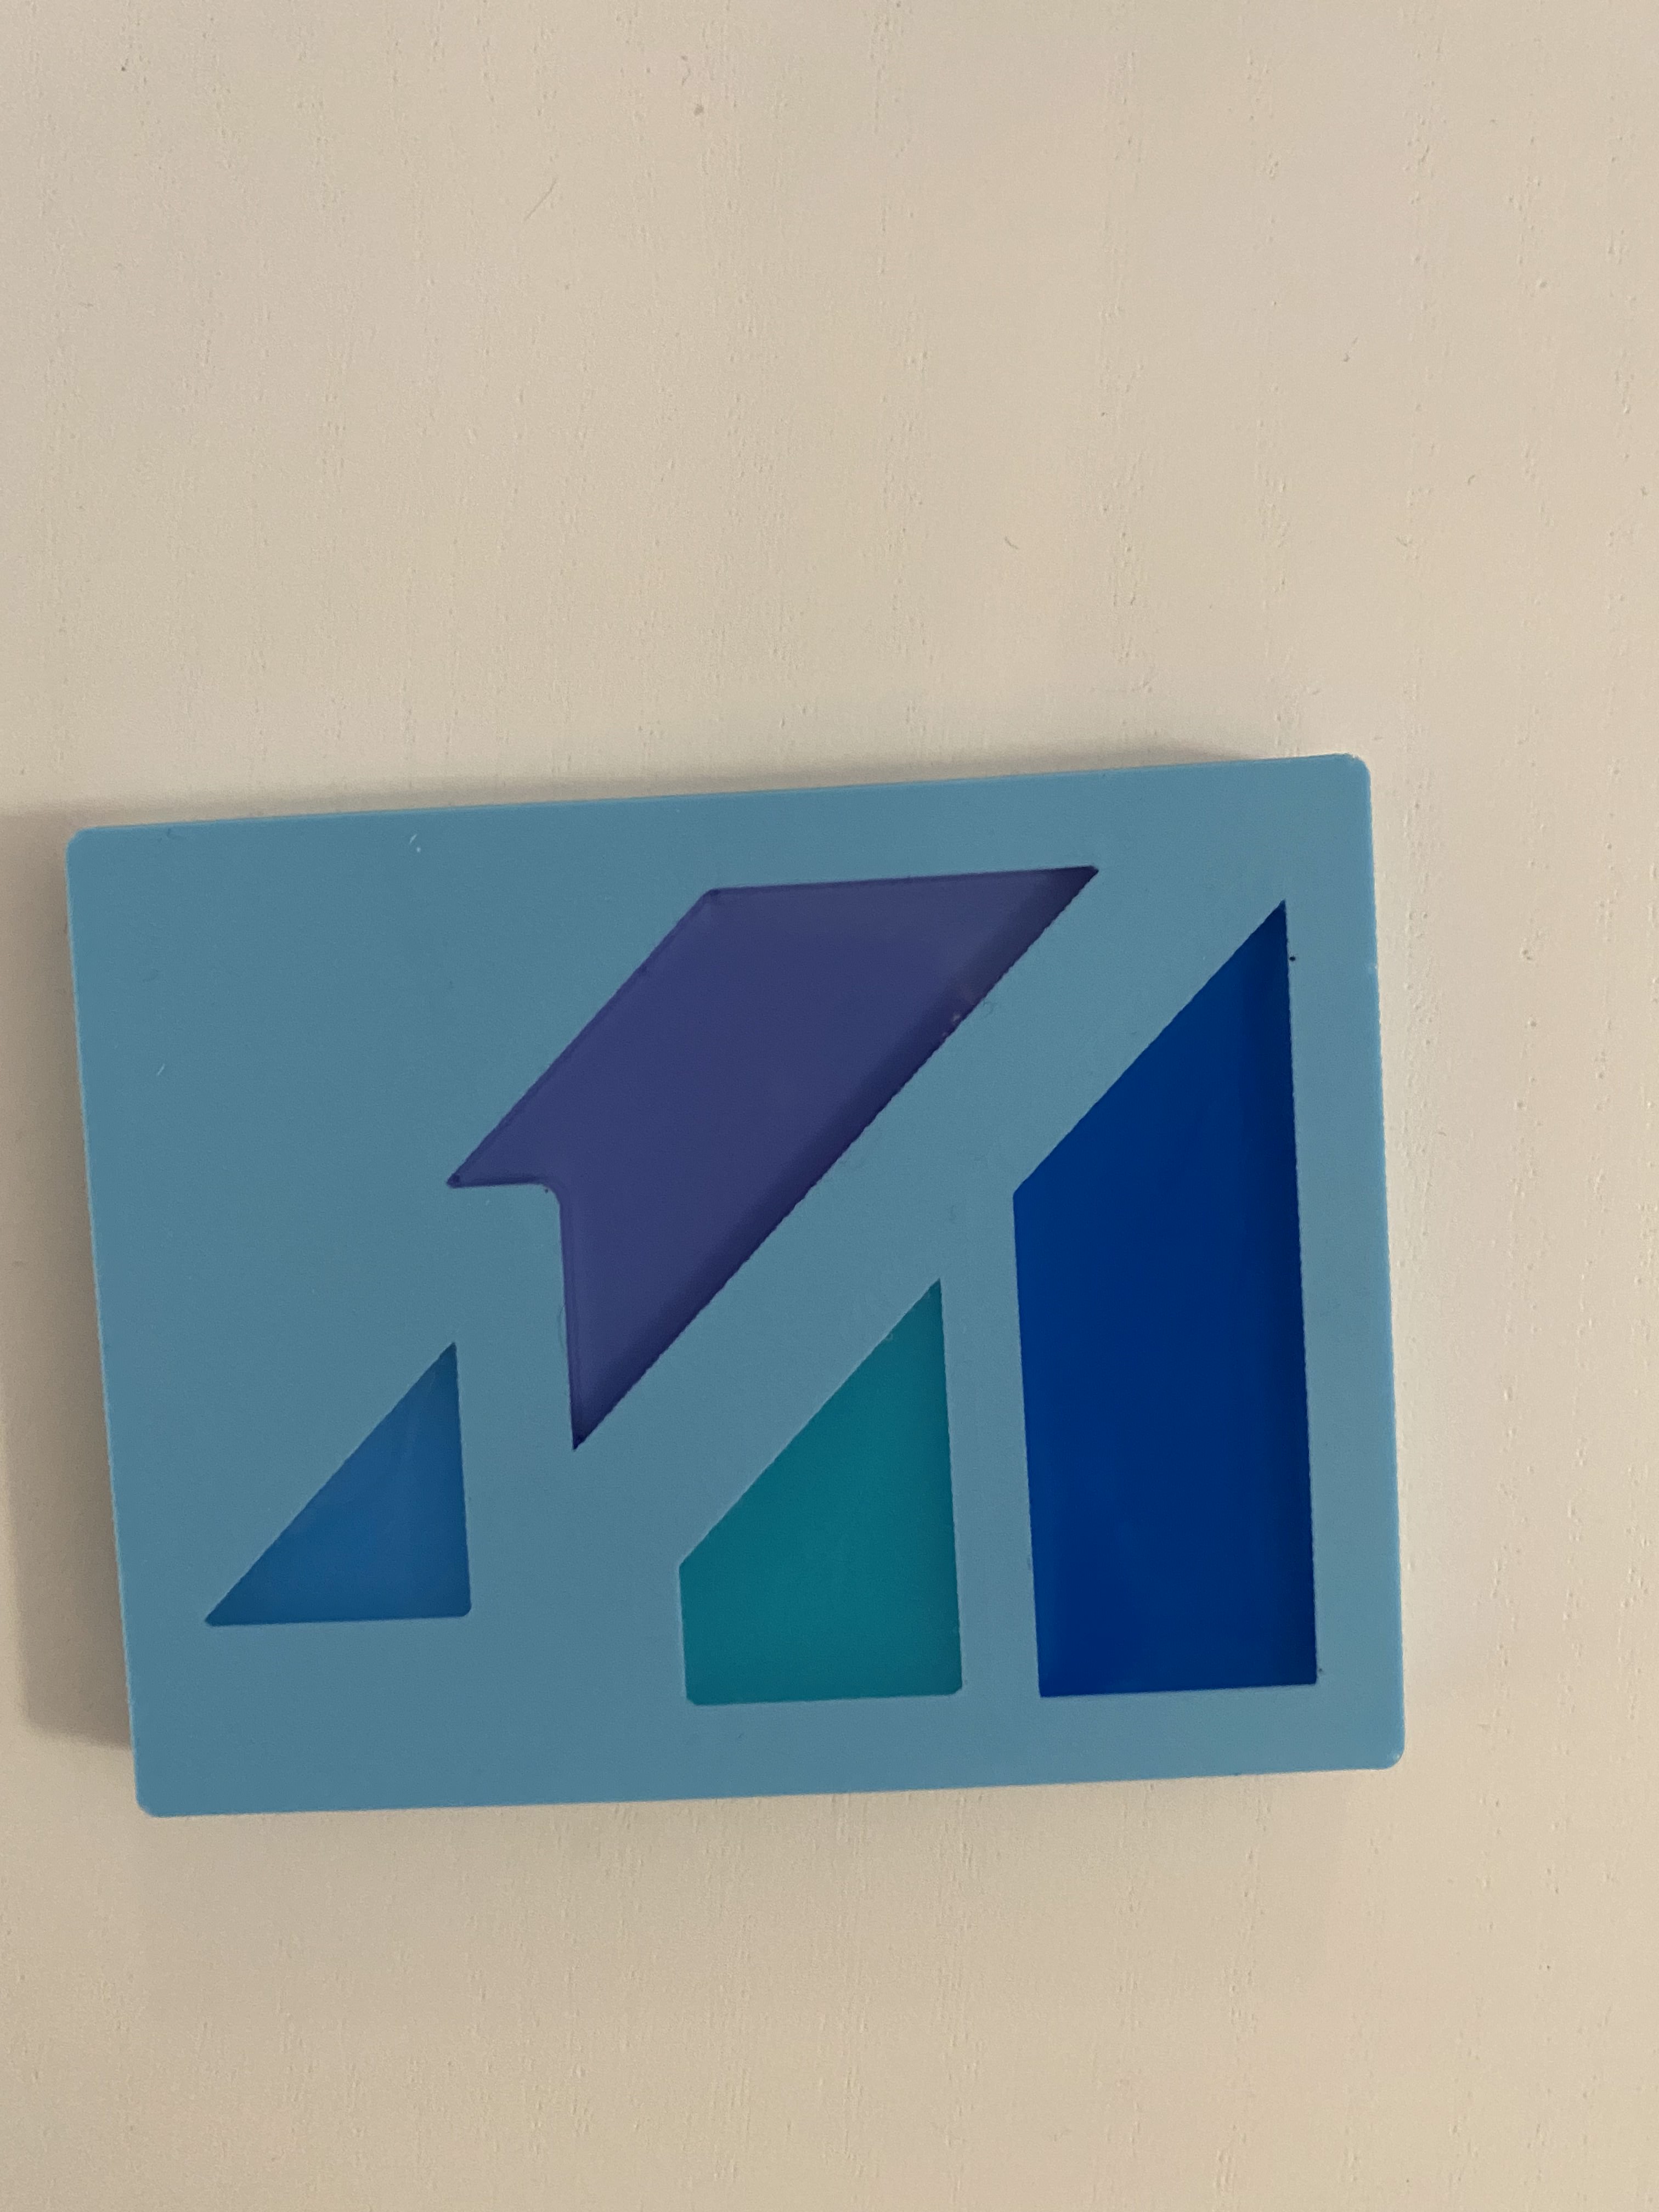
I took the mold home because I had some clear resin at home - https://www.amazon.com/Epoxy-Resin-Clear-Crystal-Coating/dp/B084Q319HP/ref=asc_df_B084Q319HP/?tag=hyprod-20&linkCode=df0&hvadid=459477888179&hvpos=&hvnetw=g&hvrand=3494219805566562651&hvpone=&hvptwo=&hvqmt=&hvdev=c&hvdvcmdl=&hvlocint=&hvlocphy=9002000&hvtargid=pla-942121191980&th=1 . I mix the resin in two parts like before. I made a total of four cups of resins and mixed a different color into each one of them. And then poured each color into one puzzle piece. It looks like this. Color Is tricky when dealing with resin because if you had add too much it's too liquid and won't set correctly. So I was careful to only add two drops. I used this color set - It's a Liquid Pigment and diffuses easily in resin. You can also use any acrylic paint.
I released the mold pieces after a day - because I forgot they were on their kitchen counter.
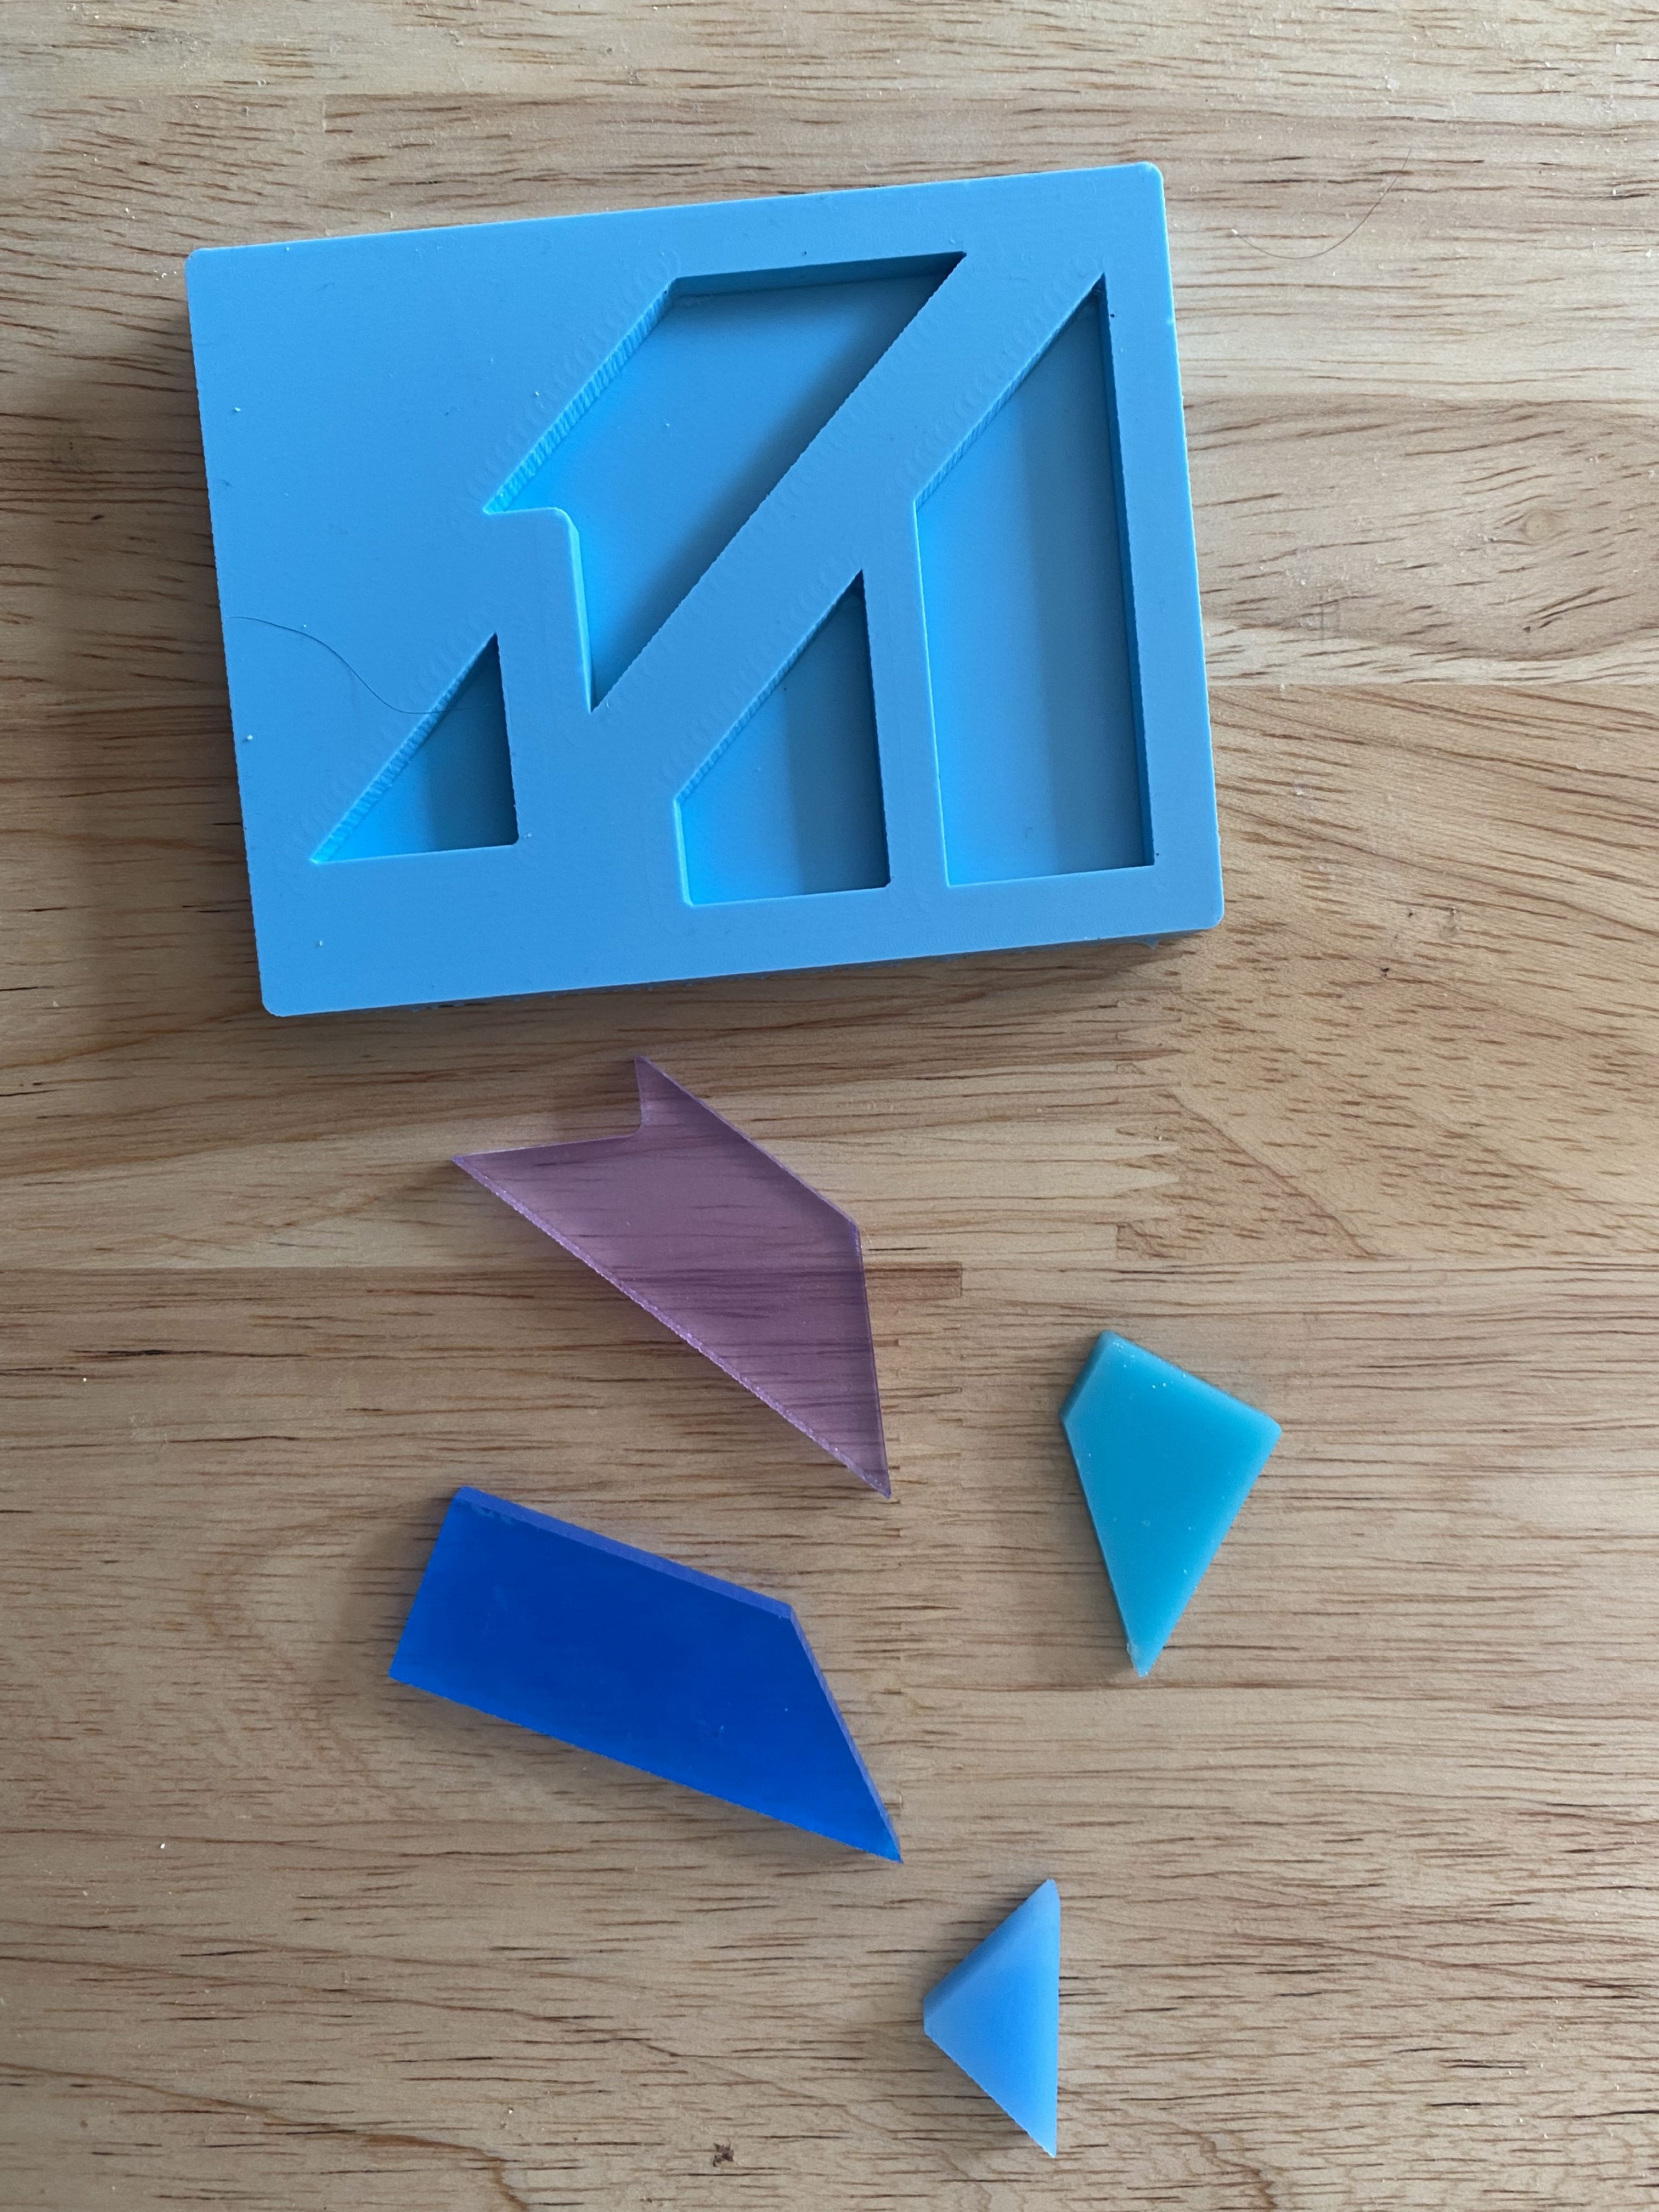
They look so cool and are so nice to touch! the blues looked a lot more solid because I used more liquid pigment in those.
Can I solve the puzzle ?