WEEK 5
computer controlled machining aka milling OSB
Overview
This week, we got to work with machines and our hands to design and build "big things."
A problem = HtM opportunity
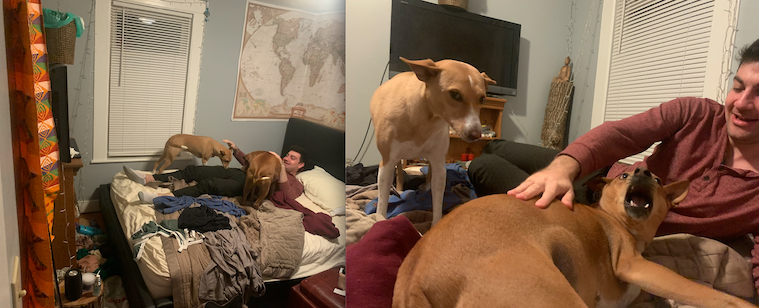
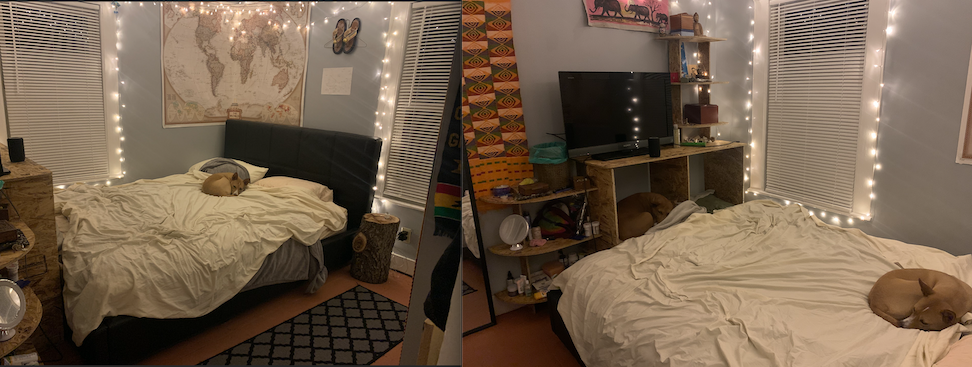
As you can see, my room is tiny, has very little room to put shelves, and thus it is always messy and does not fit 4 beings (me + my bf + 2 dogs). Sleep is always ruff with such a setup, and so I decided, for my "something big" to make a double-decker dog bed - nightstand thing.
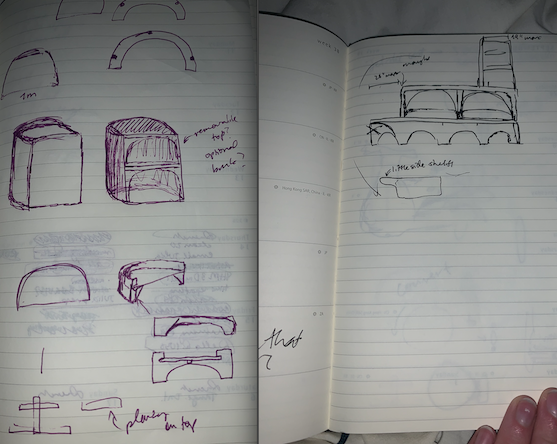
It soon became clear after some early sketches that a dog bunkbed would be useless, as they would never use the top bunk, and it would take up too much space. Thus, I decided to design a horizontally double-dog bed, that would include significant shelf space and serve as a TV console, made to fit perfectly between the end of my bed and the wall
Digital Discombobulation
Fusion 360
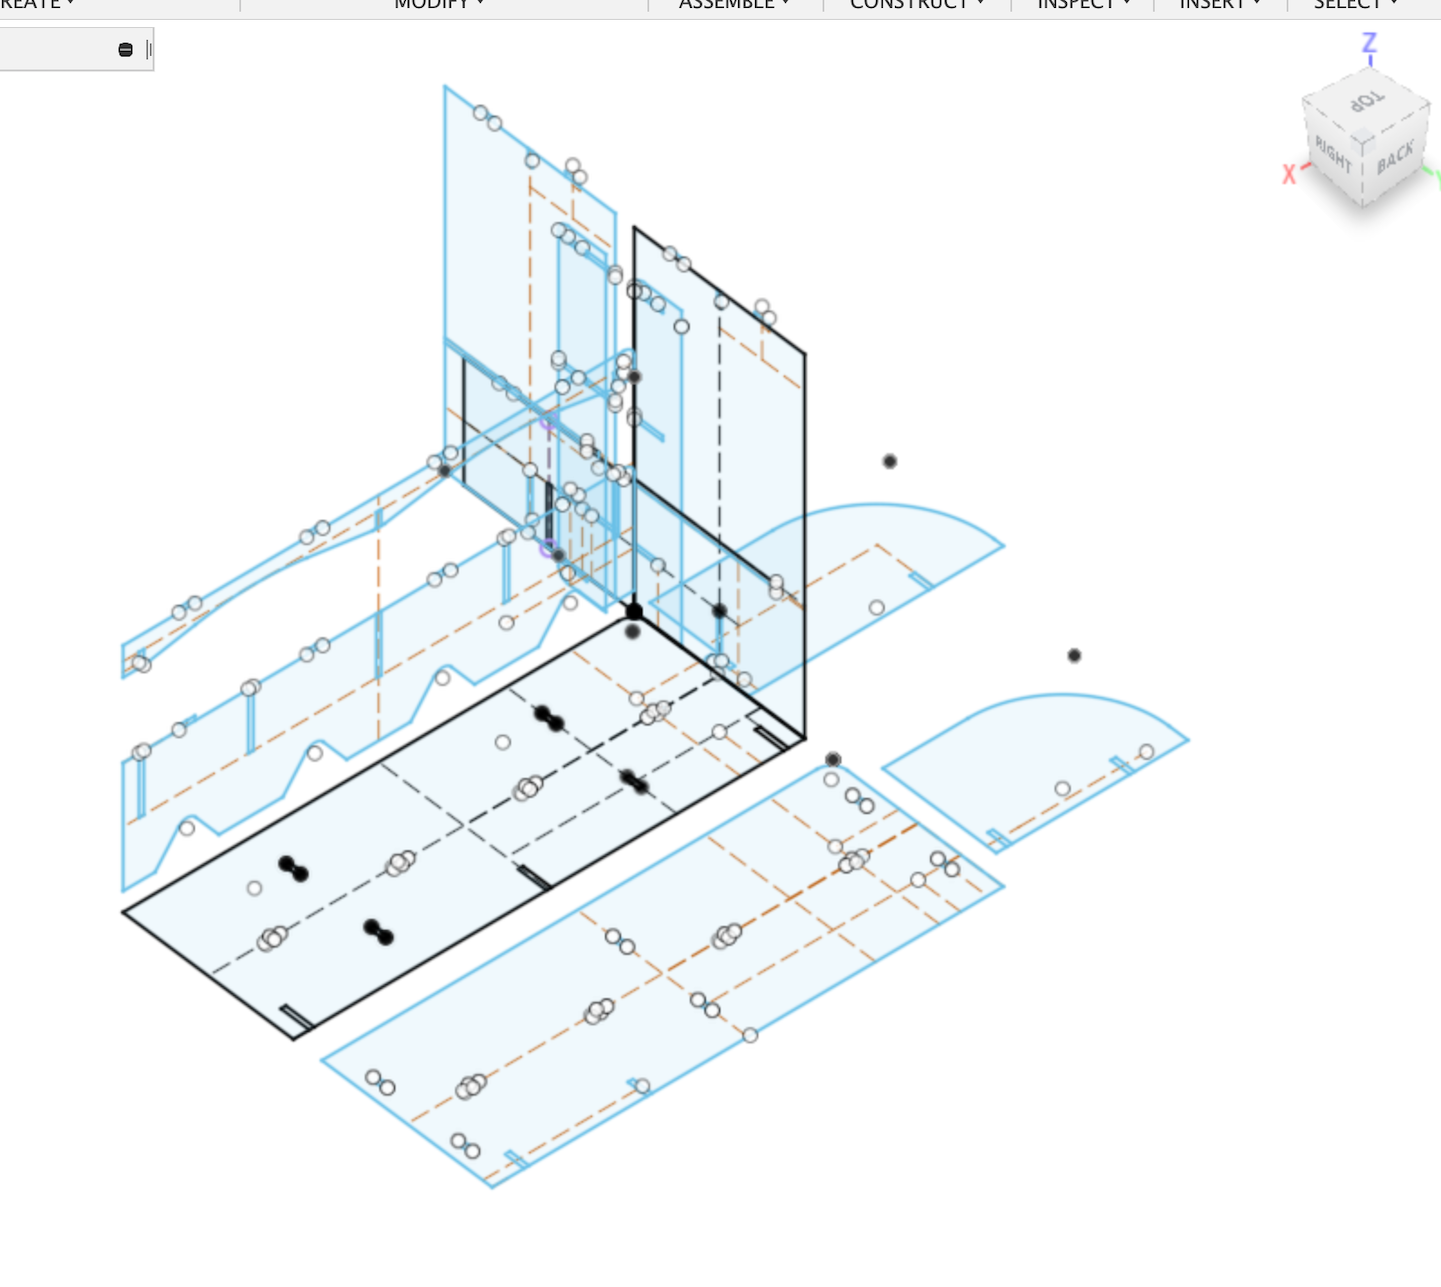
Fusion was easy enough--the design was simple enough that I did not even extrude and fit the pieces for the sake of time. This did not prove to be consequential. However, I did not include "dogbones" (they confused me) despite the theme of my project, which DID prove to be consequential as you will see later.
Aspire->Rhino->Aspire->Defeat->Eventual Success
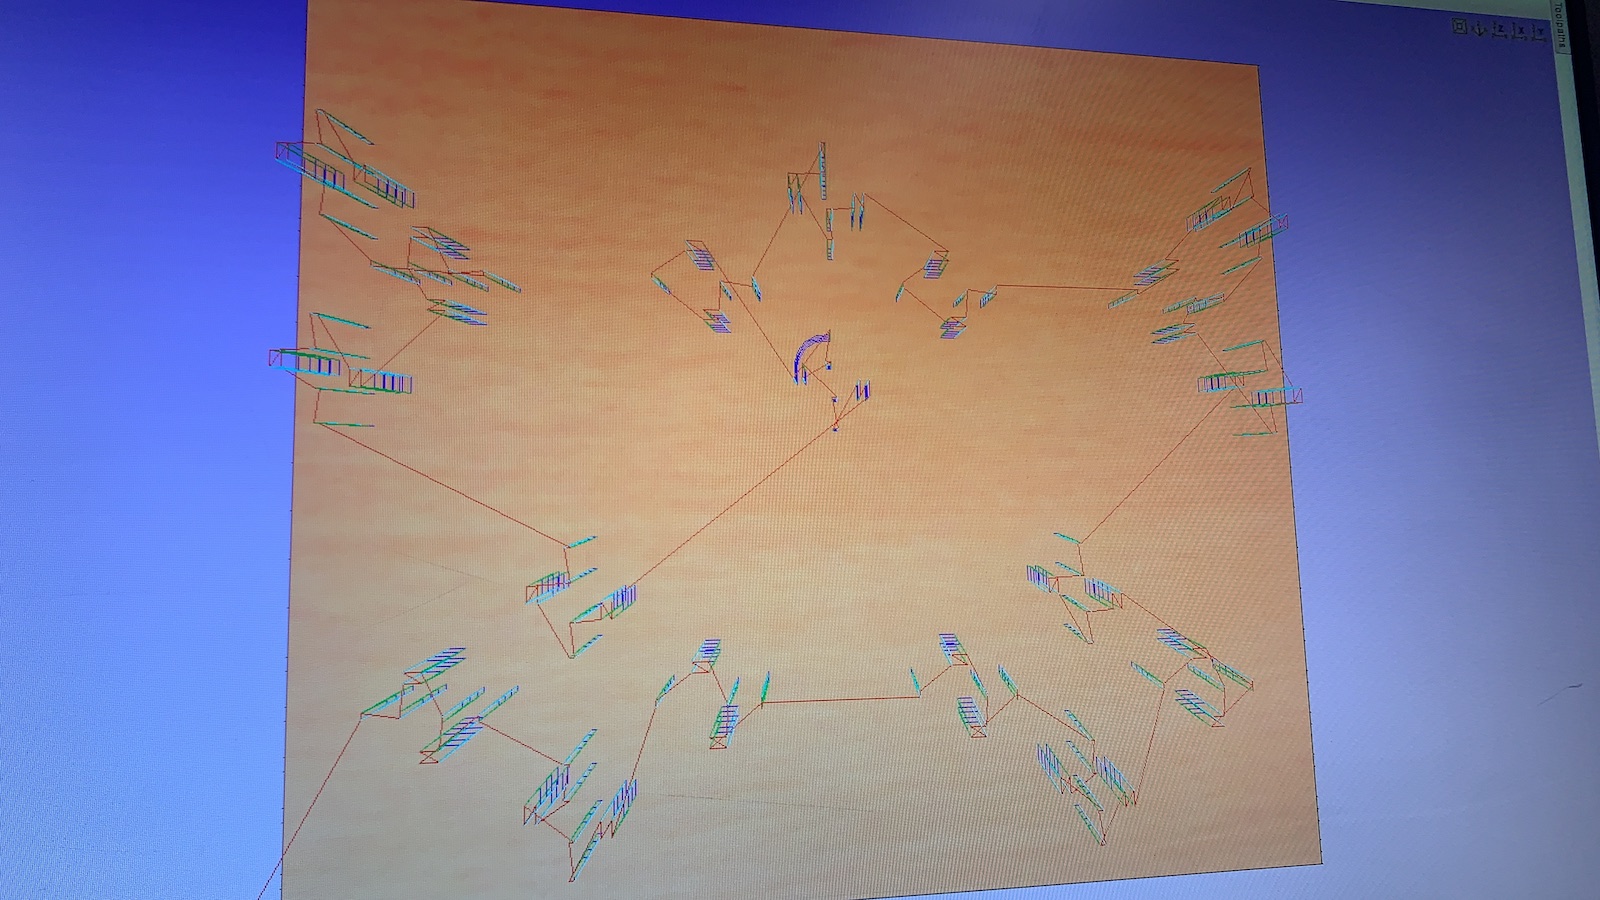
Aspire did not go as smoothly. As you can see, after following the instructions to a T, clearly something was amiss. Apparently, if one uses Fusion, the vector lines are not necessarily joined. So, after extensive time in Rhino and in the Apire software, and with Nathan's help, it eventually started to look more correct:
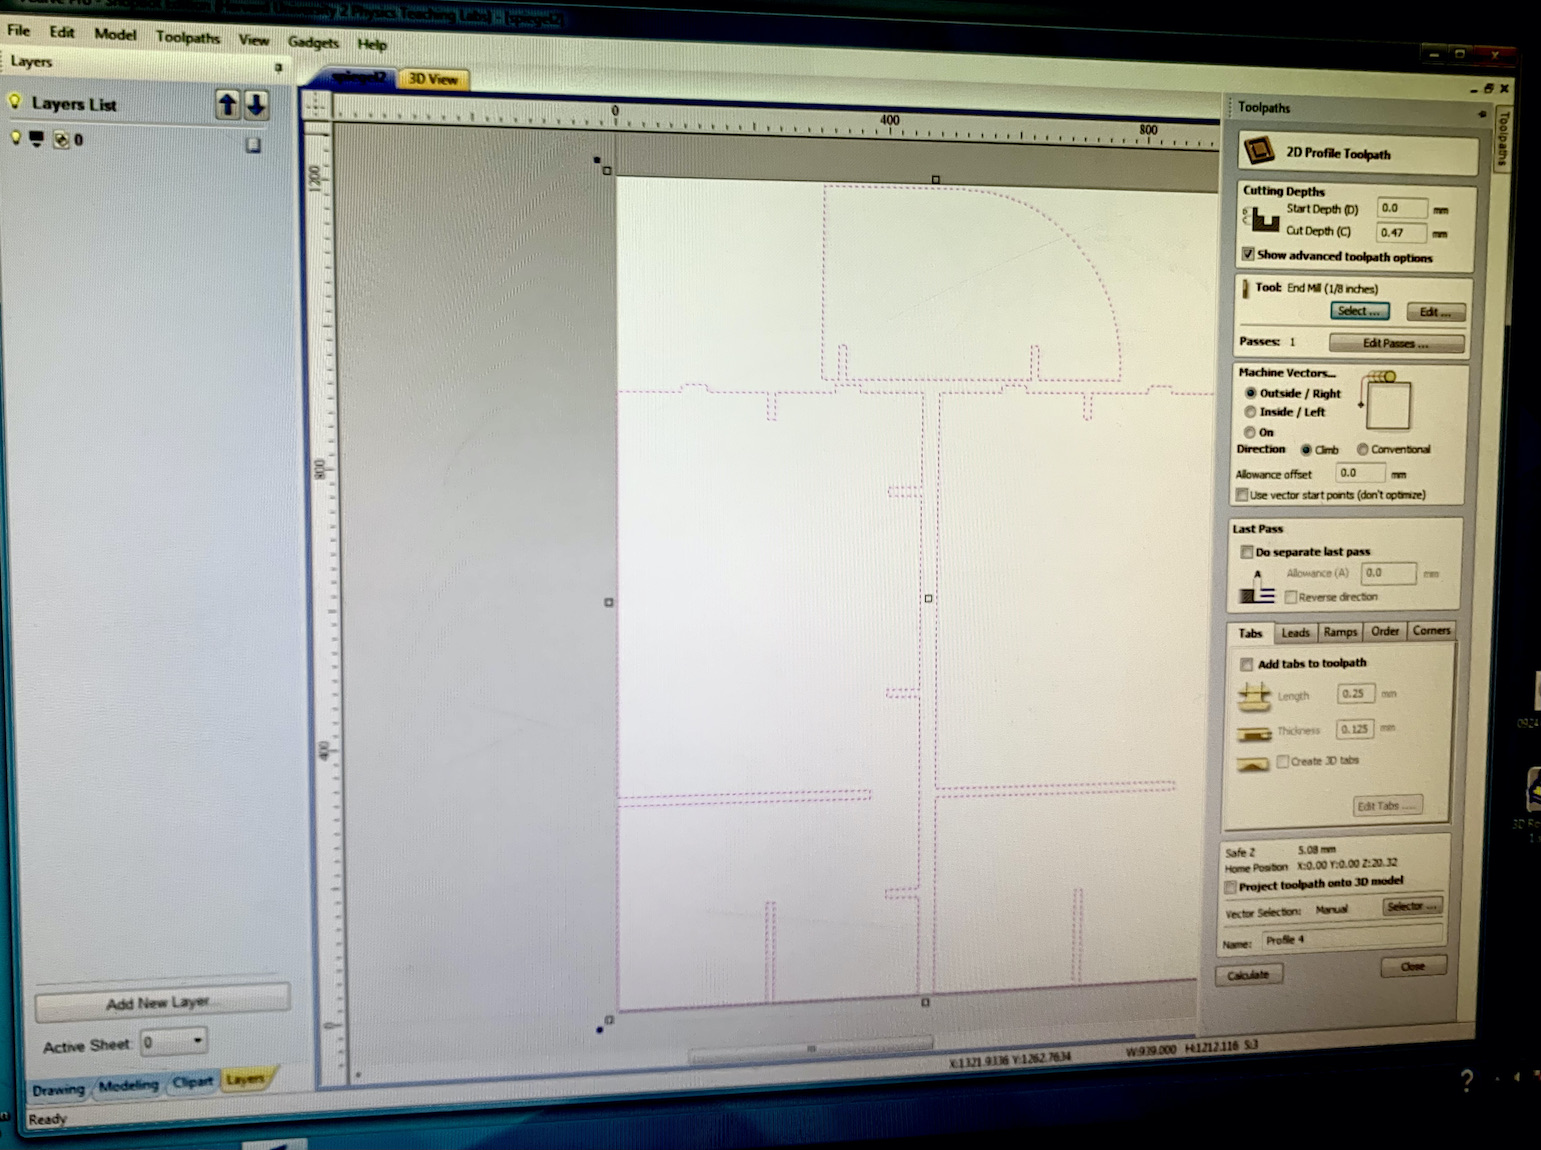
I failed to notice that one of my pieces failed to process and thus it was not milled, which led to some last-minute handiwork as you will see later.
Making the Pieces
Milling
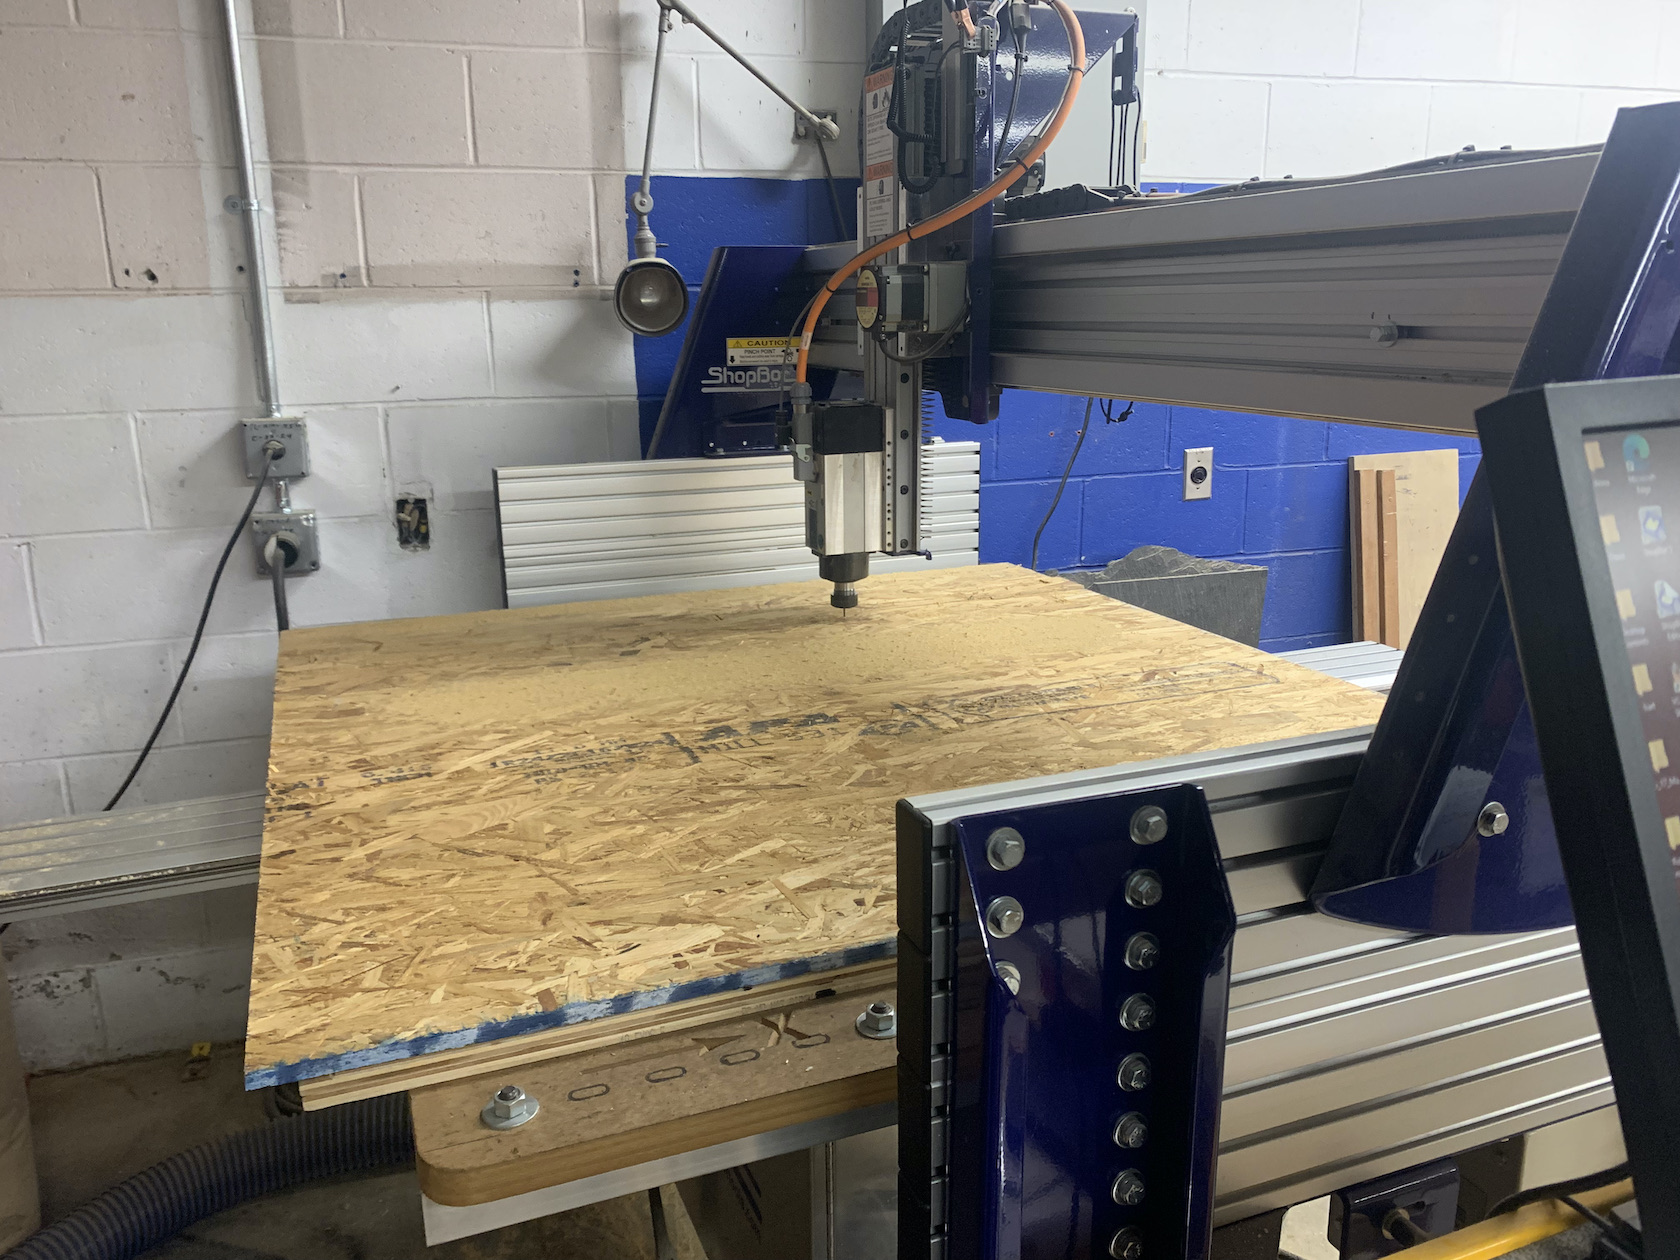
Thanks to the help of Nathan and Rob, milling 4 4x4 OSB boards went very smoothly. Everything stayed in place even though borders between objects were thin, thanks to the nail gun. It was fun to meet the guy in that office who is trying to grow moss indoors.
Fixing
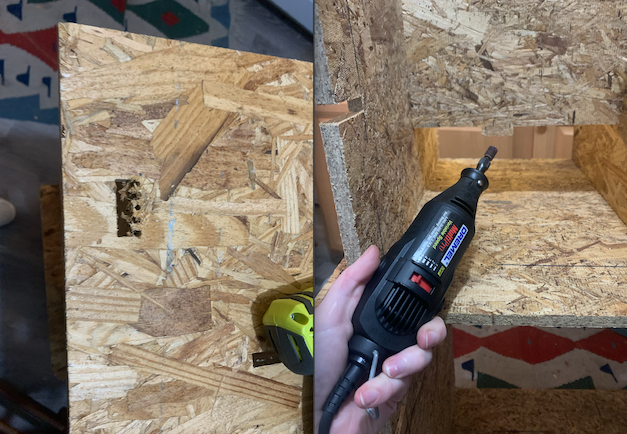
Unfortunately, because I failed to add dogbones (ironically, for a week so centered around dogs), I needed to make dogbones by hand. It being late and power tools being locked up at the lab, I decided to work at home. At first, I used a drill to widen the holes, then I found a small radial sander my dad gave me a while back which worked like a CHARM.
Hand-"milling"
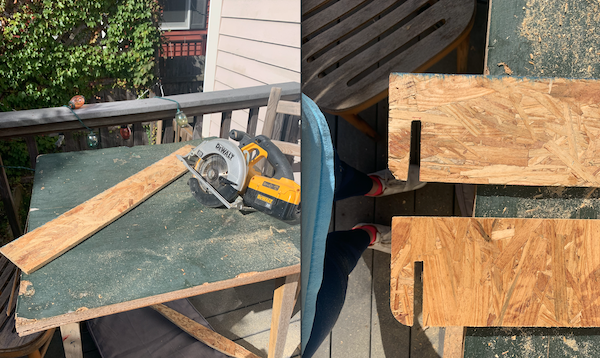
Using a pen and skillsaw, I traced a piece identical to the one that didn't make the aspire process (see above) onto a scrap piece of OSB left from my top shelf cut, and carefully cut it out. As you can see, it is not as pretty. However, it is functional.
Fanatic Fitting / Waking the Neighbors
That stupid bottom support piece
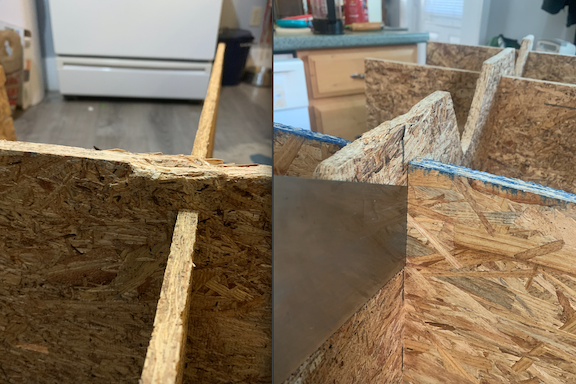
Banging and banging and banging with a hammer. That was my Sunday night. Even with using a board to even out the applied pressure, the banging was taking a toll on the wood. Eventually/the next morning, I just went at it with a saw to increase the slit width by a tad.
Falling Apart
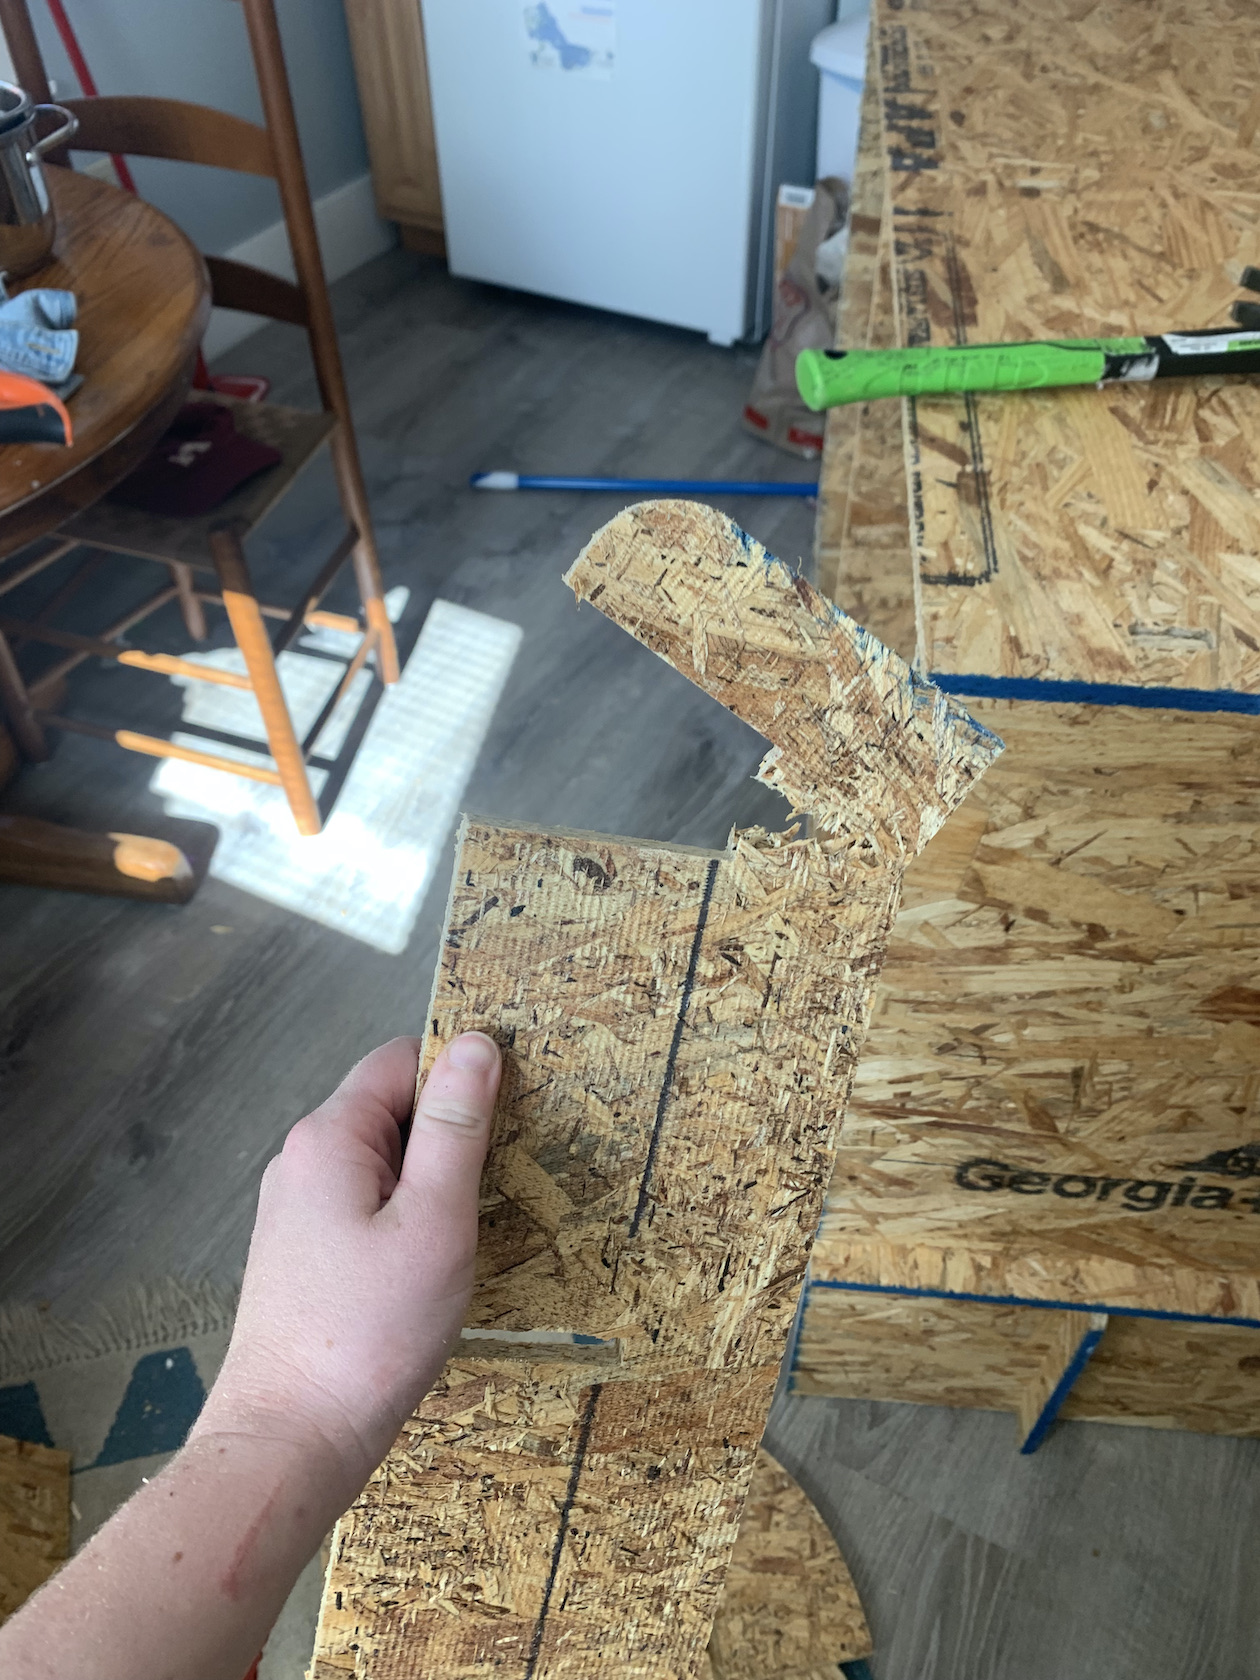
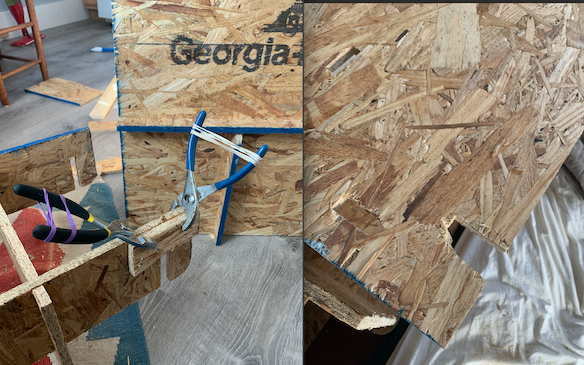
Of course, a piece broke and I do not have clamps. So, when I glued after toenailing, I made my own clamps. I also had to make the hole for that piece wider.
Moving + Final Touches
Impatience
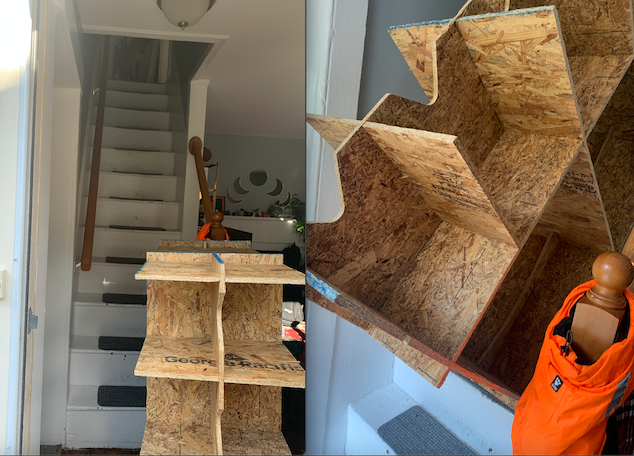
As you can see, my stair case is very narrow, so one can only carry it from an end. Even though my boyfriend offered to help me that evening, I of course thought "what, and miss ideal light to take pictures of the final product?" so I did it myself. After the top falling off, significant splintering and bruising and swearing, she made it up the stairs.
Final Assembly
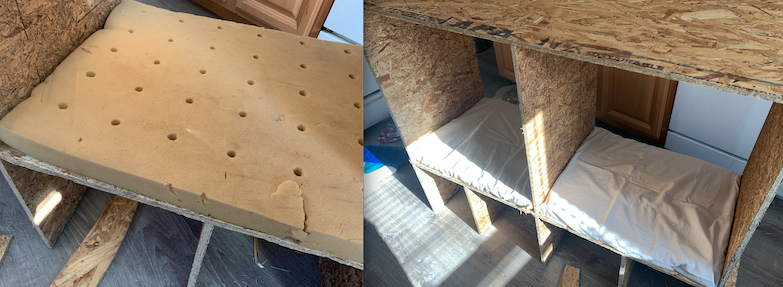
It just needed some final touches with some foam cut and fitted, and adding the shelves.
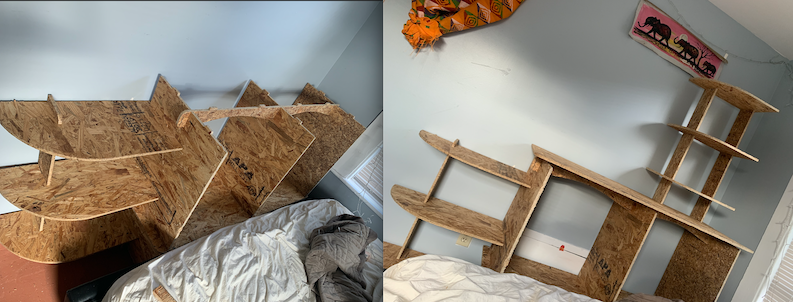
Nyansa was initially curious but tentative.
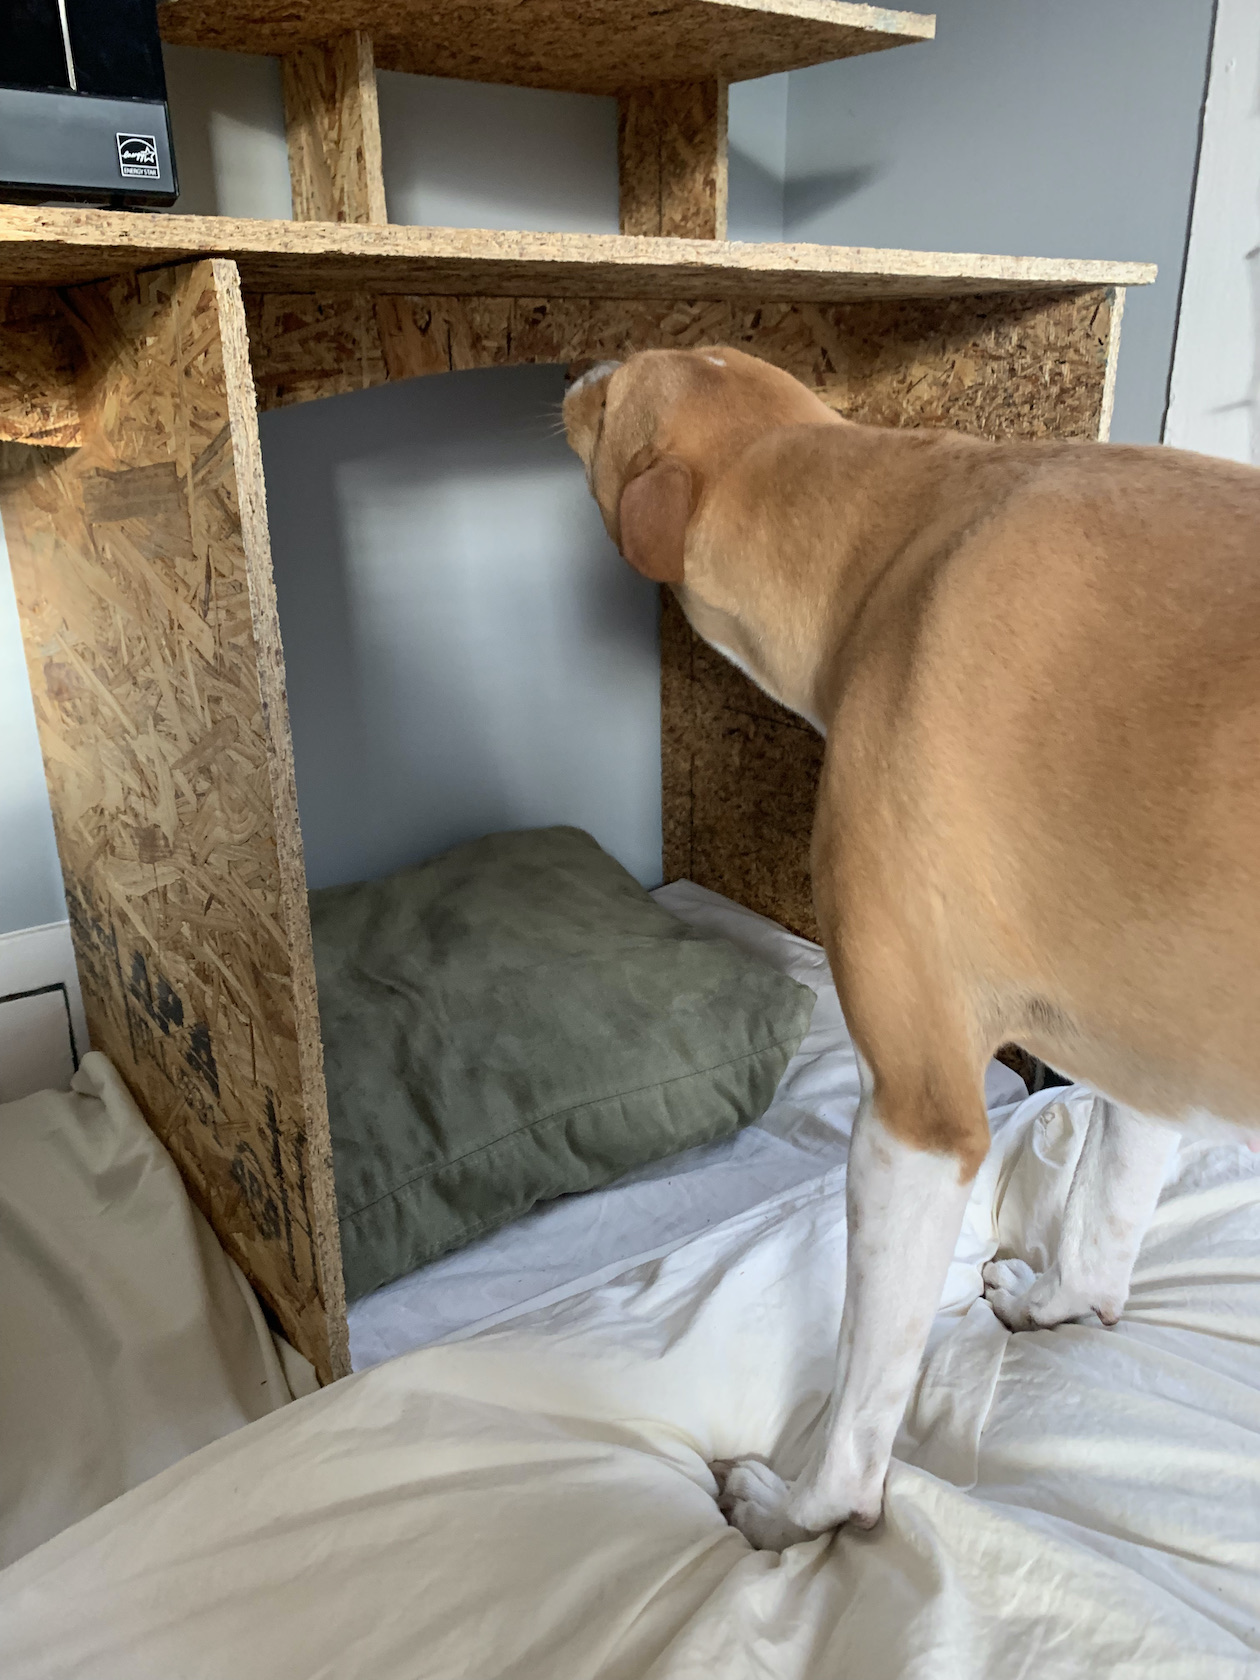
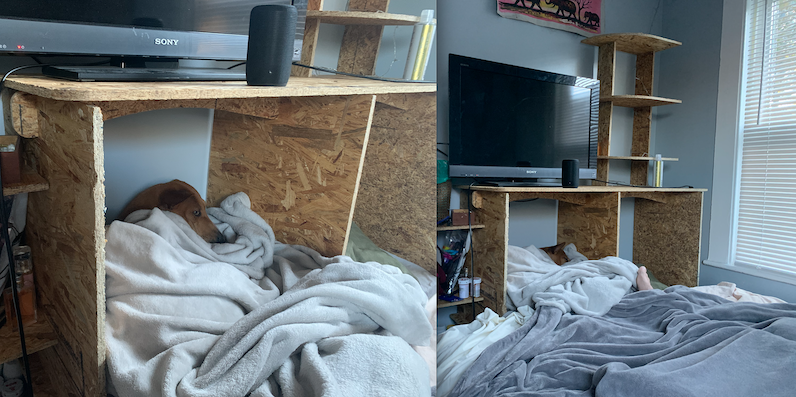
A great night's sleep

Fräulein quickly made a home there. Which left much more room on the bed. Plus, there is now significant shelving on which to put clutter. Look how much better and welcoming this room looks! WOOHOO!! I can sleep!!

