Assignment and approach:
This week’s assignment was more straightforward than I thought. We needed to write a program for a development board, and use that program to communicate and interact with the board. With some guidance from the teaching team, I took their suggestion for a simple path: to make an integrated LED blink on the Xiao rp2040:
I started by downloading the Arduino IDE, to interface directly with the 2040:
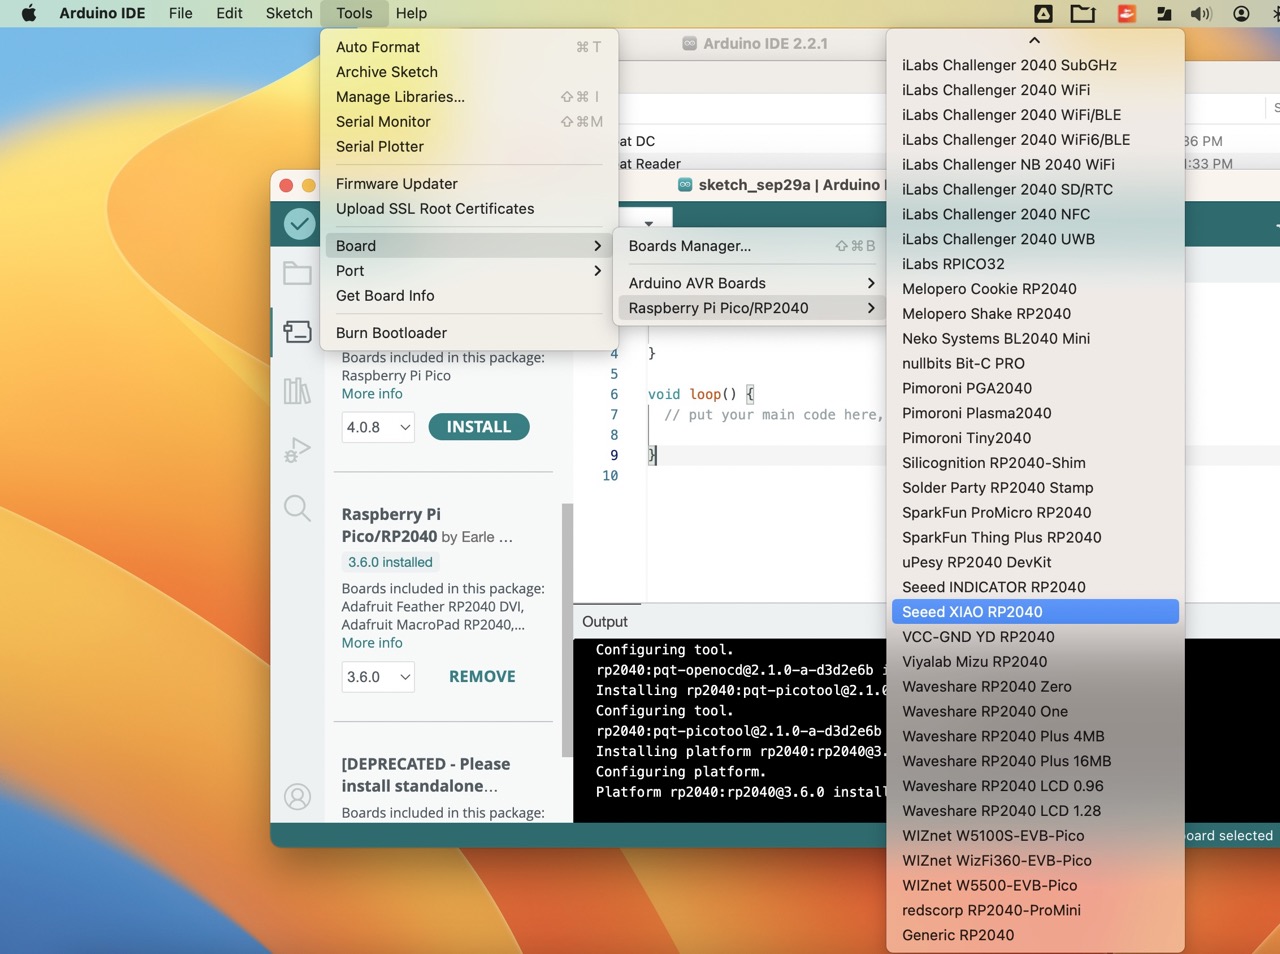
Once downloaded, I followed the install procedure connected the 2040 via USB added the 2040 as a board:
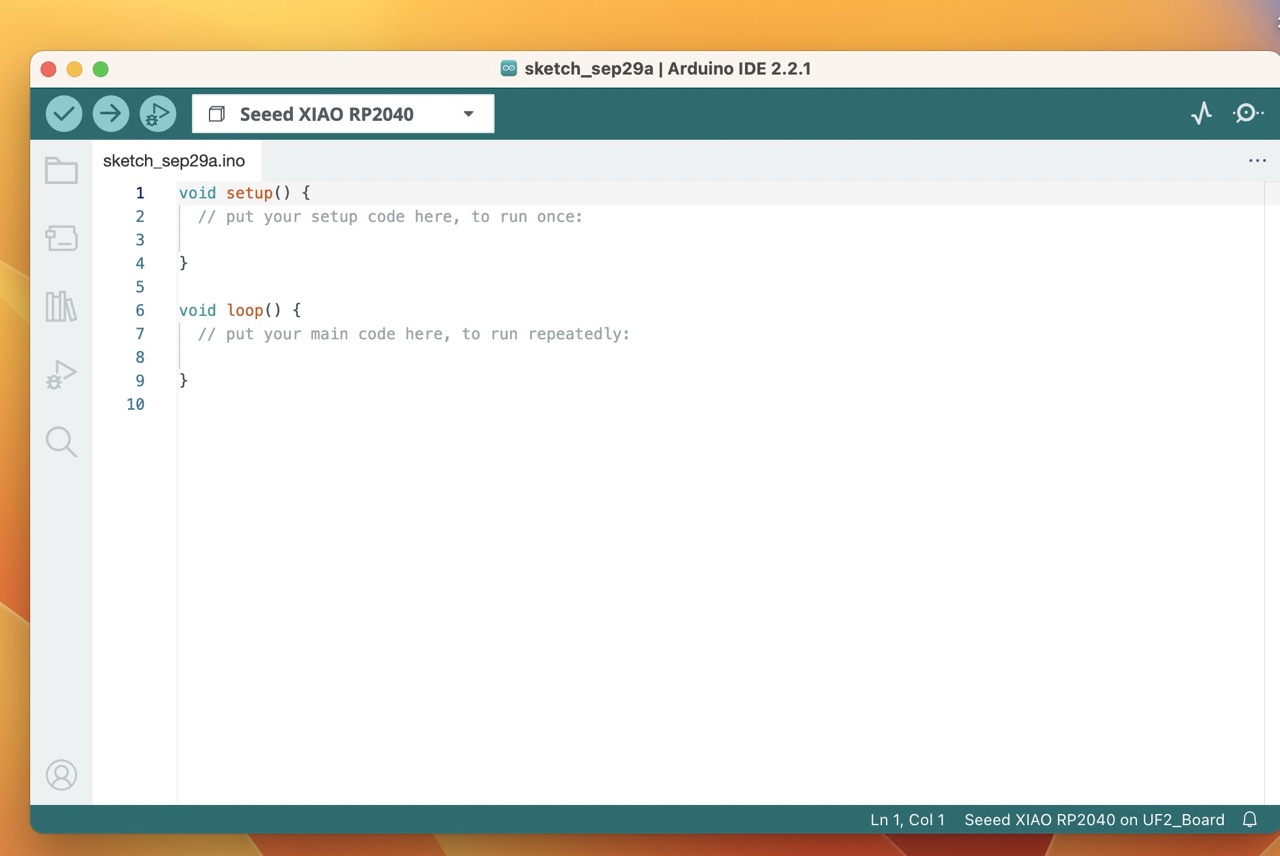
I opened the console to start writing code to make the LED blink:
As far as the code is concerned, Claire, our section's teaching fellow suggested that we research examples before we write from scratch. Turns out the Arduino community has shared some sample code that can be modified to your liking / use case by adjusting the delay(1000); code within the void loop for turning the LED on or off:
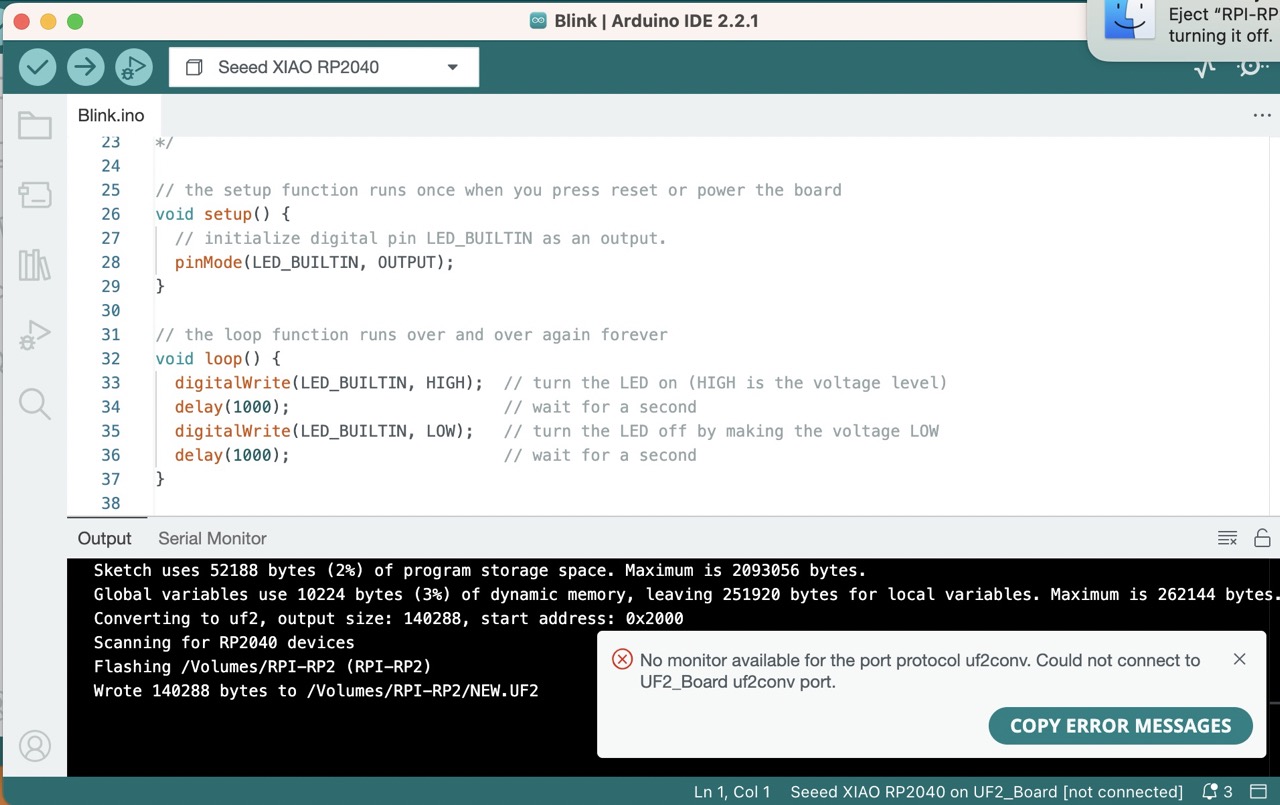
We press the "play" button to send the code to the board, and it worked!
I acknowledge two resources that helped me greatly with the preparation of this assignment and documentation: Claire Dorsett for a quick primer on the Arduino IDE, Colby Newman for the sample blink code posted here, and ChatGPT 3.5, which helped me take text and images from the native OS X text editor I used to quickly document on my Mac into simple HTML for my git repo.
Updated June 7, 2024