Assignment and Idea:
This week’s assignment was to design a mold and produce it with a smooth surface finish - and use it to cast parts. I initially thought of making some jewelry or finding some other charming excuse to melt metal, but the metal we had to melt was not a great fit for making jewelry. I decided that I thought it would be fun to make a stamp that we could use on the back of holiday cards.
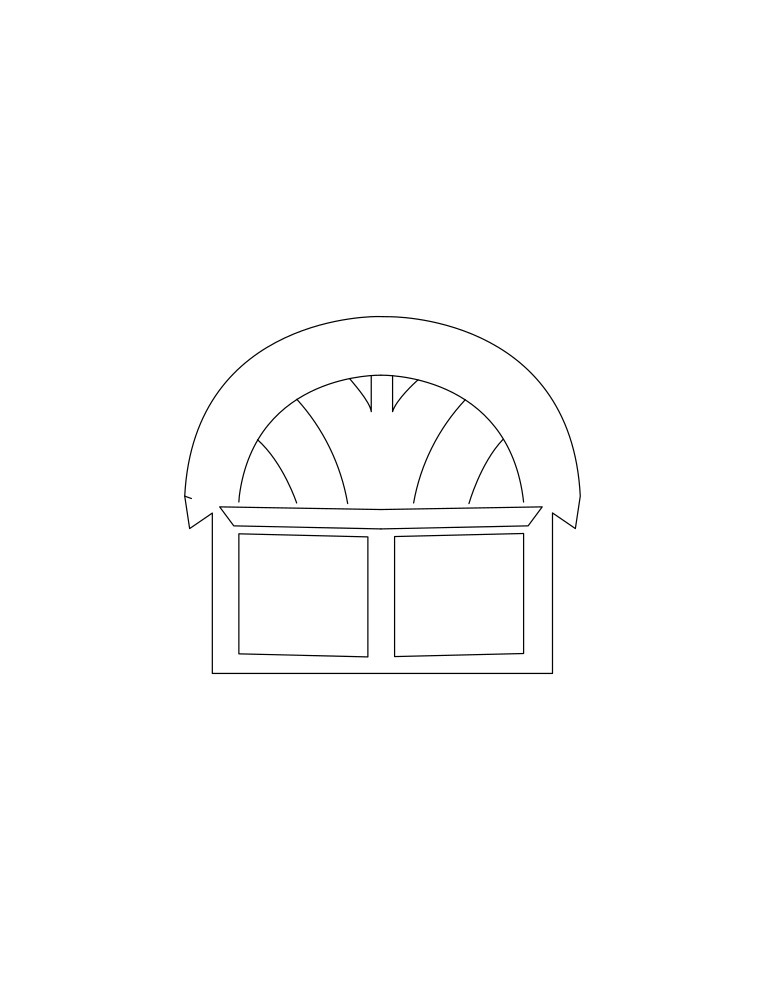
To do this, I borrowed the outline that I used for the dormer in the computer controlled machining assignment, and wanted to see how it would perform in wax. My thinking is that I would cut out the detail and create a negative mold that I would fill with resin or silicone, from which I could have a stamp.
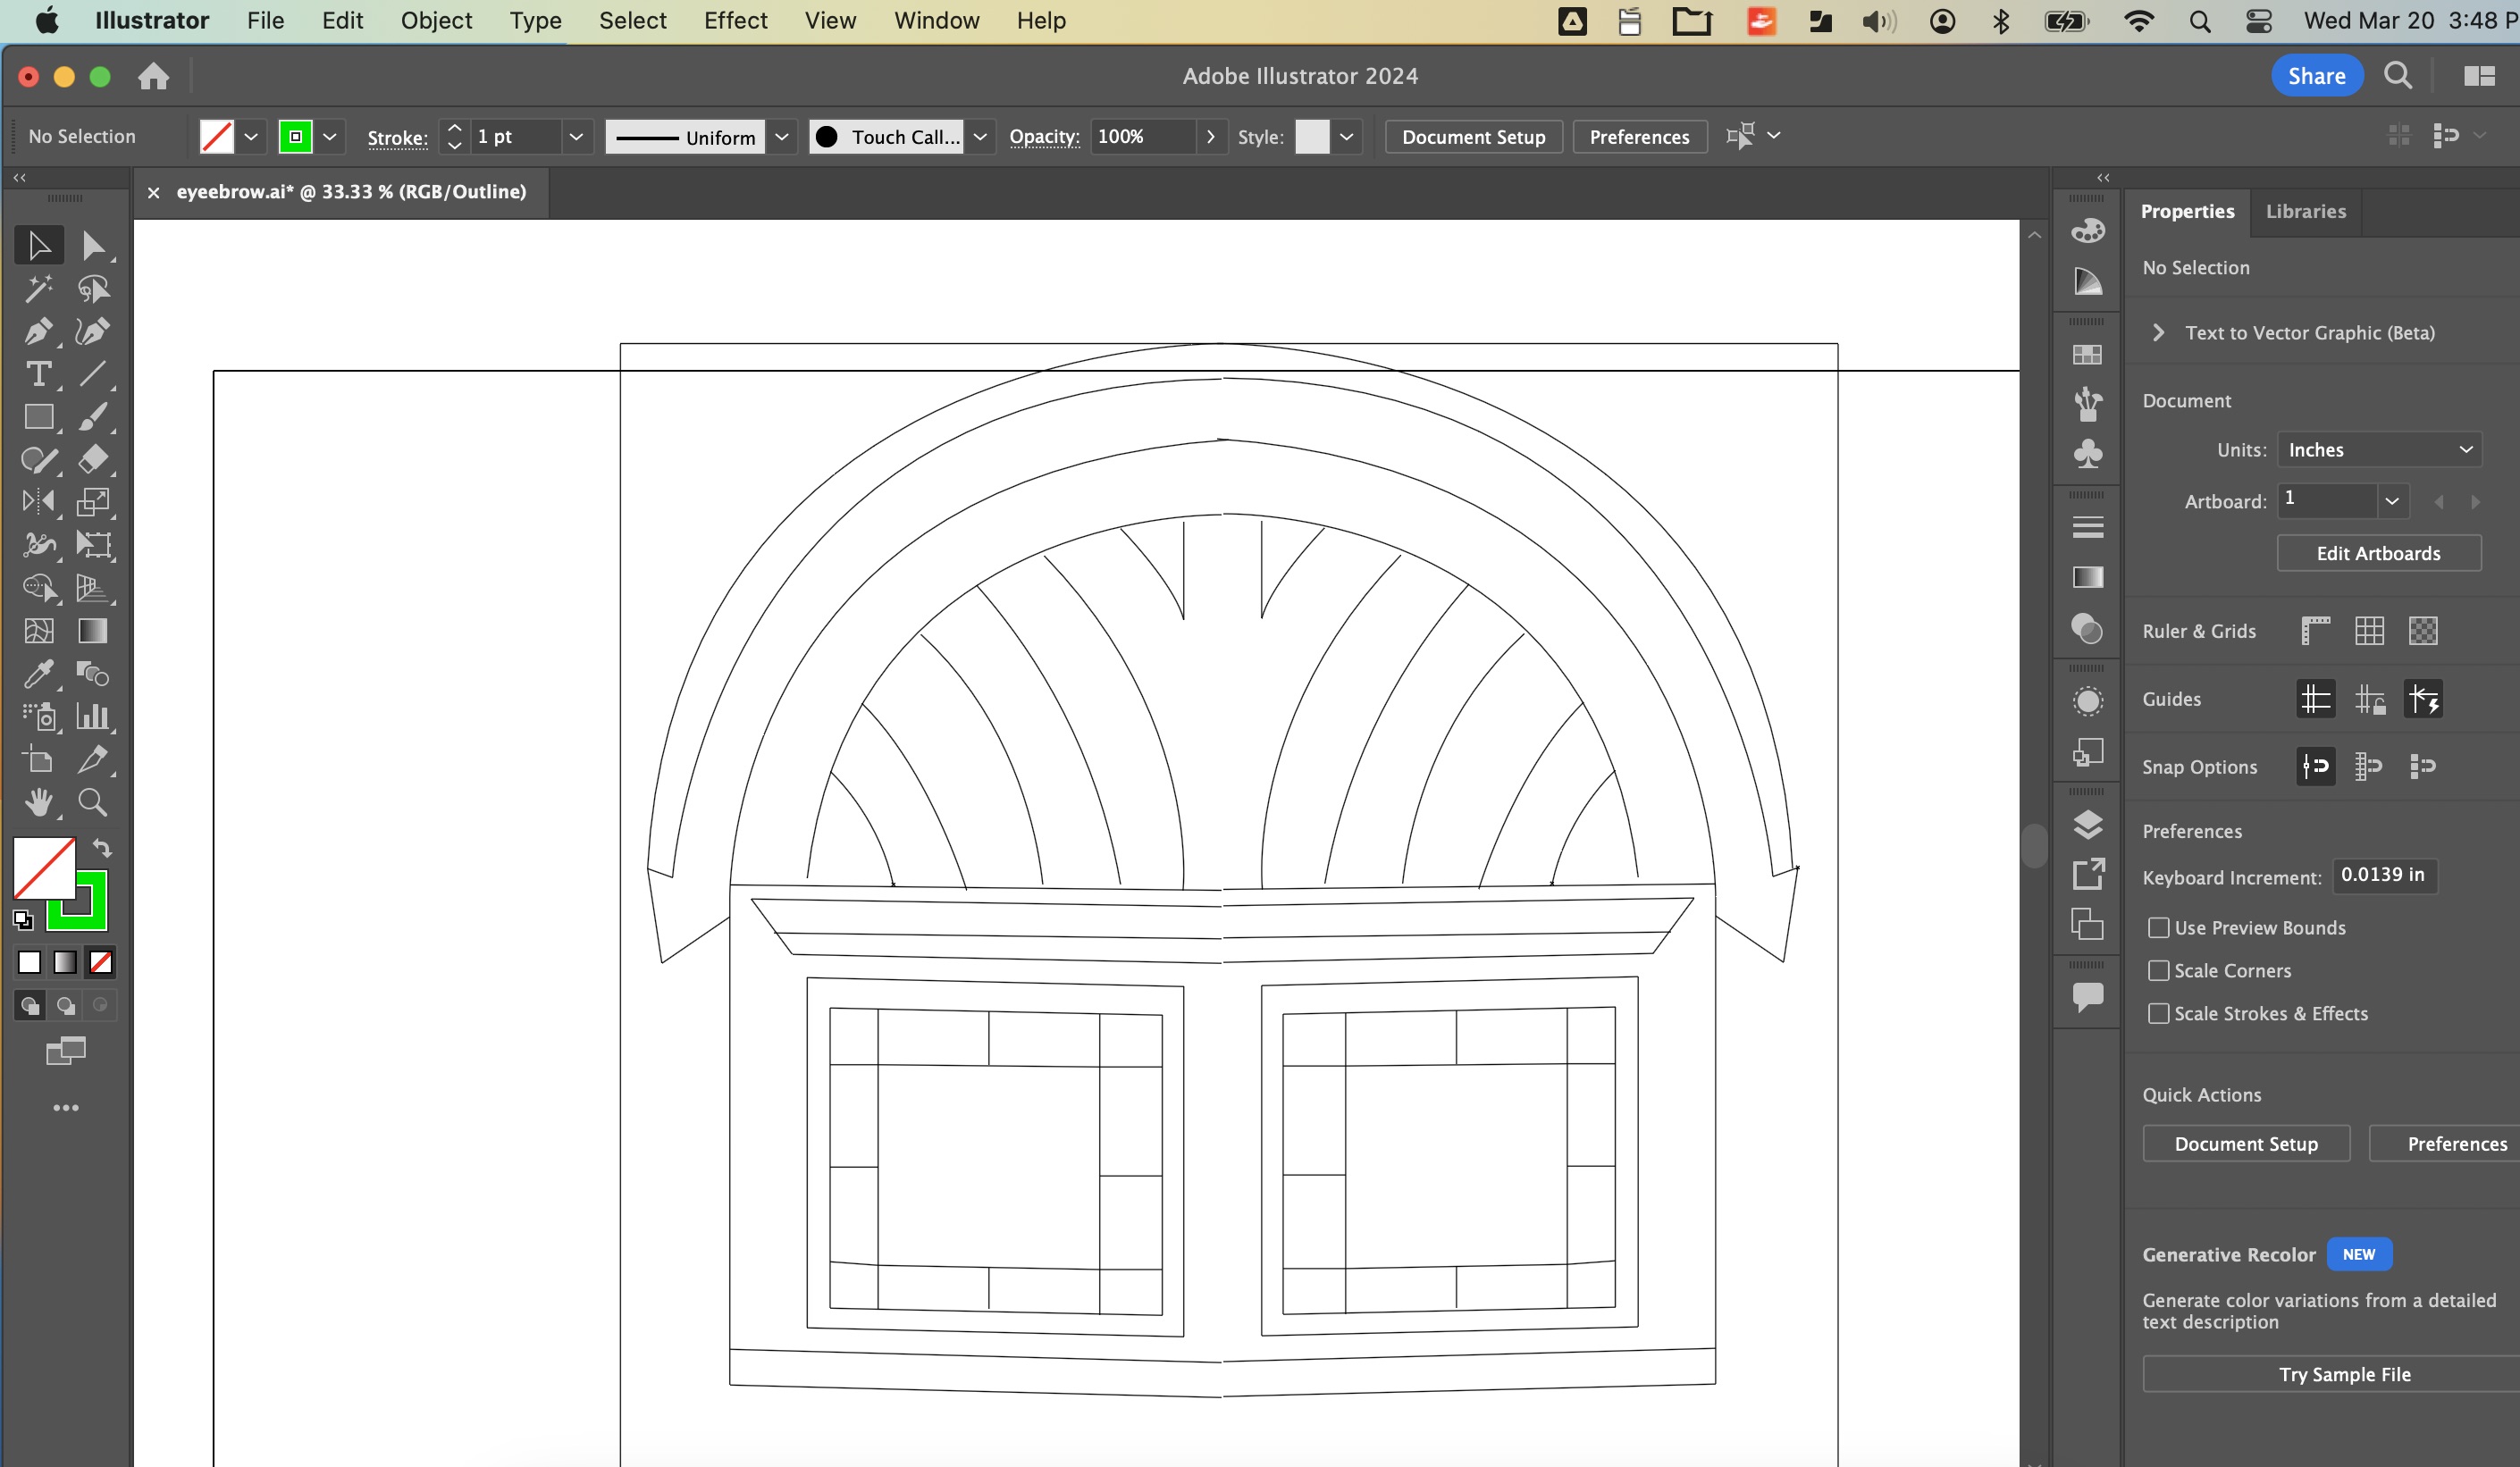
I thought that this would be a quick week, with a design in place that was, in my mind, simple, and in hand, ready to export as a PNG for following the steps for milling in ModsCE that I used for weeks 5 and 6 in milling my PCB. This was not a great assumption.
First, for milling in wax, we needed to convert the PNG to an STL. There is a multistep process to do this in Fusion360, but there is a two step (upload and export) process to do this with an online cookie cutter design tool; CookieCAD:
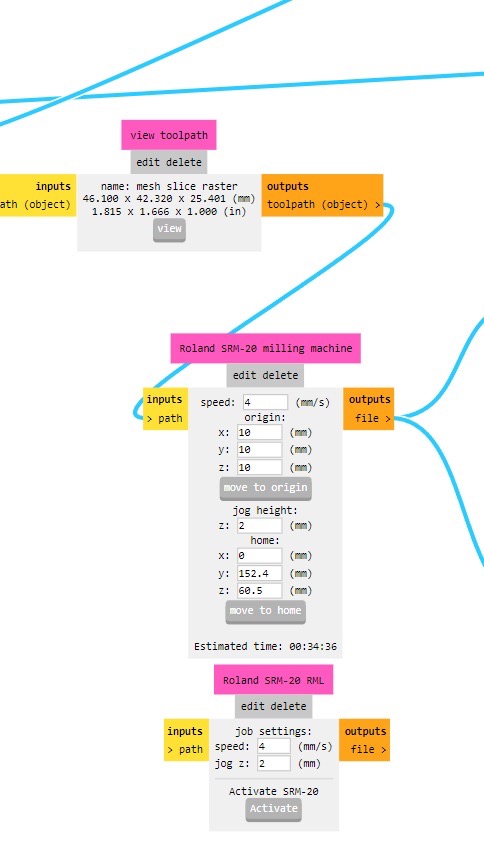
With an exported STL in hand, I went to the Roland station and mounted the wax block with double-sided tape, and started adjusting the Roland settings so it was just touching the wax, just like in weeks 5 and 6.
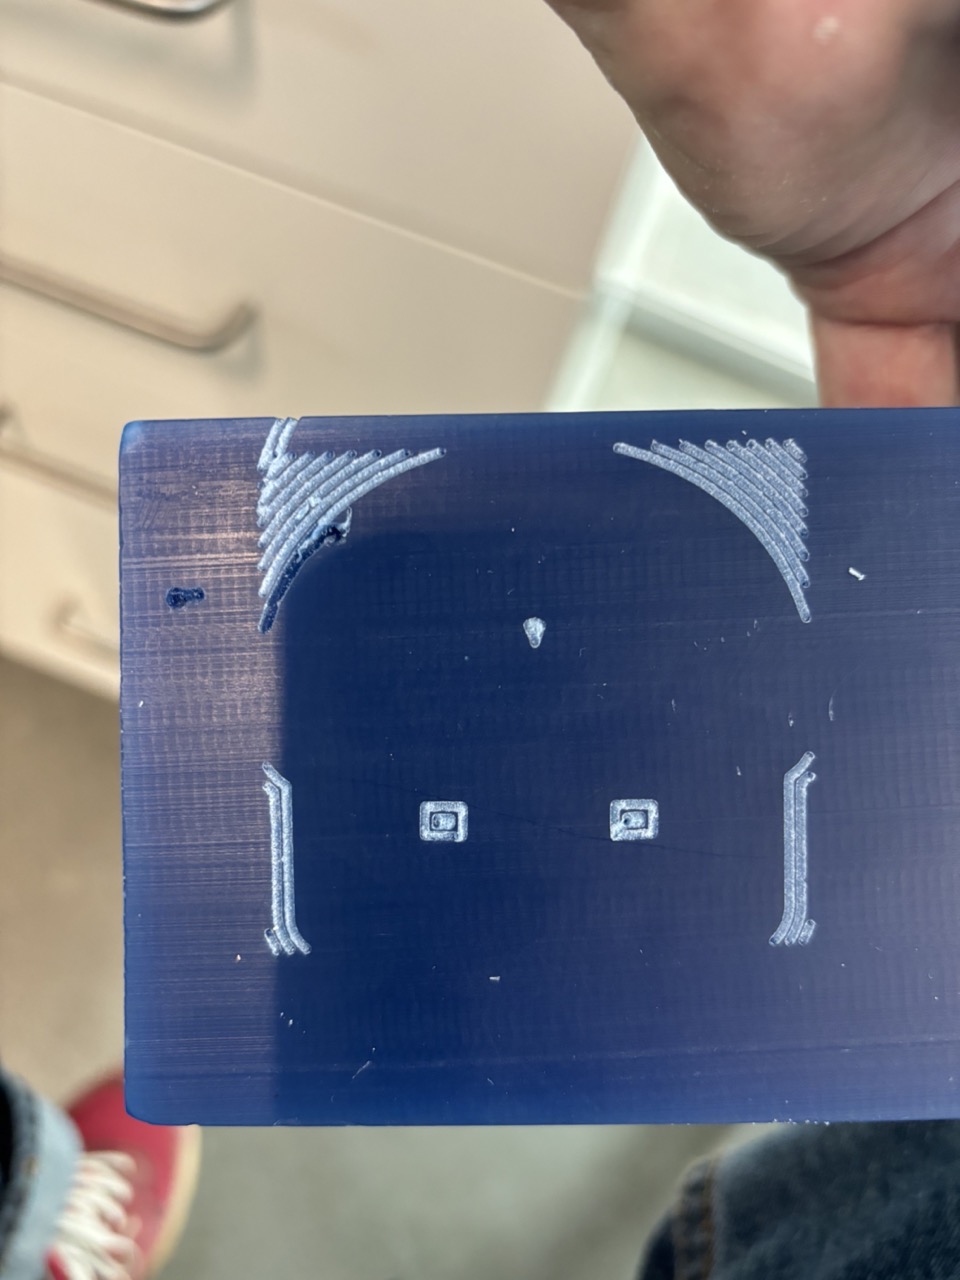
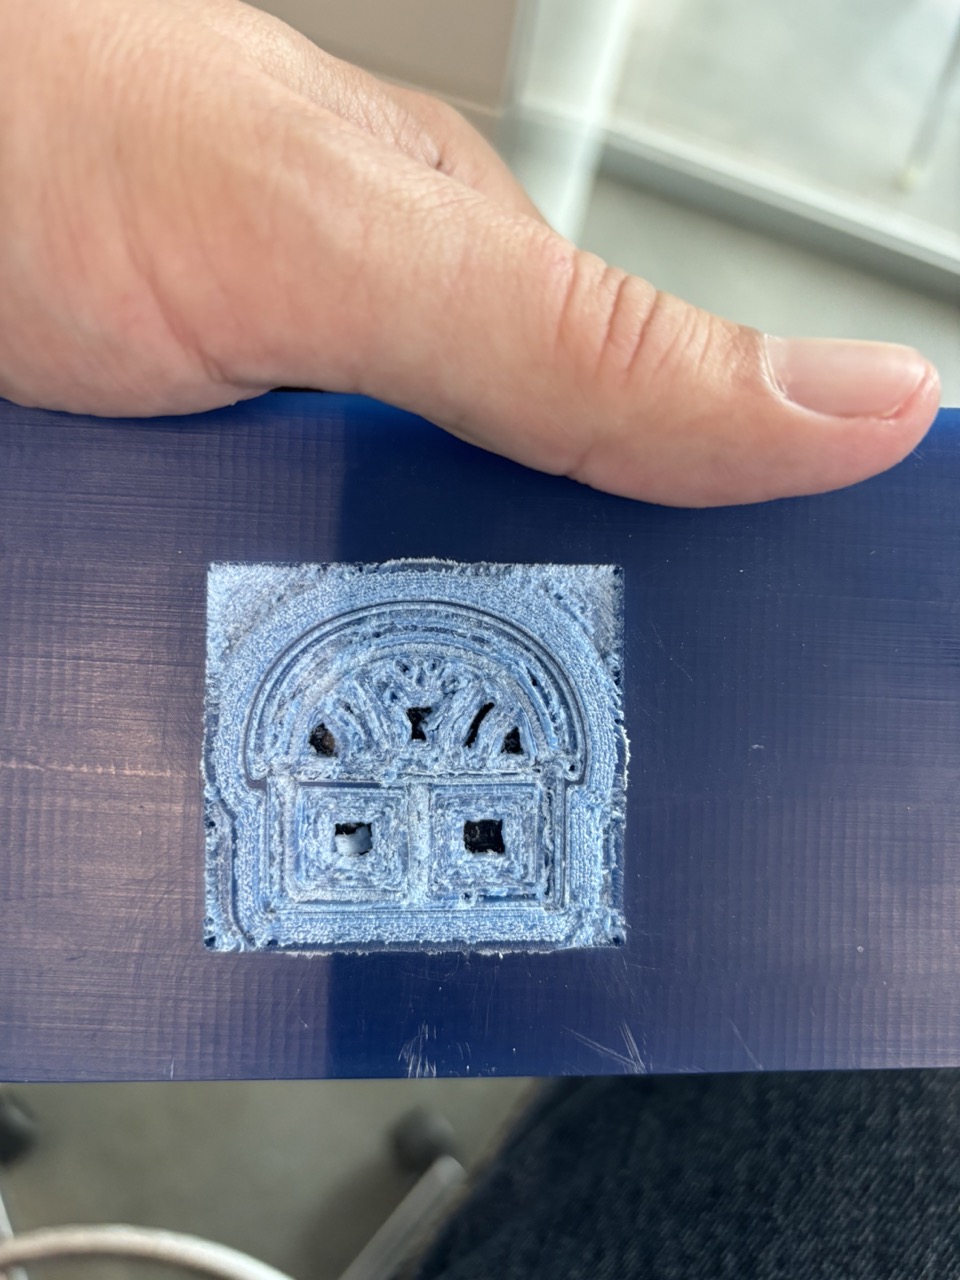
I pressed send file - and watched my drill bit dive so deeply that it started moving the mold while milling:
I had to adjust the depth, so I spun the wax around and tried again:
The assignment was to make something smooth, and this was far from it. One of my classmates left a mold behind of a Pokemon ball that I looked at with envy, like checking out the paint on a Ferrari at a car show. They were not there, so I could not ask for their help. My sense was that I was asking the mill to do too much, so I decided to simplify my design by cropping out some lines in Illustrator, while still retaining the aesthetic that I was looking for.
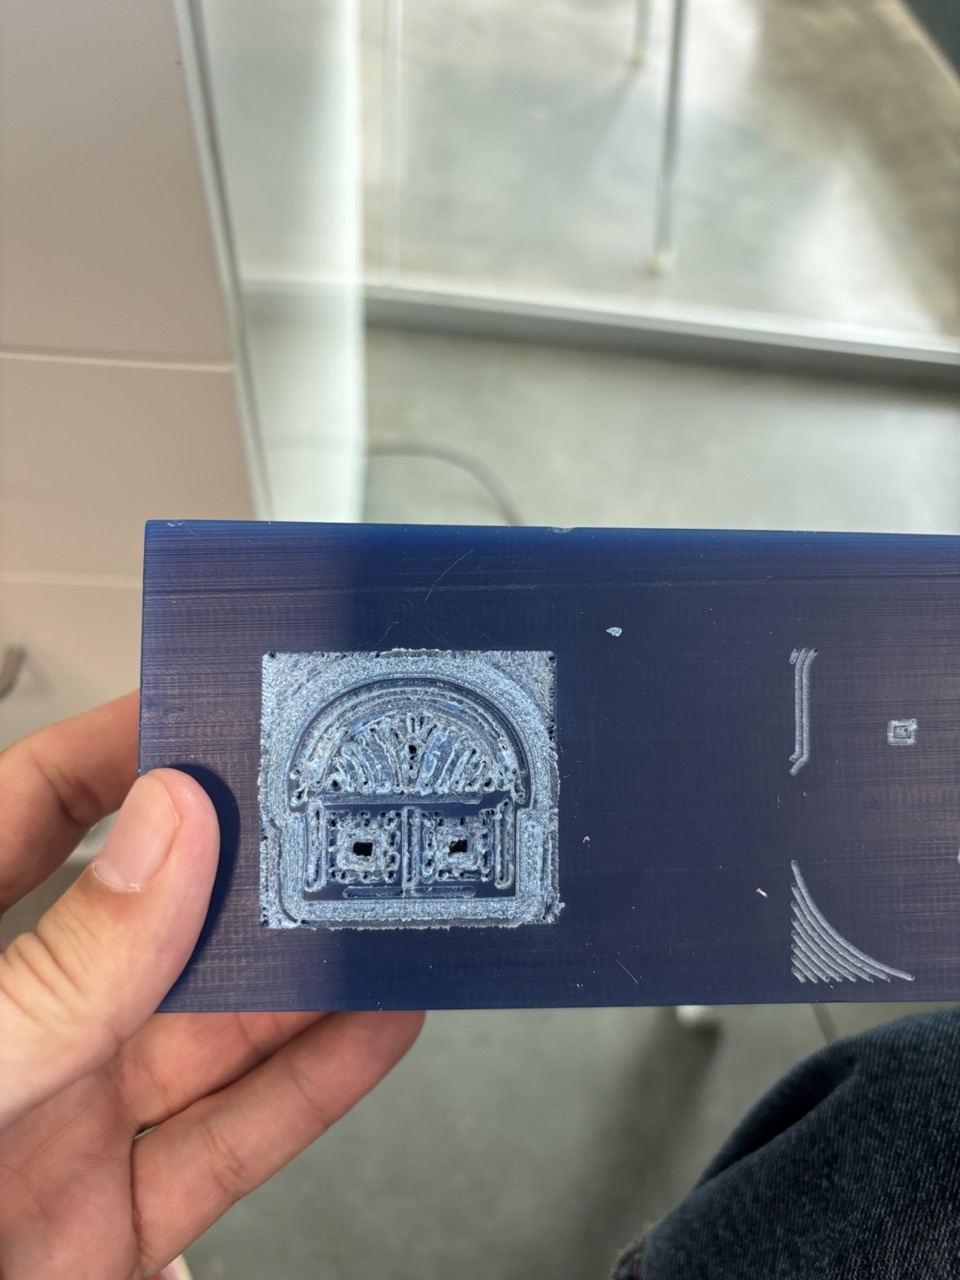
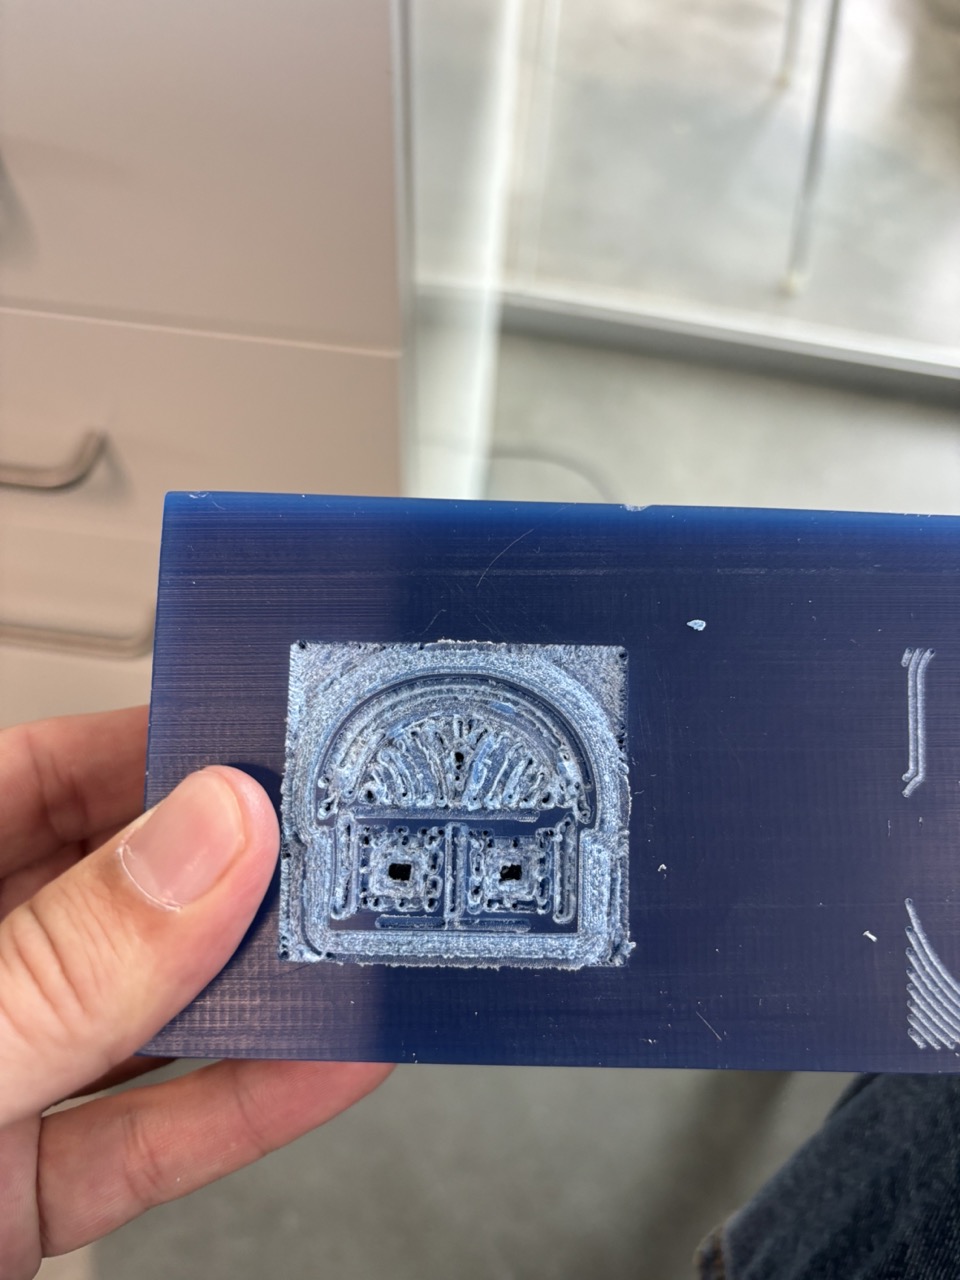
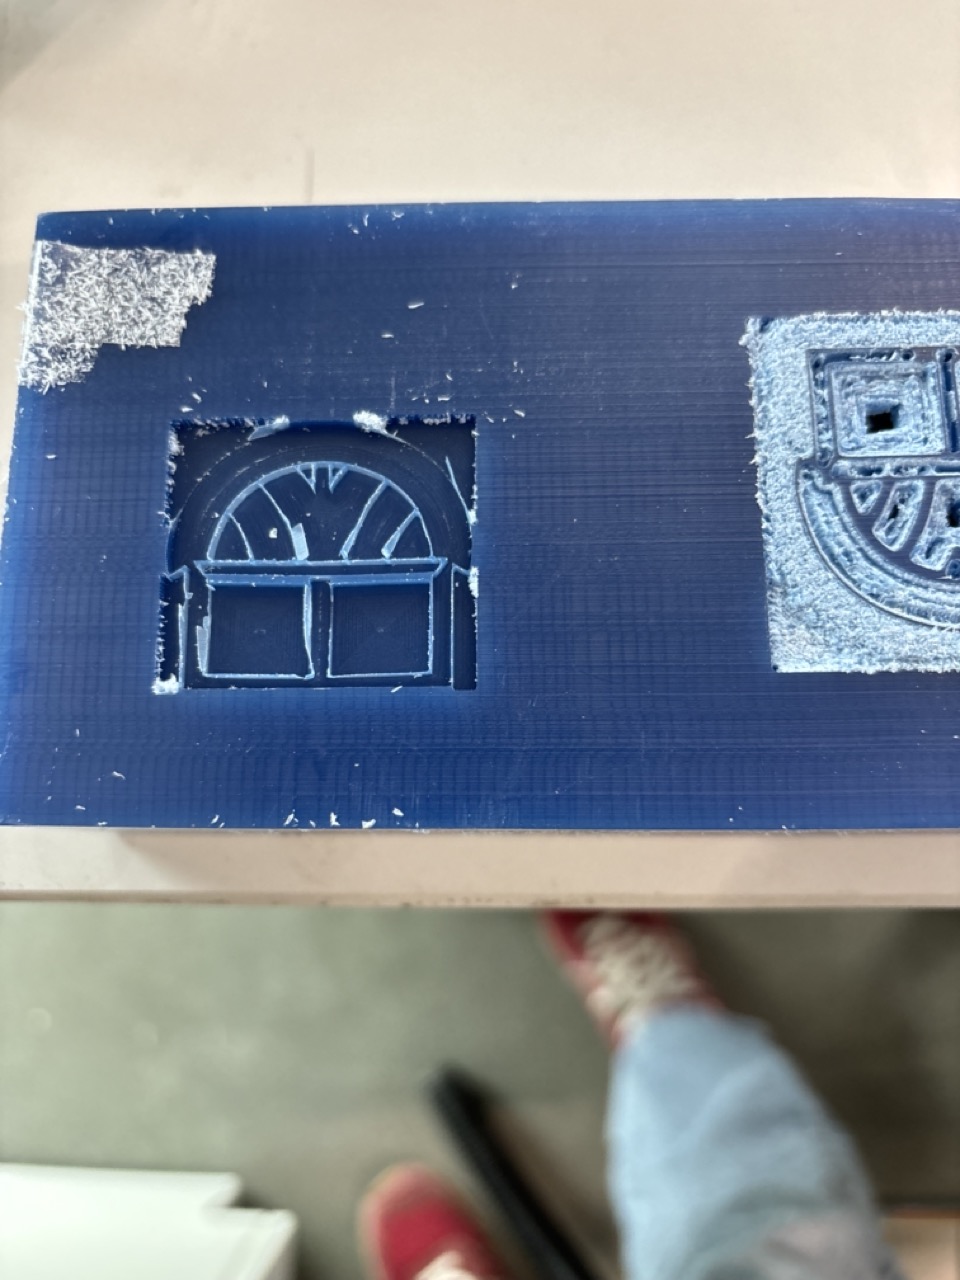
Back to the Roland with the new design:
Success! Well, at least I had a smooth mold!
Time to save those settings with screenshots since Mods does not have an option to export a configuration:
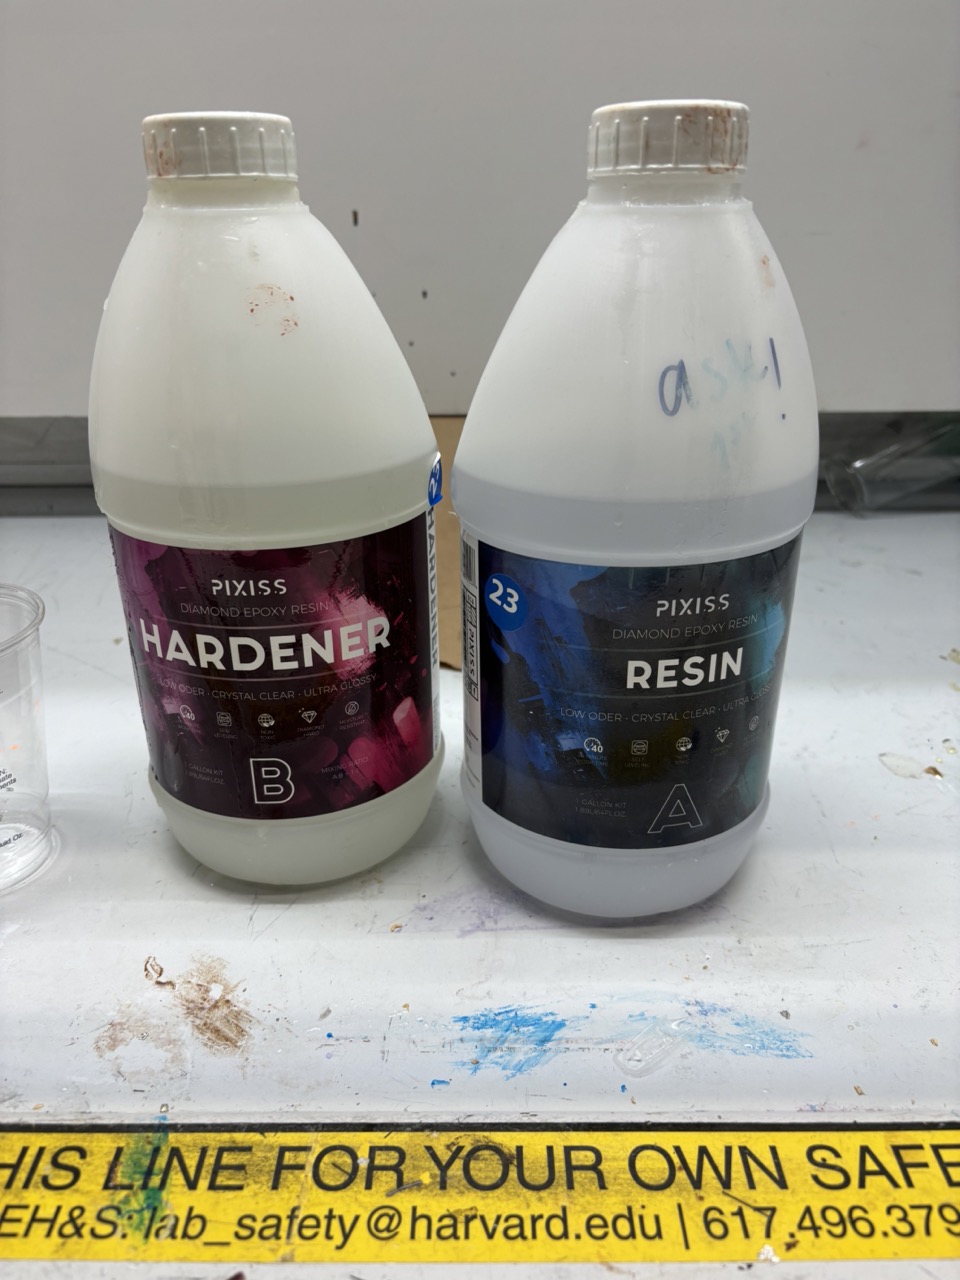
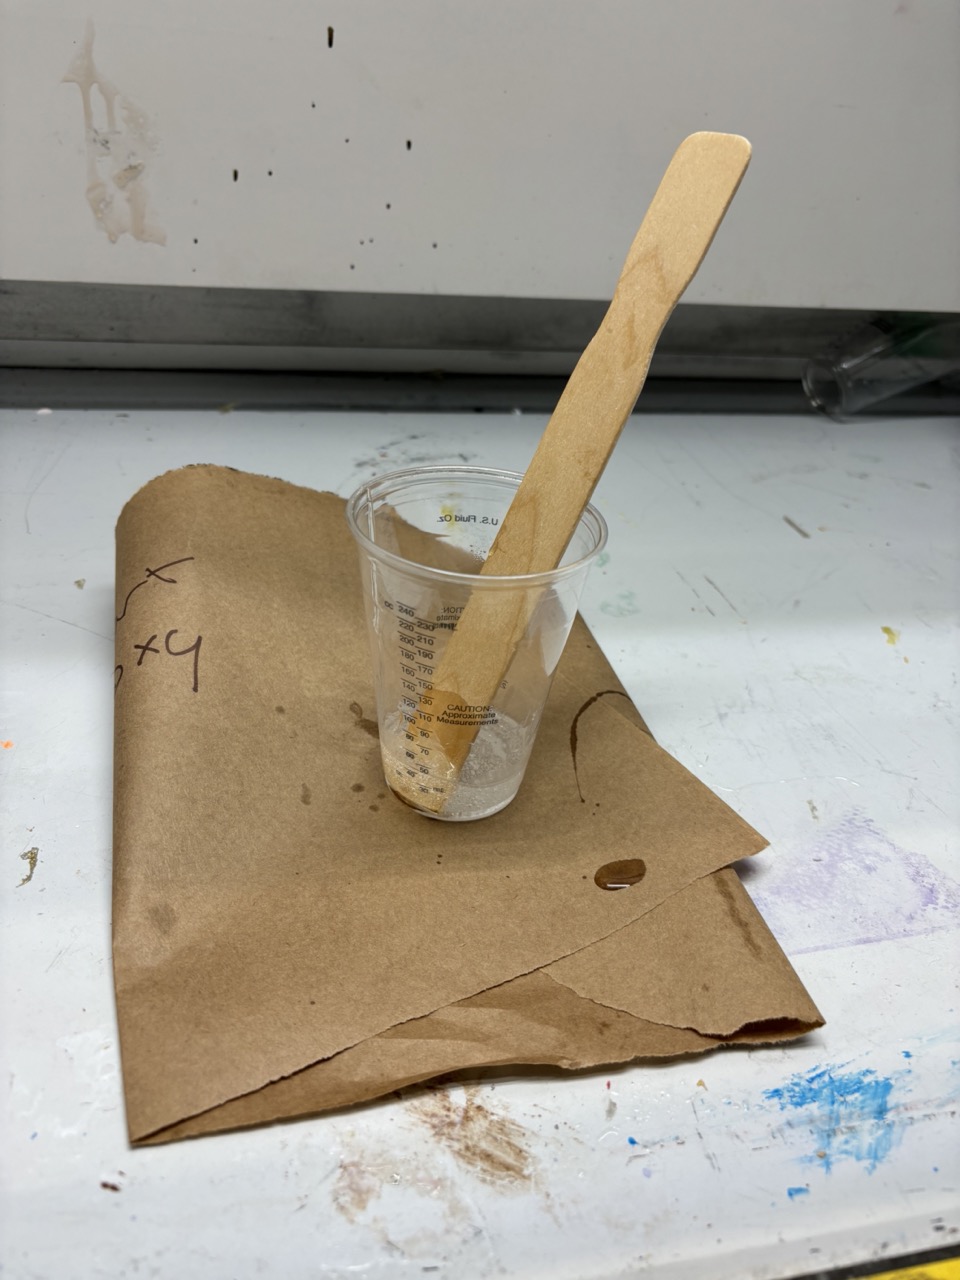
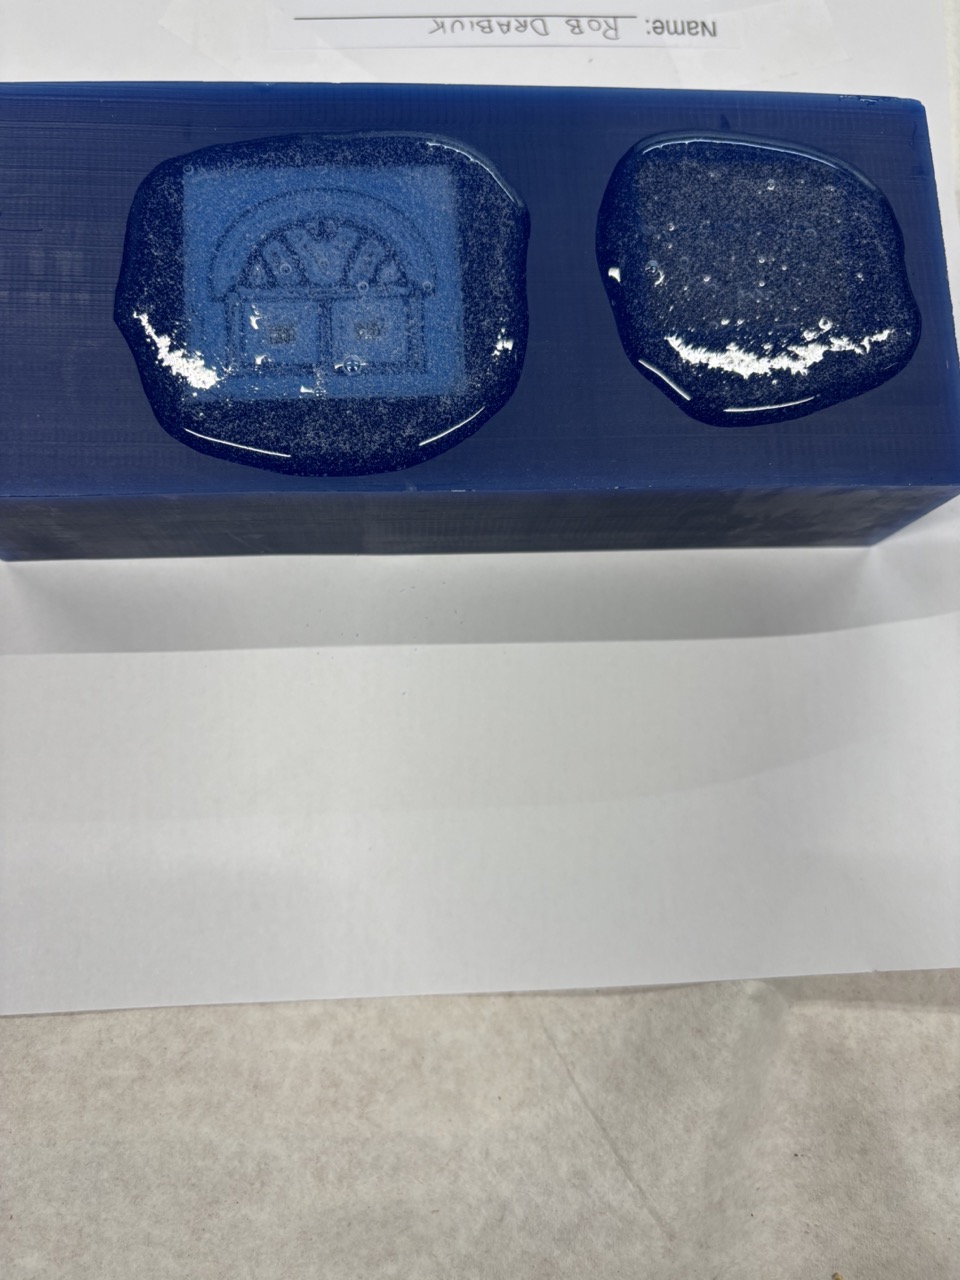
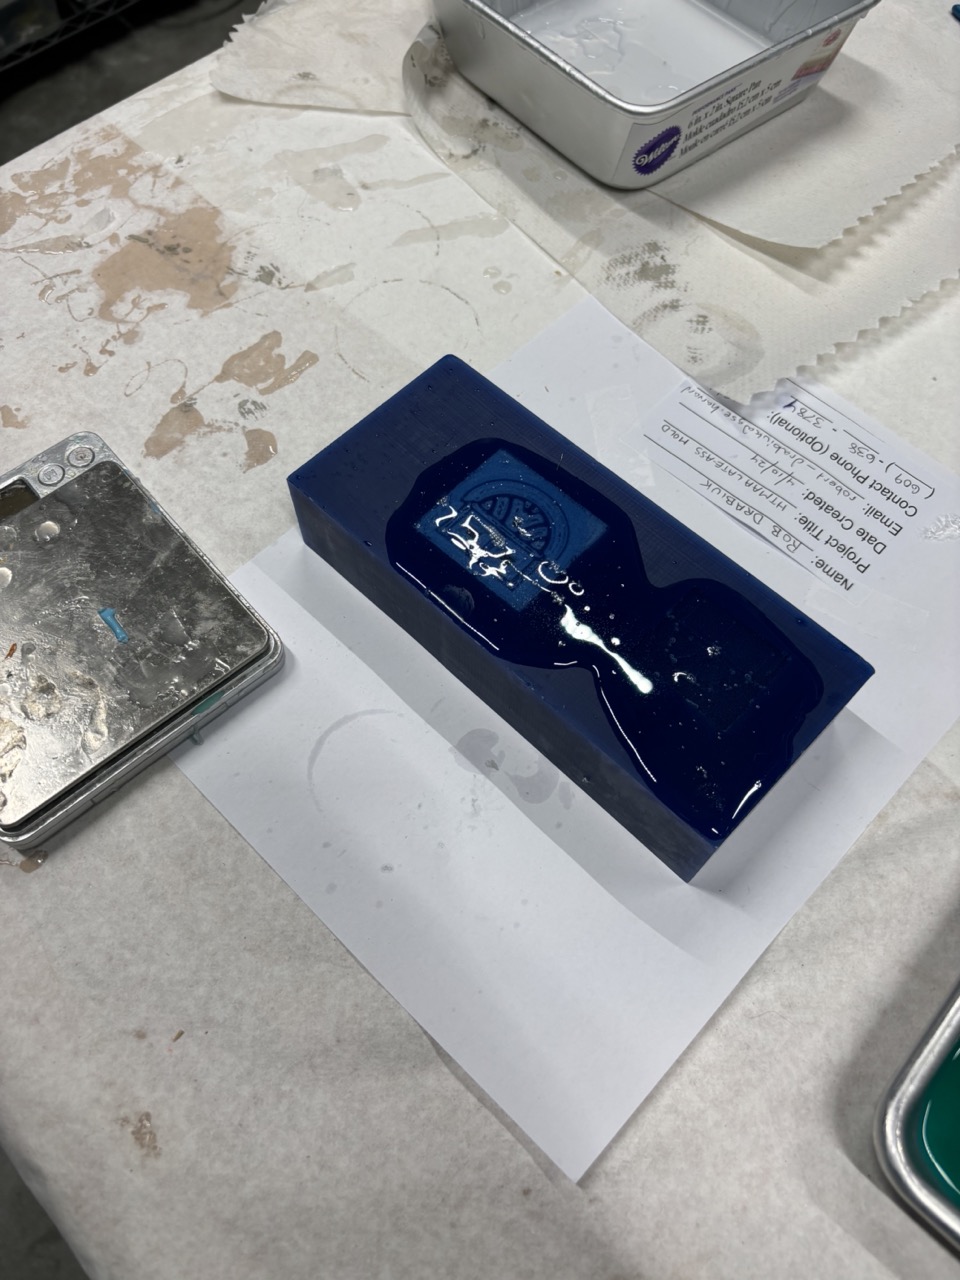
I went into the molding and casting room and followed the instructions from the lab team for a 50-50 mix or resin and hardener. The cup and popsicle stick mixing this stuff was so satisfying - I felt like I was on a show where they were repainting a car with a custom color. I poured the mix into the mold and had to wait 24 hours for it to harden.

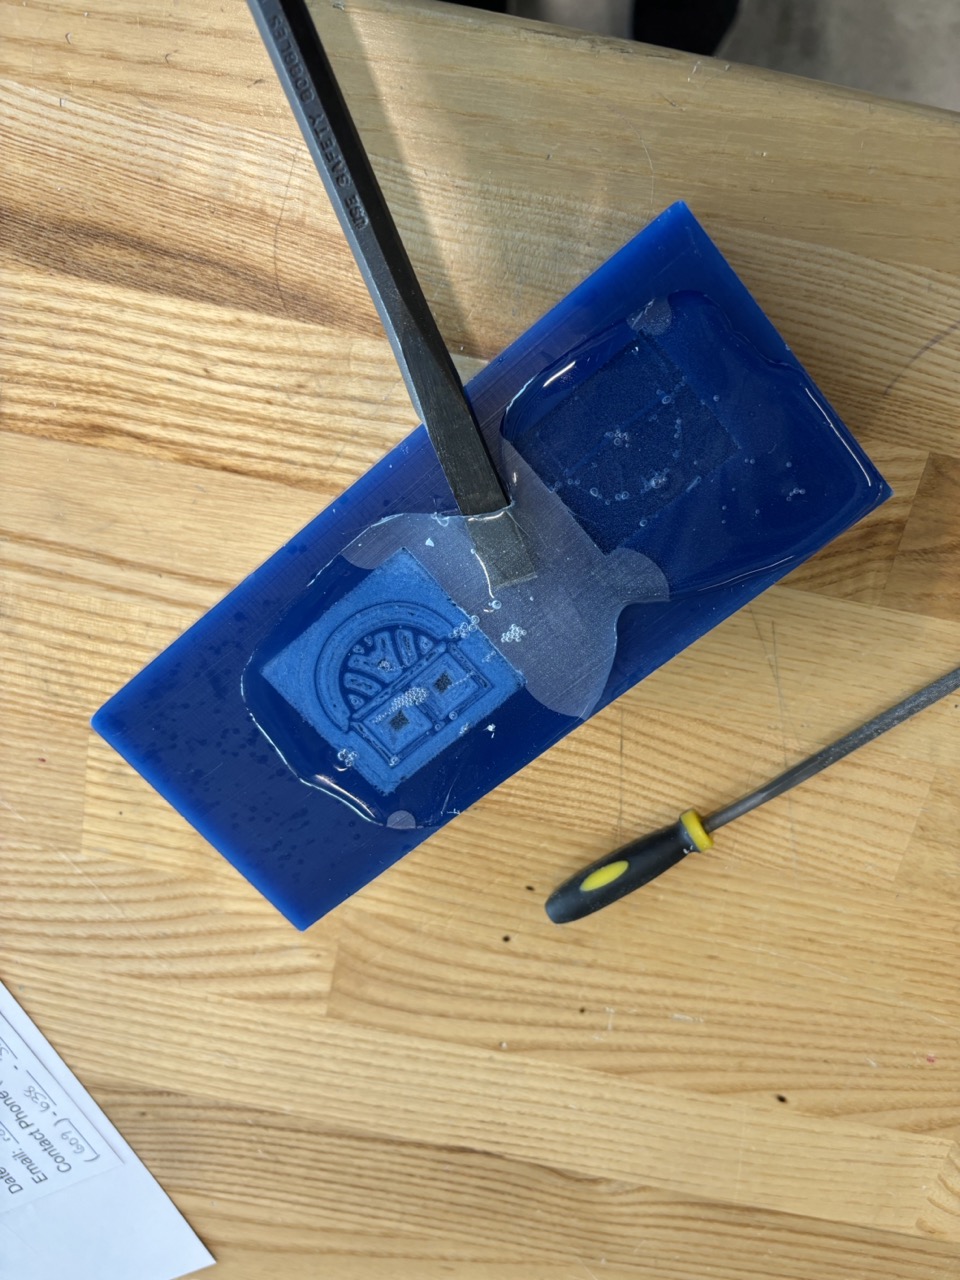
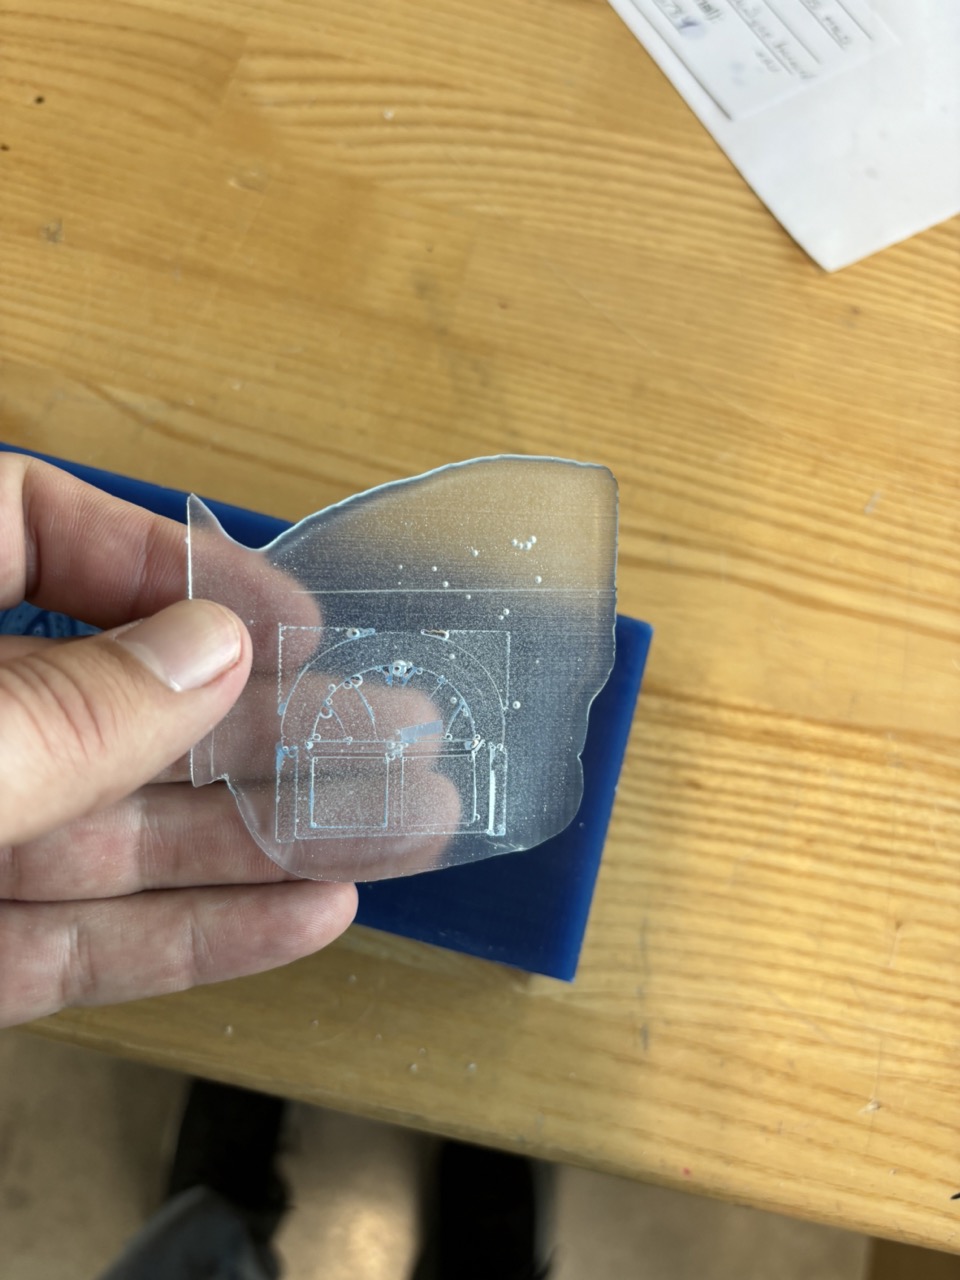
I used a screwdriver and putty knife to free the edges of the resin before pulling it out by hand:
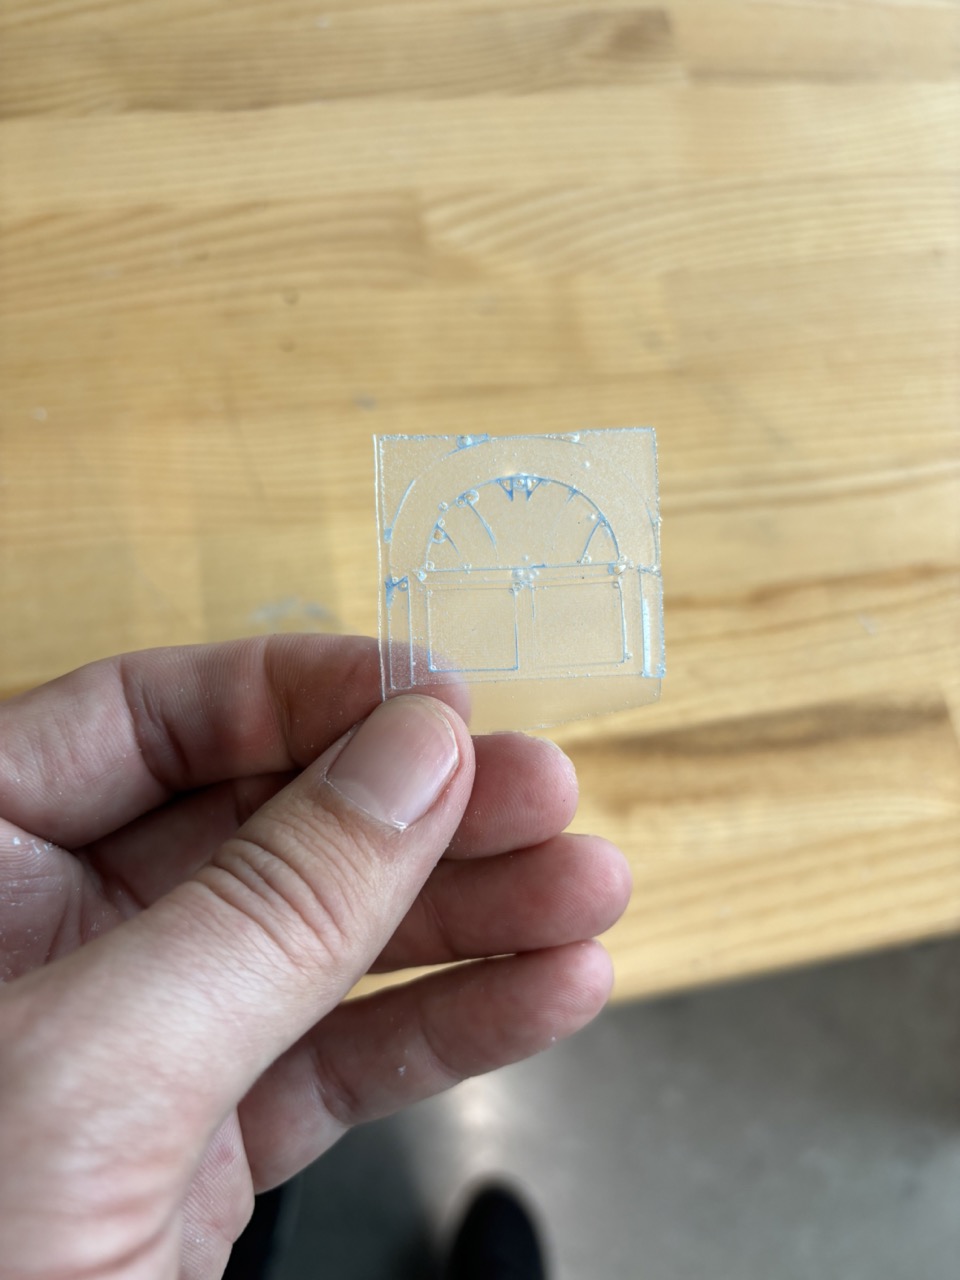
I trimmed the mold:
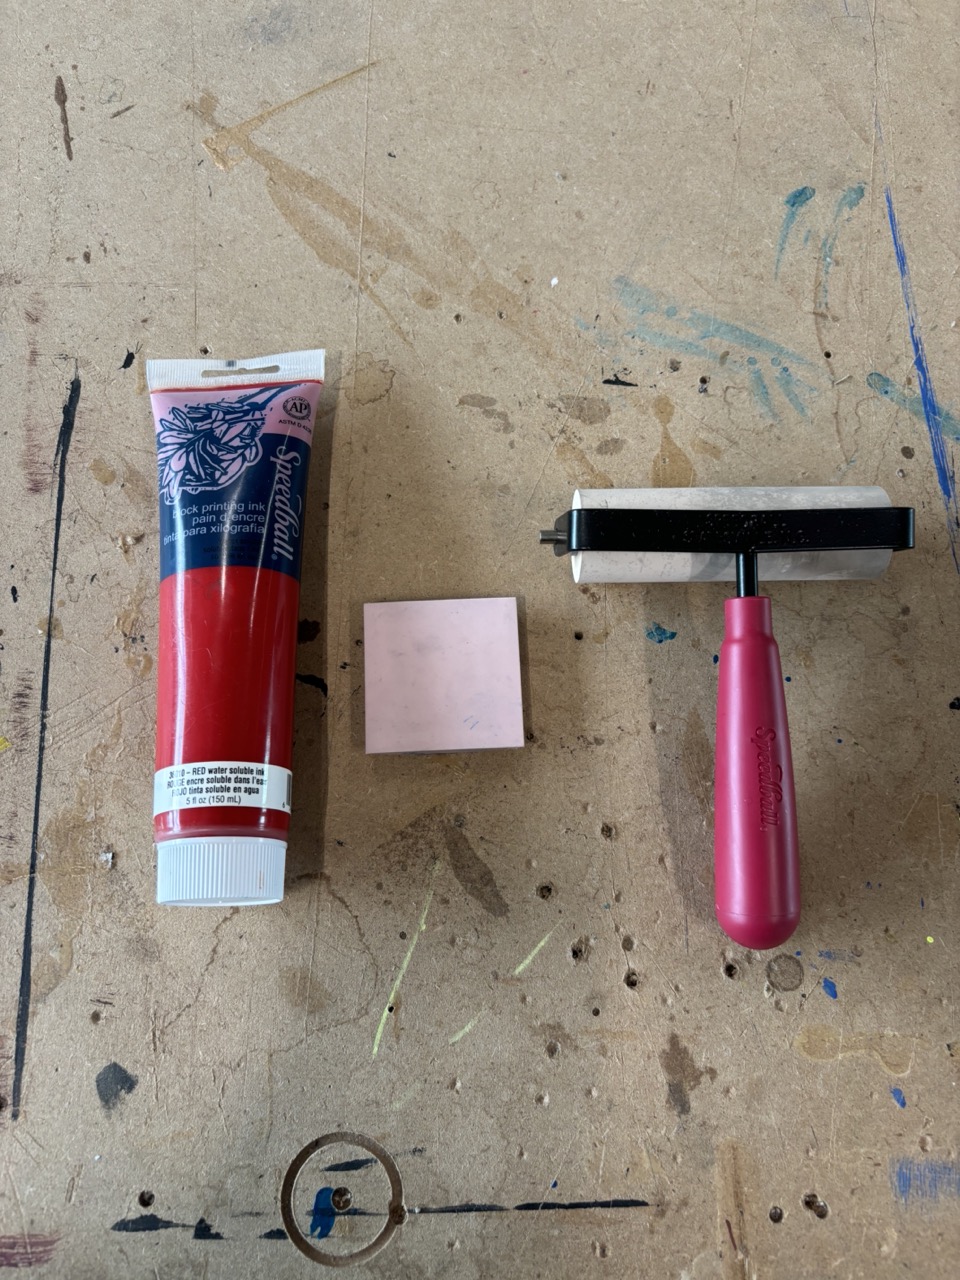
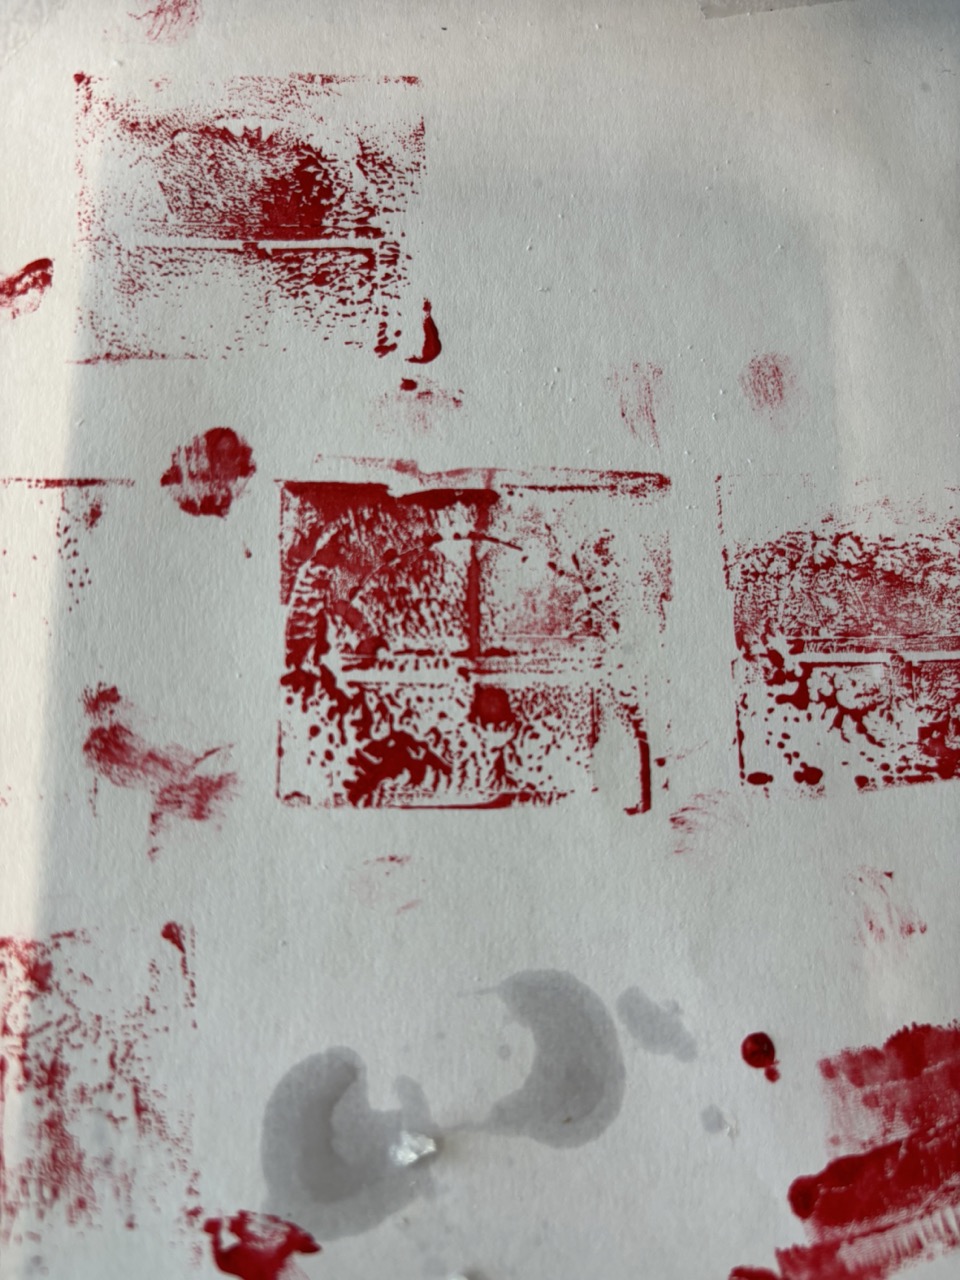
I found some ink and a roller in the stamp-making bin:
It is not a bad first effort, and I think that it will make for a fun story for our holiday cards this year, but my next stamp will be simpler, and with broader lines that will make this more defined!
I acknowledge two resources that helped me with the preparation of this assignment and documentation: Christine Braun, Director of the Harvard lab, who coached me through my first safe use of resin, and ChatGPT 3.5, which helped me take text and images from the native OS X text editor I used to quickly document on my Mac into simple HTML for my git repo.
Updated May 18, 2024