Assignment and Idea:
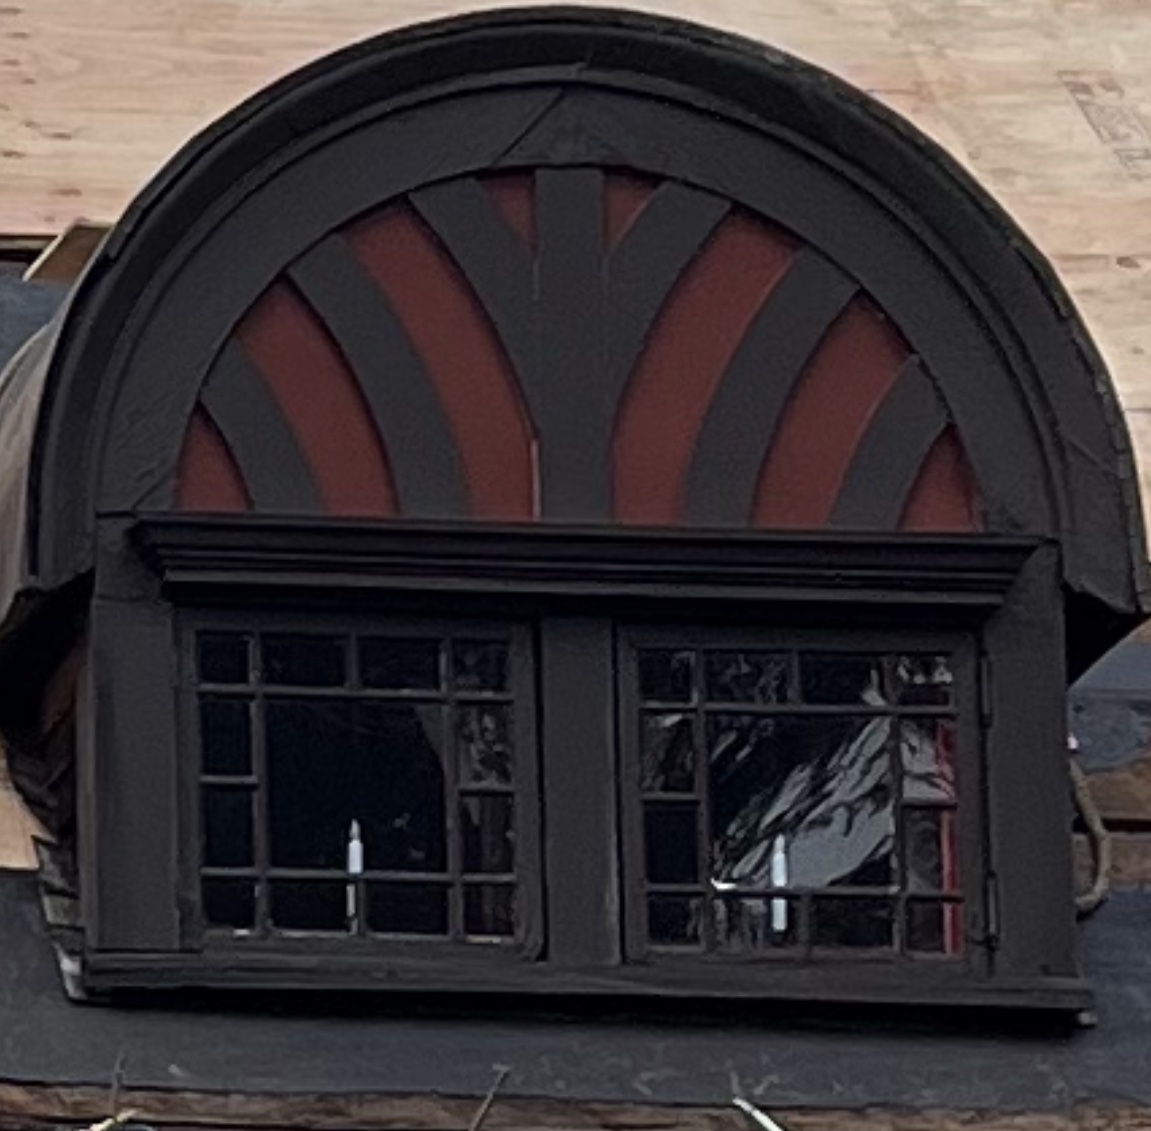
This week's assignment was to make something big. I decided to base my design off an iconic feature of my home - an eyebrow dormer. This dormer is one of the first things you see on the roofline when approaching the home from the road. The idea is to turn this iconic element into a design for a potential roadside stand sign for selling flowers or other goods, and experiment with branding and iconography for the work we do here.
I started by taking a photo while our front roof was being replaced:
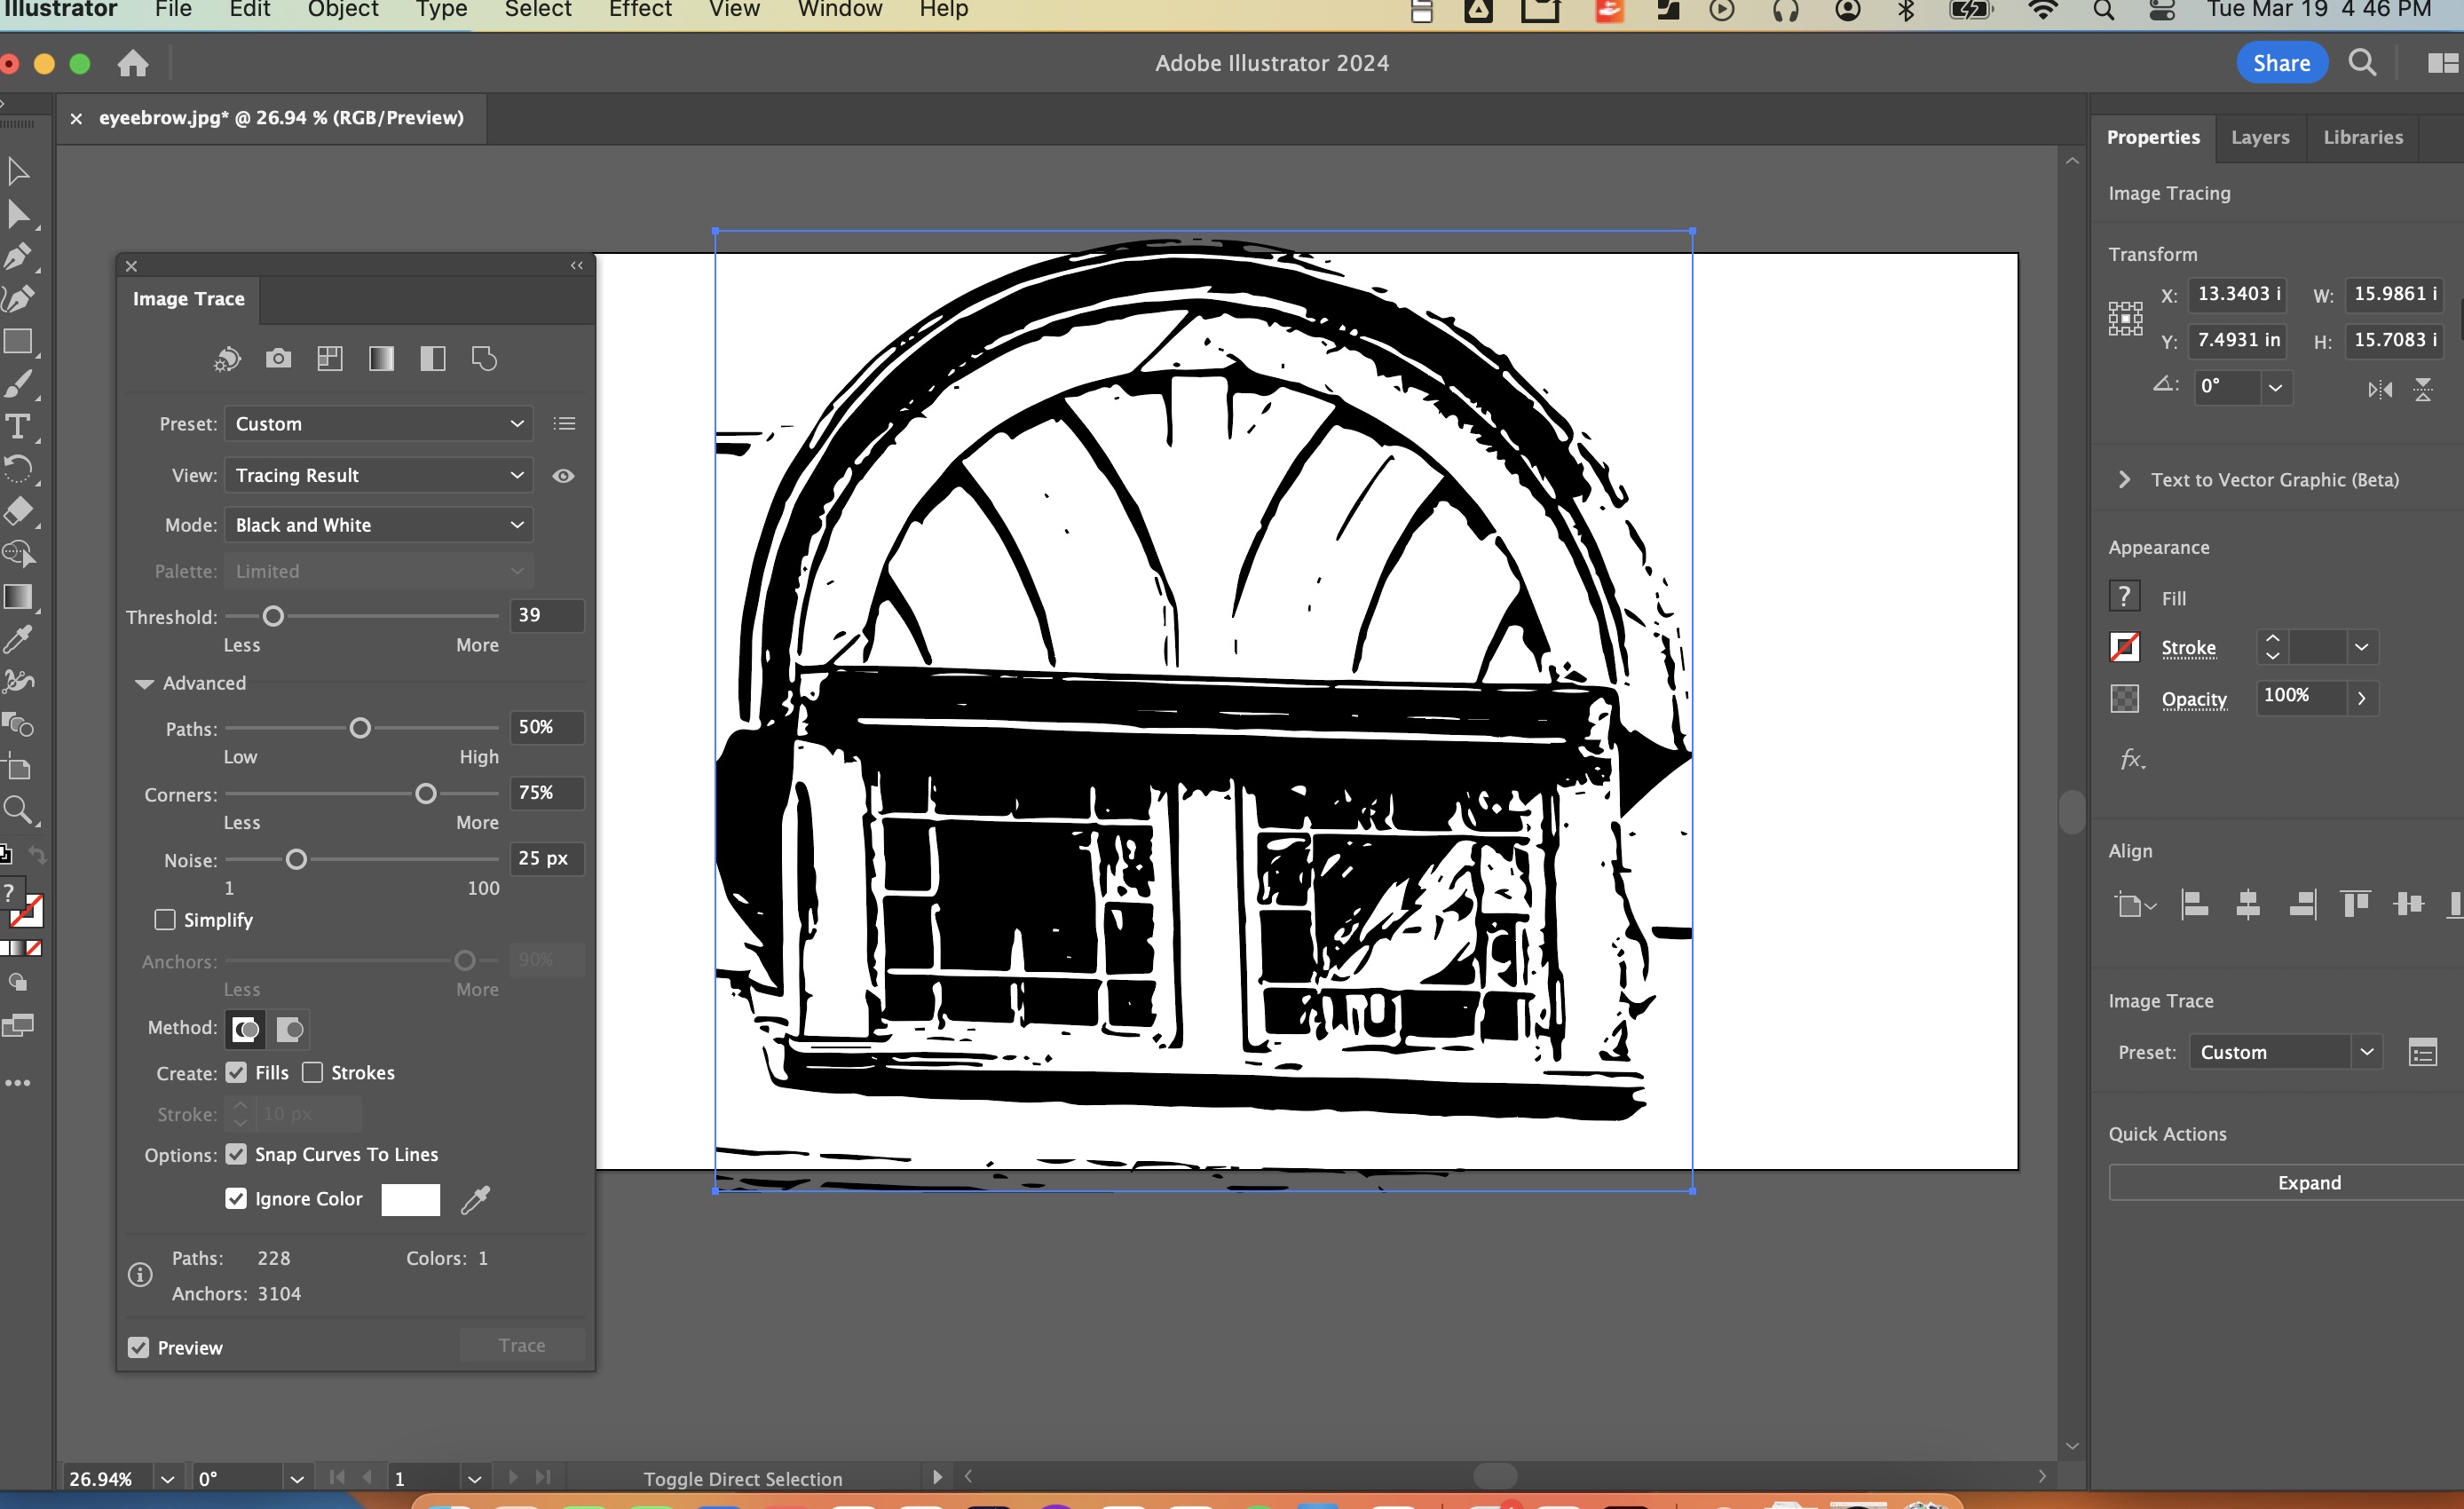
If we are going to make a sign and cut and mill some straight lines, we would benefit from turning this photo into some vector graphics. I thought I could use Adobe Illustrator and its "trace" feature to do this simply, and got this artful but not helpful image instead:
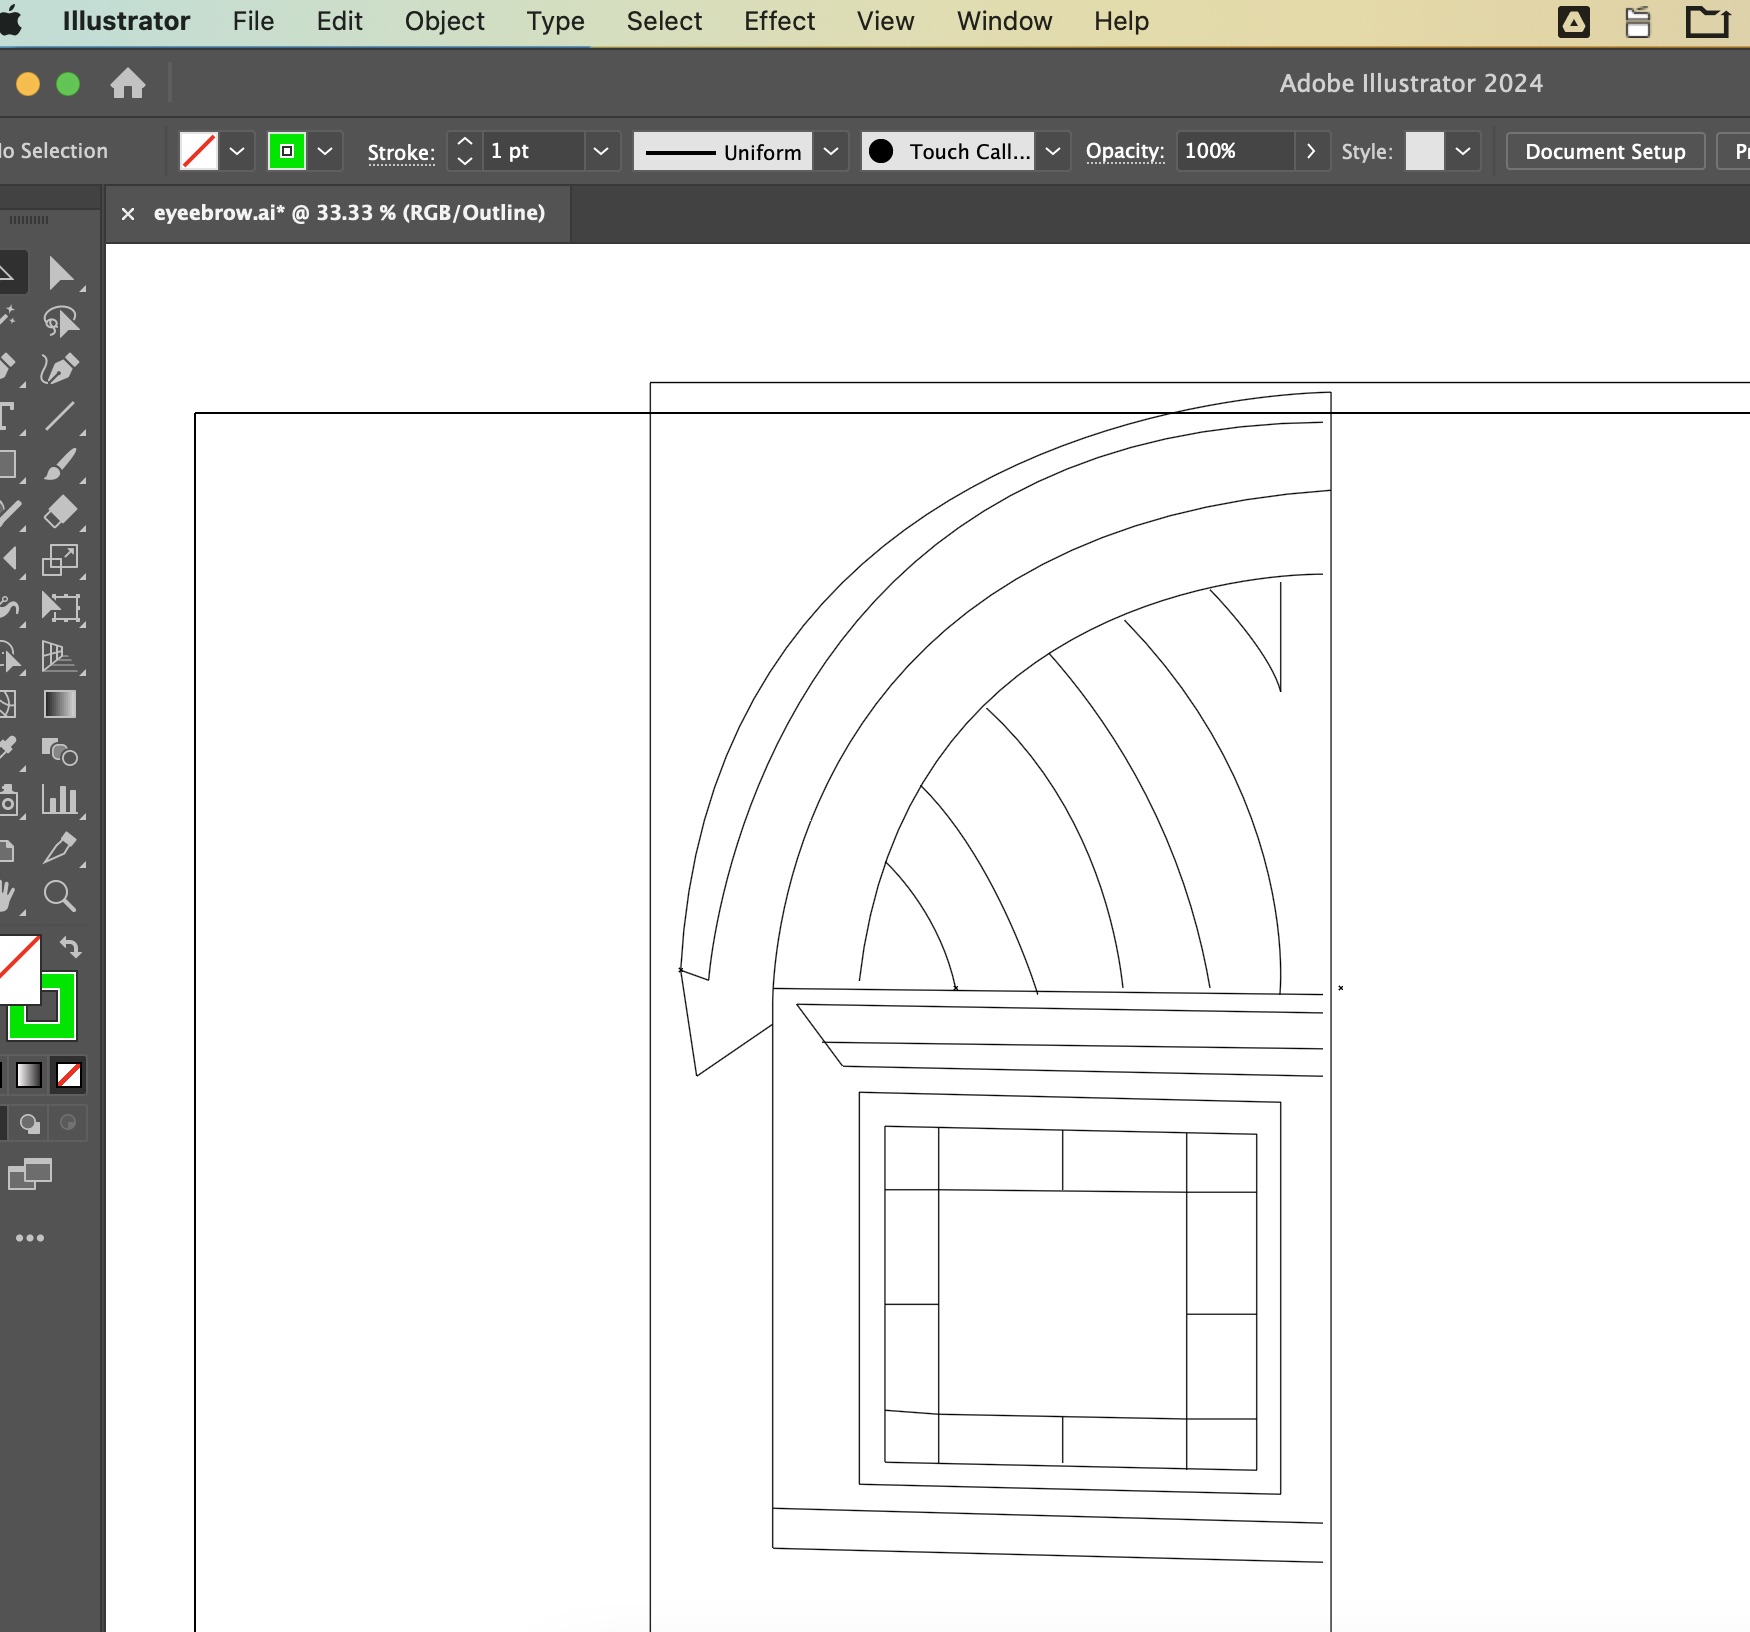
I revised my plan after speaking with the team at the REEF. They wisely suggested that I consider tracing over the simple geometric shapes by adding a layer over the image, drawing a line in the middle of the dormer, tracing half of the dormer with the line tool, and mirroring over the middle line using the mirroring tool. It felt like a good direction:
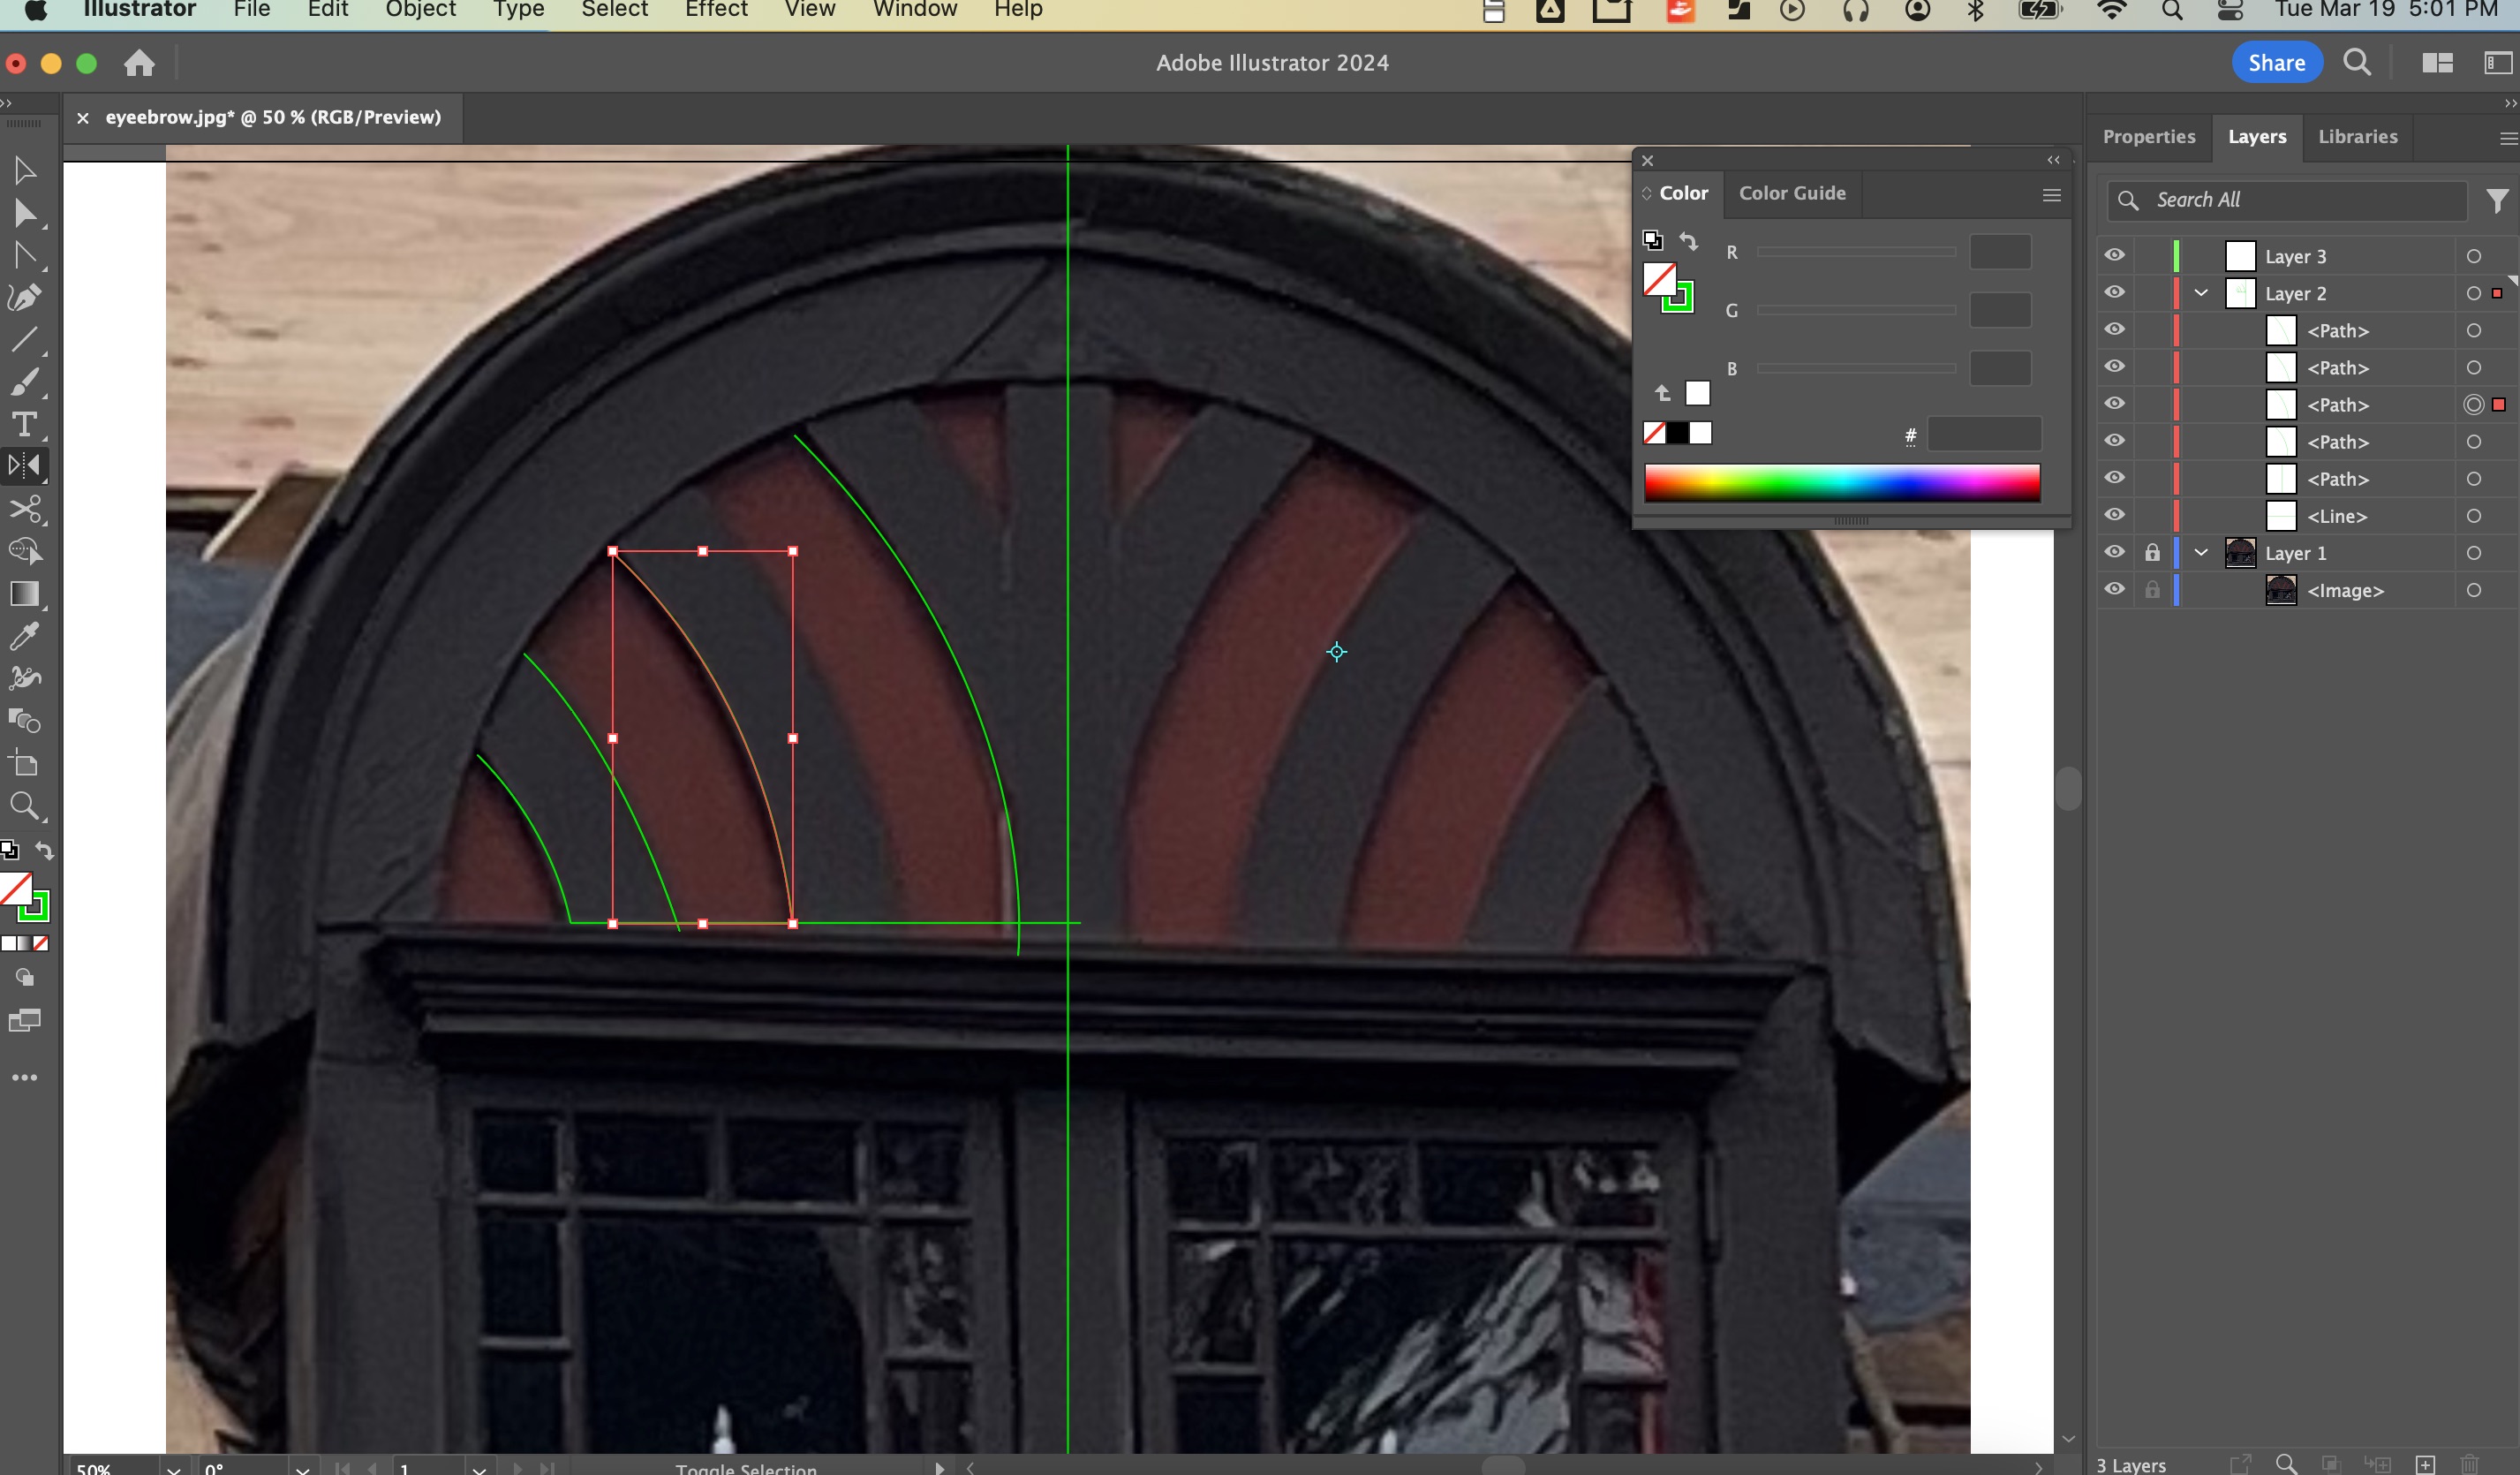
I had half of it traced out with a lot of fine detail:
I dropped the background photo out by unselecting the layer:
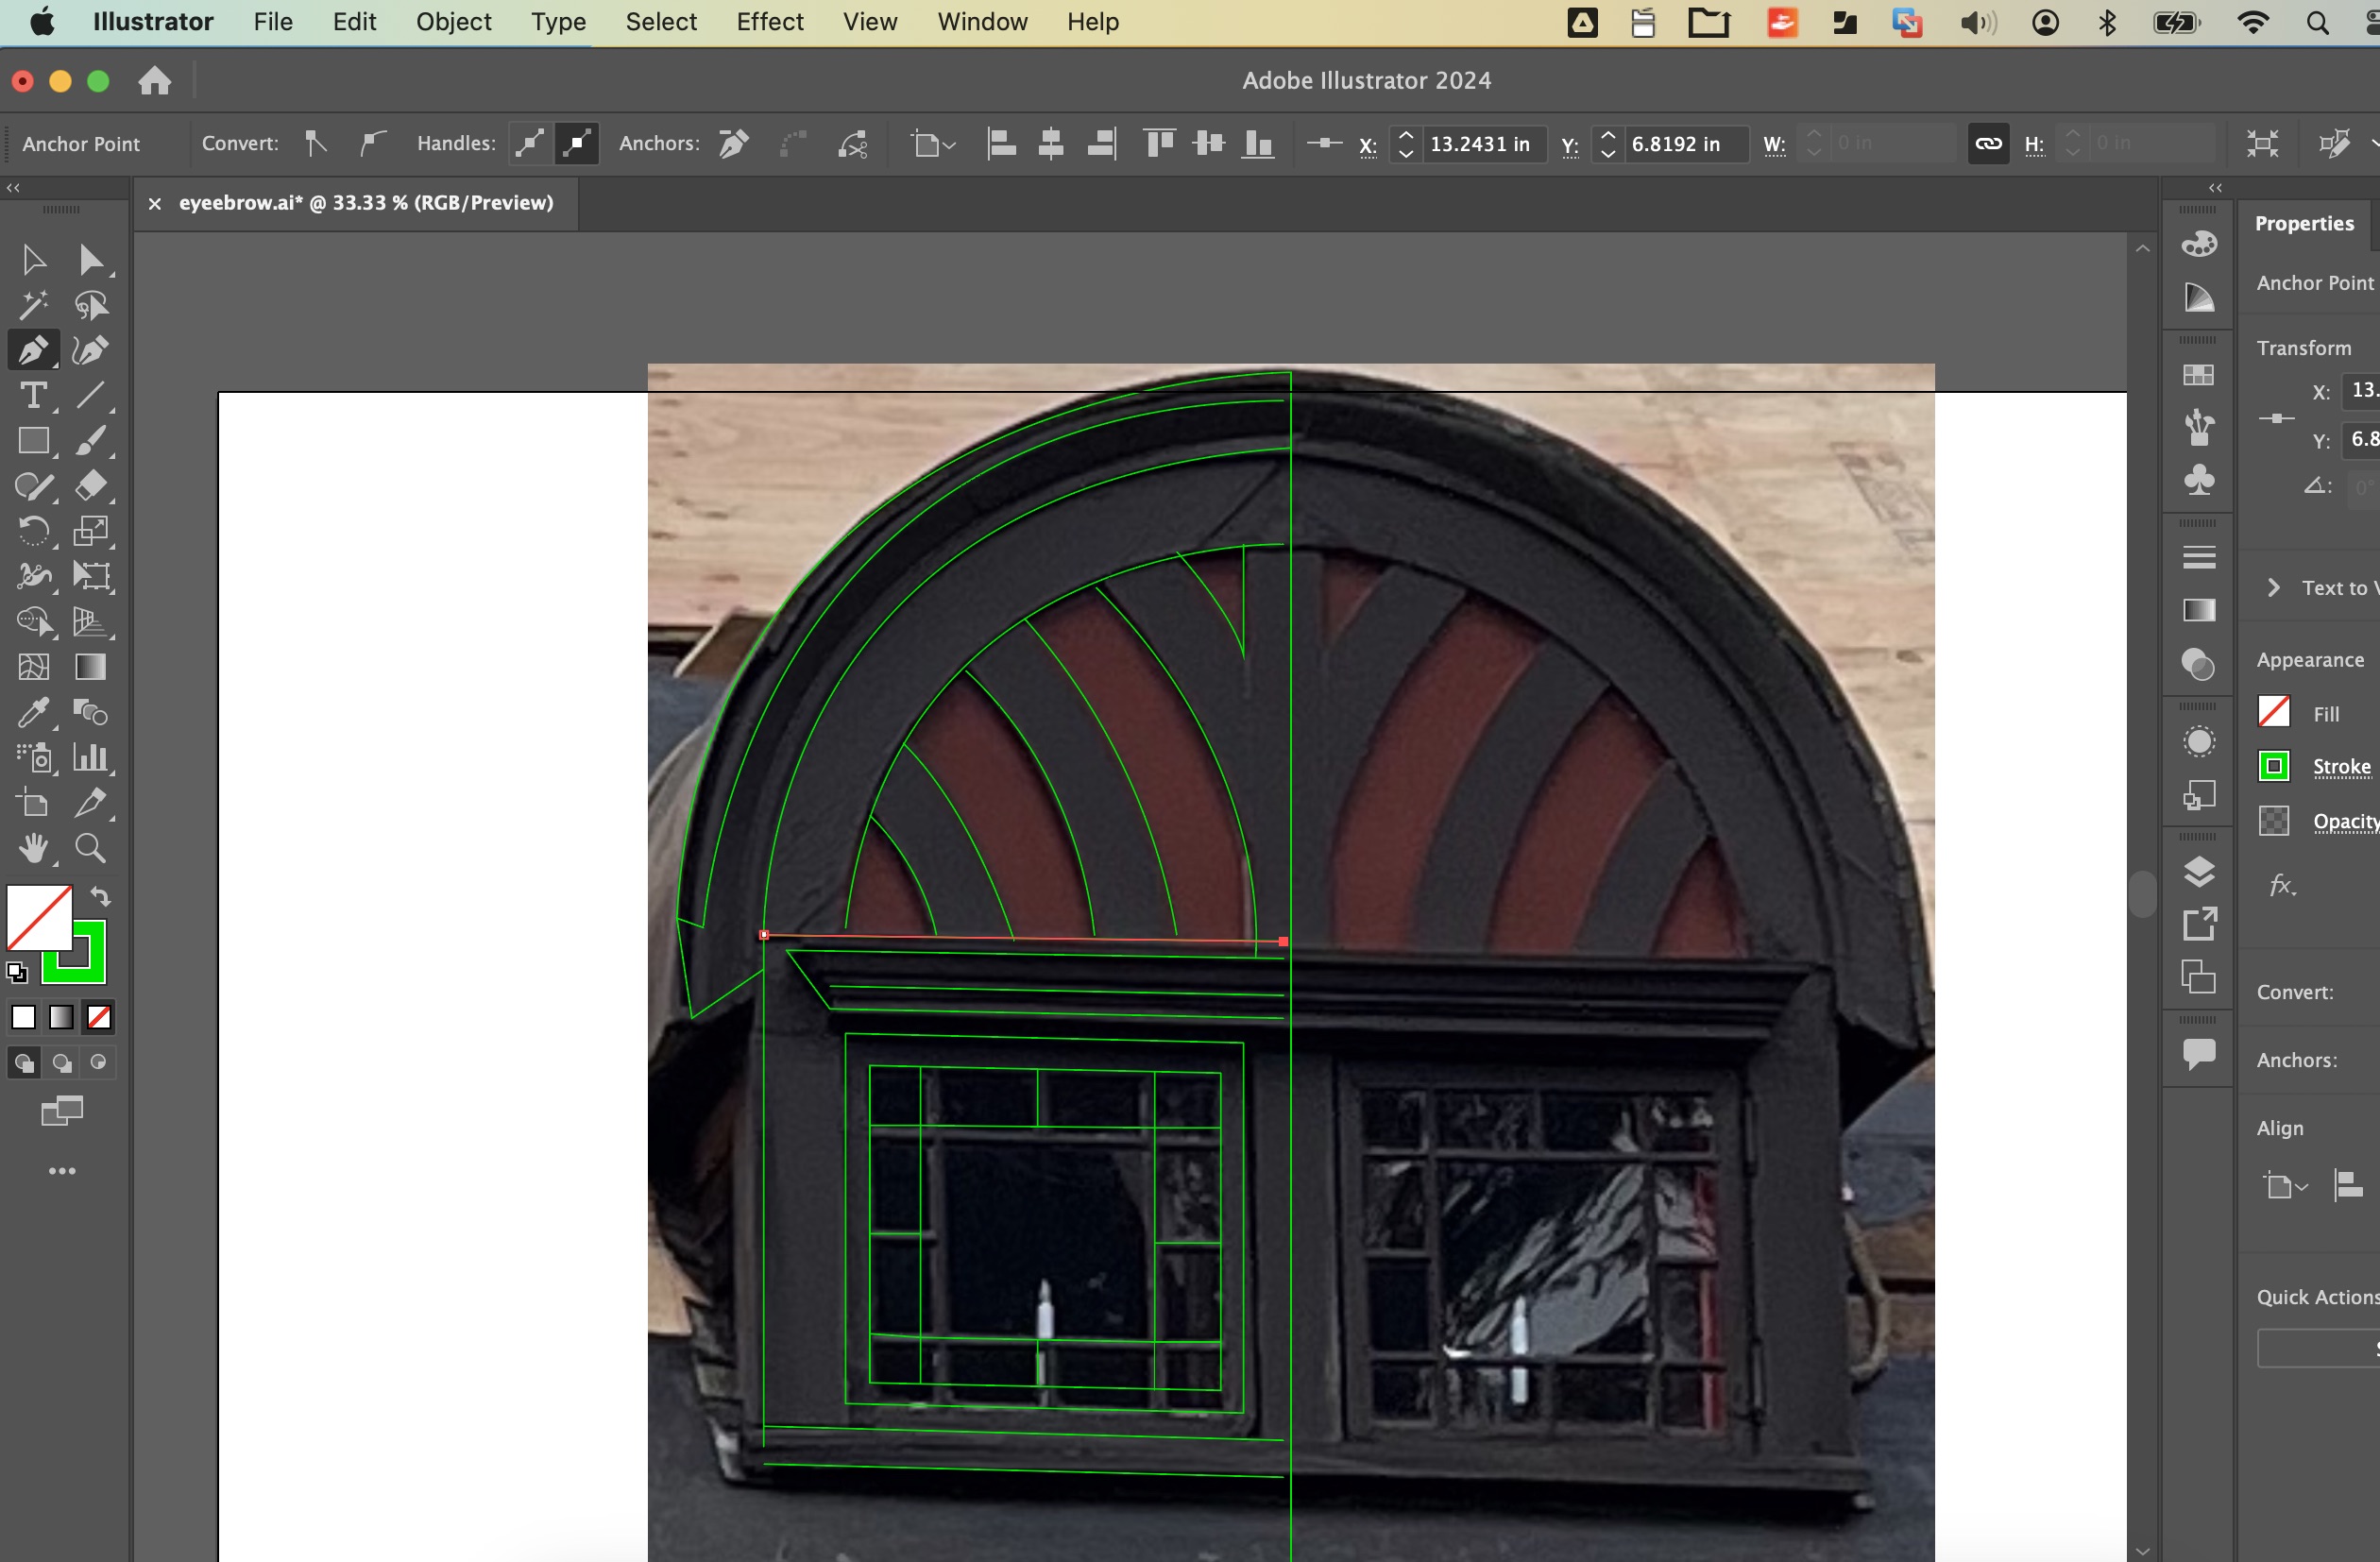
I selected the lines I wanted to trace, and used the "mirror" function in Adobe Illustrator:
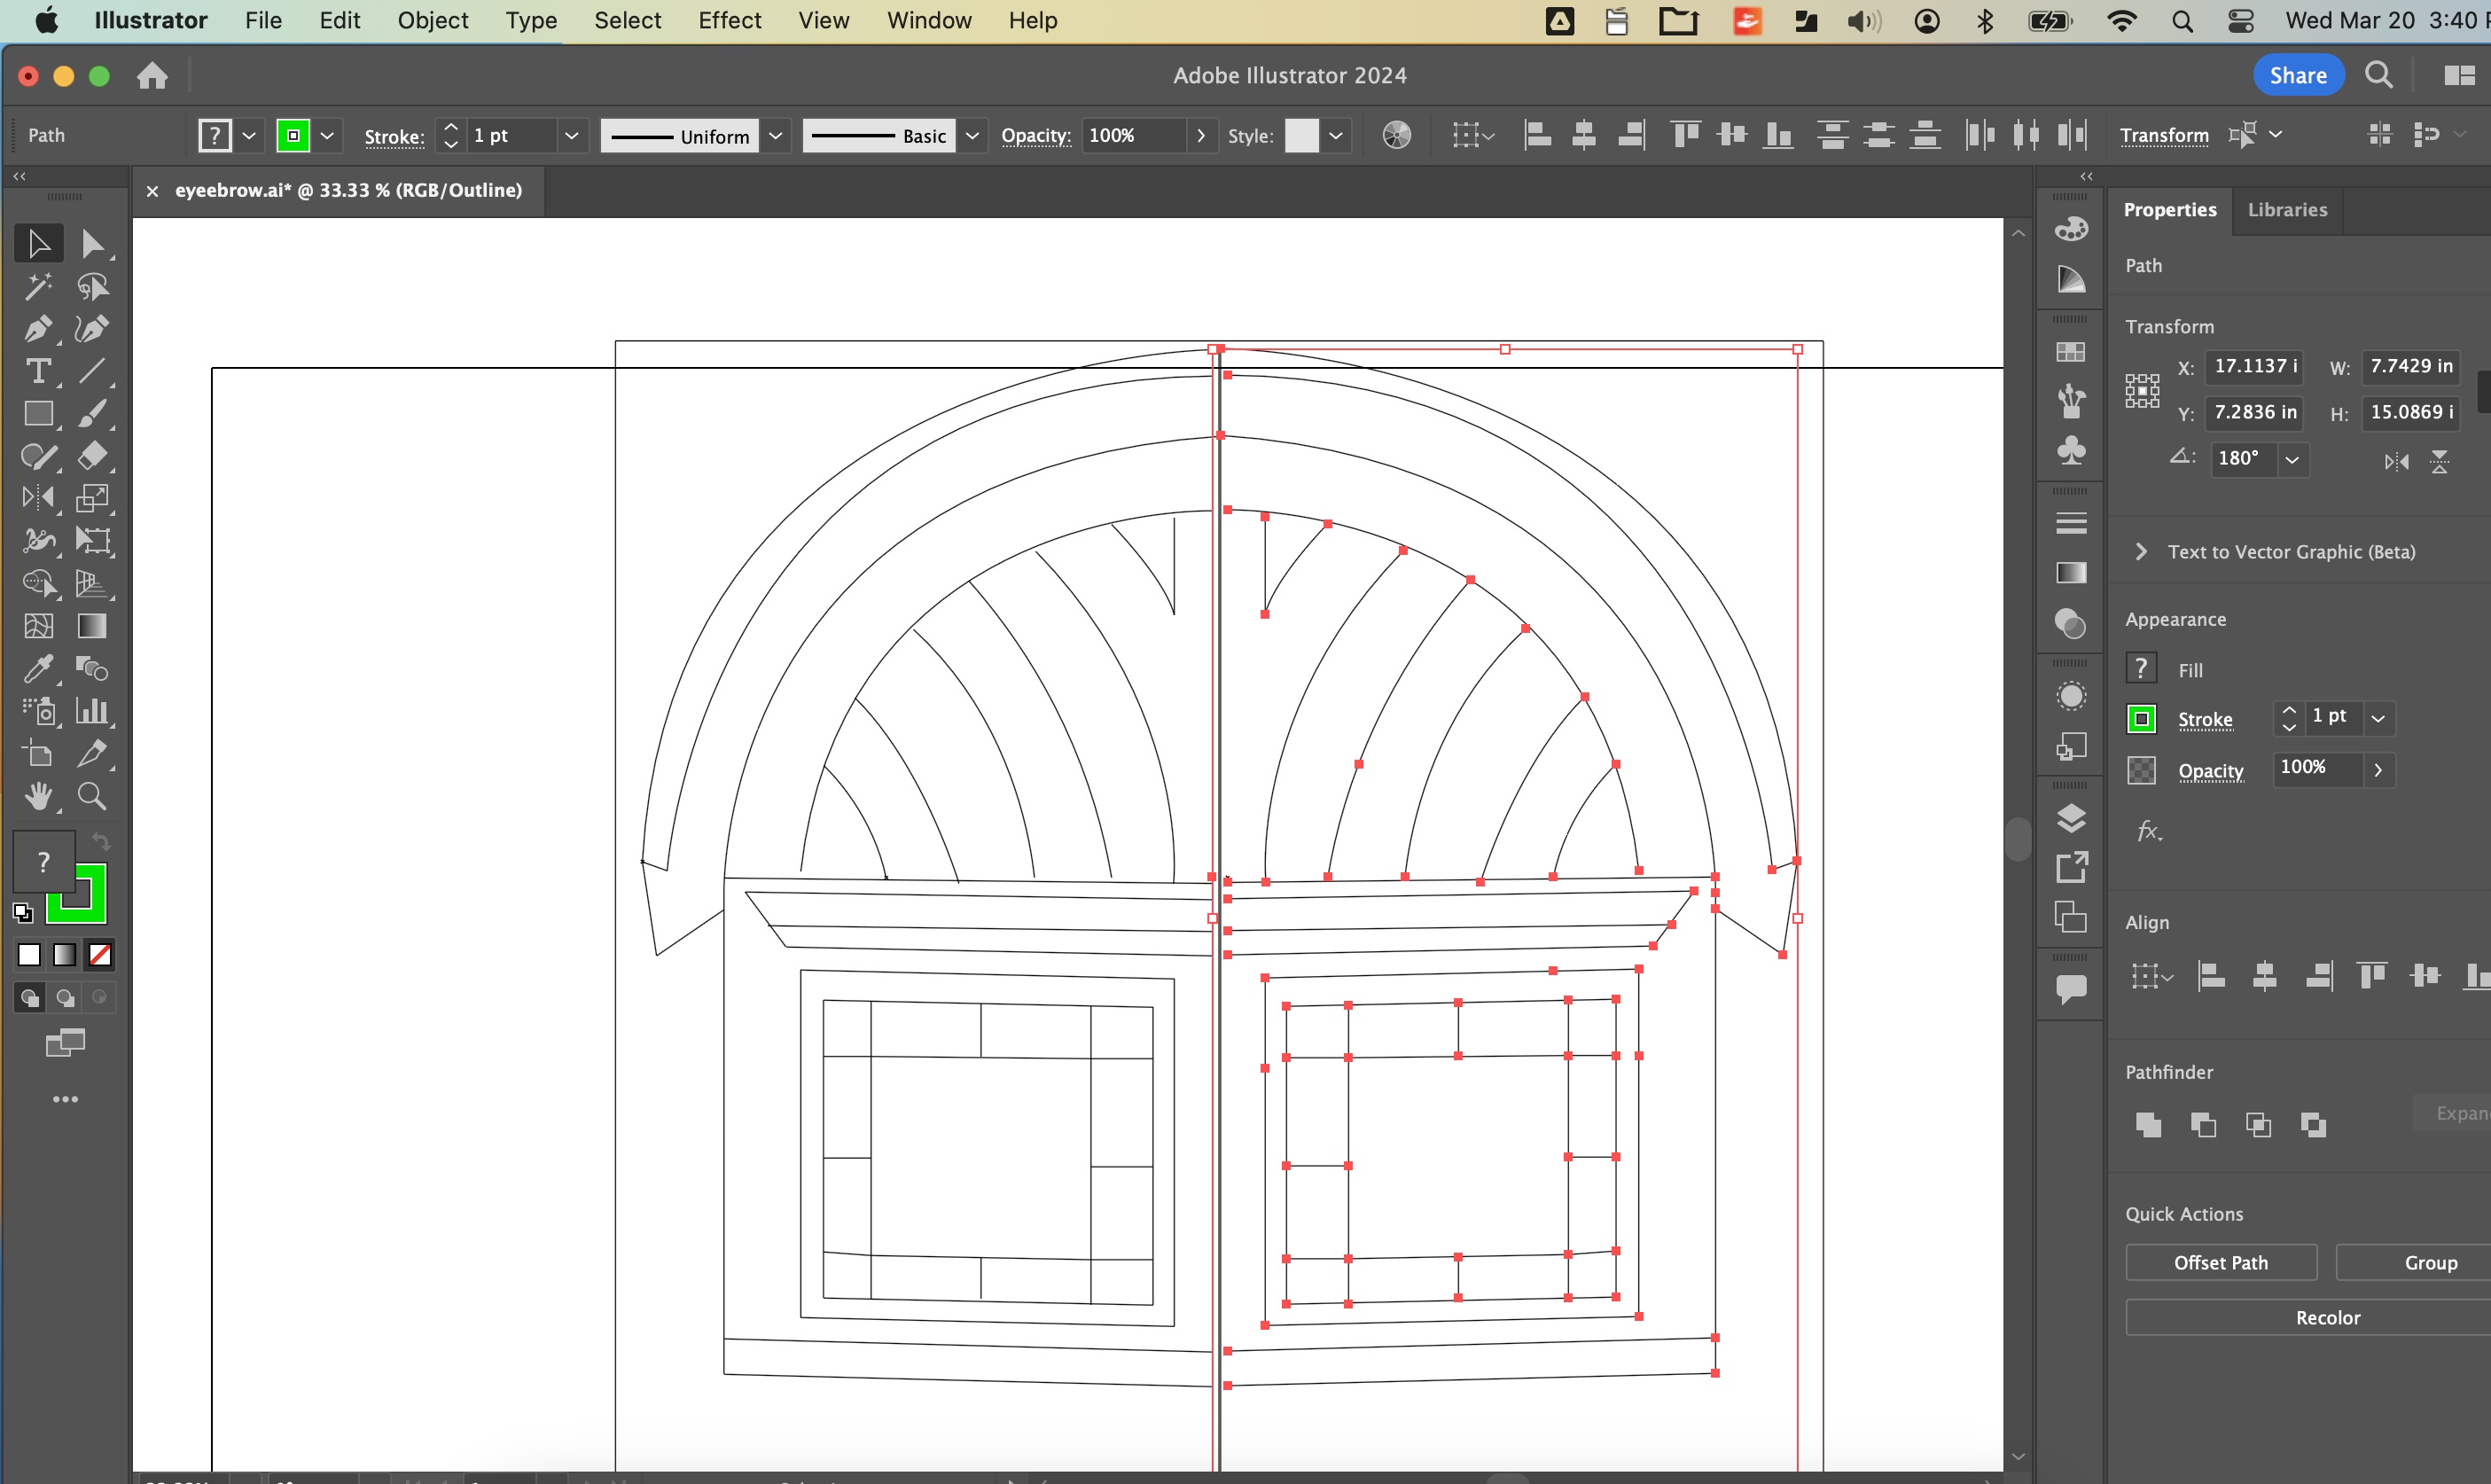
... and I had some nice line art of what I wanted to make:
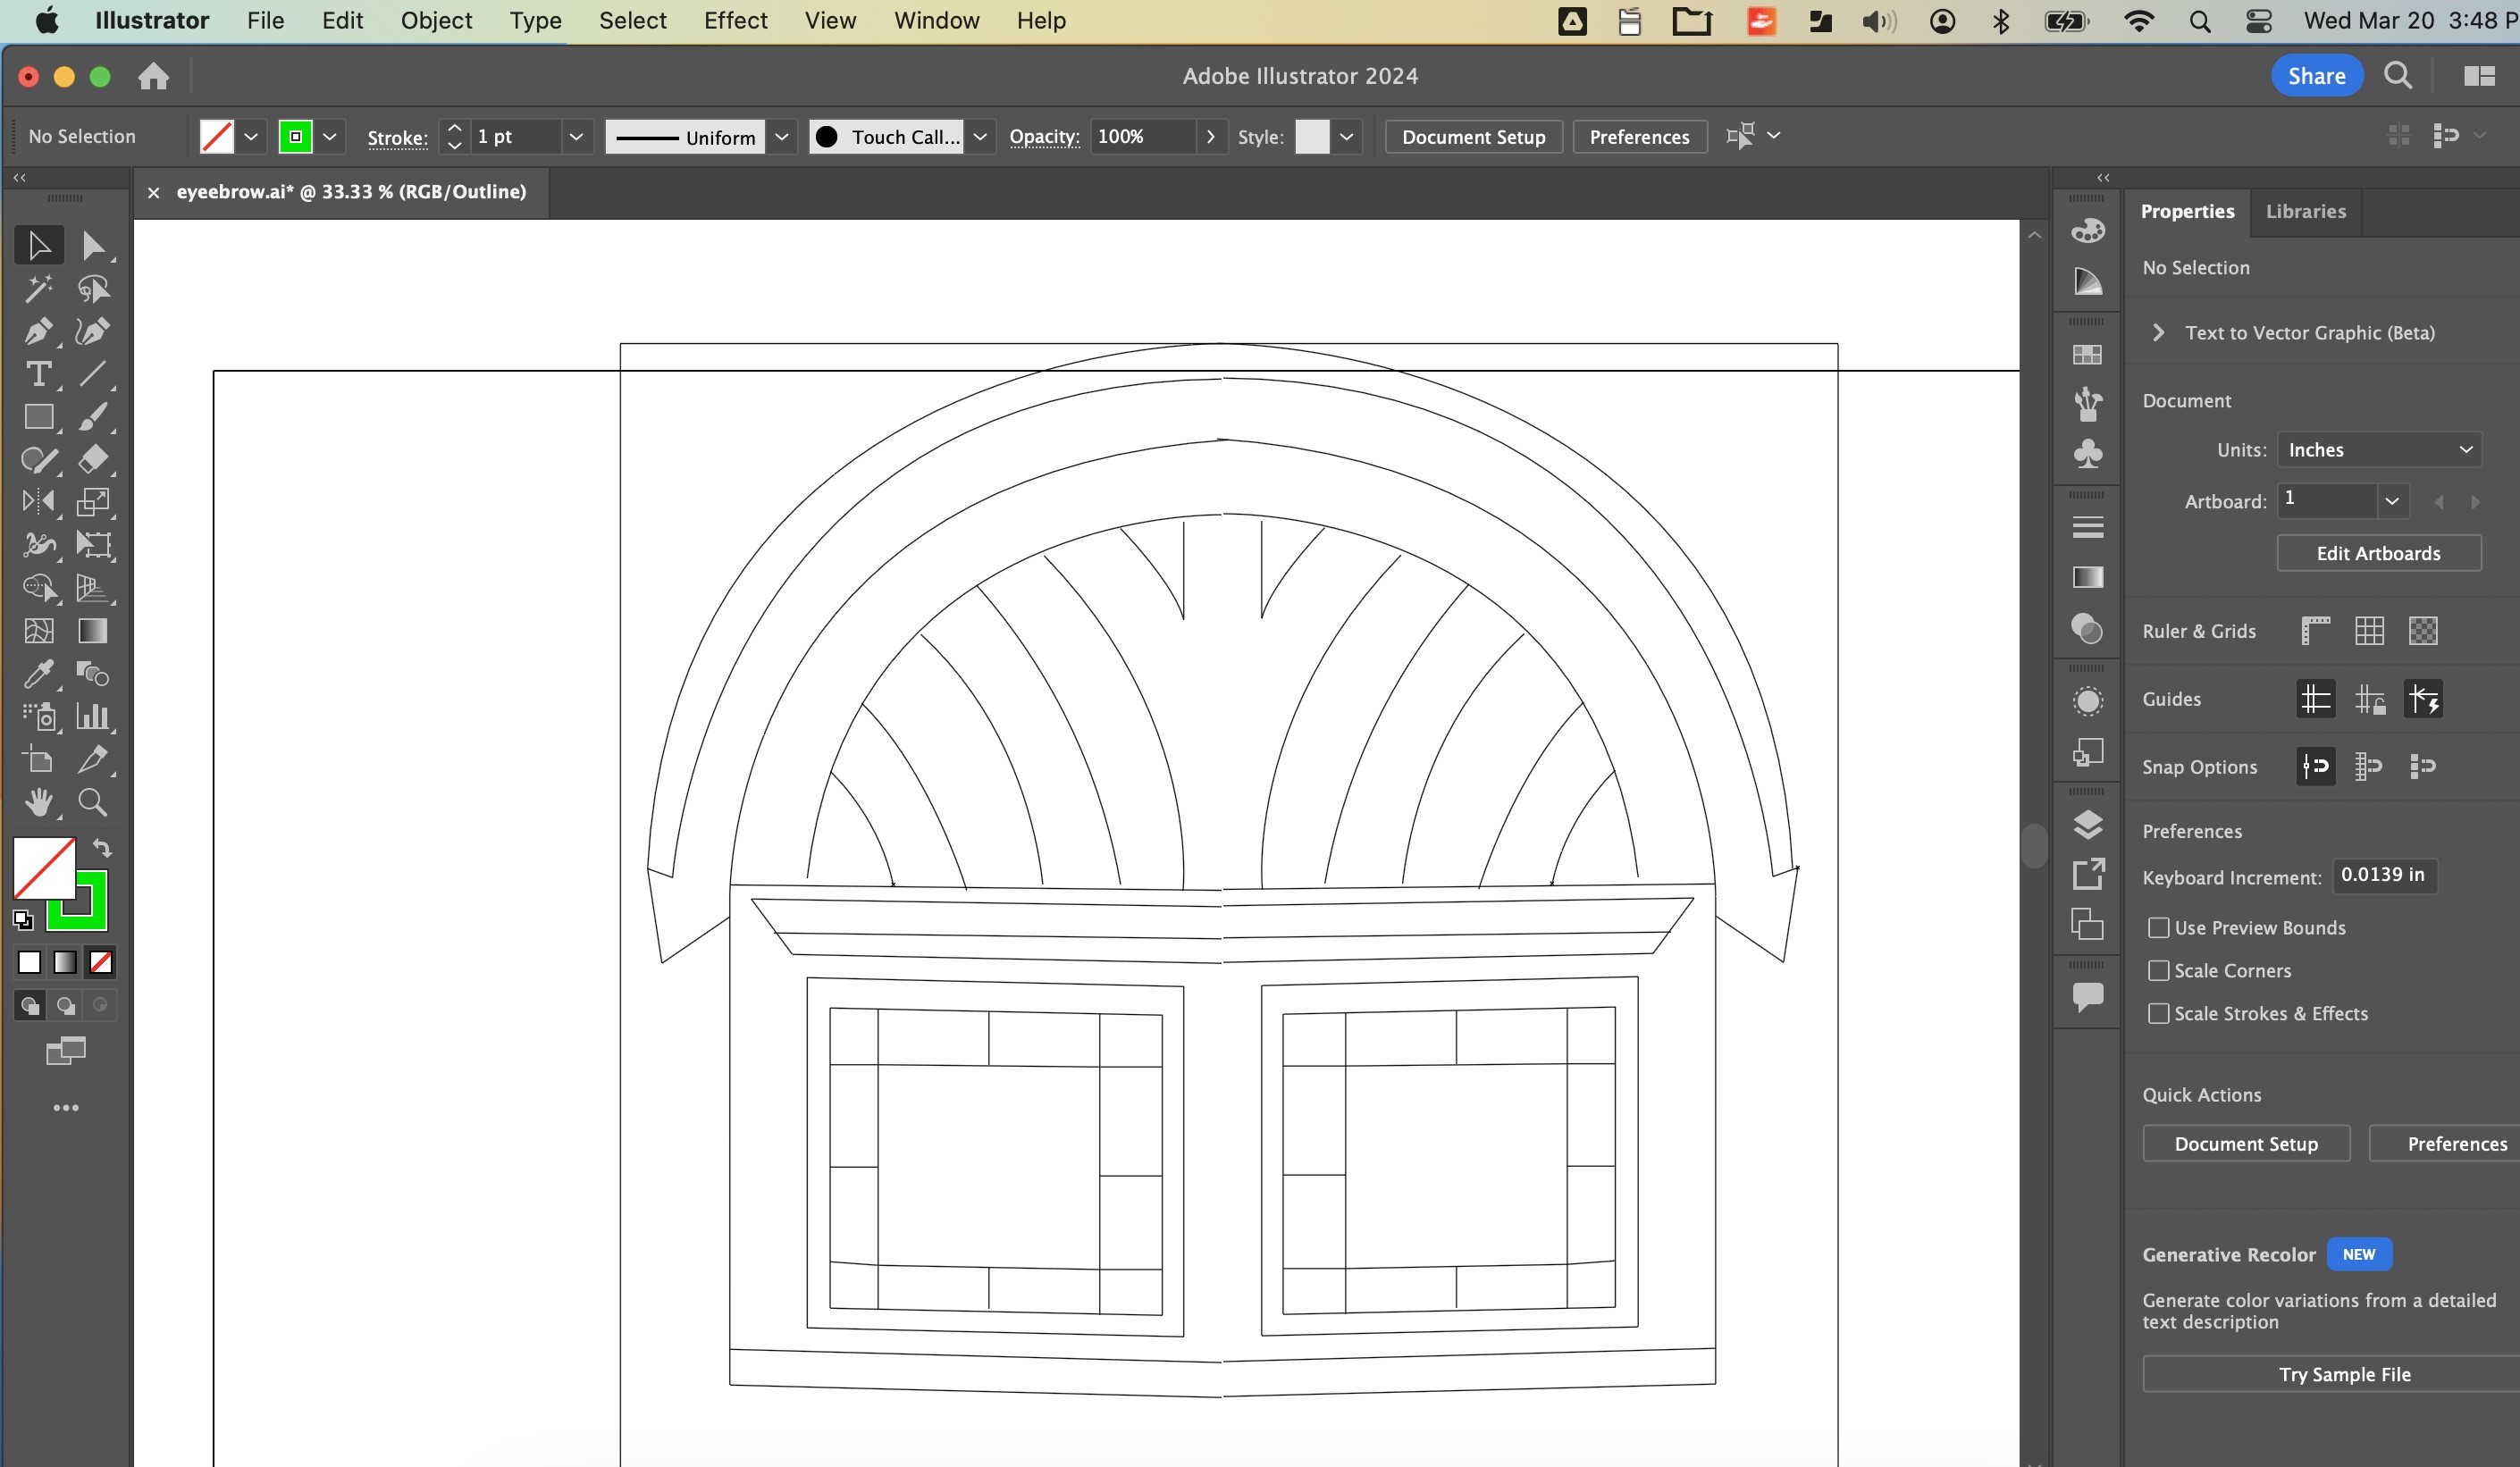
If you look closely, some of my lines did not connect, which would lead to an incomplete mill. I had to manually use the line tool to select and straighten many lines, which made me wonder if the mirroring was worth it, but I was eventually able to tidy things up and have nice lines that connected for clean milling and a nice looking export to Fusion360:
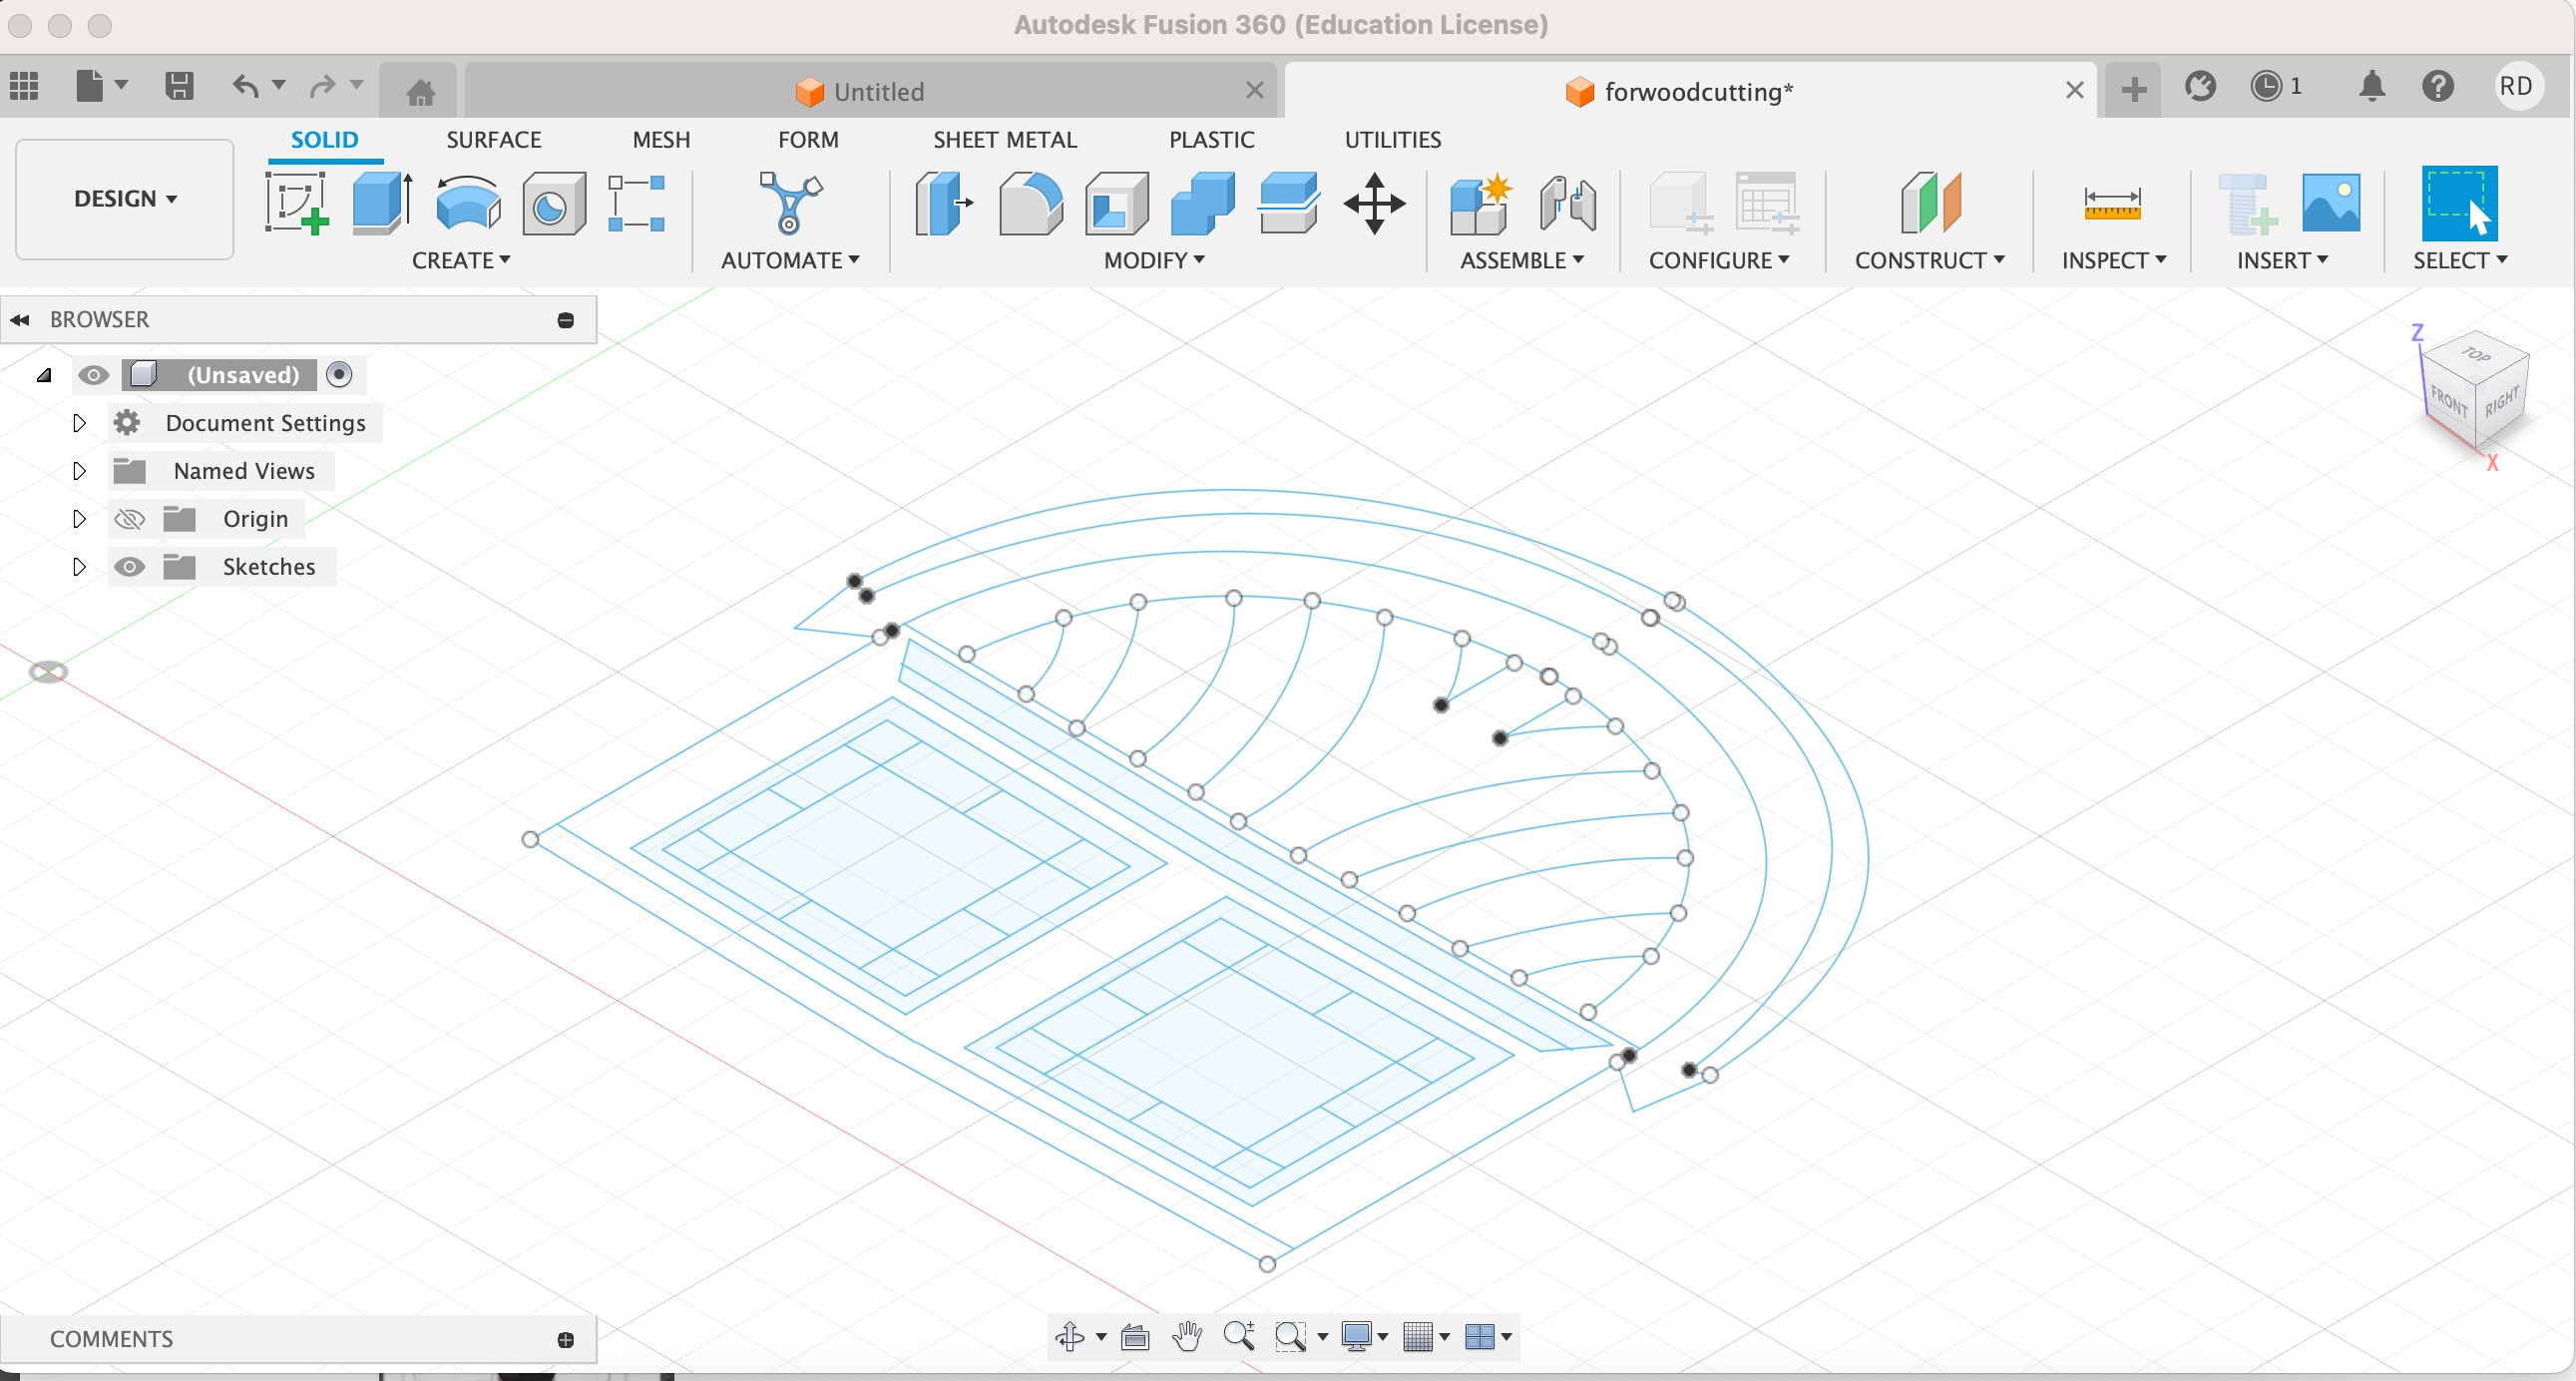
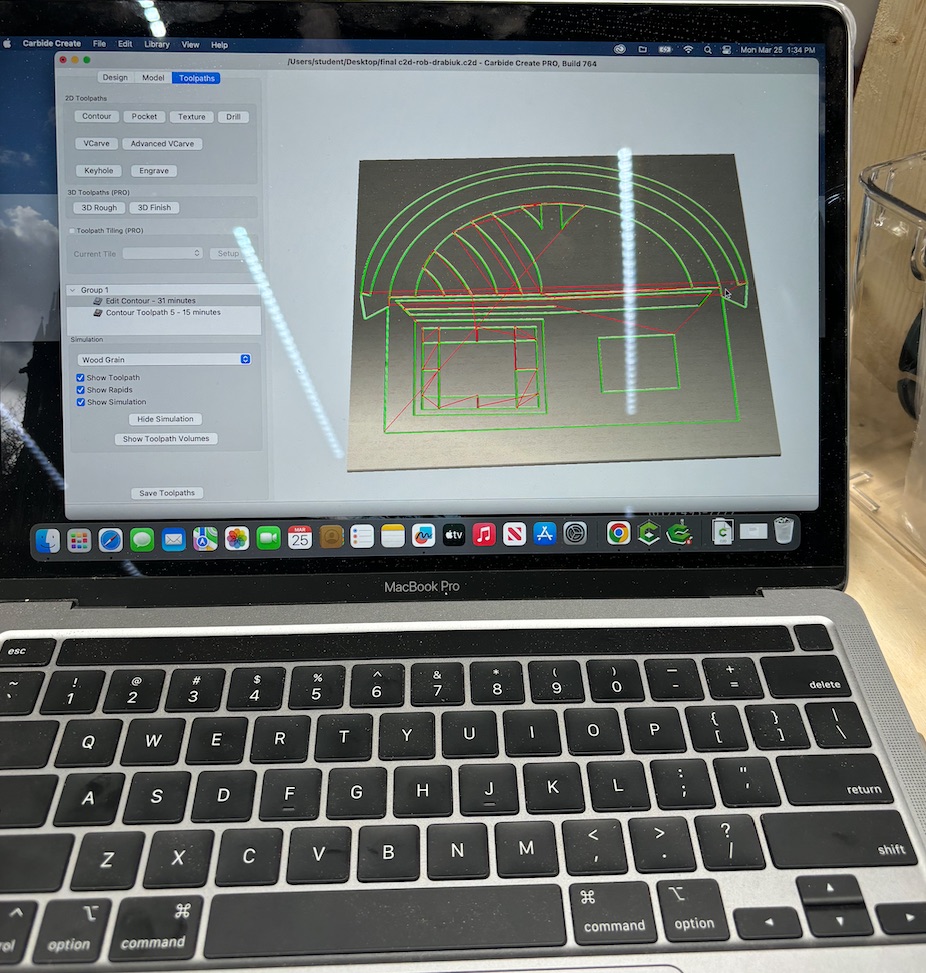
I saved my Fusion360 file as a DXF and brought it into the woodshop to import into Carbide Create Pro:
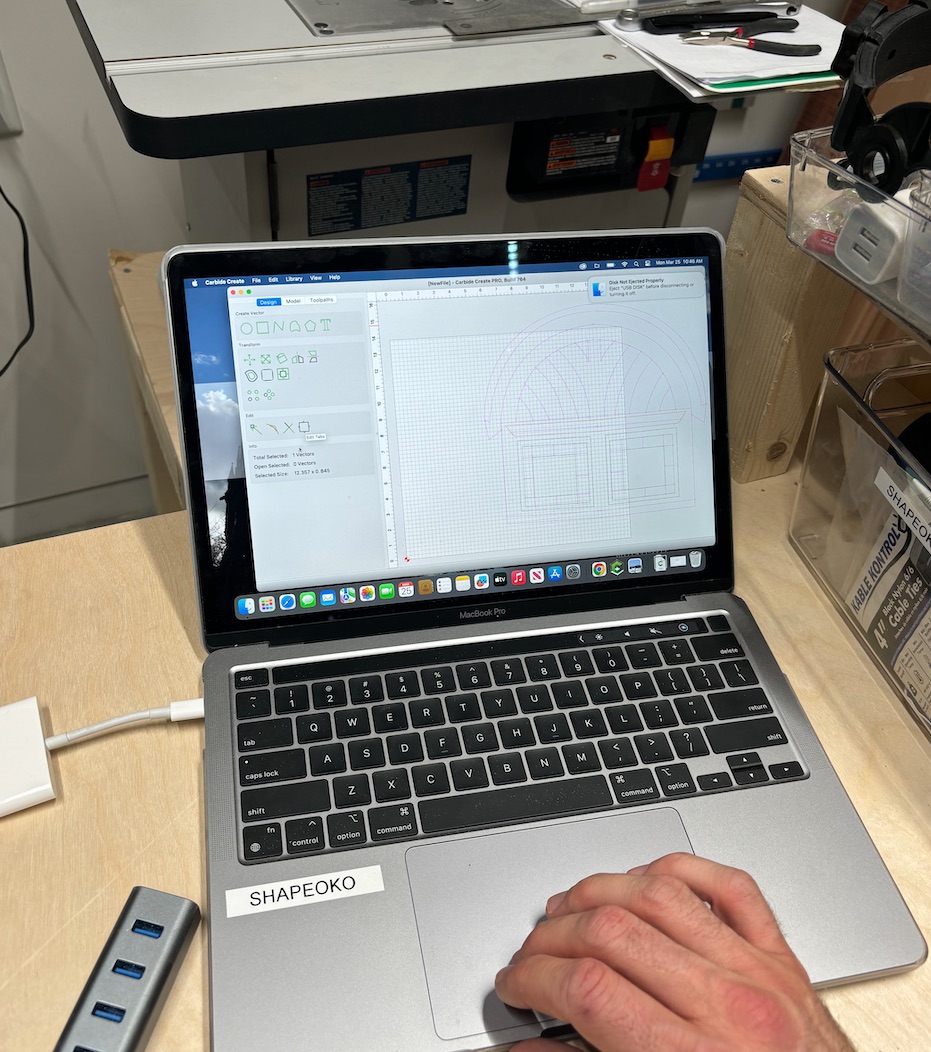
I was working with a 4x4 foot piece of oriented strand board (OSB) plywood, so I defined the milling area to be a few inches smaller than that, but had the goal in mind of making something large enough that you could see it from far away. I set a depth of 1/4 of an inch and started my job:
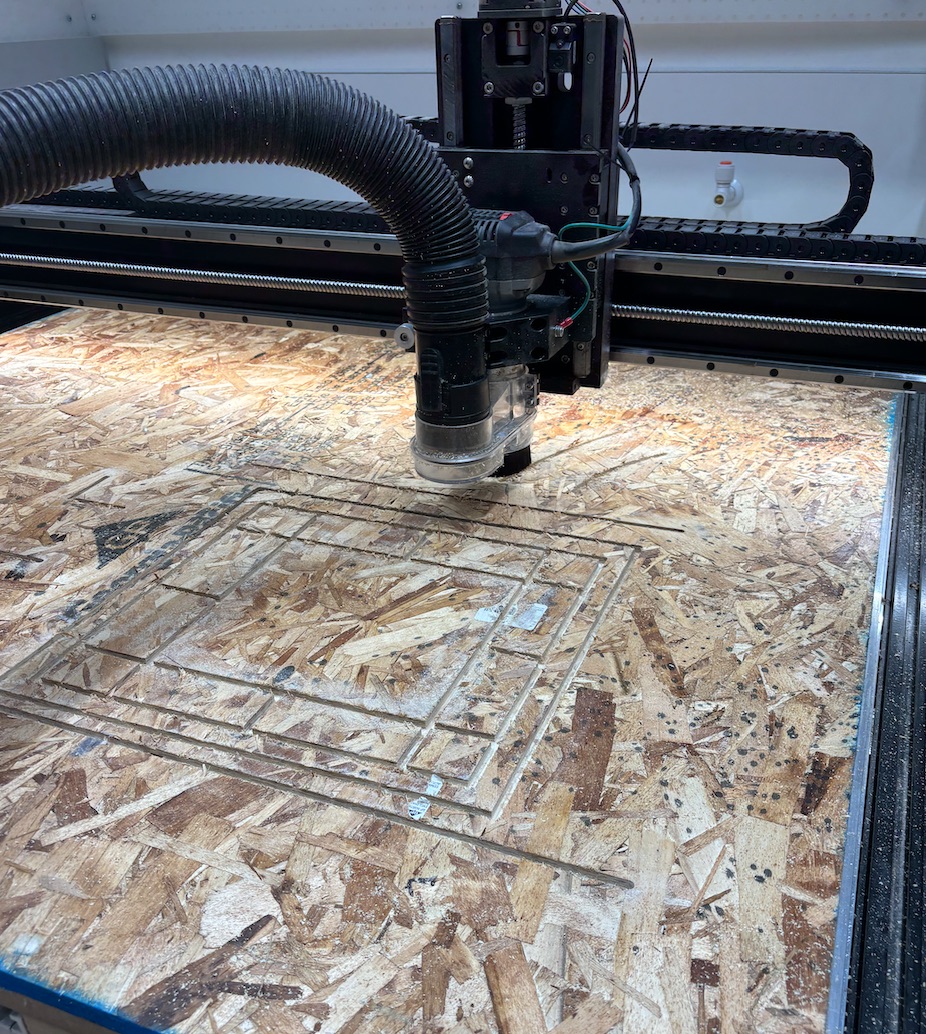
I quickly realized why this took my classmates so long, as my mill bit kept slipping out, forcing me to stop the machine. The REEF team and I did not want to spend excessive time troubleshooting, but out theories were:
- My mill depth was too deep (even though others in class have cut at this depth).
- The speed of the mill's tracking of the path was too fast (even though others milled at this speed/pace).
- The Shapeoko mill is a good, but not great, product.
After a restart with the trimmed G code and 45 minutes of waiting, monitoring, and vacuuming sawdust, the milling was complete!
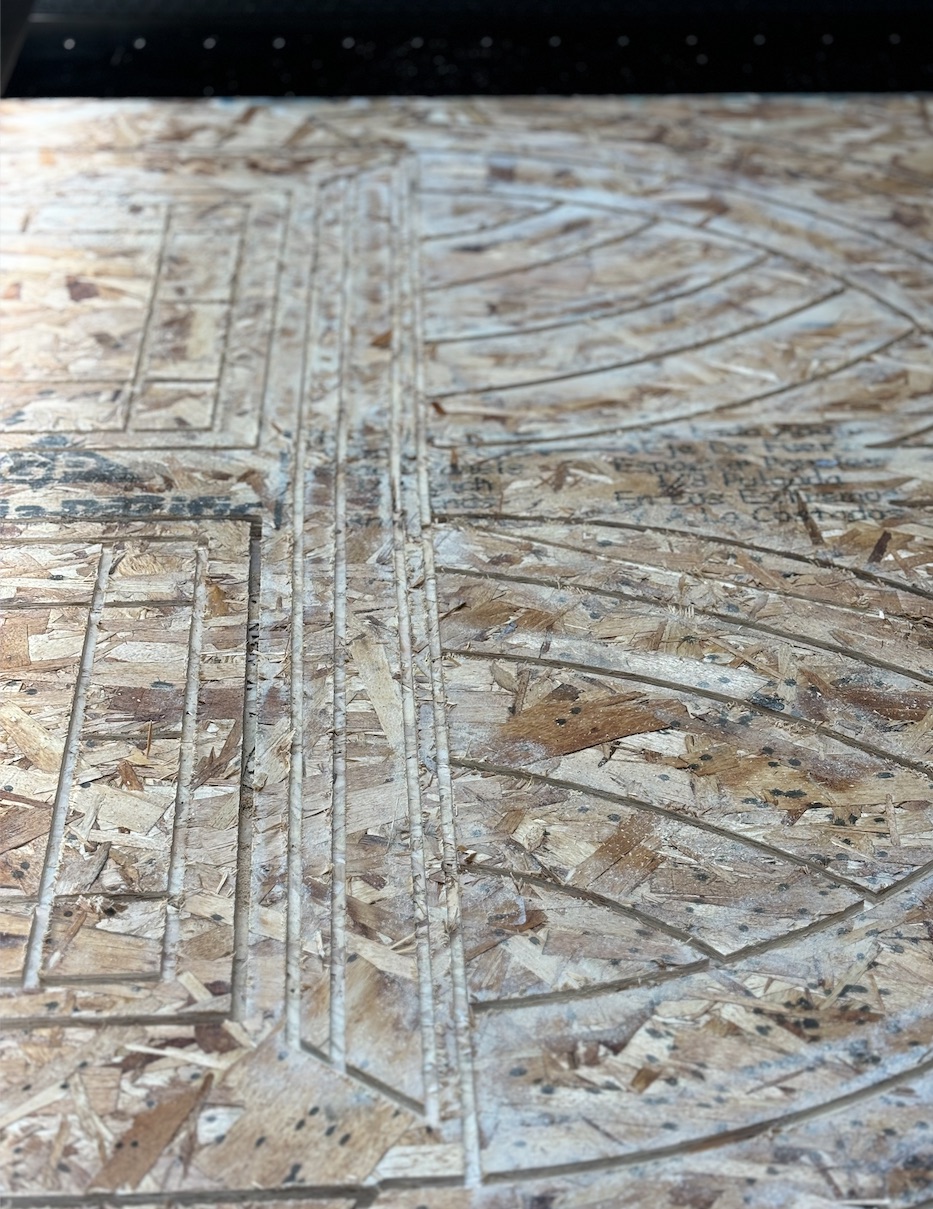
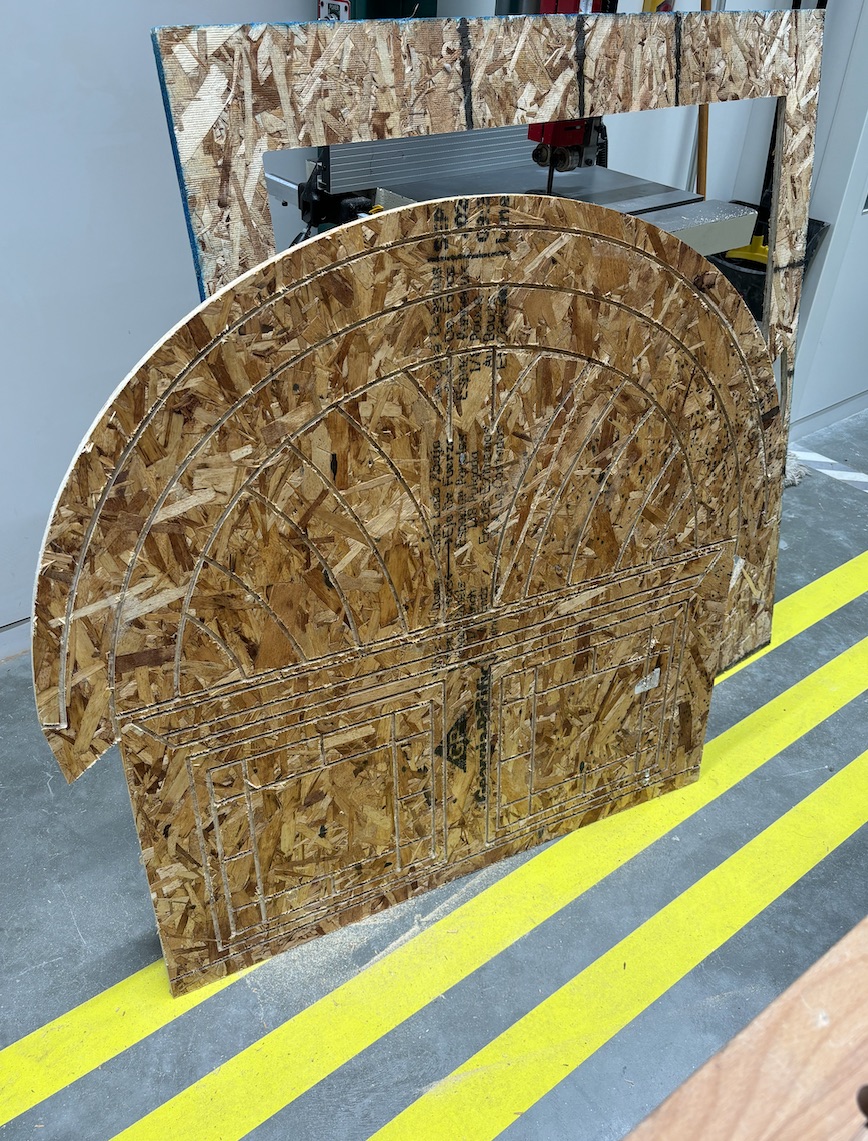
The sign is ready for priming and painting and installation, and the REEF team confirmed that, at just under 4x4 feet in size, I milled the biggest "make something big" piece in the Harvard shop for the 2023 installment of HTMAA!
I acknowledge two resources that helped me greatly with the preparation of this assignment and documentation: the REF staff, who helped me think through and simplify the steps required to go from photo to millable g code, and ChatGPT 3.5, which helped me take text and images from the native OS X text editor on my Mac into simple HTML for my git repo.
Updated May 13, 2024