Assignment and Idea:
For this assignment, we were tasked to measure something: add a sensor to a microcontroller board that we designed and read it.
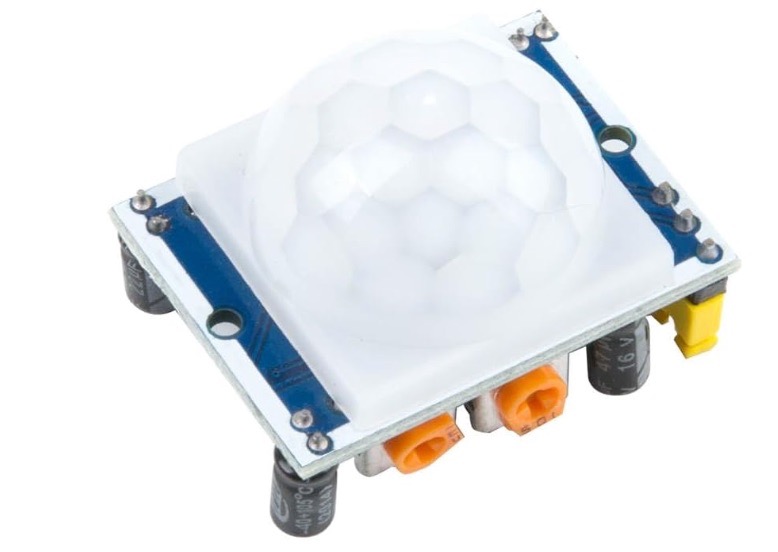
This week of work came late for me, but it also came with some fresh ideas on how to align this work with my final project. I decided to attempt to capture motion using a passive infrared (PIR) sensor.
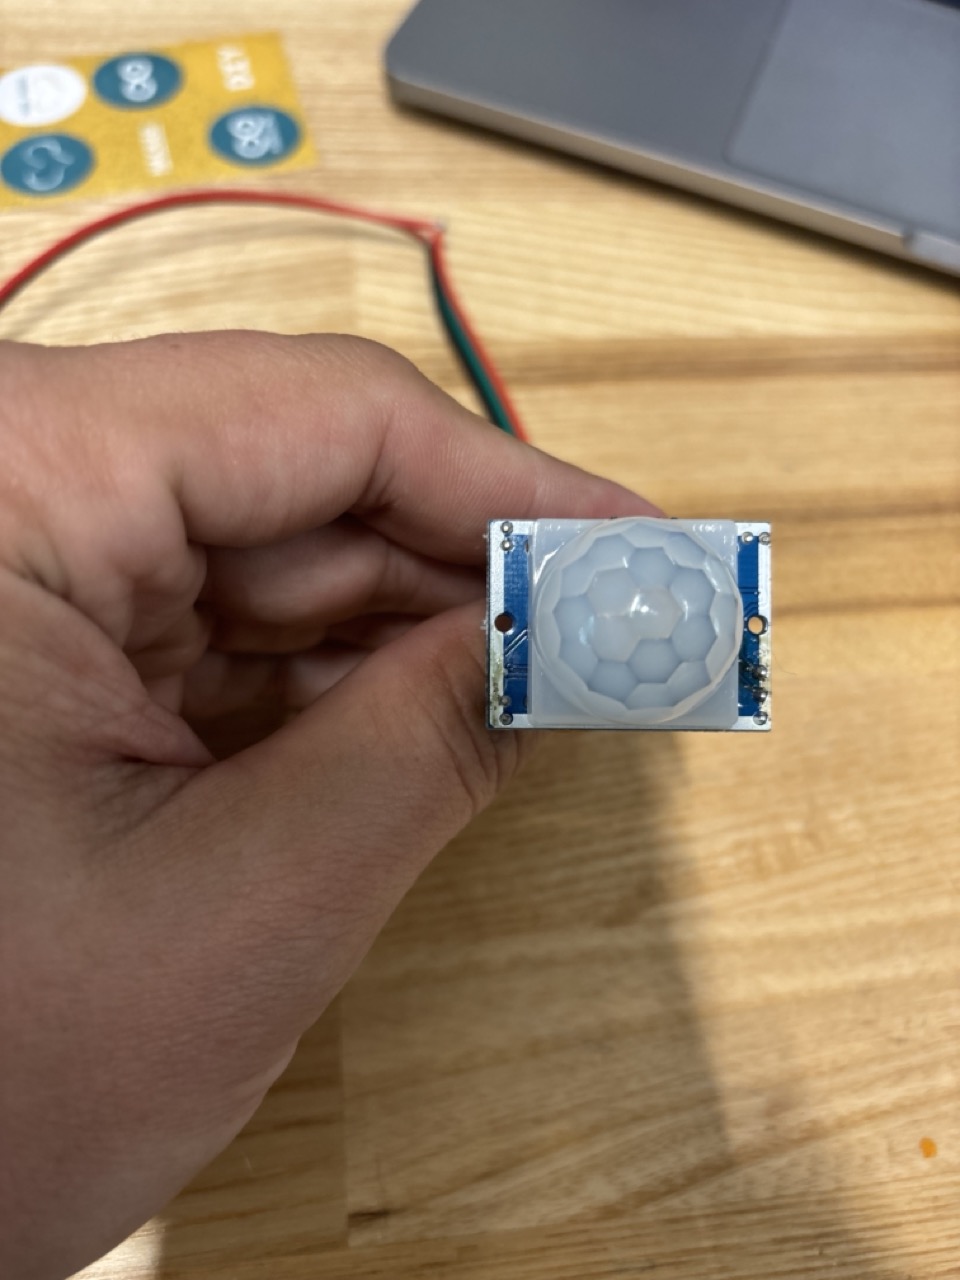
I raided the parts cabinet at the EECS lab at MIT and found this gem, the HC-SR501 PIR:
One of the struggles that I had with this assignment was thinking about whether something would work mounted onto a board before I knew if I even had working code: would my issue be a hardware issue or a software issue, and where would I start? I brought my line of thinking to a Maker Fellow at The Harvard Lab, and she had a great idea: get a development board that we already know to be fully functional, like the Arduino MKR Zero, and test your code on that before designing a custom board. I loved the simple breakdown and affordances of this method with respect to troubleshooting, so I went over to The Harvard EE lab and borrowed a board:
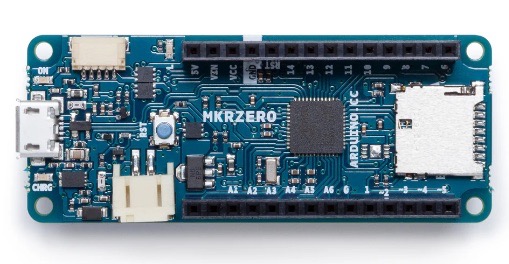
I got some jumper wires from the REEF cabinet and looked at the data sheet for the MK Zero:
I needed to connect the PIR to the 5V connector on the MKR Zero for power, the ground to the ground, and pick a digital pin to measure captured motion. I found the tutorial from Adafruit to be helpful:
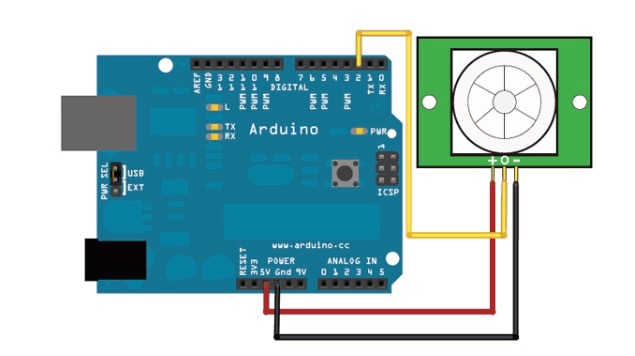

Once connected, I spun up the Arduino IDE and added the MKR Zero as a board, and executed some sample code from the aforementioned Adafruit page, only needing to adjust the input pin to what I picked with a jumper wire:
/*
 * PIR sensor tester
 */

int ledPin = 13;                // choose the pin for the LED
int inputPin = 2;               // choose the input pin (for PIR sensor)
int pirState = LOW;             // we start, assuming no motion detected
int val = 0;                    // variable for reading the pin status

void setup() {
  pinMode(ledPin, OUTPUT);      // declare LED as output
  pinMode(inputPin, INPUT);     // declare sensor as input

  Serial.begin(9600);
}

void loop(){
  val = digitalRead(inputPin);  // read input value
  if (val == HIGH) {            // check if the input is HIGH
    digitalWrite(ledPin, HIGH);  // turn LED ON
    if (pirState == LOW) {
      // we have just turned on
      Serial.println("Motion detected!");
      // We only want to print on the output change, not state
      pirState = HIGH;
    }
  } else {
    digitalWrite(ledPin, LOW); // turn LED OFF
    if (pirState == HIGH){
      // we have just turned off
      Serial.println("Motion ended!");
      // We only want to print on the output change, not state
      pirState = LOW;
    }
  }
}
To my complete joy, it worked, and I could see motion registering on the IDE console:
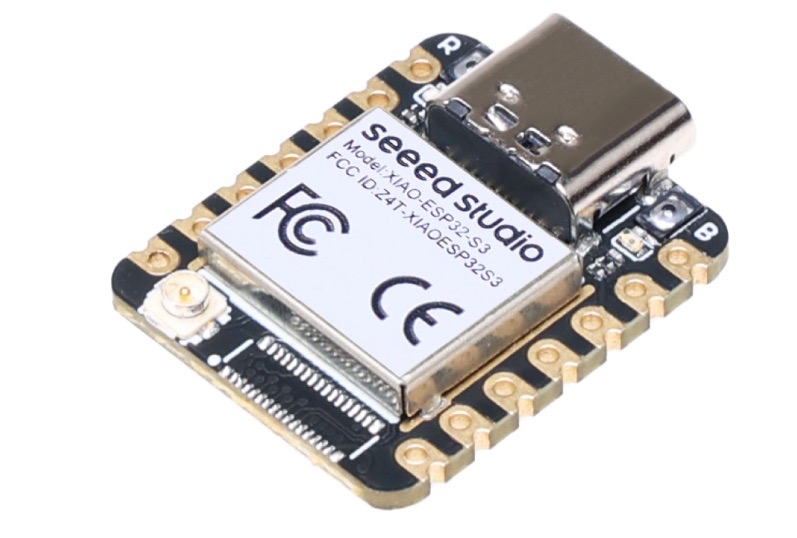
The only thing left was to execute the same code on my board, based designed around the Seeed Studio XIAO ESP32S3:
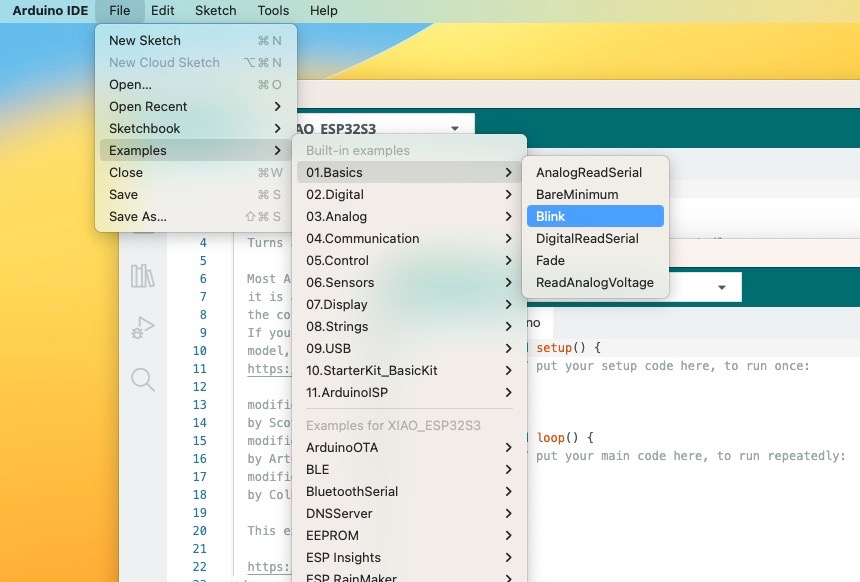
I started by adding the board to the Arduino IDE per the XIAO ESP32S3 documentation page:
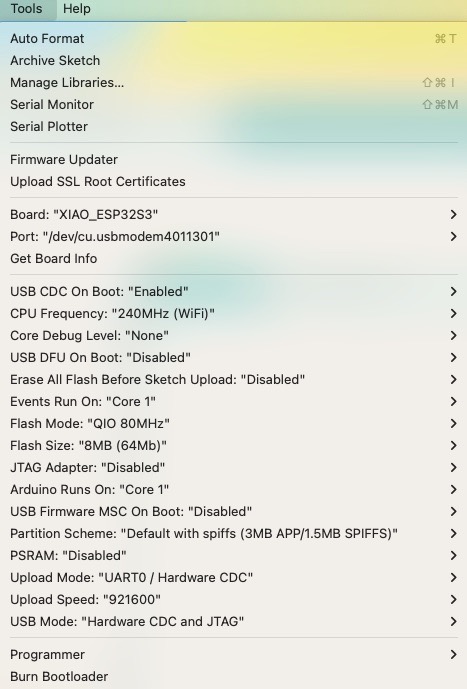
… and adding the board and picking a COM port:
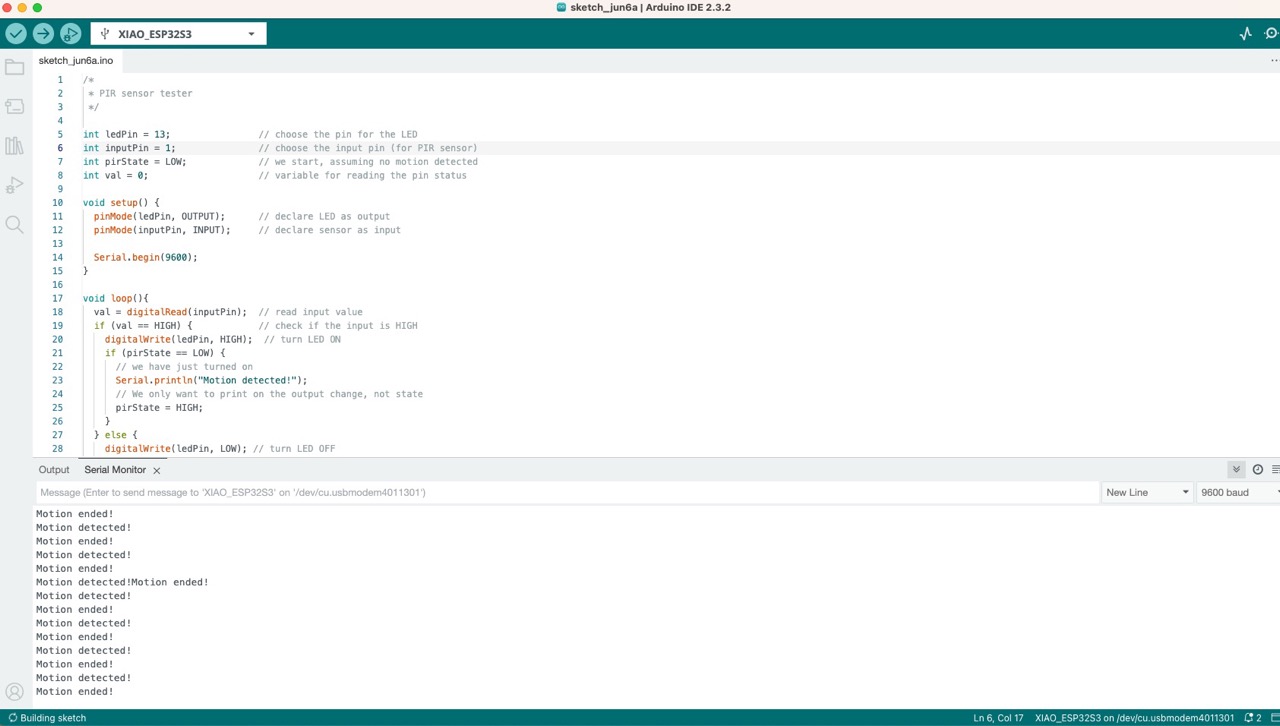
I plugged in the board and tested it with the blink code that I used in week 3, just to make sure that all was connected and working as expected, and then I pasted in the code I used for the MKR Zero, making sure that I connected to the same pinout, and was able to detect motion on this custom board:
Lastly, I decided to not mount the PIR on the PCB, as I was not sure about its final placement as a component in my final project, but note that a mounted and soldered component would be a cleaner option. I acknowledge two resources that helped me greatly with the preparation of this assignment and documentation: Claire Dorsett for a quick primer on the Arduino IDE, Colby Newman for the sample blink code posted here, and ChatGPT 3.5, which helped me take text and images from the native OS X text editor I used to quickly document on my Mac into simple HTML for my git repo.
Updated June 7, 2024