OpenCV [OpenCV] is an open source (see http://opensource.org) computer vision library available from http://SourceForge.net/projects/opencvlibrary. Th e-library is written in C and C++ and runs under Linux, Windows and Mac OS X. There are active development
on interfaces for Python, Ruby, Matlab, and other languages.
I have started to read the Learning OpenCV book by Gary Bradski & Adrian Kaehler over the past week.
From the book, I learned that Computer vision is the transformation of data from a still or video camera into either a decision or a new representation.
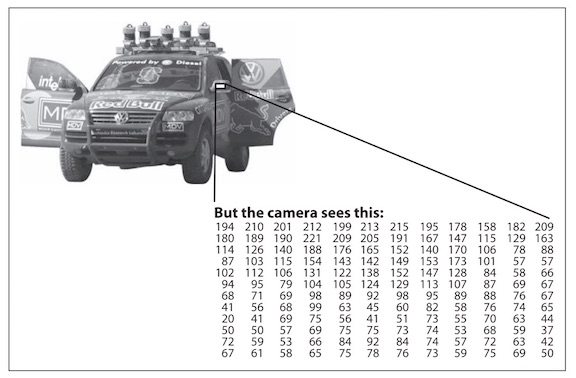
Different from how human beings see images, in a machine vision system, a computer receives a grid of numbers from the camera, and that's it.
In the picture above, we see a side mirror on the driver's side of the car, where all the computer "sees" is just a grid of numbers.
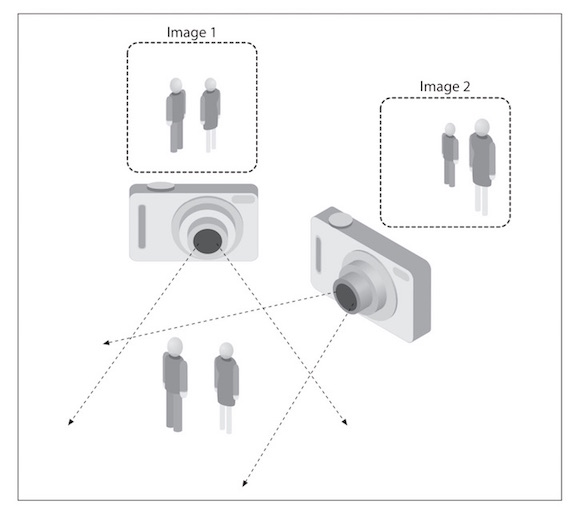
One problem in computer vision is the problem of using 2D images of a 3D world, to reconstruct the 3D signal. That is what OpenCV can attempt to do!
Several 2D pictures are used to reconstruct the 3D signal, but it is often disturbed by noise such as lighting, reflections, weather, etc. OpenCV is aimed at providing the basic tools needed to solve computer vision problems.
In some cases, high-level functionalities in the library will be sufficient to solve
the more complex problems in computer vision.
I spent over 5 to 6 hours to install OpenCV (reading online many people faced the same problems) as there was not enough documentation for using OpenCV on MacOS / Xcode, and trying
to download the software. After a long time, I finally found two videos online that are best for installing OpenCV, and getting it to work, the videos are
here:Installing OpenCV on MacOS and also here:
Create and open a webcam on OpenCV
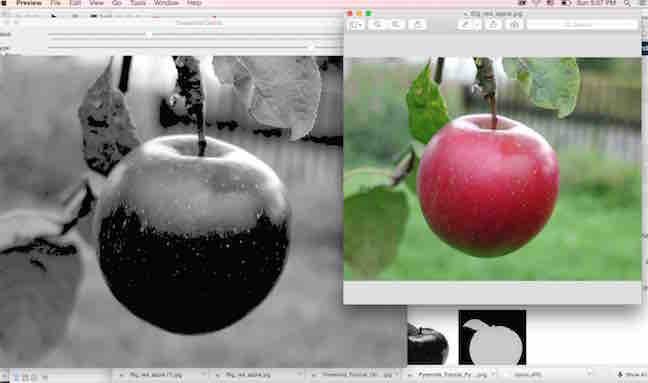
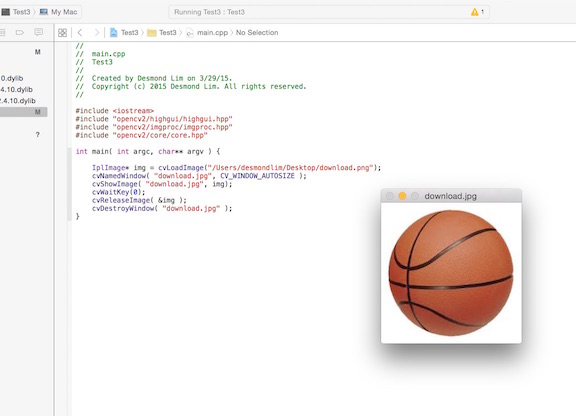
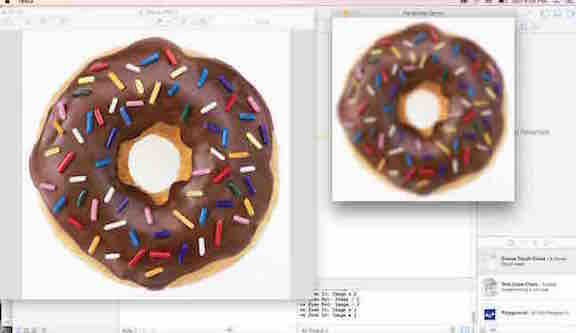
In the picture above, you will see that I also finally managed to upload an image, and display it in a window using a simple source code from the
Open CV online documentation. It took me another 5 to 6 hours to
learn this, due to the problems with linking the right frameworks, libraries, and understanding the code (as I have no background in programming), but glad that I finally managed to do it!
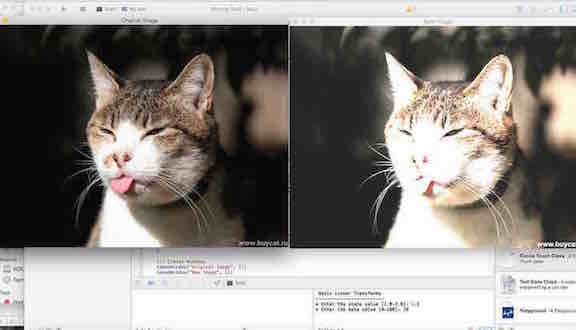
Next, I wanted to learn to access the pixel values of an image, and therefore change the contrast and brightness of an image.
Basically, if we take alpha (a) and beta (b) as the gain and bias parameters, and that they control contrast and brightness
respectively, we will be able to manipulate the picture using the function below
g(i,j) = a.f(i,j) + B, with g(i,j) being the source image pixels of the new image, f(i,j) being source image pixels of old image
We just need to key in the code which can be accessed from here, and then enter our values for alpha and beta to manipulate the contrast and brightness of the image.
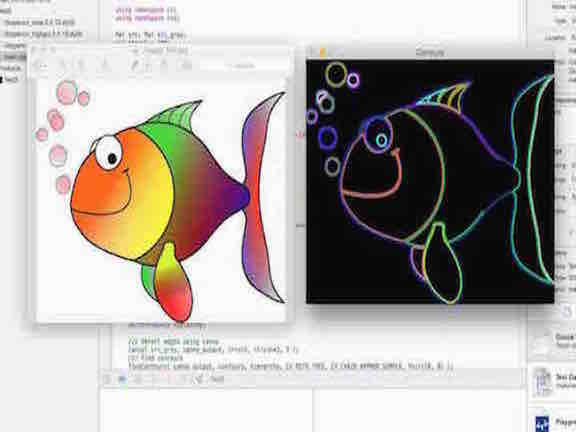
Next, I wanted to learn another function in OpenCV: to find the contours of images. I think this will be pretty important for me as I am learning about processing the images of a milk scanner, which will involve a lot of black and contrasted 2D images. The source code can be found here.
There are two main steps to this function, they are (1) Find the contours and (2) Draw the contours
To find the contours,
basically you will need to use several functions, but the main function is called canny() function, which uses a five step
method including (1) Apply the Gaussian filer to remove the noise (2) Find intensity gradients (3) Apply non-maximum suppression (4) Apply double threshold to determine potential edges (5) Track edge by hysteresis: Suppress all edges that are not connected strong bonds
Secondly you will need to draw the contours, by using a function that draws contour outlines on the image if thickness is > or = 0, or fills the area
bounded by the contour if thickness is <0.
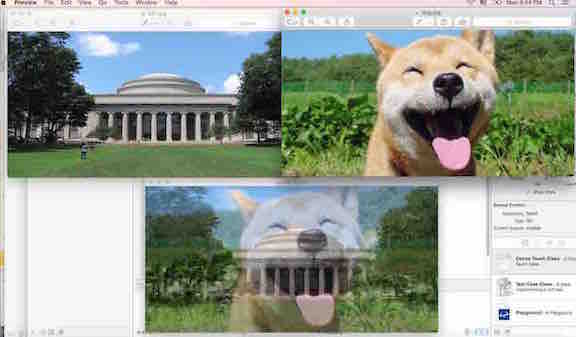
Next, I wanted to learn more about blending two images into one image. This will be the initial basic step I need to do as I try to reconstruct several 2D images into one 3D signal using the milk scanner.
Therefore, I wanted to learn to use OpenCV to blend two images into one image.
Once again, we need to go back into the pixels of the images, and use a two-input operator called the linear blend operator. The function is below
g(x) = (1 - a) f0(x) + a f1(x)
By varying alpha (a), we will be able to perform a temporal cross-dissolve between two images or videos, as seen in slide shows and even video productions.
The source code can be found here.
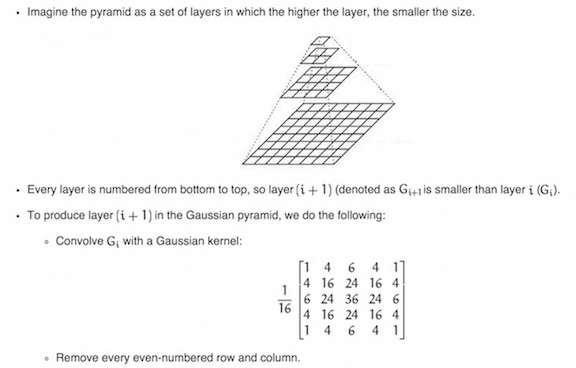
In OpenCV, I tried to downsize or upsize the size of the image using the Gaussian pyramid.
Imagine each layer is numbered from bottom to top, and using the code in OpenCV,
you are open to zoom in or out exactly one-quarter each time.
However, you will realize that as we downsize the image and then upsize again, we will lose resolution of the image, as we are diminishing the size of the image.