This week we were to experiment with control loops. I wanted to play with using vision as the sensor in my loop, so I tried controlling the diameter of an extrusion by controlled cooling using a solenoid valve.
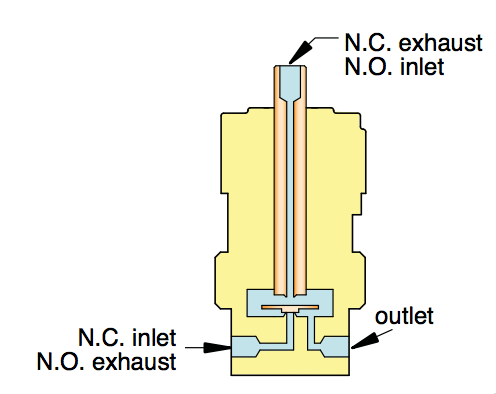
Solenoid valve
I bought a couple of these solenoid valves (here's a datasheet), and milled boards to control them. It's pretty simple: use a mosfet to pulse the coil. For the current these valves draw at 12V (50-100 mA), I could have used much smaller mosfets, but who knows, maybe I'll reuse this board.

I replaced the simple air cooling line on my ziploc extruder with a solenoid controlled line. I used a piece of bendable aluminum tubing to route the air jet onto the extrusion. I waterjet a simple mount for a USB microscope, and mounted the solenoid the side of the water bath.
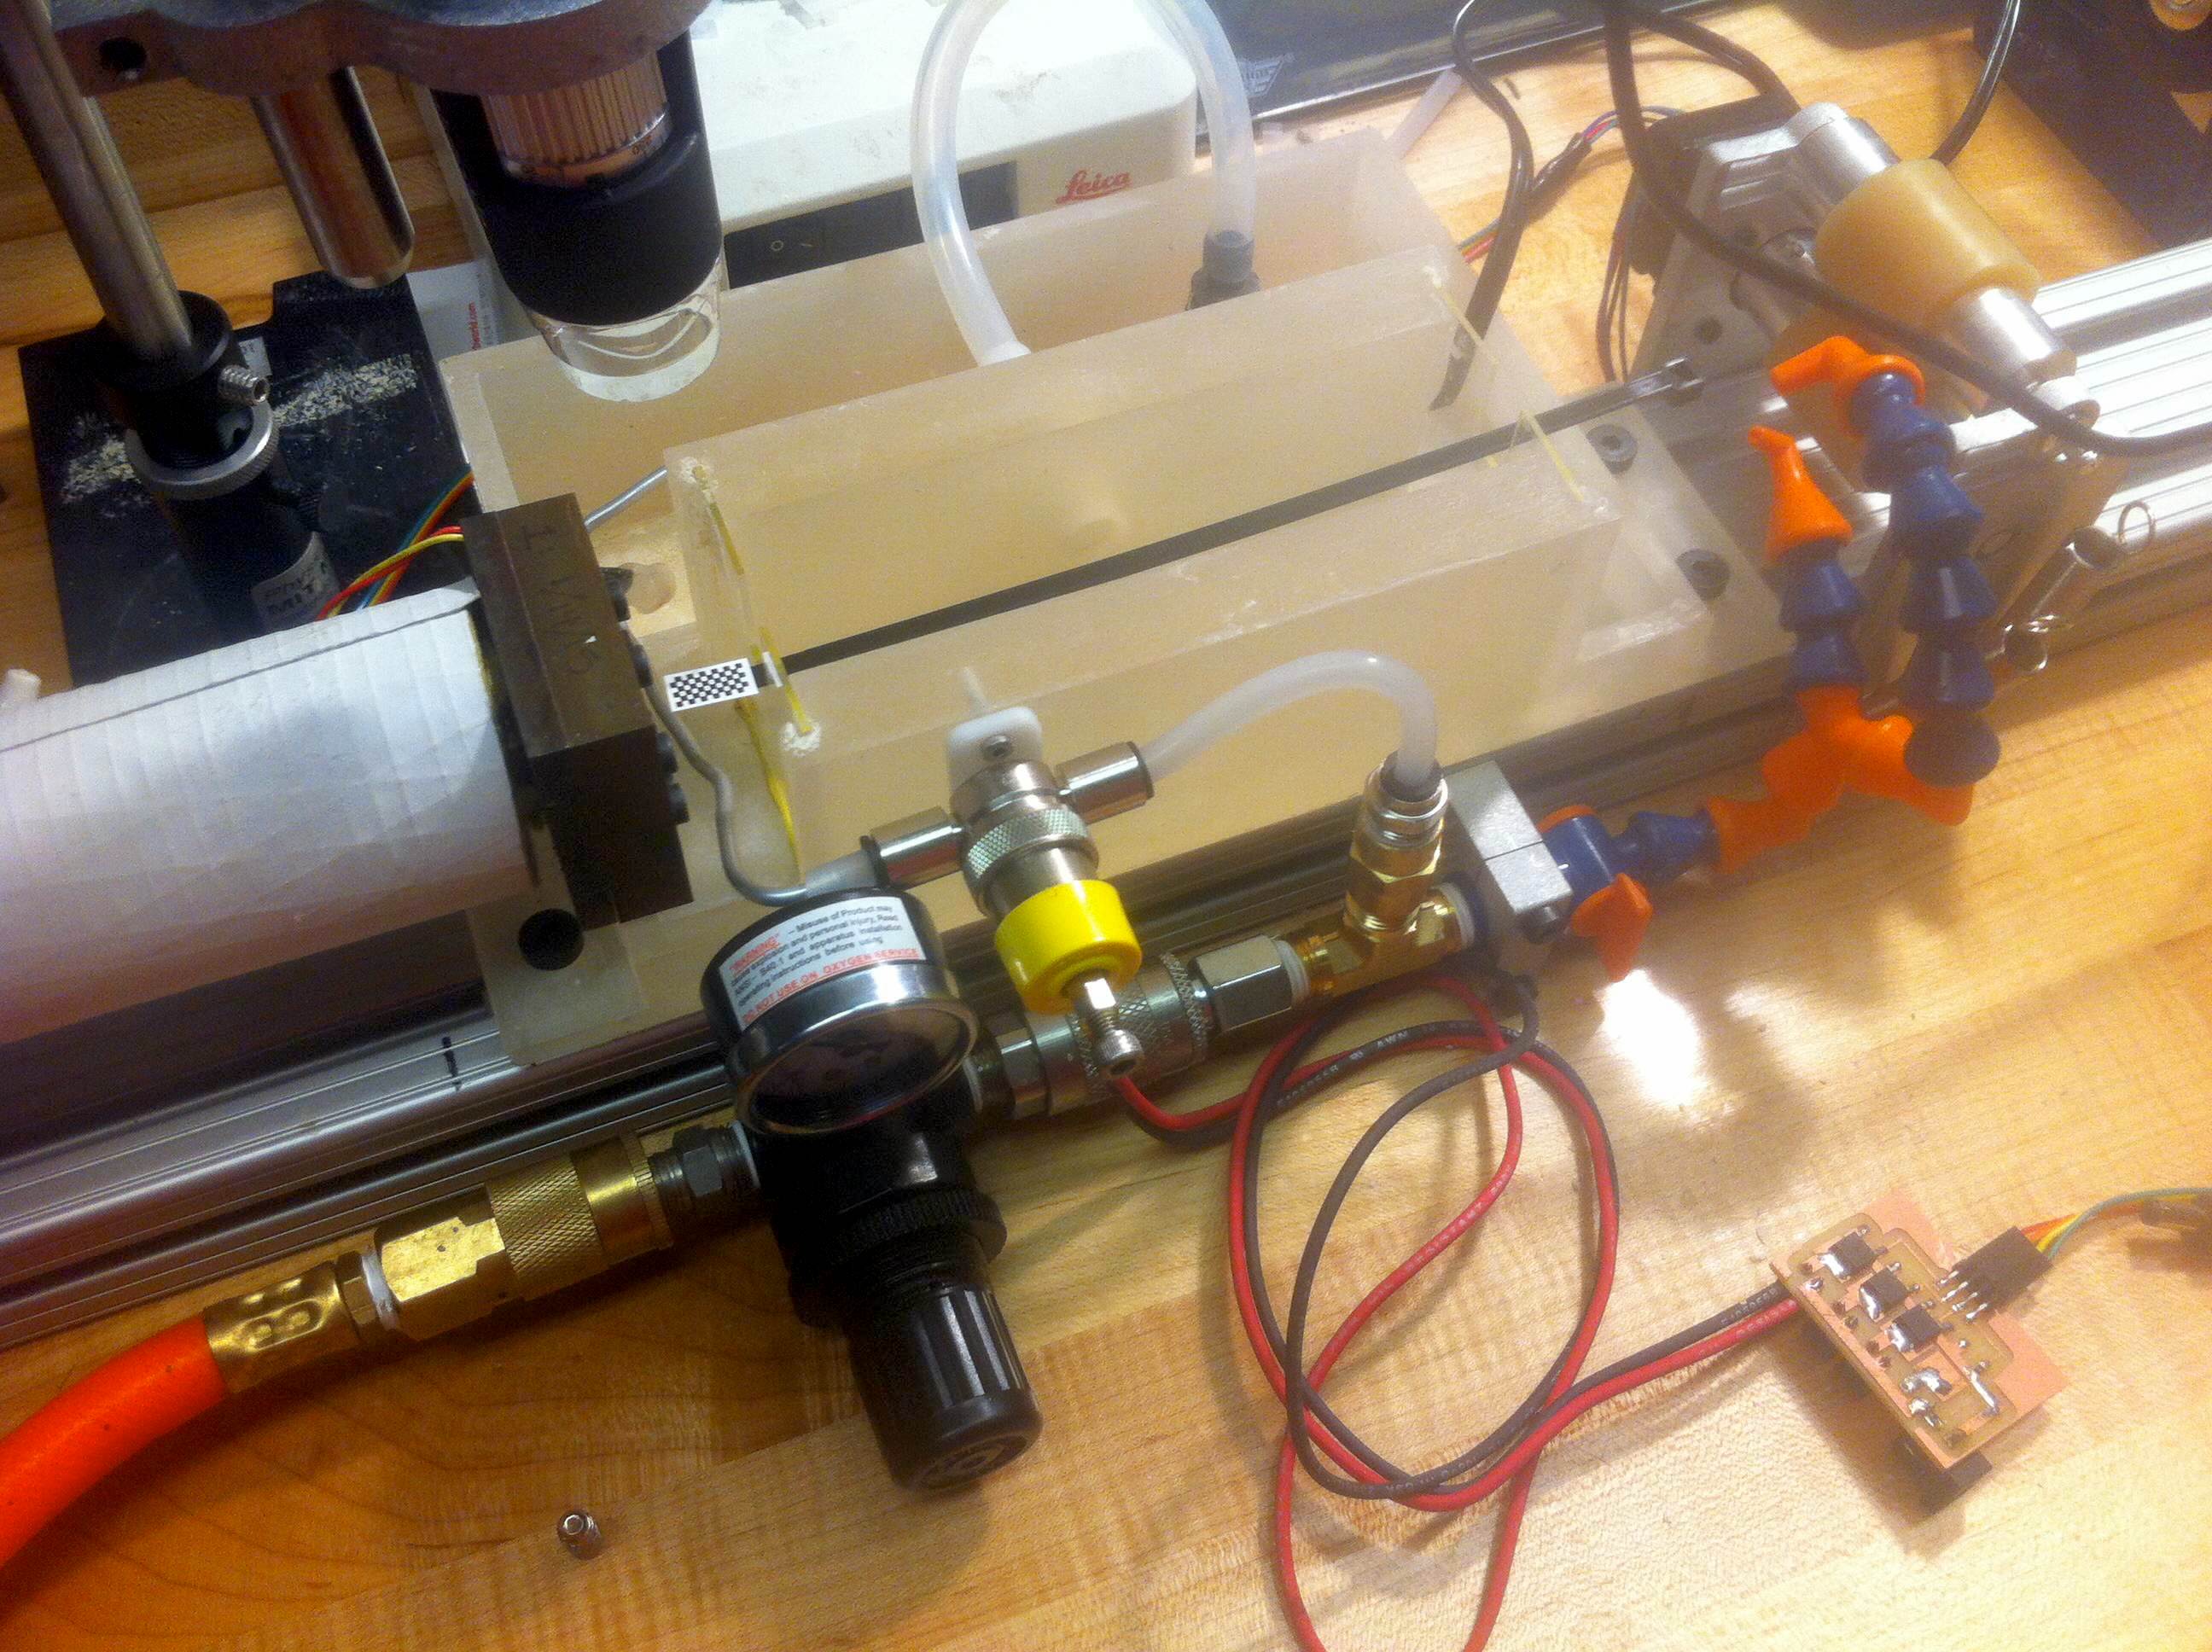
To control the flow of air, I use a low frequency PWM. Based on some research and fiddling, I set the PWM frequency to 32 Hz. The microcode to do this based on serial packets is here.
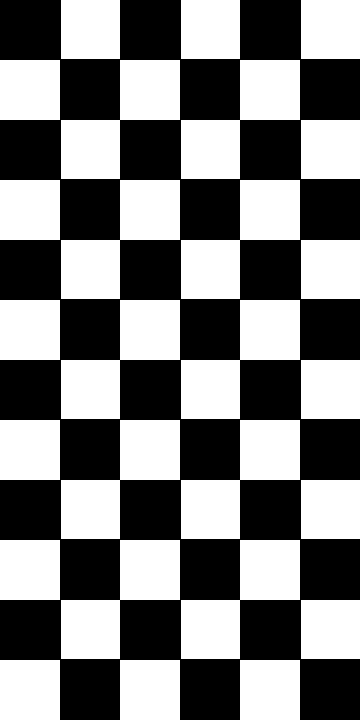
OpenCV Calibration and Measurement
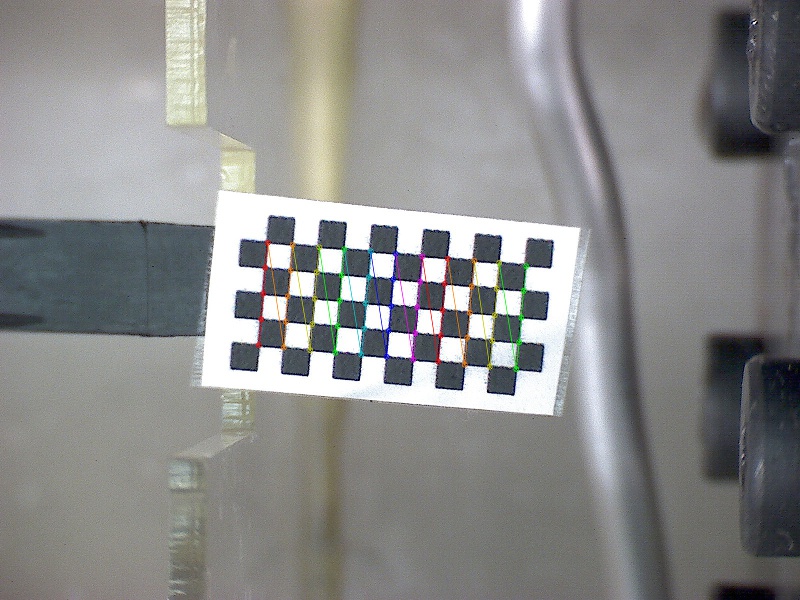
I wrote a simple python script to generate checkerboard patterns and used these for calibrating against the lens distortion.

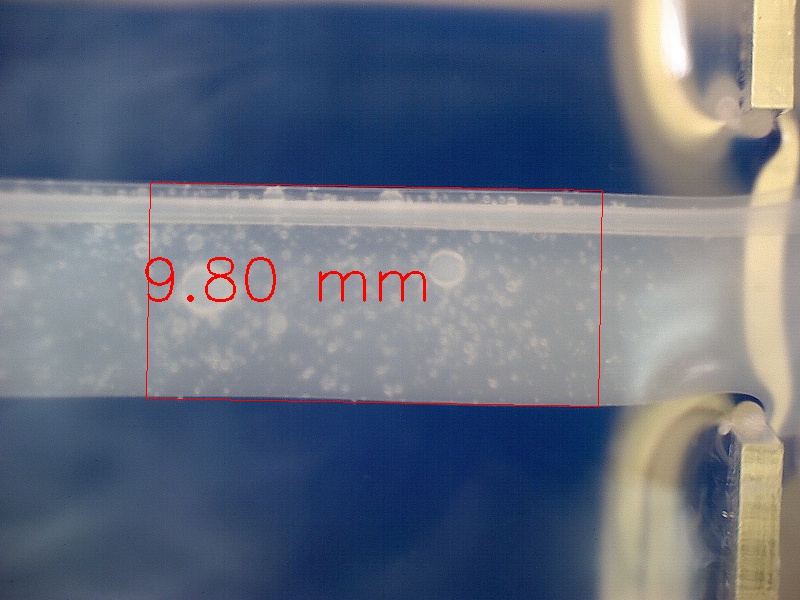
For the measurement step, it was really helpful to put a piece of colored acrylic at the bottom of the water tank to increase contract with the extrusion. To do the measurement, I first apply a smoothing filter to the incoming video frames to eliminate some of the water ripple effects. I cut the blue channel (to increase contrast from blue acrylic, and then I applied the standard blur-threshold-contour steps in opencv. In this case, I also include a mask that exludes all but a region of interest over the extrusion. Then I select the largest contour by area, and calculate the minimum area bounding rectangle (this allows for rotation with respect to the coordinate axes).
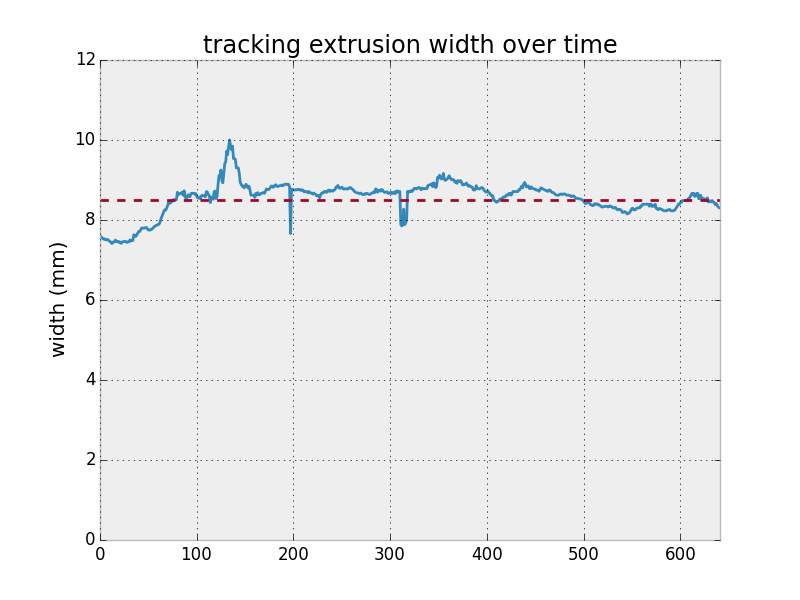
Based on this calculated width, I set up a simple PID controller for the solenoid valve. If the extrusion is undersized, we pump more air, bringing the extrusion closer to the full width of the die. If it is oversized, we pump less air, allowing the extrusion to stretch and narrow.
I included the image calibration, the measurement from the images, and the PID control in this python script.
I didn't get enough time to tune the gains with this system, because there were a lot of external variables and running the machine while changing program parameters is a juggling game. One thing that tripped me up for a minute was forgetting to set upper and lower bounds for the PWM (the solenoid doesn't trigger below ~50/256, and remains fully open for ~200/256 and greater), and forgetting to center in this range.
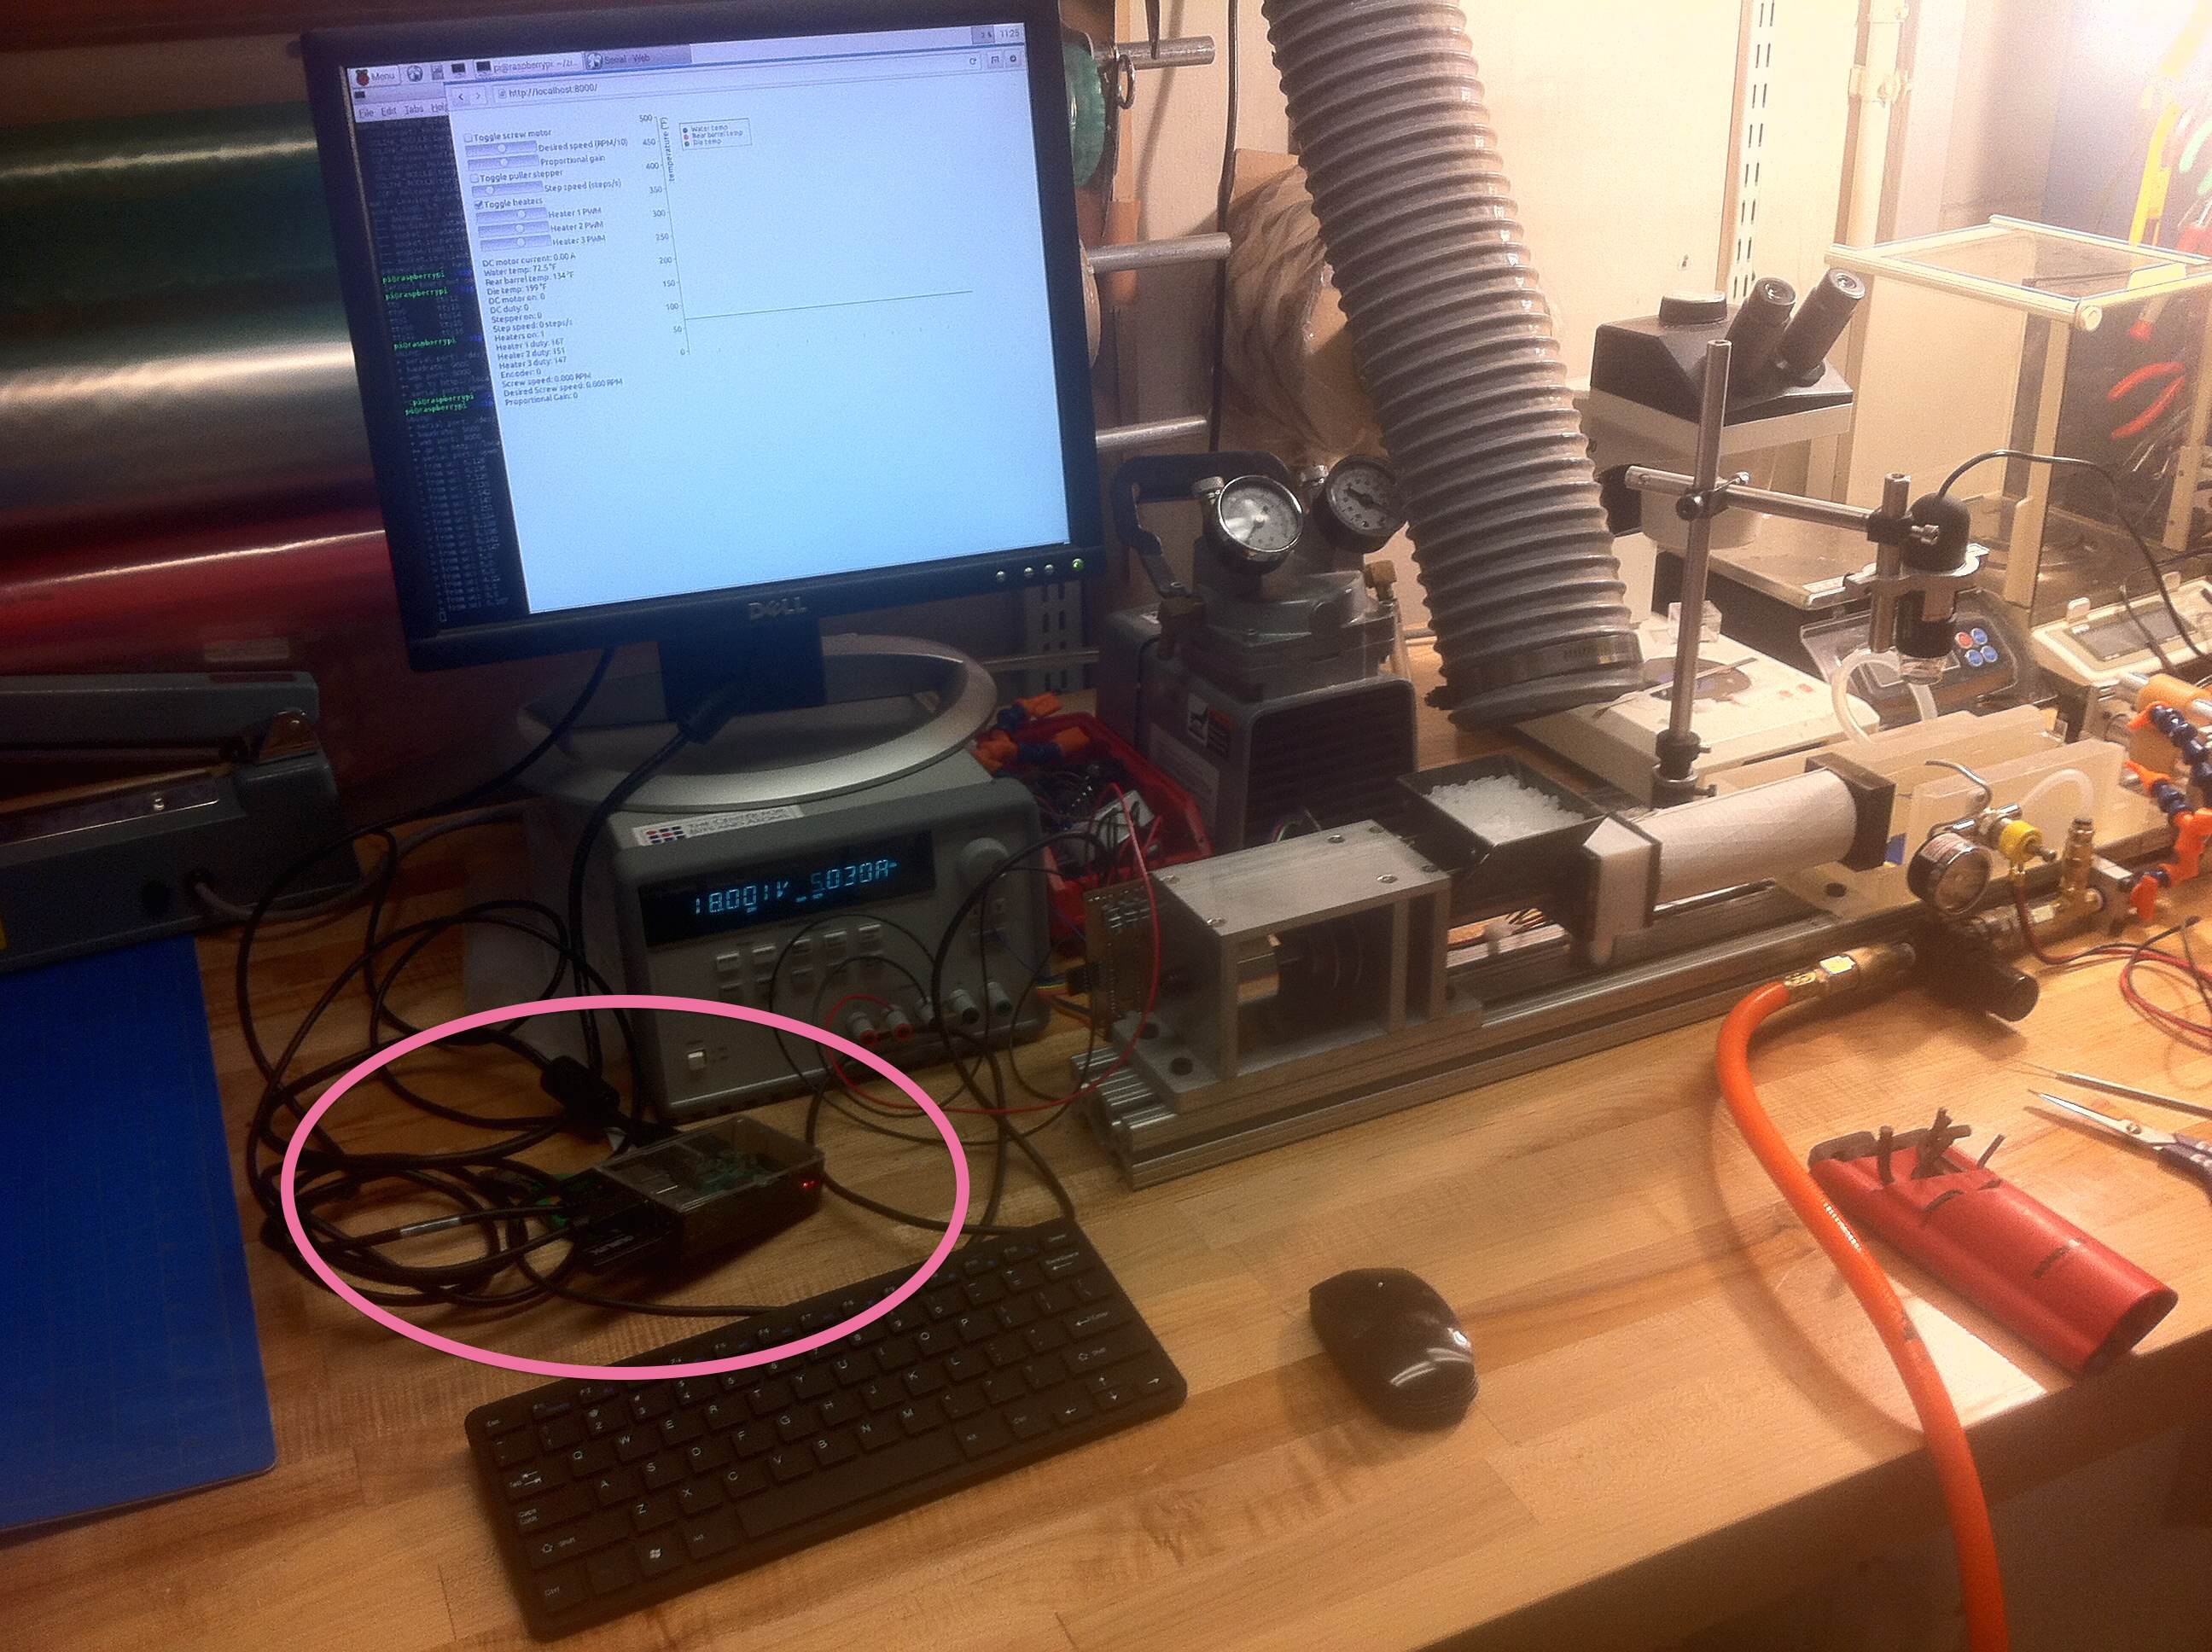
Raspberry Pi
Because this project starts to need a lot of usb ports, I'd rather not get tied to my personal laptop, so I set up a Raspberry Pi to run things. This was relatively straightforward due to the portability of javascript development (which is what the extruder's interface is written in). Just remember that installing on the Pi takes longer than on a higher-powered computer. Here is a nice guide to getting opencv running on the Pi, and here is a trick to get npm install to work on the Pi.