These two weeks we were to experiment with options for computation and communication with our machines.
Ring Oscillator
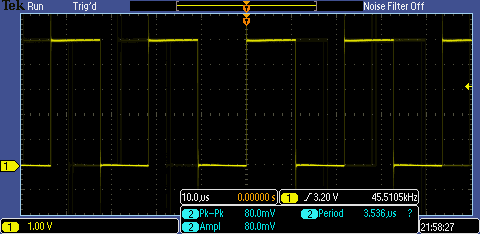
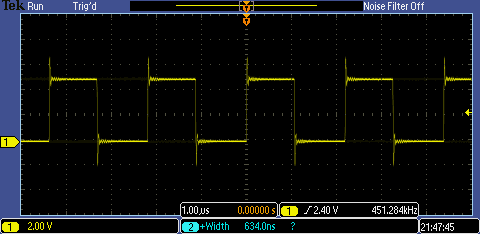
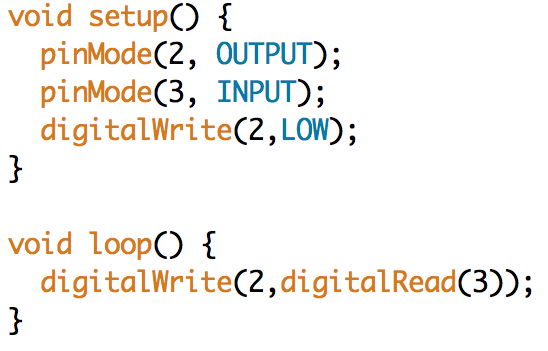
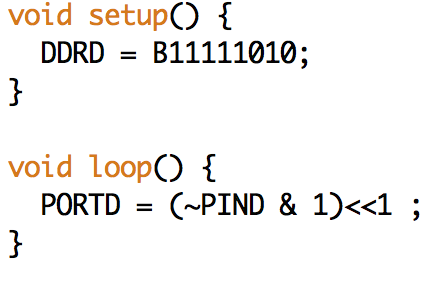
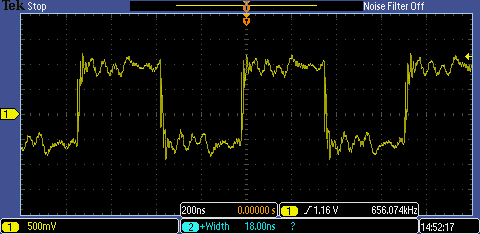
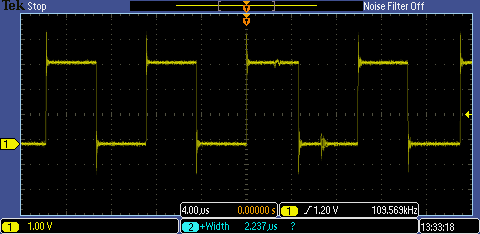
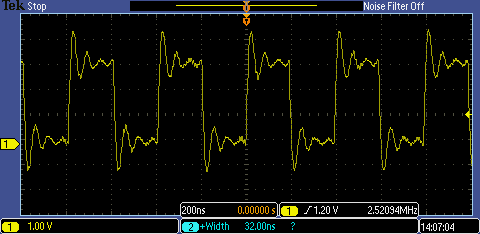
I took this week to clock bits of information in and out of embedded computing options. To do this, we just tie a digital input and digital output together, and send out the opposite of whatever is read.
I started with my trusty standby, the ATMega 32U4. It's fun to compare Arduino's digitalRead and digitalWrite functions with direct port manipulation to see the cost we pay for code portability.
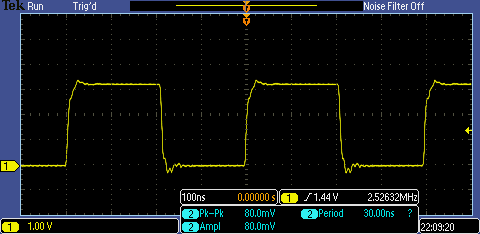
Next, I looked at some ARM boards: the Nucleo, the MBED, and the Teensy. The Nucleo and MBED can be conveniently programmed with MBED's online compiler.
The PJRC website supports Teensyduino, an Arduino IDE add-on to support the Teensy. I'm no embedded programming hotshot, so I stuck to this IDE for the tests. Unfortunately, the results were kind of crappy, which leads me to think about bypassing Teensyduino.
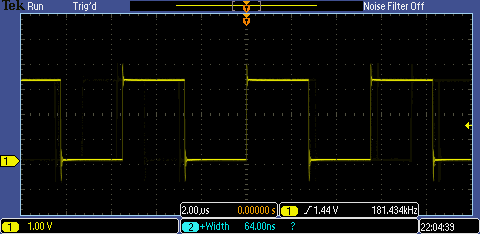
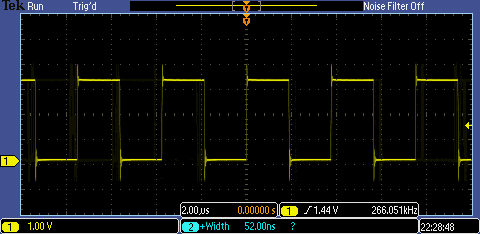
Finally, I included Raspberry Pi in the contest. Many folks love this single board computer because they can use Python for embedded projects. I wanted to test Python's overhead on GPIO, so I ran the ring oscillator with simple programs in python and standard C. The difference is huge!
To simplify access to the GPIO pins in C, I used the wiringPi library and compiled my script as cc -o ring ring.c -L/usr/local/lib -lwiringPi
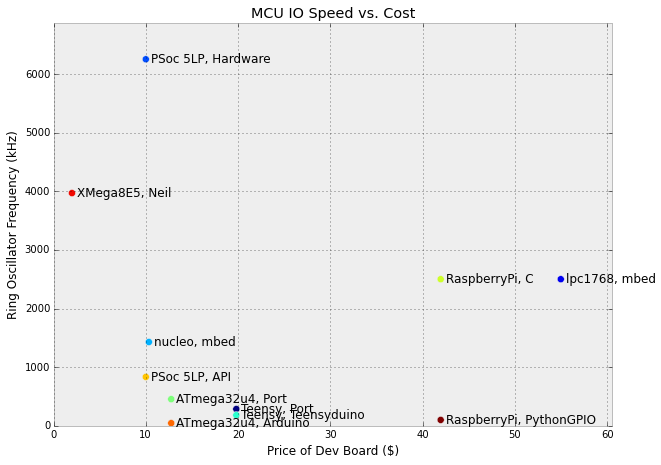
I really wanted to put the XMega on this chart, but I didn't get finished programming it. I first tried XMegaduino but ran into some confusing errors, so I decided to try to circumvent it. I think with an up-to-date version of avrdude and an Atmel Dragon programmer, I should be able to do this without needing Atmel studio.
Communication: ESP8266
I thought the ESP8266 seemed like one of the the more useful boards, so I experimented with it this week. In particular, I was curious about its reliability before I attached any machines to it.
I designed a board with an FTDI header for programming and power, a slide switch to changer between programming mode and running mode, and some LEDs to flip. Critical to remember is the VCC line of the FTDI cable is a 5V, so we need a 3.3V regulator. I read the ESP8266 could use a couple hundred milliamps at times, so I opted for the 1A regulator.
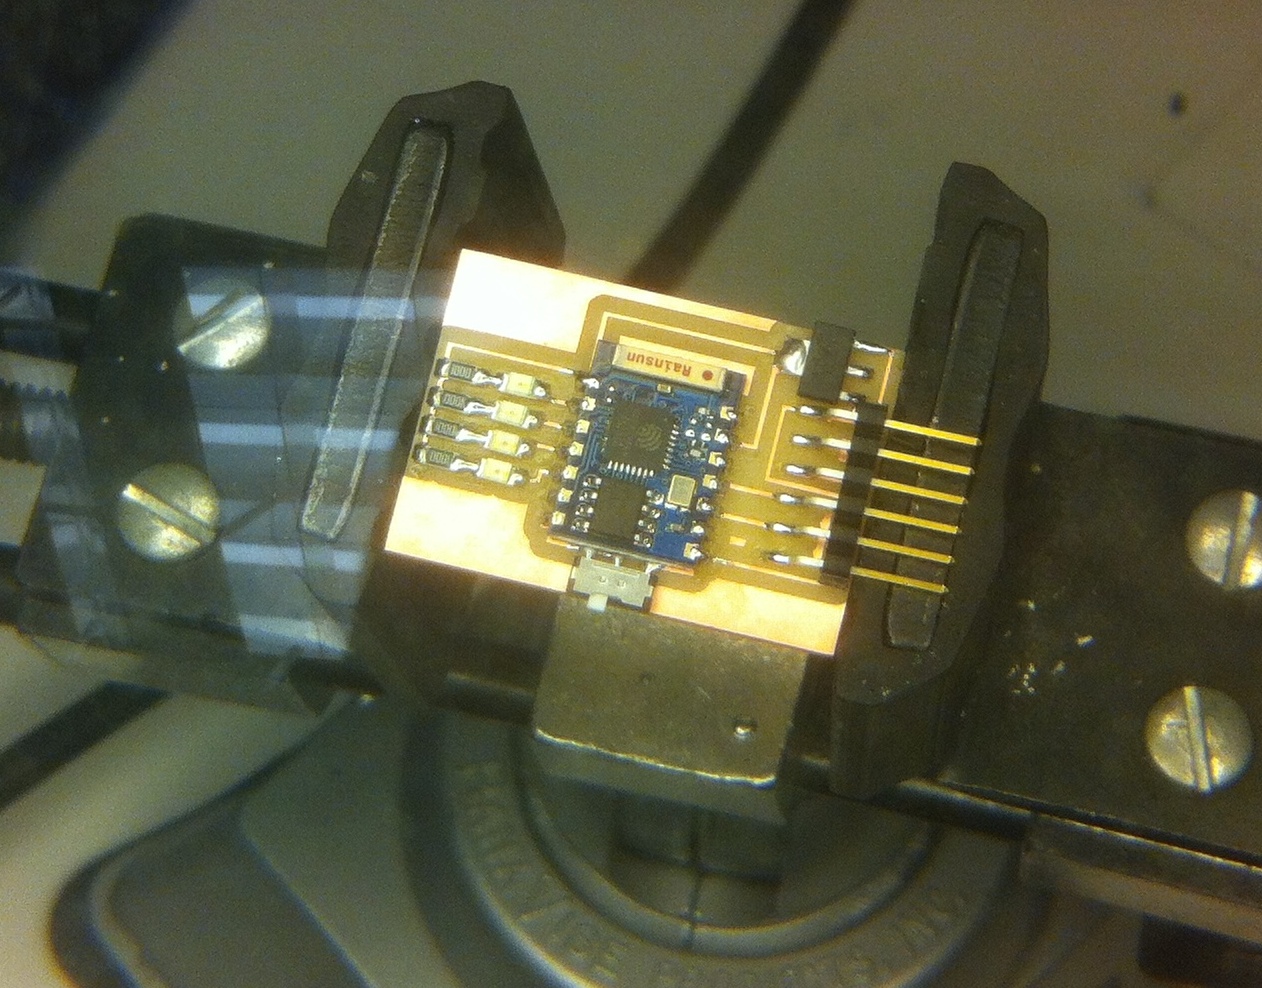
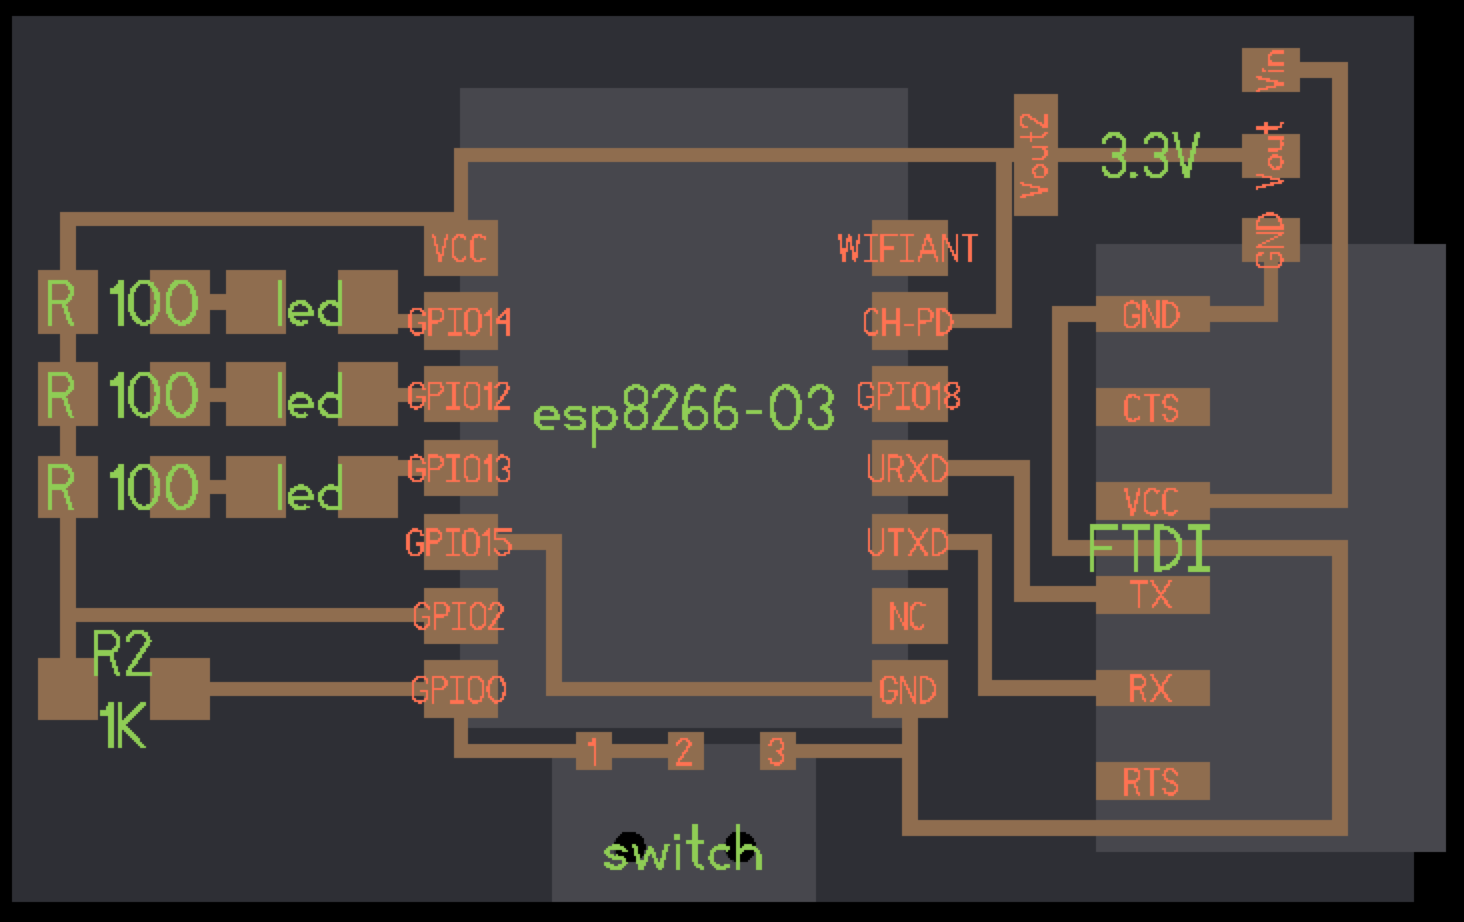
After making my first board, I ran into some confusion about the ESP's startup modes. Some of the GPIO pins need to be tied up or down depending on which mode you want to enter. This article helped sort things out, and I soldered jumpers to mimic their circuit. I still had some confusion about tying GPIO2 High, because my board was unhappy when I did this. I removed that jumper and things worked...
When switching between modes remember to power cycle!
I used this microcode to use the ESP8266 as a HTTP server that changes GPIO pins based on GET requests.
Establishing connection is a challenge! But once connected, operates consistently and quickly. I'm not sure what the source of this is -- it doesn't seem to be related to range... I think I will check it on other networks to get a better idea for troubleshooting.
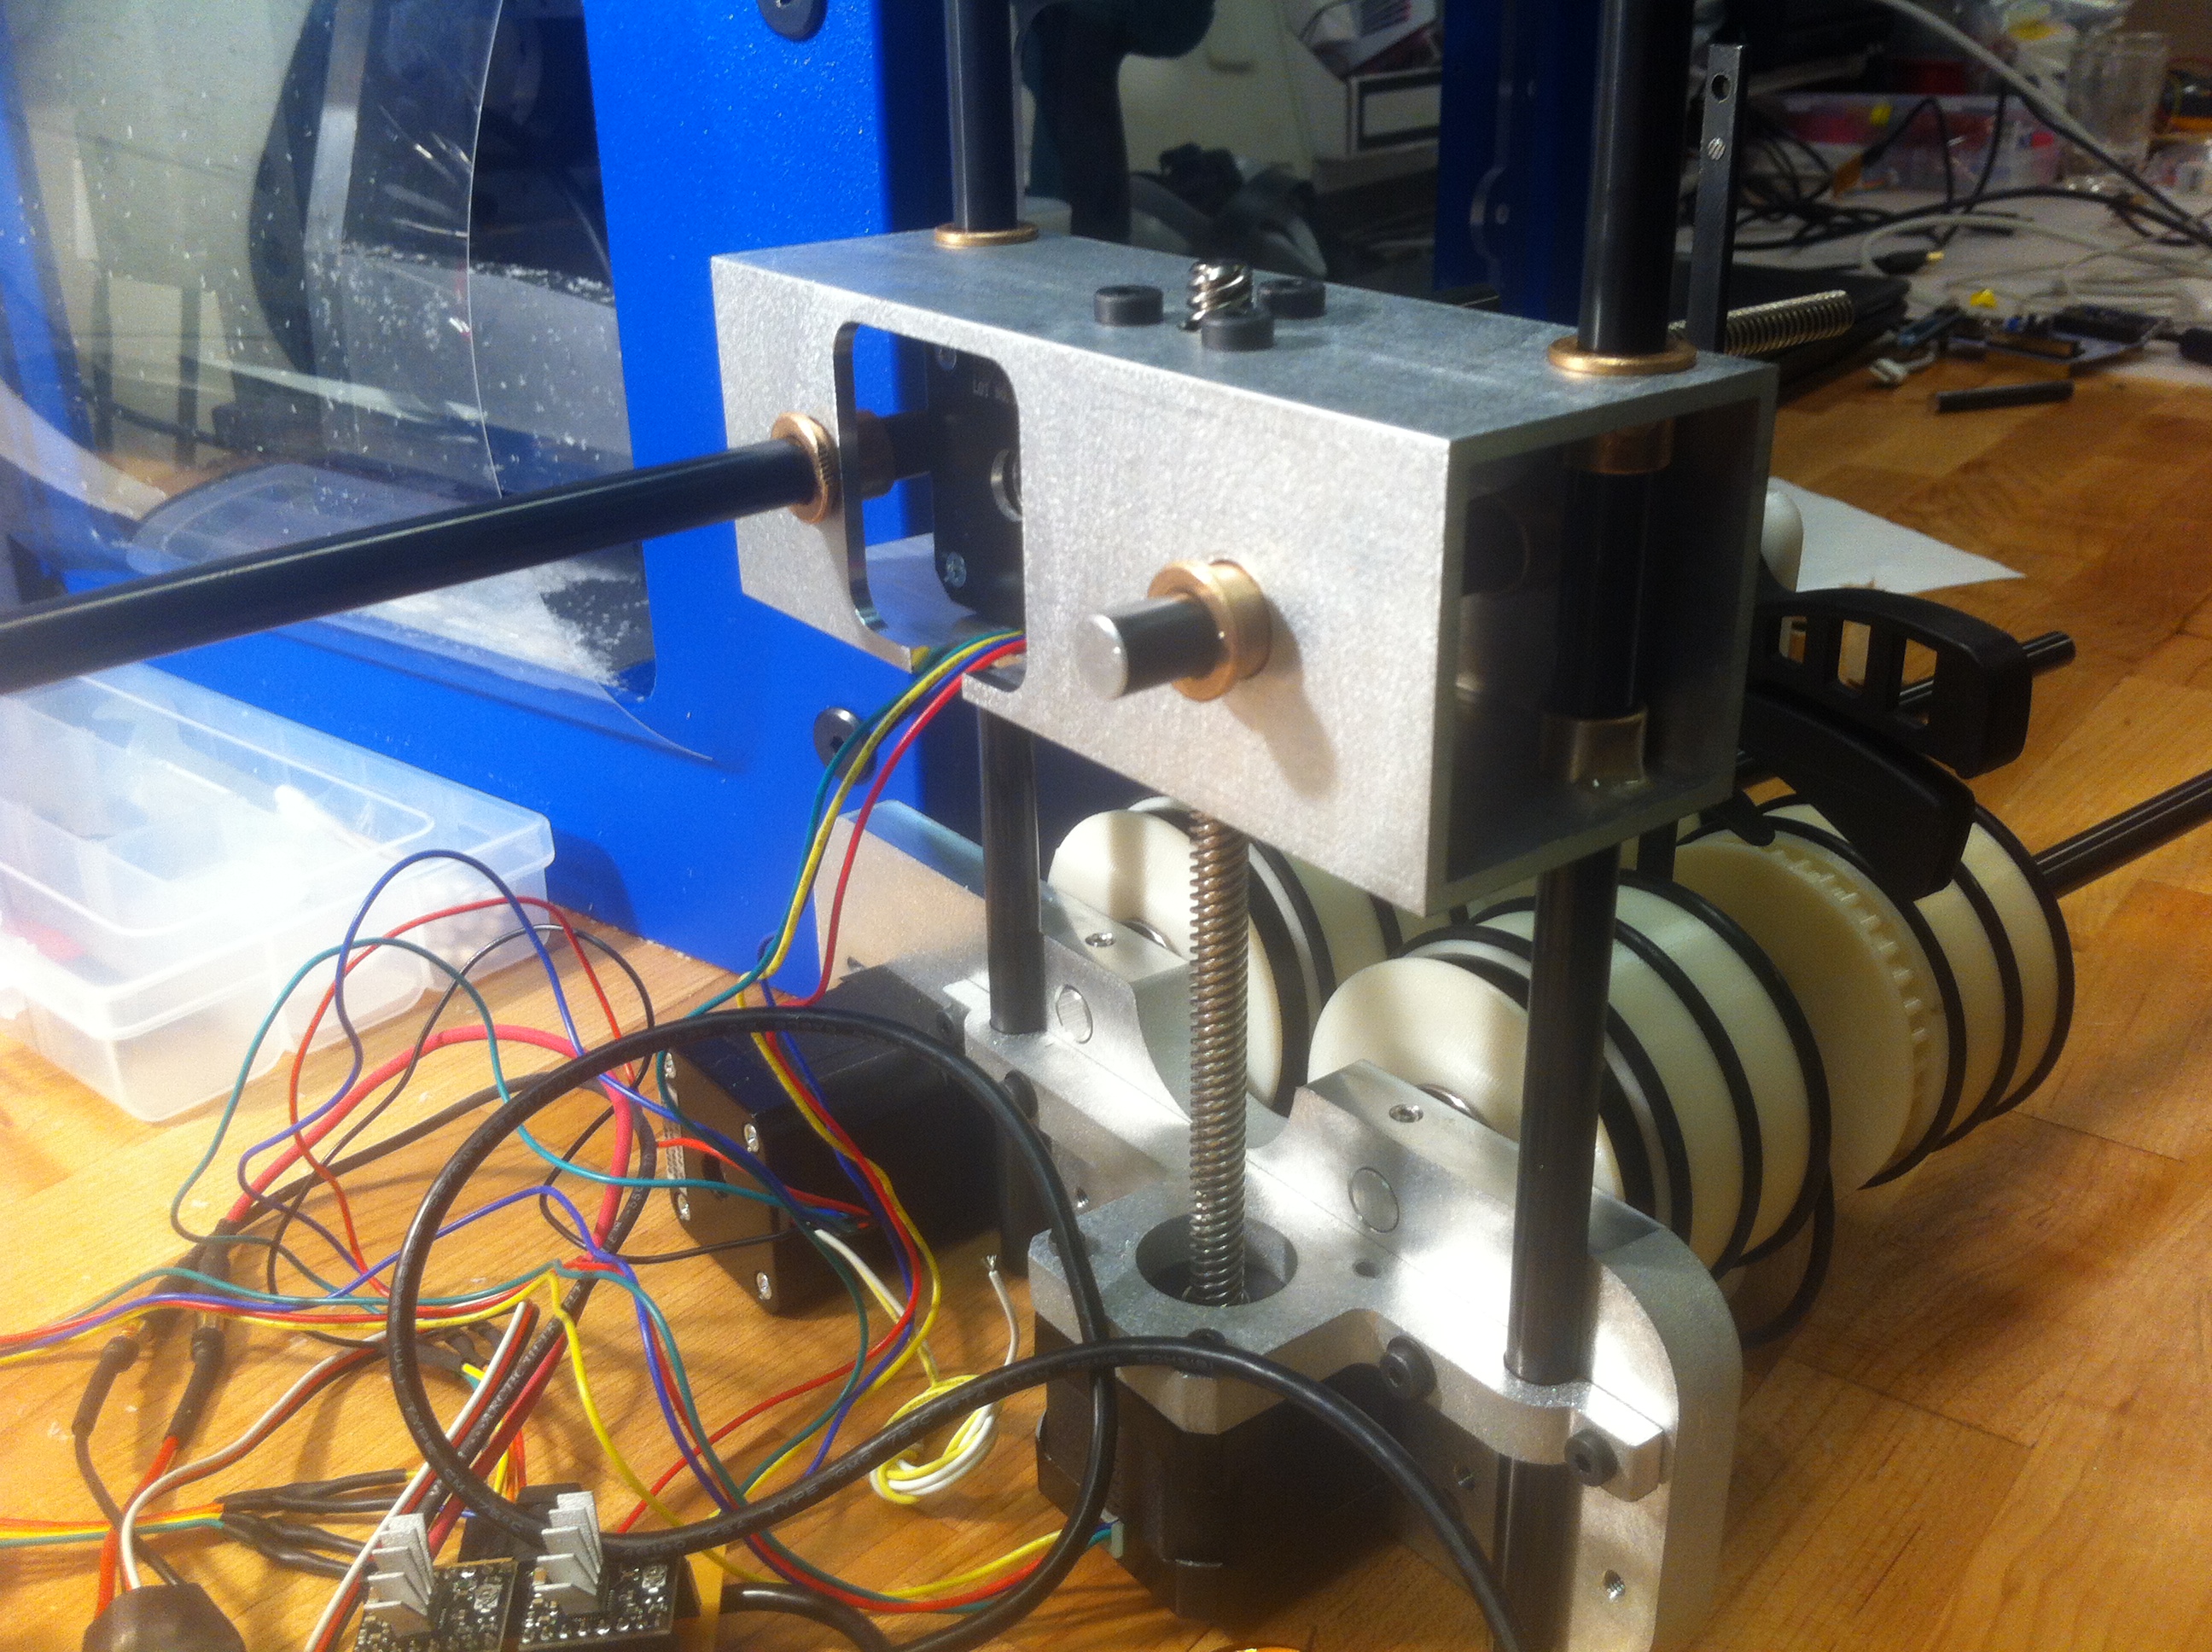
Tube cutter update
I'm part way through adding an additional axis to my tube cutter to allow for shaped ends. To do this, I also needed to remake the main base plate out of waterjet aluminum for greater stiffness

I ordered a NEMA 17 stepper with non-captive lead screw to use for the y axis.
I made a simple serial interface for the 2 axis cutting mode, and used this to cut tubes latitudinally and longitudinally.
Tube cutter design tool