Week 3 - Embedded Programming
This week we took an early dive into embedded programming. We were introduced to two microcontrollers from the Raspberry Pi family: the Seeed Studio Xiao RP2040 and the Raspberry Pi Pico. The assignment was to write program for a microcontroller development board to interact with local input &/or output and communicate (remotely).
Setting up the Xiao RP2040
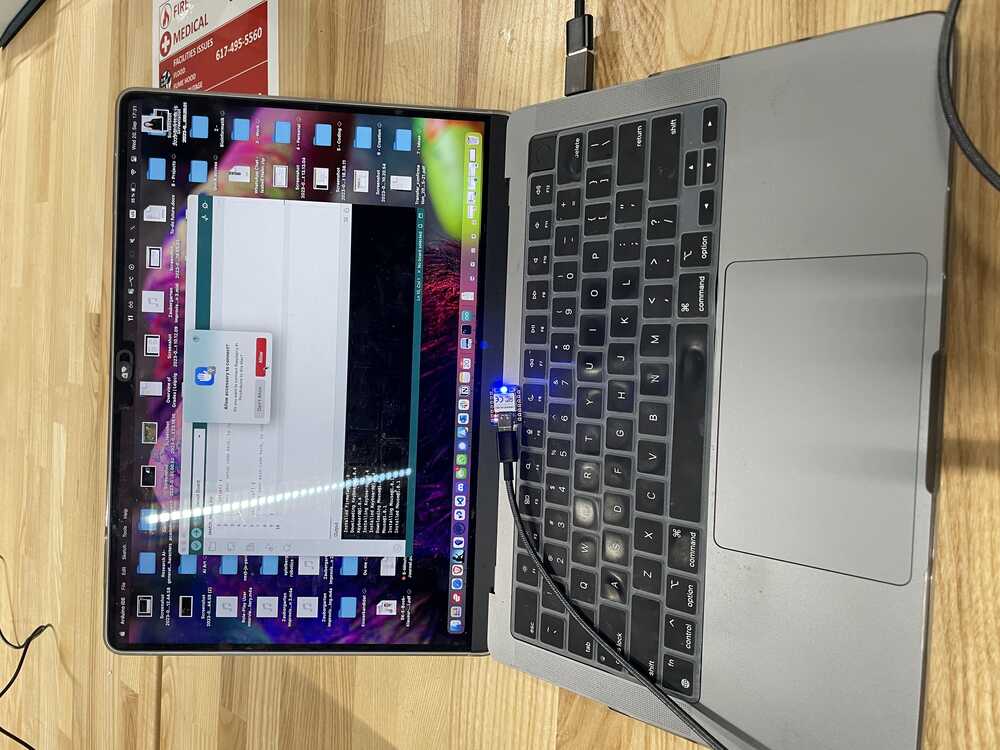
I started with the Seeed Studio Xiao RP2040 and the Arduino IDE. The Xiao has a neopixel LED and the default program let’s it blink it different colors.
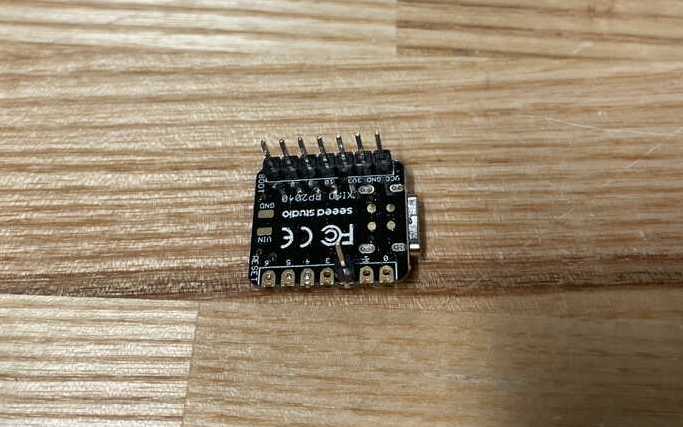
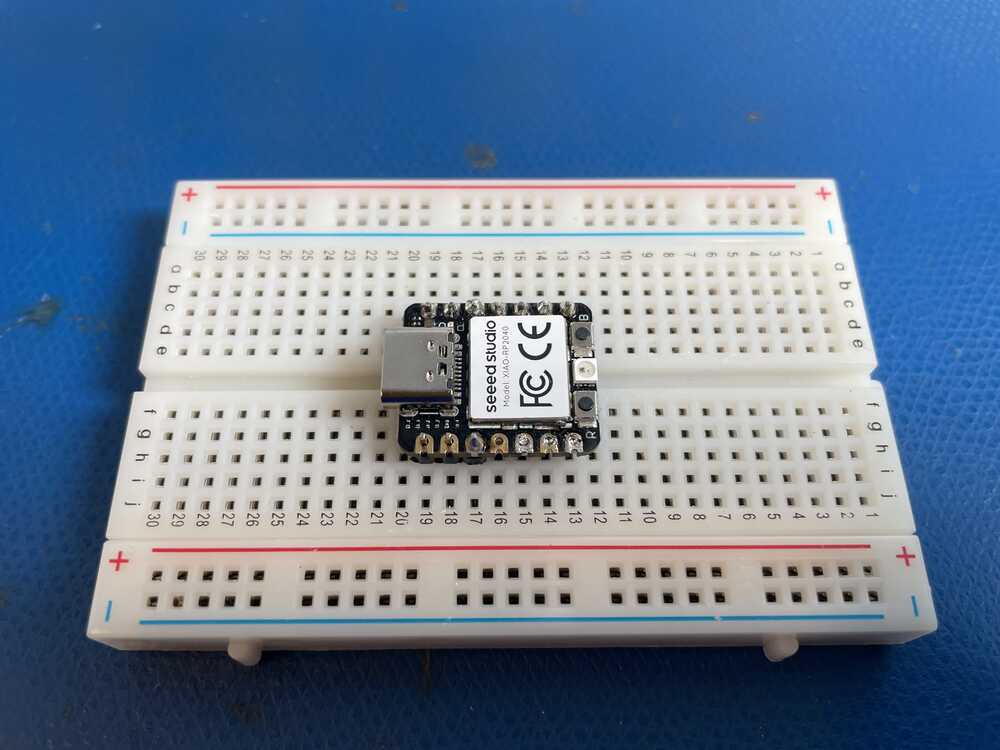
Next, I soldered pinheads to the chip and added it to a breadboard.

Playing with LEDs
After installing the drivers and libraries for Arduino, following the documentation on the official Seeed Studio site, I modified the small LEDs on the board.
However, I wanted to play with the neopixel LED and see if I could make it blink different colors. I looked at a few tutorials and found the library for controlling the neopixel LED.
This was fun!
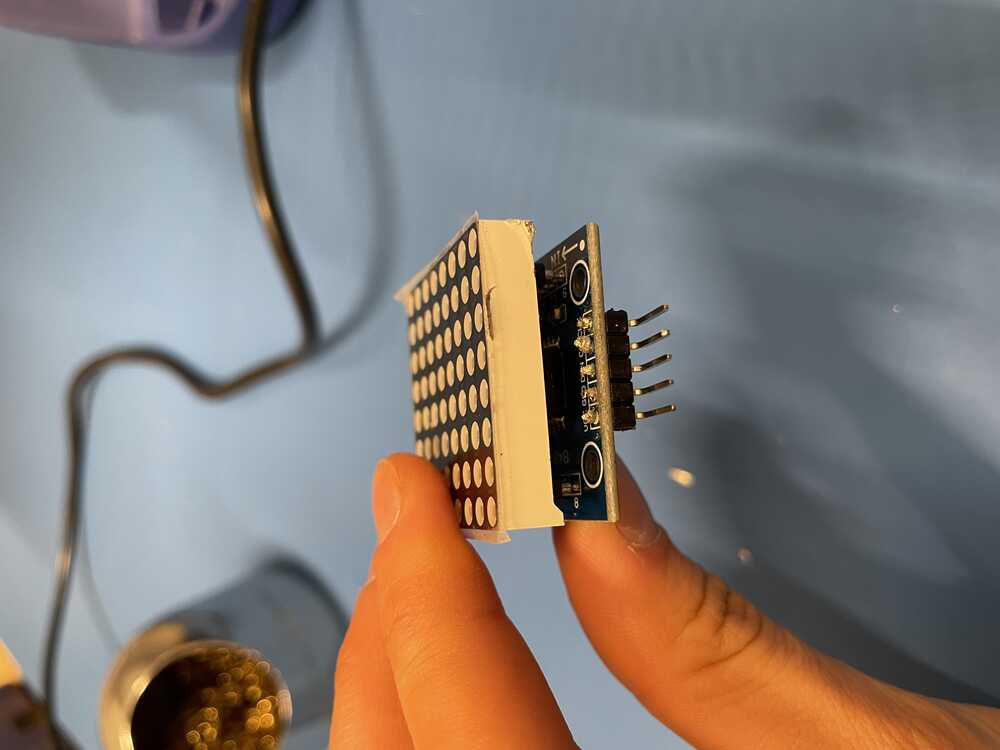
MAX7219 8x8 LED Matrix
Inspired by my final project, I ordered a set of MAX7219 8x8 LED matrices. I wanted to see if I could control them with the Xiao RP2040. But this proved to be more difficult than expected!
There are several tutorials on controlling the MAX7219, however, there were two main issues for me:
- Most tutorials were designed for the pre-assembled 4-in-1 display. Since I am new to embedded programming and electronics, I wasn’t sure what to make of it. For a while, I tried connecting the individual 8x8 LED matrices to each other, to get a 3-in-1 display (I had only three). However, that required A LOT of wiring and soldering, so I gave up on that part and just ordered the 4-in-1 display.
- The only tutorials I could find for the RP2040 were for the Raspberry Pi Pico (and I didn’t realize until too late that that was the other chip were could use for this assignment lol). This led me down a long road of mapping tutorials and documentation from the Pico to the Xiao.
Mapping the Pico to the Xiao
For this part, I moved to micropython on Thonny. Micropyton has a few libraries for controlling the MAX7219, and I used the micropython-max7219 on PyPi.
The problem is that this library only specifies the pins for the Pico. This resulted in a long, fruitless night of trying to map the pins from the Pico to the Xiao.
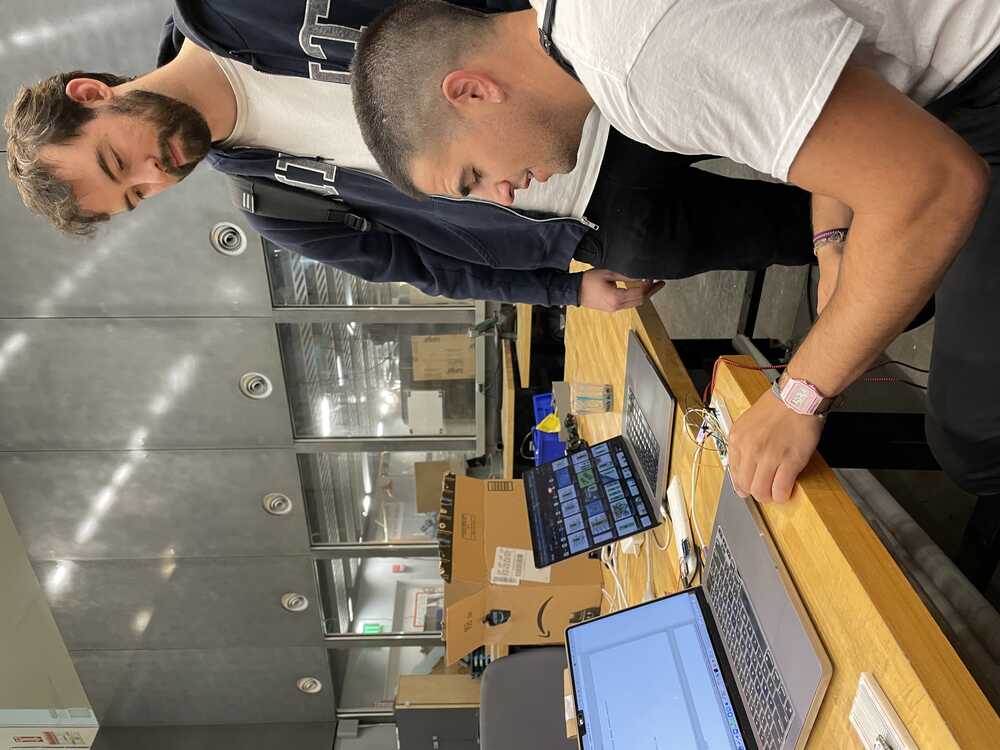
This was a pain! The TAs were there to help and struggle with me the next day.

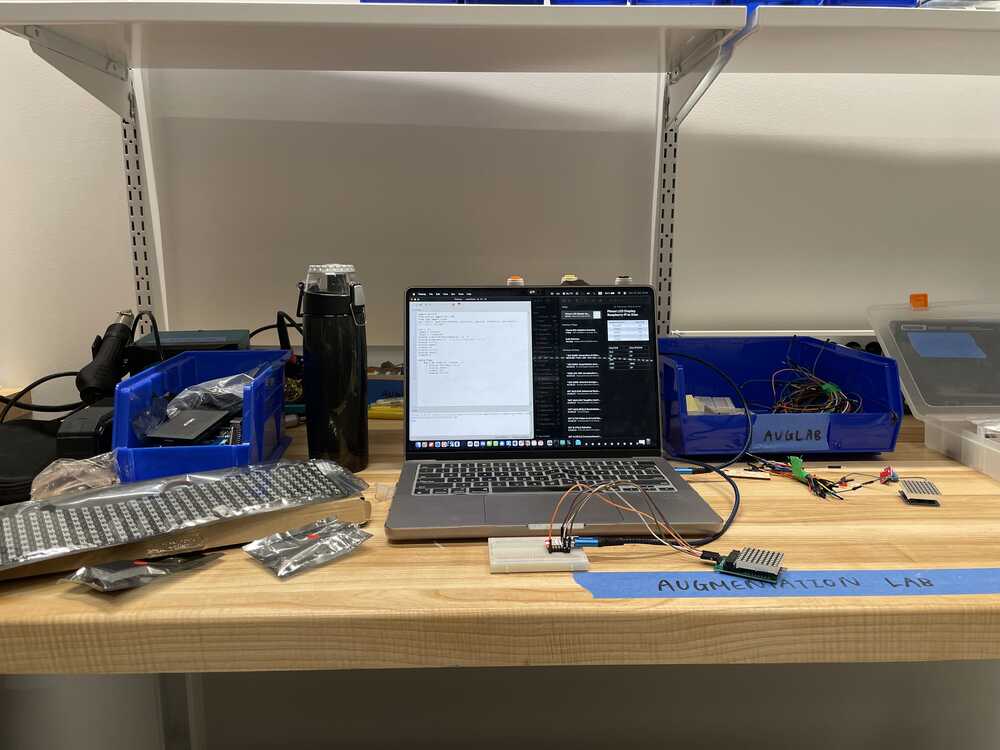
For simplicity, we decided to start with the Pico after all. Fortunately, Alfonso already had a Pico set up and soldered on a breadboard. So, I just had to download Micropython onto the Pico and connect the MAX7219.
And, violà! It worked!

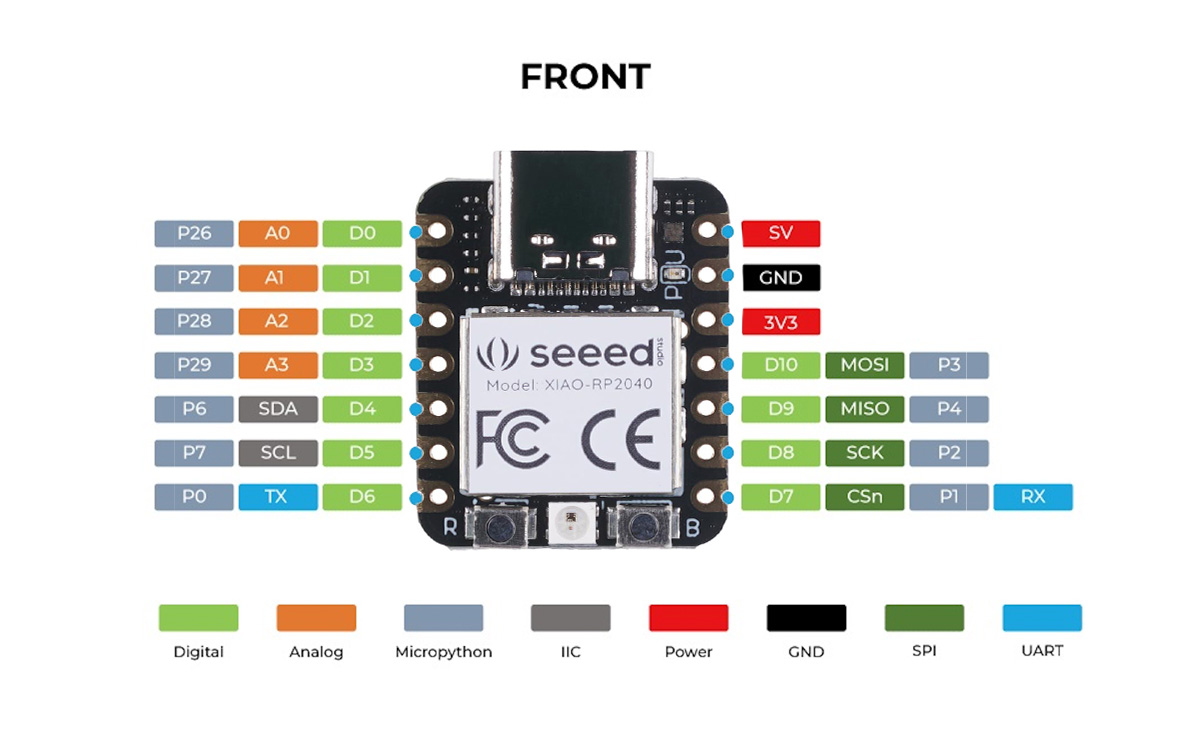
Now onto the Xiao. In order to figure out where to attach the pins on the Xiao, I had to look at the Pico’s pinout and the Xiao’s pinout, and map the pins specified in the micropython-max7219 library to the Xiao’s pins.
This is the library’s mapping for the Pico:

And the pinouts for the two boards:
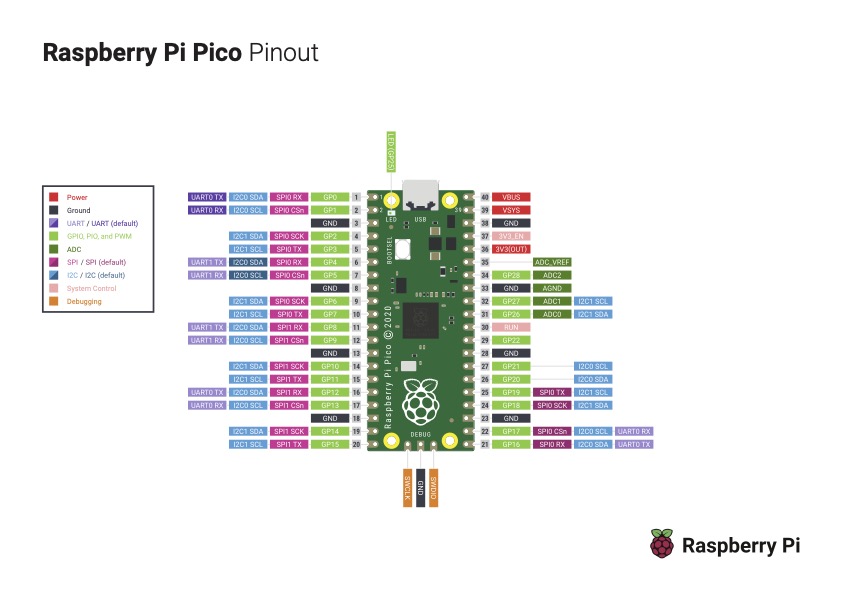
Here, I learned that in embedded programming and pinout design, there are mixed standards, specifically:
-
Is the pin number the GPIO number or the physical pin number?
-
Naming conventions: the Xiao and the micropython library use the terminology MISO/MOSI for networking, while the Pico uses TX/RX. MOSI/MISO is for Master Out Slave In/Master In Slave Out, while TX/RX stands for Transmit/Receive. For obvious historical reasons, we are trying to replace the former convention with the latter, but this can lead to confusing mappings. Fortunately, Sacha from StackOverflow came to the rescue:
MOSI stands for Master Output, Slave Input.

As data is received (RX) on the input and data is sent (transmitted, TX) on the output, from the master's point of view, MISO is its RX pin and MOSI is its TX pin, so:
MISO = SPI_RXD
MOSI = SPI_TXD

(For a slave, this would be reversed)
With this, I could map the pins from the Pico to the Xiao:

4 Matrix Display
At this point, the 4-in-1 display had arrived, so I hooked it up to the Xiao!
So happy I got this working! I’m glad I got an intro to multiplexing with this, as it will likely come in handy for my final project. 😊