Week 9 - Input Devices
This week, I developed a new final project idea based on previous ideas for the Flip Disc display and research into pin art over the summer. The idea is to give ChatGPT a 3D Face.
Since we’re already at halftime for the class, I will focus on using the following weeks more explicitly for my final project.
So for Input week, I decided to focus on one of the two inputs ChatGPT will need: a microphone and a depth sensor (for recognizing when a person is standing in front of it).
I am also intrigued by facial and object recognition - especially since the Seeed Studio XIAO ESP32S3 Sense has embedded ML computing power and photography capability - and would hope to incorporate those at some point too.
Update
Actually, nevermind. Since the ESP32S3 Sense already has a microphone embedded into it, using the microphone seemed too easy & boring. I figured it would be more fun to attempt to do something with the brand-new OpenAI APIs that got released yesterday. I am particularly intrigued by the Vision API and DALLE-3, since I haven’t been using them that much yet. Particularly Vision seems to be a game changer in object and context recognition. So, I thought of turning the EPS32 Sense into a mini-camera. The main input I will add is the camera extension board and a button to take a picture. I know using the built-in camera isn’t much different from using the built-in microphone, but it seems more fun (and hey, at least I’m adding a button).


Simple circuit to turn on an LED
Since I am not really adding many components, I decided to make another quick board and try out KiCAD.
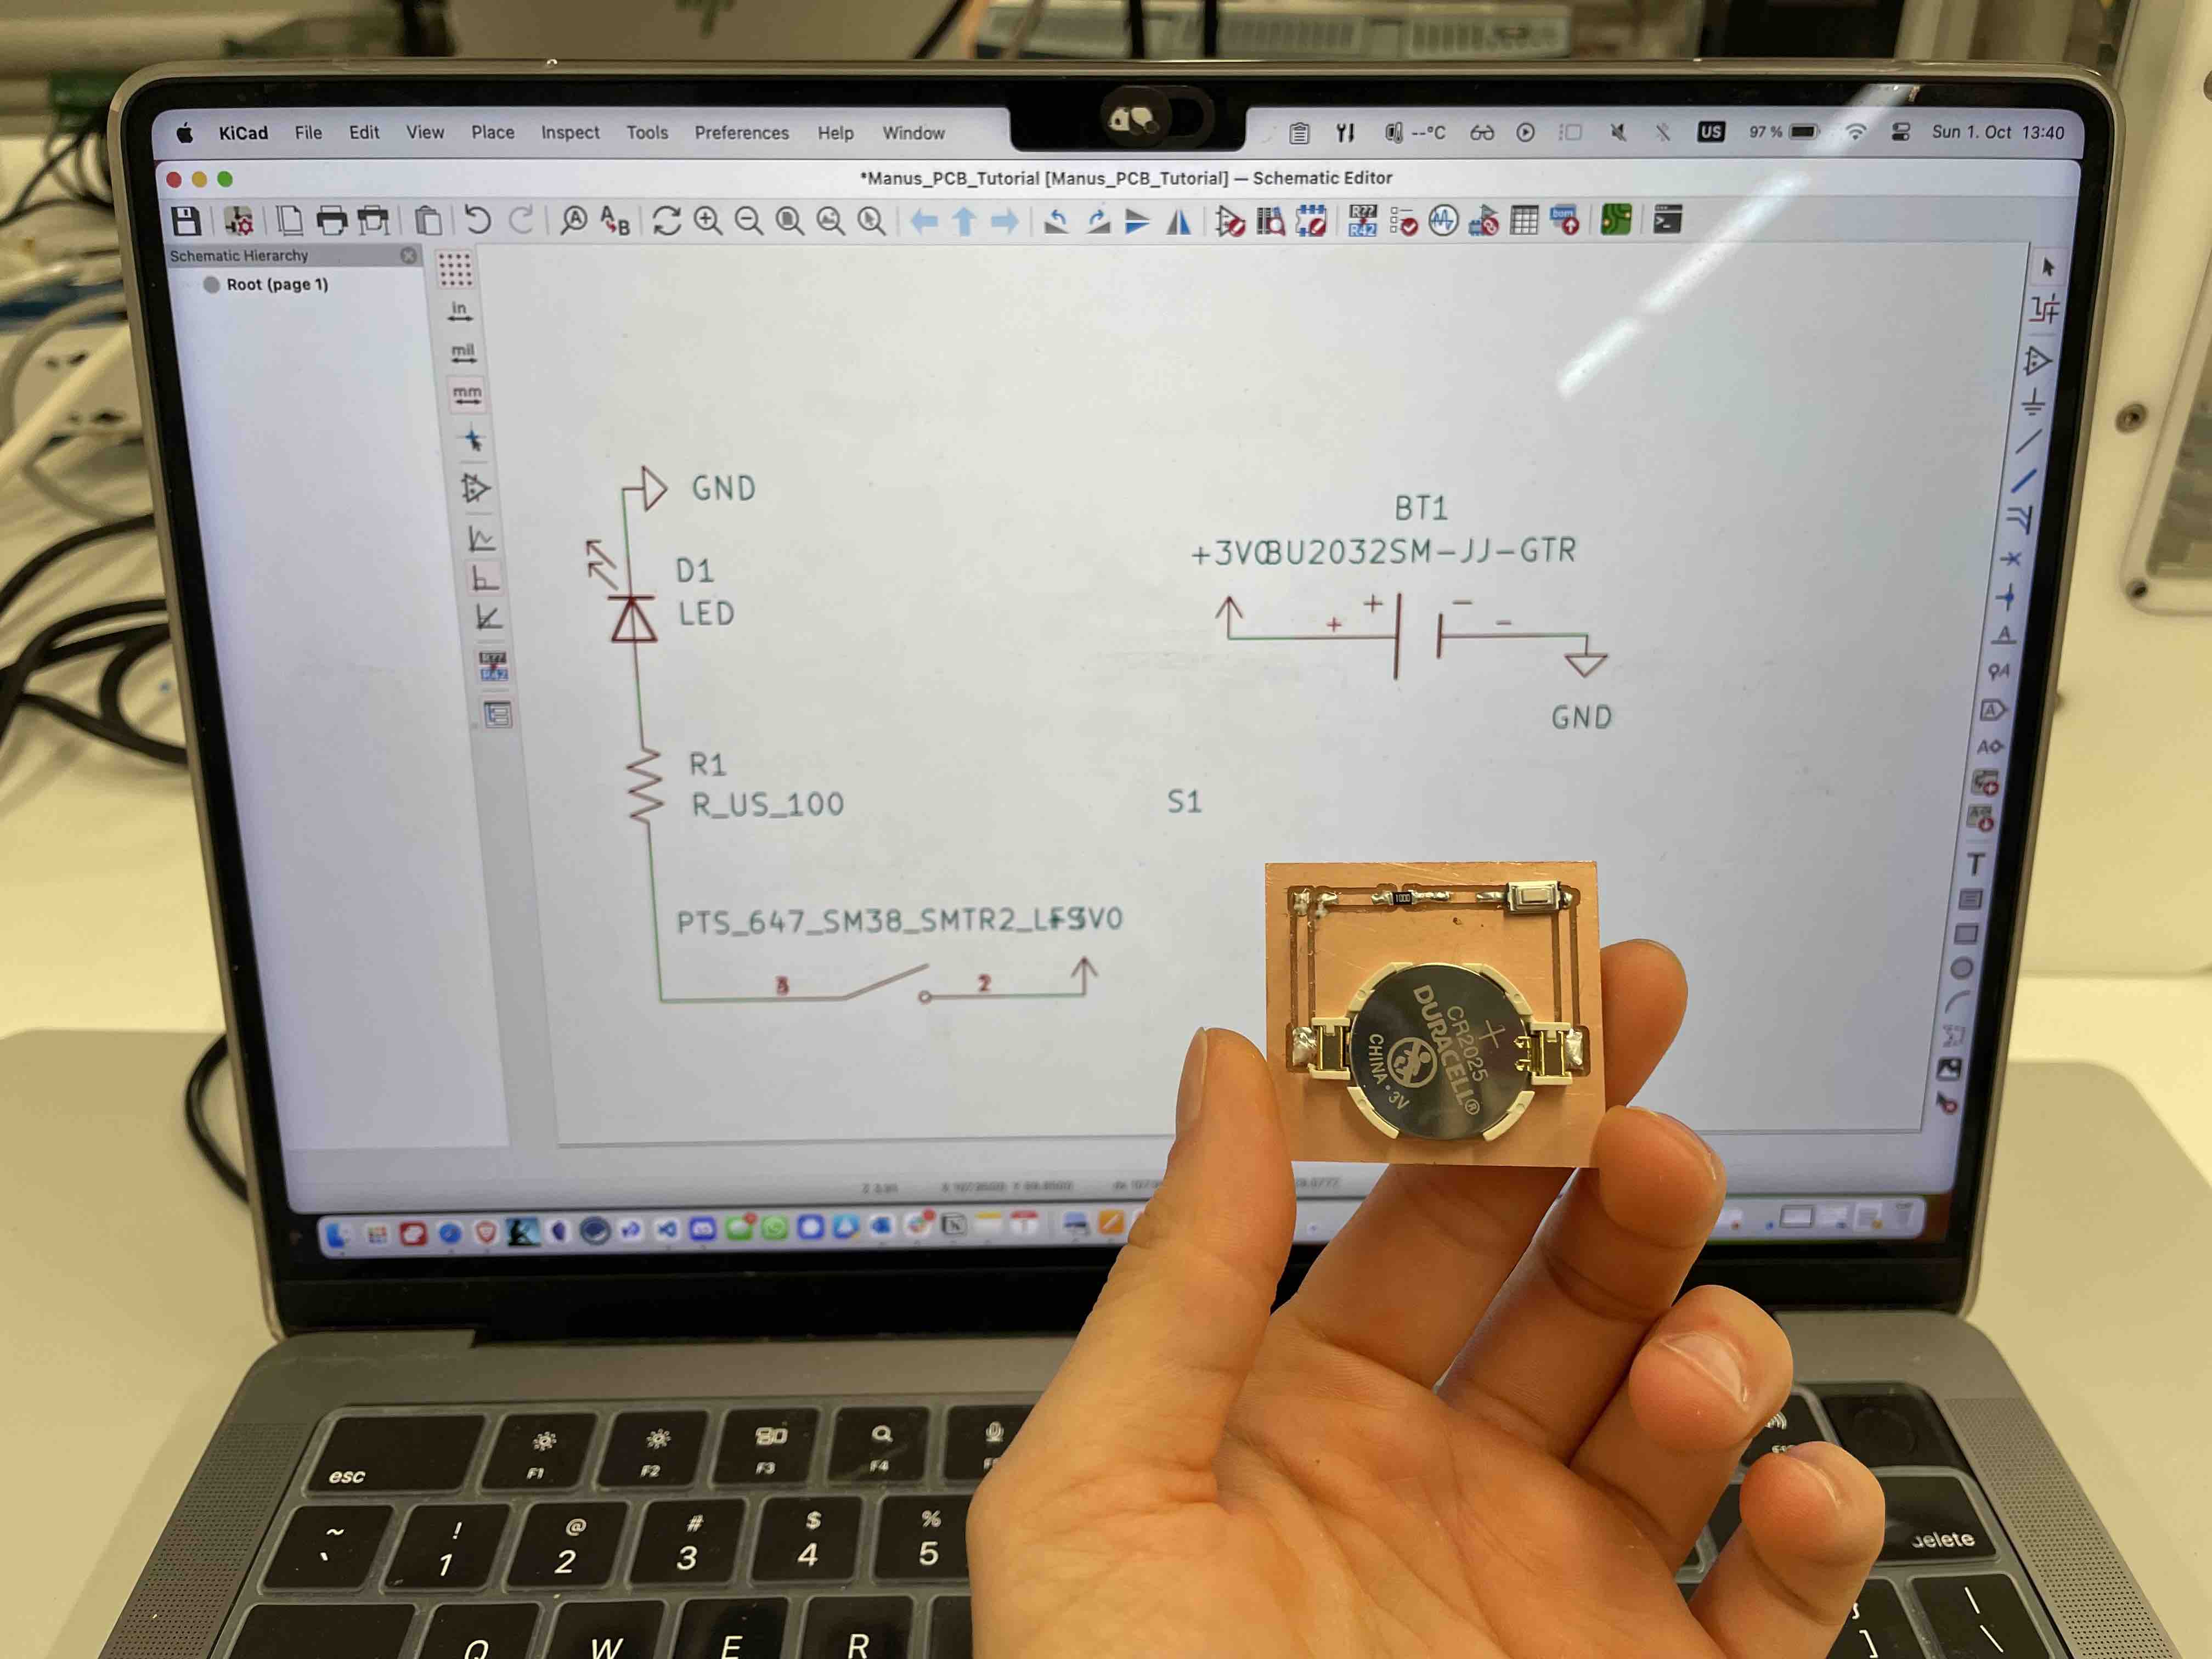
Essentially, the button turns on the LED (I short circuited the board somewhere though).
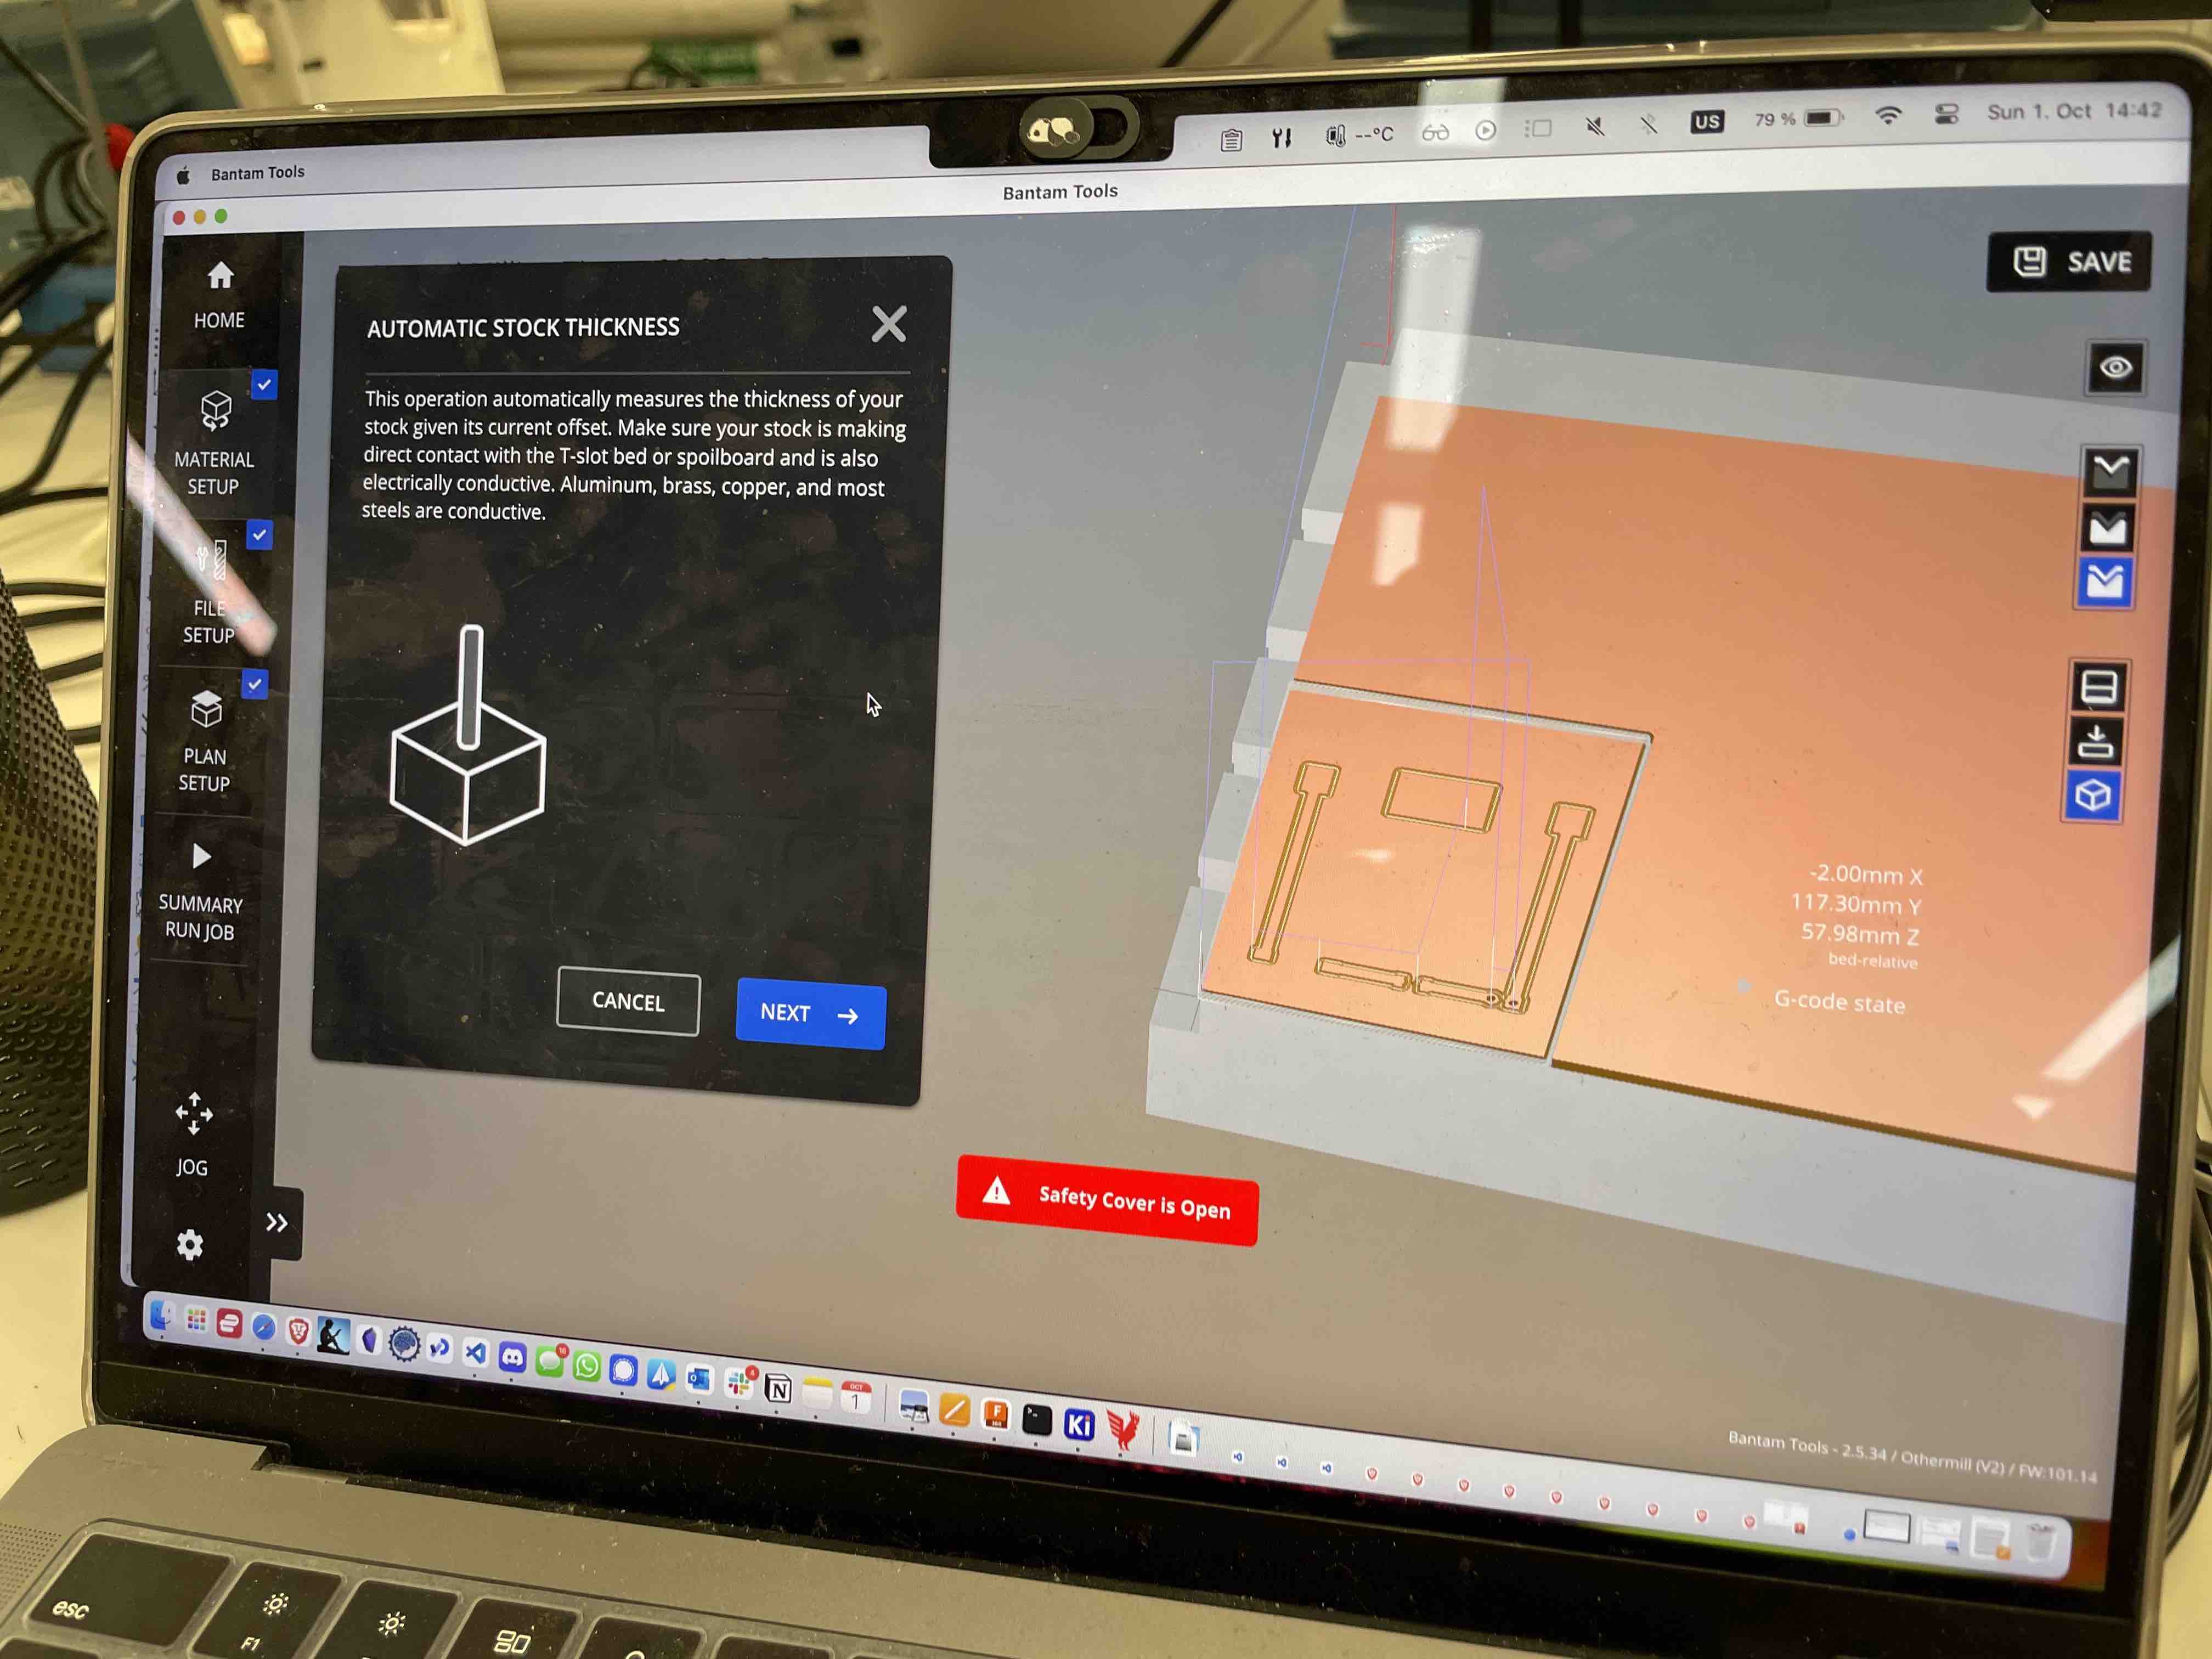
It was so nice to mill on the Othermill and not the Roland.
Reading the docs
The official Getting Started page is, well, the best place to get started. Installing the wifi and extension board modules was incredibly easy - literally just plugging them in. The capabilities of the Xiao ESP32S3 Sense are really amazing.
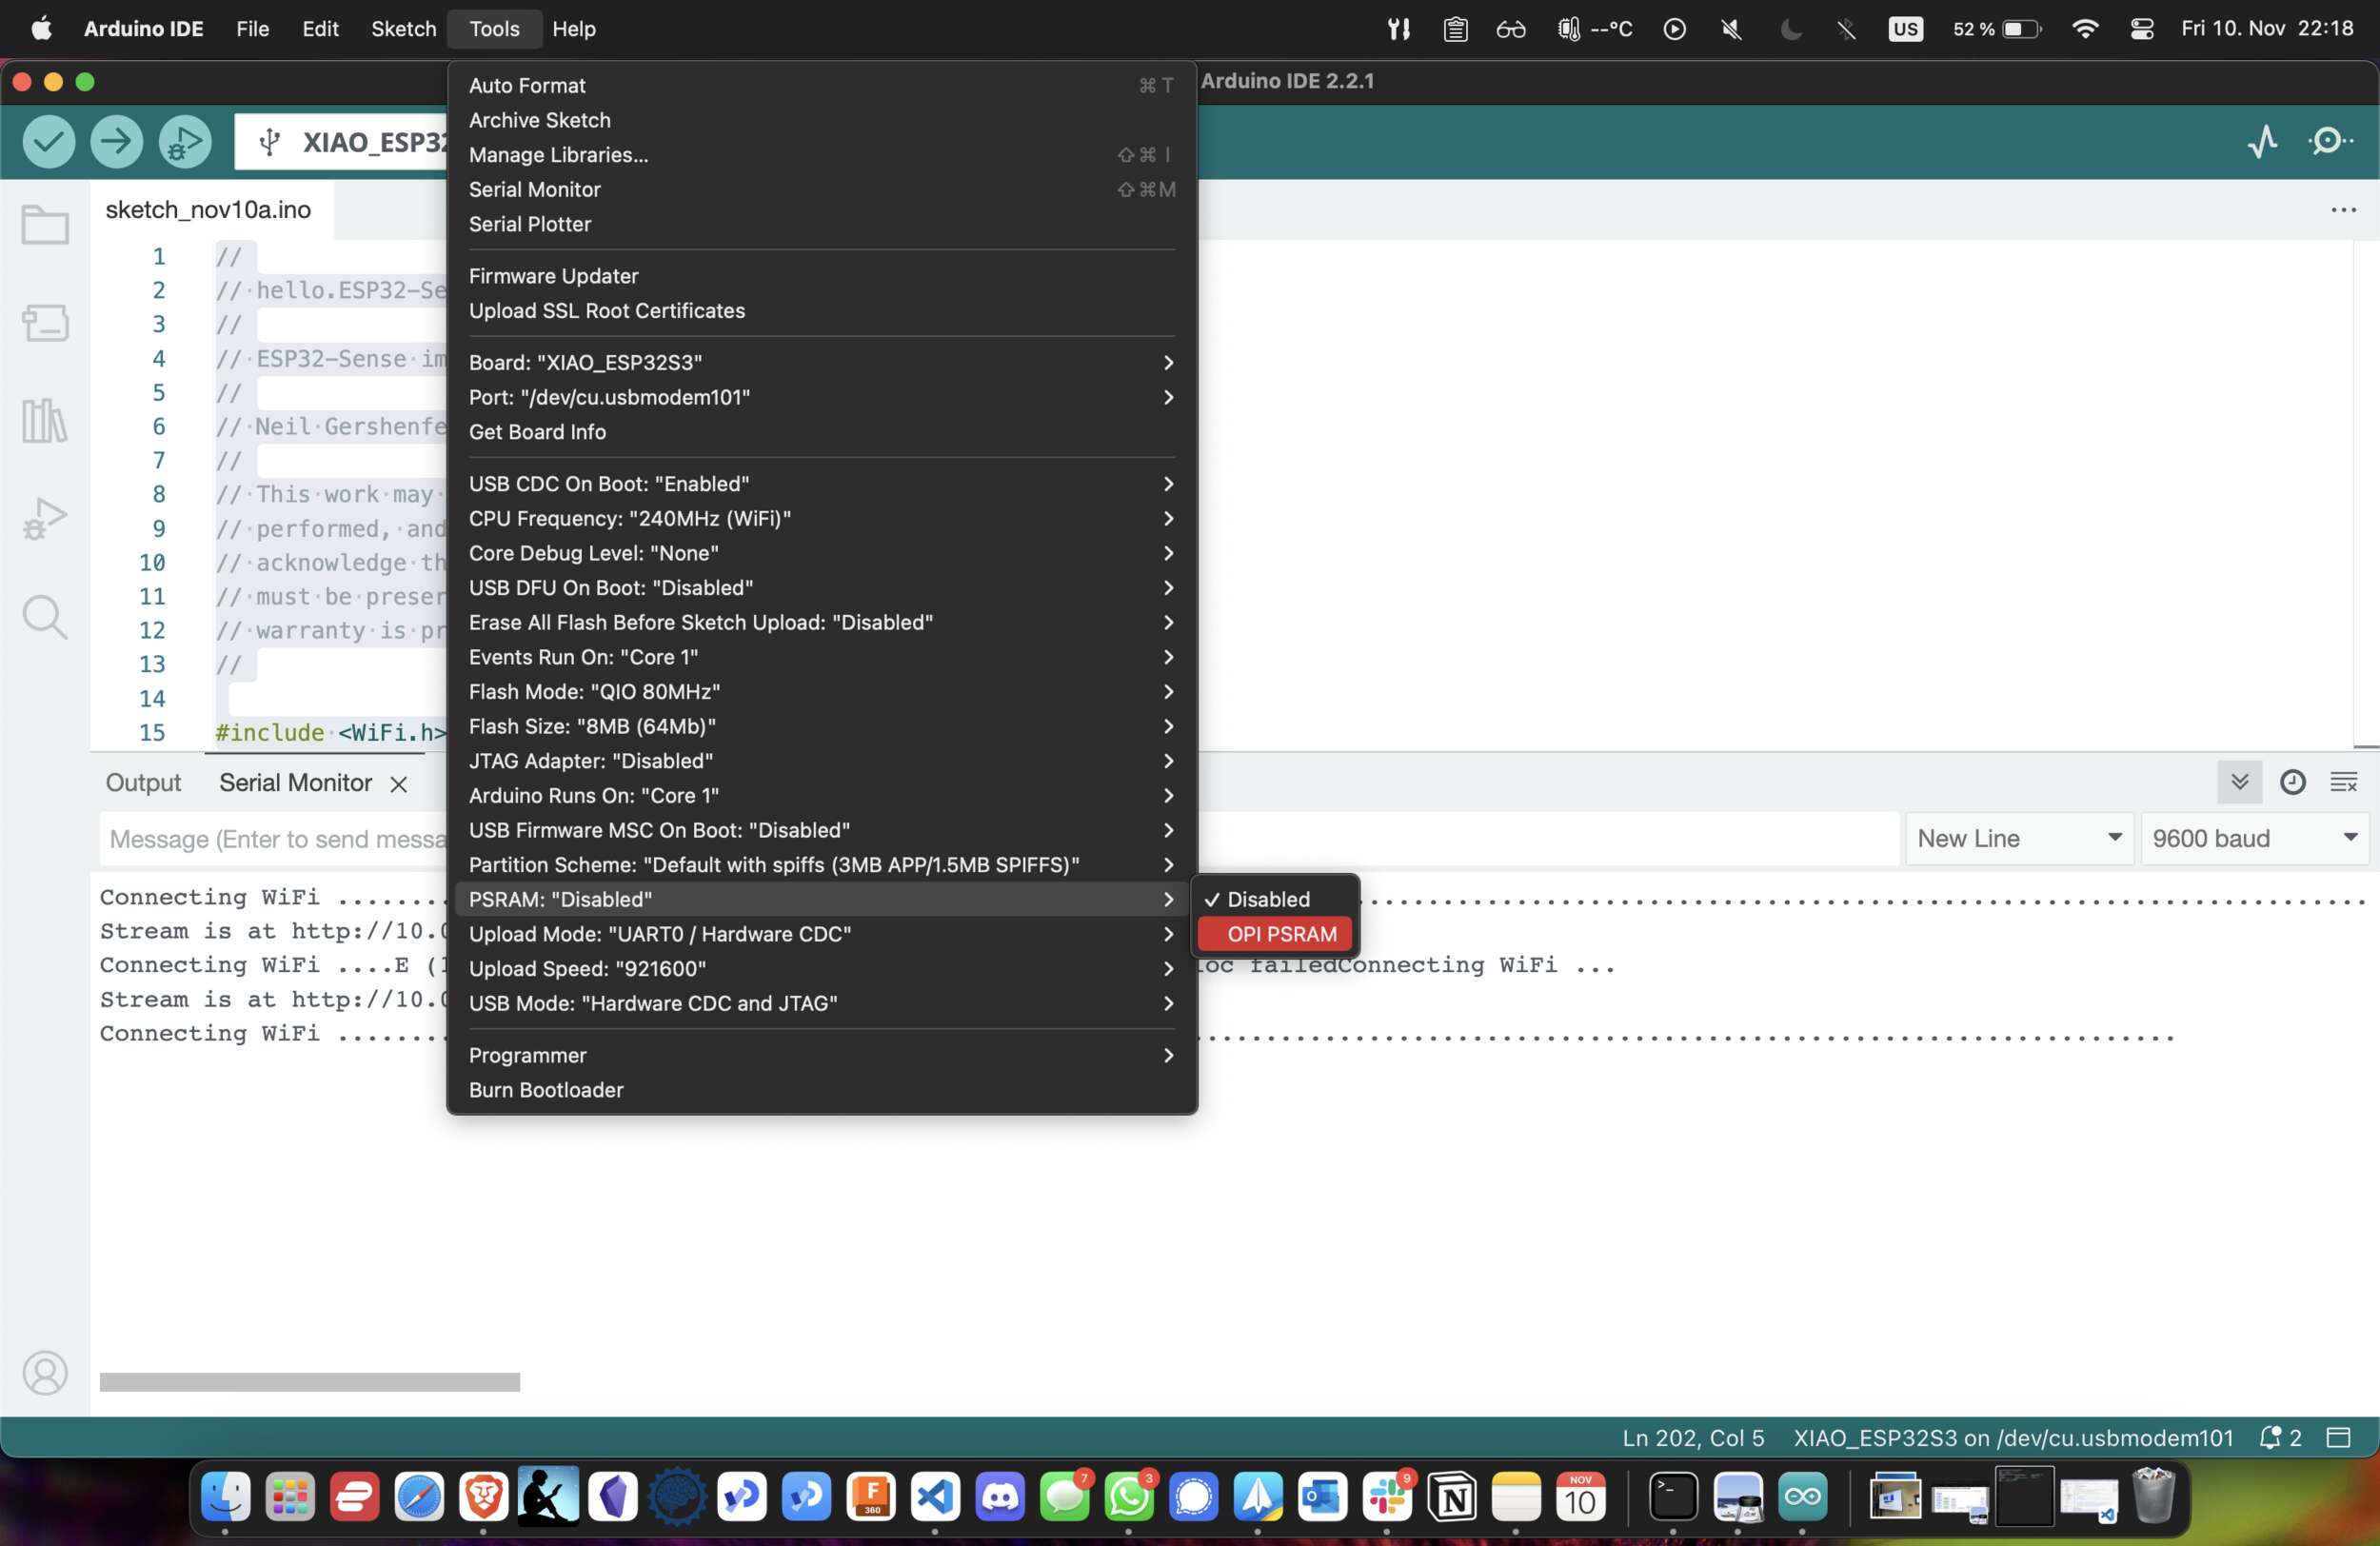
Arduino is the recommended IDE so I guess I will be using that.


REMEMBER TO ENABLE PRAM!!!
I tested this with my friend Natasha and we got some nice pictures!


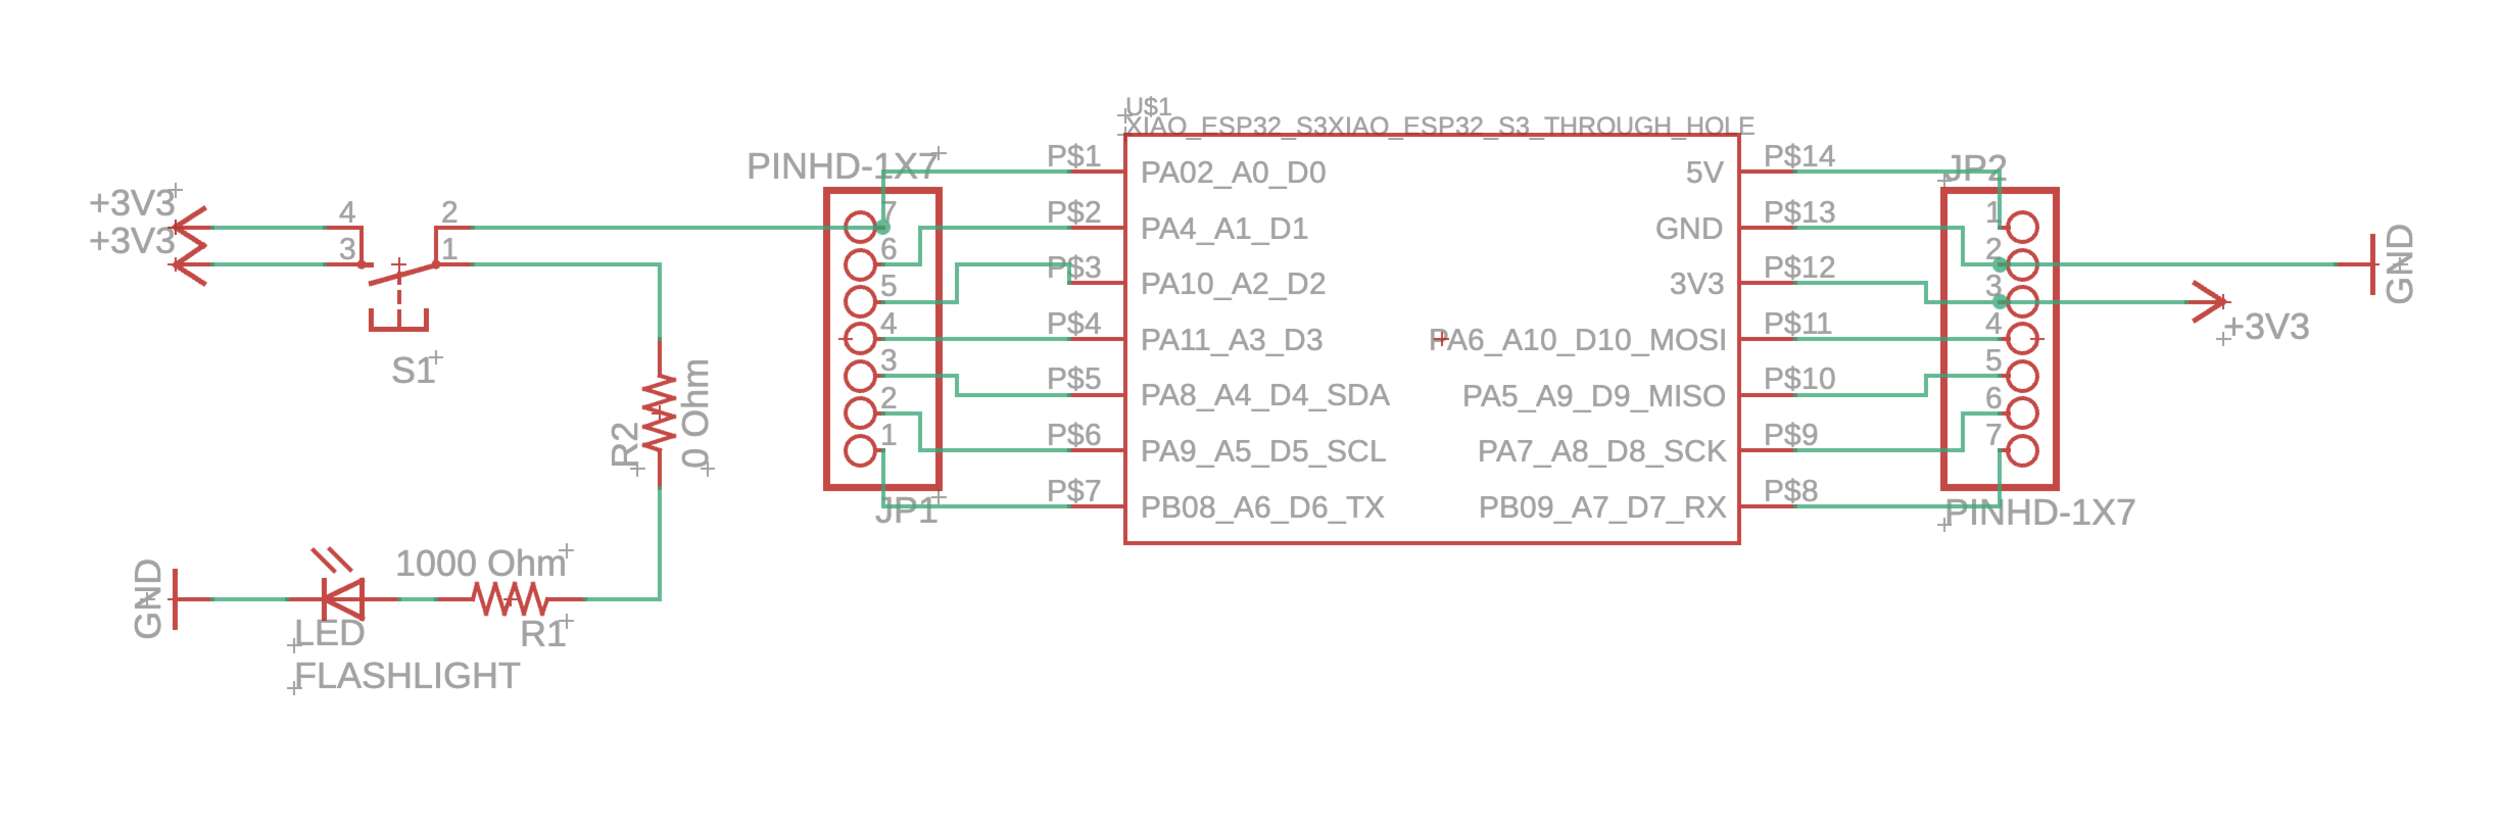
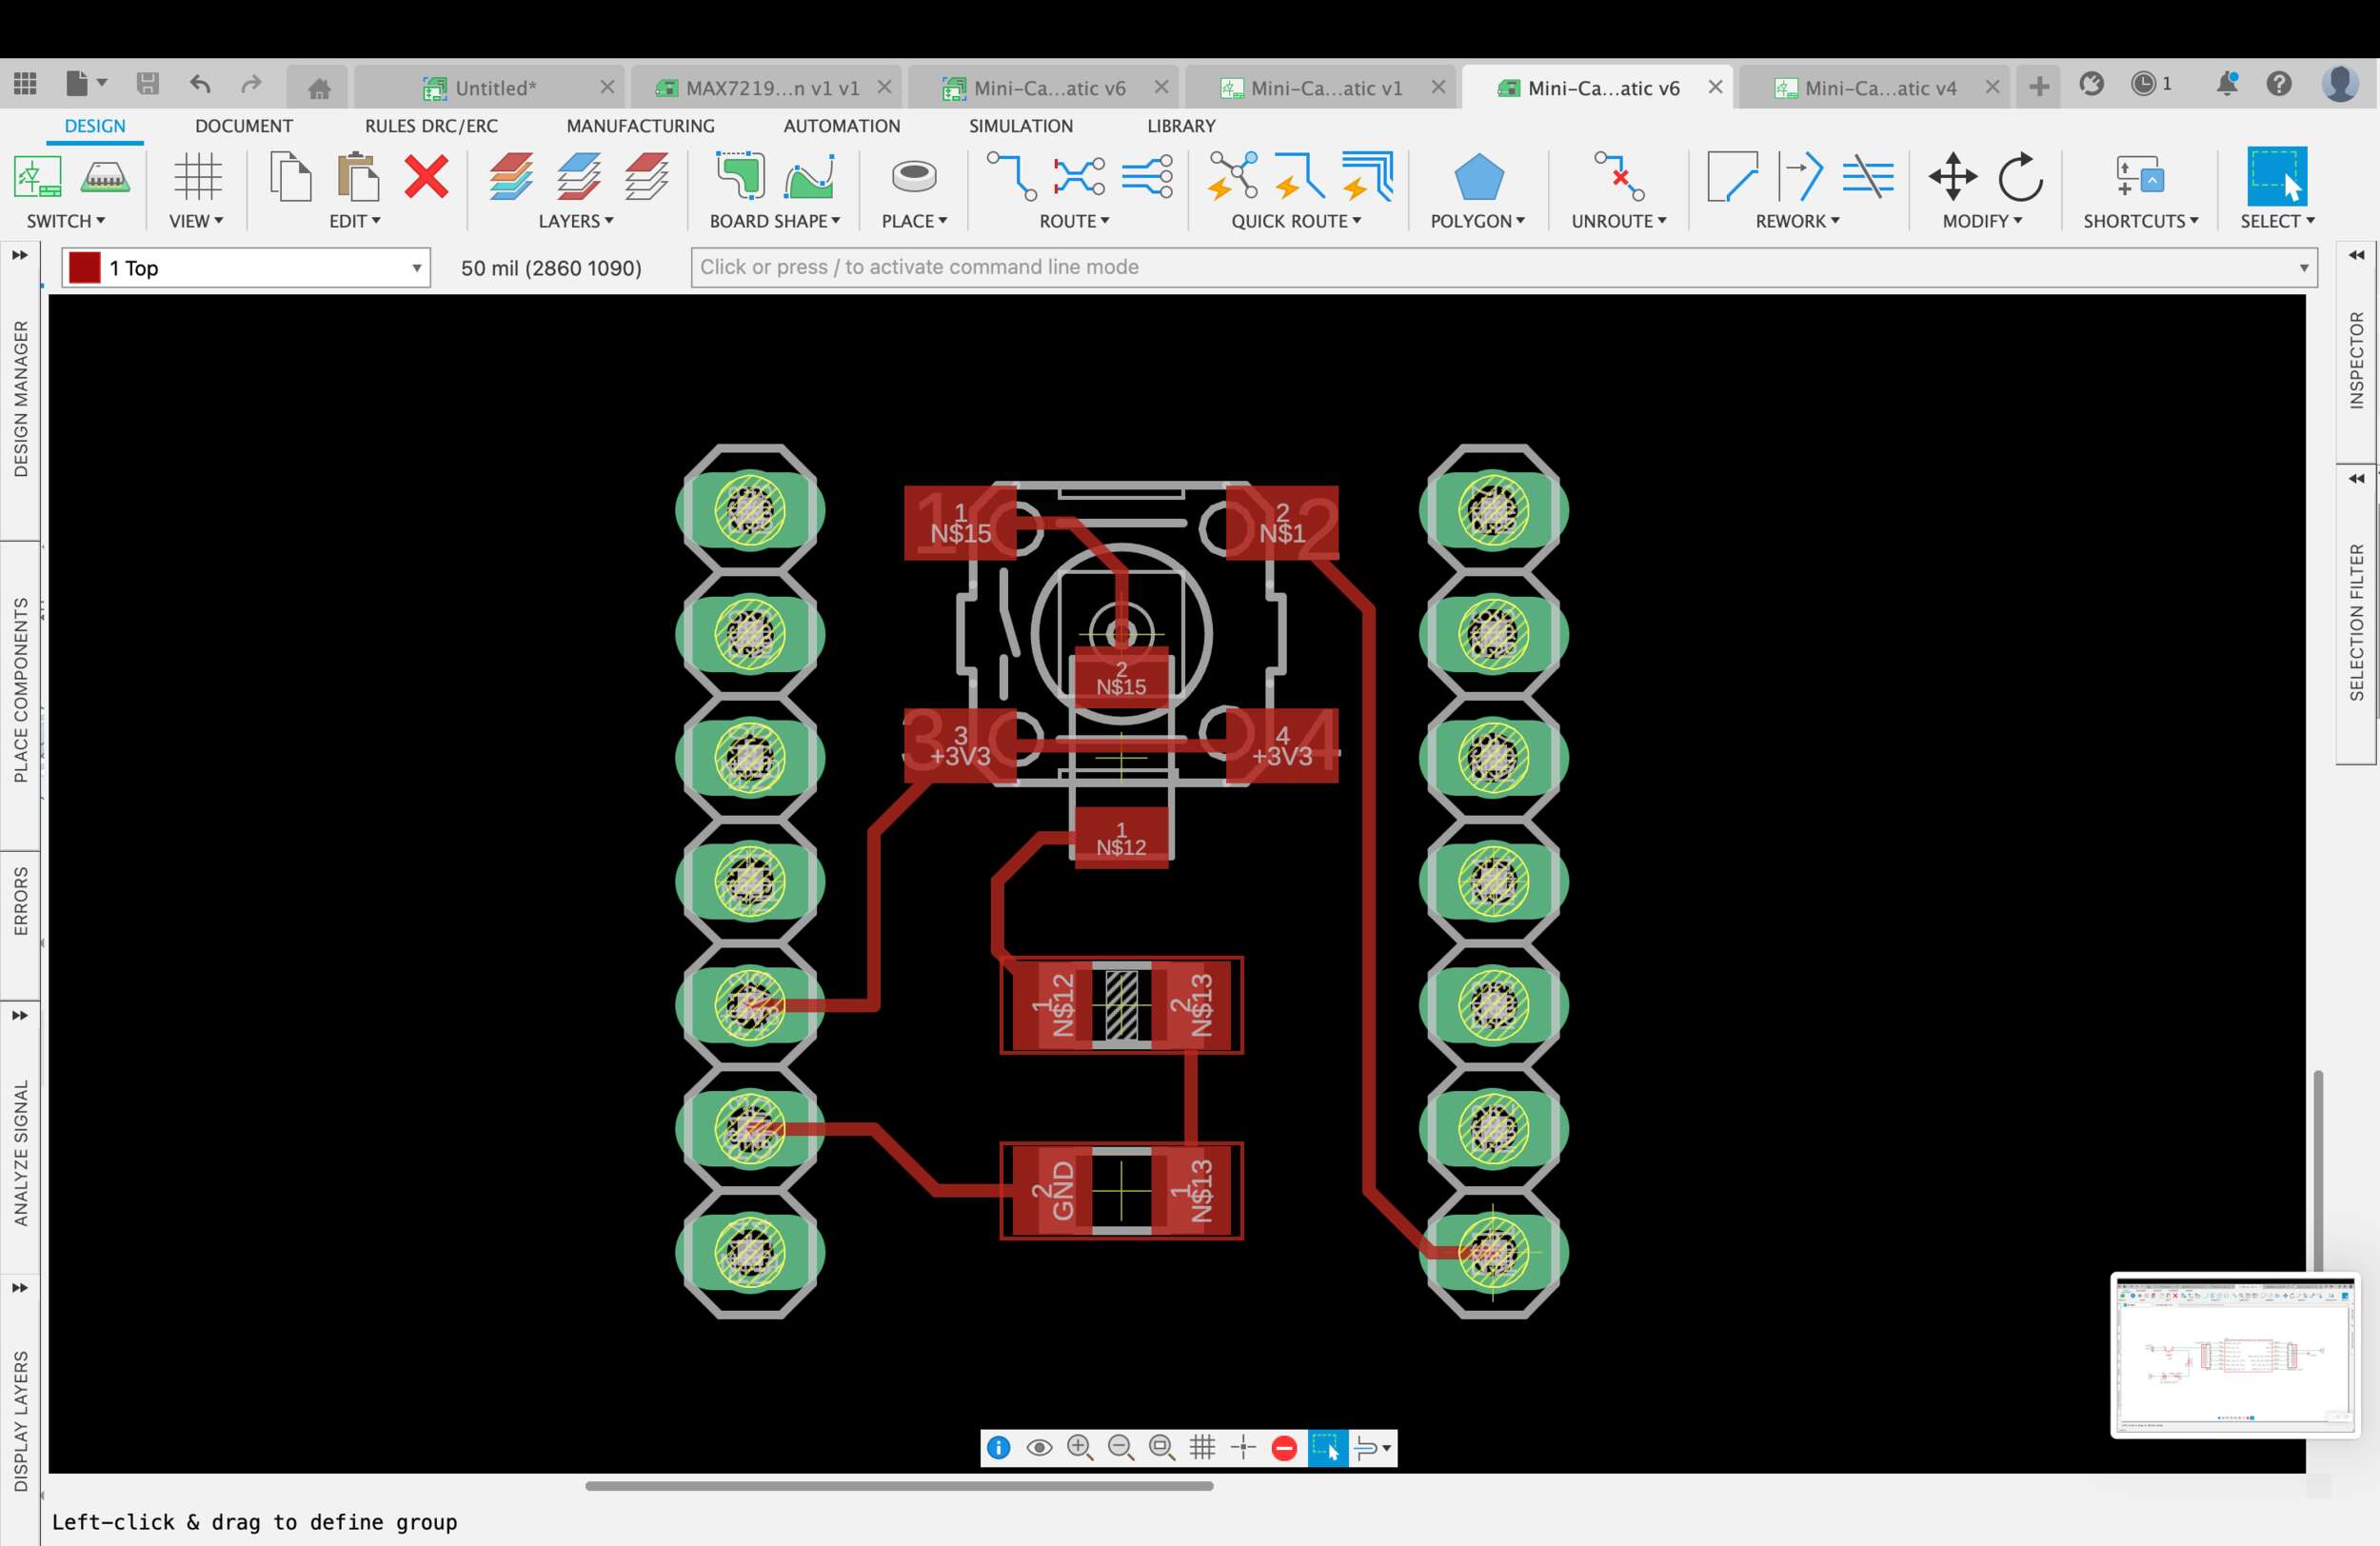
Making a board
I designed a board that would sit on top of the Xiao so I wouldn’t block access to its sensors on the back side. I also added a button to take a picture - so it’s like a mini-camera!
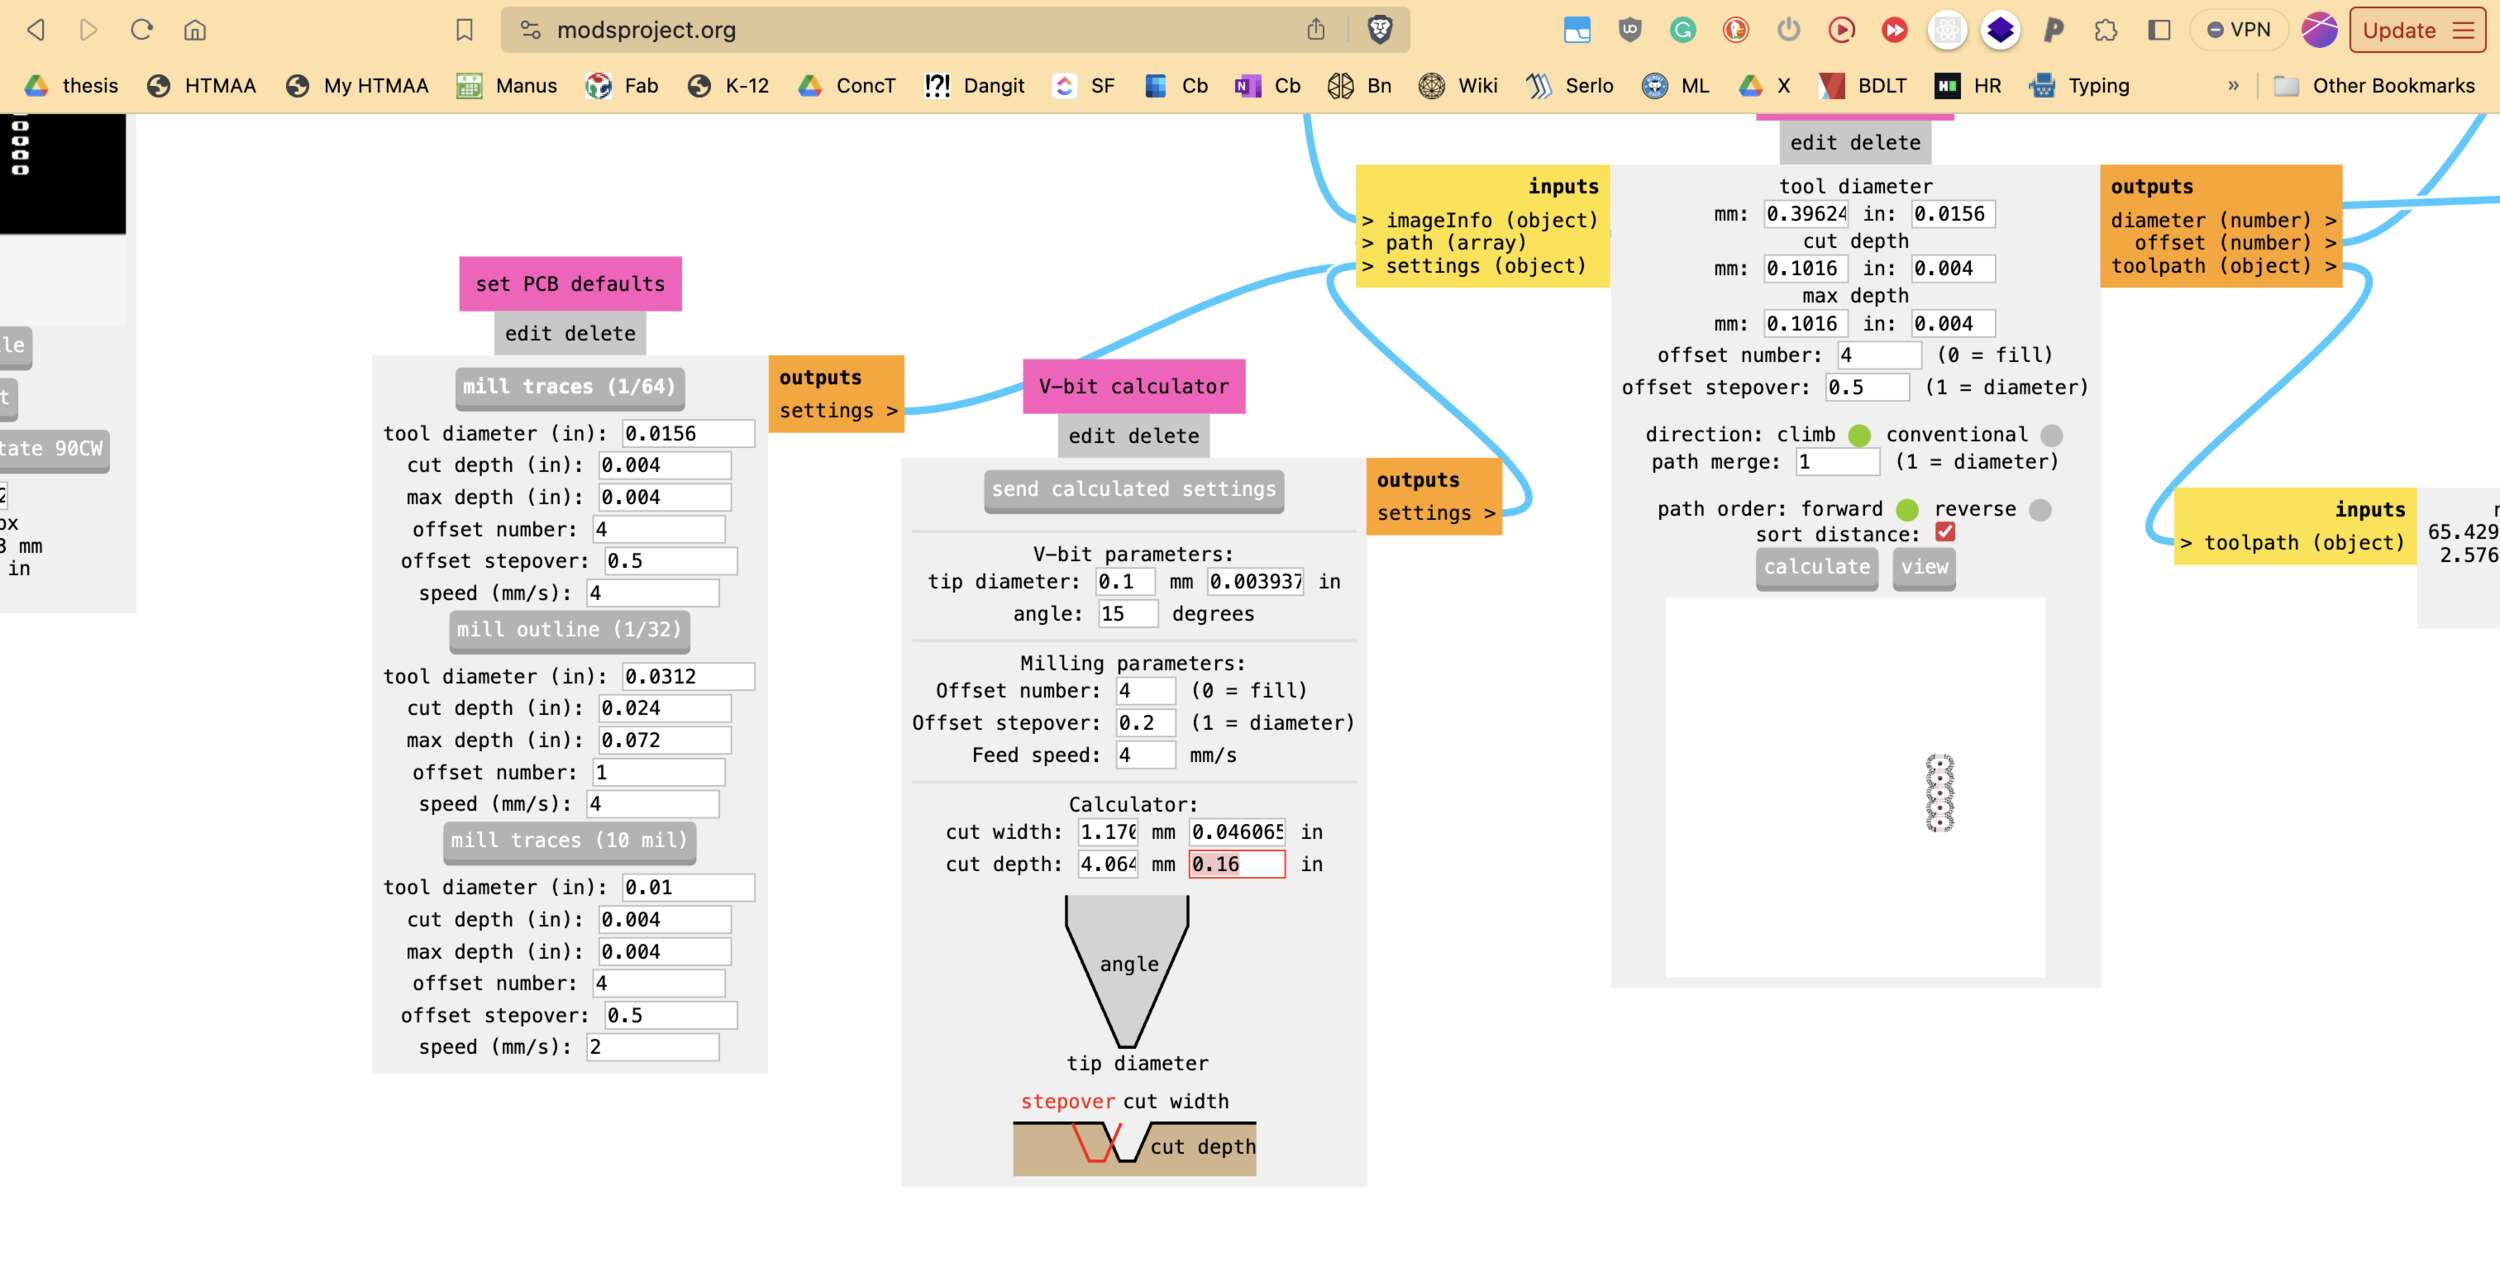
I tried milling this board multiple times on the Roland but the throughholes really were giving me a problem. I figured out the problem though - I was clicking the custom settings for the endmill heads after clicking on 1/32 or 1/64.
So unfortunately, I gave up on milling this board back then. The button made it into my final project though.