Week 11: Networking
Background
For this week, we were asked to design, build, and connect wired or wireless node(s) with a network or bus addresses and a local interface.
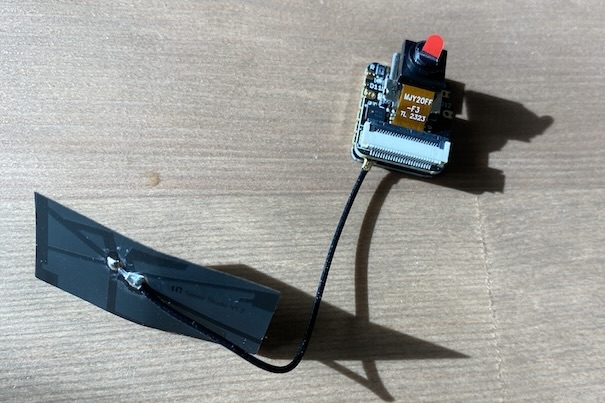
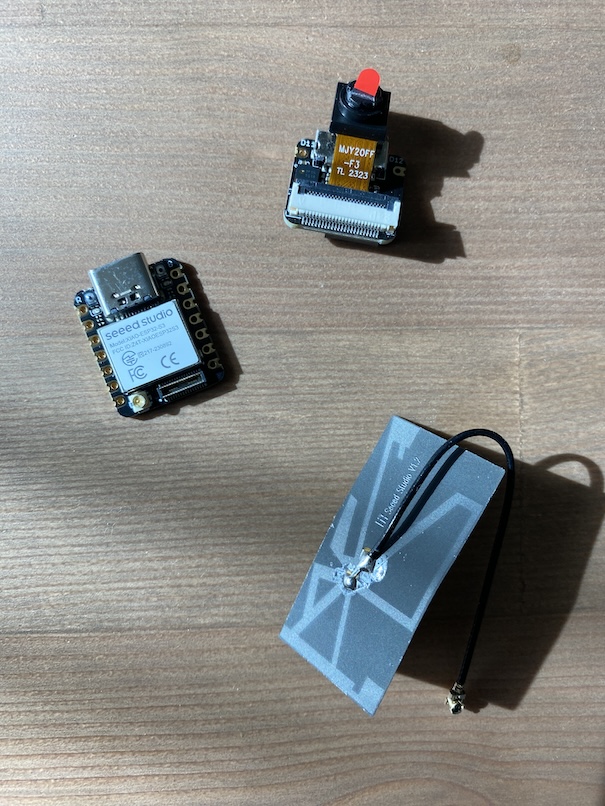
Materials
Reading the datasheet
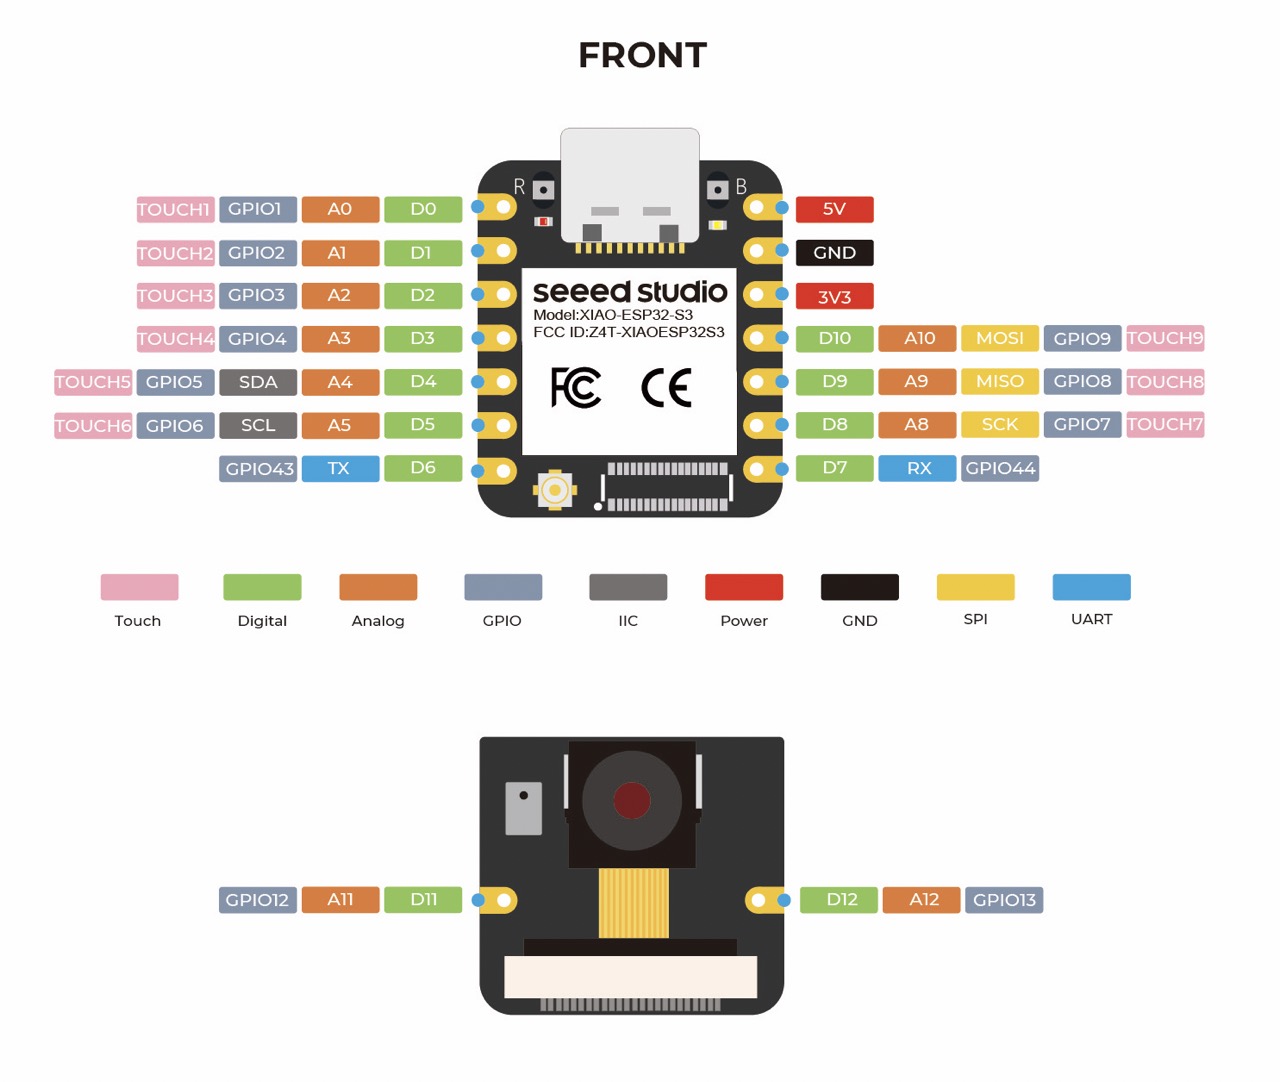
Like I've mentioned in previous weeks, it's important to read the datasheet for any components that you're working with. This will help you understand the architecture and language you should use when attempting to communicate with the components various subparts in later programming steps.
Hardware setup
Once I had a better understanding of the components I was working with, I moved on to the hardware setup. This is a very simple process.
- Press and hold the boot button (labeled 'B' in the bottom right of board) as you connect the ESP32-S3 to your PC with the USB-C cable.
- You should be able to see the device in your finder.
Software setup
Once the hardware has been set up, we can move on to the software.
- Open the Arduino IDE
- Add Seeed Studio XIAO ESP32-S3 board package to the IDE by navigating to Arduino IDE > Settings and under 'Additional Boards Manager URLs' copy and paste:
https://raw.githubusercontent.com/espressif/arduino-esp32/gh-pages/package_esp32_index.json - Install the latest version of the board package you just added by navigating to Tools > Board > Boards Manager and searching for "Arduino ESP32 Boards" and "esp32".
- Select your board and port so the IDE knows what pieces to connect together hardware-wise. Your board should be under Tools > Board and called "XIAO-ESP32S3".
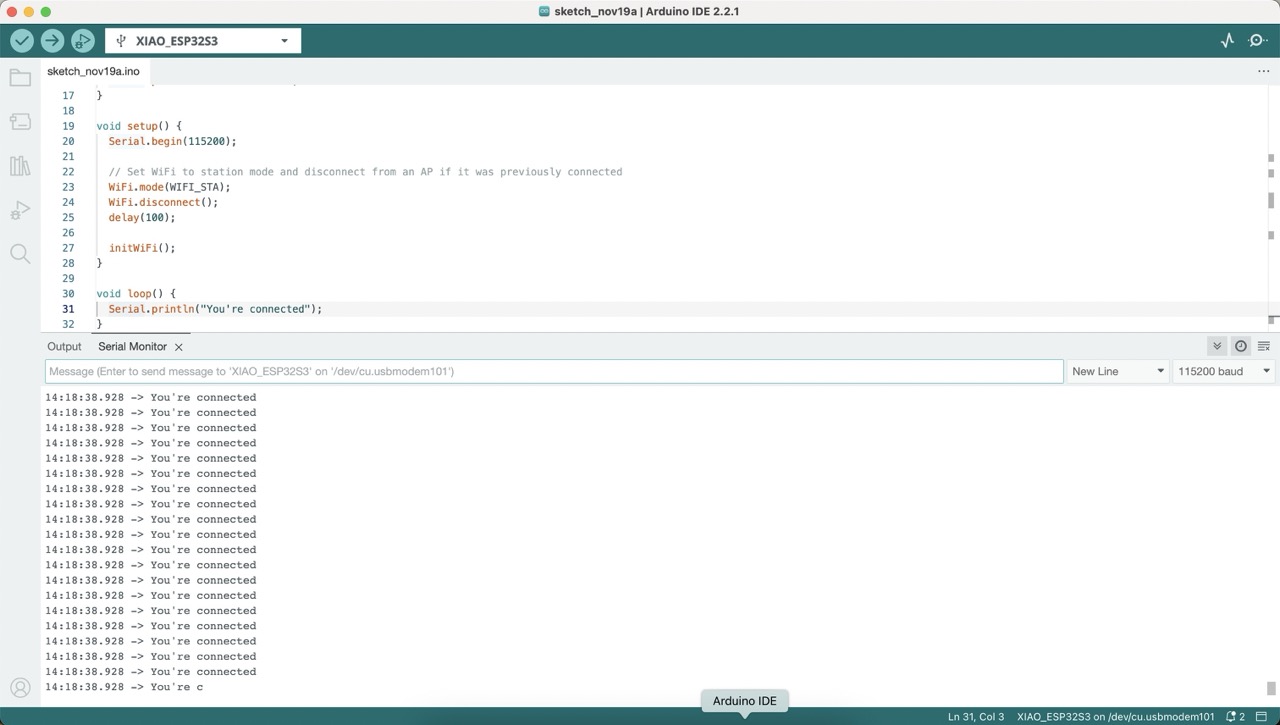
- To test everything, run this code sample.
- Upload the sketch and verify your results by checking to see that your function is printing out "You're connected".
Final thoughts
I really tried to focus on keeping things as simple as possible this week: interfacing between a microcontroller and computer via wifi. Historically, I've had a really annoying time connecting Arduinos and other peripherals to wifi, so I was fairly surprised at how simple this process was.
That said, I did run into a handful of issues where I had to reboot my microcontroller whenever the output said "No serial device connected", which I believe happens whenever you try to reupload code to the microcontroller while it's connected to your wifi network. Overall, another cool week that will definitely come in handy for future projects.