Week 13: Composite materials (wildcard)
December 9th, 2023
Background
For this week, we were tasked with developing something small, made of composite materials.
Materials
Preparing the mold
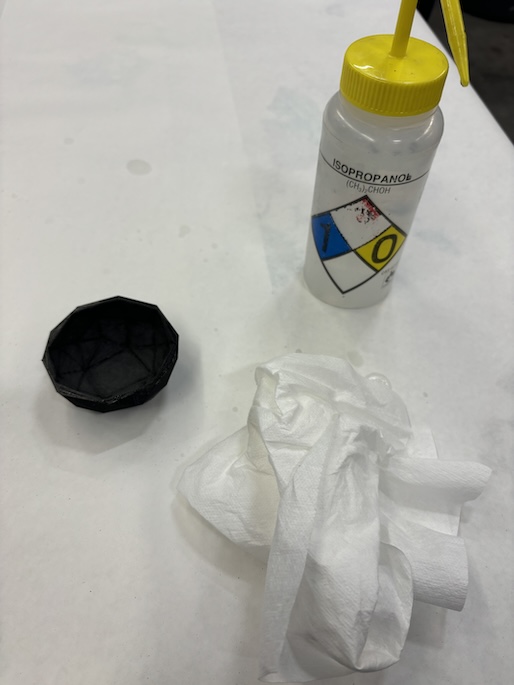
- I decided to (try and) keep it simple this week and started with a geometric mold to make a simple planter for a little succulent. See here for my STL file. I had to keep my design small due to limited printing resources at both MIT and Harvard labs, but I highly suggest making a larger print to make your life easier during the wet-lay process. Bigger molds = easier to lay-up composite materials.
- I attempted to print two of these planters, but found that their shapes did not lend themselves to stacking the way I had hoped. Nevertheless, I trudged forward with my prints, knowing that the vacuum seal bag would be able to serve as the other side of my mold.
- I used 200 grit sandpaper and a Dremel tool to sand my mold down. This helps even out the finish on your final product and creates a smoother surface for mold release agent to adhere to.
- Use an air compressor to blow out sanded bits from mold, then wipe down your design with isopropyl alcohol and a clean wipe.
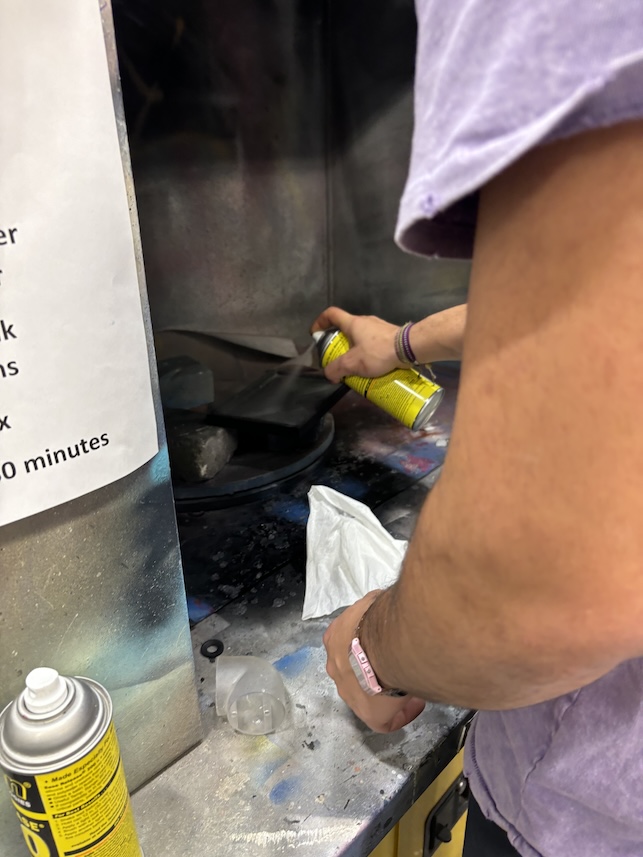
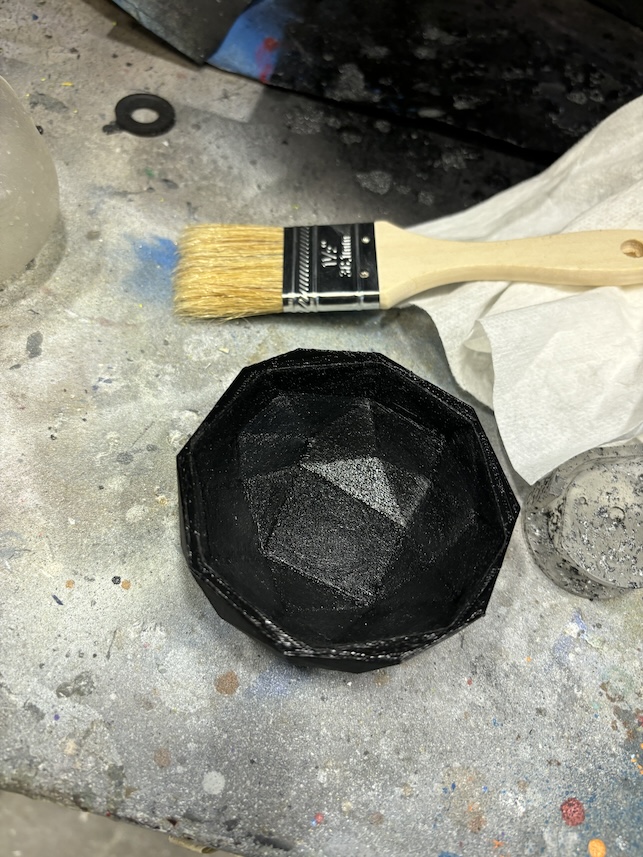
- In a fume hood, spray the mold release agent into your mold and stipple the entire surface with a brush to ensure you get it into the cracks of your mold, especially if you have a 3D printed mold. Wait 5 minutes between each layer to let everything dry, and repeat 5 times.
- Wait until your mold is completely dry to continue on to the next step.
Wet lay-up process
Wet lay-up is when a two component epoxy resin is mixed and poured onto our fiber fabric to form it into a mold’s shape.
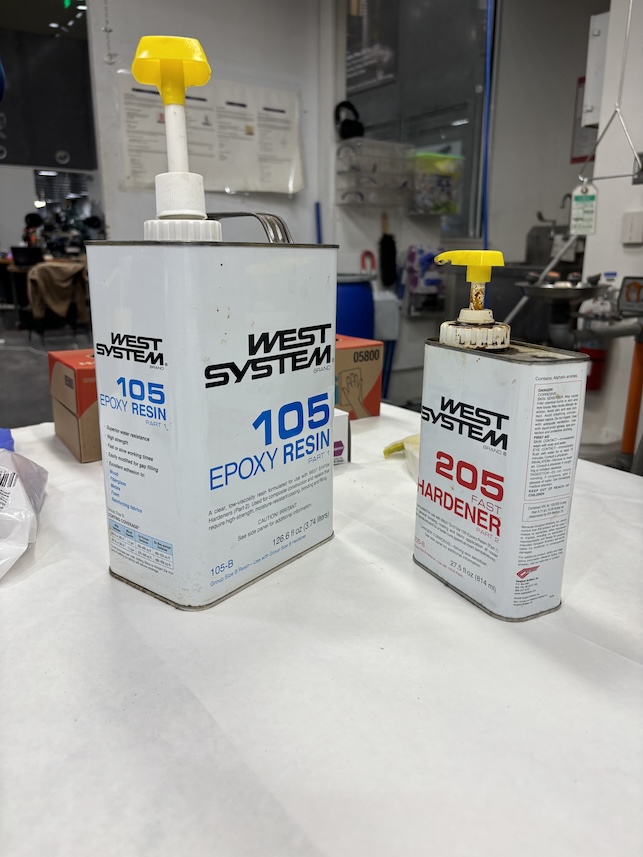
- Gather all necessary materials, including composite fabric, epoxy resin, hardener, release agent, gloves, safety glasses, and mixing containers.
- Set up a clean and well-ventilated workspace.
- Cut composite fabric into the desired shape and size to cover the mold and consider layering different fabrics for added strength. I ended up using about 5 layers of fabric for my design. Use masking tape to line up your cuts— this will help keep the fabric from fraying and ruining your finish.
- Follow the manufacturer's instructions to mix the epoxy resin and hardener in the correct ratio (in this case, 5:1 by volume and weight).
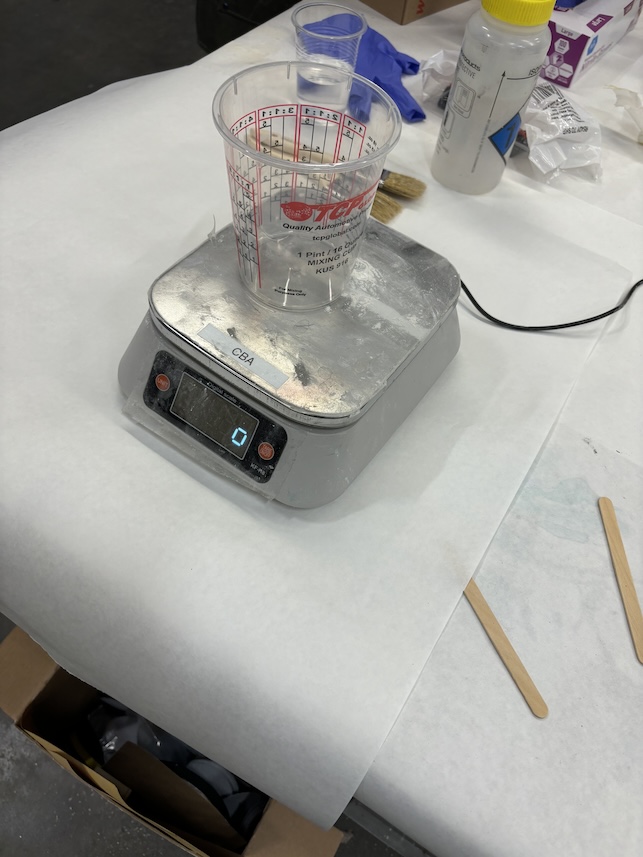
- Use a clean container and stir thoroughly to ensure a homogeneous mixture. You have 9 minutes before your resin starts to cure, so work quickly!
- Brush and stipple a thin layer of epoxy resin onto the mold surface. This helps the fabric adhere to the mold and prevents air bubbles.
- Place the cut fabric onto the mold, ensuring it conforms to the shape. Saturate the fabric with epoxy resin, working from the center outward to remove air bubbles.
- Repeat the process, adding additional layers of fabric and resin as needed for the desired thickness and strength.
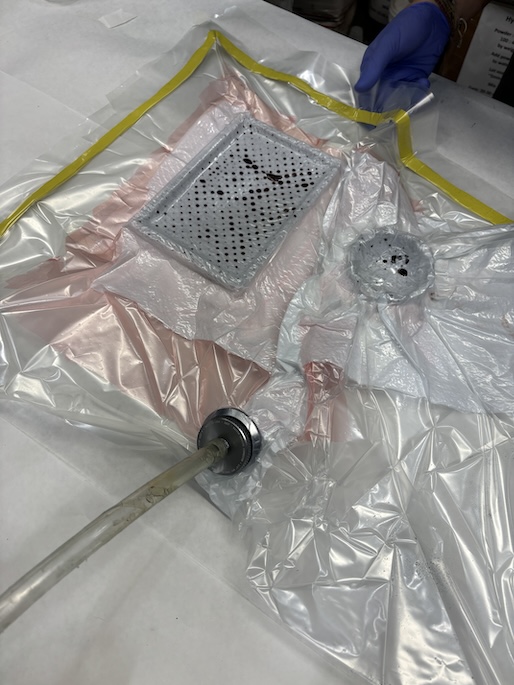
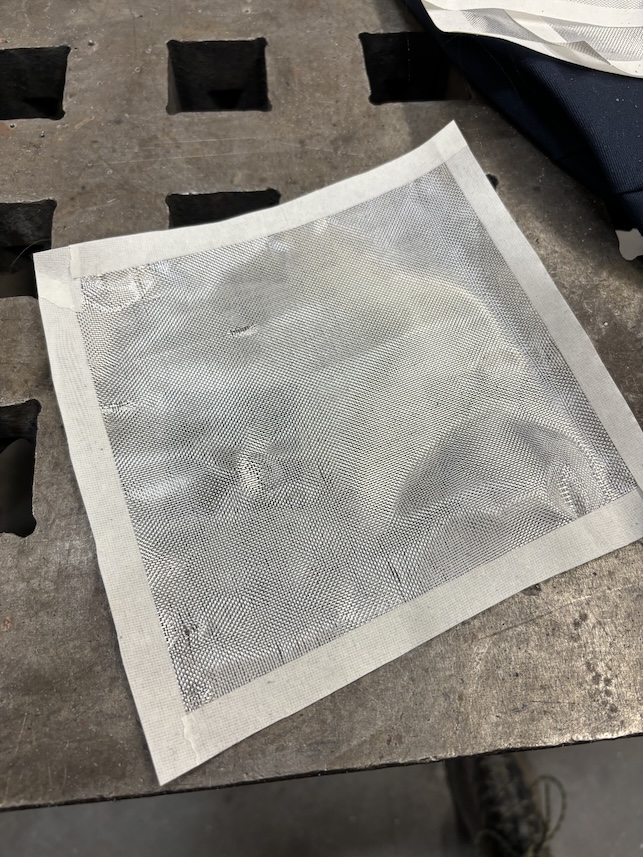
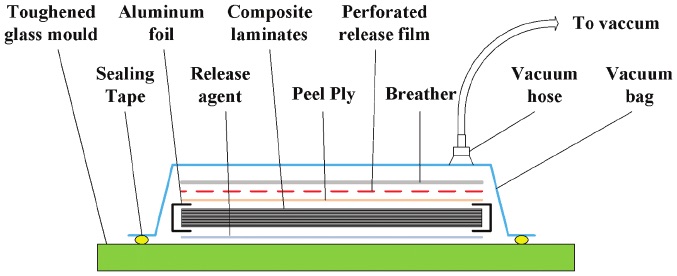
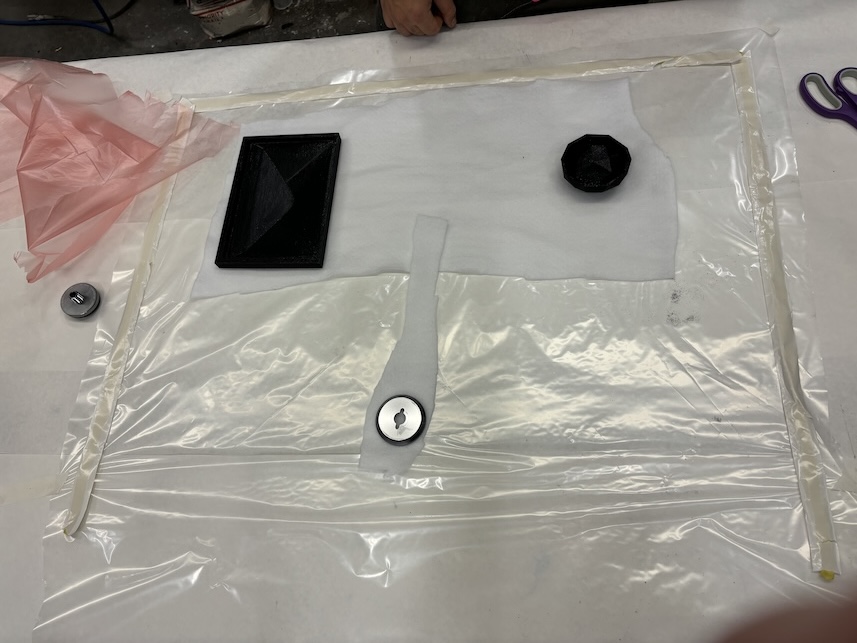
- Once completed, place design in a vacuum sealed bag.
- Start vacuum. This resin will take 6 hours to cure, but check your hardener/resin to learn more about curing temperatures and times.

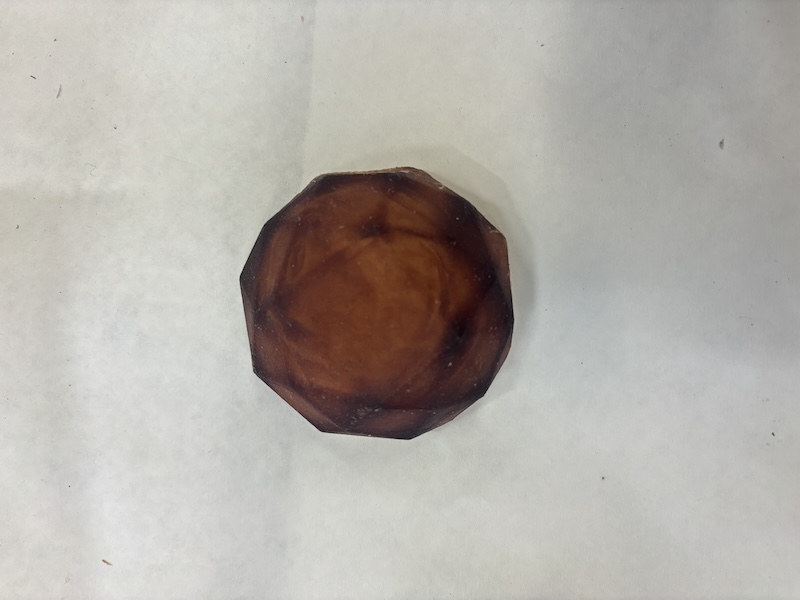
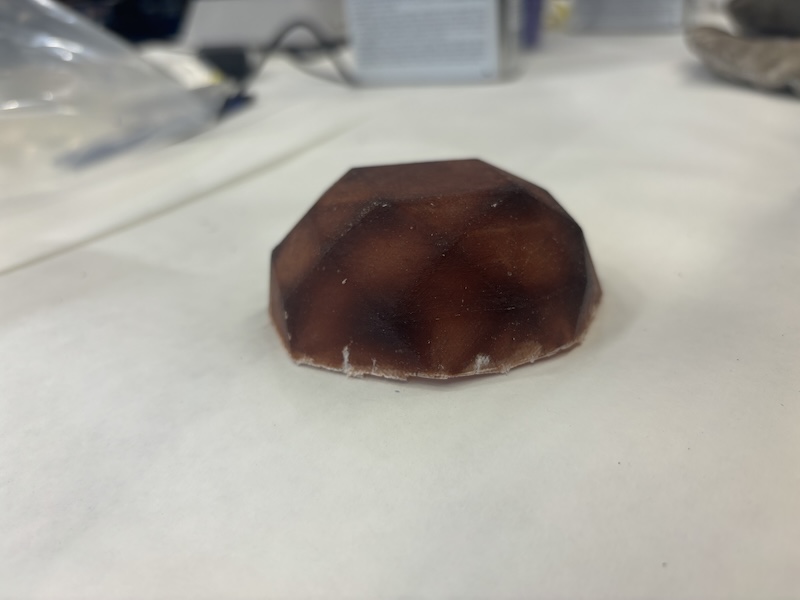
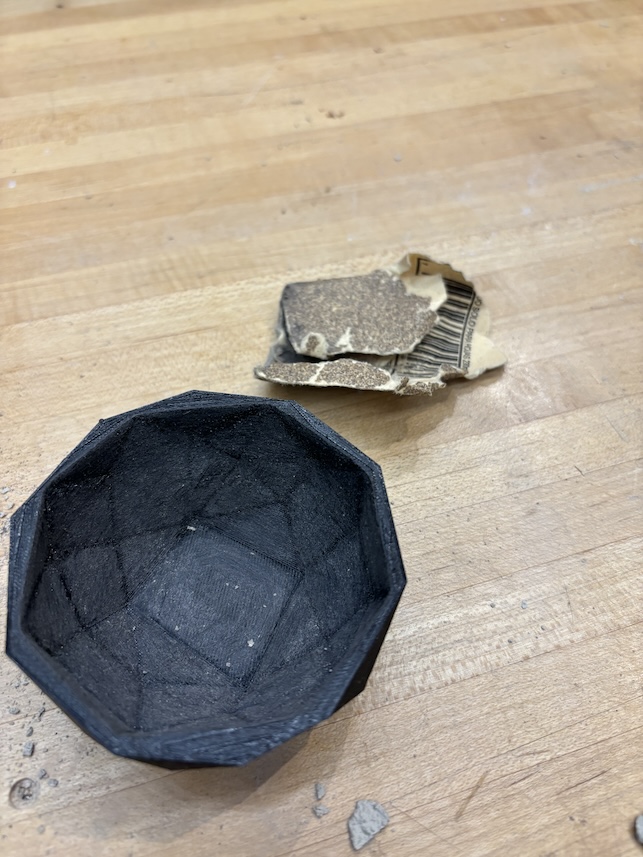
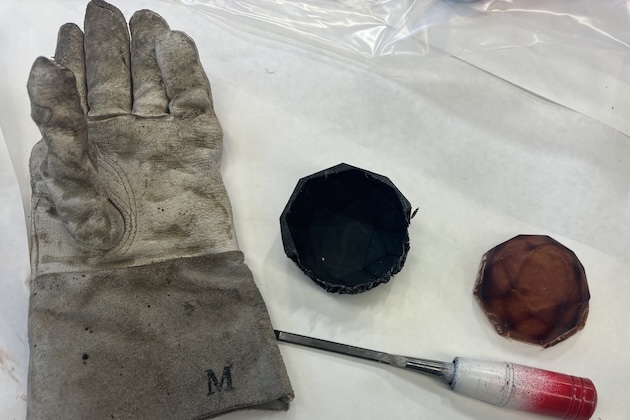
Demolding
- Once cured, carefully demold your design.
- Use release agents and gentle techniques to avoid damaging the composite.
- Trim any excess material using appropriate tools (e.g., saw, grinder).
- Sand the edges for a smooth finish.
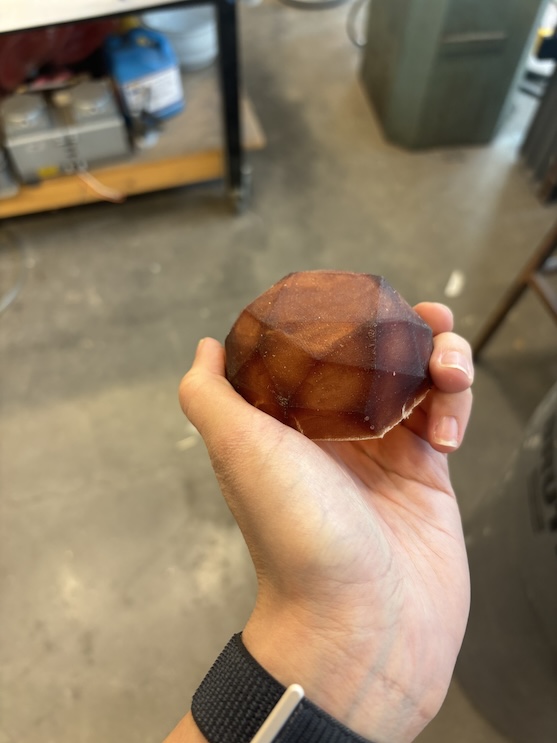
Final thoughts
I picked this wildcard because it was one of the few fabrication methods listed that I had ZERO grasp on. I'm really grateful for the opportunity to have learned how to do this-- it was especially helpful to have a smaller lab group for a topic like this.
In the future, I'd love to make a shrunk down model of a Porsche 911 or something. There's something really beautiful about the finish of composite materials... when they're done well.