Week 4: 3D printing
Background
For this project, we were asked to 1) design and 3D print an object that could not be made subtractively and 2) 3D scan something.
Materials
Idea
For this week, I wanted to create and prototype a few types of mouthpieces for the Kazooka™-- which is basically just a huge, tunable kazoo. I'm trying to make the most annoying noise possible, so I want to see what kind of mouthpiece will get me the best result.
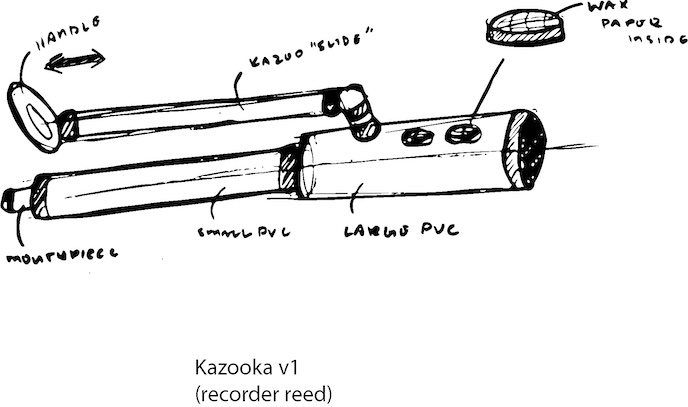
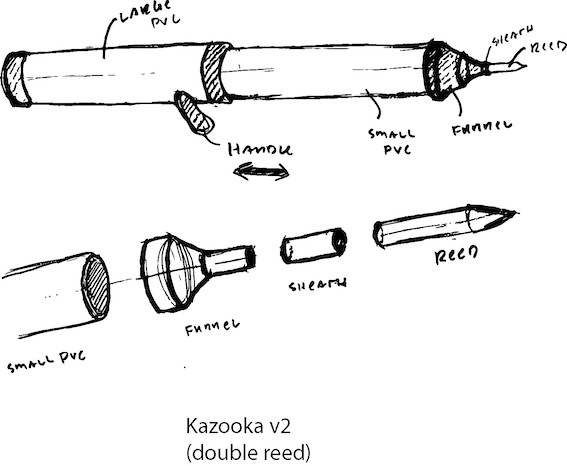
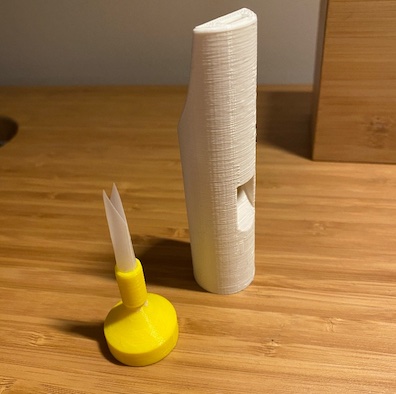
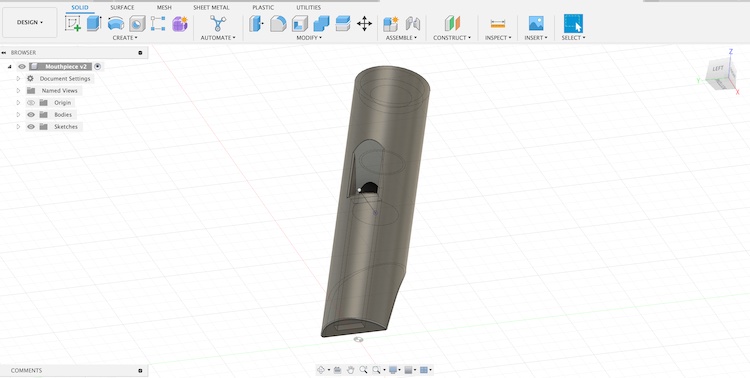
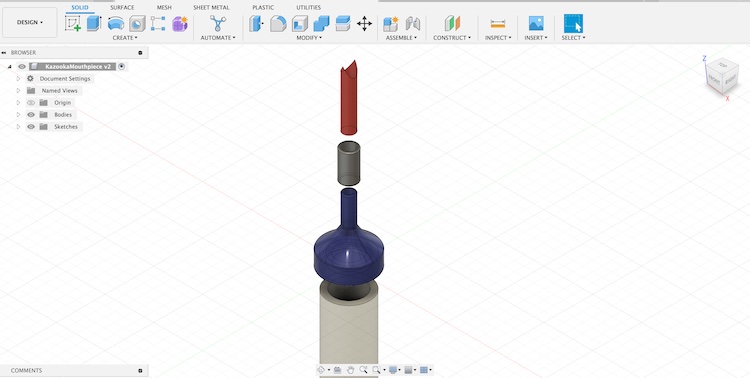
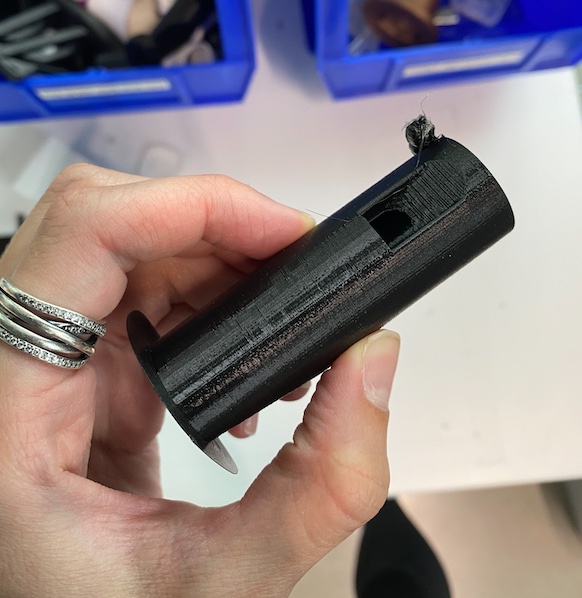
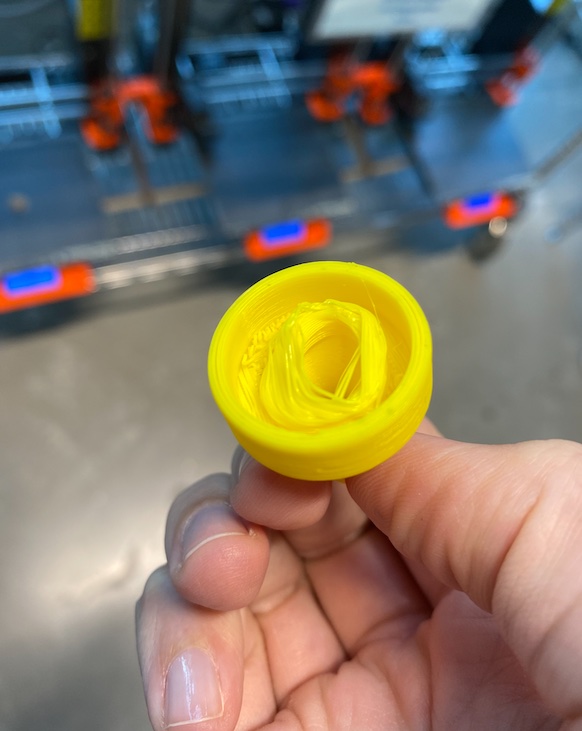
For the mouthpiece, I found that the traditional wax diaphragm that vibrates in a normal kazoo would require the player to hum, like, really loudly. So, I needed to create some type of reed to generate the sound that would later travel down the Kazooka pipe. I landed on two types of designs 1) the recorder reed pictured on the left, which creates a smooth, whistle or 2) the double/oboe reed pictured on the right, which is something you'd see on an oboe.

Designing mouthpieces
Once I had sketched what those mouthpieces would look like, I set off to Fusion 360 to start modeling. Once I was pretty happy with both of the mouthpiece designs, I exported them as STLs.
Printing mouthpieces
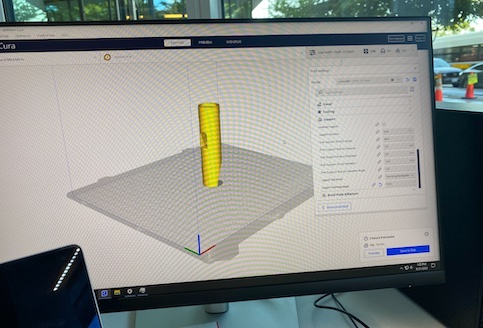
In order to print the mouthpieces, I opened those STL files in Ultimaker Cura one by one, which is a software located on the computers in the REEF at Harvard. Then I rotated pieces into an orientation that didn't fill cavities needlessly with support material. If you're not careful with where this support ends up, you'll have to file down the plastic by hand later-- which is a long and tedious process. Additionally, I found that laying cylindrical shapes down on their side might make them more sturdy during the printing process, but they become much more flimsy and lose a lot of their strength given the grain runs perpendicular to the circular slices of the cylinder.
Next, you want to adjust settings within Ultimaker Cura as follows:
- Layer height affects print speed and quality. 0.2mm is typically perfect.
- Infill = 10% every time.
- Support prints a breakaway support structure for overhangs.
- Adhesion is needed if the part is not flat on the bottom.
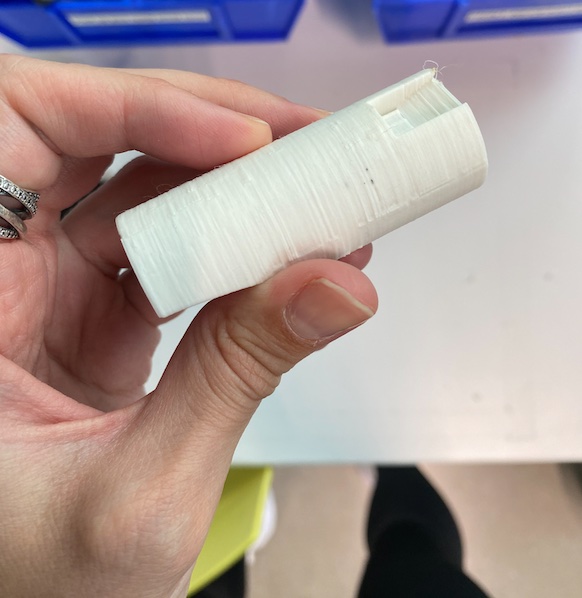
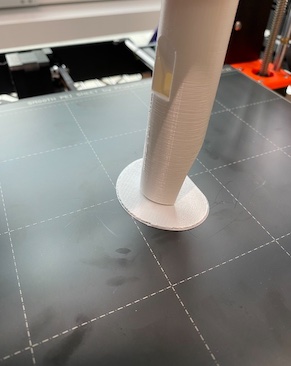
I had an incredibly difficult time getting my prints to stick to the printing bed, resulting in a number of failed prints (pictured below).

To avoid this, add wide rafts/skirts to get tall prints to stick to the bed.
Once you've modified the settings, hit slice to get the estimated print duration. The recorder mouthpiece was estimated to finish in about 2.5 hours and the oboe mouthpiece would take about 30 minutes for both pieces. After saving those gcode files to an SD card, insert that SD card into the printer you want to use. Start the print, then wait 5 minutes before leaving it. Despite being good about supervising for the first five minutes, I found that my prints failed multiple times throughout the estimated time because they kept getting unstuck (which is why I started adding skirts and rafts to my structures).
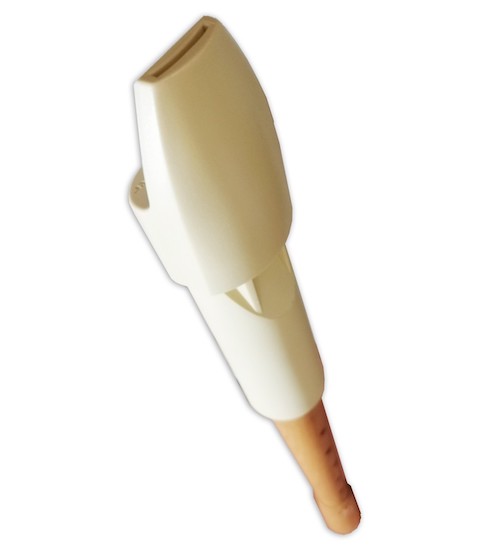
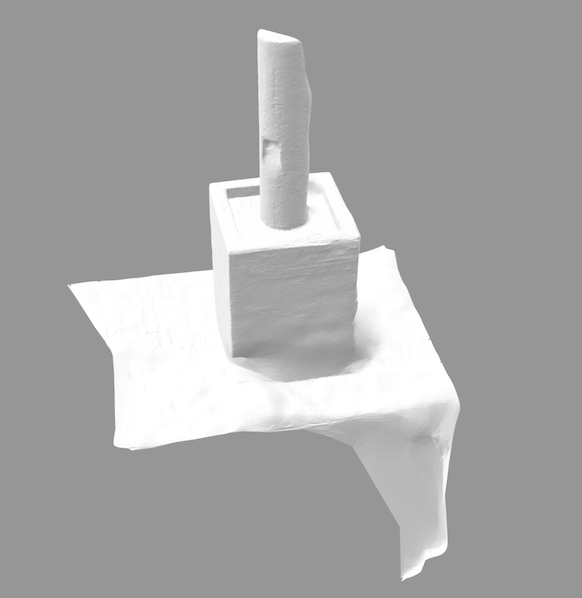
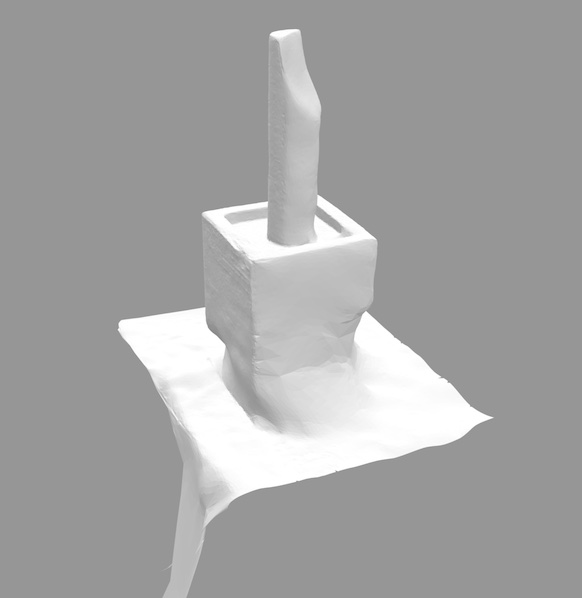
After your prints actually succeed, it's a lot of iteration on figuring out how much tolerance you need to give between different printed parts and PVC pipes. It took me 2-3 prints before I got all my dimensions correct for assembly. Additionally, I used Polycam to scan my finished recorder mouthpiece and got the following result:
Here are some final pictures of my two mouthpieces-- they both work! I think I'm gonna go ahead with the oboe mouthpiece (on the left) in the Kazooka, given its highly annoying sound quality.
If you'd like to recreate this project, you can download my STL files here.