Week 9 - How to Output (almost) anything
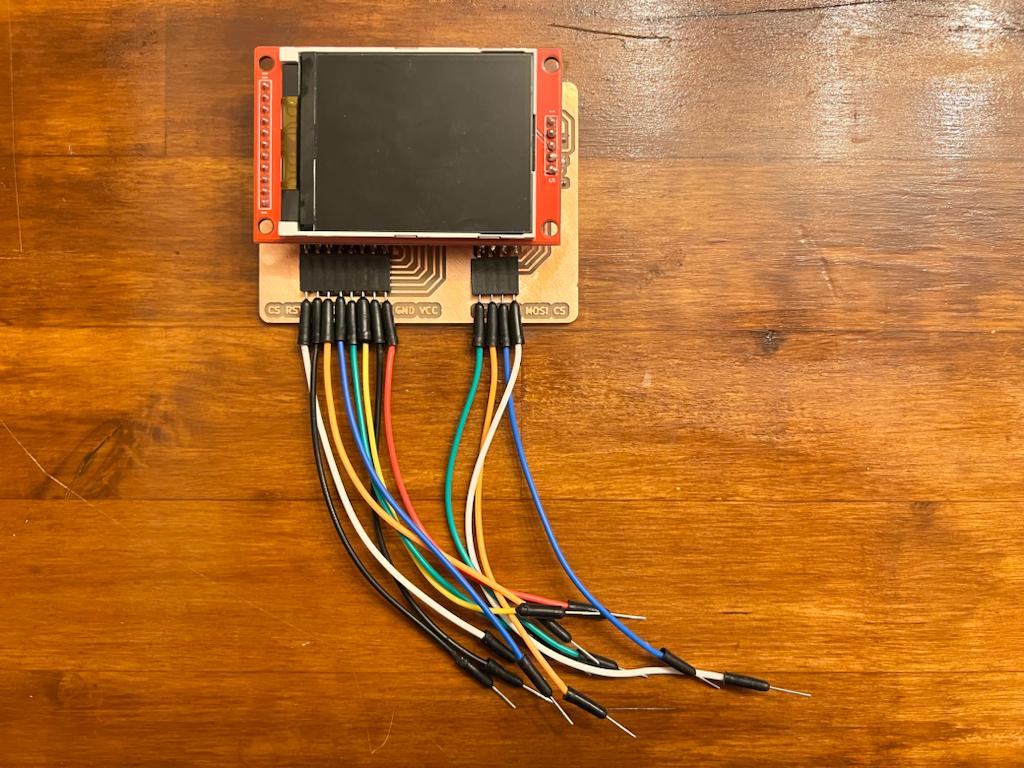
I still wanted to progress with my final project, and having encountered many issues when interfacing the screen and sd card reader with the unified board, I decided to try and make a breakout board for the screen and sd card reader. I also thought it would be a good idea to break out the buttons from the core board, because the countless 0-ohn resistors were making the board very difficult to work with and the fixed positions of the buttons introduced numerous routing issues. To begin with, I got the three boards working on a breadboard.

I then milled the breakout board for the screen and sd card reader. I also milled a board for the buttons, and cut each simultaneously.


Unfortunately the video board was not the right dimensions, and I had to mill a second version. I also had to mill a second version of the button board because I had misordered the button connections and I wanted the output header to match the core board's input header. I remilled each and stuffed them without too much difficulty, and was then able to get the screen and sd card reader working with the header card as well as the breakout board for the buttons, using a 3rd party breakout for the Pico.


I then began working on the core board which contained the controller, breakout headers, and audio card as well as a potentiometer to control the volume. The board was fairly straightforward to mill and stuff, but I was unable to get the screen and sd card reader working with the core board. Upon further investigation, I found that there were broken connections in the sd card reader, and I was unable to fix them. I decided to try and make a new breakout board for the sd card reader, but I have yet to stuff and test it.
