Week 12 - How to Build (almost) any Machine
For machine week, I was on team bleach. Our goals were simple - design the control mechanism for the pump, mount it to the frame, and construct a nozzle. The first goal was achieved relatively quickly once we decided on the data form which the image team would produce. Our initial model was a series of coordinates, much like standard GCODE in the form (x y r) where r would indicate the dot radius.

At first, some of the team wanted to use a brush to dispense the bleach more slowly and evenly, but when faced with implementing the lifting and resetting of the brush, the team found it easier to procede with a more traditional drip-based solution. To achieve this, we connected a peristaltic pump to a line of PTEG tubing, and actuated the motor for a base interval in order to overcome the static friction, plus a variable rate corresponding to the drop size. This model worked well and was kept throughout the project.

Next, we designed a holder for the pump which would mount onto the side of the extrusion which was not used to actuate the toolhead. The model was designed to hold the pump as well as the voltage regulator and microcontroller. We cut the frame from acrylic, connected the pump and circuitry, and mounted it on the frame without issue.

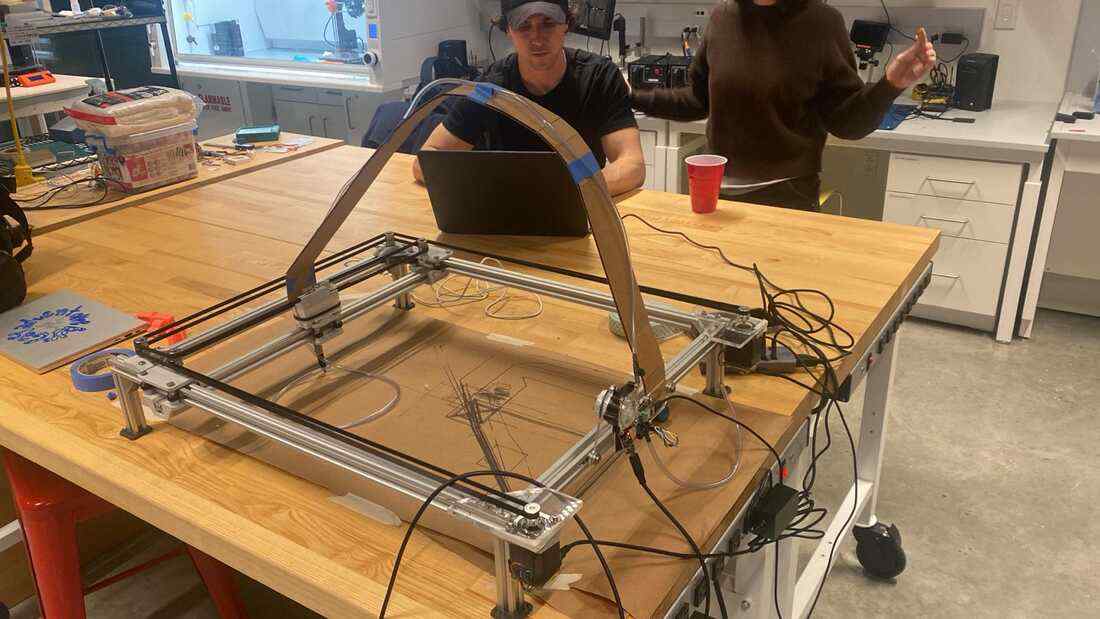
We then encountered another issue which was how to keep the tubing from dragging in the print or snagging in the mechanism. We settled on a quick cardboard scaffold made from a long strip with articulated segments cut into it to make a smooth bend. We intended to make a more finished model later out of a flexible plastic set of connectors that could be 3D printed and would bend up to a set degree before locking, but we were unable to get it working before the end of the week.
The final challenge was to design a nozzle that would allow the bleach to drip onto the fabric without splashing or spreading. We tried a few different designs, but ultimately settled on a simple cone shape with a small hole in the bottom. This worked well, and we were able to print a few different sizes to test the flow rate. We had been testing using the tip of a restaurant-style condiment bottle, which was working quite well, but we wanted to make the height of the nozzle variable, and so we printed a new model which consisted of a chassis and adjustable neck, which can be seen working below.
