Week 6 - How to Cast and Mold (almost) anything
This week, I wanted to make three different projects, each of which is entirely unrelated. The first was a coin. My father's birthday is coming up and he collects antique coins, so I thought that it could be a fun way to practice working with metal if I could make him a novelty replica coin with his face on it. I took a photo of him and tried to use AI tools to make a 3D profile of his head that I could use to raise off the coins surface. I tried using a few different tools, but none of them were able to produce a good enough result to mill, and so I settled for a coin that I found online. I cut two wells out of the wax block in fusion, and added the coins to the bottom of each. Next, I added a half-cylinder that extended from the top of the well to each of the coin bodys in order to allow for filling with the molten metal. I then added domes in the corners of one well, and corresponding indents in the other in order to lock the two halves together when molding.


For the next project, I wanted to make a prototype of a simple RFID embedded wrist band. For my thesis project, my partner and I are working on family reunification for refugees, and I wanted to produce a very early prototype for one of our solution ideas. The idea is that we would give each family member a wristband that would allow them to check in at various locations, and then we could use the data to track the family's movement. The passive RFID chip would contain an identifier for their family, but not for them as an individual so that they only can be internally traced without connecting the identifier to any name at any point. For this prototype, I ripped open a commercial RFID fob to get the coil and chip, and then I cut a wrist-sized ring out of the wax block in Fusion, such that I could add the RFID coil to the band during casting.


For the third project, I wanted to build a metal directional pad for the gameboy final project. To do this, I designed the cross, cut a well out from some spare space in the block, and then added a rim to allow the oomo to flow around the cross. This would ultimately sit in the wooden top-piece in the final project.

I designed all three projects to fit in the wax block, and moved to mods to generate and mill the toolpaths. I used a 1/8 flatheaded endmill for the roughing pass, and the same endmill for the finishing pass. Unfortunately my features were more delicate than I had intended in the coin, but the other two projects seemed to come out well.


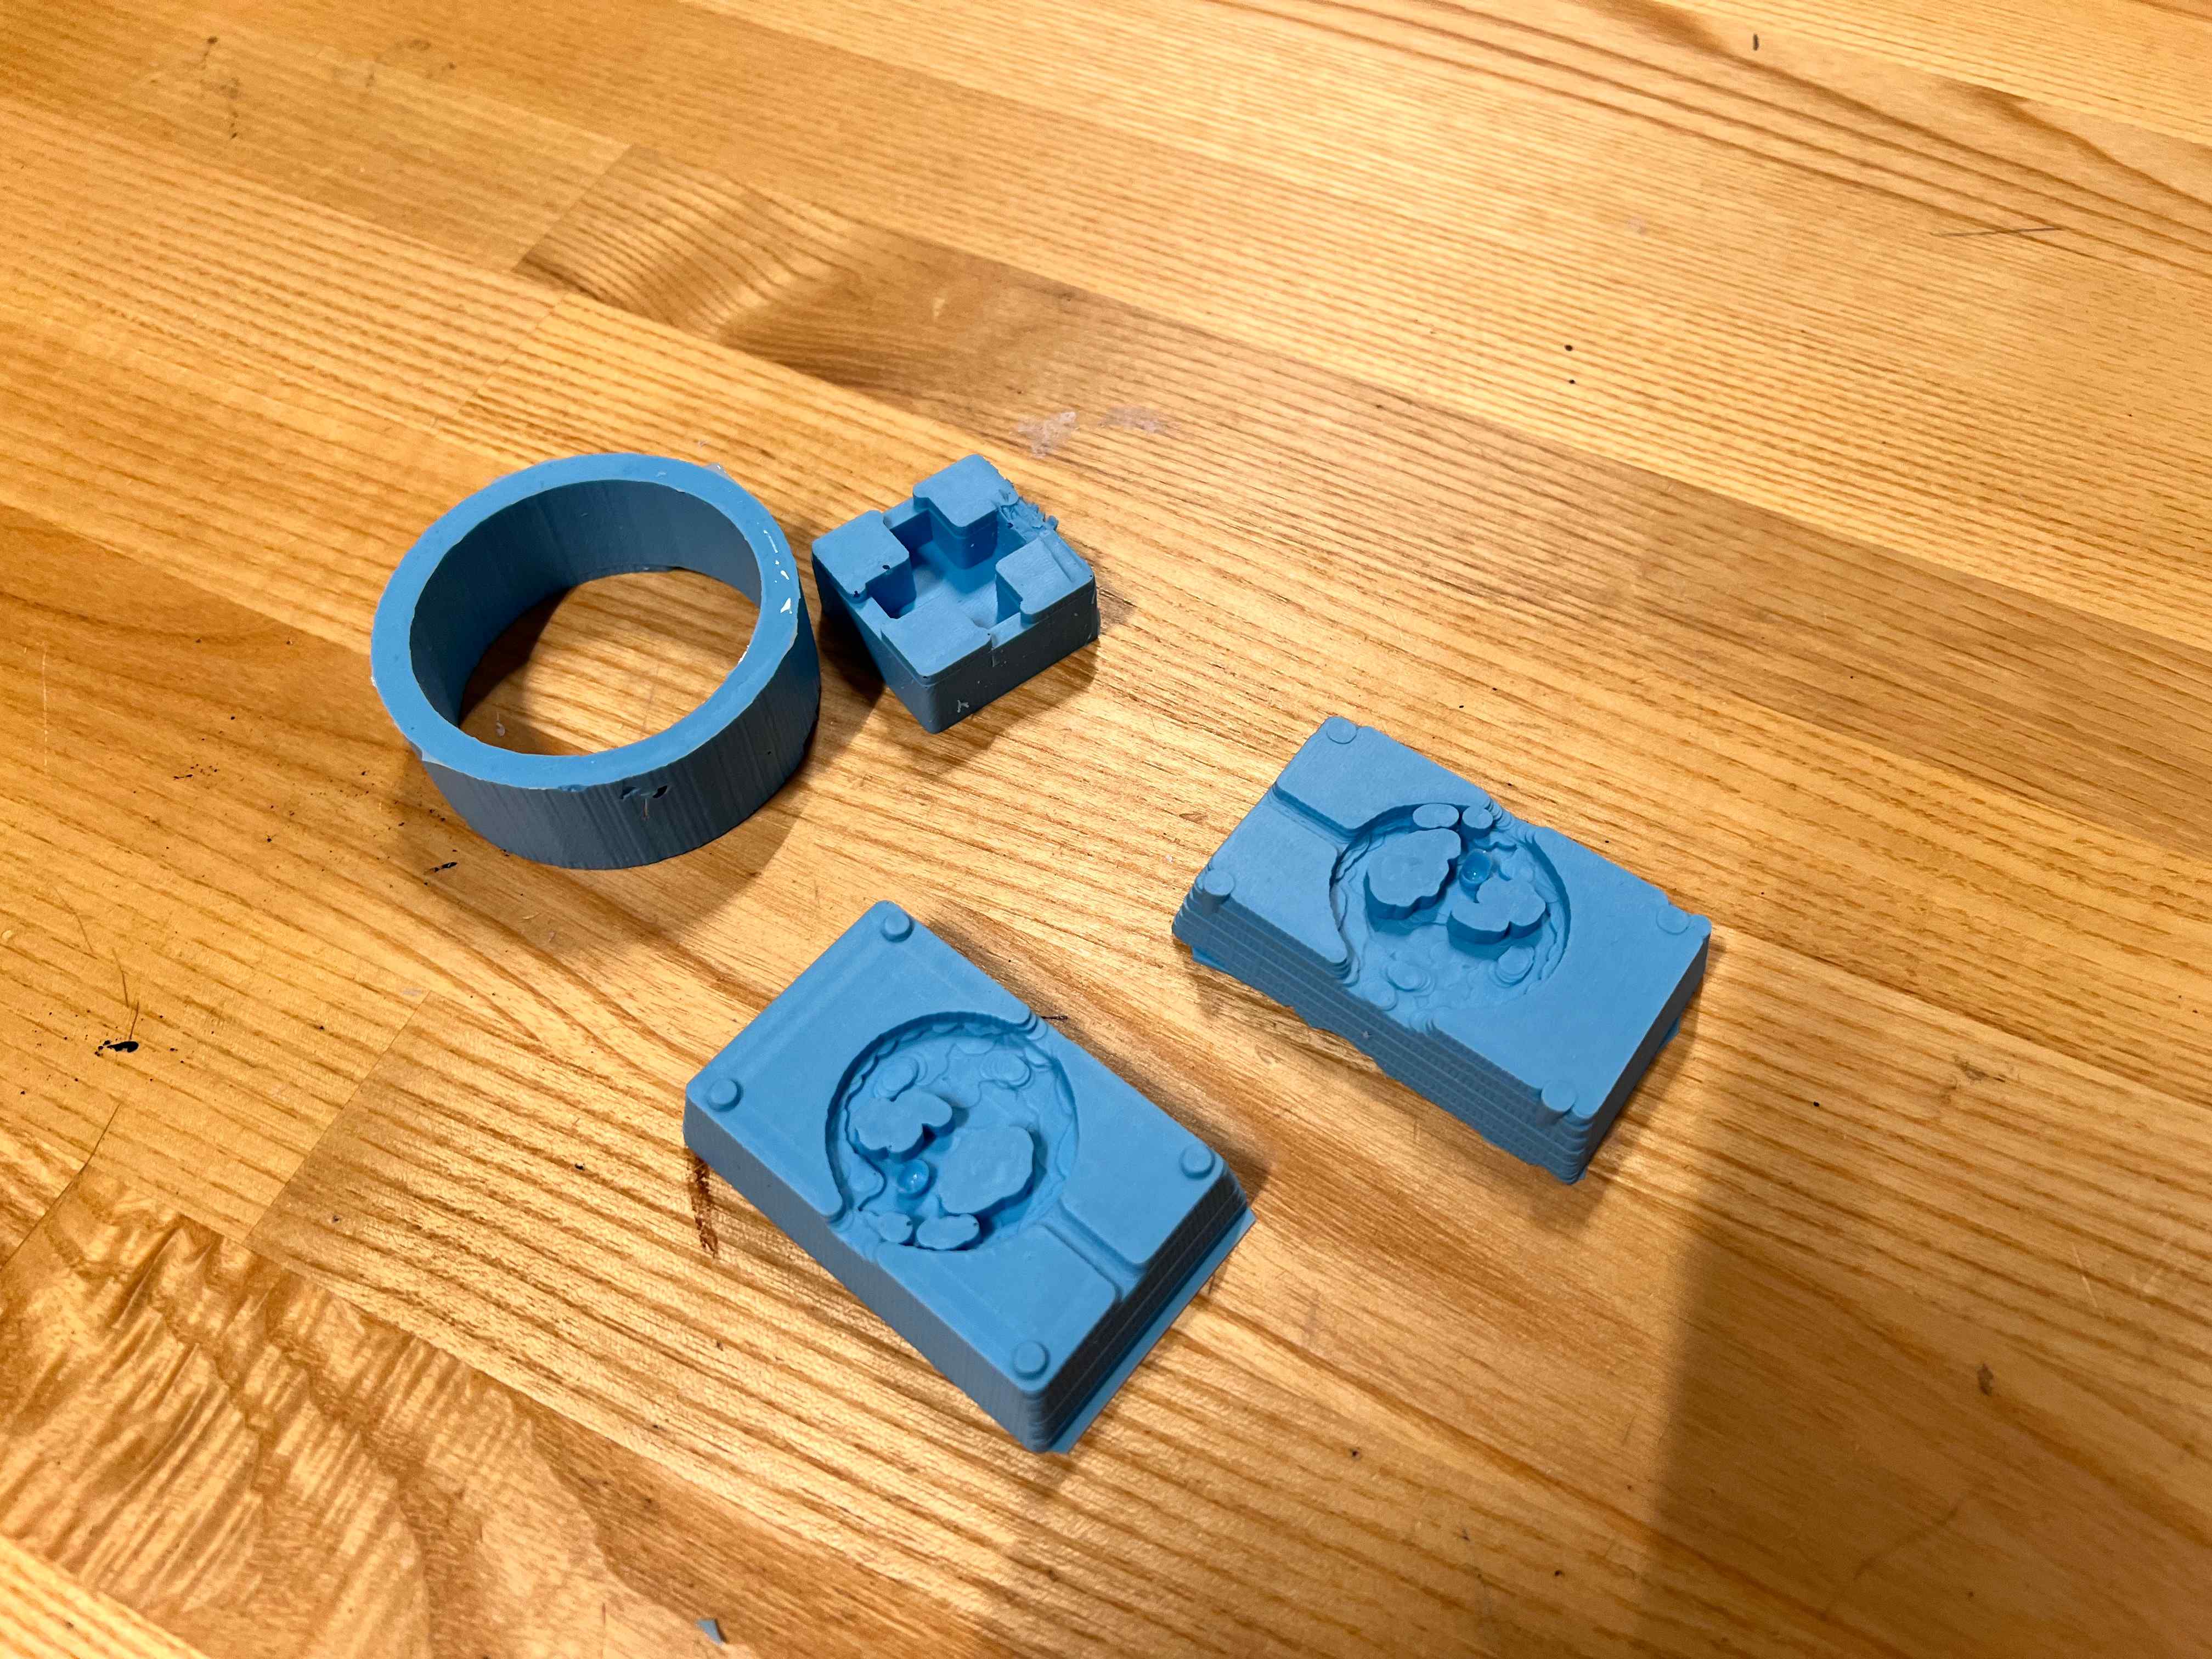
After milling the wax, I moved to the oomoo. I mixed the oomo in the indicated ratio, trying to let it rest and degas for as long as possible in between stirring it for a few minutes at a time. When sufficiently mixed, I poured through as narrow a bead as possible into the wells, and then let it sit for a few hours to cure.


After curing, I was able to easily remove the oomoo from the wax for the coin mold and the D-Pad mold, but I had to break open the mold to retrieve the RFID band.
