Goal: For a large speaker, build a 3D shell that will serve as a heavy-duty laptop holder for mobile music performanceSoftware: Fusion 360 (modeling), Carbide 3D (machining)Tools: Shapeoko 5 Pro CNC Router 4x4ftPrior Experience: Small 3D models, including electronics and cases New Methods:
Modeling a pre-existing 3D object,
3D scanning,
large-format machining,
multi-layer construction (slicing)
Details:
My over-arching goal is to build a wearable MIDI control system
Here, I'm focusing on making that system mobile
To do that, we'll use:
Soundboks Go (portable speaker + backpack)
Macbook Air (running music software)
Wood (a custom-milled laptop holder)
First, we must make a fully parameterized 3D model of the speaker
Doing this well requires precise measurement of all features
My chosen 3D modeling software is Fusion 360
All model features are defined based on the measurements, which are stored as user-defined parameters
This way, when we inevitably have to make minor tweaks to dimensions, the entire model will automatically adapt
I'm not providing step-by-step CAD instructions for the speaker
I do provide the final 3D model (.stl) at the bottom of this page
To get a sense for the methods used, see the video above and...
An abbreviated set of instructions:
To start, I model only one half of the speaker
Once all symmetric features are complete, I mirror the entire design and combine them into a single body
For large-scale features, I split the speaker into 3 sections:
Smaller, flat inner section
Adjacent, expanding section
Larger, flat outer section
Add smaller features once large features are complete
Next, we'll make a model of the laptop as well
In this case, it's a 13-inch M2 Macbook Air
Thankfully, a much simpler geometry than the speaker
Now, we're ready to design the speaker shell!
Detailed speaker shell instructions in Fusion 360...
Link and arrange pre-existing models:
"Insert Derived" command 2x to add the speaker and laptop models
This ensures that any changes made to the original model files will transfer to this file
"Align" command to align the bottom of the laptop with the top of the highest speaker feature (the volume knob)
Create some custom parameters:
Board Thickness: The boards I'm using are ~1.5 cm thick--will have to stack at least 4 to create sufficient vertical height in the shell
Shell Thickness: How far out from the edge of the spaker should the edges of the shell go? I chose 2cm
"Create Sketch" in plane with the top of the laptop:
"Project" points from the outer extent of the speaker
"Draw" a rectangle, constraining it to be the shell's thickness outside of all projected points
Create the body of the shell:
"Extrude" downward from the sketch 4x the board-thickness to create the body of the shell
Cut ("Combine") the shell body with the laptop, cutting the laptop's volume out of the shell
Do the same, now using the speaker
Cut ("Extrude") upwards from the knob, button, and handle to remove these regions from the shell
"Fillet" all exposed edges to your liking
Now to test your model's accuracy:
Slice the shell in half along a profile of interest
"Create Sketch" on the surface resulting from the slice
Export the sketch as a .dxf
Load the .dxf onto a laser cutter and cut it out of a material as done in computer-controlled cutting
Test the fit on the speaker!
It probably won't fit exactly right the first time
Adjust the speaker dimensions as indicated by the misalignment and retry
I probably went through 10 iterations before the fit was precise on all cross-sections
Next, do the same cross-section tests, but now with your CNC
Your shell dimensions should be correct at this point
Next...
Horizontally slice the shell CAD model into board-width pieces
Arrange them to fit in your CNC/board dimensions (4'x4' in my case)
Export as an .stl
Now, we're ready to machine!
First, we'll need to prepare the CNC, material, and route
Install the endmill and set the Z-height
Secure the material to the bed
Set the origin
Set the Z-height
Load the .stl into Carbide 3D
Make sure you add "dogbones" so your pieces don't come flying out
This is an option in Carbide 3D
Set the toolpaths for: rough pass, fine pass, and contour (final cutout)
Run the job!
Now, we have all the pieces!
Next, we'll need to assemble and glue them together, then sand and finish
Notes:
"Couldn't we have just 3D scanned the speaker?"
Yes, but...
No. At least not with the scanners I (and likely you) have available.
If the scan isn't free of bumps and imperfections with exact dimensions, your model will be inaccurate
"Why use wood? Especially particle board?"
It's cheap, easy to machine, and strong
But mostly... I like the aesthetic
Files: [next week] 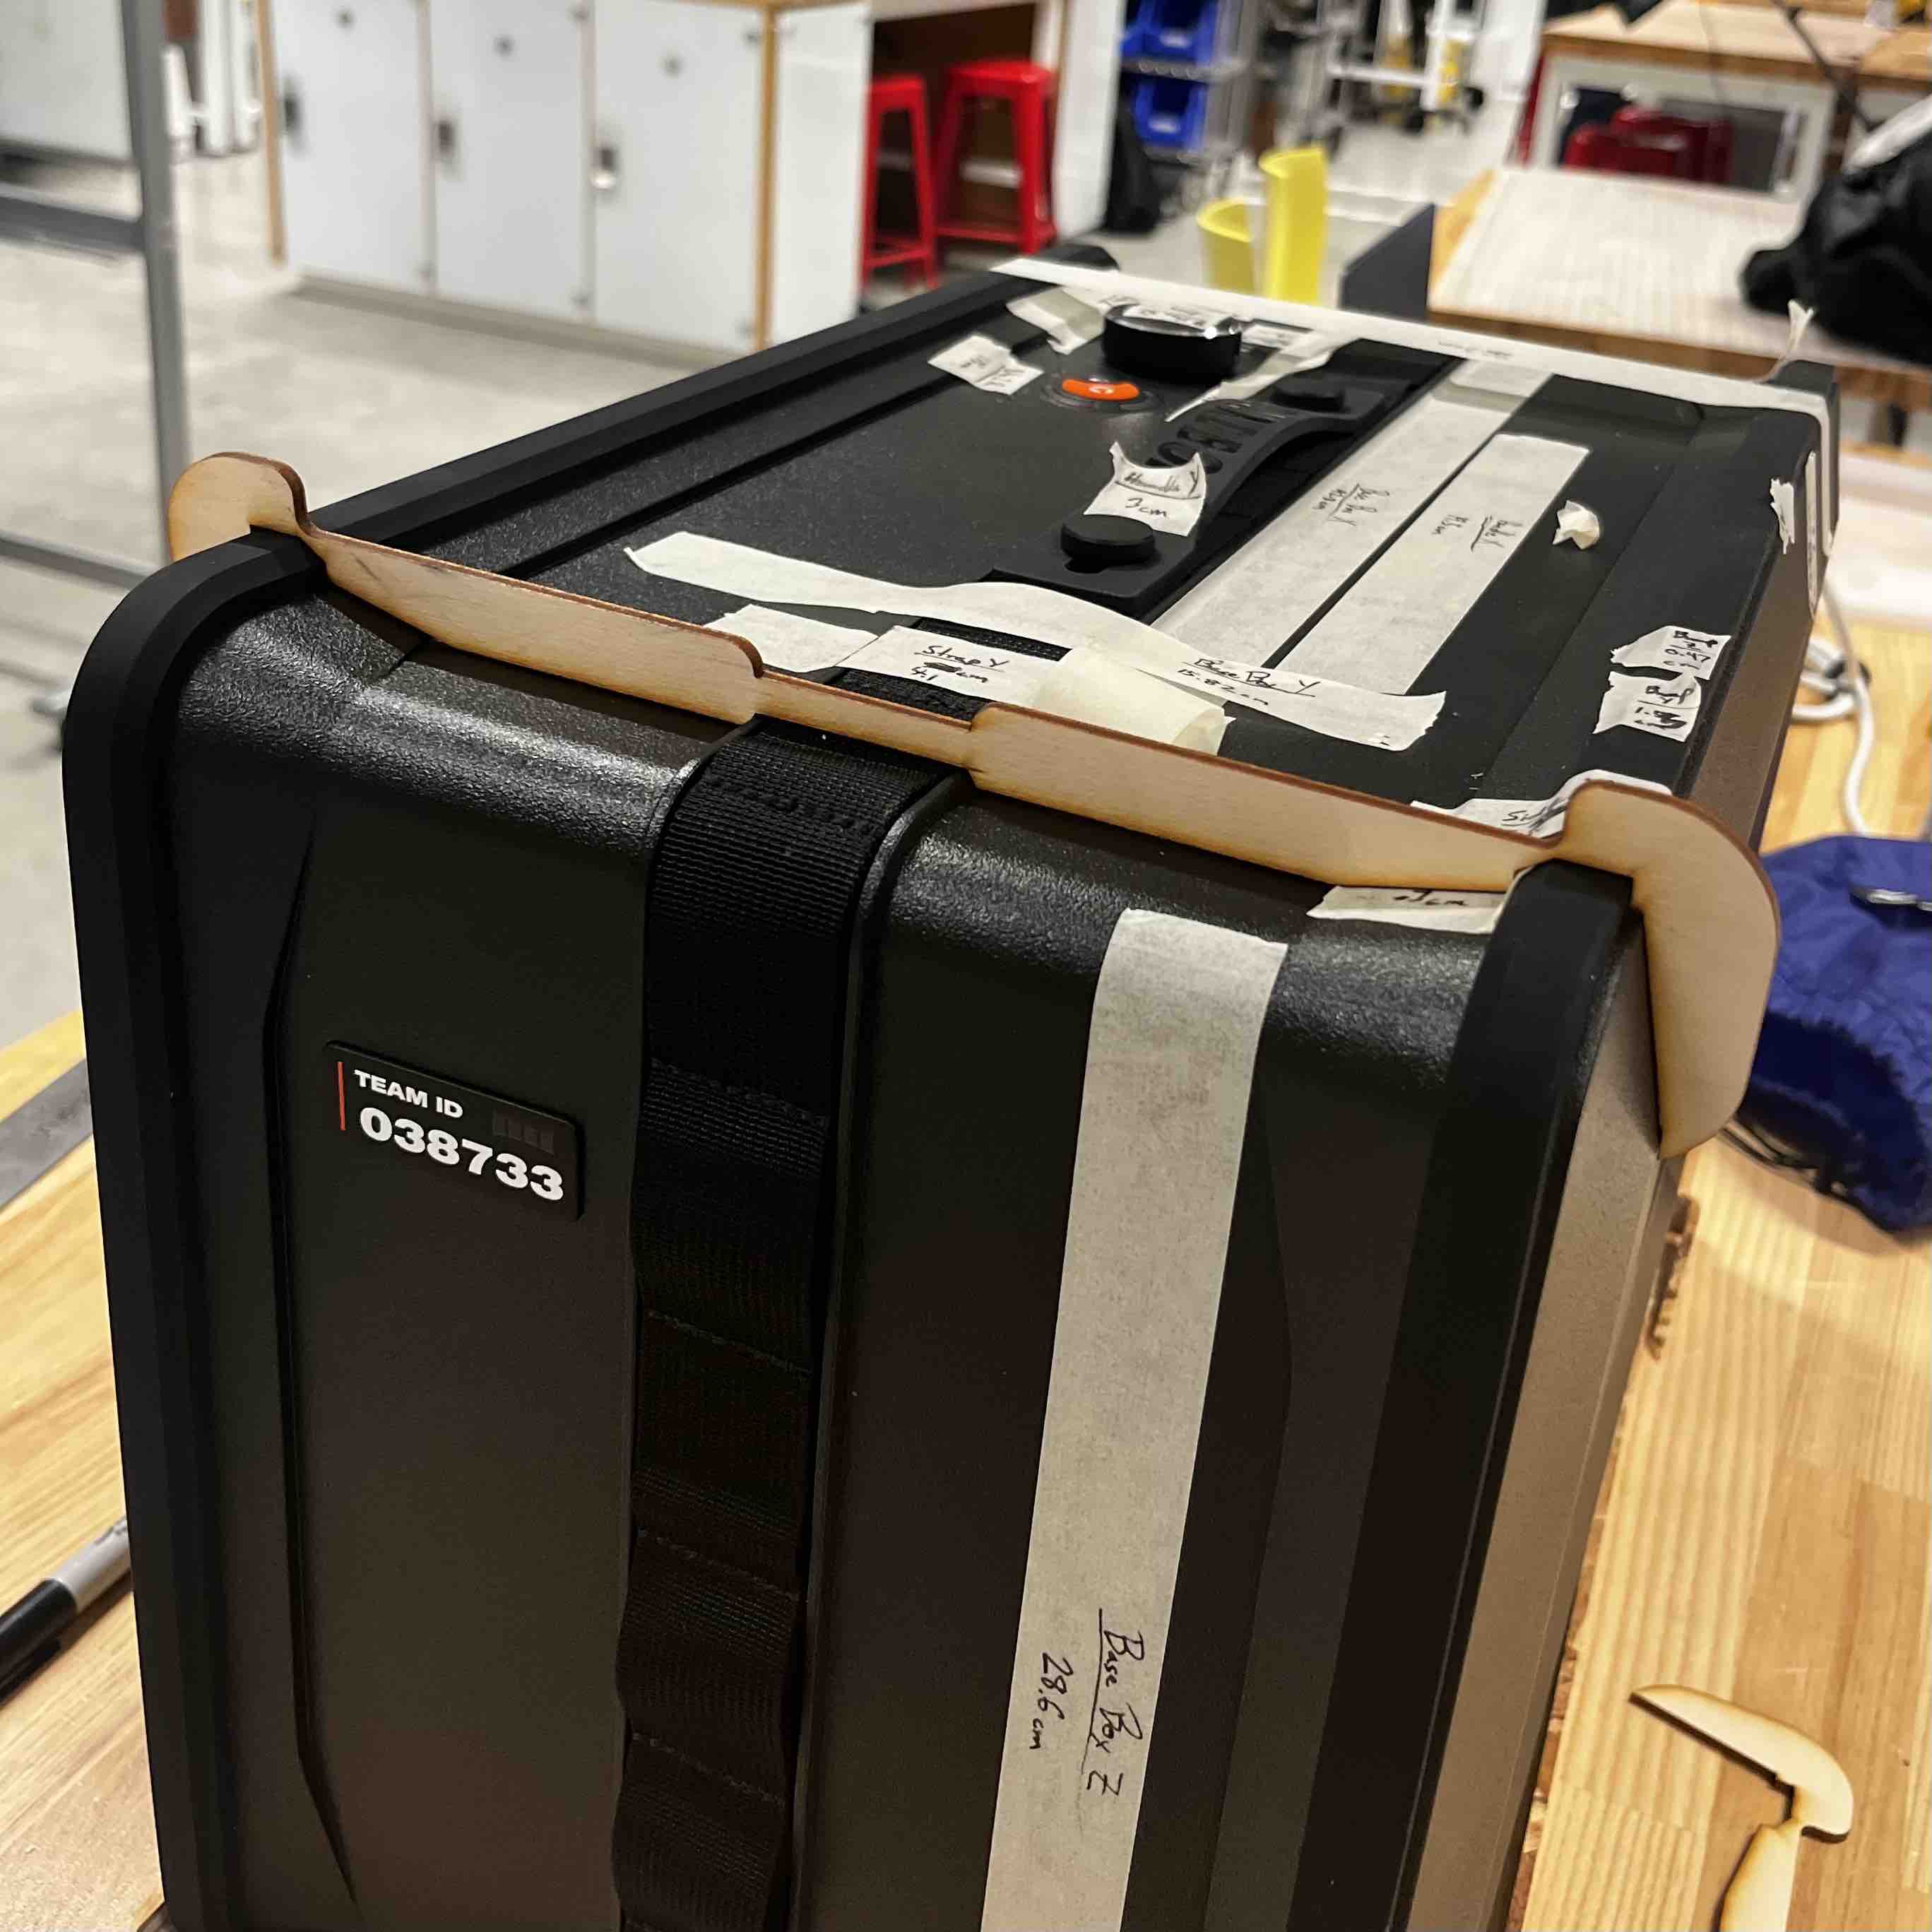