Week 6: Casting and Molding
| Created | |
|---|---|
| Tags | CastingMoldingSilicone |
As a Pokémon fan,
This week, I decided to design and make a Pokeball Keychain out of metal.
I designed the positive of my mold in fusion, and then machined it in wax.
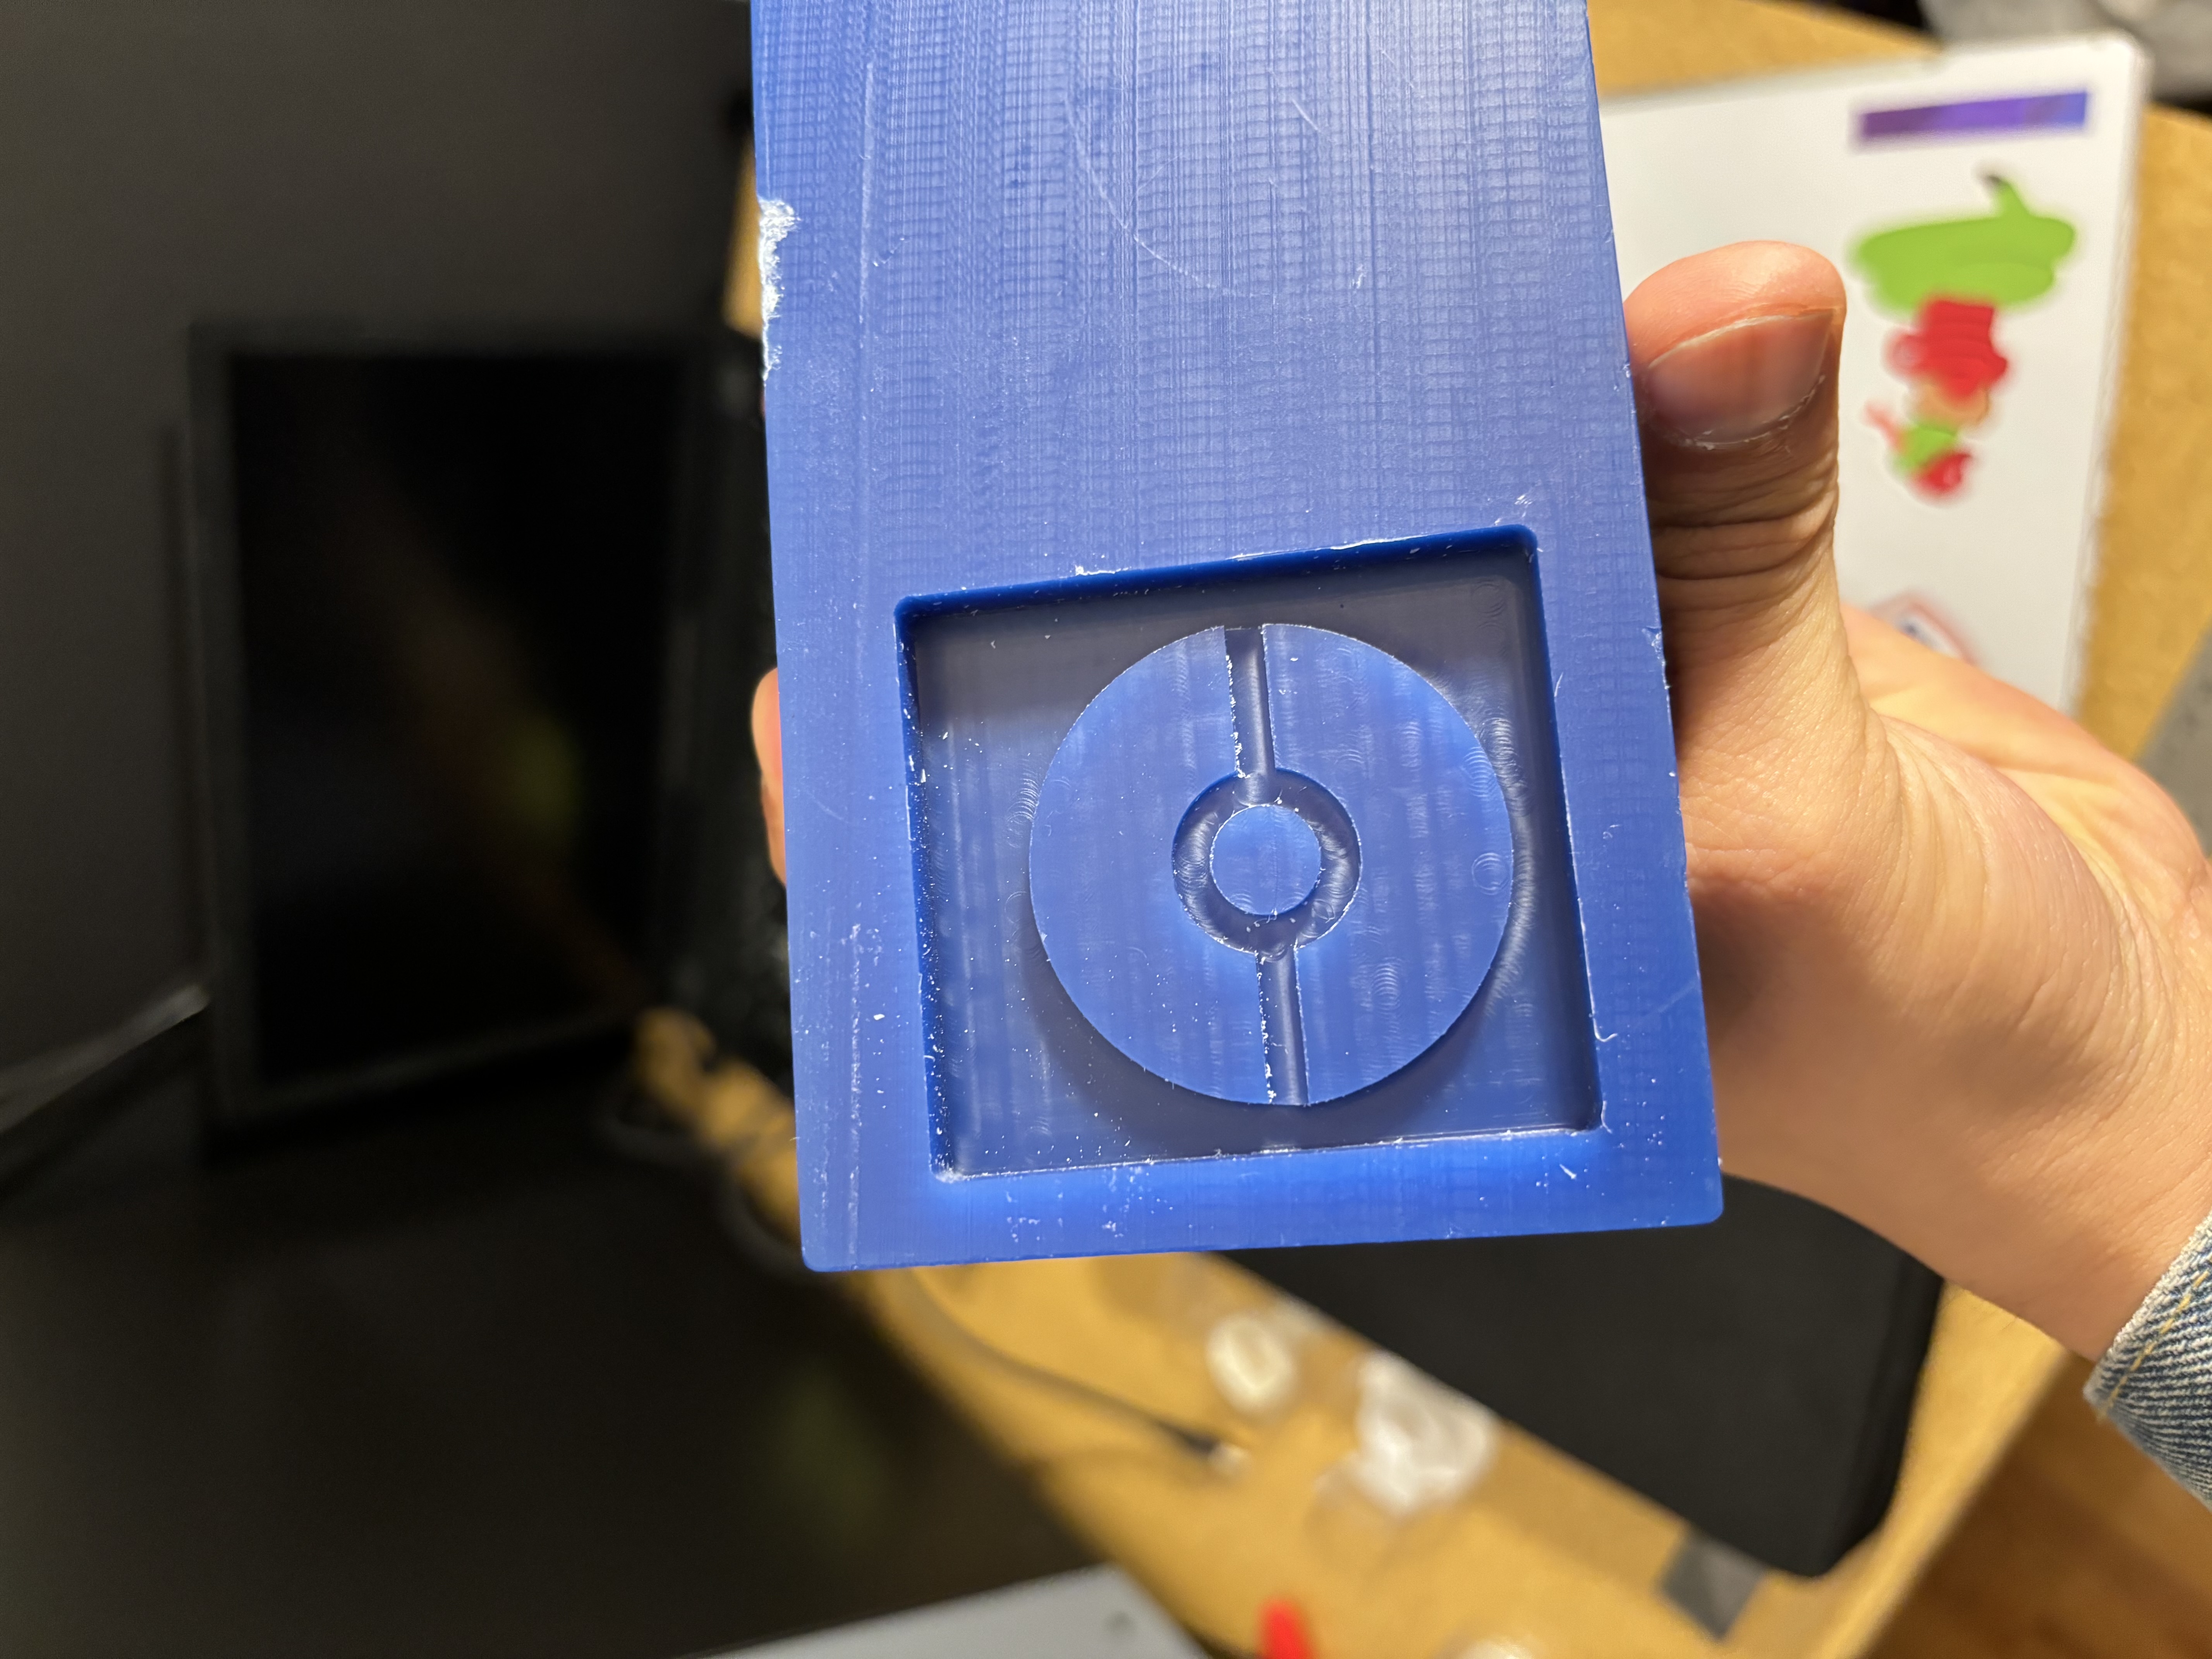
I then poured Oomoo into it and got a negative of my final output.

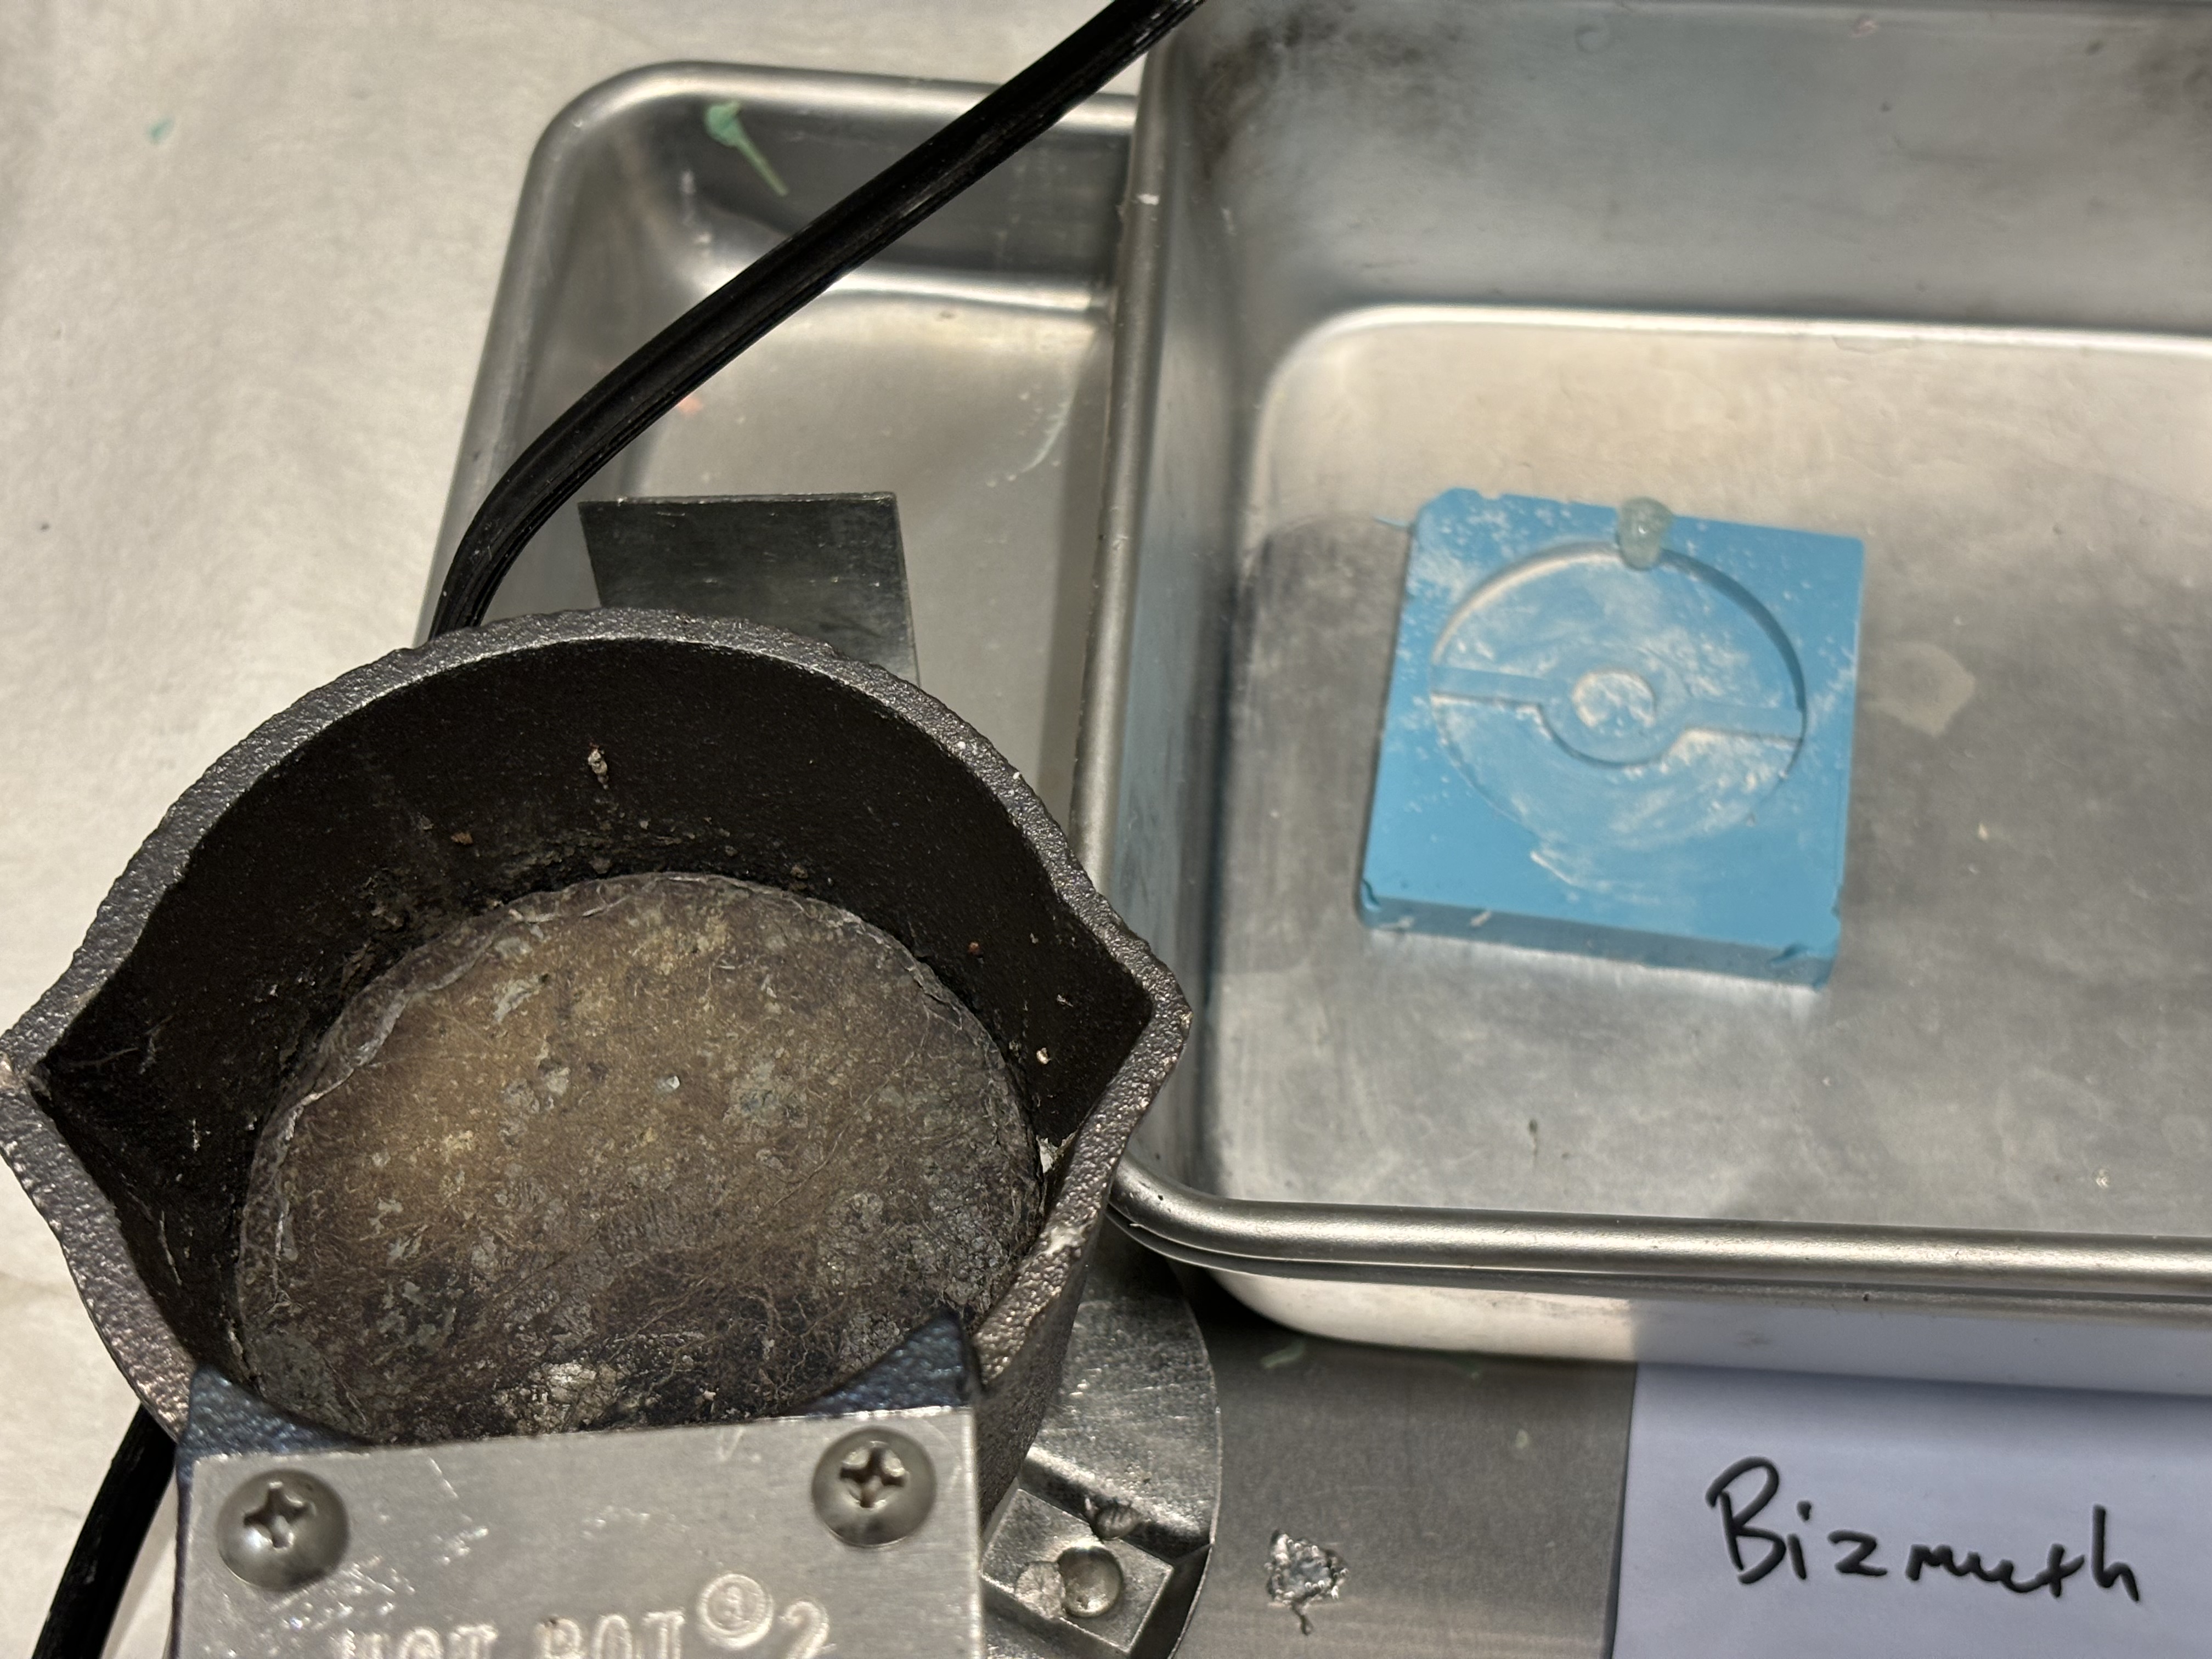
I had to wait a couple weeks for Cerrotru to be stocked at REEF but once it was here I turned on a hotpot for 35 minutes to melt the Cerrotru completely and then poured it in my mold carefully after applying a bunch of baby powder in the mold.
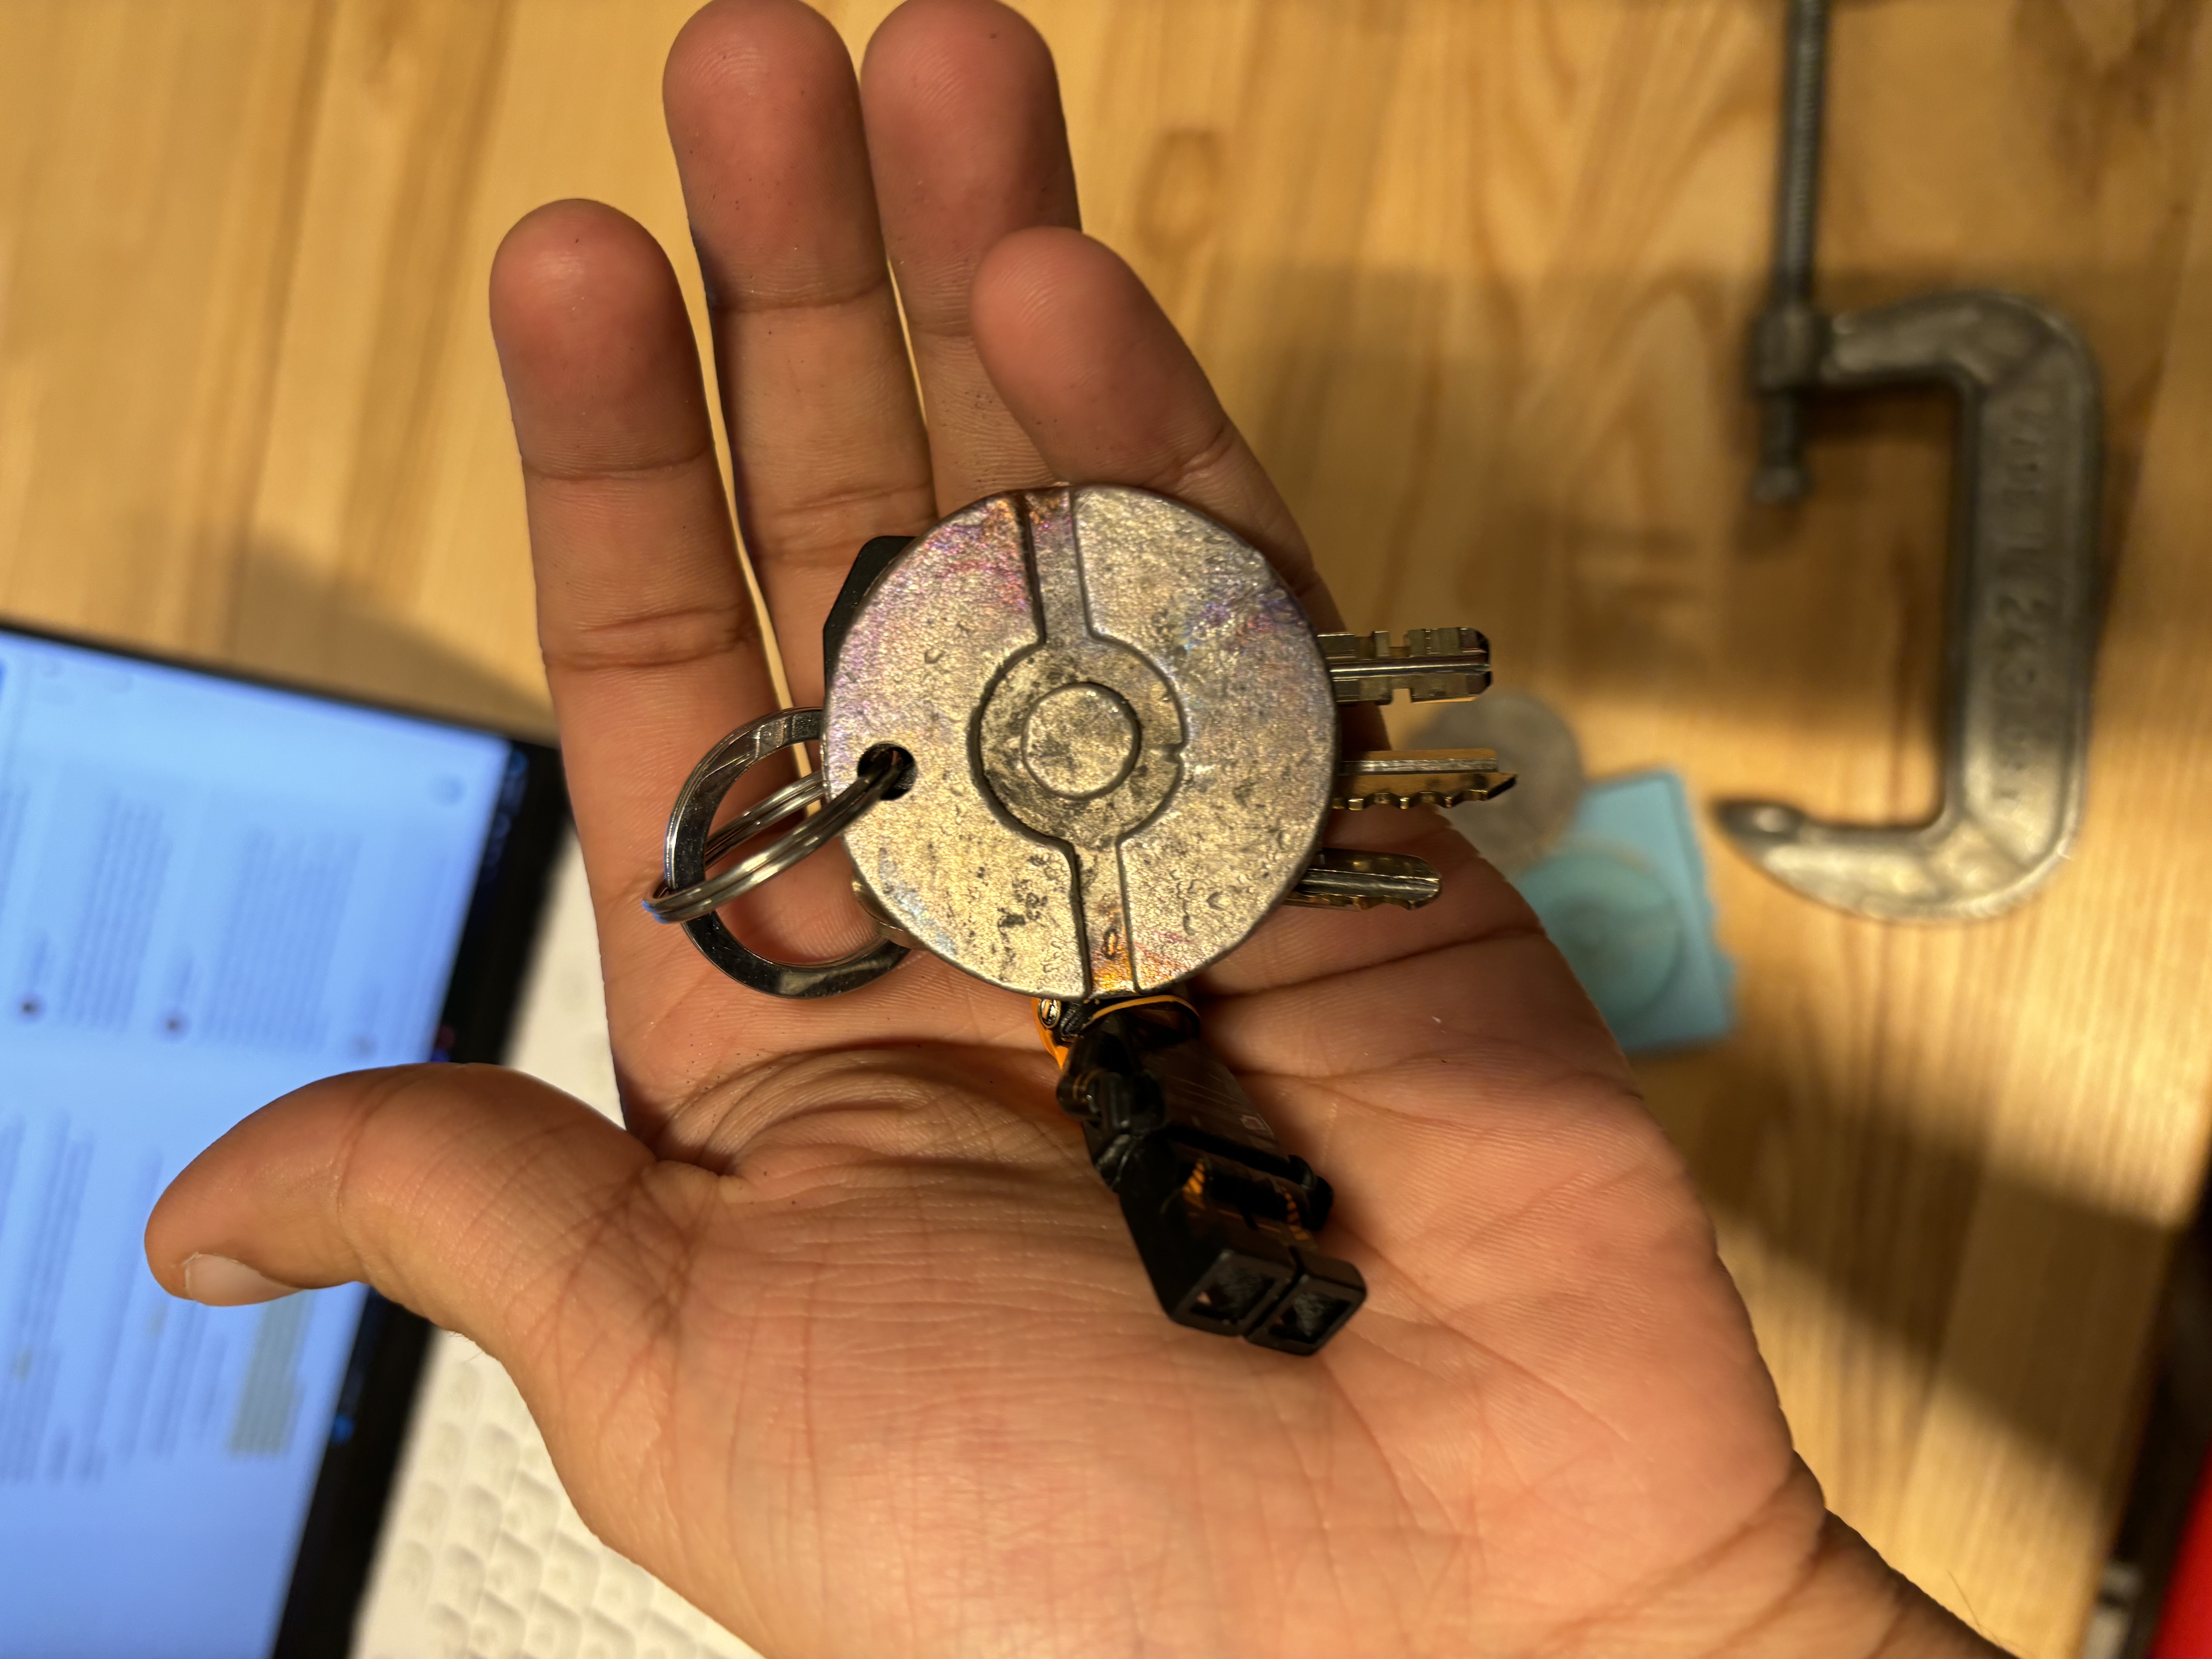
Final result -
OLD
Thinking about my final project, one of the first things that comes to mind as a part that’s appropriate for a casting process is the “skin” or grip of the smart racquet handle.
I wanted to be able to measure how strongly, or positions where the player is gripping the handle -basically touch localization and intensity data. I searched around for what sensing technologies would be appropriate for this, and I came across an artificial skin sensor described in a research paper
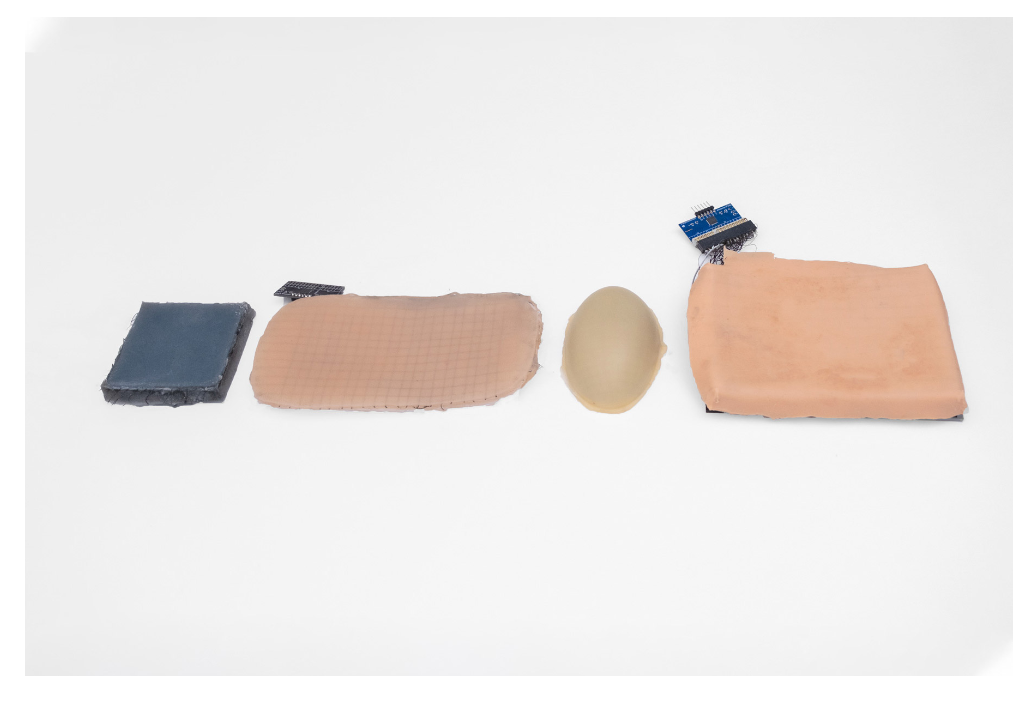
The sensor is basically made by casting two layers of silicone with a grid of electrodes sandwiched between. Conveniently enough, the author also sells a open-source hardware kit to decode the signals and interface with arduino/other microcontroller platforms.
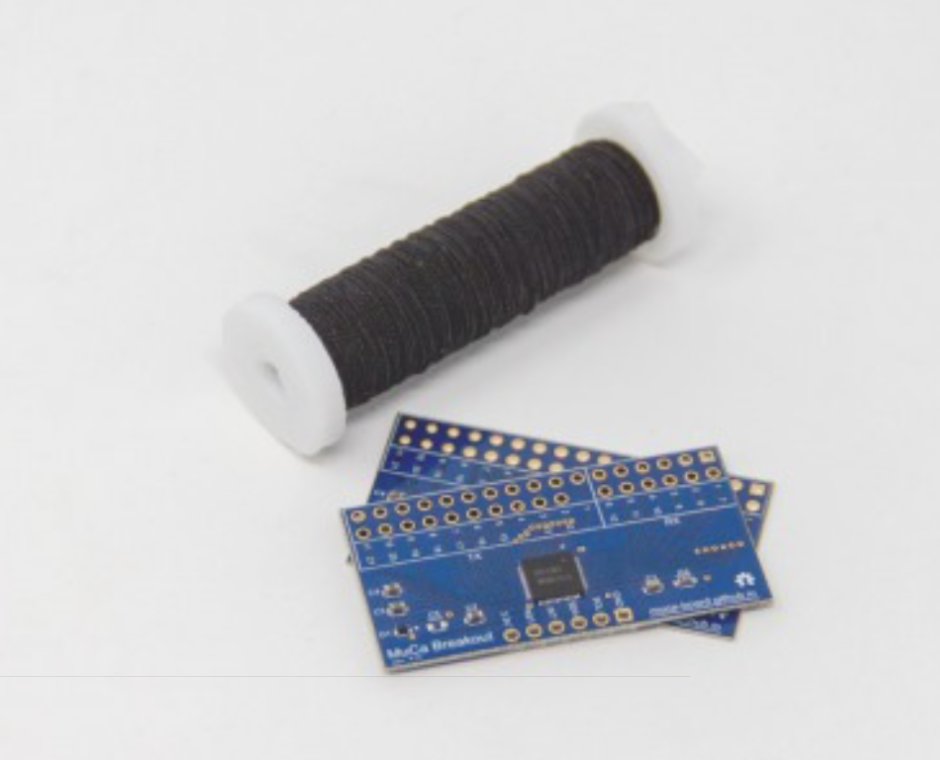
Unfortunately, all his products were sold out or discontinued. I think decoding the signal from 10’s of electrodes may be too challenging to tackle but I need to get more feedback to see if this would be possible.
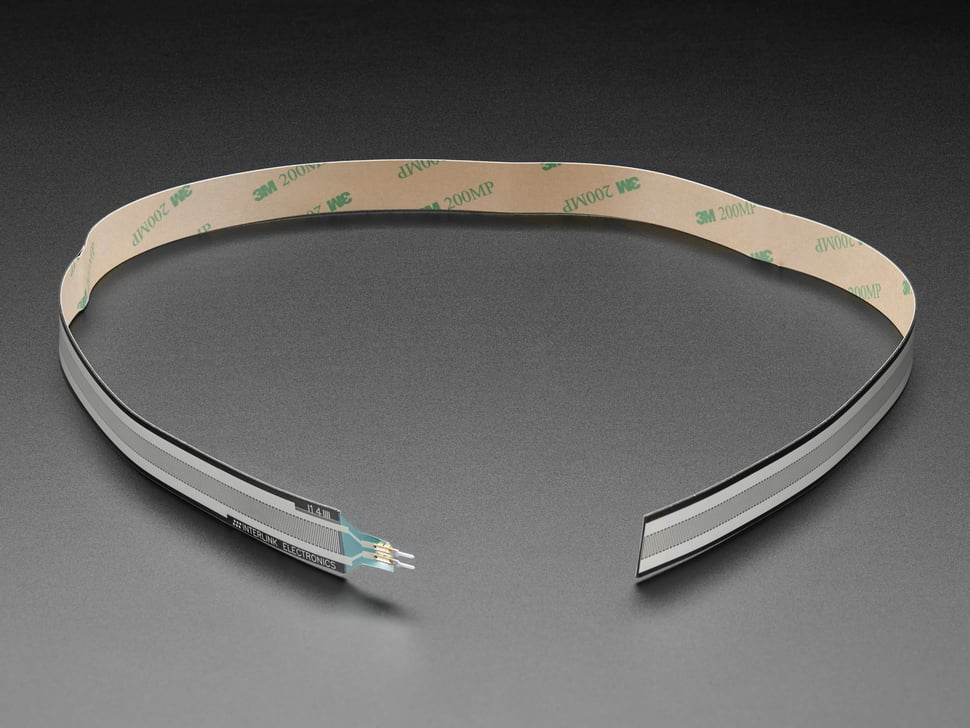
In any case I decided to dig for a few other options and found a force-sensitive resisotr which can detect pressure/intensity (but not the location of pressure points)
Whichever option I pick, the eventual step will be to cast the sensor inside a grippable material. That’s what I’ll be designing this week.
Molding
For designing the mold, I would need to create a cylindrical grip, but one that has been flattened into ribbons/tape that can be wrapped around the handle.

The FSR sensor on Adafruit has a 24inch x 1/4th inch dimension, so I would need to cast a rectangular block of silicone with similar dimensions. I intend to cast it slightly thicker though so the silicone wraps around the edges of the sensor. I am going with a width of 0.375 for that reason.

Although I haven’t gotten the sensor yet, I wanted to practice how this could be cast. I decided to build a rectangular acrylic box in which i could place the sensor and pour silicone to cast it
Face 1 dimension: 24 x 0.375 in
Face 2 Dimension: 1.5 x 0.375 in
to start off, I laser cut the sides of an open rectangle and joined the pieces using masking tape before applying acrylic cement to create sealed joints
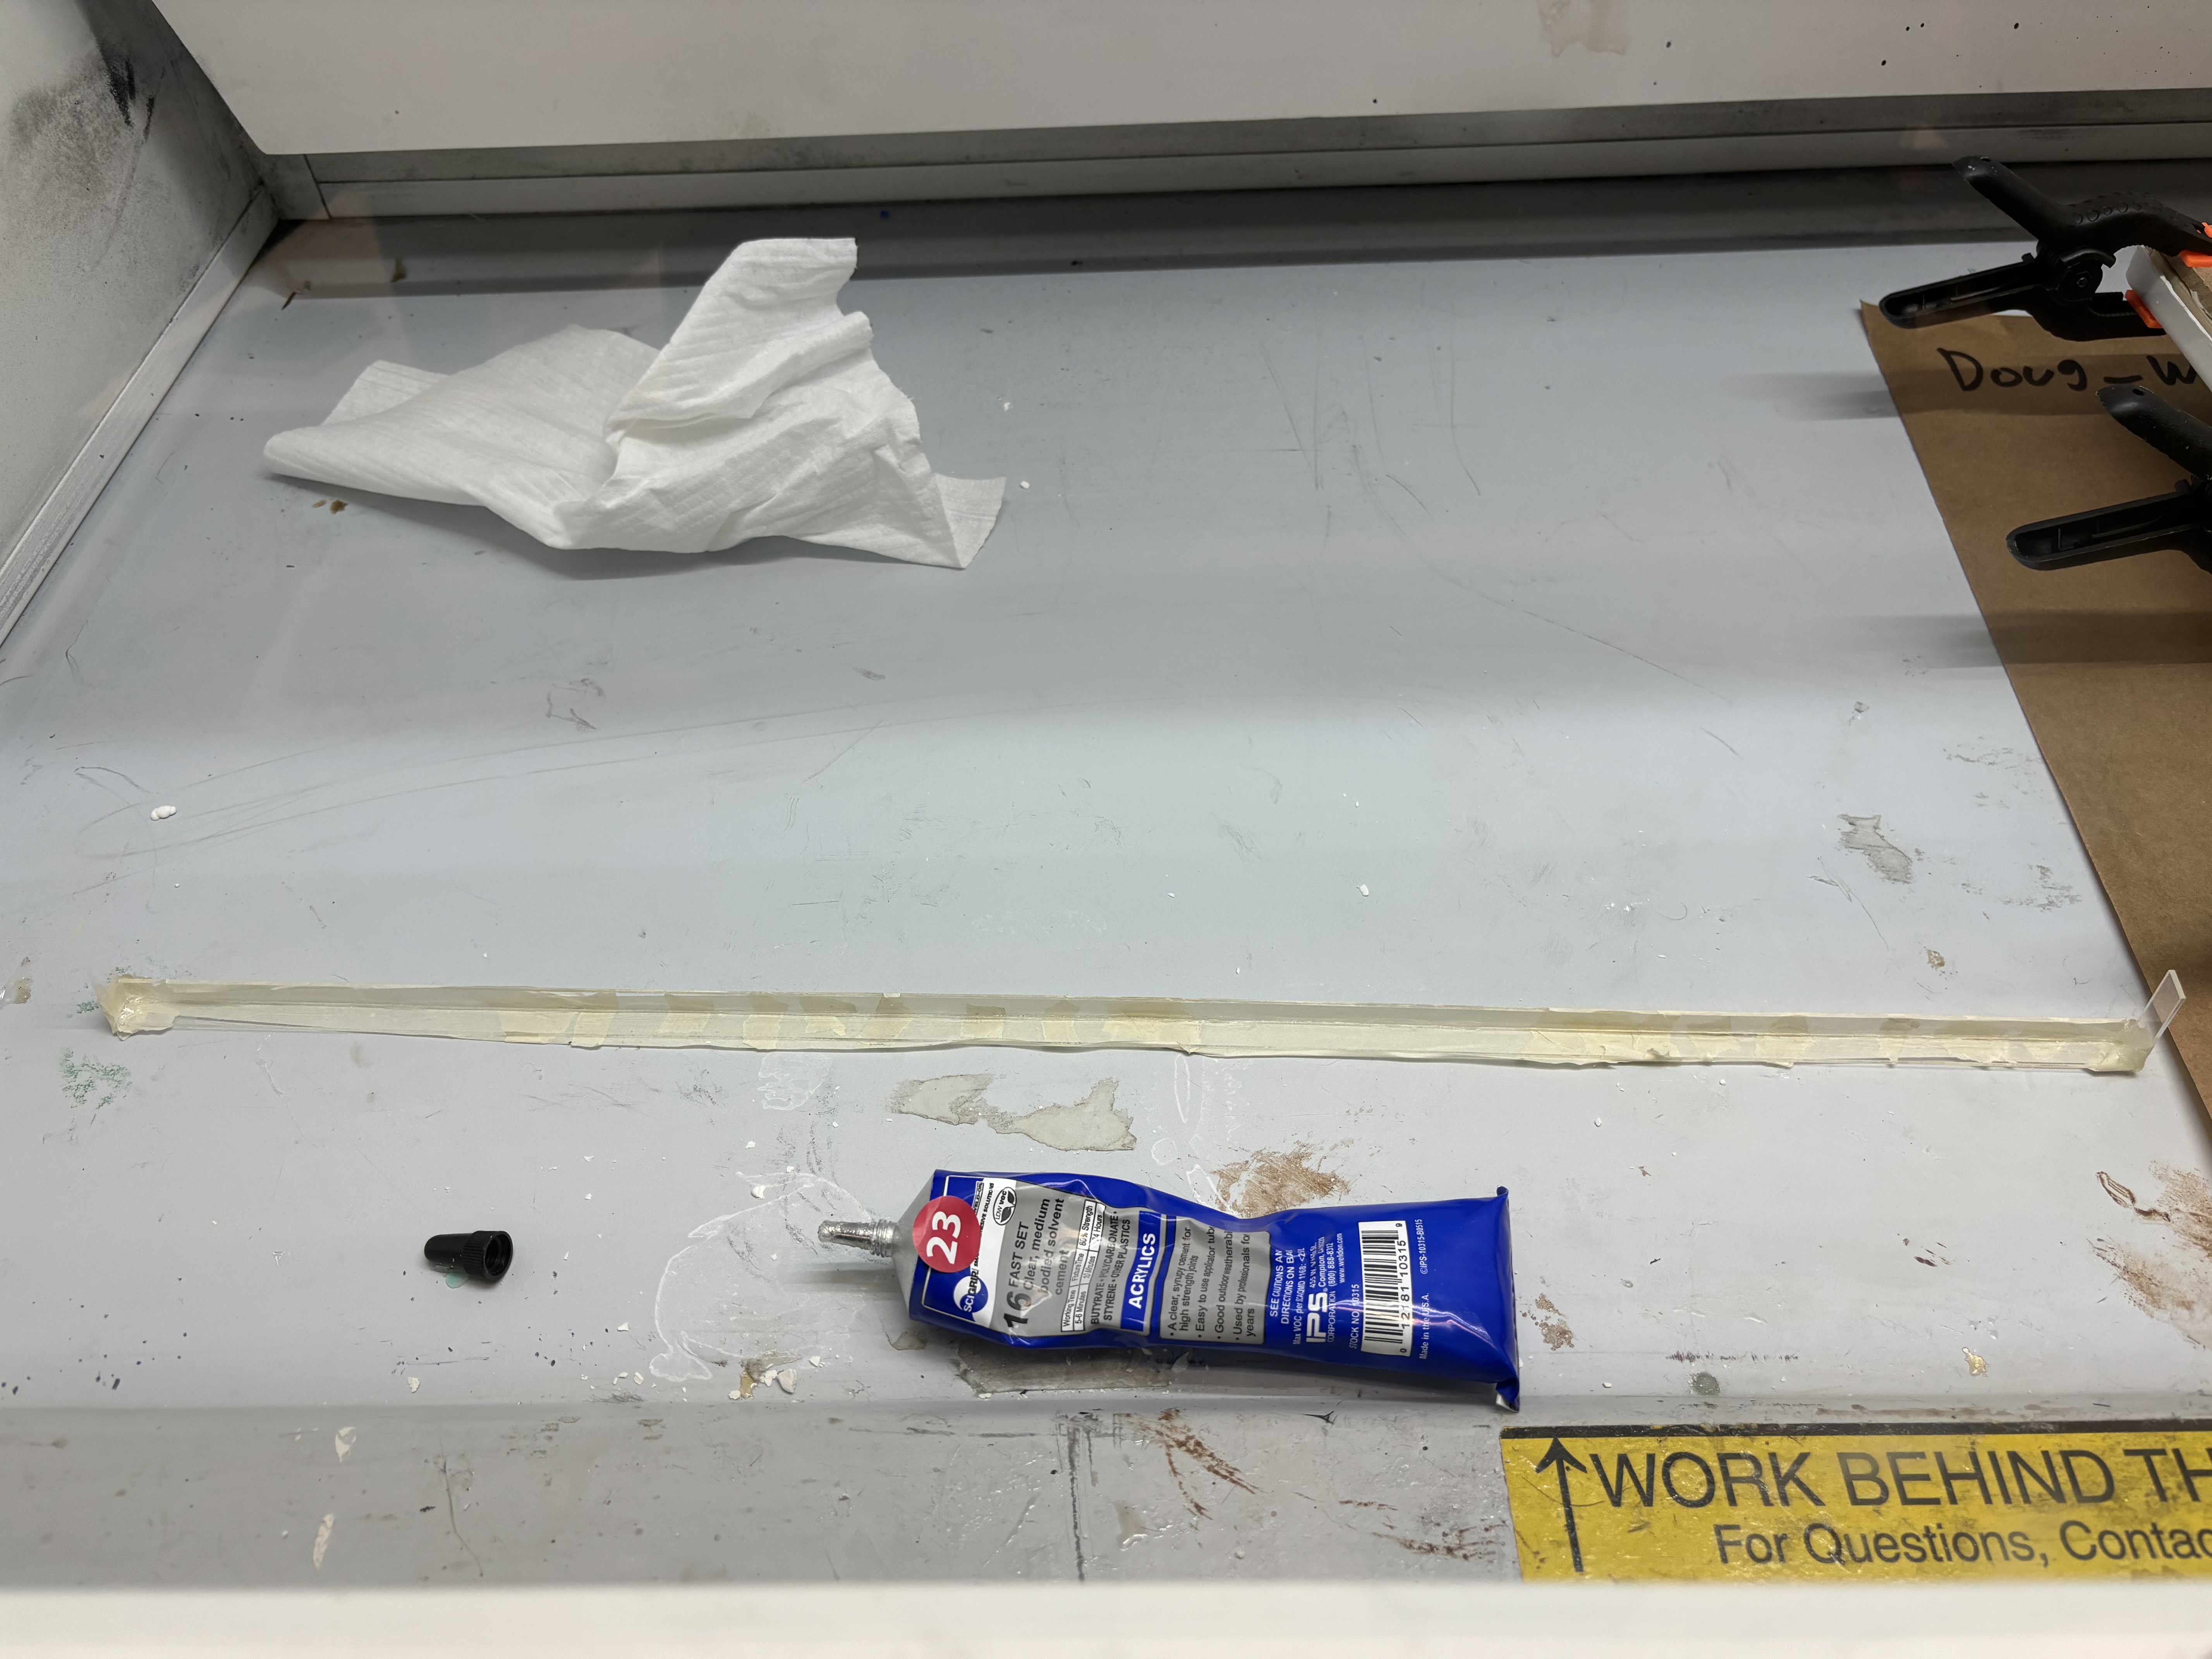
Working with such small acrylic pieces was more difficult than I expected and the joints were poorer than expected too.
After gluing I checked if it was a watertight seal by putting some water in the mold. The water dripped out so I reapplied glue in parts.
Casting
For casting, I decided to use EcoFlex 50, since it was a rubbery material. I mixed parts A and B in a 1:1 ratio and used a vacuum degasser to remove air bubbles.
I then poured it into the mould using a standard large cup - again, the scale of the mould was way smaller than the cup I used so it ended up falling outside the mold quite often. I wiped the excess with a rag, and let it set for 4 hours.
