How to Make (Almost) Anything
Week 5
Task1: Use the test equipment in your lab to observe the operation of a microcontroller circuit board.
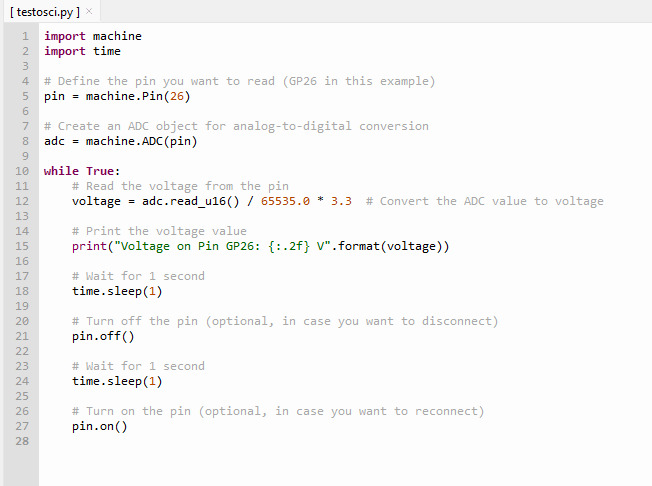
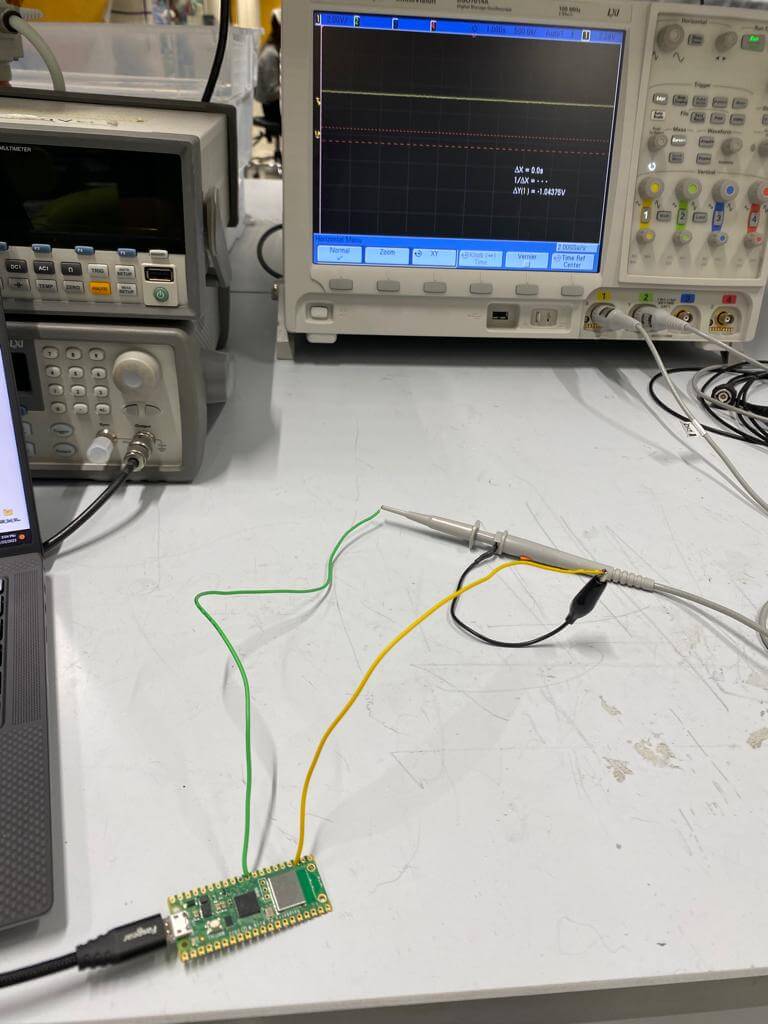
I connected the Pico board to oscilloscope so that I can read the voltage, below is the example code and picture for oscilloscope reading.
Task2: Use an EDA tool to design a development board to interact and communicate with an embedded microcontroller.
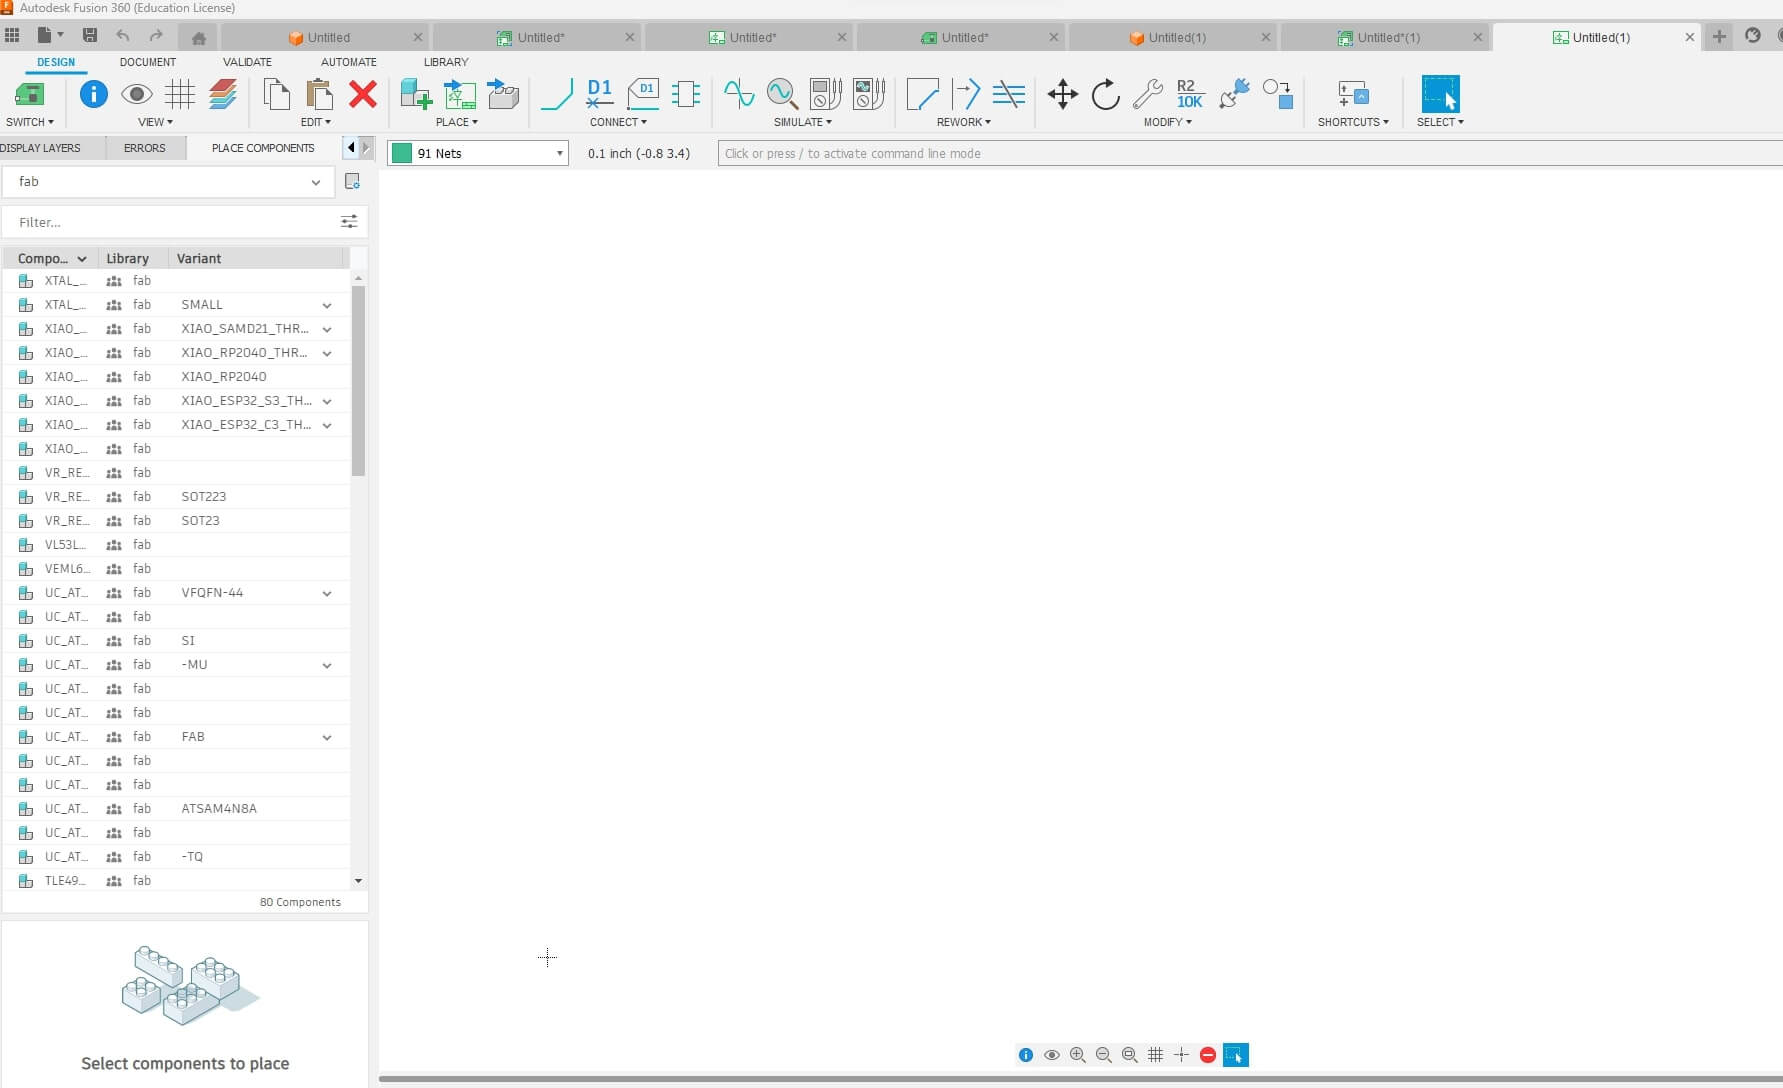
To design the board, I used Fusion360 electronics design tool which looks like the picture below when opened a new project.
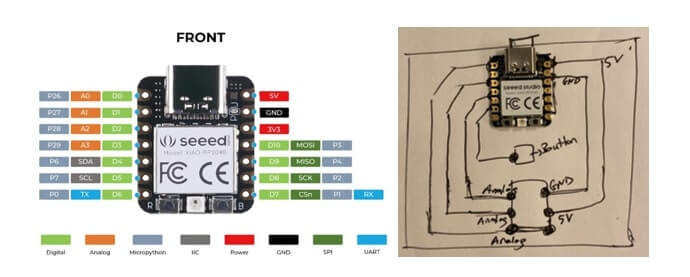
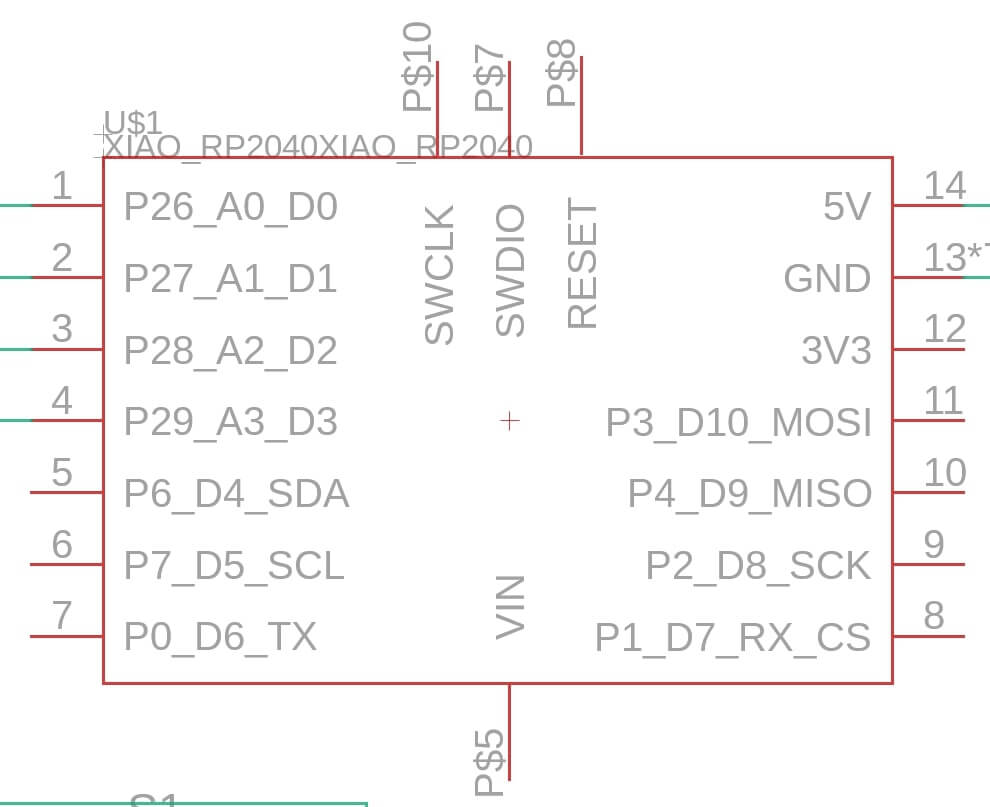
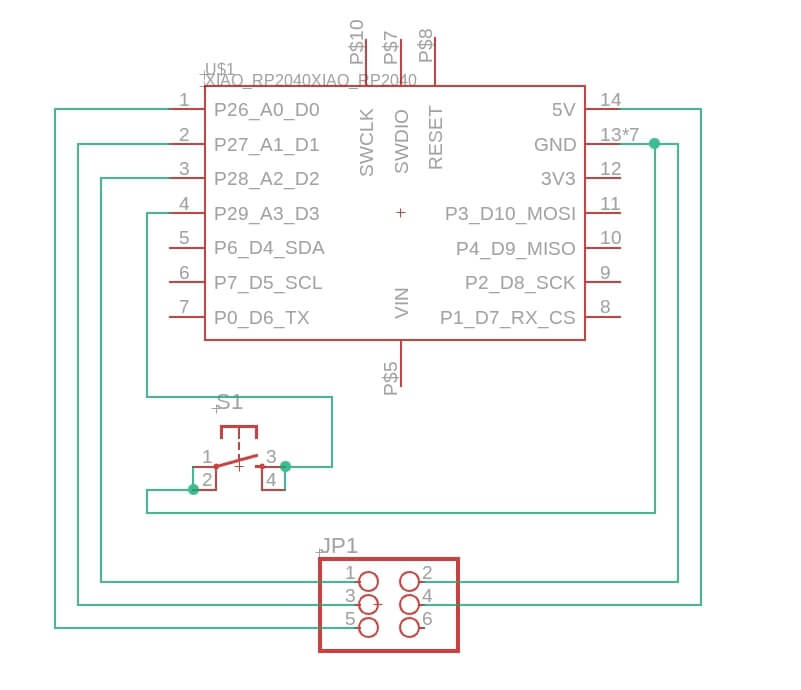
The second step is to design the board on paper, for the microcontroller I used xiao-rp2040. Pinout diagram of the board [1] and hand drawing of the pcb is below.
I wanted to use a power supply to power the pcb and microcontroller. So, I added smd pinheaded (6 output) so that I can use for multipurpose with jumper cables to either get analog input from a sensor or digital output for an LED. The first step to design the pcb in Fusion 360 is importing the rp2040, as in below picture.
After that I placed the pinheaded and traced the connections, I used A0, A1, A2, and A3 connections for the pinheaded smd. A0, A1, and A2 are designed for analog inputs for various sensors such as touch, capacitive etc. and A3 is connected to button. I connected 5V and GND to the pinheaded smd so that I can power the board wither with battery or desktop power supply.
After finishing the schematic, I switch to the pcb layout so that I can trace the lines properly and place the components and trim the pcb board according to the EE design.

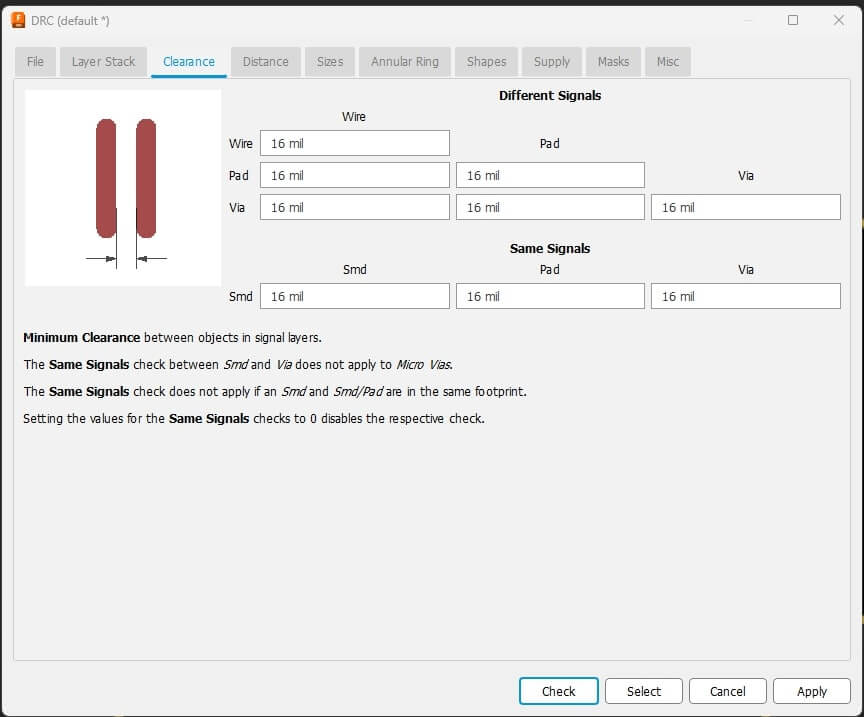
I placed the components and manually routed, important thing here is the line thicknesses since the machine we will be using will limit the trace and component clearances. So based on the machine requirements I changed the design rules as below pictures.
Design files for the pcb: https://drive.google.com/file/d/15hz6oIgkk6U0ImSEnfk1vzyl_EZtgqYr/view?usp=drive_link
References:
[1] https://wiki.seeedstudio.com/XIAO-RP2040/