This will go over cutting with the Epilog with Fabmodules (Linux) and with Windows PrinterDrivers through CorelDraw (Windows). Disclaimer: This is a write-up of John & Tom's demos. It's not comprehensive. Any errors are mine (Catherine) - drop me a line - dignazio@mit.edu.
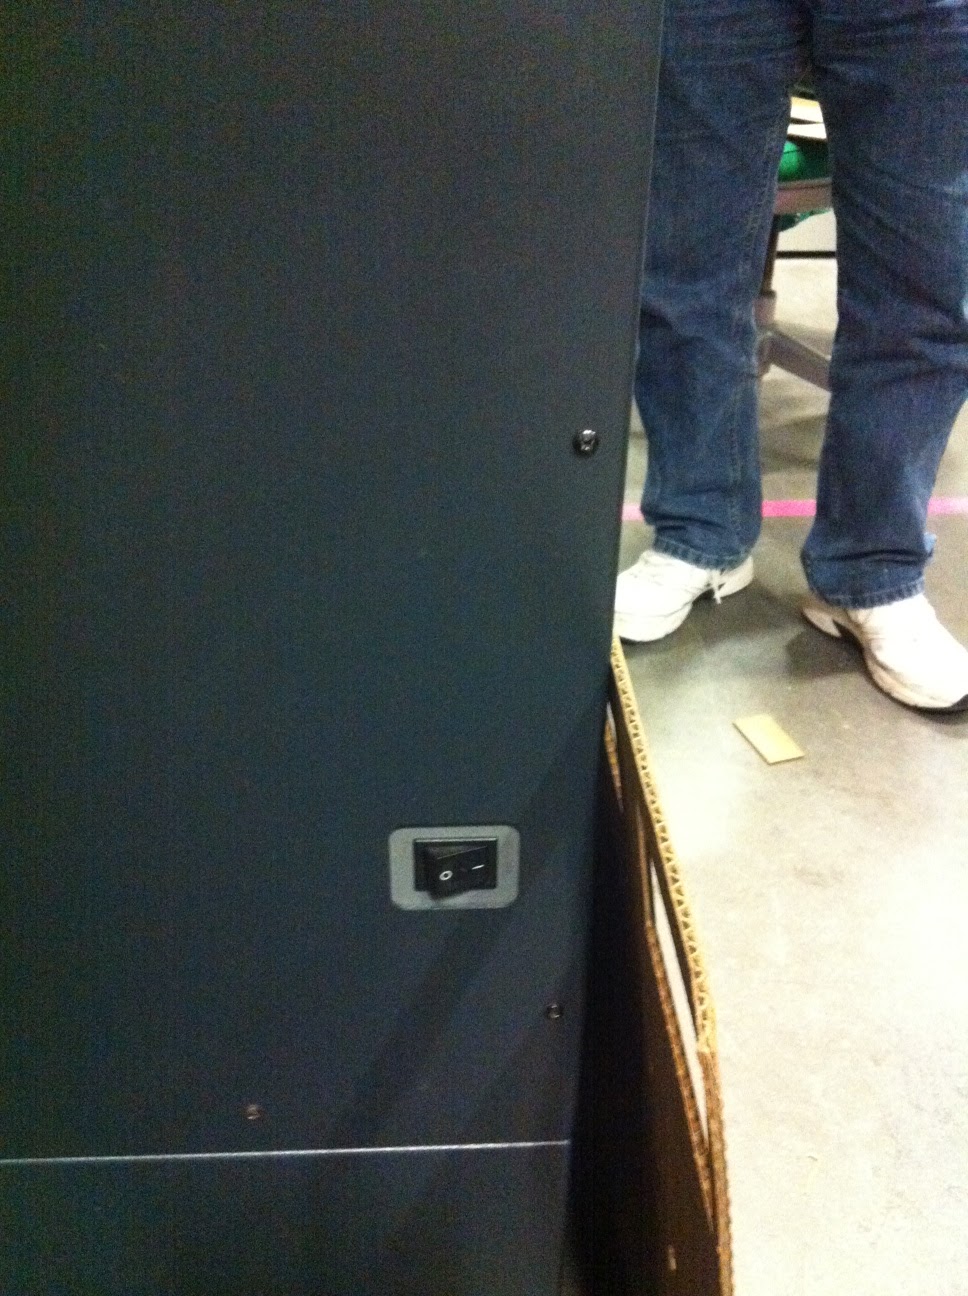
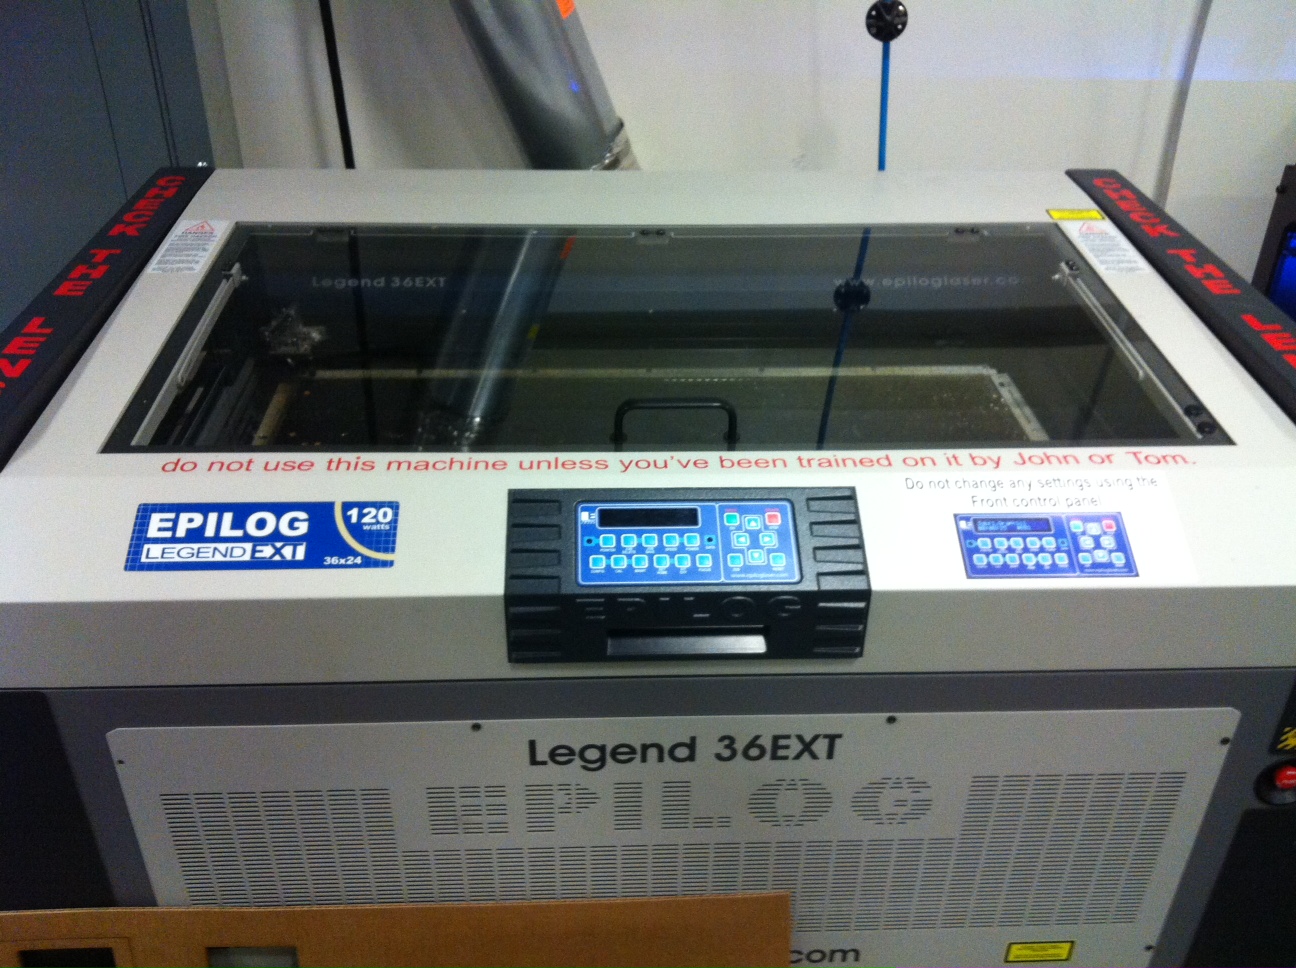
Turning it on
Turn on - switch on left - let it boot up
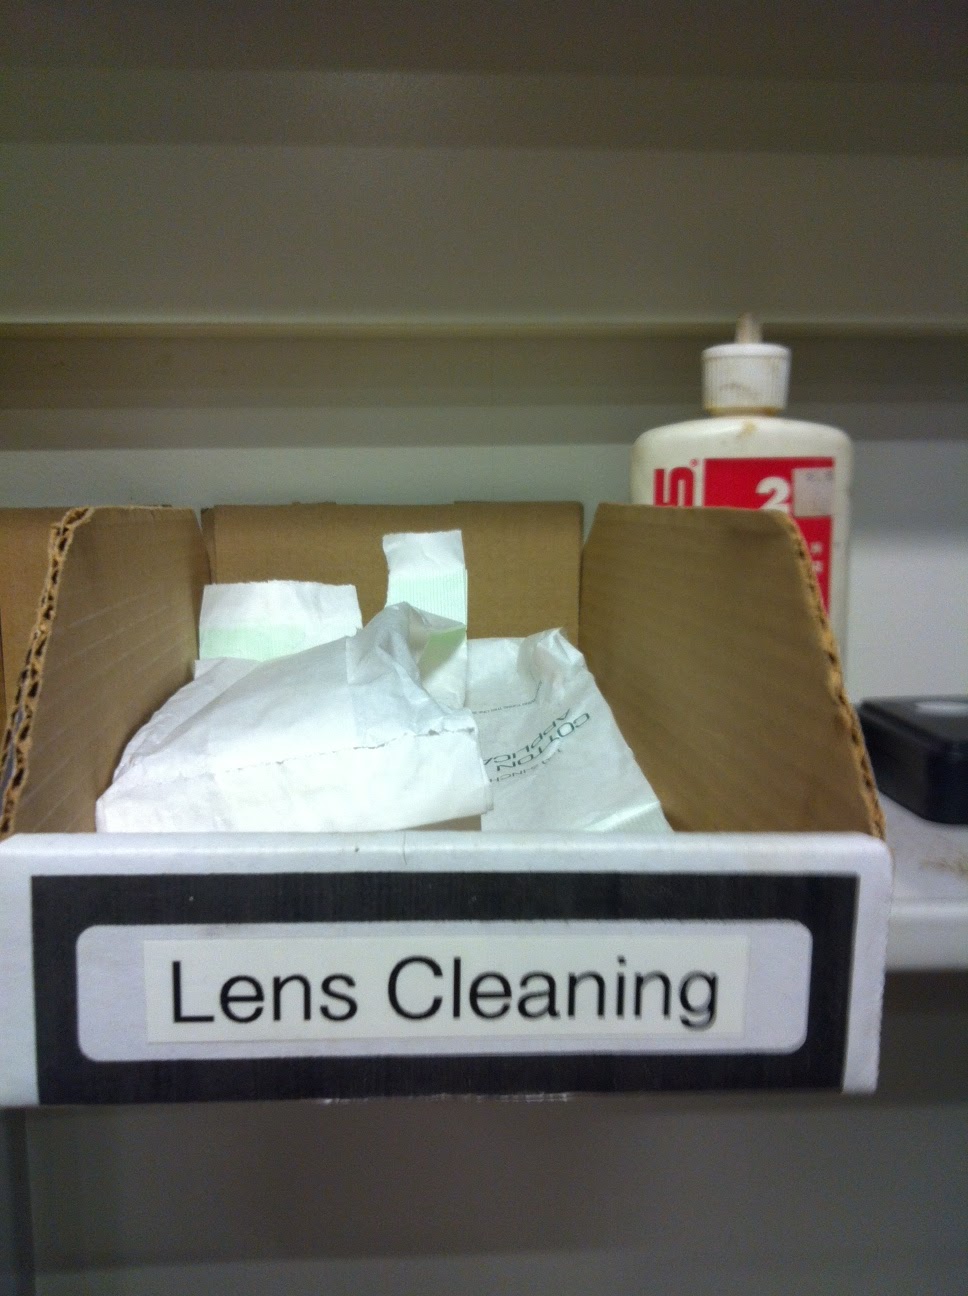
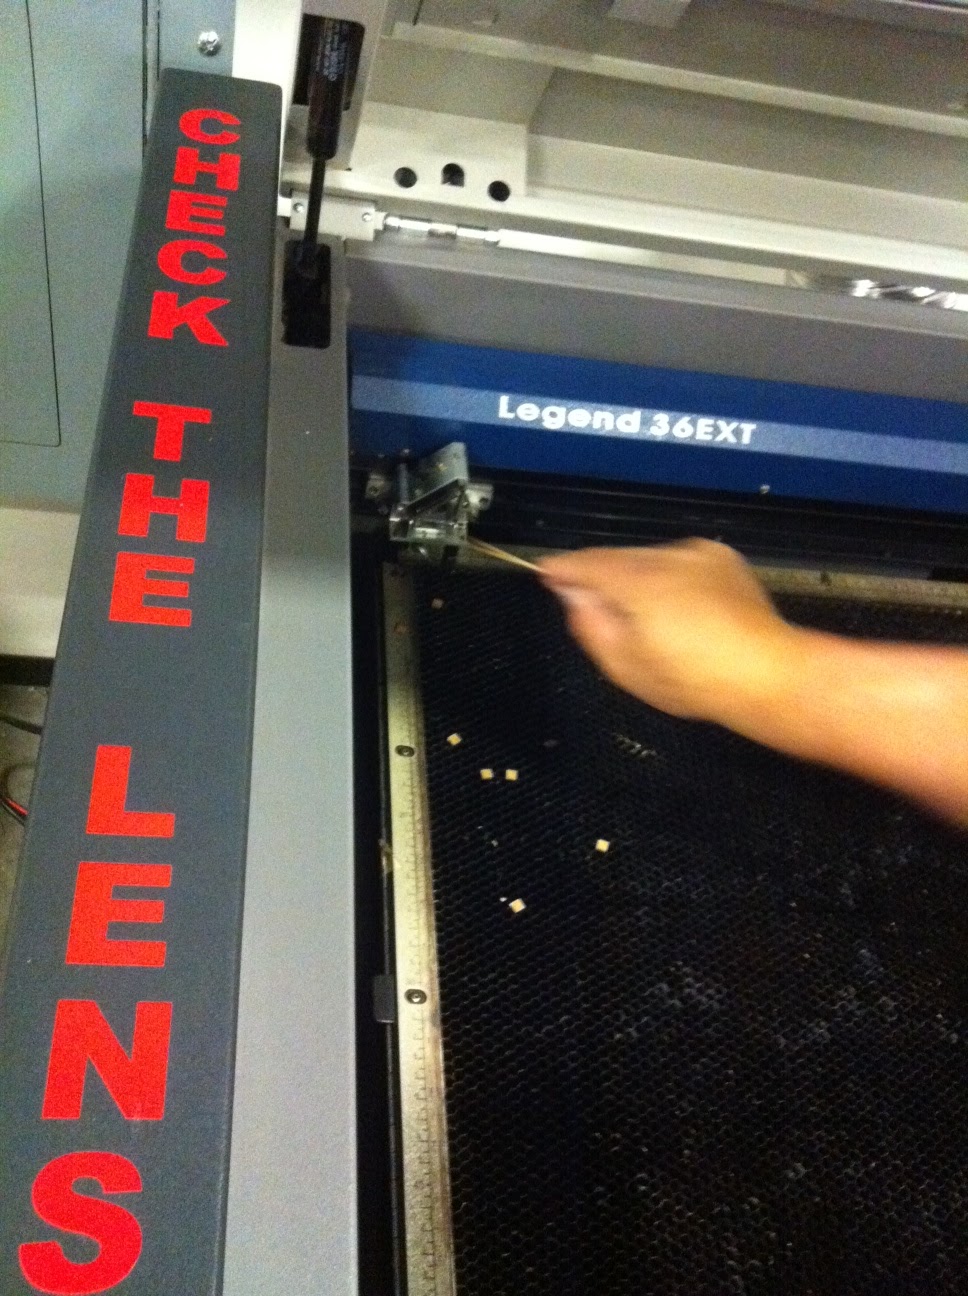
How to Clean the Lens
You have to clean the lens on the machine almost all the time. You need to keep your eye on it. Use a Q tip and Lens cleaner.
Lift up the big part on top of machine and reach back to clean it from all angles with the Q Tip.
Focus
Manual control of the bed on the left hand side inside the bed. Moves bed up and down.
Machine needs to be booted in Linux. Username: fab password: fab. There should be a shortcut to fab modules from the desktop. If not, then just launch a terminal and type 'fab'.
Set up software file
Open Inkscape.
File >> Document Properties - change document to size of bed: 36" x 24". Orientation should be landscape.
Make a shape
Fill should be None. Stroke should be black.
Save file as SVG
Save to Desktop or somewhere convenient.
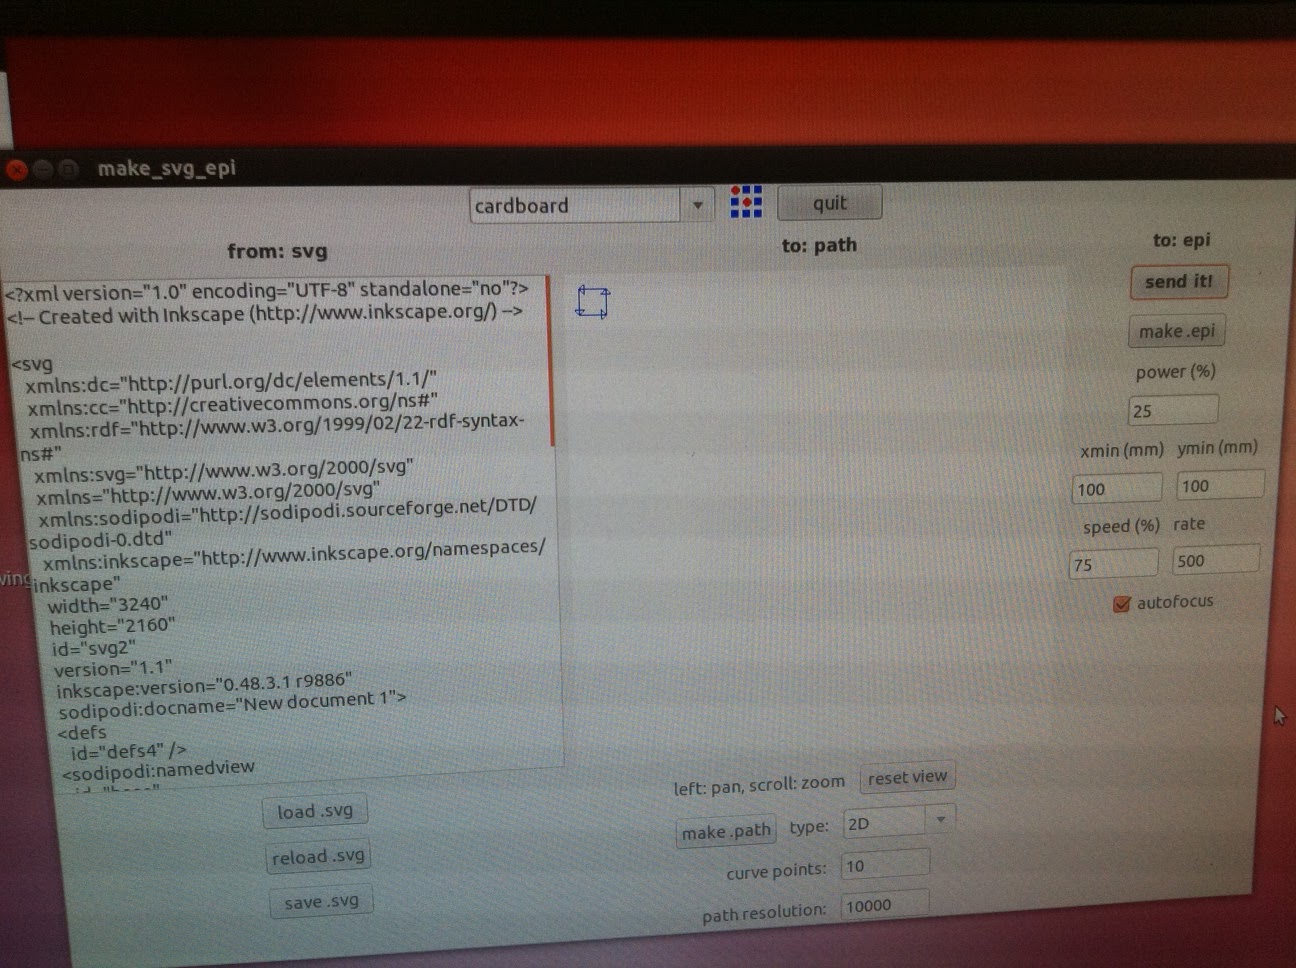
Open fab modules
Format: SVG
Process: Epilog LaserCutter
Press Load SVG
Choose your file from where you saved it.
Press Make Path
You should see the path that the machine will do.
Press 'Make EPI'
Check "autofocus"
The machine will automatically calibrate the focus of the laser. You only have to do this once if you are working with the same material.
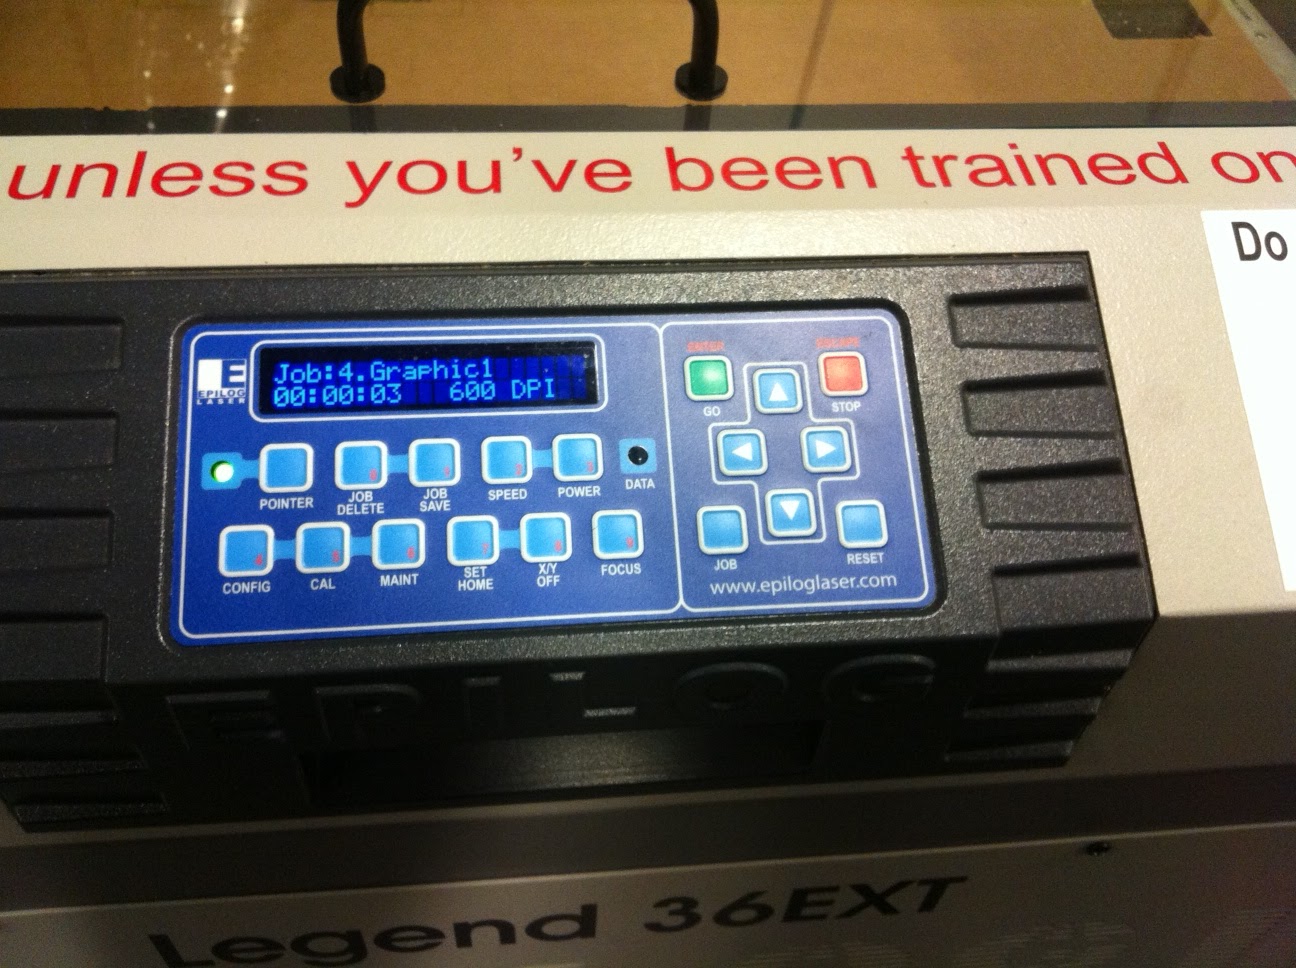
Press Send it
You should see your job name appear on the machine's screen. Press the Green GO button on the machine. Machine should do your bidding. If it doesn't - you need to open the printer queue, delete the job and then do Make EPI and Send it again. You might need to reboot the epilog.
How do you stop it in the middle?
Just open the top window and the laser will stop. You can also press the STOP button to stop it and then GO and the job will continue. If you want to clear the job press RESET on the lasercutter.
If the job hangs in the printer queue?
The job might hang with "pending" status in the printer queue. Open printer queue, delete job. Press Make epi. Press Send it. See if that fixes it. If not, reboot the laser cutter.
If it's not working?
Reboot the laser cutter by turning it on and off. Reboot the computer. Turn autofocus back on. Press Make epi. Press Send it. The job should NOT hang in the printer queue - it should disappear from the printer queue.
If material doesn't get cut through?
Up the power settings in the fab modules by 10-15% at a time.
What about 'rate' setting?
500 should be ok. It means PPI - pulses per inch.
WINDOWS
Boot machine to windows. Username: hurco-pc\mas863 Password: FabClass13.
Very helpful document: RecsettingsEPI.rtf describes suggested power settings for different materials.
Use CorelDrawX4 shortcut from the desktop. Any new document will have document properties the same as the bed of the laser cutter (36"x24").
Use the "Outline pen" tool to draw. Thickness of pen should be "hairline" to tell the machine to cut. If the machine sees line thicker than this it will interpret it as a raster and FILL it instead of CUT it.
On the windows side the document is NOT rotated 180 degrees from how it will print on the machine. It appears as it will be printed.
You can add text and it will be read as a raster.
Printing from CorelDraw
Go to File >> Print. This will bring up the Epilog printer driver window where you adjust settings.
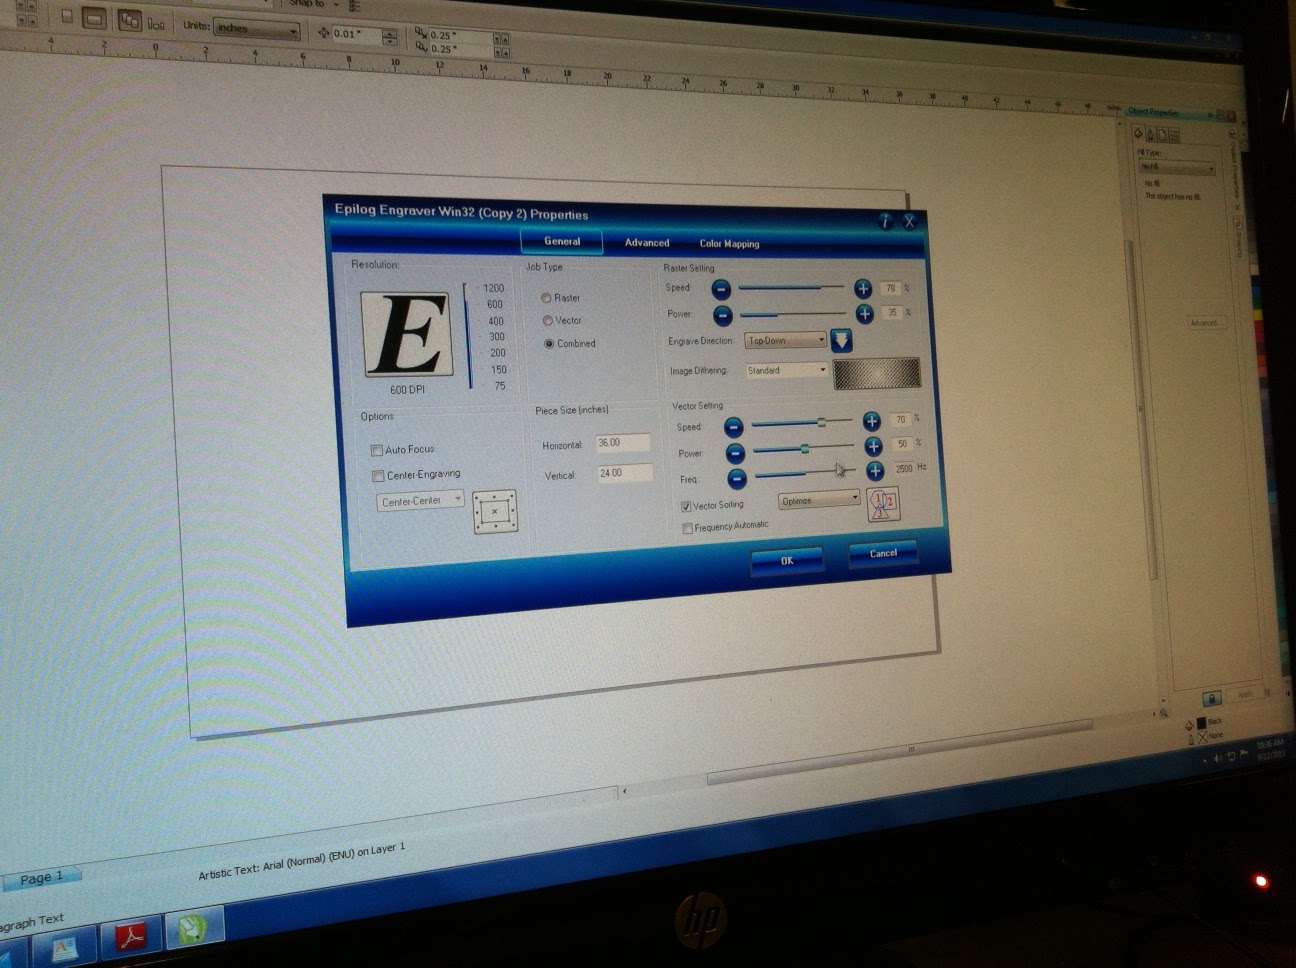
Check autofocus the first time you print. Adjust your speed, power, and frequency (rate) settings according to the material (see the document RecsettingsEPI.rtf for what works well).
The fab modules can't do rasters or bitmaps.
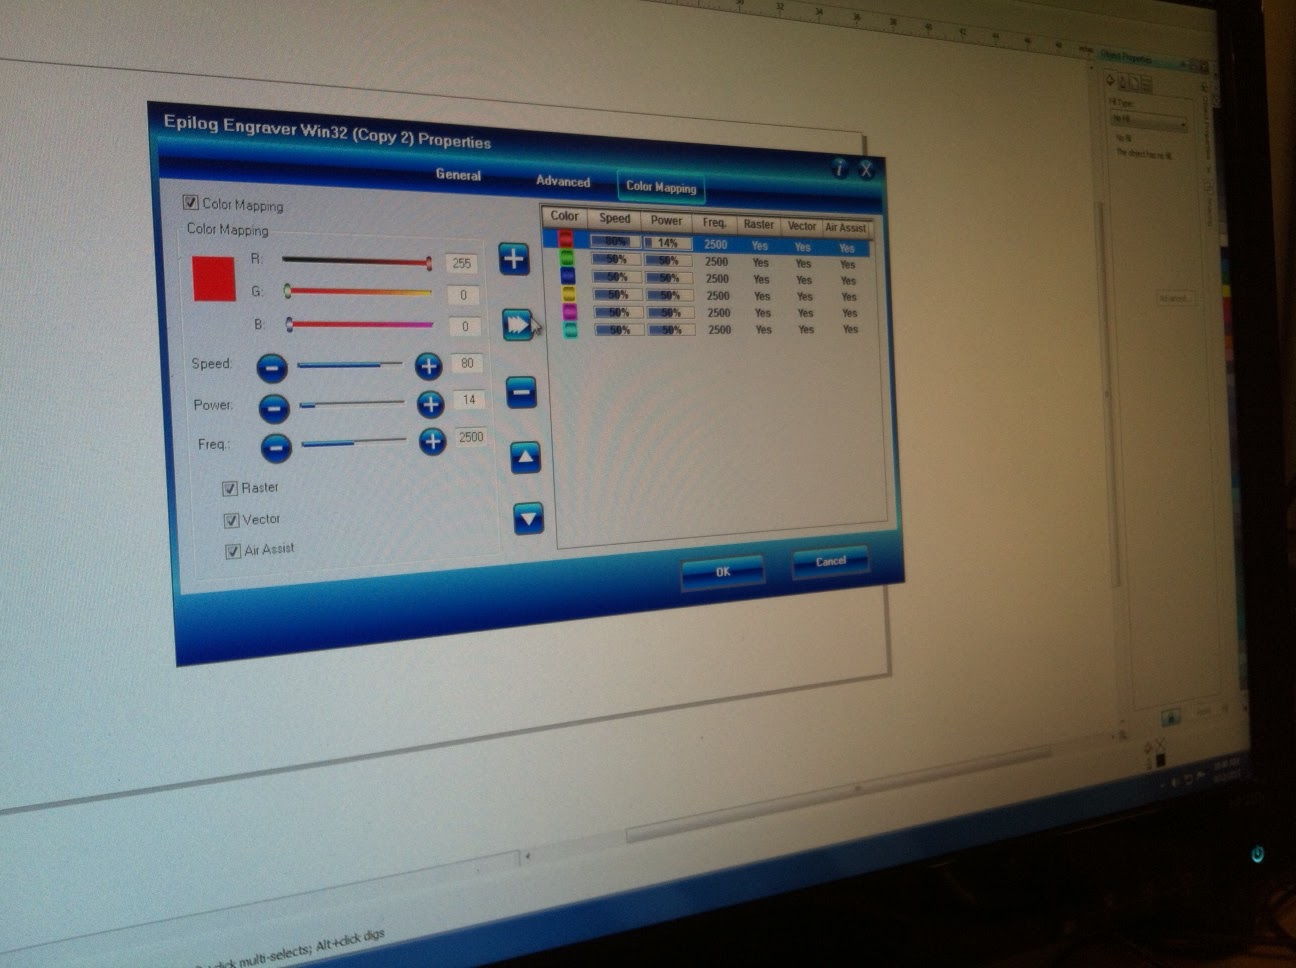
What if you have Raster and Vector settings in one document? Or different vectors? To give different parts of the drawing different settings make the things different colors in the document. Then do File >> Print >> Color Mapping and check the "color mapping" box. Adjust your settings as you want them for each particular thing and make sure to click the right-pointing arrow to transfer your new settings to the printer. This only applies to RASTER filling.